Here’s how to get all those screenshots off your Mac desktop
The other day, I was in a meeting with one of my colleagues who I won’t name 1 who shared a presentation from his screen. Before he could pull it up, he showed off this monstrosity:
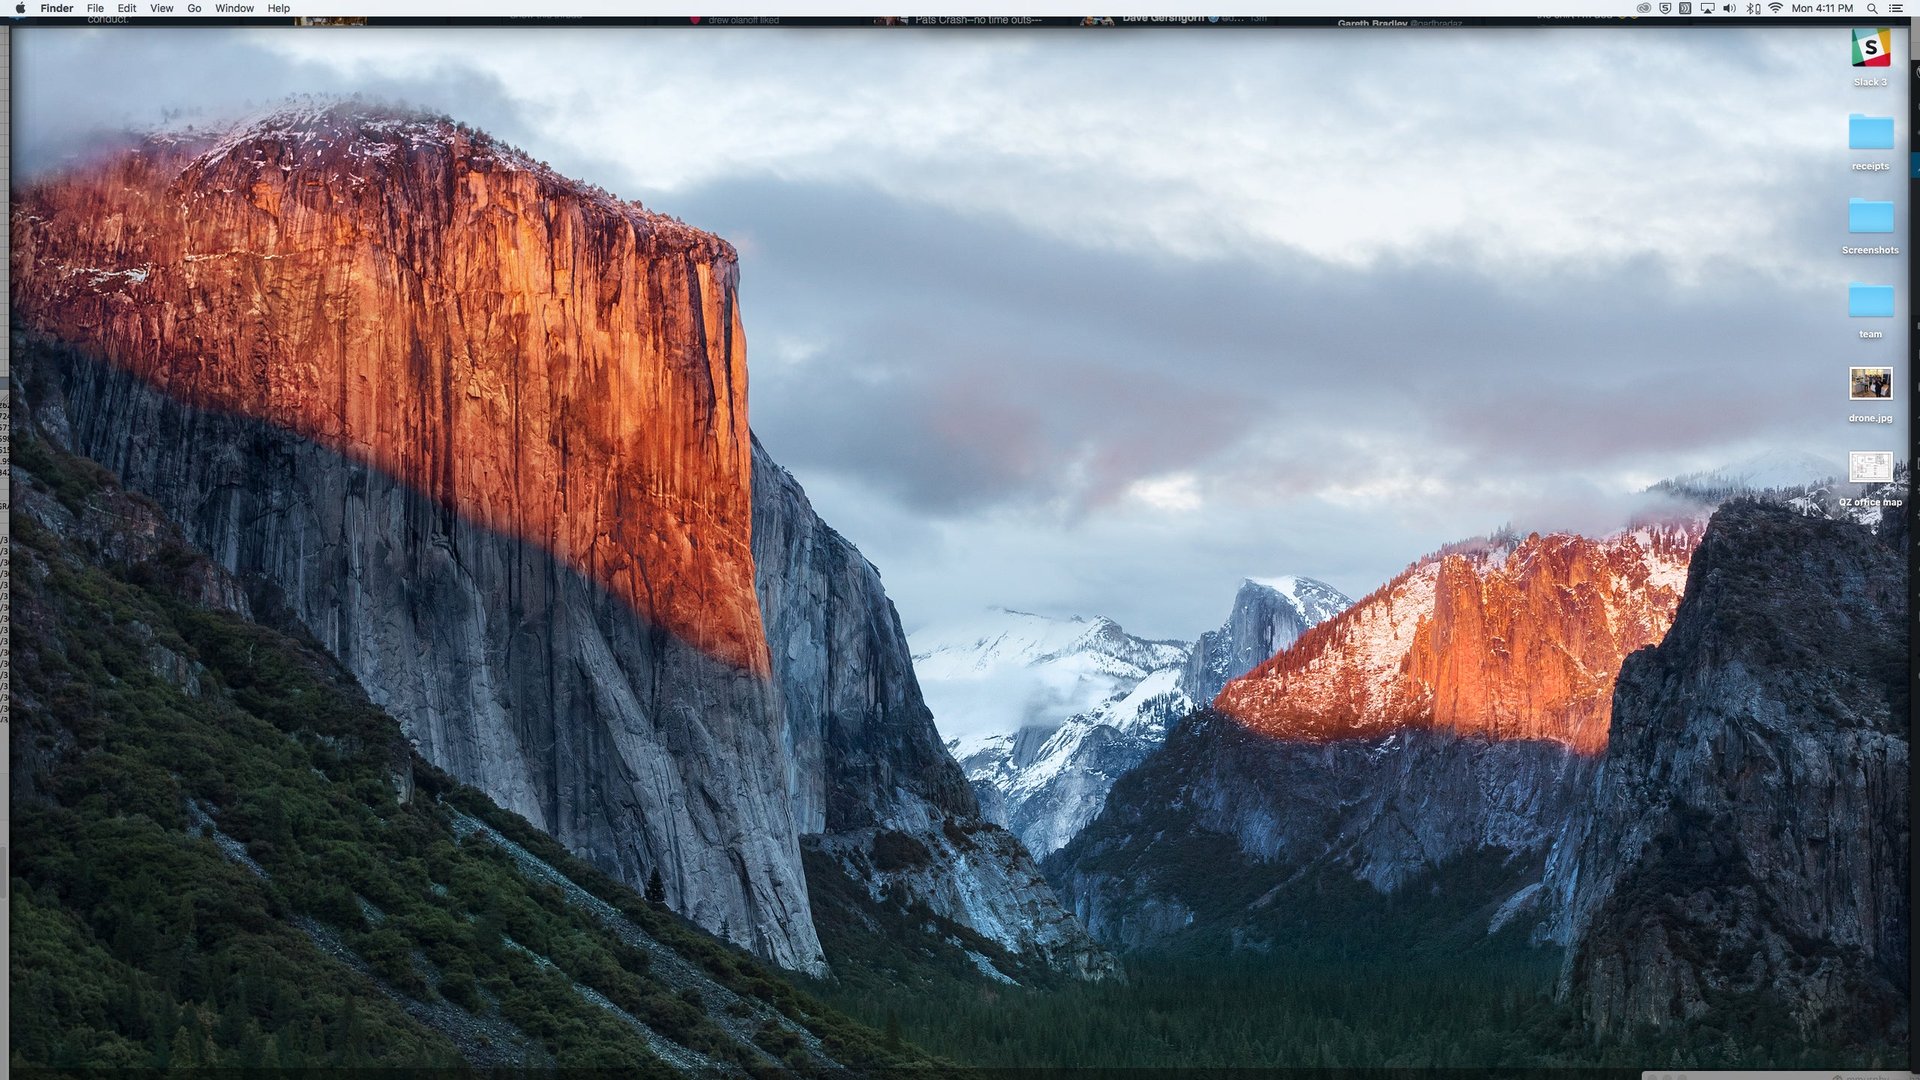

The other day, I was in a meeting with one of my colleagues who I won’t name 1 who shared a presentation from his screen. Before he could pull it up, he showed off this monstrosity:
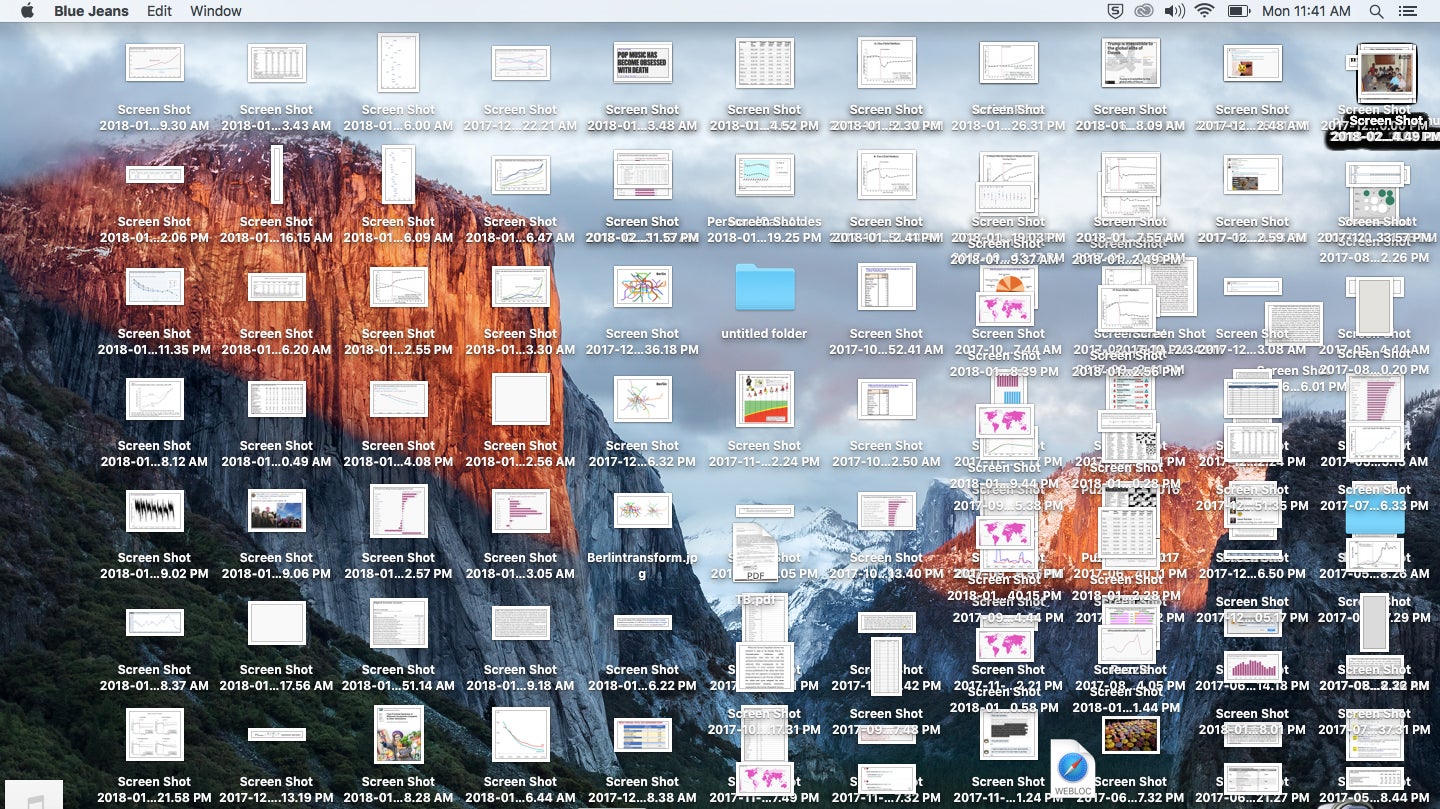
Finding something in that mess is the digital equivalent of locating a needle in a haystack. But it doesn’t have to be this way. With a few (relatively) simple steps, we can turn your desktop back into the vision of natural serenity Apple intended it to be. Here’s what you do:
- First choose a place you want to store all your screenshots. The simplest place is your desktop. From there, make a new folder (Shift+⌘+N) and call it “Screenshots.”
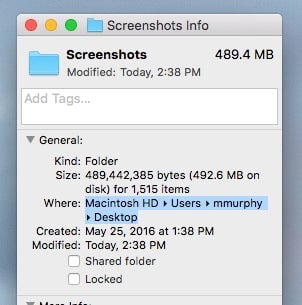
- Now, right-click on that folder and then press “Get Info.” Alternatively, click on the folder and press ⌘+I.
- Look for the “Where” information:
- Highlight and copy that line into the Notes app or somewhere you can store it for a second. You’re going to need that information shortly.
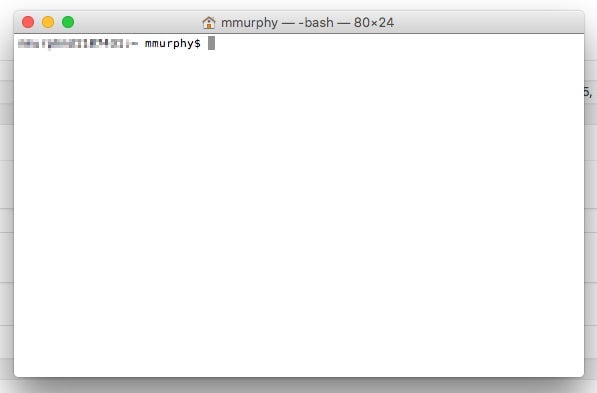
- Open the Terminal app. If you can’t find it, press ⌘+Space and type in “terminal.”
- You should get a little window like this:
- After it loads, type in this and don’t press enter:
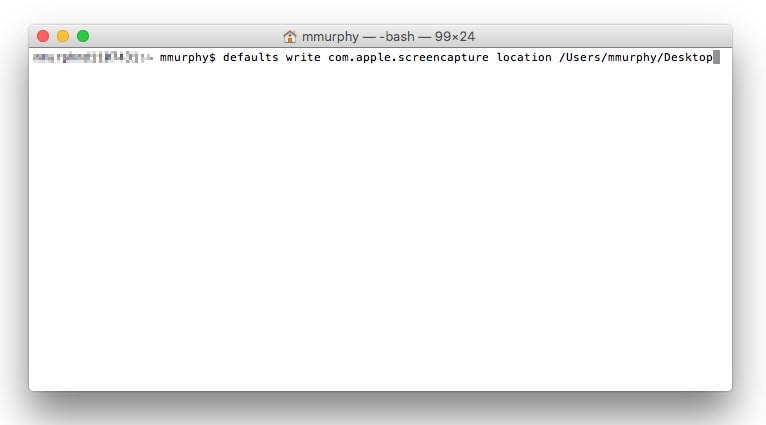
defaults write com.apple.screencapture location - Now go back to your Notes app and copy that location from Notes and paste it right after the code in the Terminal. It should look something like this:
- Type
/Screenshotsafter what you have. The whole line should read something like:defaults write com.apple.screencapture location /Users/mmurphy/Desktop/Screenshots - Press enter.
- Now type:
killall SystemUIServerand press enter. - If you’ve followed these steps correctly, every new screenshot you take will be automatically stored in your new Screenshots folder. You’ll have to manually move over all the ones you’ve taken so far, but here’s a quick way to do that:
- Open two Finder windows, one with your desktop and one with the Screenshots folder.
- Sort the desktop window by name, scroll down to the first one that starts with “Screenshot.”
- Click it, hold down shift, scroll to the last screenshot file, click again, and then drag them all into your Screenshots folder window.
You’re done! Hopefully that photo of Yosemite National Park that Apple sets as the default wallpaper is a little more visible now.