
20 everyday habits that are slowly damaging your home
From overloading outlets to using the wrong cleaner on the wrong surface — the habits that compound into structural damage, mold, and costly repairs
Yuri Krupenin / Unsplash
Most home damage is not dramatic. It does not arrive as a sudden catastrophe — a burst pipe, a collapsed roof, a flooded basement — but as the slow accumulation of small, unremarkable habits that most homeowners perform every day without any awareness that they are causing damage at all. The way you park in the garage. The cleaner you use on your granite countertops. The pot of water you let boil without a lid on the stove. The bathroom exhaust fan you run for three minutes instead of twenty. None of these feels like a mistake in the moment. Over months and years, they become expensive ones.
Home damage works through the same mechanism as compound interest in reverse: the consequences of small neglects and small mistakes accumulate in ways that are invisible in the short term and significant in the long term. The grout you never sealed lets moisture into the substrate beneath your tile. The moisture in the substrate promotes mold growth. The mold grows into the wall cavity. The wall cavity repair costs several thousand dollars. The grout sealer costs eight dollars and takes twenty minutes. The gap between these two outcomes is not a function of the severity of a single mistake but of the compounding of a small omission over several years.
Several of the habits in this list are things most homeowners have been doing for years without being told they were harmful. Several are things that seem like maintenance but are actually maintenance done incorrectly — cleaning your deck, clearing your gutters, adjusting your thermostat — where the mistake is not in the absence of the habit but in how the habit is performed. And several are things that most homeowners are actively warned about (don't pour grease down the drain) that they do anyway because the consequence is deferred long enough that the connection between the action and its result is invisible.
This list covers 20 of those habits — the everyday behaviors most likely to produce expensive home damage, the mechanism through which the damage occurs, and what to do instead. None of the corrections is expensive or time-consuming. All of them are worth adopting before the repair bill arrives.
Ignoring the bathroom exhaust fan timer
Max Vakhtbovych / Pexels
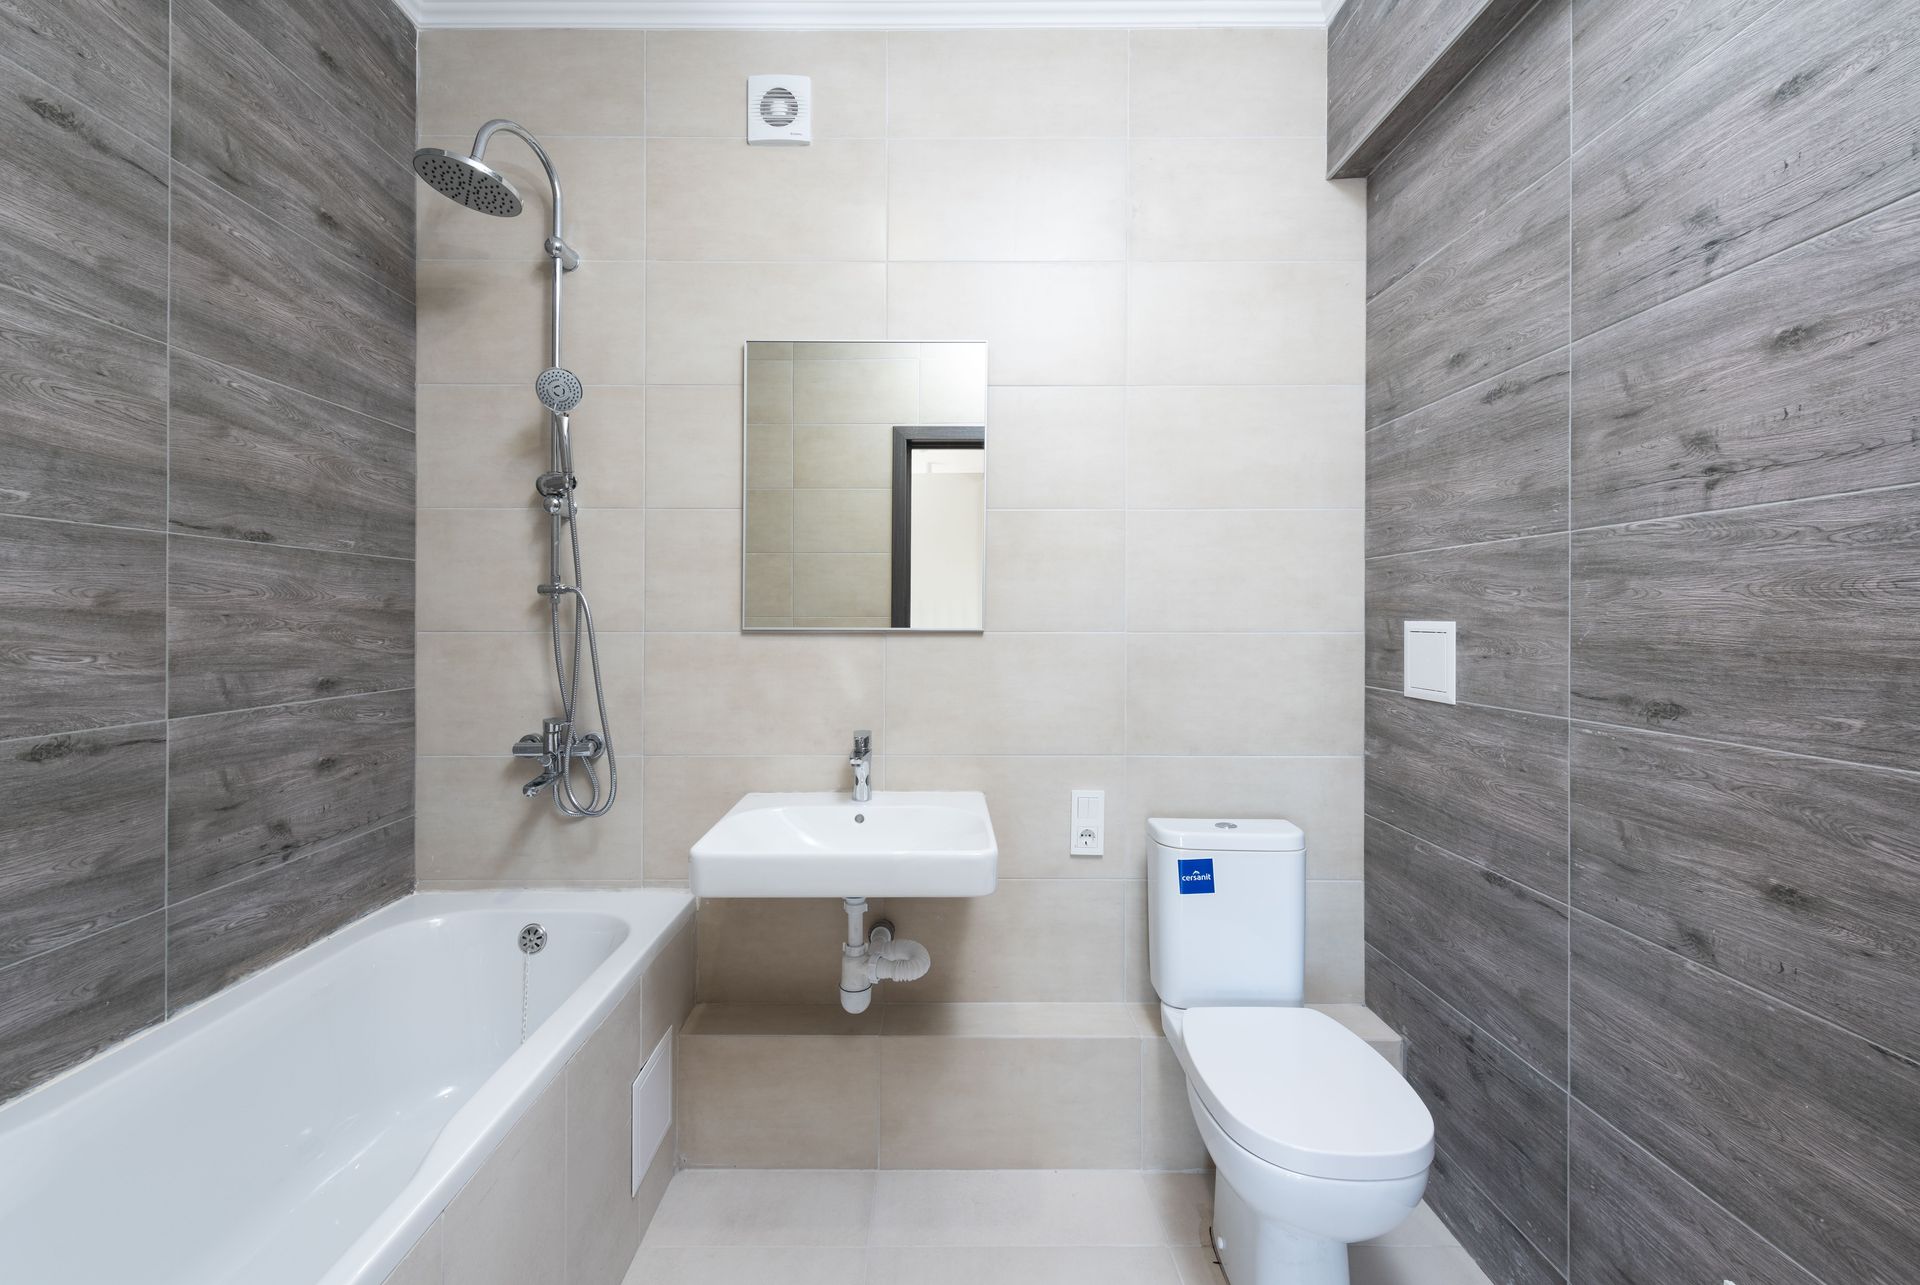
Bathroom exhaust fans are designed to remove moisture-laden air from the bathroom after showering, preventing the humidity from settling into walls, ceilings, and grout where it promotes mold growth and, over time, causes paint to peel, drywall to soften, and tile to delaminate from its substrate. Most people run the fan during their shower and turn it off when they leave the bathroom. This is not enough.
The standard building science recommendation is to run the bathroom exhaust fan for 20 minutes after showering — long enough to remove the residual humidity that continues to evaporate from wet surfaces after the shower ends. A shower generates approximately 1.5 pints of water vapor that must be removed from the bathroom; running the fan for the duration of the shower removes some of it, but the remaining vapor settles on cold surfaces (walls, mirrors, the underside of the vanity cabinet) and is absorbed rather than exhausted.
The damage mechanism: persistent bathroom humidity above approximately 60% promotes mold growth on grout, caulk, and drywall. Mold on grout and caulk is cosmetically unpleasant and relatively easy to treat; mold in the wall cavity behind the tile is structurally significant and expensive to remediate. A programmable timer switch for the bathroom exhaust fan — available for under $20 — automates the 20-minute post-shower run and eliminates the humidity damage habit entirely.
Using the wrong cleaner on natural stone
everdrop GmbH / Unsplash
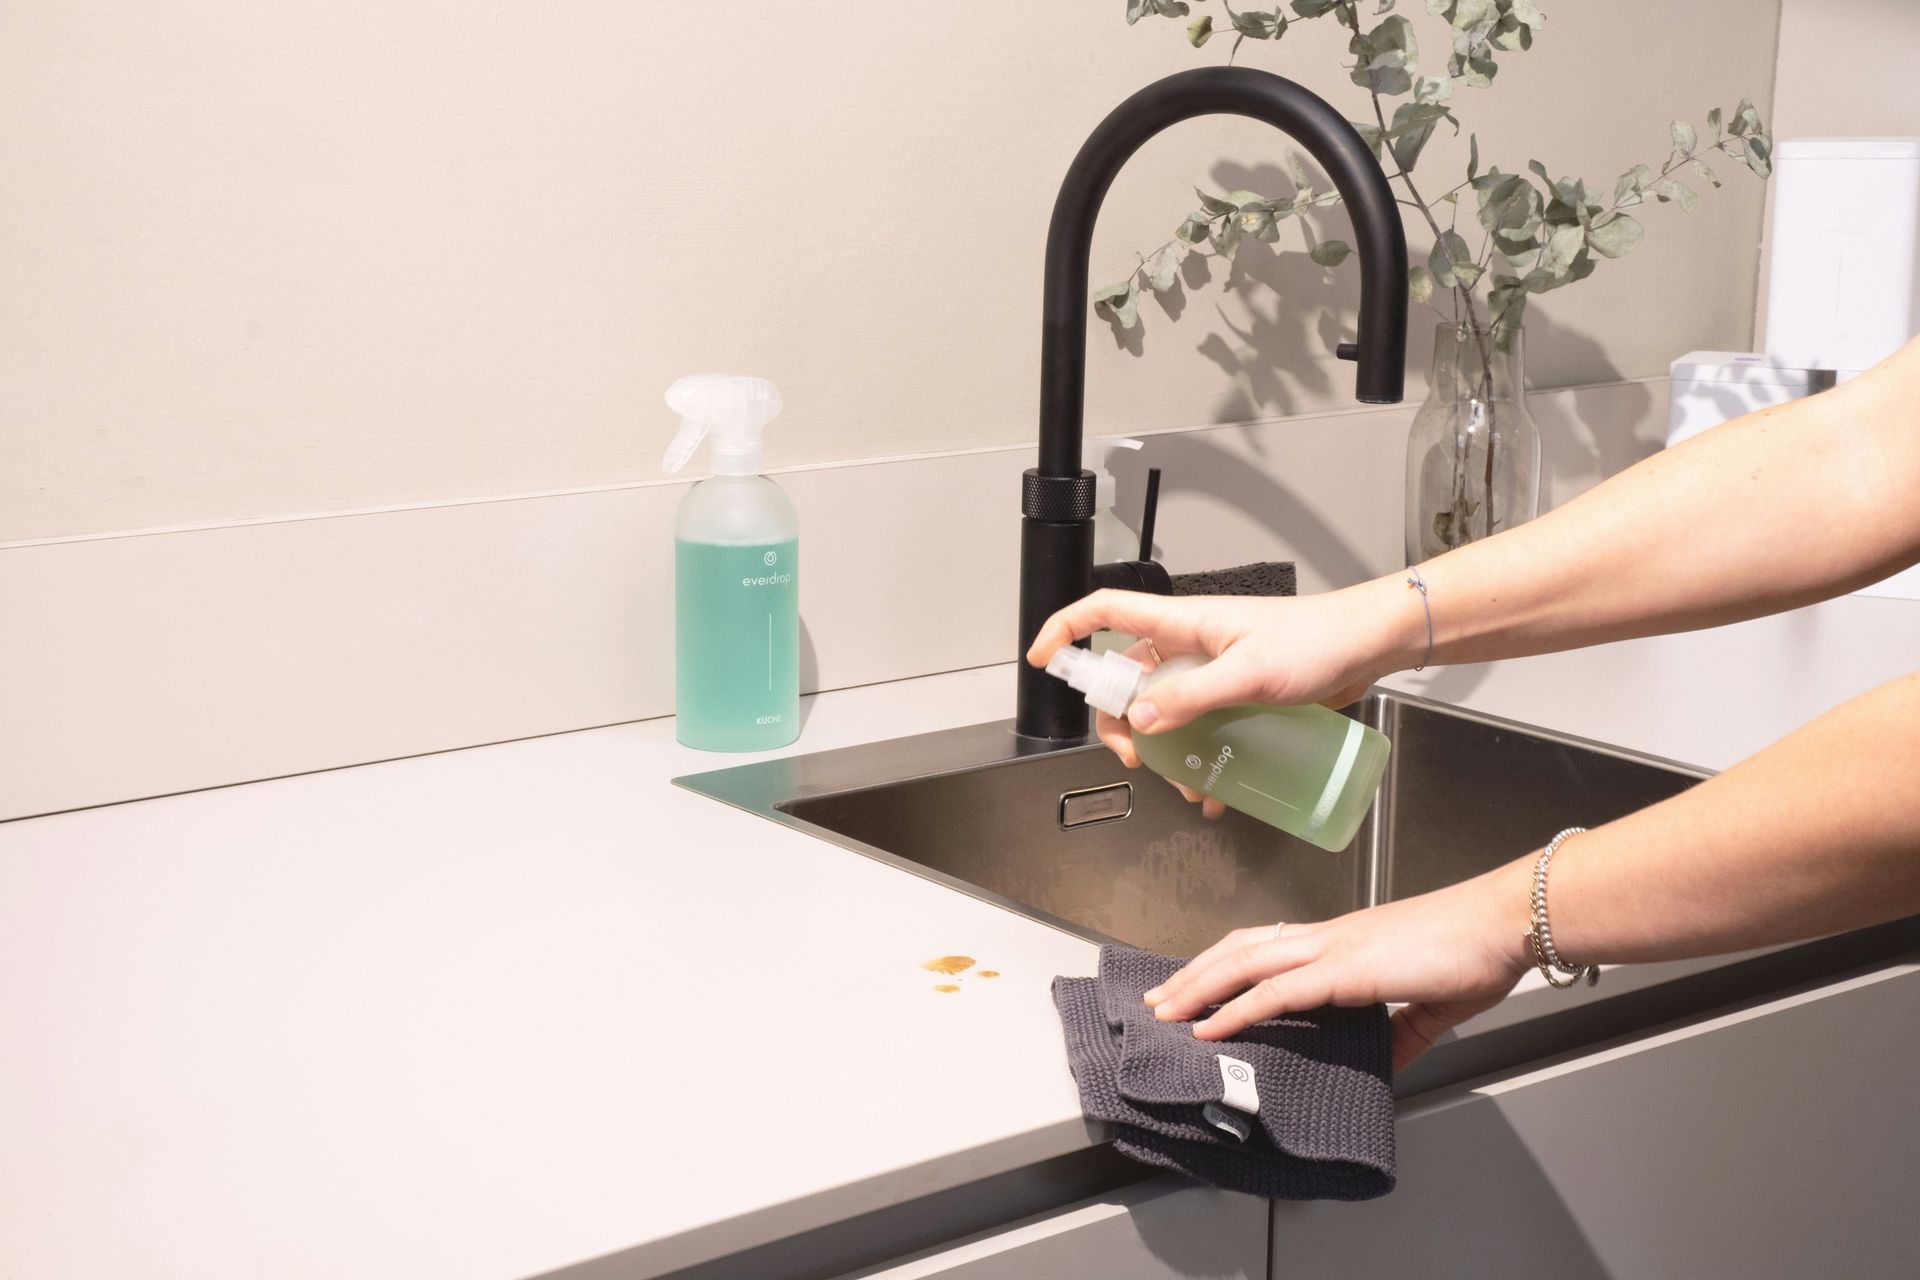
Natural stone surfaces — granite countertops, marble floors, travertine tiles, limestone bathroom walls — are acid-sensitive in ways that most general-purpose household cleaners are not. The stone's surface is composed of calcium carbonate (marble, limestone, travertine) or silicate minerals (granite) that react with acidic cleaners — vinegar, lemon juice, many "natural" cleaners marketed as safer alternatives to chemical products — producing a chemical etching of the stone surface that is visible as dull spots, loss of polish, and a roughened texture.
The specific damage mechanism: acid dissolves the calcium carbonate in the stone's surface layer, producing a chemical change that is not a scratch (which is physical) but an alteration of the stone's molecular structure. Etching cannot be reversed by cleaning; it requires professional re-polishing or honing. The damage is cumulative and progressive — a single application of a dilute acid cleaner may produce barely perceptible etching, but weekly use over a year produces visible dullness that cannot be cleaned away.
The correct cleaners for natural stone are pH-neutral soaps or stone-specific cleaners. The most common source of inadvertent acid damage in home kitchens is not harsh cleaners but everyday cooking — lemon juice, tomato-based sauces, and vinegar left on granite or marble countertops while cooking will etch the surface if not wiped up promptly. The correct habit is immediate cleanup of acidic spills, not the vigorous cleaning that most homeowners apply after the fact.
Pouring cooking fats down the drain
Fulvio Ciccolo / Unsplash
Cooking fats — butter, olive oil, lard, the rendered fat from ground beef, the drippings from roasted chicken — poured down the drain in liquid form solidify as they cool in the drain pipes, adhering to pipe walls and accumulating over time into the fatbergs that are the most common cause of residential drain blockages. The delay between the habit and its consequence is significant: fats coat pipe walls gradually, and a drain that handles liquid fat without apparent problem for months will eventually produce a blockage that requires professional drain cleaning.
The damage is not limited to drain blockages: fat accumulation in drain pipes also traps food particles, producing a substrate for bacterial growth and the specific sulfur-compound odor that comes from organic matter decomposing in drain pipes. The combination of fat accumulation and bacterial growth is what produces the "drain smell" that cleaning products mask but do not address.
The correct disposal method for cooking fats is to allow them to solidify (in a heatproof container, in the refrigerator if necessary) and discard in the trash. For small amounts of fat that inevitably enter the drain during dishwashing, running hot water during and after dishwashing reduces but does not eliminate pipe wall adhesion. The periodic use of enzymatic drain cleaners (which break down organic matter rather than dissolving fats with caustic chemicals) maintains pipe cleanliness more effectively than reactive treatments applied after a blockage has formed.
Running the dishwasher with the wrong detergent
Pavol Tančibok / Unsplash
Dishwasher detergent and hand dish soap are formulated for completely different purposes and produce completely different results when used interchangeably. Hand dish soap is formulated to produce foam — the foam is the physical vehicle for lifting grease from dishes during hand washing. In a dishwasher's enclosed spray environment, that foam production creates a rapidly expanding mass of suds that overflows the dishwasher, floods the floor underneath, and can cause water damage to flooring, subfloor, and the cabinet beneath the dishwasher before the cycle is even half complete.
Beyond the acute flooding risk, using hand dish soap in a dishwasher also fails to clean dishes effectively: dishwasher detergent contains enzymes specifically formulated to break down the proteins and starches that stick to dishes, combined with alkaline cleaning agents that work in the high-temperature spray environment of a dishwasher. Hand soap, which is formulated for ambient-temperature manual application, does not perform these functions.
The related mistake is using too much dishwasher detergent: excess detergent leaves a white residue on dishes and glassware, and the excess alkalinity etches glass over time — producing the permanent cloudiness on glassware that is often mistaken for hard water deposits but is actually chemical etching from detergent overuse. The correct amount of dishwasher detergent is less than most people use; the fill lines in detergent compartments are calibrated for heavily soiled loads and most everyday loads require less.
Leaving window condensation unaddressed
Ozgu Ozden / Unsplash
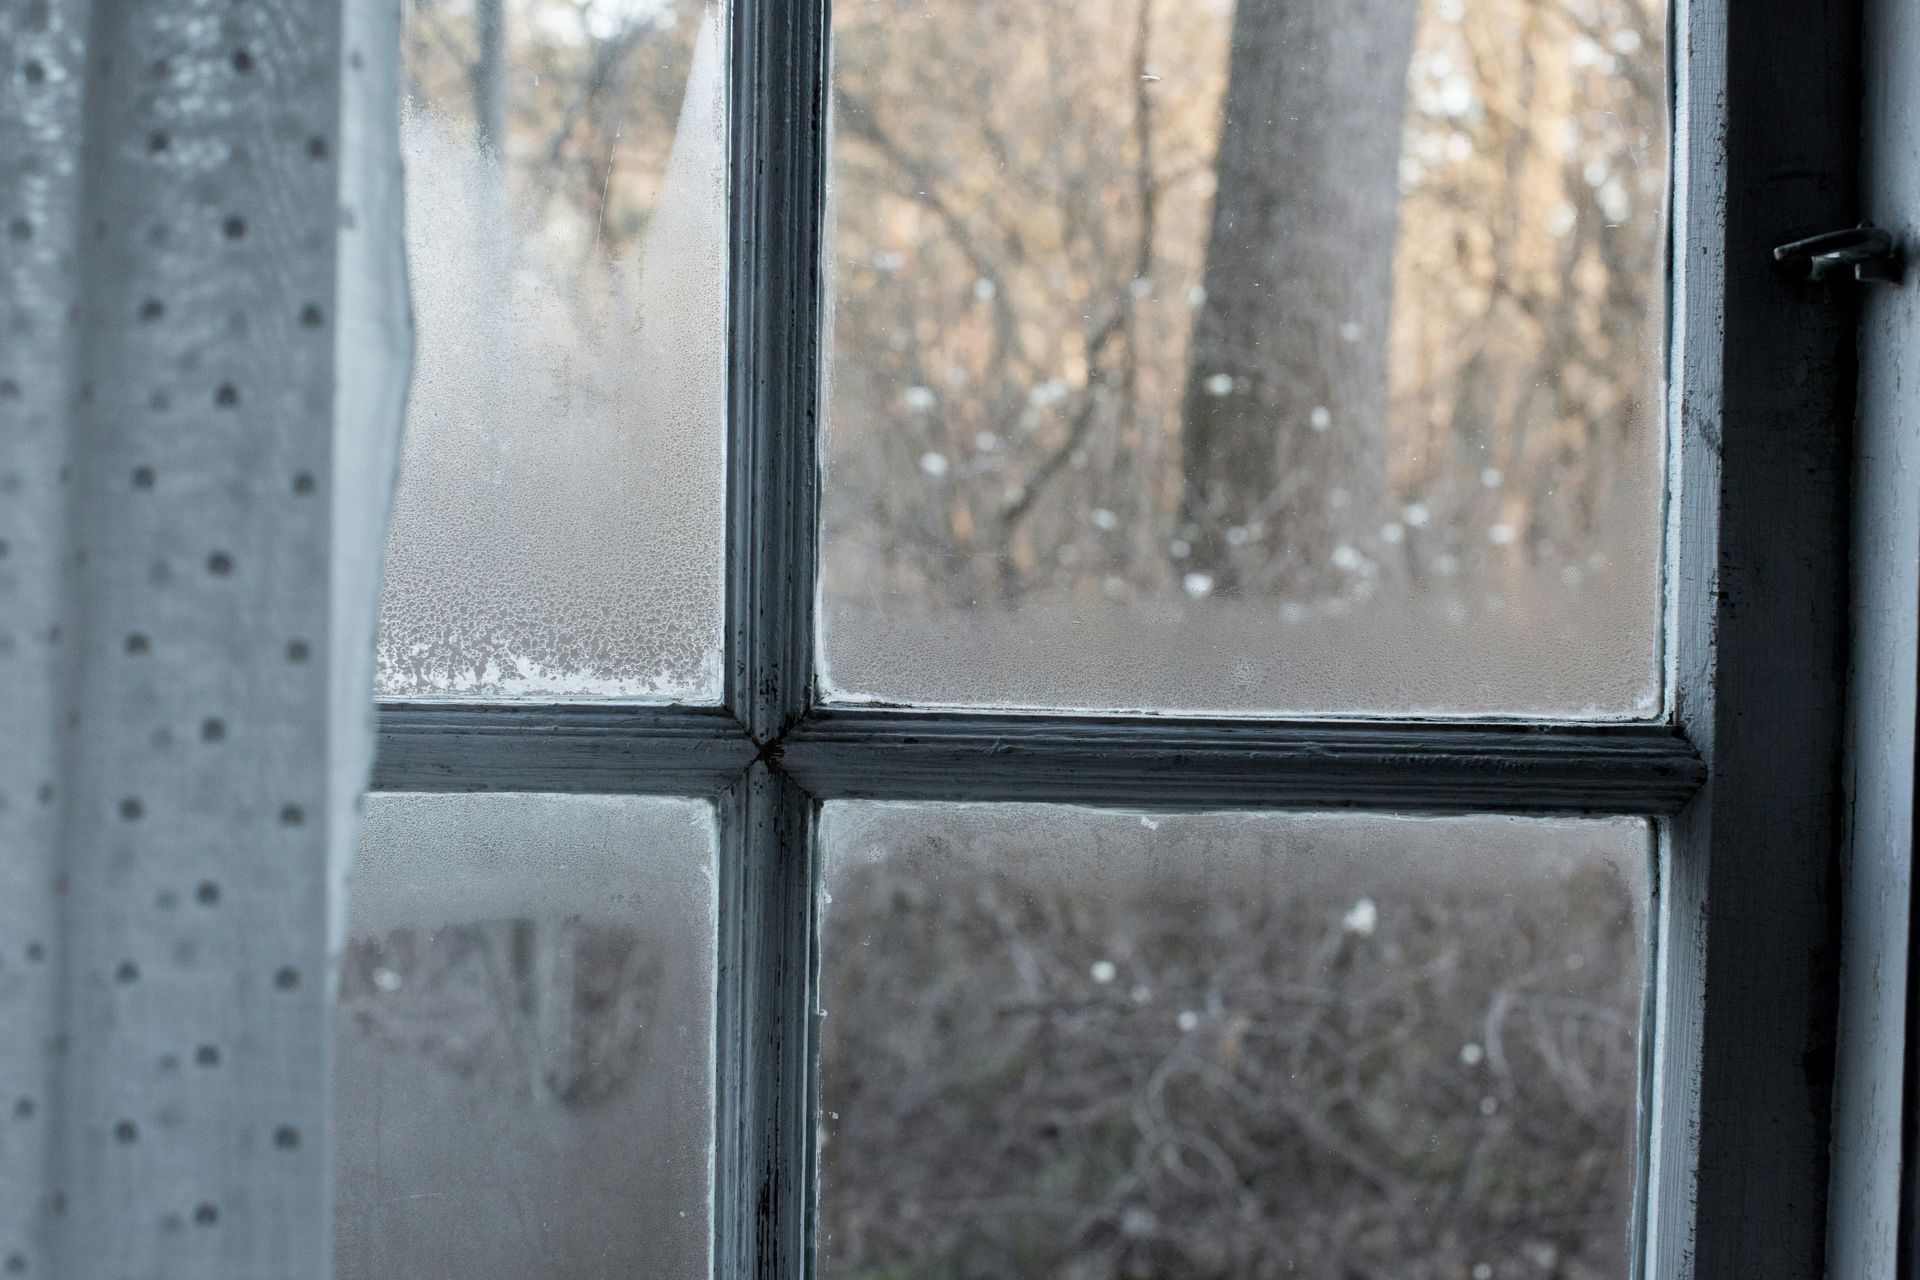
Condensation on interior window surfaces — the water droplets that form on single-pane windows or inadequately insulated window frames in cold weather — indicates that the window surface temperature has dropped below the dew point of the indoor air. The water is not harmful on the glass surface. It is harmful when it runs off the glass onto the window sill, the surrounding wall, and the wall cavity beneath, where it promotes mold growth and wood rot in the framing members.
The condensation pattern that causes the most cumulative damage is not the dramatic condensation of a very cold day but the modest, recurring condensation of every cold night through a winter — small amounts of water that would evaporate harmlessly from glass but that accumulate in wood and drywall over months. Window sills in older homes with single-pane windows often show paint peeling, wood softening, and mold growth specifically from this accumulation.
The immediate corrective action is to wipe condensation from window sills and frames before it can be absorbed. The longer-term correction is to address the humidity that is producing the condensation: indoor humidity above approximately 40 to 50% in cold weather produces condensation on any surface whose temperature drops below the dew point, and a whole-house dehumidifier or improved ventilation addresses the source rather than the symptom.
Setting the thermostat to extreme temperatures when leaving
Dan LeFebvre / Unsplash
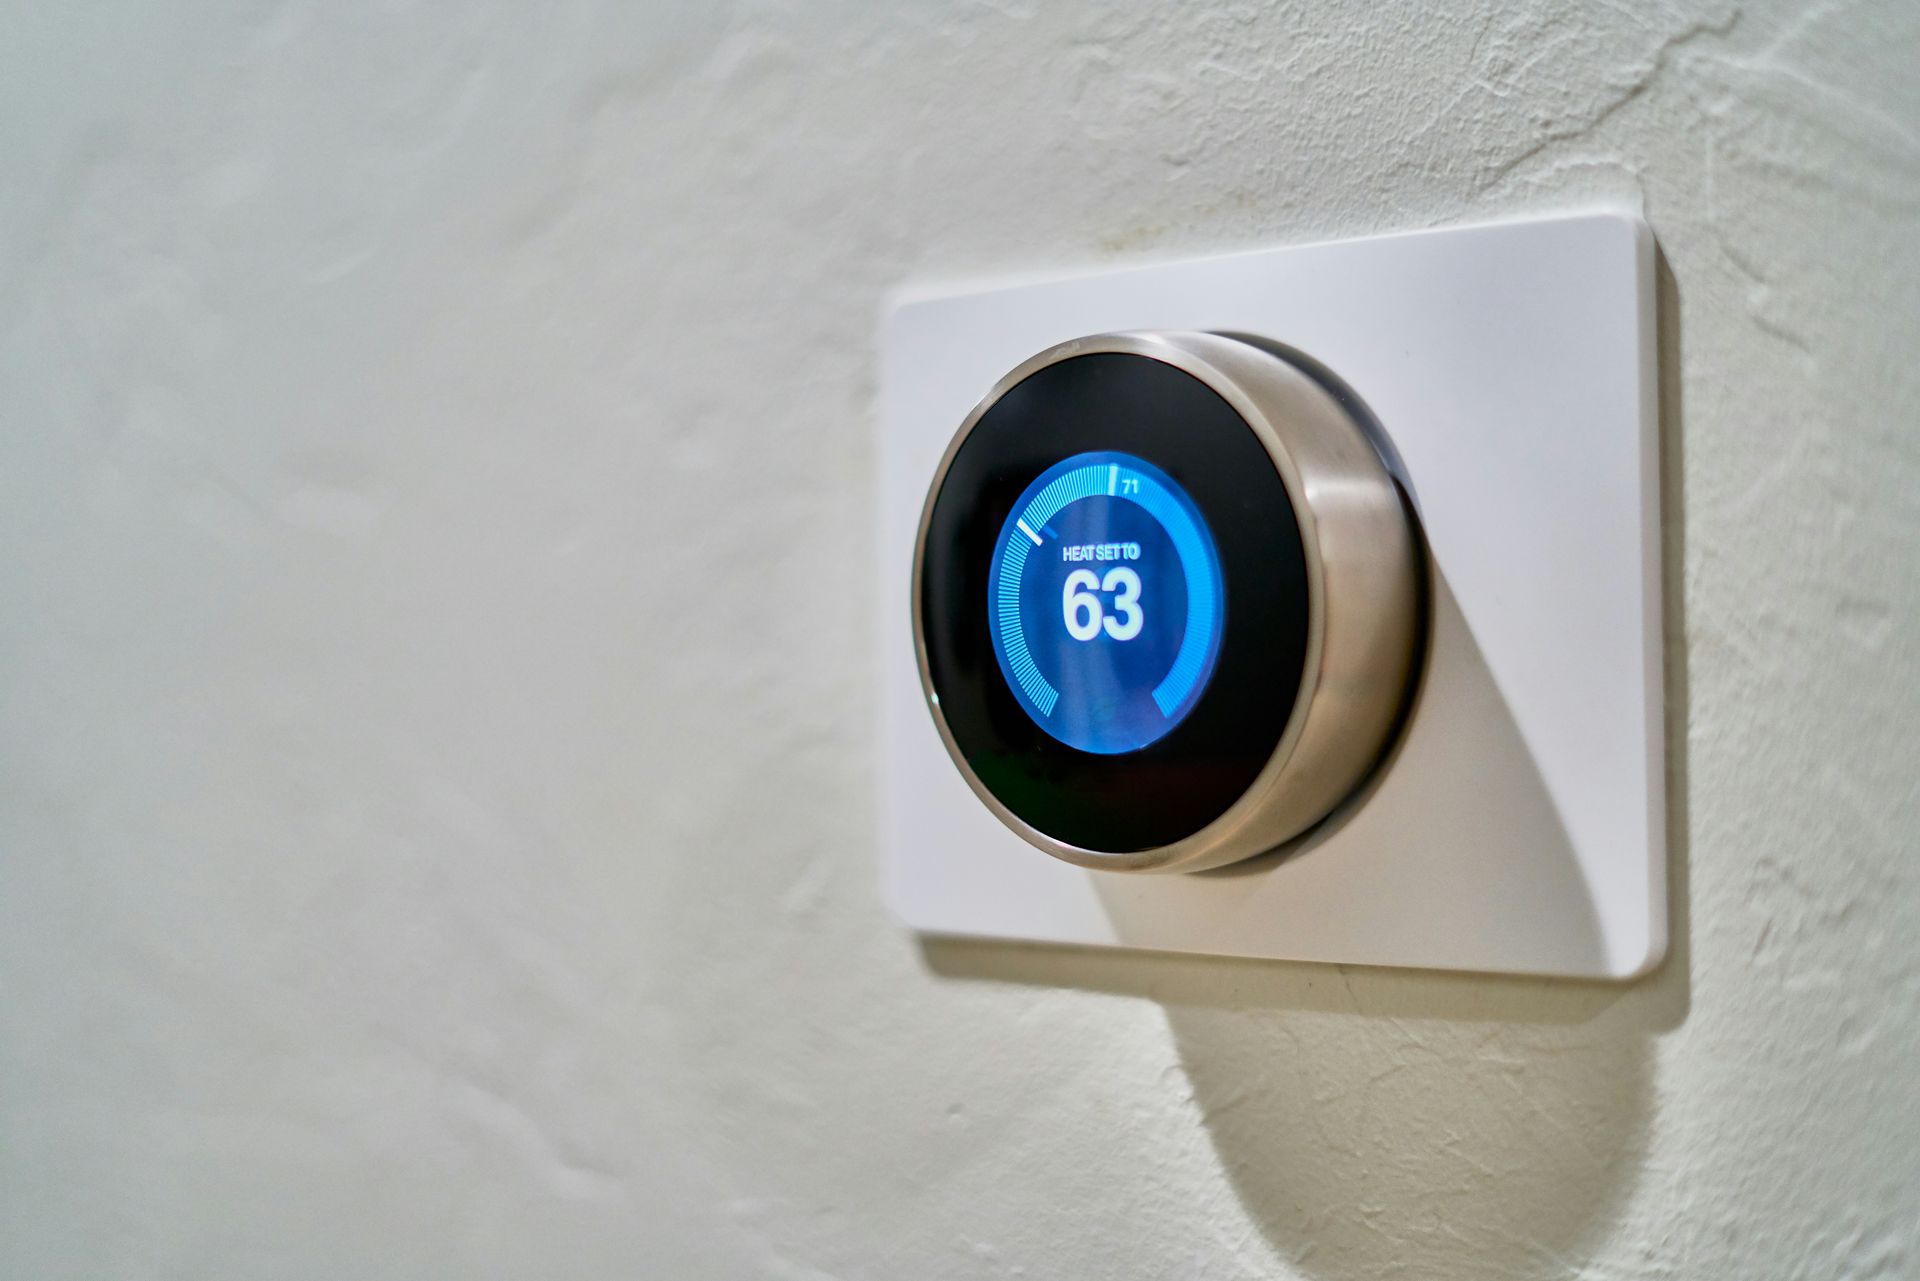
The energy-saving strategy of setting the thermostat to a very low temperature in winter (or very high in summer) when leaving the house — producing a large temperature differential that the HVAC system must overcome on return — produces greater mechanical wear on the HVAC system than maintaining a moderate setback temperature. The specific mechanical stress is the startup load: an HVAC system that runs continuously at moderate output operates under lower mechanical stress than one that cycles between long off periods and periods of maximum output.
The secondary damage from extreme thermostat setbacks in winter is more significant than the HVAC wear: in cold climates, setting the thermostat very low while away can produce condensation on interior surfaces as the house cools, allow pipes in exterior walls and uninsulated spaces to approach freezing temperatures, and produce the humidity and temperature fluctuations that accelerate wood movement and the gaps and cracks in trim, flooring, and cabinetry that result from it.
The building science recommendation is a setback of no more than 7 to 10 degrees from the comfortable temperature when away, rather than the 15 to 20 degree setbacks that some homeowners use. Smart thermostats that anticipate return time and gradually restore temperature rather than applying maximum HVAC output at return produce both energy savings and lower mechanical wear than manual extreme setbacks.
Neglecting the refrigerator door gasket

Onur Burak Akın / Unsplash
The rubber gasket that seals the refrigerator door — the flexible strip that compresses against the refrigerator body when the door closes — degrades over time, developing cracks, tears, and areas where the seal is incomplete. An imperfect gasket allows warm, humid air to enter the refrigerator continuously, forcing the compressor to run more frequently to maintain temperature, increasing energy consumption, and — more significantly — introducing the humidity that produces condensation on cold interior surfaces, accelerates food spoilage, and eventually leads to ice buildup in the freezer compartment that requires defrosting.
The specific damage mechanism beyond energy waste: the warm, humid air entering through a degraded gasket raises the interior humidity above the levels at which mold and bacteria thrive, accelerating food spoilage at rates that most homeowners attribute to the food rather than the refrigerator. Food that seems to spoil faster than expected is often a gasket problem rather than a food quality problem.
The gasket test is simple: close the door on a piece of paper and attempt to pull the paper out. If it slides out without resistance, the gasket is not sealing adequately. Replacement gaskets are inexpensive (typically $20 to $60 depending on the model) and most are installable without tools. Cleaning the gasket regularly with a mild soap — rather than leaving the accumulated food residue that accelerates gasket deterioration — extends gasket life significantly.
Flushing non-flushable products
Giorgio Trovato / Unsplash
The septic system or municipal sewer connection that handles household waste is designed to process two things: human waste and toilet paper. Toilet paper is specifically formulated to disintegrate rapidly in water — it loses structural integrity within minutes of immersion. Wet wipes, "flushable" wipes, paper towels, facial tissues, cotton balls, and feminine hygiene products do not disintegrate in water; they remain intact as they travel through pipes and accumulate at restrictions, bends, and connection points.
The "flushable" designation on wet wipes packaging is not regulated and does not indicate that the product will disintegrate adequately in a residential sewer system. Multiple municipal water authorities and consumer advocacy organizations have tested "flushable" wipes and found that they remain structurally intact after the timeframes required for them to pass through a residential sewer system. They are the primary cause of the "rag clogs" that are among the most expensive residential plumbing problems to resolve.
For homes on septic systems, the consequences of flushing non-disintegrating materials are compounded: the septic tank's bacterial digestion process cannot break down synthetic materials, which accumulate in the tank and reduce its effective volume, shortening the interval between required pump-outs and potentially contributing to septic system failure — one of the most expensive home repairs, routinely running $10,000 to $30,000 for system replacement.
Using excessive water pressure
Igal Ness / Unsplash
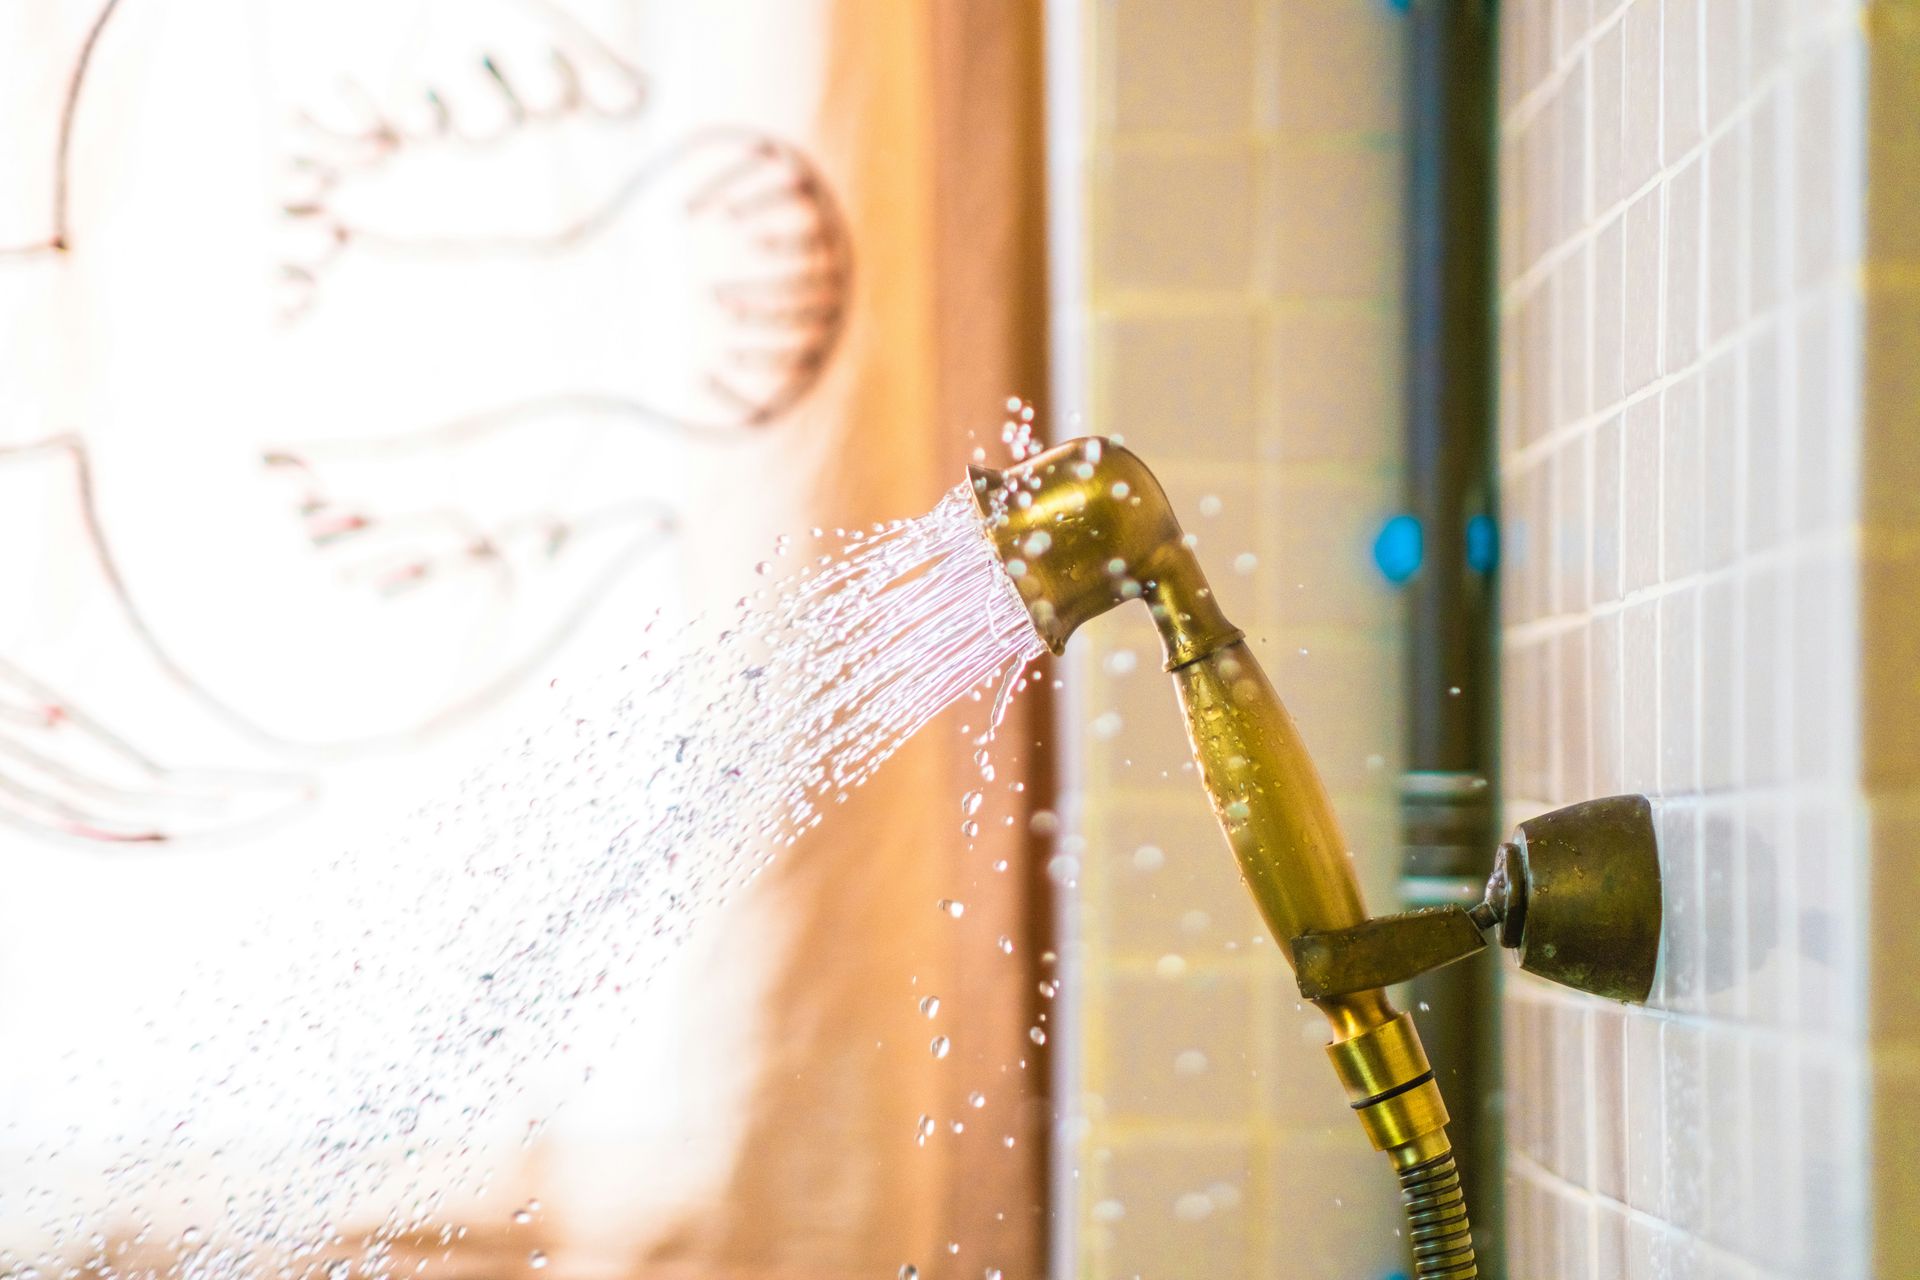
Many homeowners set their home's water pressure at the highest available level, under the reasonable assumption that higher water pressure produces better shower performance, faster tank filling, and more effective appliance operation. Above approximately 80 PSI (pounds per square inch), water pressure causes accelerated wear on every water-using appliance and fitting in the house: washing machine hoses, dishwasher connections, toilet fill valves, faucet washers, and shower valve cartridges all wear faster at high pressure than at the recommended residential range of 40 to 60 PSI.
The most acute risk from excessive water pressure is washing machine hose failure: the rubber hoses that connect the washing machine to hot and cold supply valves are under continuous pressure even when the machine is not in use, and at pressures above 80 PSI they age and develop micro-cracks faster than at lower pressures. A washing machine hose failure — which can release the full flow of a supply line into the house — is one of the most common sources of catastrophic water damage in residential properties.
A pressure reducing valve (PRV), installed at the main water supply entry point, maintains house pressure at the recommended range regardless of municipal supply pressure. Most homes built after the 1990s have a PRV installed; older homes may not. A pressure gauge attached to any outdoor hose bib (available for under $15) allows homeowners to check their supply pressure without a plumber.
Skipping the range hood while cooking
Brett Jordan / Unsplash
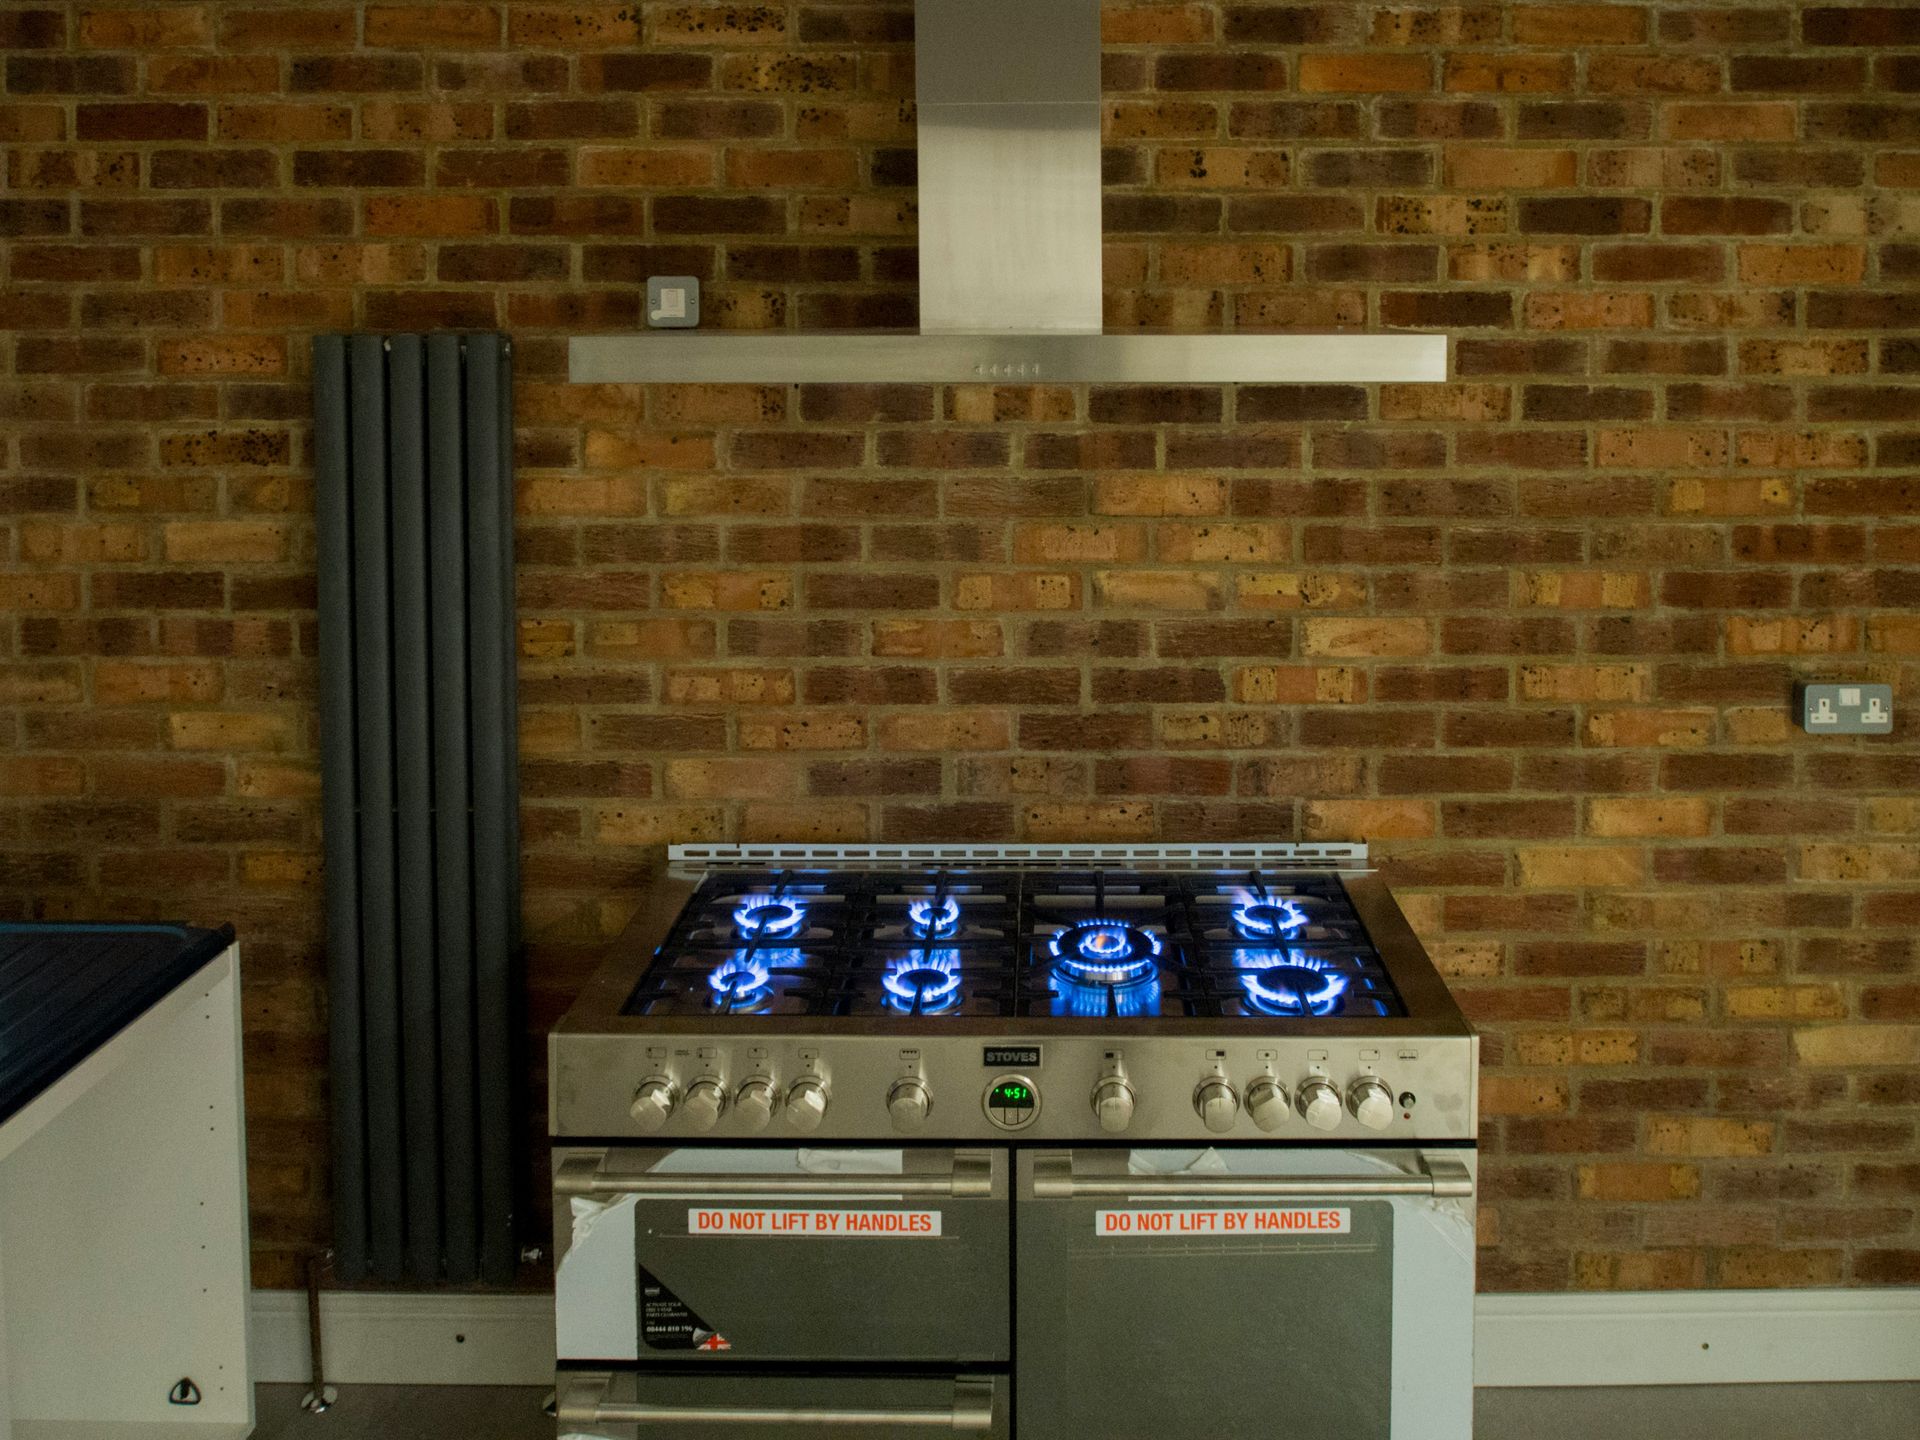
The range hood above a stove — the ventilation system that exhausts combustion products, grease particles, steam, and cooking odors from the kitchen — is used by most homeowners inconsistently, typically engaged only when smoke or strong odors make its absence obvious. Cooking without ventilation allows the grease particles produced by frying and sautéing to settle on every kitchen surface — cabinet faces, cabinet interiors, light fixtures, walls, ceiling — where they accumulate as a tacky film that attracts dust, promotes bacterial growth, and eventually requires professional degreasing to remove.
The grease accumulation in kitchen cabinet interiors and on the surfaces above the stove is the specific form of damage most often missed: grease on exterior cabinet faces is visible and cleaned; grease on the tops of upper cabinets (where it settles from cooking vapor that rises and cools) is invisible and typically not cleaned until it has accumulated into a thick, rancid layer. Grease on the range hood filter itself, if uncleaned, can become a fire hazard.
The correct habit is to engage the range hood every time the stove is used — before lighting the burner, not after smoke appears — and to clean or replace range hood filters according to the manufacturer's recommendation. For homes without ducted range hoods, recirculating filter units require more frequent filter replacement and provide less effective grease capture than ducted systems.
Ignoring small water stains on ceilings

Lotus Design N Print / Unsplash
A water stain on a ceiling — the yellowish-brown ring that forms when water leaks from above, evaporates, and leaves its mineral deposits in the drywall — is consistently underreacted to by homeowners who paint over it, accept it as an old issue, or defer investigation because the ceiling looks dry. The stain is not the problem; it is the evidence of a problem that may be ongoing above the ceiling surface.
The damage mechanism: the water source that produced the stain may be a one-time event (an overflow, a single leak during a storm) or an ongoing slow leak from a plumbing connection, a roof penetration, or a flashing failure. A slow, ongoing leak that produces a small stain at the ceiling surface may be producing significant structural damage in the ceiling cavity, including wet insulation, saturated drywall, and mold growth on wood framing members, before the evidence at the ceiling surface becomes alarming.
The correct response to any water stain is to identify its source before repainting. This requires either visual inspection of the space above (attic, crawlspace, or the room directly above) or, for inaccessible locations, a moisture meter reading of the surrounding ceiling area to determine whether the drywall is actively wet or merely stained from a past event. Repainting over an active leak conceals the evidence without addressing the damage.
Placing furniture directly against exterior walls

Alexandra Gorn / Unsplash
Furniture placed flush against exterior walls — sofas, beds, bookcases, wardrobes — reduces airflow behind the furniture to near zero, allowing the temperature differential between the exterior wall and the room interior to produce condensation on the wall surface behind the furniture. In insufficiently insulated exterior walls, this condensation can be significant enough to promote mold growth on the wall surface and on the back of the furniture itself.
The specific conditions required for condensation damage are: an exterior wall with insufficient insulation (common in older homes), a room with elevated humidity (bedrooms with inadequate ventilation are the most common site), and furniture that prevents air circulation against the wall. These conditions coexist in a large proportion of older residential properties, particularly in bedrooms where beds are positioned against exterior walls.
The correction is simple — leaving a gap of at least two to three inches between furniture and exterior walls — but the mechanism is not widely understood, making the habit difficult to correct because most homeowners do not connect the mold they find on the wall behind the sofa to the position of the sofa. The mold appears to be a wall problem; it is a furniture placement and ventilation problem.
Over-watering indoor plants near wooden surfaces
Huy Phan / Unsplash
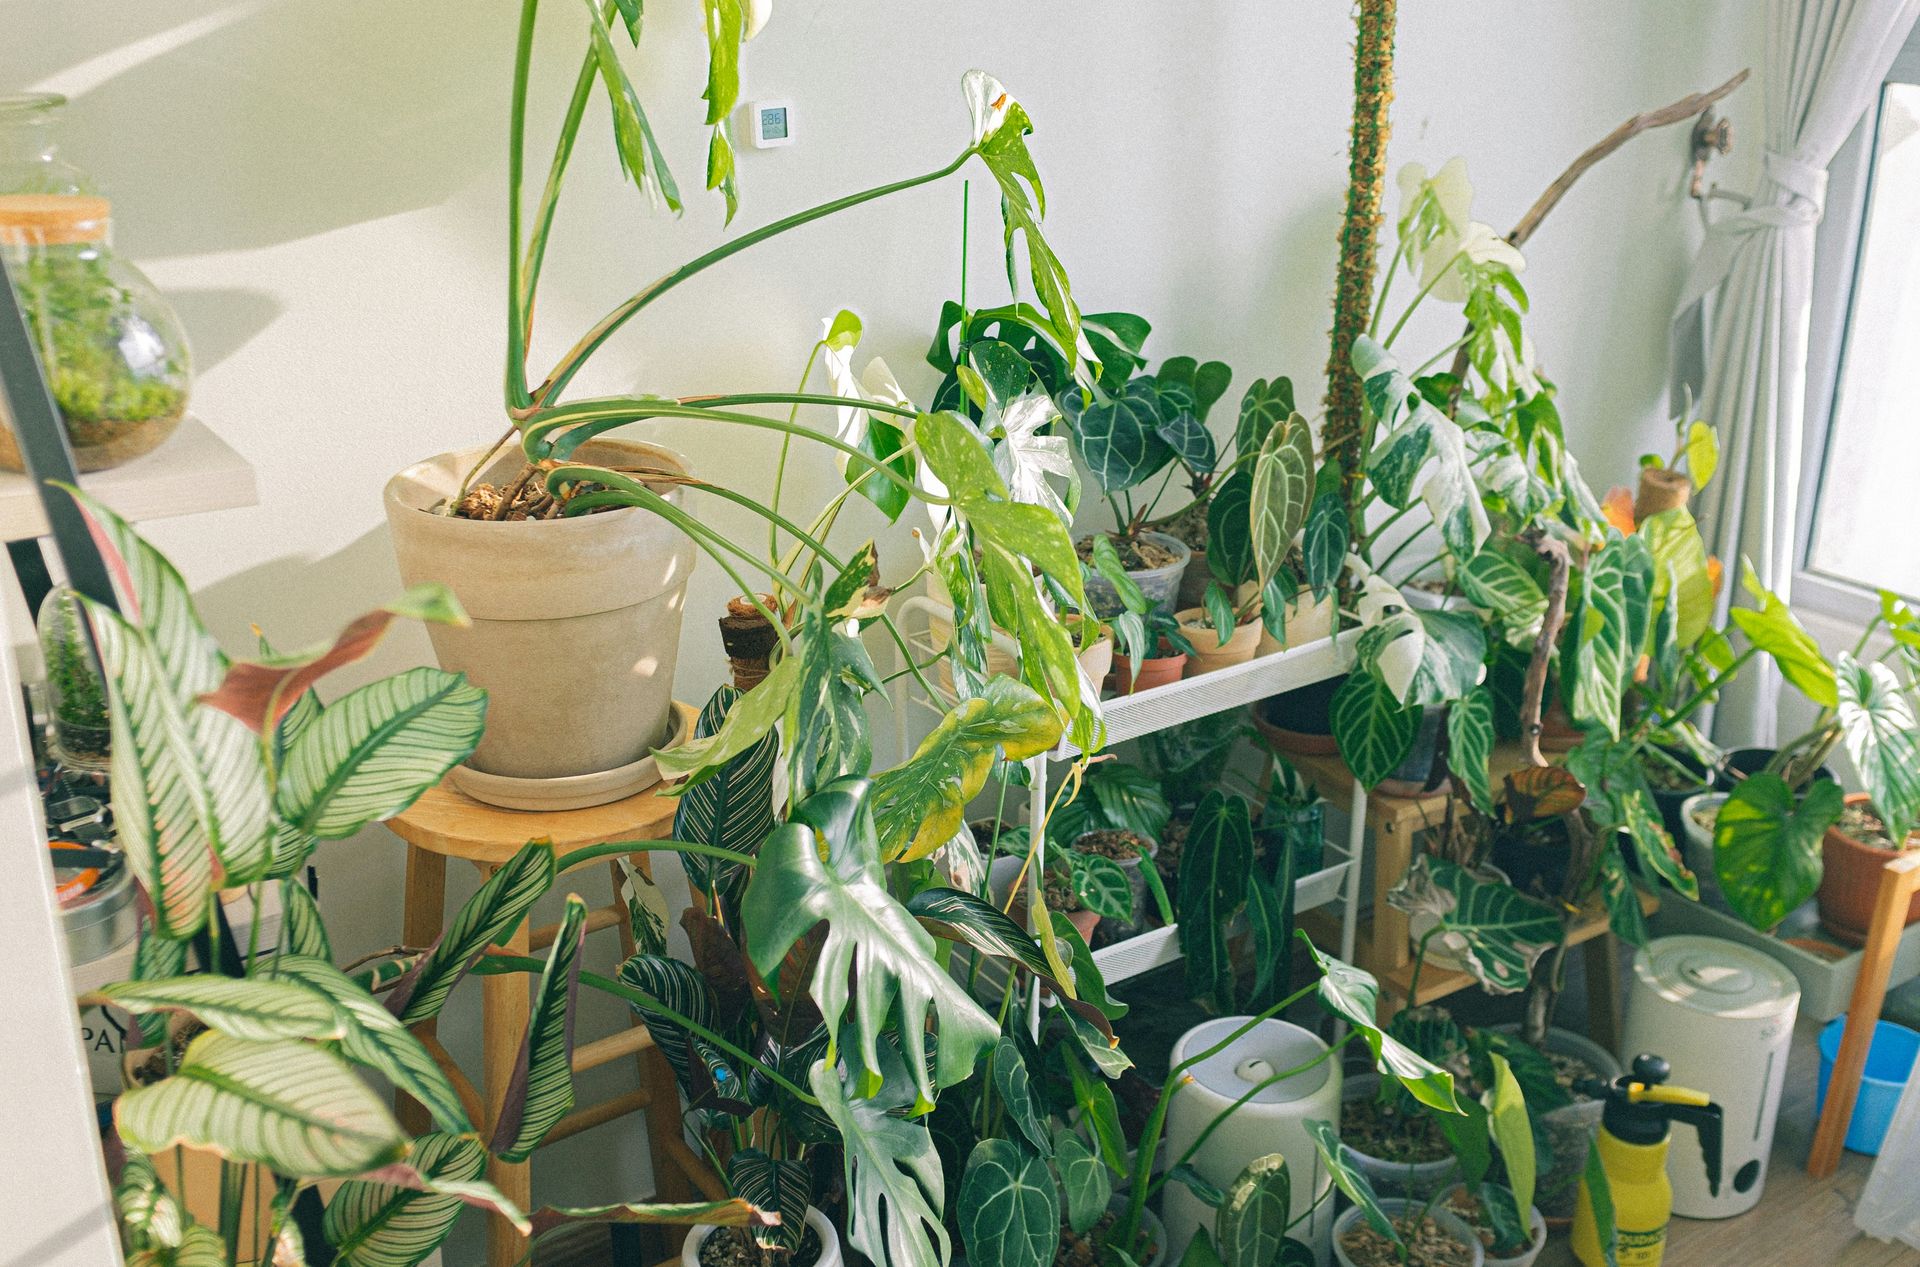
Indoor plants placed on wooden furniture, wooden floors, or in close proximity to walls present two compounding water damage risks: the water that overflows the pot or drains through it onto the surface below, and the humidity that the plant's soil and transpiration generate in the immediate surrounding area. Both sources of water are persistent — indoor plants are watered regularly — and both produce the slow, cumulative wood damage that is one of the most common sources of furniture and floor damage in homes with indoor plants.
The most common damage pattern is the ring or stain beneath the plant pot: water that drains through a pot with drainage holes, collects in the saucer, and eventually overflows onto the surface below, producing a water stain that penetrates wood finish and eventually produces wood swelling, finish lifting, and in severe cases, mold growth in the wood grain. A saucer that appears to contain drainage is adequate containment only if it is emptied after each watering; a saucer that is left to hold water against a wooden surface concentrates rather than prevents the damage.
Plants placed near walls add the humidity from transpiration to the microclimate of the surrounding area, which in rooms with inadequate ventilation can elevate local humidity enough to promote mold growth on the adjacent wall surface. The visible sign is typically a round or amorphous mold patch on the wall at plant height — a damage pattern that usually persists or recurs even after cleaning unless the plant is moved.
Using abrasive cleaners on the wrong surfaces
PuroClean of Fort Worth / Unsplash
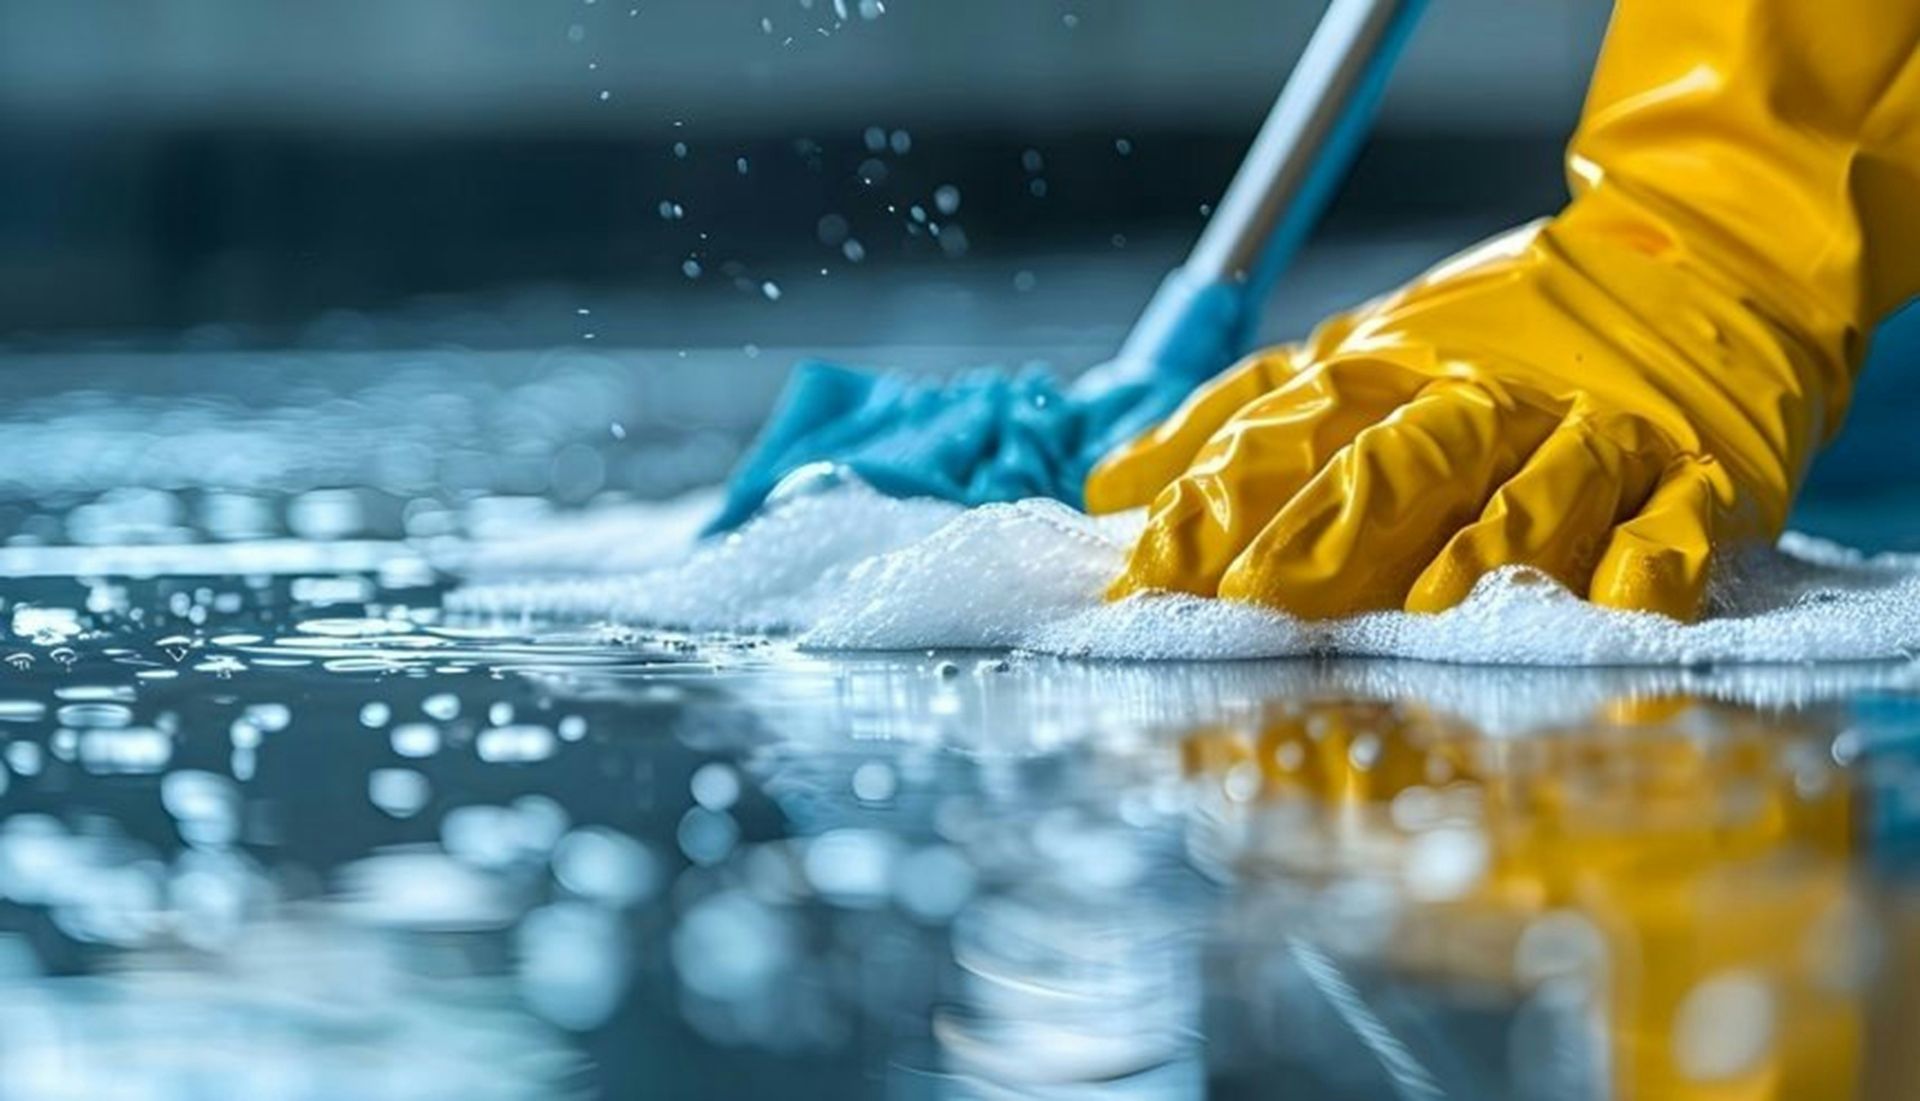
Abrasive cleaners — products containing powdered calcium carbonate, silica, or other scrubbing agents, including many standard bathroom cleaning powders and some cream cleansers — are effective at removing stubborn deposits from surfaces that can tolerate abrasion (unfinished fireclay sinks, enamel cast iron, concrete) and damaging to surfaces that cannot (acrylic tubs, fiberglass shower enclosures, polished stone, stainless steel appliances, coated cookware).
The specific surfaces most commonly damaged by abrasive cleaners are acrylic and fiberglass tub and shower units, which are the majority of units installed in residential construction since the 1970s. These surfaces have a factory-applied gloss finish that is destroyed by abrasive cleaning, producing a permanently dulled, microscopically scratched surface that is harder to clean after abrasion because the scratches trap soap scum and bacteria. The surface looks cleaner immediately after abrasive cleaning because the stains have been physically removed; it becomes harder to clean and less hygienic over time because the protective finish has been compromised.
The correct cleaners for acrylic and fiberglass are non-abrasive liquid or spray cleaners specifically formulated for these surfaces. The test for whether a cleaner is abrasive is tactile: rub a small amount between your fingers — if it feels gritty, it is abrasive. Products that feel smooth or silky are non-abrasive and appropriate for soft surfaces.
Overloading electrical outlets and power strips
Kit (formerly ConvertKit) / Unsplash
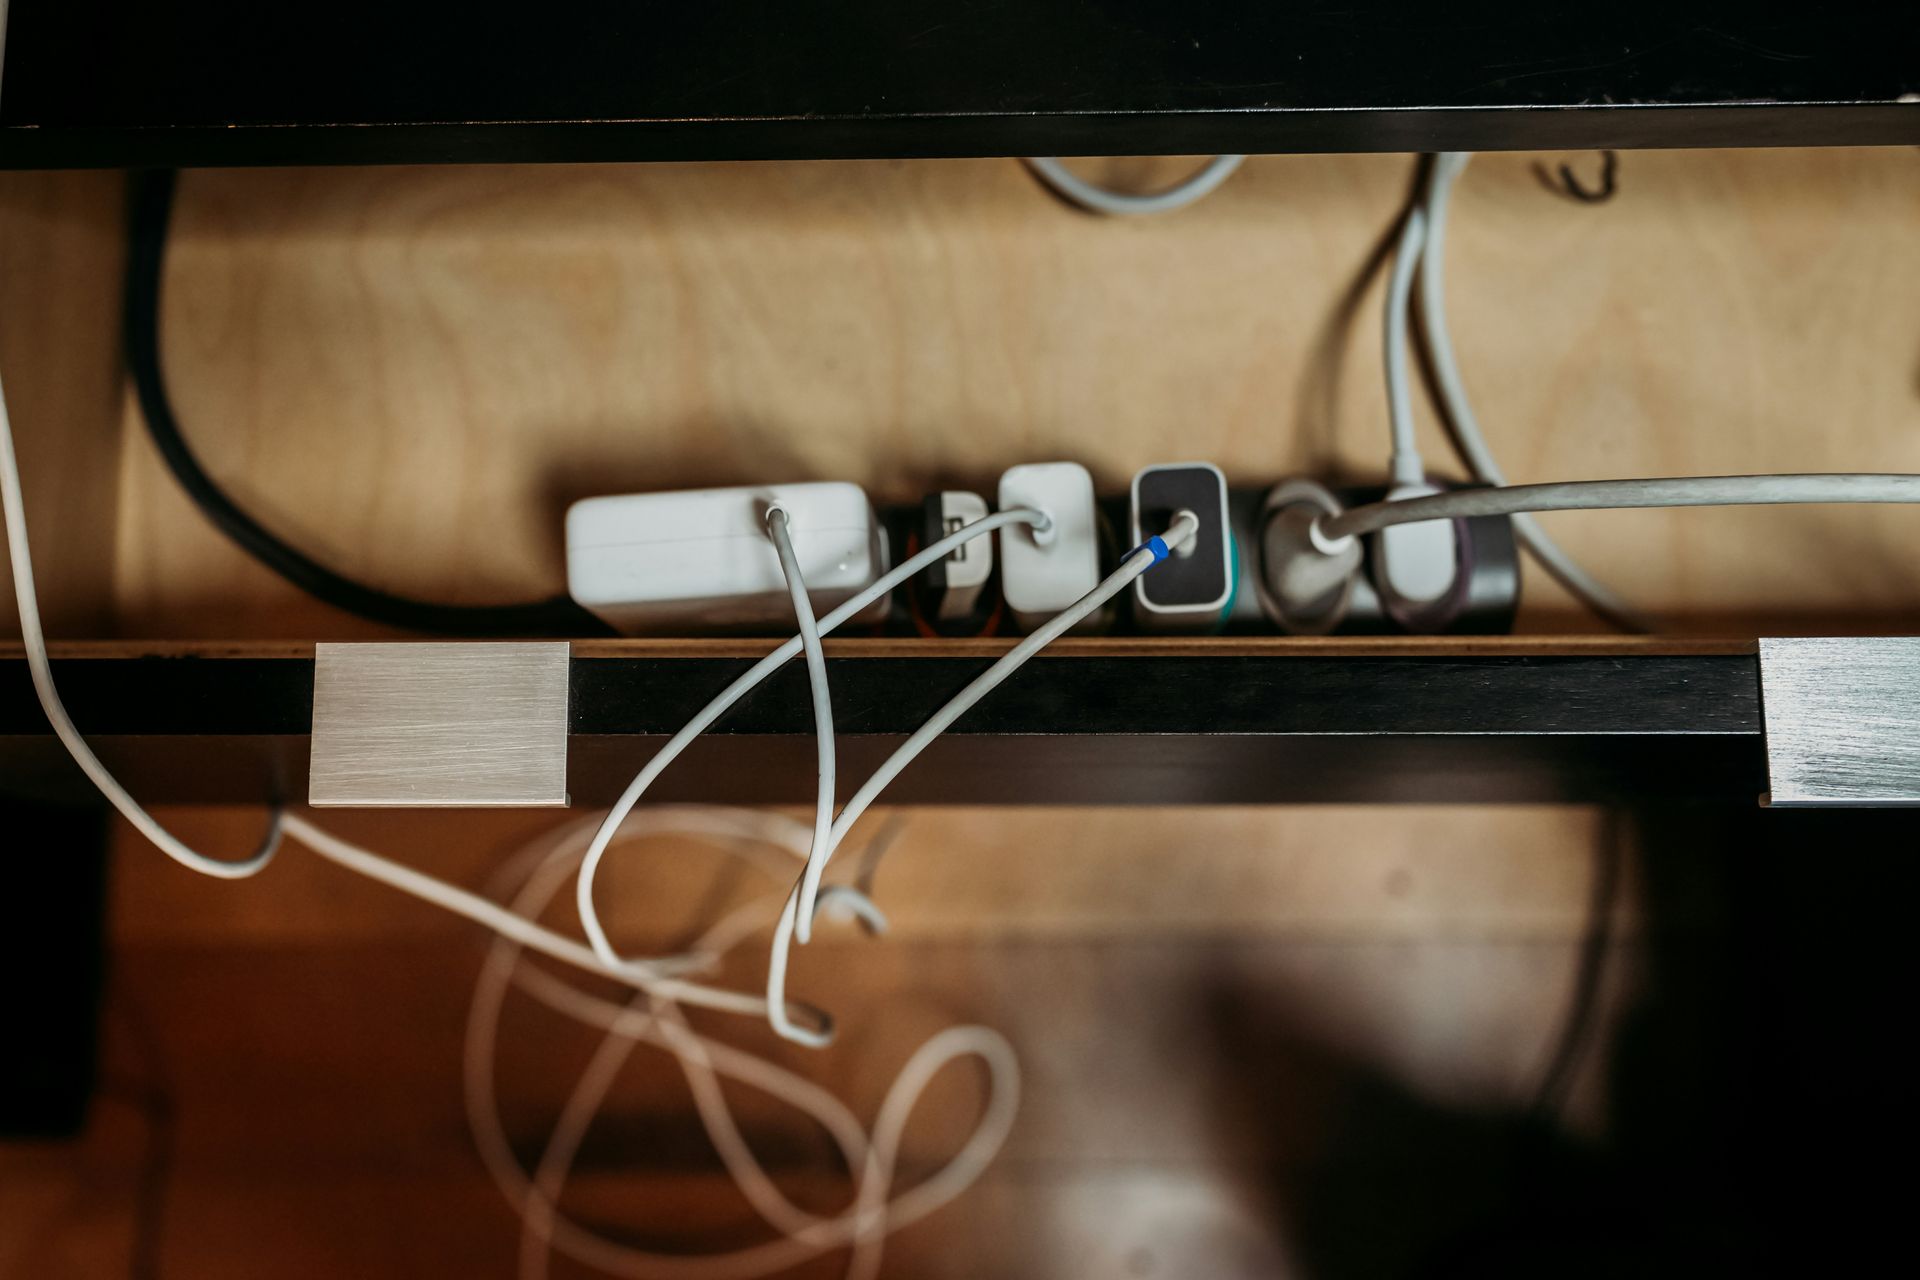
Electrical outlets and power strips have rated load capacities — typically 15 or 20 amps per circuit, 1,800 or 2,400 watts — that represent the maximum continuous load the wiring can safely carry. Exceeding this capacity does not typically produce an immediate, visible consequence: the circuit breaker may not trip, the wiring may not produce a burning smell, and the connected devices may continue to function normally. The damage occurs in the wiring itself, in the form of heat generated by resistance in overloaded conductors, which degrades wire insulation over time and increases the risk of electrical fire.
The specific risk from power strip overloading is compounded when the power strip does not include a circuit breaker: an unprotected power strip that is overloaded provides no automatic disconnection if the load exceeds the strip's conductor rating, allowing sustained overheating that the home's circuit breaker, which is rated for the entire circuit rather than the strip's lesser capacity, may not detect.
The appliances most commonly involved in overloading are high-draw heating devices: space heaters, hair dryers, electric kettles, toaster ovens, and clothing irons each draw 1,000 to 1,800 watts. A space heater and a hair dryer on the same 15-amp circuit approach or exceed the circuit's capacity when operating simultaneously. The correct habit is to plug high-draw appliances directly into wall outlets on dedicated circuits rather than into power strips or outlet extenders.
Skipping caulk maintenance around tubs and showers
Alex Tyson / Unsplash
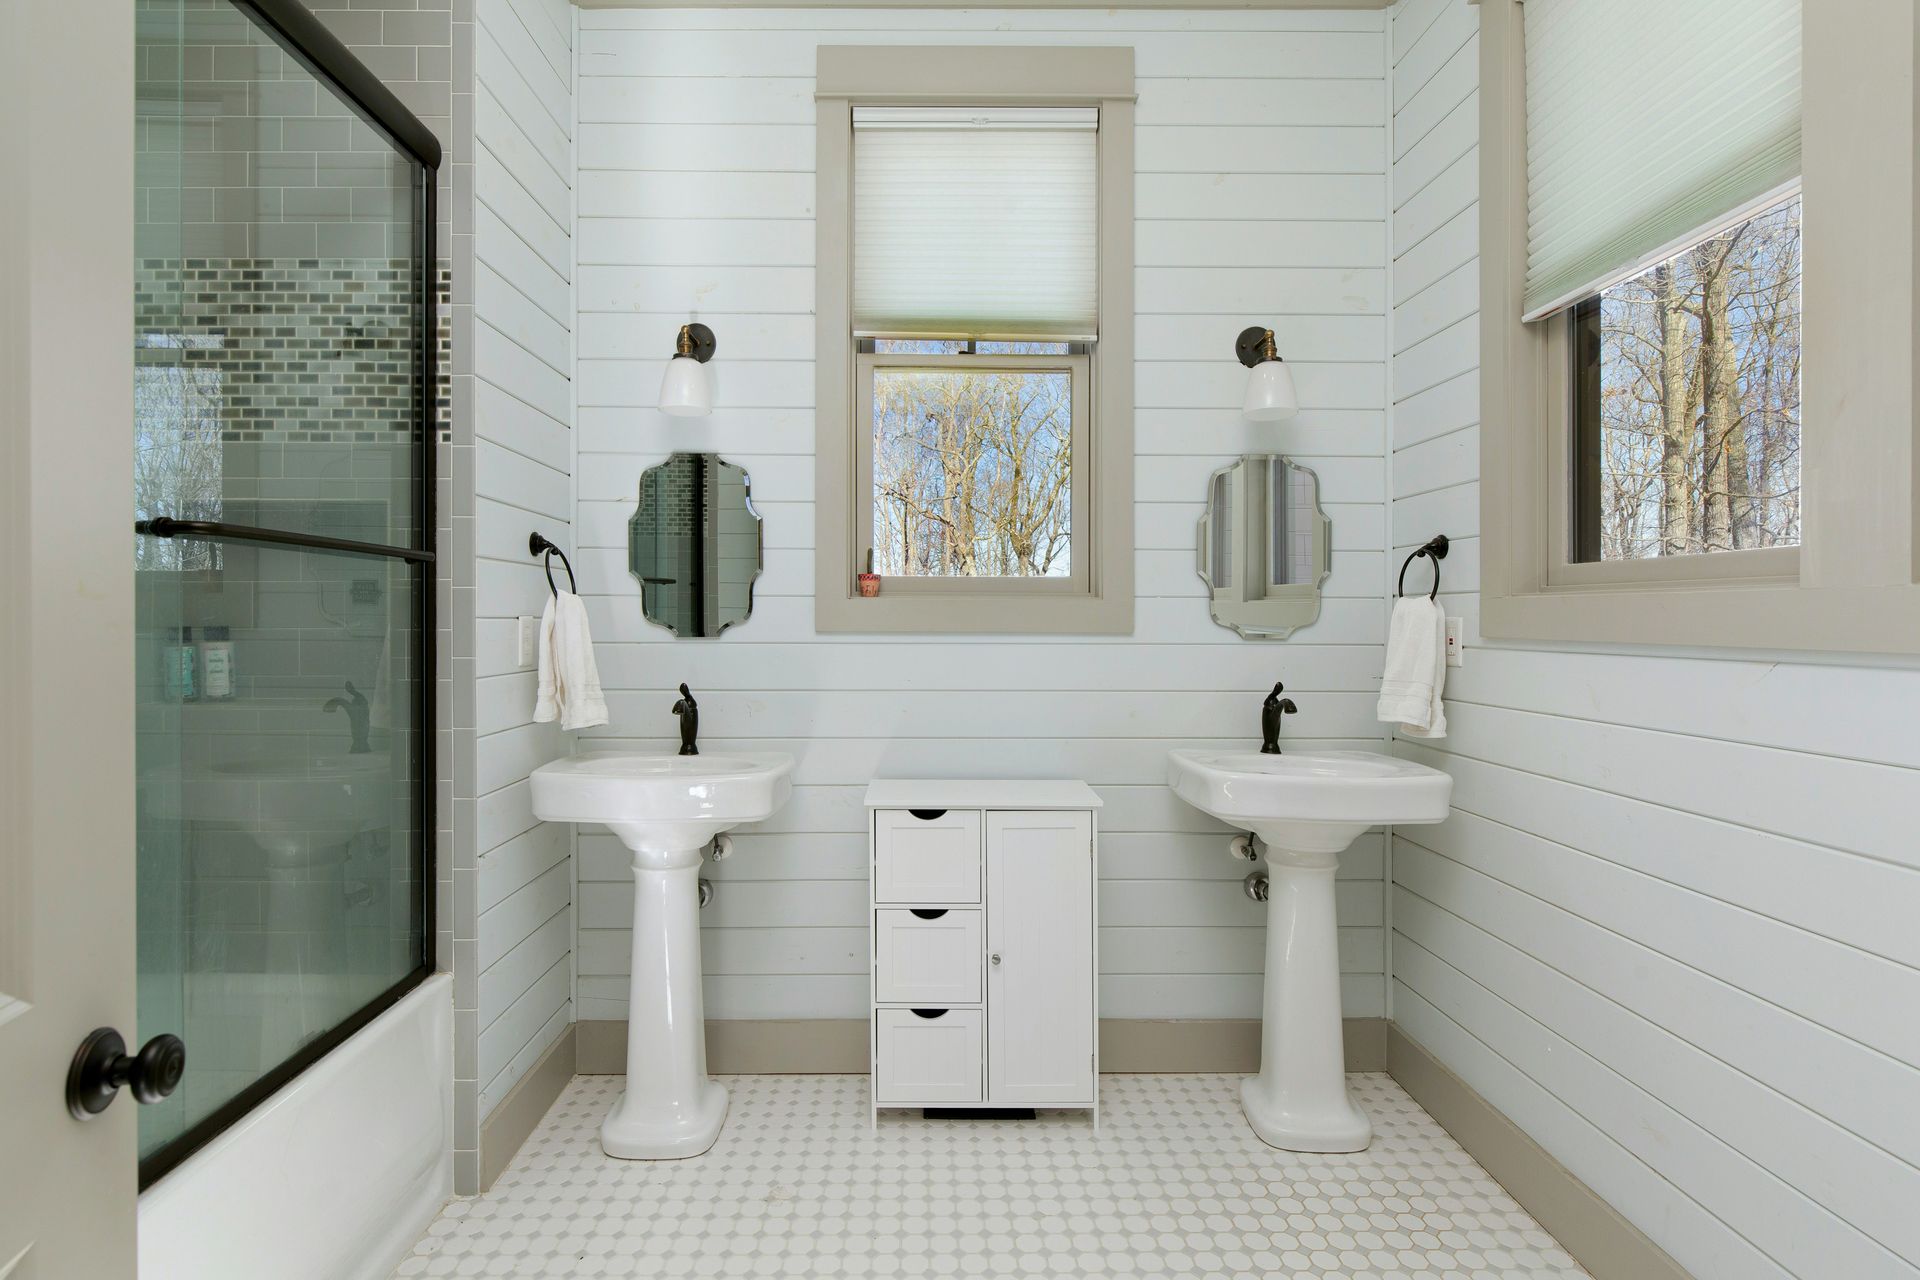
The caulk bead at the junction between the tub or shower and the surrounding wall — the flexible sealant that bridges the gap between two surfaces that move independently — has a functional lifespan of approximately five to seven years under normal conditions, after which it becomes brittle, develops cracks, and begins to separate from one or both surfaces. A compromised caulk seal allows water to penetrate behind the tile or tub surround with every shower, saturating the underlying substrate (backer board, drywall, subfloor) and the structural framing below.
The water damage from failed shower and tub caulk is characteristically invisible for an extended period before it becomes apparent: the water enters behind the visible surface, saturates materials that are not visible during normal inspection, and produces the rot, mold, and structural damage that only becomes apparent when tile begins to loosen, when the floor beside the tub feels soft underfoot, or when a bathroom renovation reveals the extent of the substrate damage. At that point, remediation involves removing and replacing tile, substrate, and potentially structural framing — a project typically costing $2,000 to $8,000 compared to the $15 cost of a tube of caulk and 30 minutes of application.
The correct maintenance interval is visual inspection annually and recaulking whenever the caulk shows cracking, separation, or discoloration that does not clean away. The most reliable indicator of compromised caulk is separation from the tub surface — a gap, even a hairline one, between the caulk and the tub is a water entry point regardless of how intact the rest of the caulk bead appears.
Closing off too many HVAC vents
Leo Tang / Unsplash
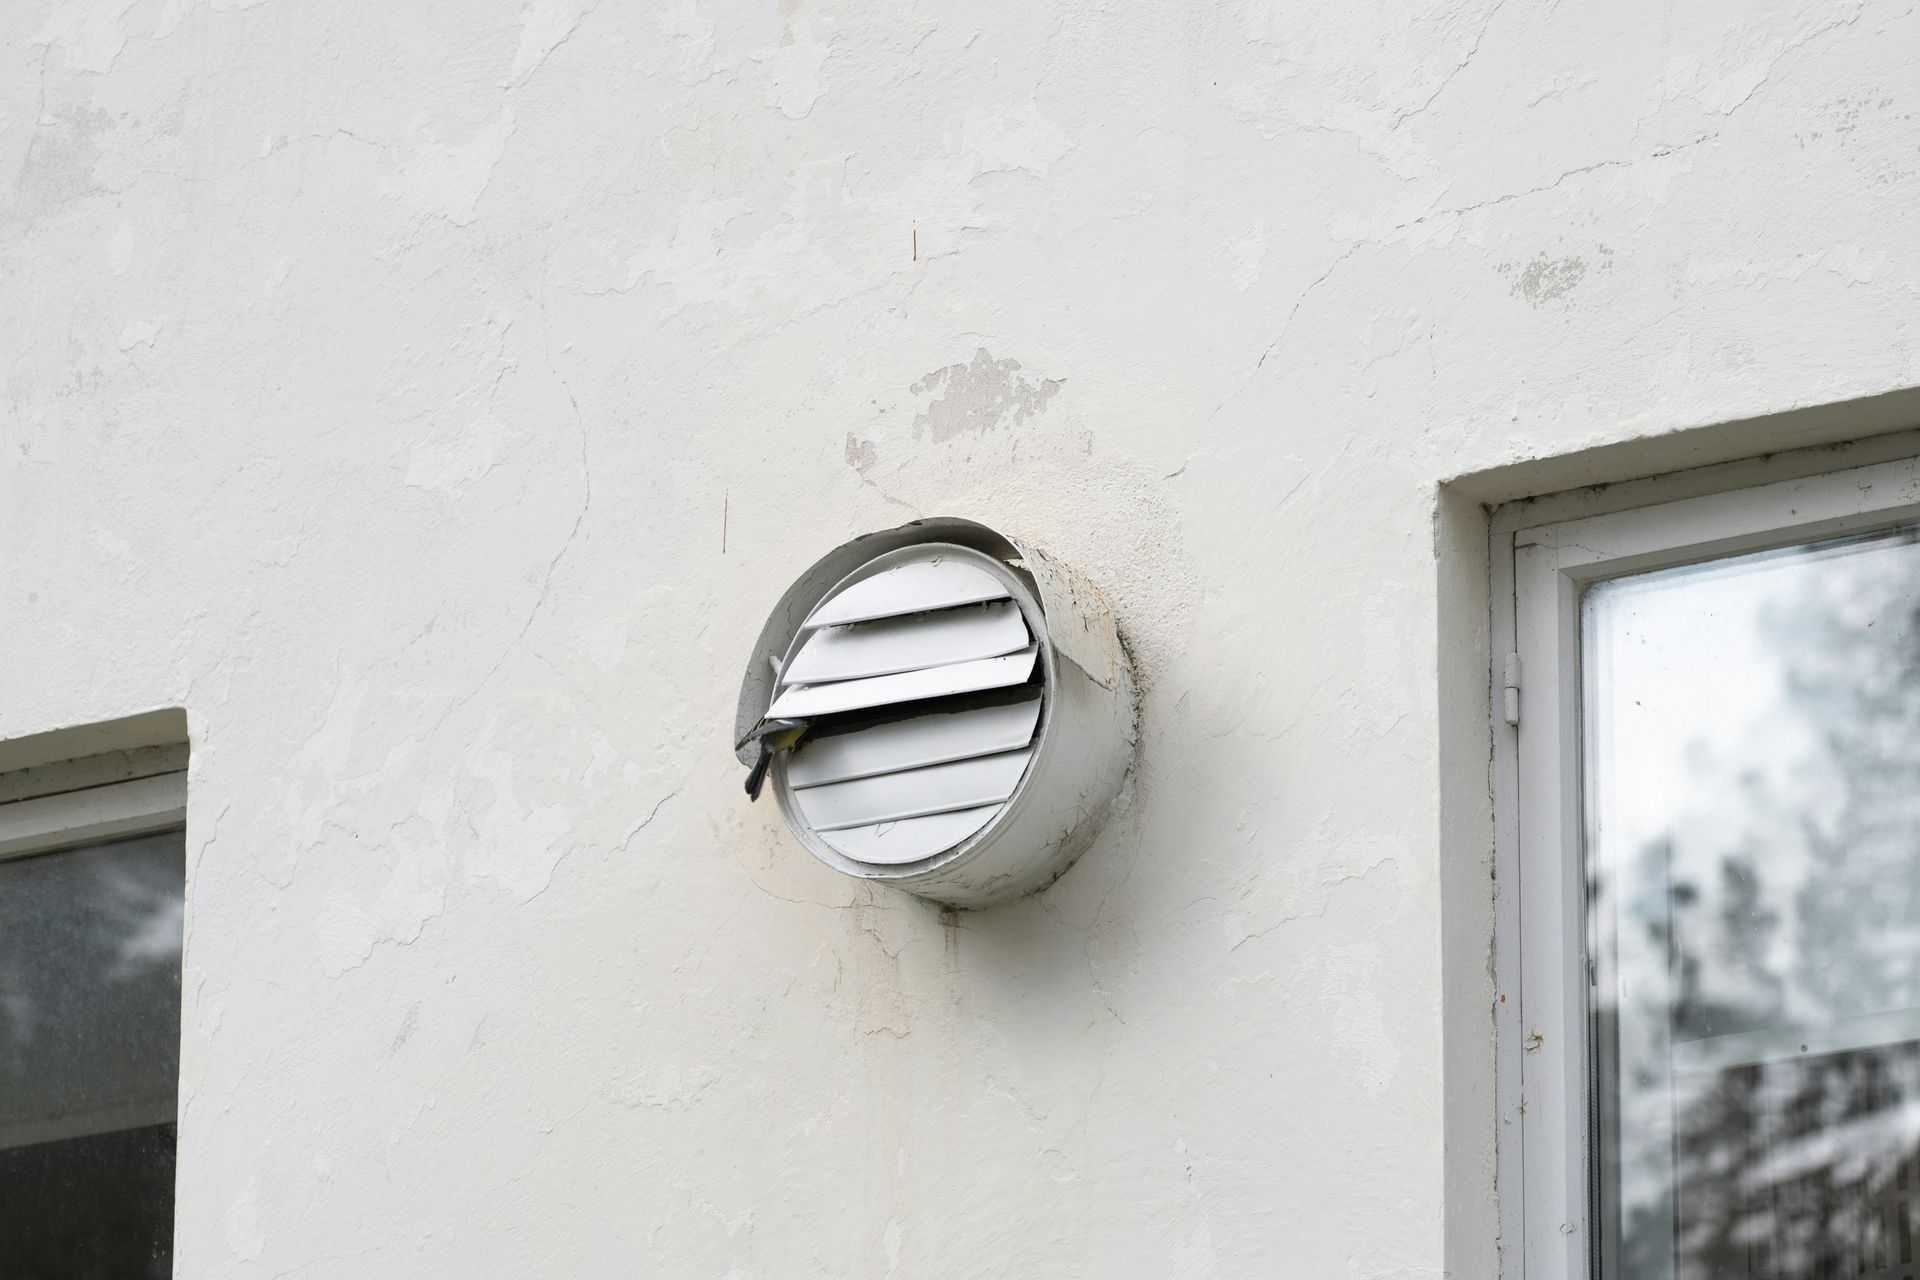
Closing supply vents in unused rooms — a common energy-saving strategy based on the intuitive logic that heating or cooling fewer rooms requires less energy — increases the static pressure in the HVAC ductwork, forcing the air handler to work against resistance it was not designed for. The consequences are reduced system efficiency (the opposite of the intended effect), accelerated wear on the air handler's blower motor, and in systems with ductwork that is less than perfectly sealed, increased duct leakage as the higher pressure forces more air through existing gaps in duct connections.
The building science basis for this counterintuitive finding: residential HVAC systems are designed to move air through a specific resistance (the total pressure drop of all open registers and ductwork). Closing registers increases total resistance, reducing airflow and forcing the system to operate at reduced efficiency. The energy savings from conditioning less volume are offset — and often exceeded — by the efficiency penalty from operating the system at non-design conditions.
The secondary consequence of closed vents in cold climates is the risk of pipe freezing in the rooms with closed vents: a room that receives no heating air in winter will eventually equilibrate to outdoor temperature if the room is well-insulated from the rest of the house, potentially exposing water pipes in exterior walls of that room to freezing temperatures that the rest of the house is protected from.
Neglecting the dryer vent
Tima Miroshnichenko / Pexels
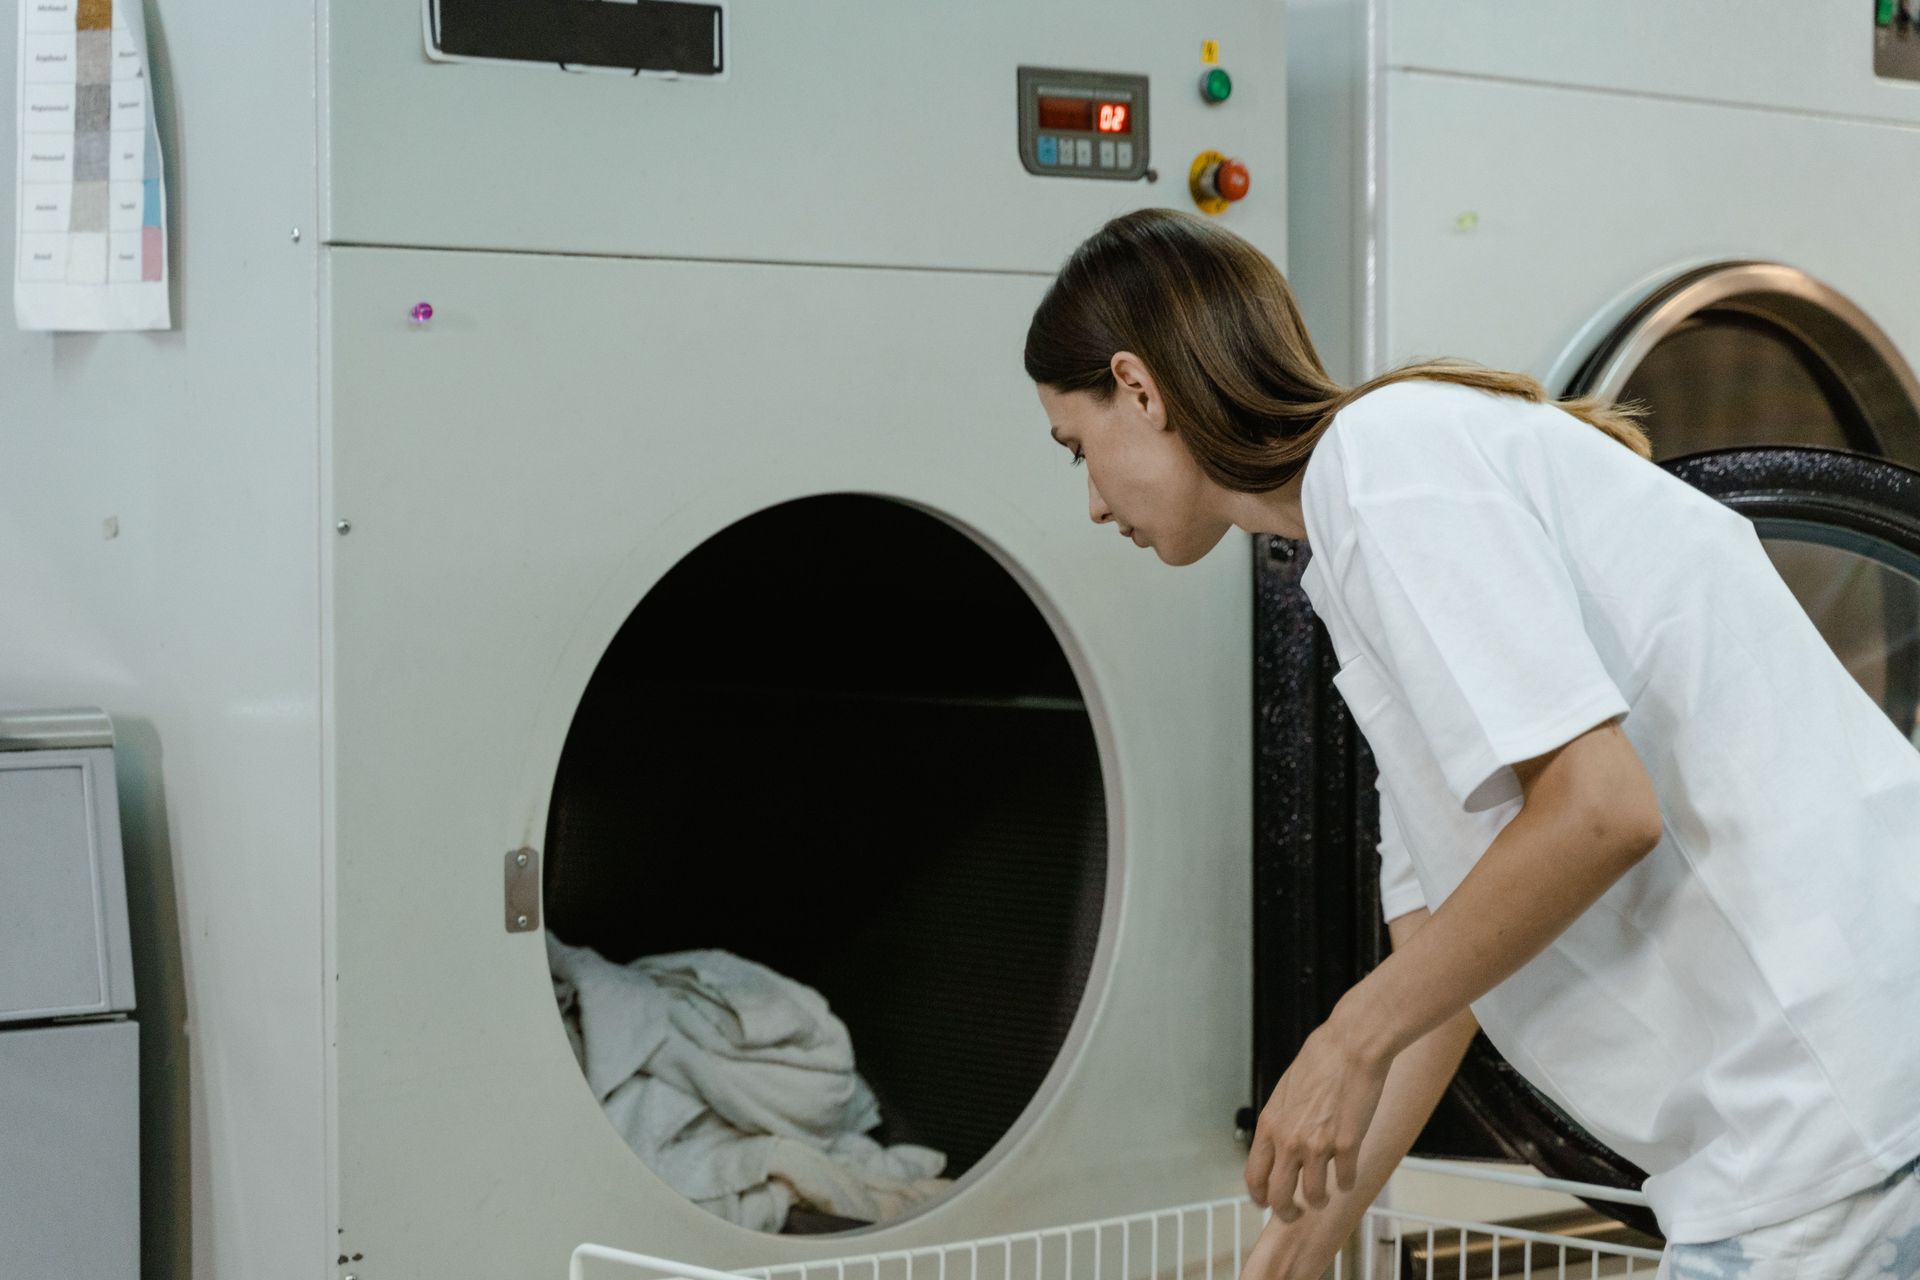
The dryer vent — the duct that exhausts hot, lint-laden air from the clothes dryer to the exterior of the house — is the most commonly neglected maintenance item in residential laundry rooms and the most significant fire hazard in the home after cooking equipment. Lint, which the dryer's lint screen captures approximately 25% of with each load, accumulates in the ductwork over time, reducing airflow, increasing drying time, increasing the dryer's operating temperature, and creating a combustible material deposit in an enclosed duct adjacent to a high-temperature appliance.
The US Fire Administration estimates that clothes dryers cause approximately 2,900 residential fires annually, with failure to clean the dryer vent identified as the leading contributing factor. The damage mechanism: accumulated lint in the duct restricts airflow, causing the dryer to run hotter to maintain drying performance; at sufficient lint accumulation and operating temperature, the lint ignites; the enclosed duct carries the fire to the building structure.
The correct maintenance interval is annual duct cleaning for a straight, short duct run; more frequent cleaning for longer runs or runs with multiple elbows. Signs that cleaning is overdue include longer-than-normal drying times, a dryer that is hot to the touch on the exterior, and a burning smell during operation. A dryer vent cleaning kit (flexible brush system) is available for under $30 and is a direct replacement for the approximately $100 professional cleaning service for most standard duct configurations.
Letting gutters go uncleaned

Compagnons / Unsplash
Gutters are designed to collect roof runoff and direct it away from the house's foundation through downspouts. A gutter clogged with leaves, debris, and compacted organic matter cannot perform this function: water backs up, overflows the gutter edge, and falls directly against the house's foundation, fascia board, and the exterior wall surface rather than being directed away. Over time, this redirected water produces the foundation moisture intrusion, fascia rot, and exterior wall damage that are among the most expensive categories of residential repair.
The secondary damage from clogged gutters is the weight of waterlogged debris: a ten-foot section of gutter holding wet leaves can weigh 40 to 50 pounds, a load that the gutter's hangers and fascia attachment were not designed to support continuously. This weight pulls gutter hangers loose, separates gutters from the fascia, and eventually detaches sections of gutter from the roofline entirely.
In winter climates, clogged gutters contribute to ice dam formation: the debris in the gutter prevents drainage of snowmelt, which refreezes at the cold eave and builds upward under the shingles, allowing water to enter the roof structure. Ice dams are among the most costly winter weather damage mechanisms, routinely causing $5,000 to $15,000 in repair costs. The correct maintenance frequency is twice yearly — after fall leaf drop and after spring pollen season — for most residential properties, with additional cleanings for homes beneath large deciduous trees.
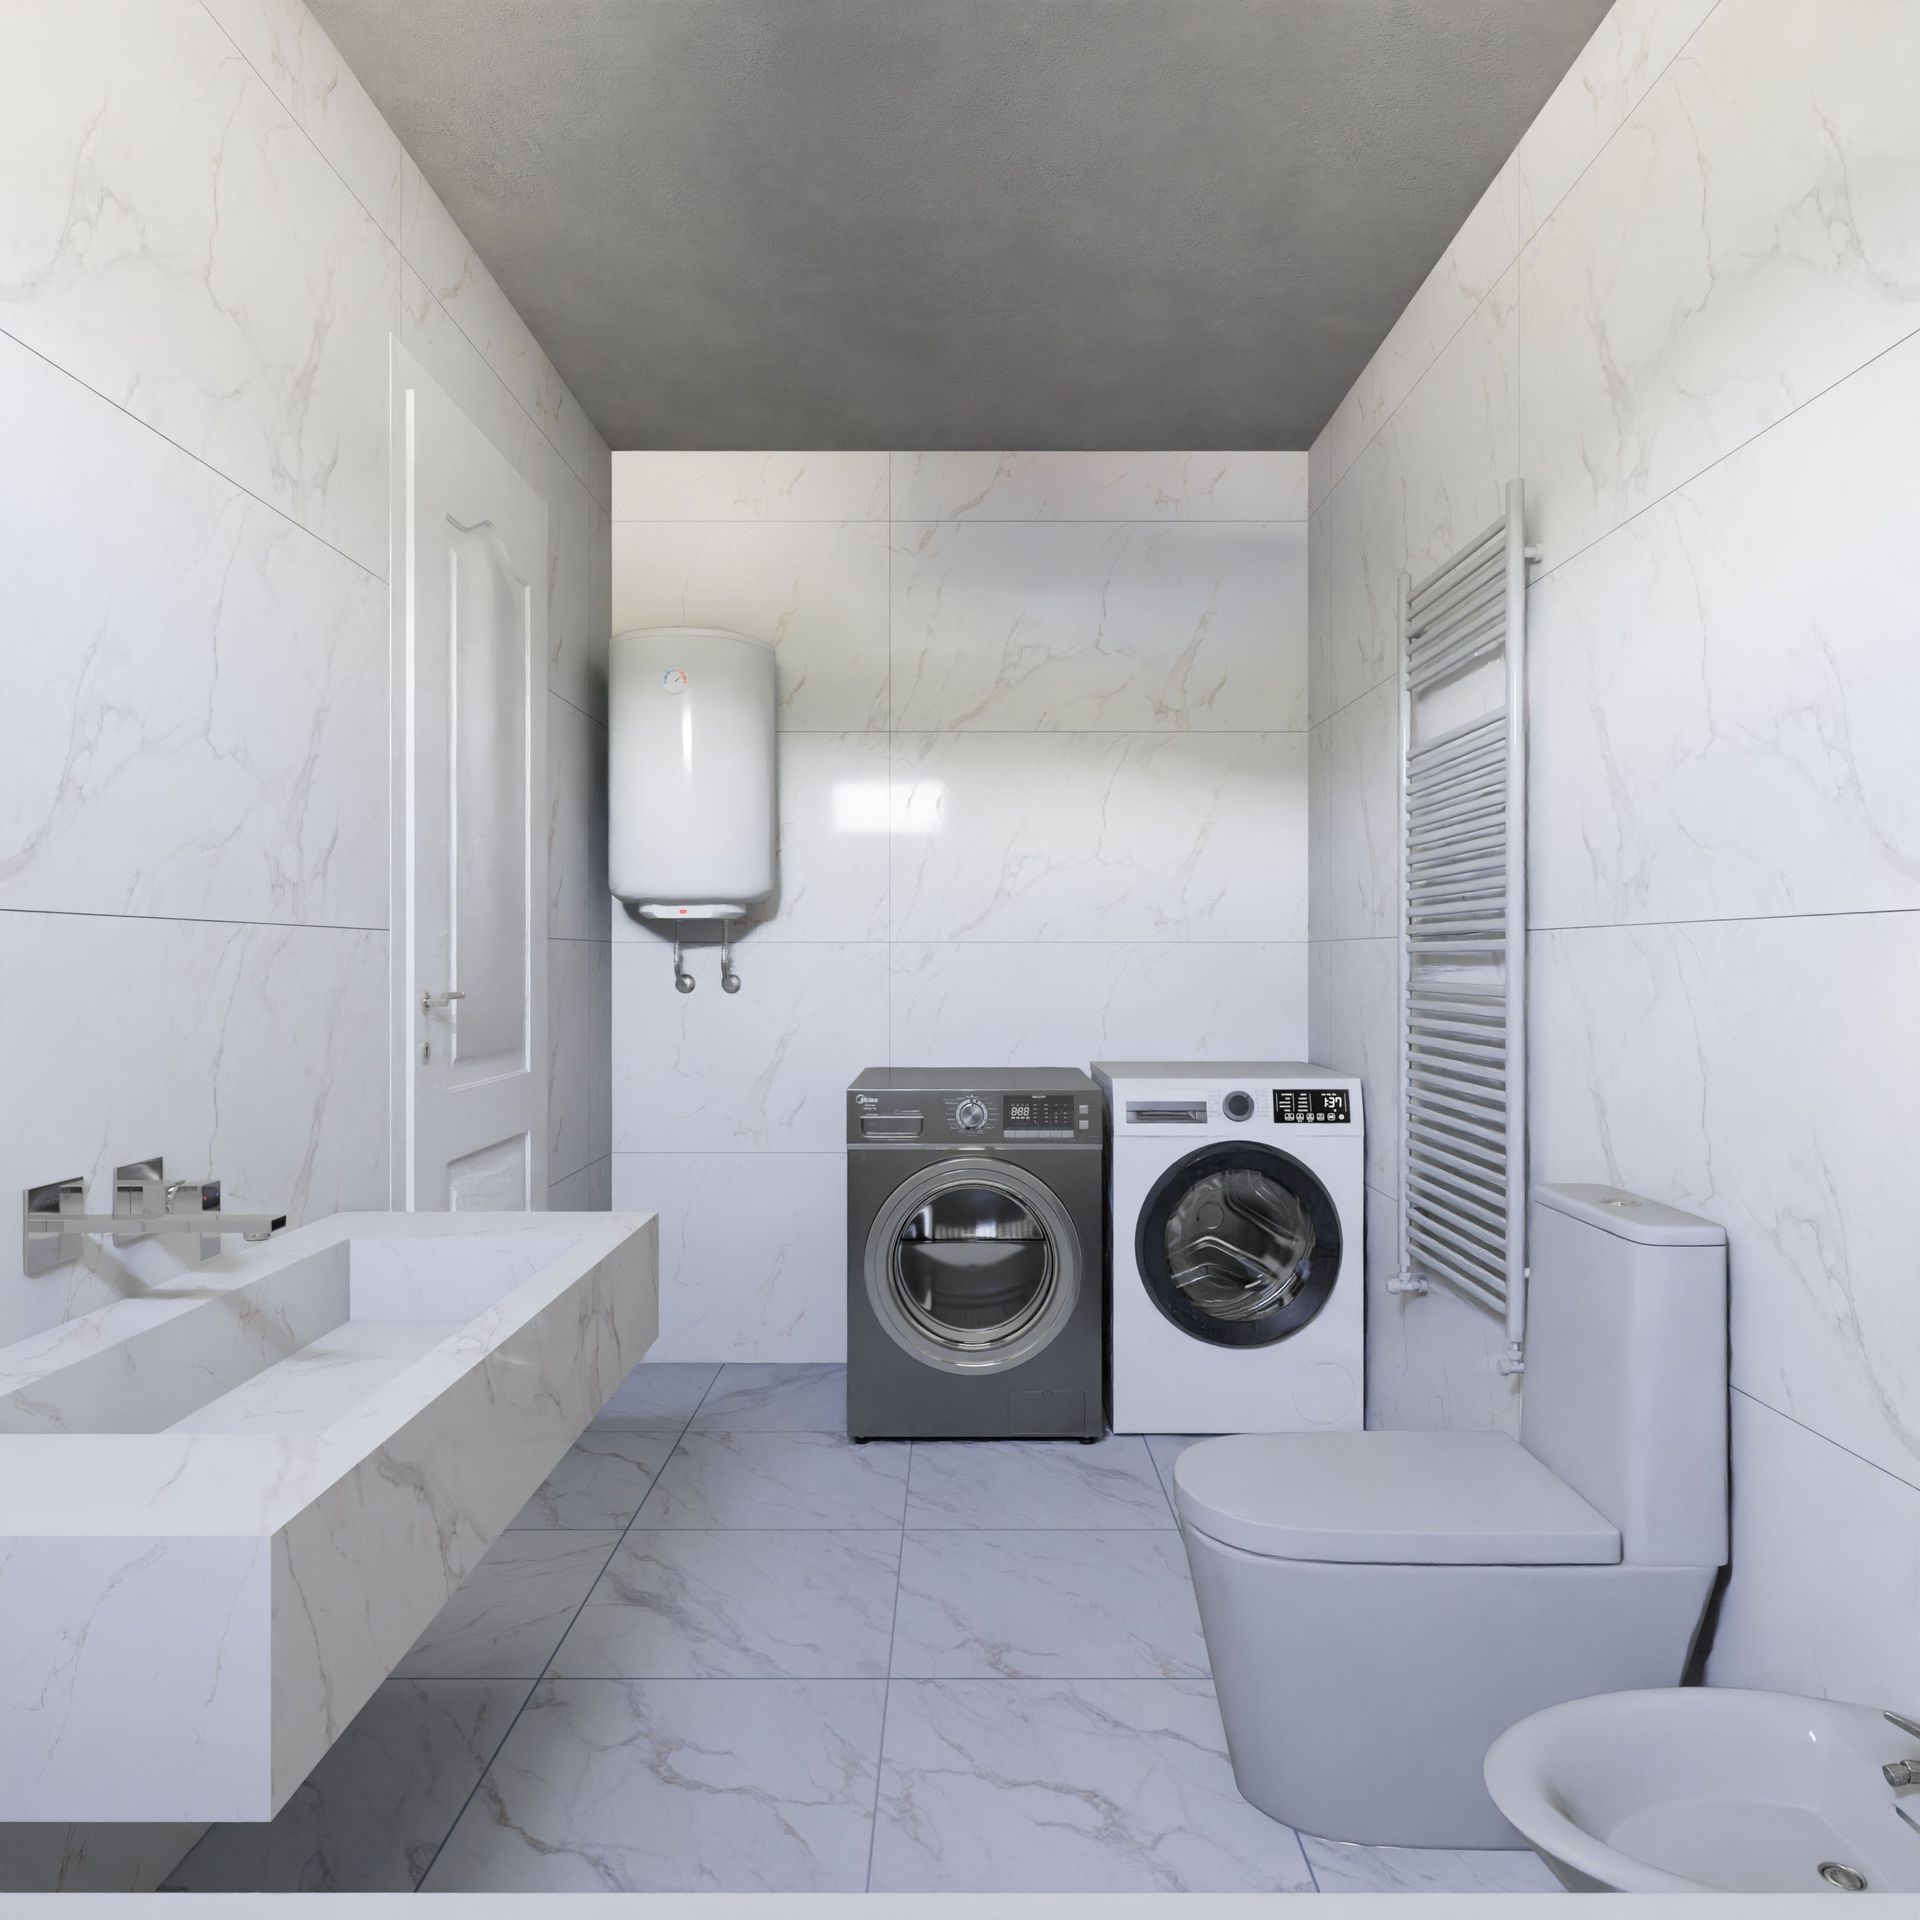
Skipping the water heater flush
Pușcaș Adryan / Pexels
Sediment — mineral deposits that precipitate from heated water and settle to the bottom of the water heater tank — accumulates in gas and electric water heaters over time, reducing heating efficiency, accelerating tank corrosion, and eventually shortening the water heater's lifespan from the typical 10 to 15 years to significantly less. The sediment layer insulates the water from the heating element (in electric heaters) or the burner (in gas heaters), requiring more energy to heat the water and producing the rumbling or popping sounds that are the most common sign of significant sediment accumulation.
The specific damage mechanism beyond efficiency loss: sediment traps water against the tank bottom at high temperature, accelerating corrosion of the tank's steel construction. Corrosion from the inside eventually produces pitting that compromises the tank's integrity, leading to the slow leak that precedes tank failure. A water heater that fails with a slow leak produces water damage to the surrounding area; one that fails catastrophically produces flooding.
The correct maintenance procedure is to flush the tank annually — connecting a hose to the drain valve at the tank's base, opening the valve, and allowing the tank to drain partially, carrying the accumulated sediment with it. The procedure takes approximately 20 minutes, requires no tools beyond a garden hose, and extends water heater lifespan by several years. Most homeowners have never done this; most water heaters would last significantly longer if they had.