
20 baking recipes that work every time for beginners
From classic chocolate chip cookies to no-knead bread, these 20 foolproof recipes teach real skills without requiring any prior baking experience
Credit: Diana Krotova / Unsplash
Baking has a reputation for being unforgiving. Unlike stovetop cooking, where you can taste as you go and adjust on the fly, baking demands a certain commitment — you measure, mix, and then surrender the result to heat. For beginners, that can feel like a gamble. The good news is that the gamble is much smaller than it seems, provided you start with the right recipes.
The recipes that work reliably for beginners share a few traits. They use common pantry ingredients. They don't require specialized equipment beyond a mixing bowl, a baking pan, and an oven. Their margin for error is wide enough that a slightly imprecise measurement or an oven that runs a few degrees hot won't ruin the outcome. And they teach transferable techniques — how to cream butter and sugar, how to fold without overmixing, how to know when something is done — that carry forward into more complex baking.
This list was built with those principles in mind. It spans cookies, cakes, quick breads, muffins, brownies, and yeasted breads. Each recipe is a genuine entry point into a broader category of baking. Master the banana bread and you understand how quick breads work. Nail the chocolate chip cookie and you've learned how to read dough. Get comfortable with a simple no-knead loaf and the entire world of bread baking becomes less intimidating.
The recipes here don't require a stand mixer, a kitchen scale, or any professional technique. They do require reading the recipe all the way through before you start, using room-temperature ingredients where specified, and resisting the urge to open the oven door too early. Those habits — more than any single recipe — are what separate successful beginner bakers from frustrated ones.
The list is organized loosely by category, moving from cookies and bars through quick breads and muffins and into yeasted doughs. Each recipe stands on its own, but taken together they form a genuine curriculum. Work through them in order or jump to whatever sounds best. Either approach will leave you with a more confident, more capable understanding of what baking actually is — not a mystical art, but a learnable craft.
Classic chocolate chip cookies
Credit: Canva Images
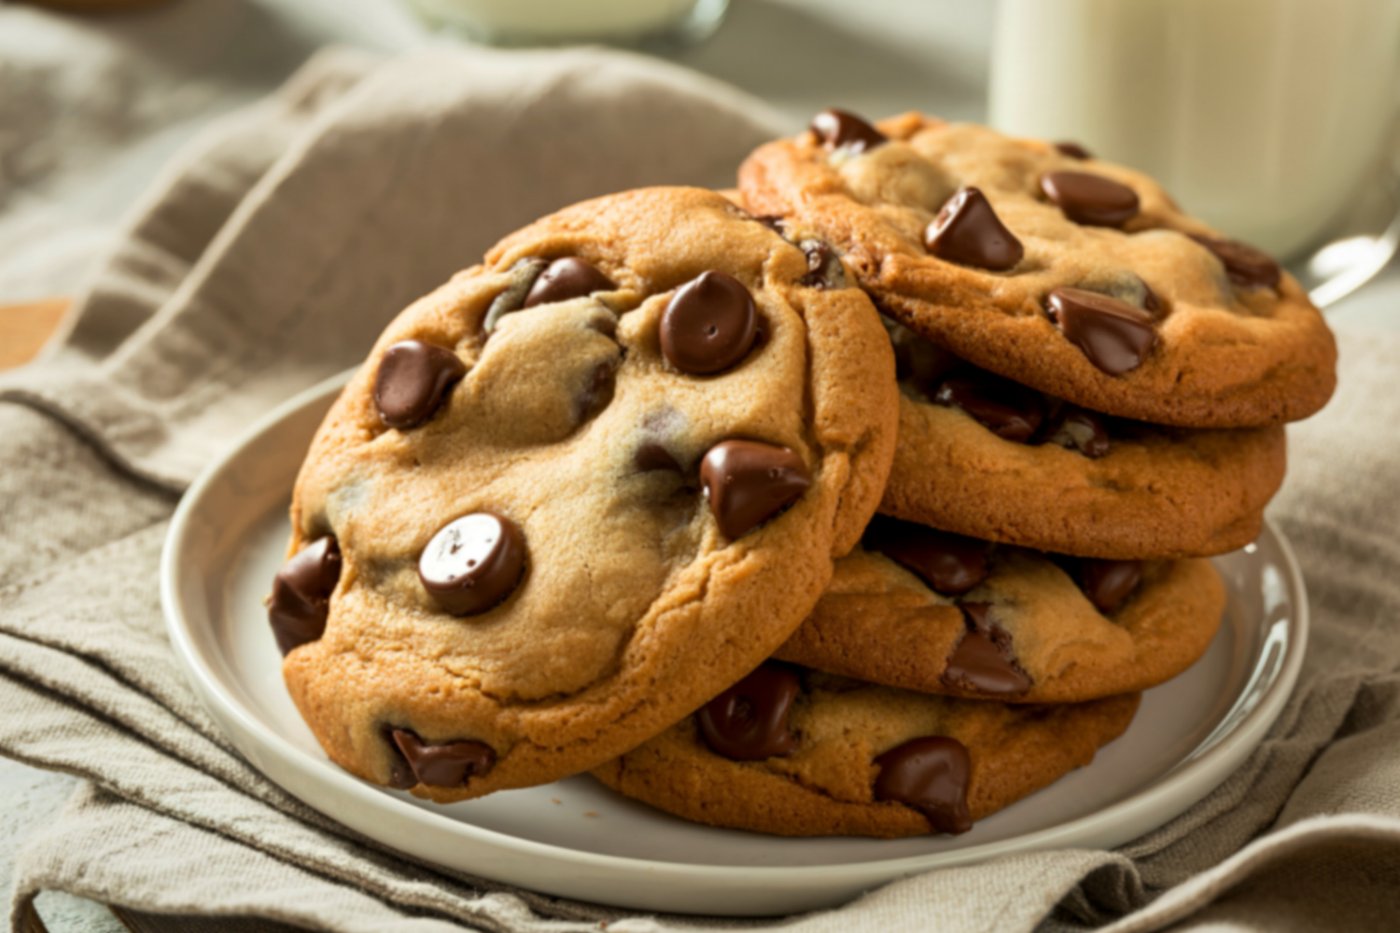
Chocolate chip cookies are where most home bakers begin, and for good reason. The recipe is forgiving, the ingredients are almost always on hand, and the result is something nearly everyone wants to eat. More than that, the technique involved — creaming butter and sugar, incorporating eggs, folding in flour — forms the mechanical foundation of dozens of other baked goods.
The most important variable in a chocolate chip cookie is butter temperature. Room-temperature butter, which is soft enough to leave an indent when pressed but not melted or greasy, creams properly with sugar to create a light, aerated base. Cold butter won't cream; melted butter will produce a flat, dense cookie. If you forget to take butter out of the refrigerator ahead of time, you can cut it into small pieces and let it sit on the counter for 20 to 30 minutes.
Creaming butter and sugar means beating them together until the mixture is pale, fluffy, and noticeably increased in volume. This process, which takes about three to four minutes with a hand mixer or five to six minutes by hand, incorporates air that later helps the cookie rise slightly and gives it a tender crumb. Skipping or rushing this step produces a denser, tighter cookie.
Once you add flour, restraint is essential. Overmixing after flour goes in develops gluten, which makes cookies tough rather than tender. Stir until the flour just disappears, then stop.
Chilling the dough for at least 30 minutes — or overnight — concentrates flavor and helps the cookies hold their shape in the oven rather than spreading into thin puddles. It's a step beginners often skip, but the difference in texture and taste is worth the wait.
Use a standard recipe that calls for all-purpose flour, baking soda, salt, butter, granulated sugar, brown sugar, eggs, vanilla extract, and chocolate chips. Brown sugar contributes moisture and a slight caramel depth; the ratio of brown to white sugar affects how chewy or crisp the final cookie is. More brown sugar means chewier; more white sugar means crispier and more spread-out.
Bake at 375°F (190°C) until the edges are set and golden but the centers still look slightly underdone. The cookies will continue to firm up on the hot pan after you pull them from the oven. Pulling them a minute or two early is almost always the right call.
Banana bread
Credit: Canva Images
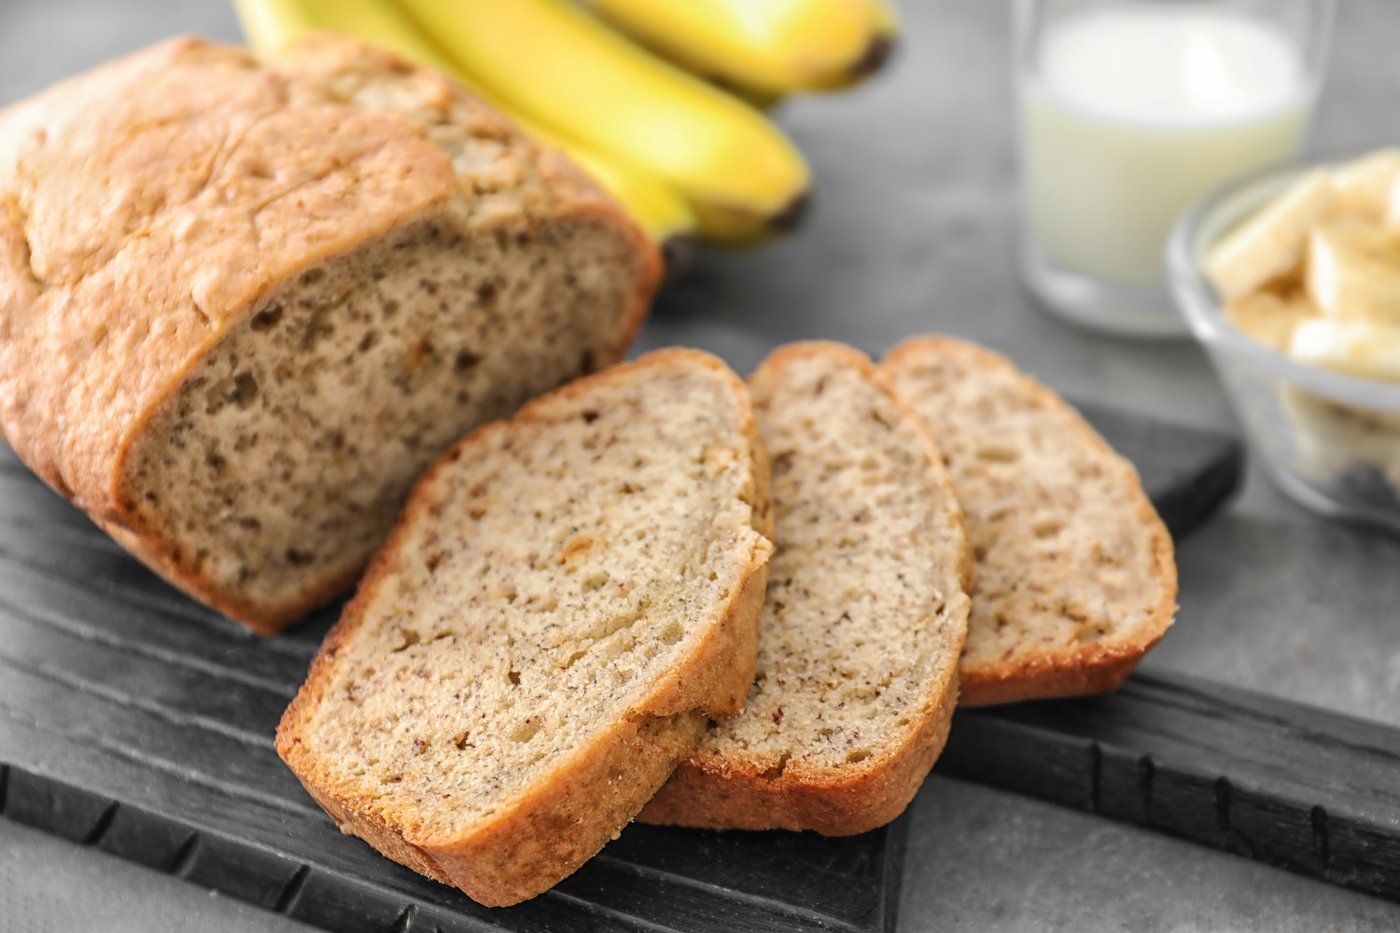
Banana bread is one of the most reliable recipes in home baking. It uses overripe bananas — the kind with black-spotted, soft skins that most people would otherwise throw away — which means the raw material is essentially free. The mixing method is simple: wet ingredients combined separately from dry, then folded together without overworking. And the result is moist, flavorful, and durable enough to stay good for several days at room temperature.
The bananas should be very ripe. The more black spots on the skin, the better. Overripe bananas are sweeter, softer, and more flavorful than yellow or green ones because the starches have converted to sugars. If you only have underripe bananas, you can roast them in the oven — unpeeled, at 300°F (150°C) for about 15 to 20 minutes — until the skins turn black and the flesh is soft. The flavor won't be identical to naturally ripened bananas, but it's a workable substitute.
A standard banana bread recipe calls for three medium overripe bananas, mashed until smooth. Combine those with melted butter, one egg, sugar, vanilla extract, and a pinch of salt. In a separate bowl, whisk together all-purpose flour and baking soda. Fold the wet ingredients into the dry until just combined — a few small streaks of flour are fine. Do not overmix.
The batter goes into a greased 9-by-5-inch loaf pan and bakes at 350°F (175°C) for 55 to 65 minutes. The bread is done when a toothpick inserted into the center comes out clean or with just a few moist crumbs attached. The top should be a deep golden brown and slightly domed.
One common mistake is underbaking. Banana bread looks dark early because of the sugar content in the bananas, and beginners often pull it from the oven too soon. If the top is browning quickly but the center isn't done, tent the pan loosely with aluminum foil and continue baking.
Variations are straightforward: fold in a handful of chopped walnuts, chocolate chips, or a teaspoon of cinnamon. The base recipe is stable enough to absorb these additions without any other adjustments.
Brownies from scratch
Credit: Merve / Pexels
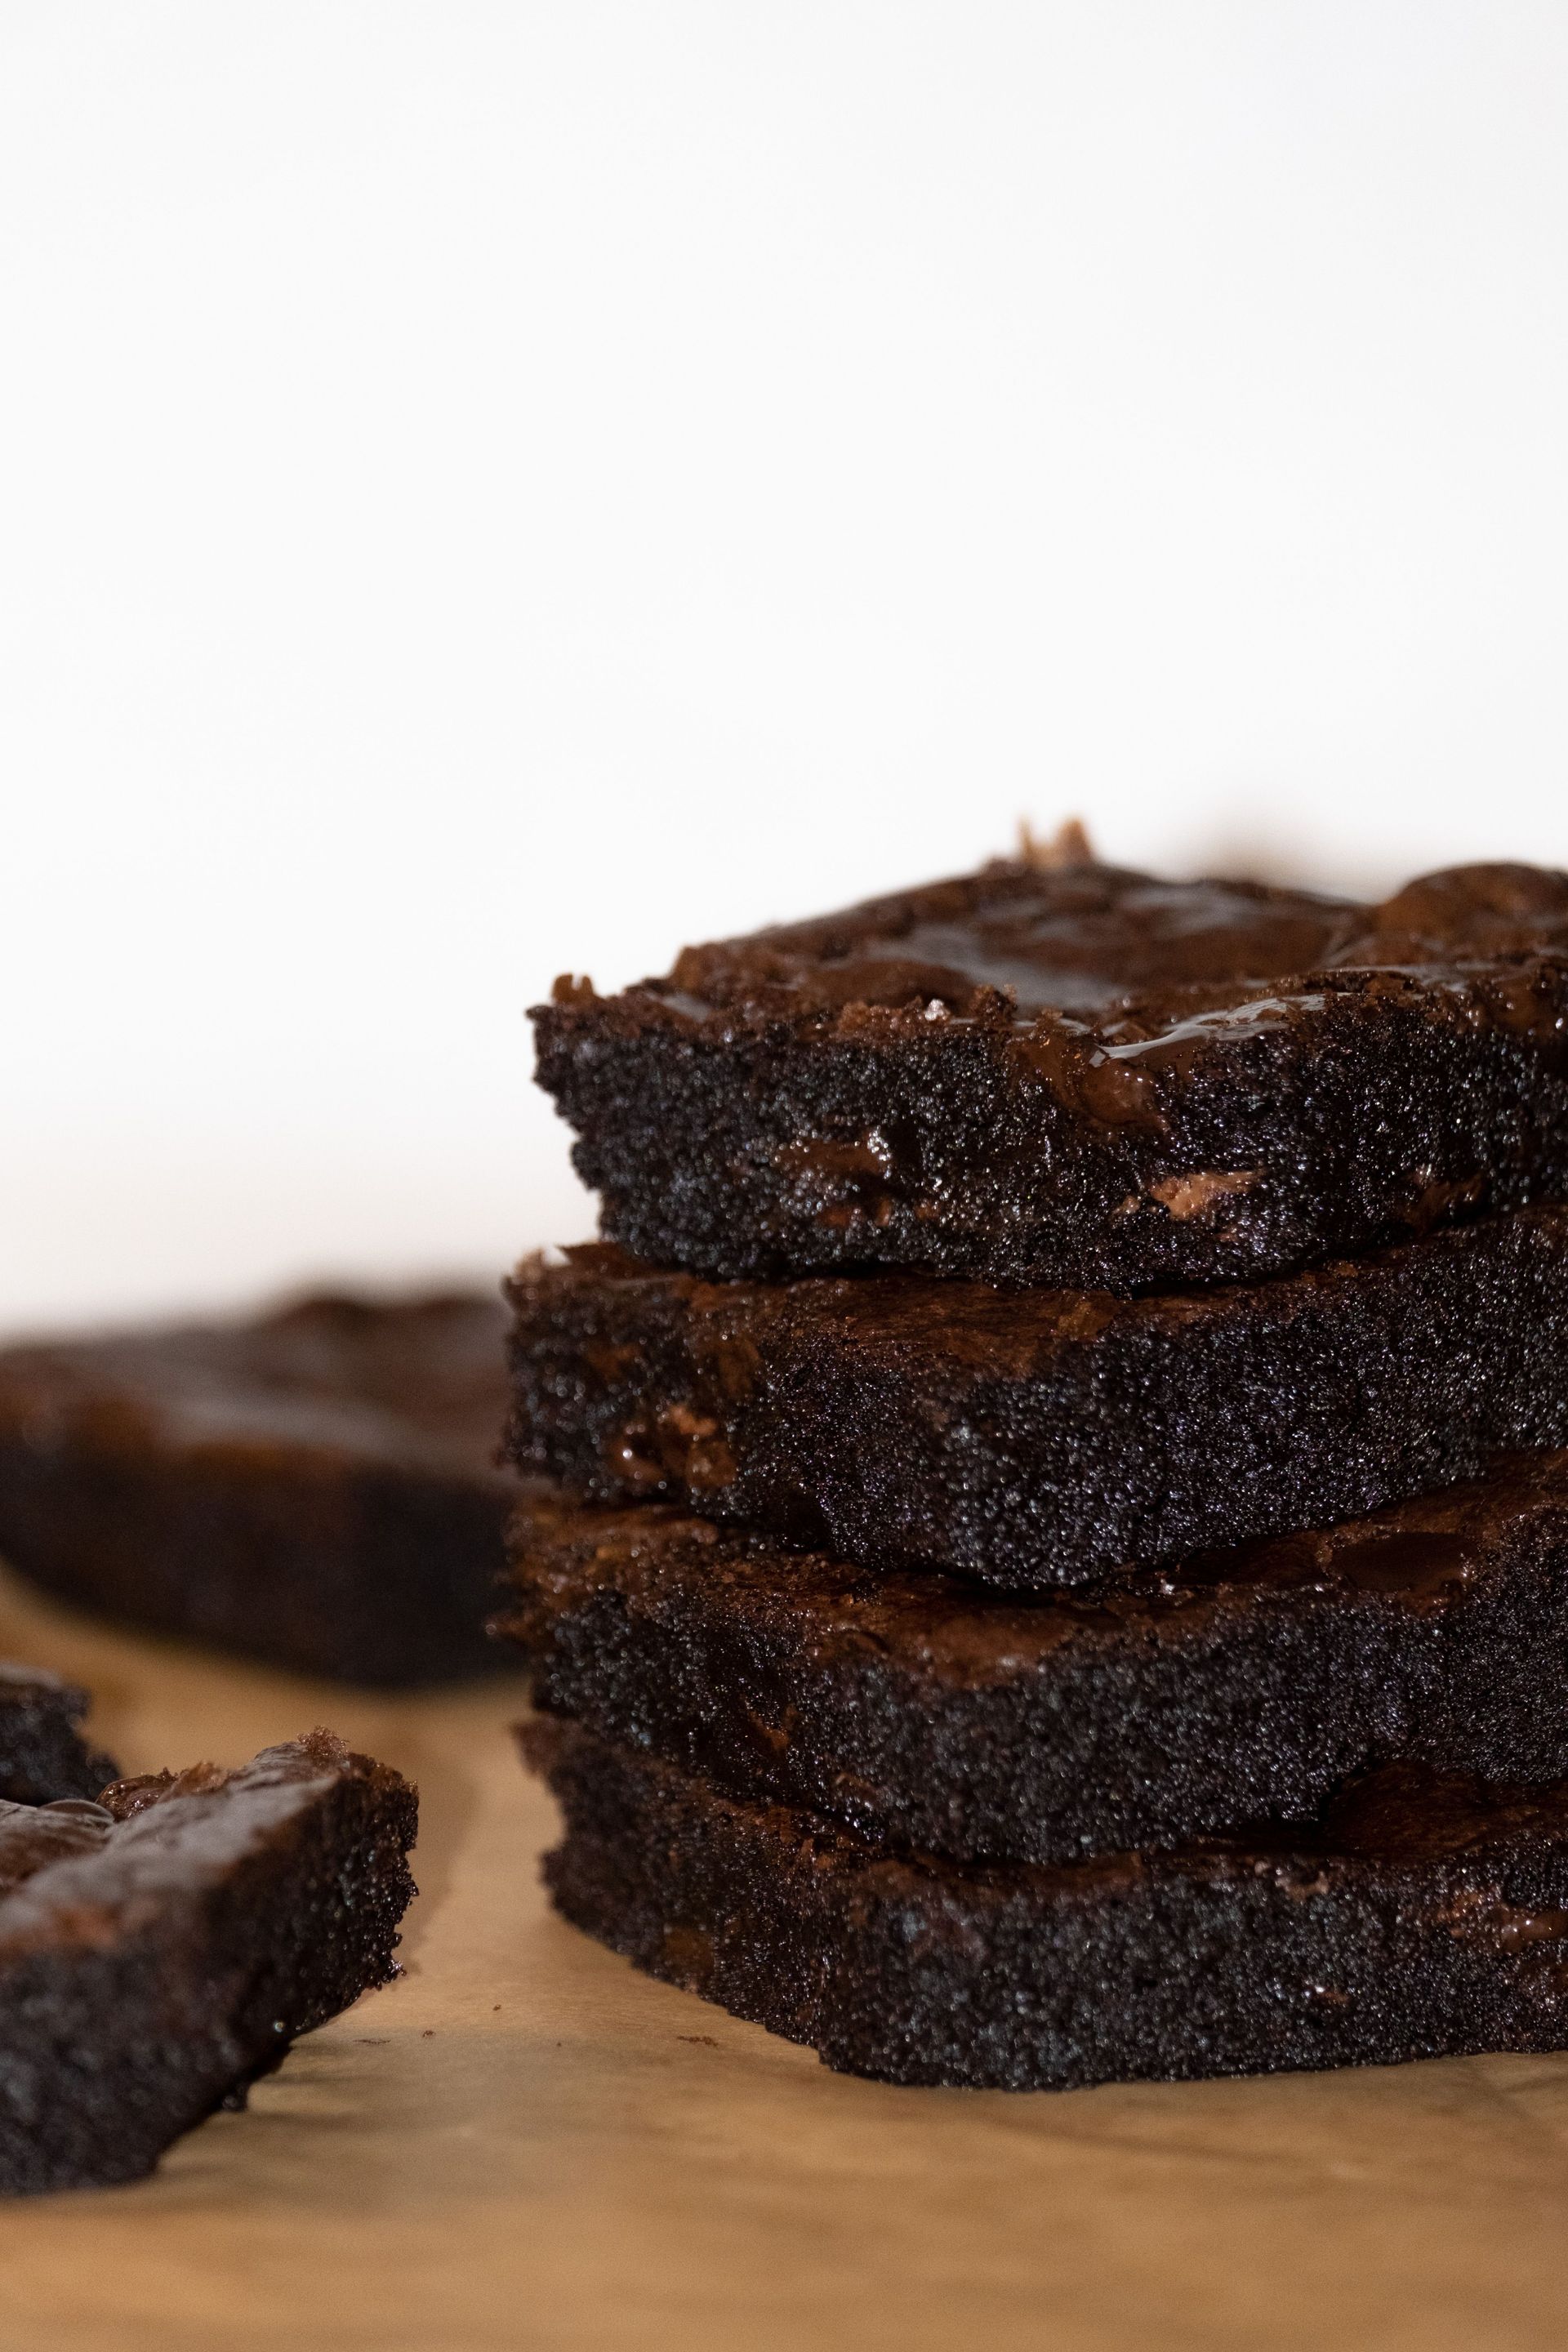
Brownies made from scratch are not meaningfully harder than brownies from a box, and they taste better. The recipe is quick — most scratch versions come together in under 20 minutes of active time — and the technique is simple enough to memorize after one or two attempts.
The two main styles of brownie are fudgy and cakey. Fudgy brownies have more fat relative to flour and a denser, moister crumb. Cakey brownies have more flour and often use a leavening agent like baking powder, giving them a lighter, airier texture. For beginners, a fudgy brownie is generally more forgiving — it's harder to overbake and produces a more crowd-pleasing result.
A basic fudgy brownie starts with melting butter and chocolate together. You can do this in a saucepan over low heat or in a microwave in 30-second intervals, stirring between each. Once melted and smooth, remove from heat and let the mixture cool for a few minutes before adding the eggs — if the mixture is too hot, it will begin to cook the eggs before they're properly incorporated.
Whisk in sugar, then eggs one at a time, then vanilla. Add flour and salt and stir until just combined. The batter should be thick and glossy. Pour into a greased or parchment-lined 8-by-8-inch pan.
Bake at 350°F (175°C) for 25 to 30 minutes. The edges should be set and beginning to pull away from the pan. The center should still look slightly underset — it will firm up as it cools. A toothpick inserted in the center should come out with moist crumbs, not wet batter. If it comes out completely clean, the brownies are overbaked.
Let them cool completely in the pan before cutting. This patience pays off: cutting into warm brownies produces ragged, sticky edges. Cold brownies cut cleanly with a sharp knife.
No-knead bread
Credit: Skyler Ewing / Pexels
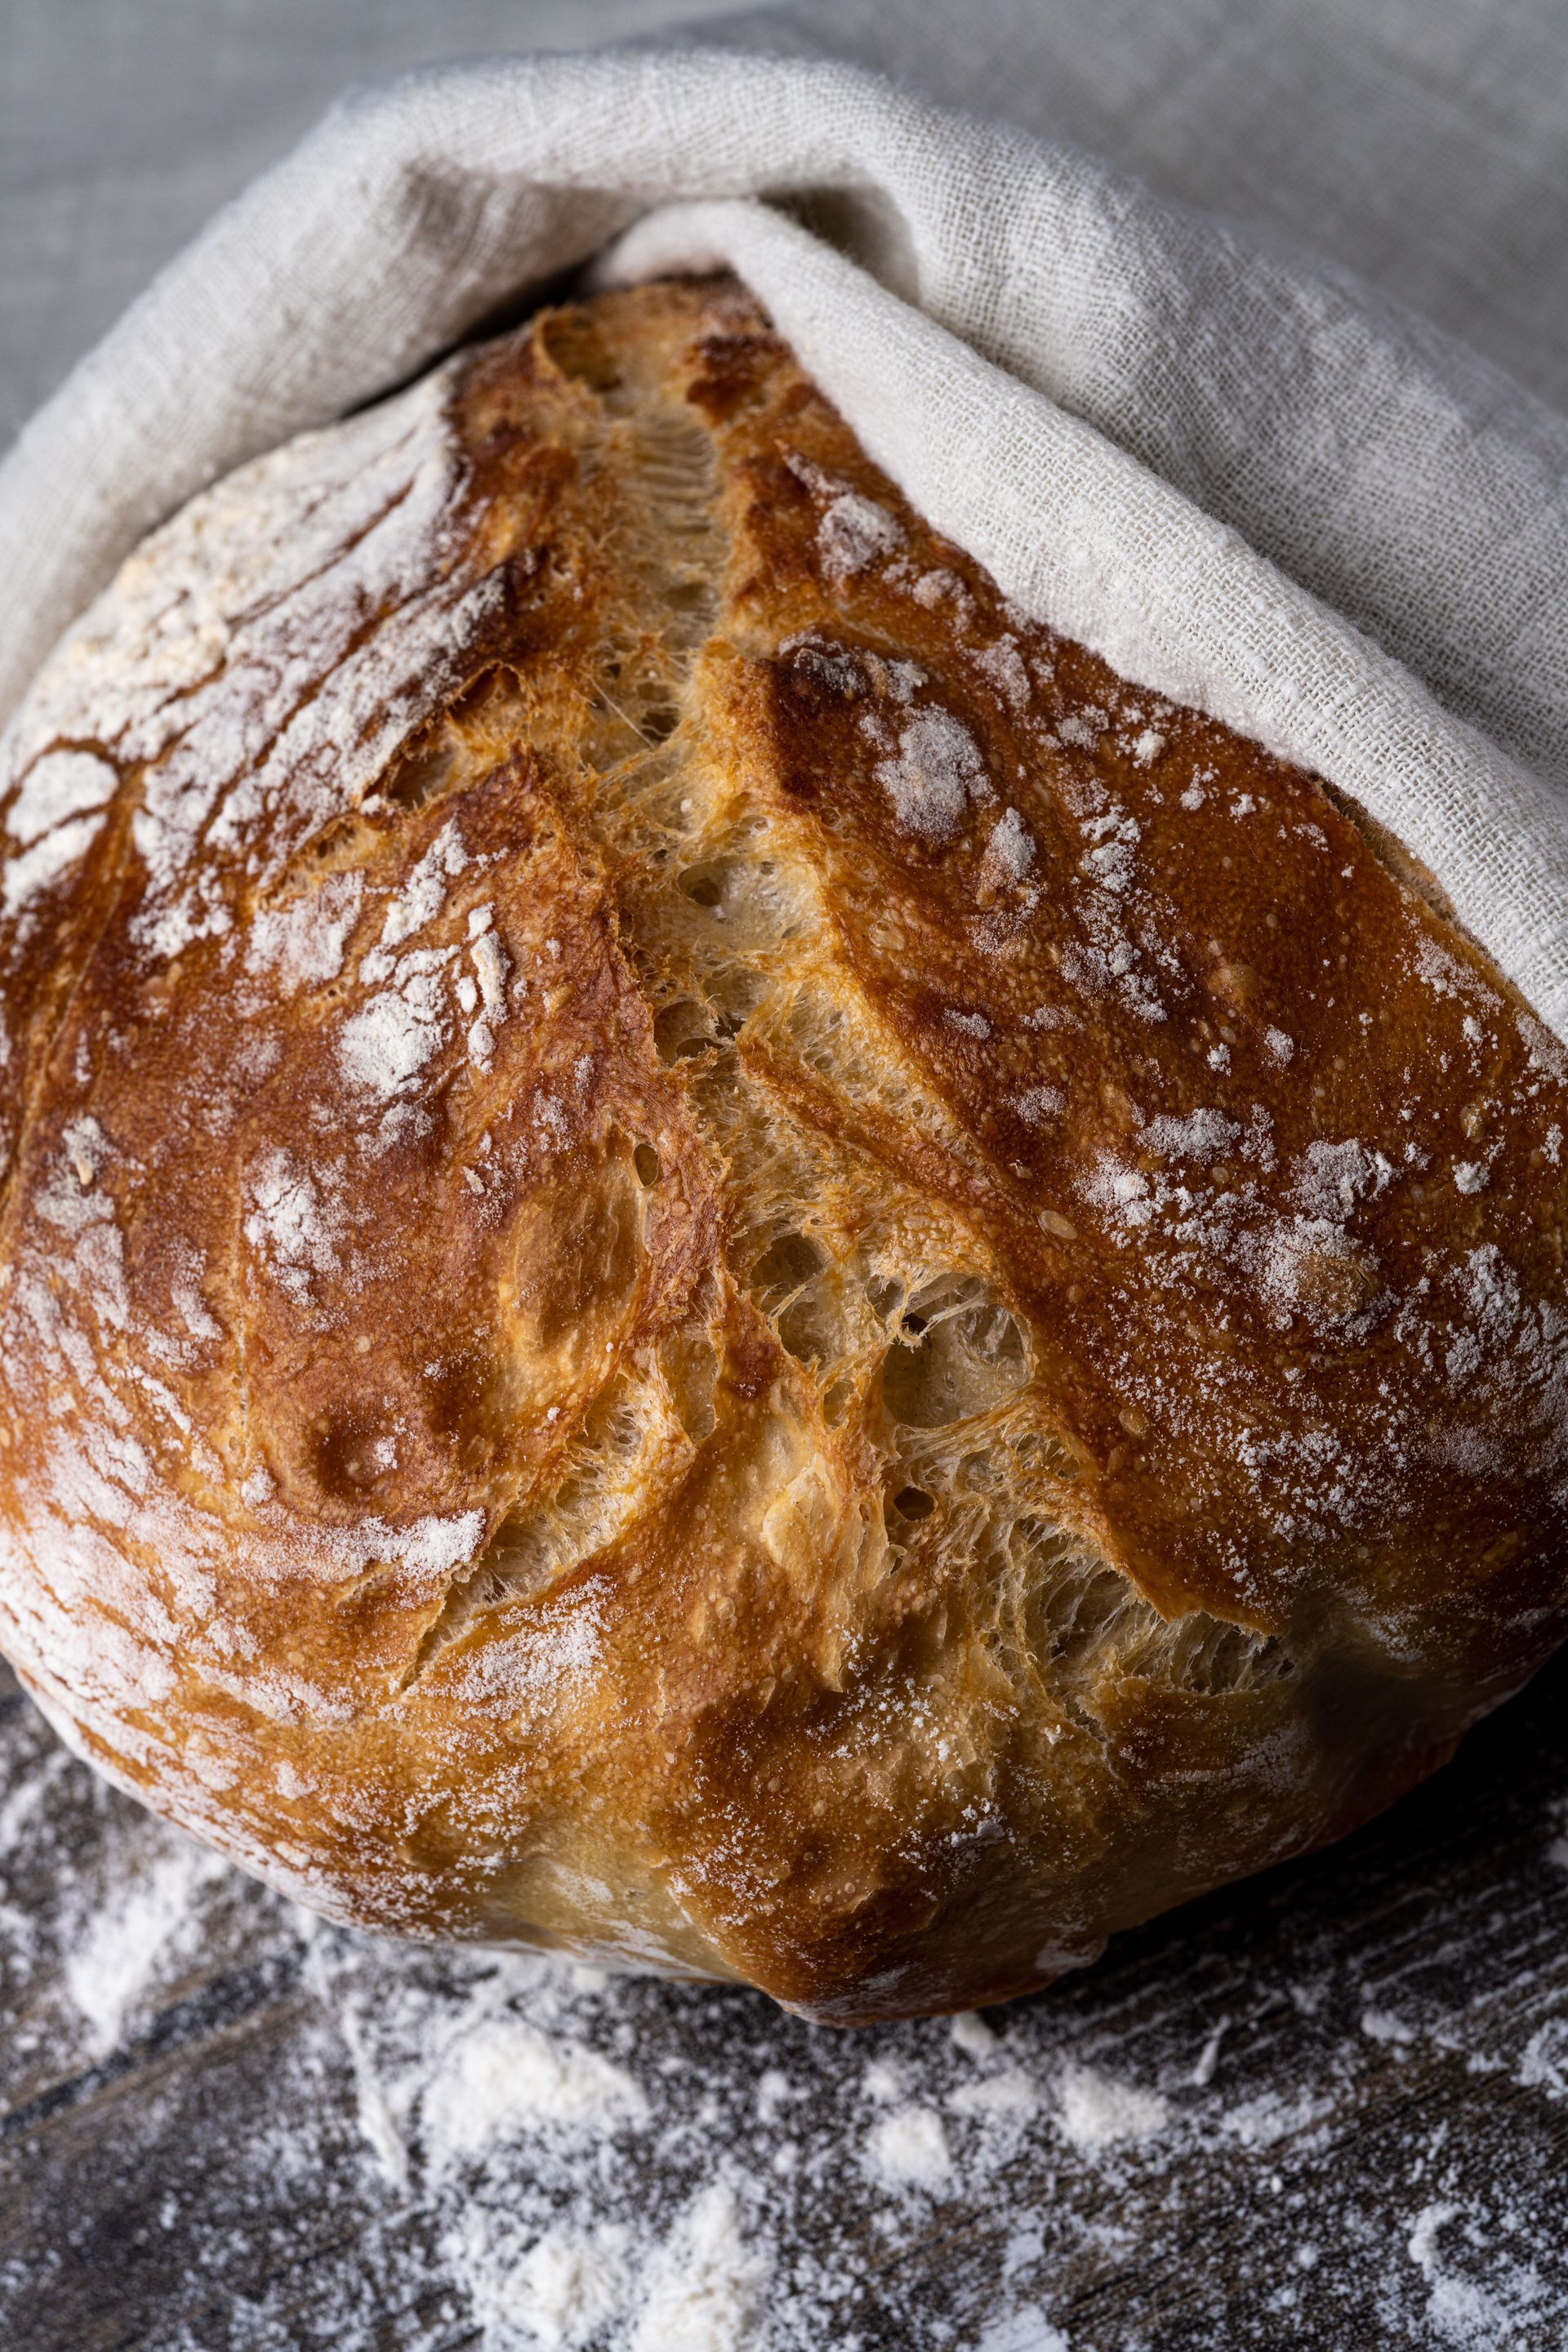
No-knead bread, developed by baker Jim Lahey and popularized in a 2006 New York Times column by Mark Bittman, changed what home bakers thought was possible without professional skill or equipment. The recipe requires no kneading, no stand mixer, and minimal active effort. It does require time — the dough needs to rest for 12 to 18 hours — but that rest period does the structural work that kneading normally does.
The science behind it is straightforward. Kneading develops gluten by physically aligning the protein strands in flour. A long, slow fermentation accomplishes the same thing through enzymatic activity. The yeast also produces carbon dioxide during that extended rest, giving the bread its open, airy crumb.
The ingredient list is minimal: bread flour (or all-purpose flour), water, a small amount of instant yeast, and salt. The ratio matters more than the exact quantities — a standard recipe uses about 3 cups of flour, 1.5 cups of water, a quarter teaspoon of yeast, and 1.25 teaspoons of salt. Combine them in a bowl, stir until no dry flour remains, cover with plastic wrap, and leave at room temperature for 12 to 18 hours.
The dough will look shaggy and wet going in. After its rest, it should be bubbly, stretched out, and slightly tacky. Turn it onto a floured surface, fold it a few times, shape it into a rough ball, and let it rest for another two hours.
The baking method is what gives no-knead bread its bakery-quality crust: a covered Dutch oven, preheated in the oven at 450°F (230°C). The lid traps steam, mimicking a professional bread oven and producing a crackling crust. Remove the lid for the final 15 minutes to brown the loaf.
The result is a rustic, chewy loaf with a deeply flavored crumb. It's the kind of bread that makes beginners feel like they've done something genuinely difficult — and the pleasant surprise is that they haven't.
Blueberry muffins
Credit: eat kubba / Pexels
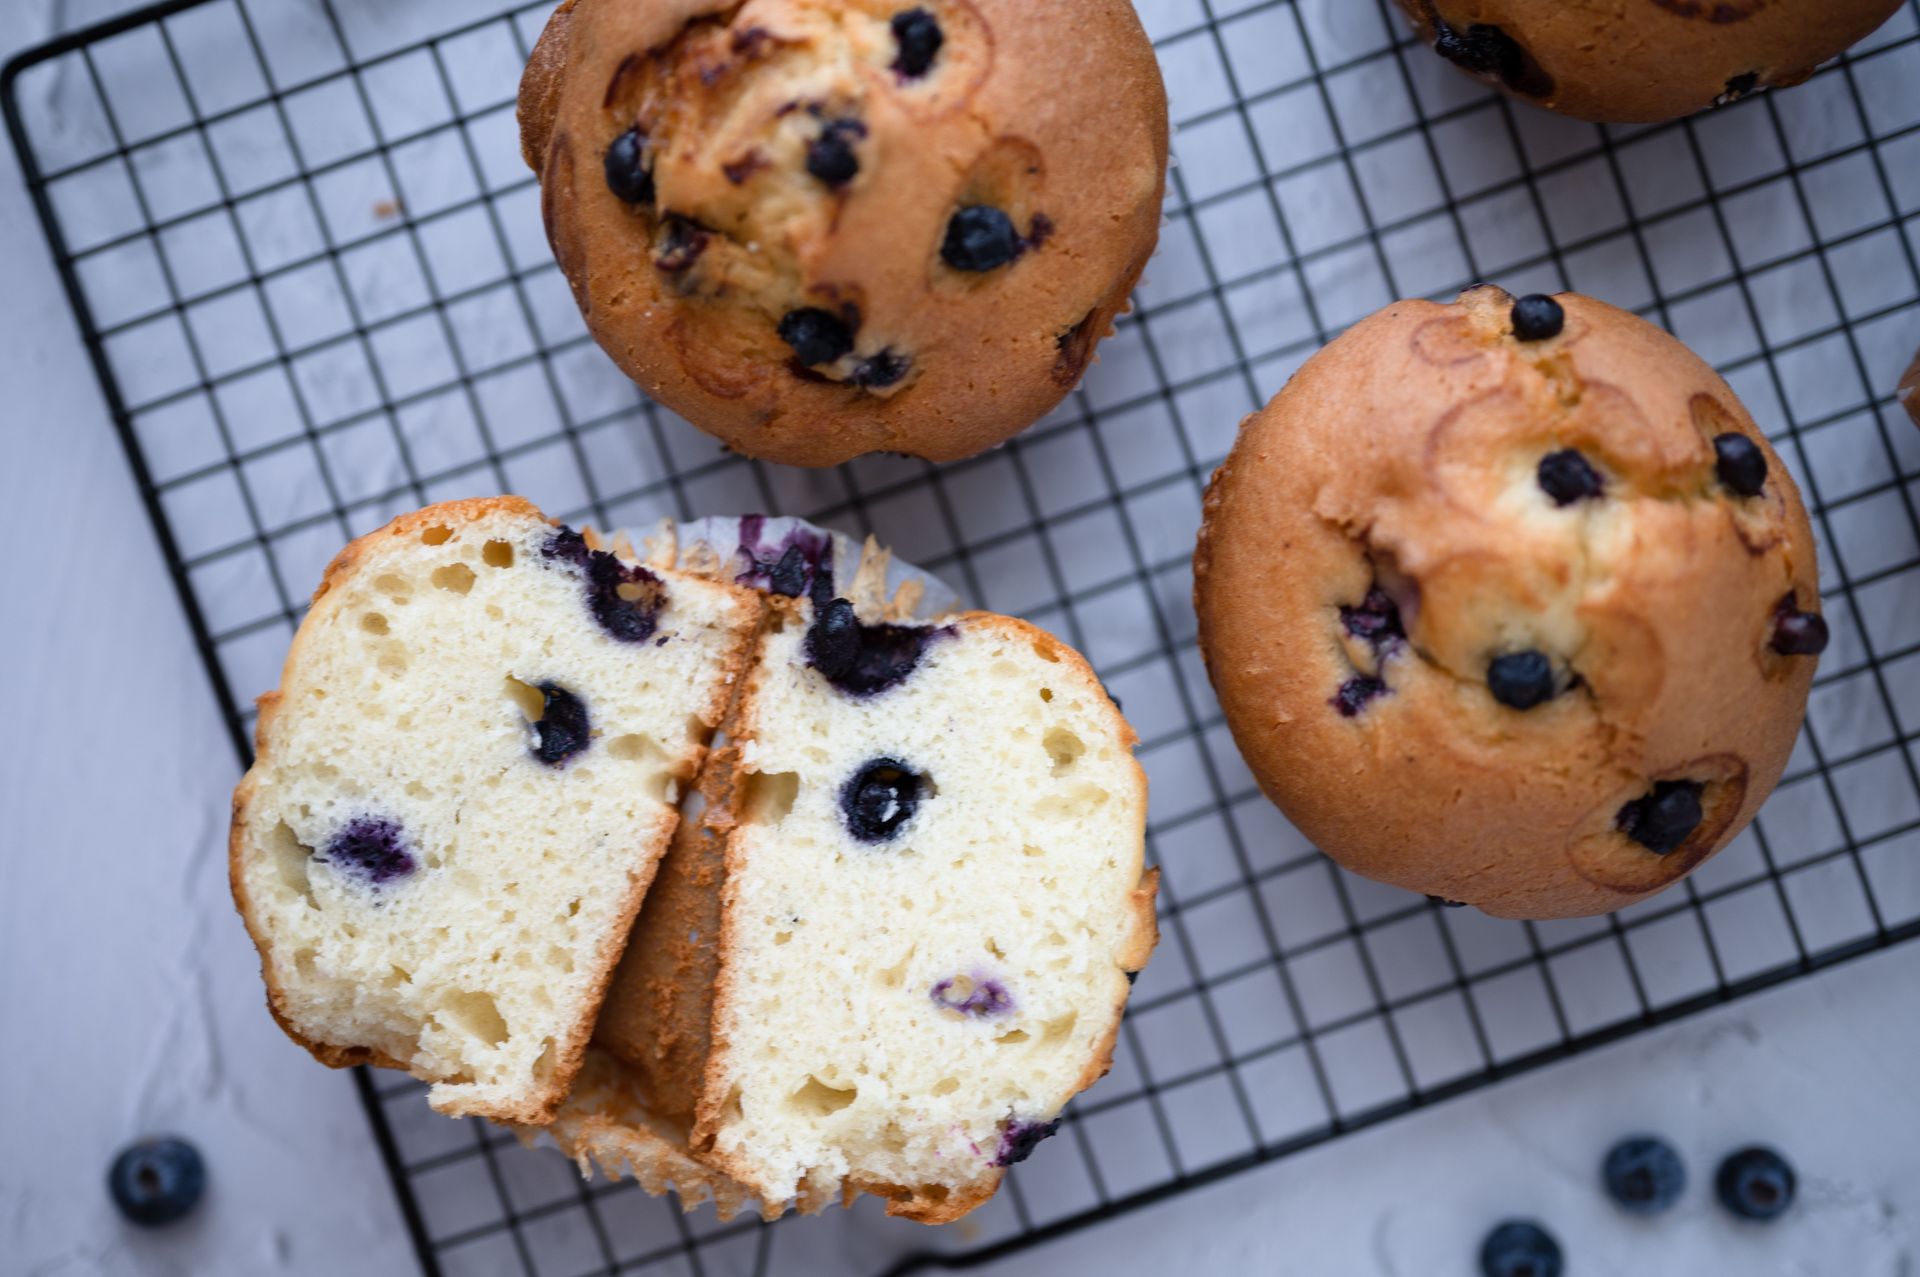
A good blueberry muffin has a domed top, a moist crumb, and enough fruit in every bite that the blueberry flavor comes through clearly. It's one of the most useful beginner recipes because the method — the muffin method — applies to every quick bread made in muffin form, from bran muffins to corn muffins to banana muffins.
The muffin method is simple: mix dry ingredients in one bowl, wet ingredients in another, then combine them together with as few strokes as possible. The goal is to just barely bring the batter together. Lumps in muffin batter are not a problem; they're a sign you haven't overmixed. Overmixing activates the gluten in the flour and produces muffins with a tight, dense crumb and a flat top rather than a dome.
A standard blueberry muffin recipe uses all-purpose flour, baking powder, salt, sugar, butter, eggs, milk or buttermilk, vanilla extract, and fresh or frozen blueberries. Buttermilk adds a slight tang and reacts with the baking powder to give extra lift — if you don't have buttermilk, you can make a substitute by adding a tablespoon of lemon juice or white vinegar to a cup of regular milk and letting it sit for five minutes.
Toss the blueberries in a tablespoon of flour before folding them in. This helps distribute them throughout the batter rather than having them all sink to the bottom during baking.
Fill muffin cups about three-quarters full. For a bakery-style domed top, let the filled pan sit at room temperature for 15 to 20 minutes before baking — this gives the leavening a head start. Bake at 400°F (200°C) for 18 to 22 minutes, until the tops are golden and a toothpick comes out clean.
A coarse sugar sprinkled on top before baking adds a slight crunch that contrasts well with the soft muffin interior.
Simple vanilla cake
Credit: Felicity Tai / Pexels
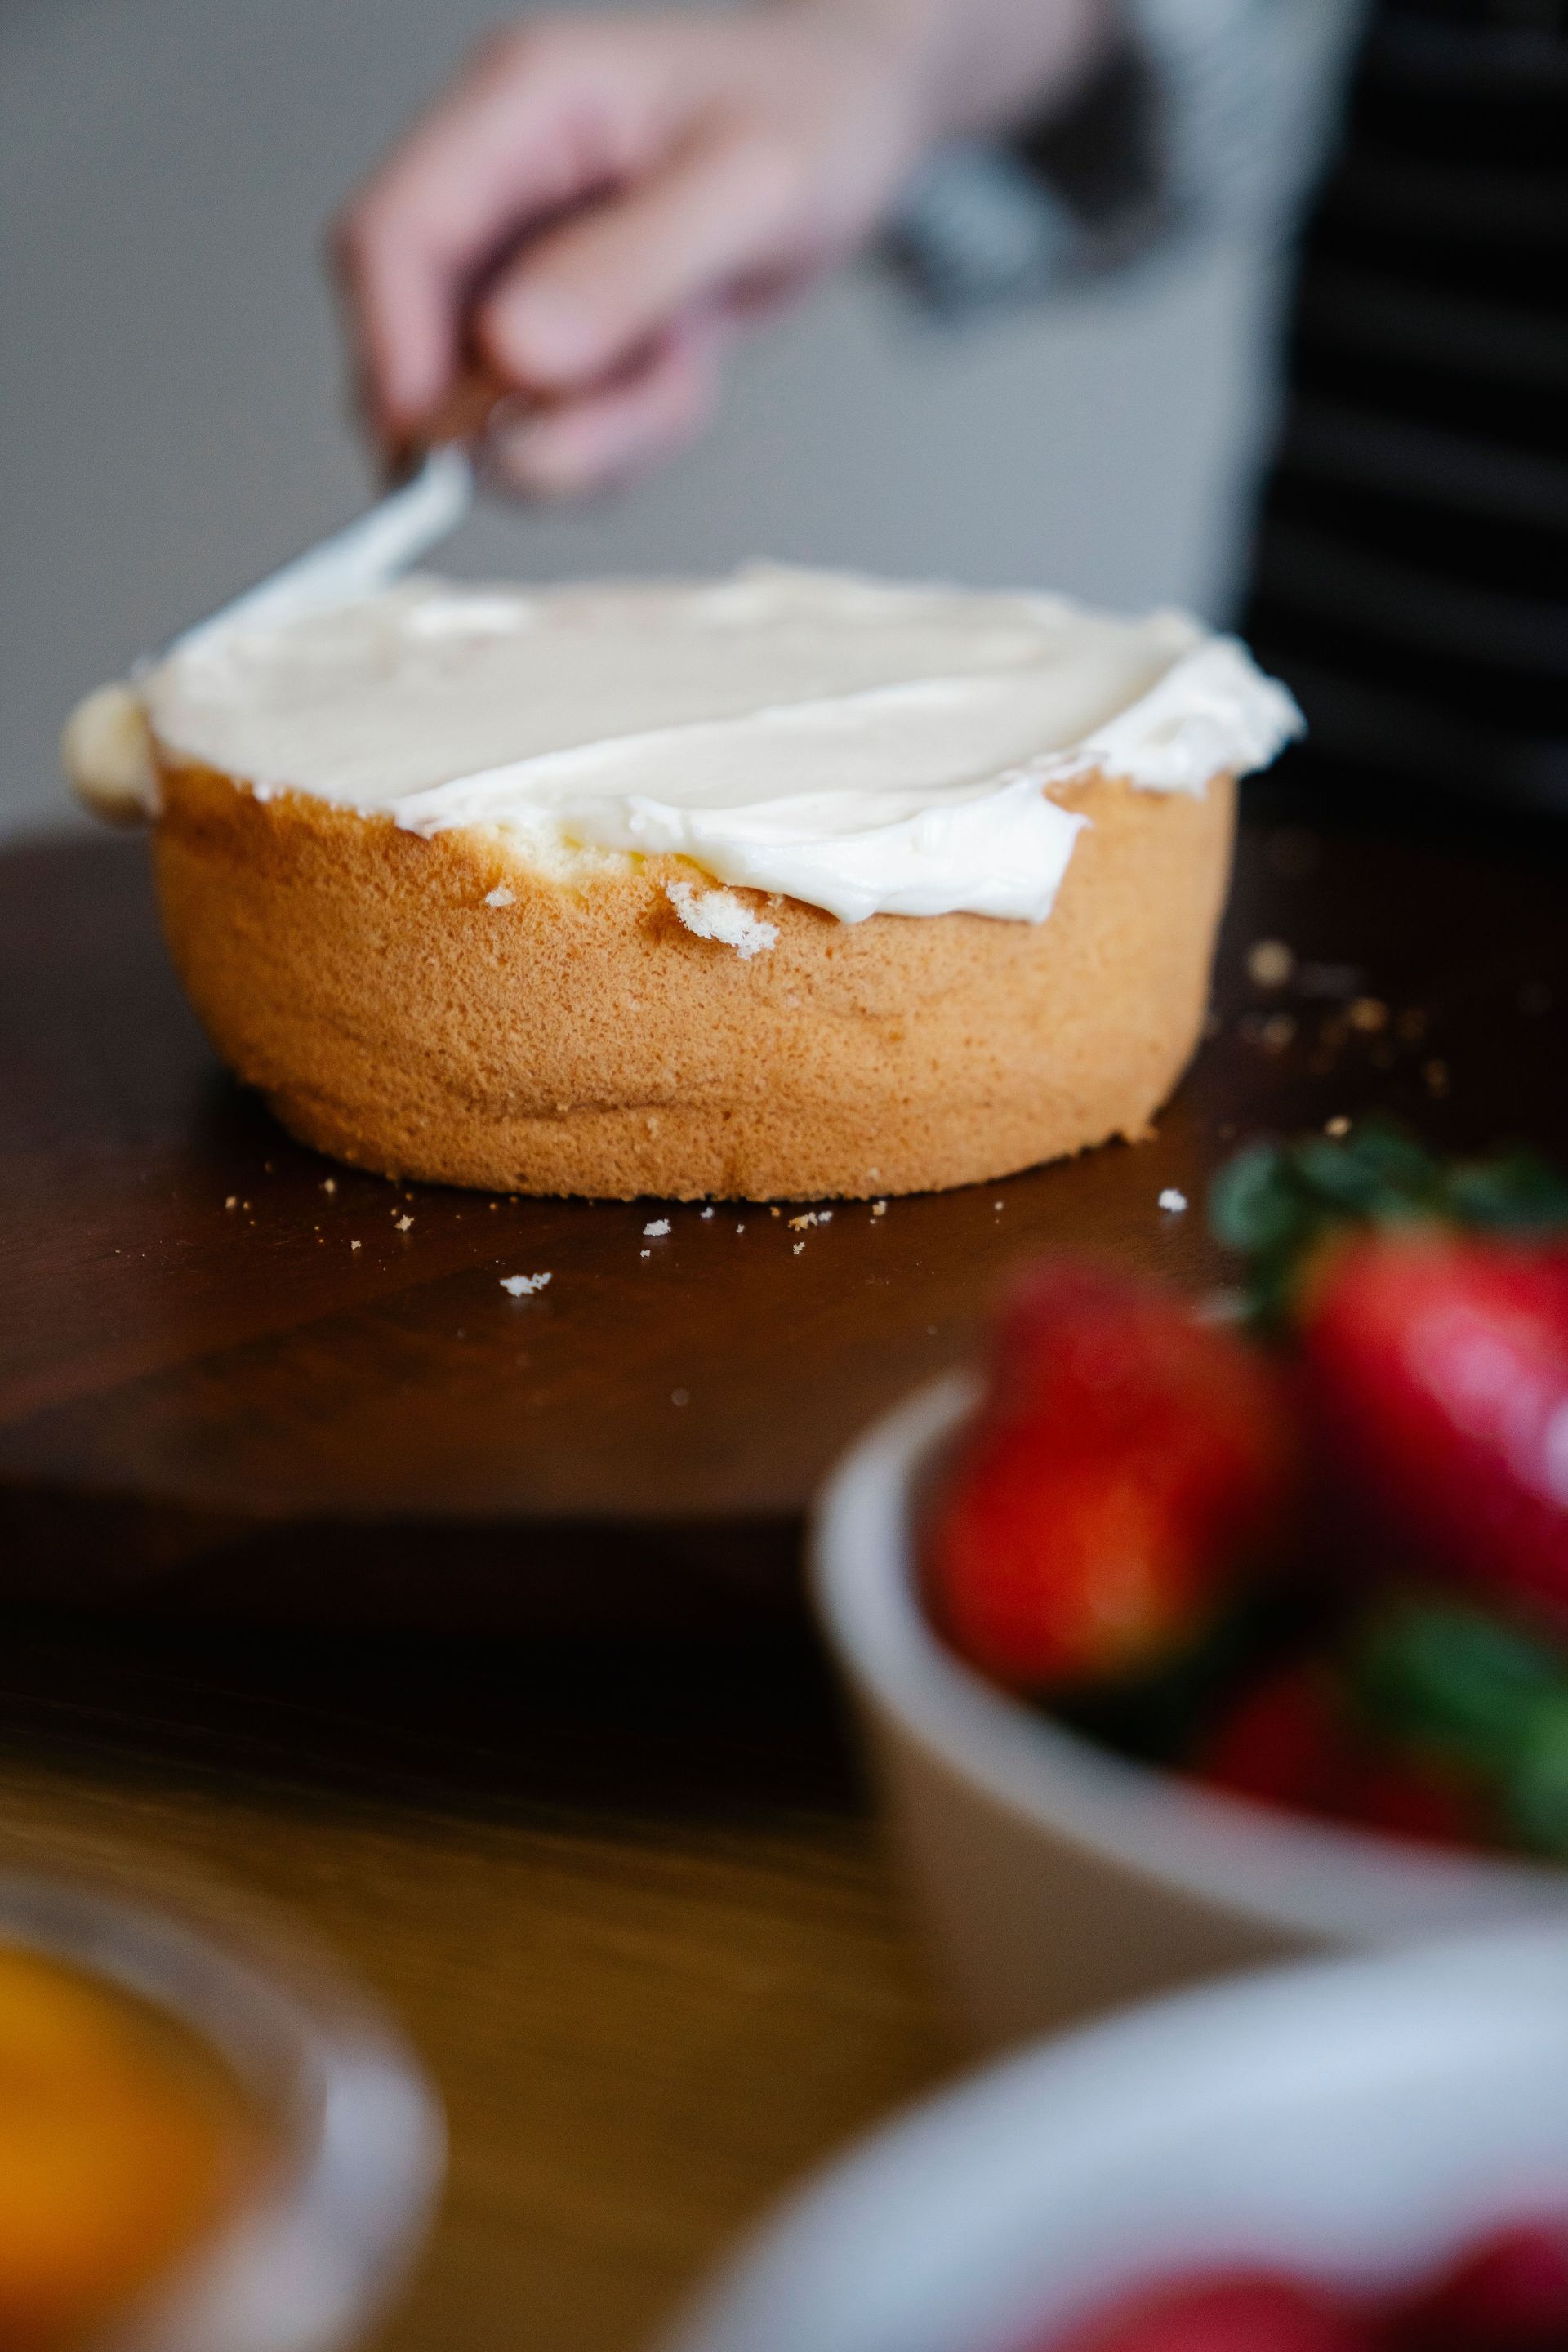
A one-layer vanilla cake is a foundational recipe that introduces beginners to the creaming method, to working with cake flour or all-purpose flour, and to understanding how a tender crumb is built. It's also one of the most versatile baked goods in existence — the same recipe, with minor adjustments, becomes cupcakes, layer cake, or the base for any number of flavor variations.
The keys to a good vanilla cake are butter at room temperature, proper creaming, and not overmixing once the flour is added. These are the same principles that govern chocolate chip cookies, which is why starting with cookies and then moving to cake is a natural progression — the skills transfer.
Cream softened butter with sugar until light and fluffy. Add eggs one at a time, beating well after each addition to fully incorporate before adding the next. Add vanilla extract. In a separate bowl, whisk together flour, baking powder, and salt. Alternate adding the flour mixture and milk to the butter mixture, beginning and ending with flour — this technique prevents the batter from breaking (curdling) by keeping the fat and liquid in balance.
Pour into a greased and floured 9-inch round cake pan. Bake at 350°F (175°C) for 28 to 33 minutes, until the top is golden and a toothpick inserted in the center comes out clean. The cake will pull slightly away from the sides of the pan when done.
Let the cake cool in the pan for 10 minutes before turning it out onto a wire rack. A cake that hasn't cooled at all will tear and break when unmolded. A cake that's cooled completely in the pan can sometimes stick.
The simplest finish is a dusting of powdered sugar or a spread of whipped cream. A slightly more ambitious option is a basic buttercream: beat softened butter with powdered sugar, a splash of milk, and vanilla until smooth.
Shortbread cookies
Credit: Canva Images
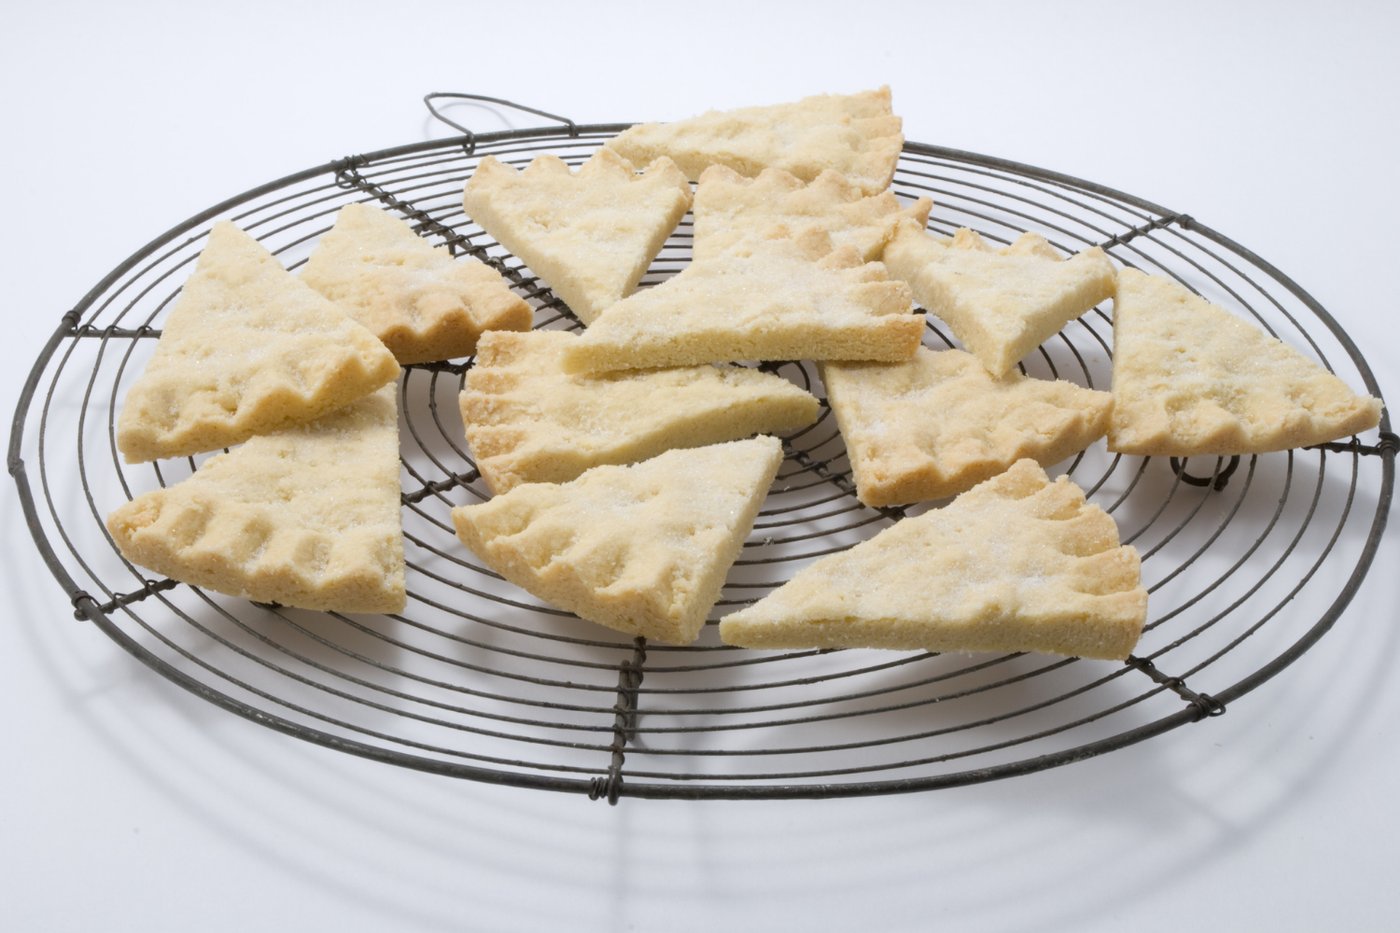
Shortbread is one of the oldest and simplest cookies in the British baking tradition, and it's also one of the best for beginners. It has only three main ingredients — butter, sugar, and flour — and no eggs, no leavening, and no complicated technique. The result, when the ratio is right and the butter is handled correctly, is a crumbly, buttery, melt-in-the-mouth cookie that lasts for up to two weeks in an airtight container.
The ratio is simple: one part sugar, two parts butter, three parts flour by weight. Most home bakers working in cups use roughly half a cup of powdered sugar, one cup of butter, and two cups of all-purpose flour. Powdered sugar (also called confectioners' sugar or icing sugar) produces a more tender, finer-crumbed shortbread than granulated sugar, which can leave the dough gritty.
The butter must be at room temperature and softened but not melted. Beat the butter and sugar together until smooth and creamy, then add the flour in stages, mixing until a soft, slightly crumbly dough forms. Do not overmix — excess gluten development will make the cookies tough rather than tender.
Press the dough into an 8-by-8-inch pan or roll it out to about half an inch thick and cut into rectangles or rounds. Prick the surface all over with a fork — this is traditional, and it also helps prevent the cookies from puffing unevenly in the oven. Refrigerate for 20 minutes before baking.
Bake at 325°F (165°C) for 18 to 22 minutes. The cookies should be a very pale golden on the edges and bottom but still almost white on top. Shortbread should not brown — if it does, it will taste bitter and dry. Let the cookies cool completely in the pan before removing; they're fragile when warm.
A pinch of salt added to the dough dramatically improves the flavor. Some bakers use salted butter and skip the added salt; others prefer unsalted butter and add it explicitly to control the exact amount.
Fluffy pancakes
Credit: Nadin Sh / Pexels
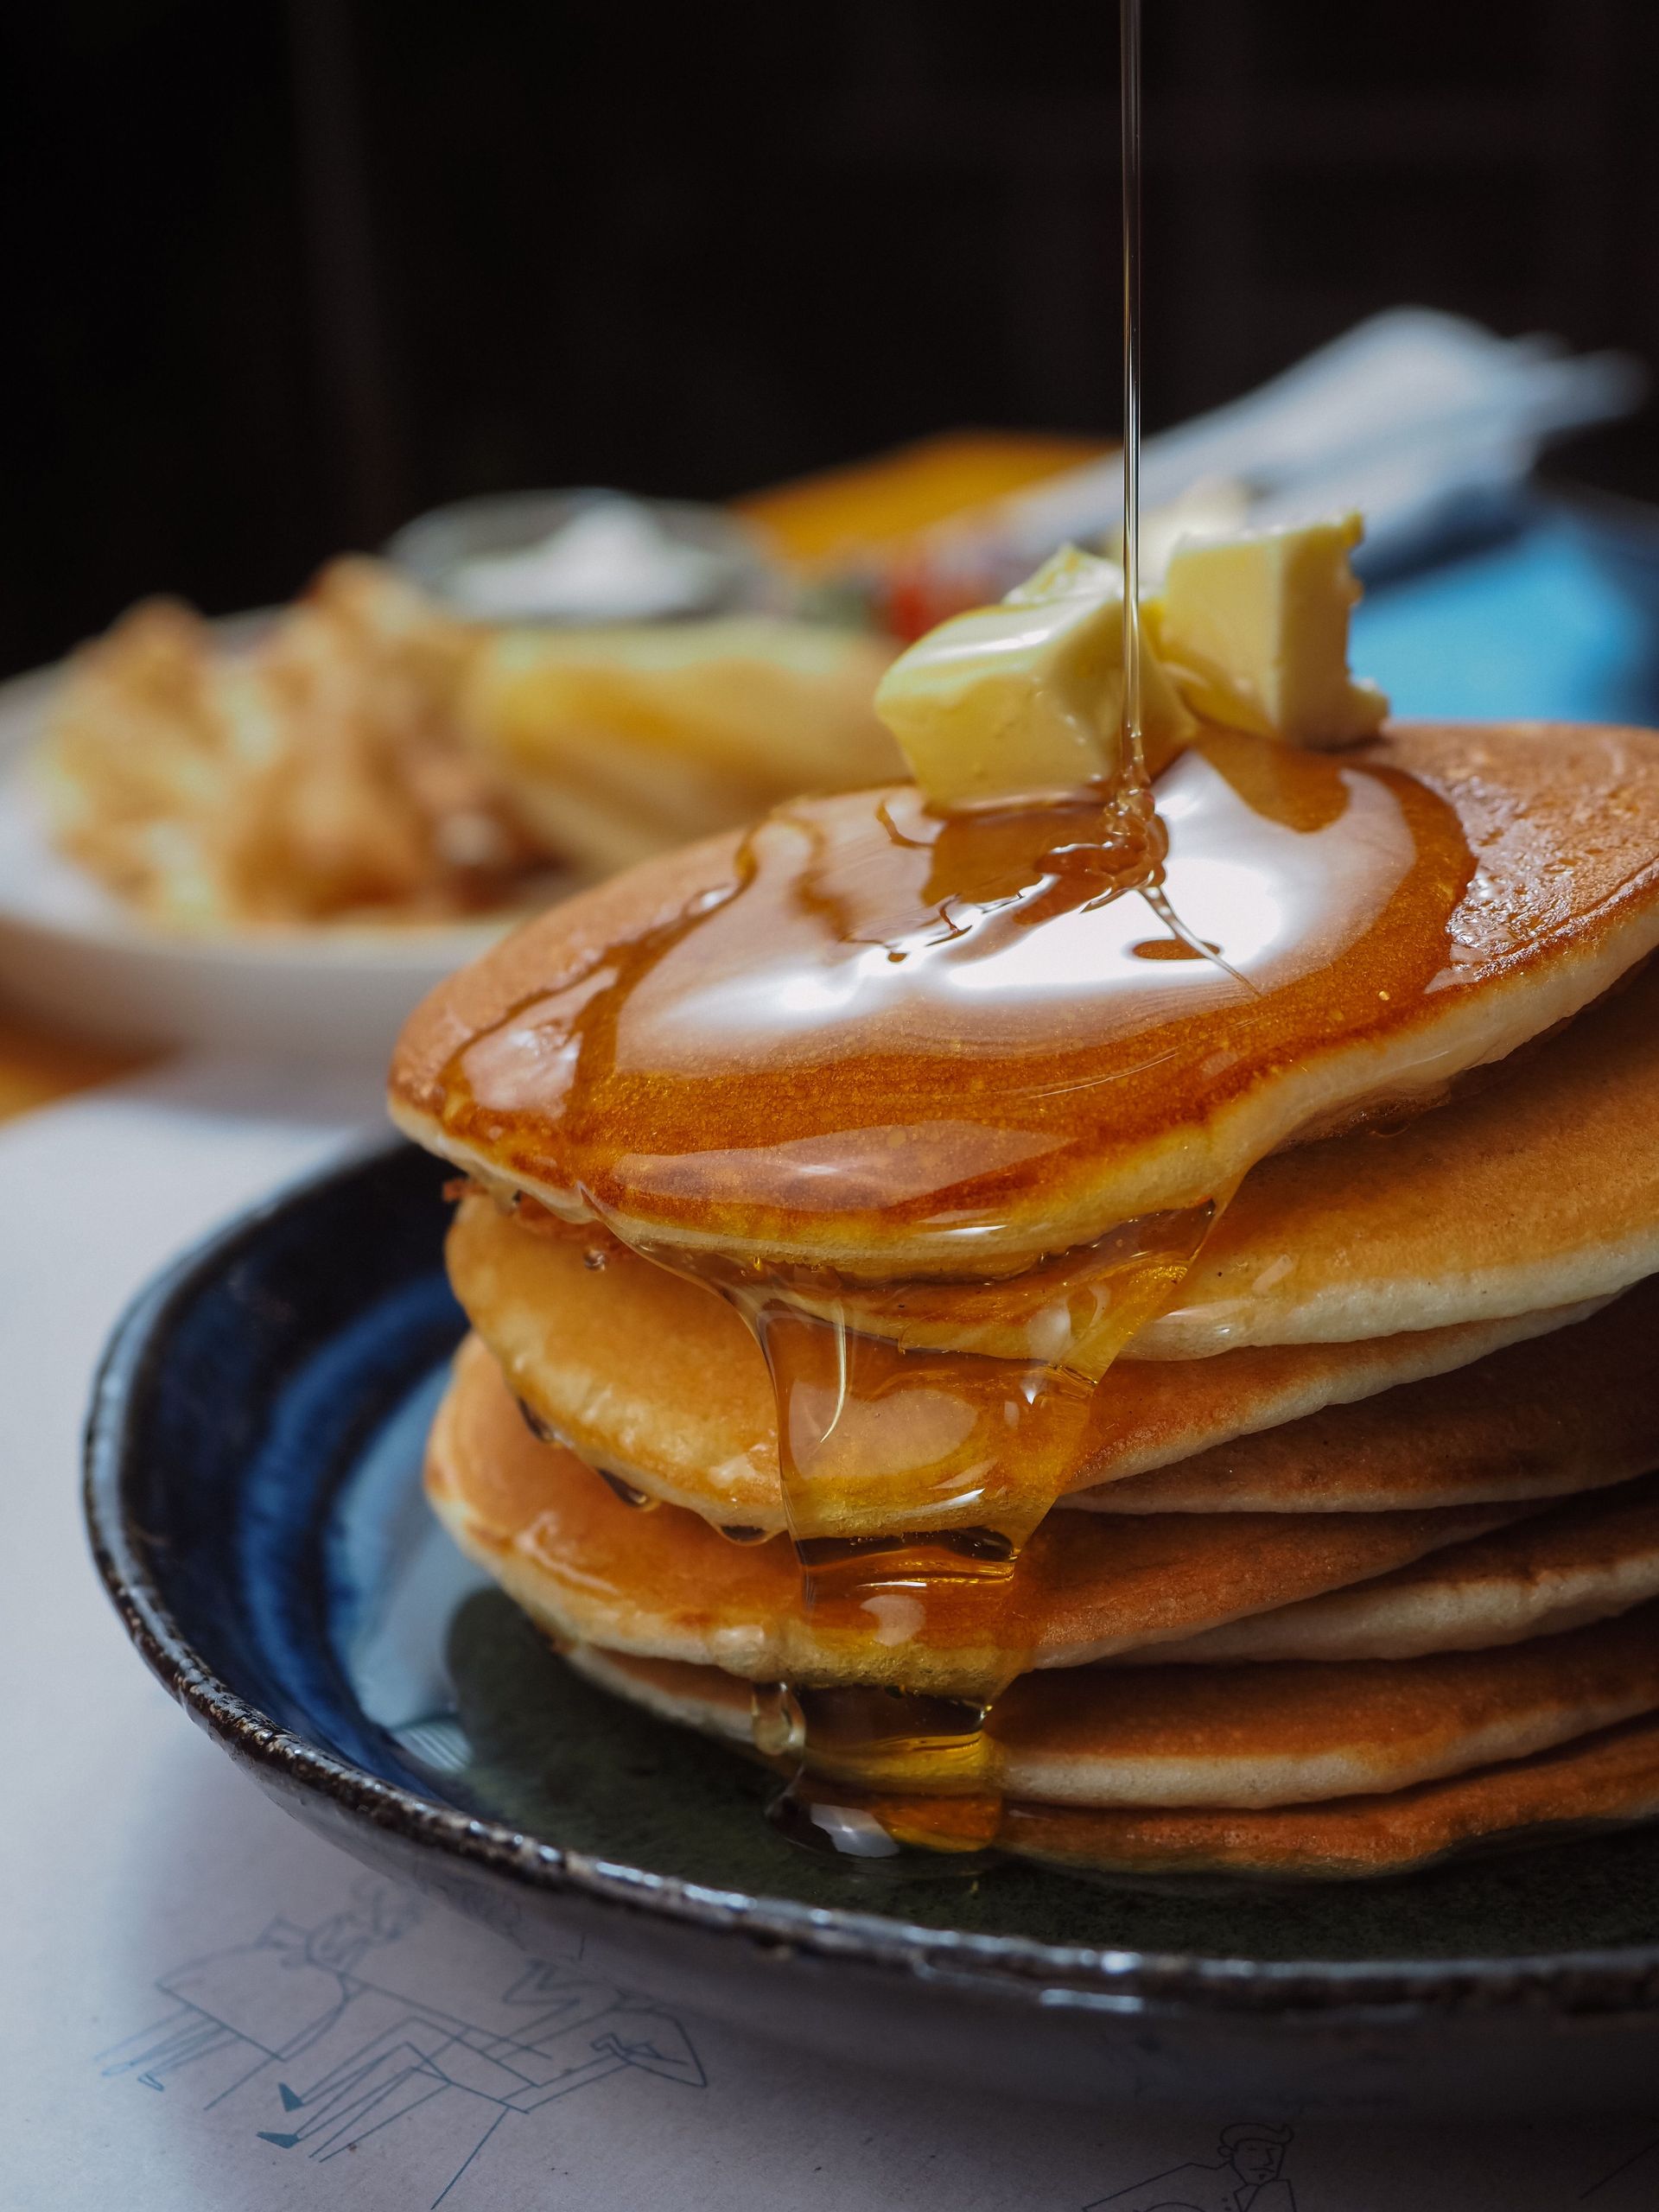
Pancakes are baked goods in the sense that they rely on the same chemical leavening and similar mixing principles as muffins and quick breads — just cooked on a griddle instead of in an oven. They're a strong starting point for beginners because the feedback loop is immediate. You can see whether the pan is too hot or too cool, taste the first pancake off the griddle, and adjust before committing the entire batch.
A good fluffy pancake has a light, airy interior and a golden exterior. The leavening comes from baking powder, which begins producing carbon dioxide bubbles as soon as it contacts liquid and accelerates that production when it hits heat. Buttermilk adds additional lift through its reaction with baking soda (if included in the recipe) and contributes a subtle tang.
The basic technique is the same as for muffins: mix dry and wet ingredients separately, combine them minimally, and resist the urge to beat out every lump. Lumpy pancake batter produces lighter pancakes than smooth batter. Let the combined batter rest for three to five minutes before cooking — the gluten will relax and the leavening will begin activating, giving you a fluffier result.
Heat a skillet or griddle over medium heat. A drop of water flicked onto the surface should dance and evaporate within a second or two — if it just sits and steams, the pan is too cool; if it vaporizes instantly, it's too hot. Grease the surface lightly with butter or neutral oil. Pour about a quarter cup of batter per pancake.
Cook until bubbles form across the surface and the edges look set — about two to three minutes. Flip once and cook for another one to two minutes. The second side rarely browns as evenly as the first, and that's fine. The first pancake off any griddle is almost always the test pancake; don't judge the recipe by it.
Add blueberries, chocolate chips, or sliced bananas directly to the batter in the pan, pressing them in after you pour the batter, for an easy variation.
Lemon bars
Credit: Skyler Ewing / Pexels
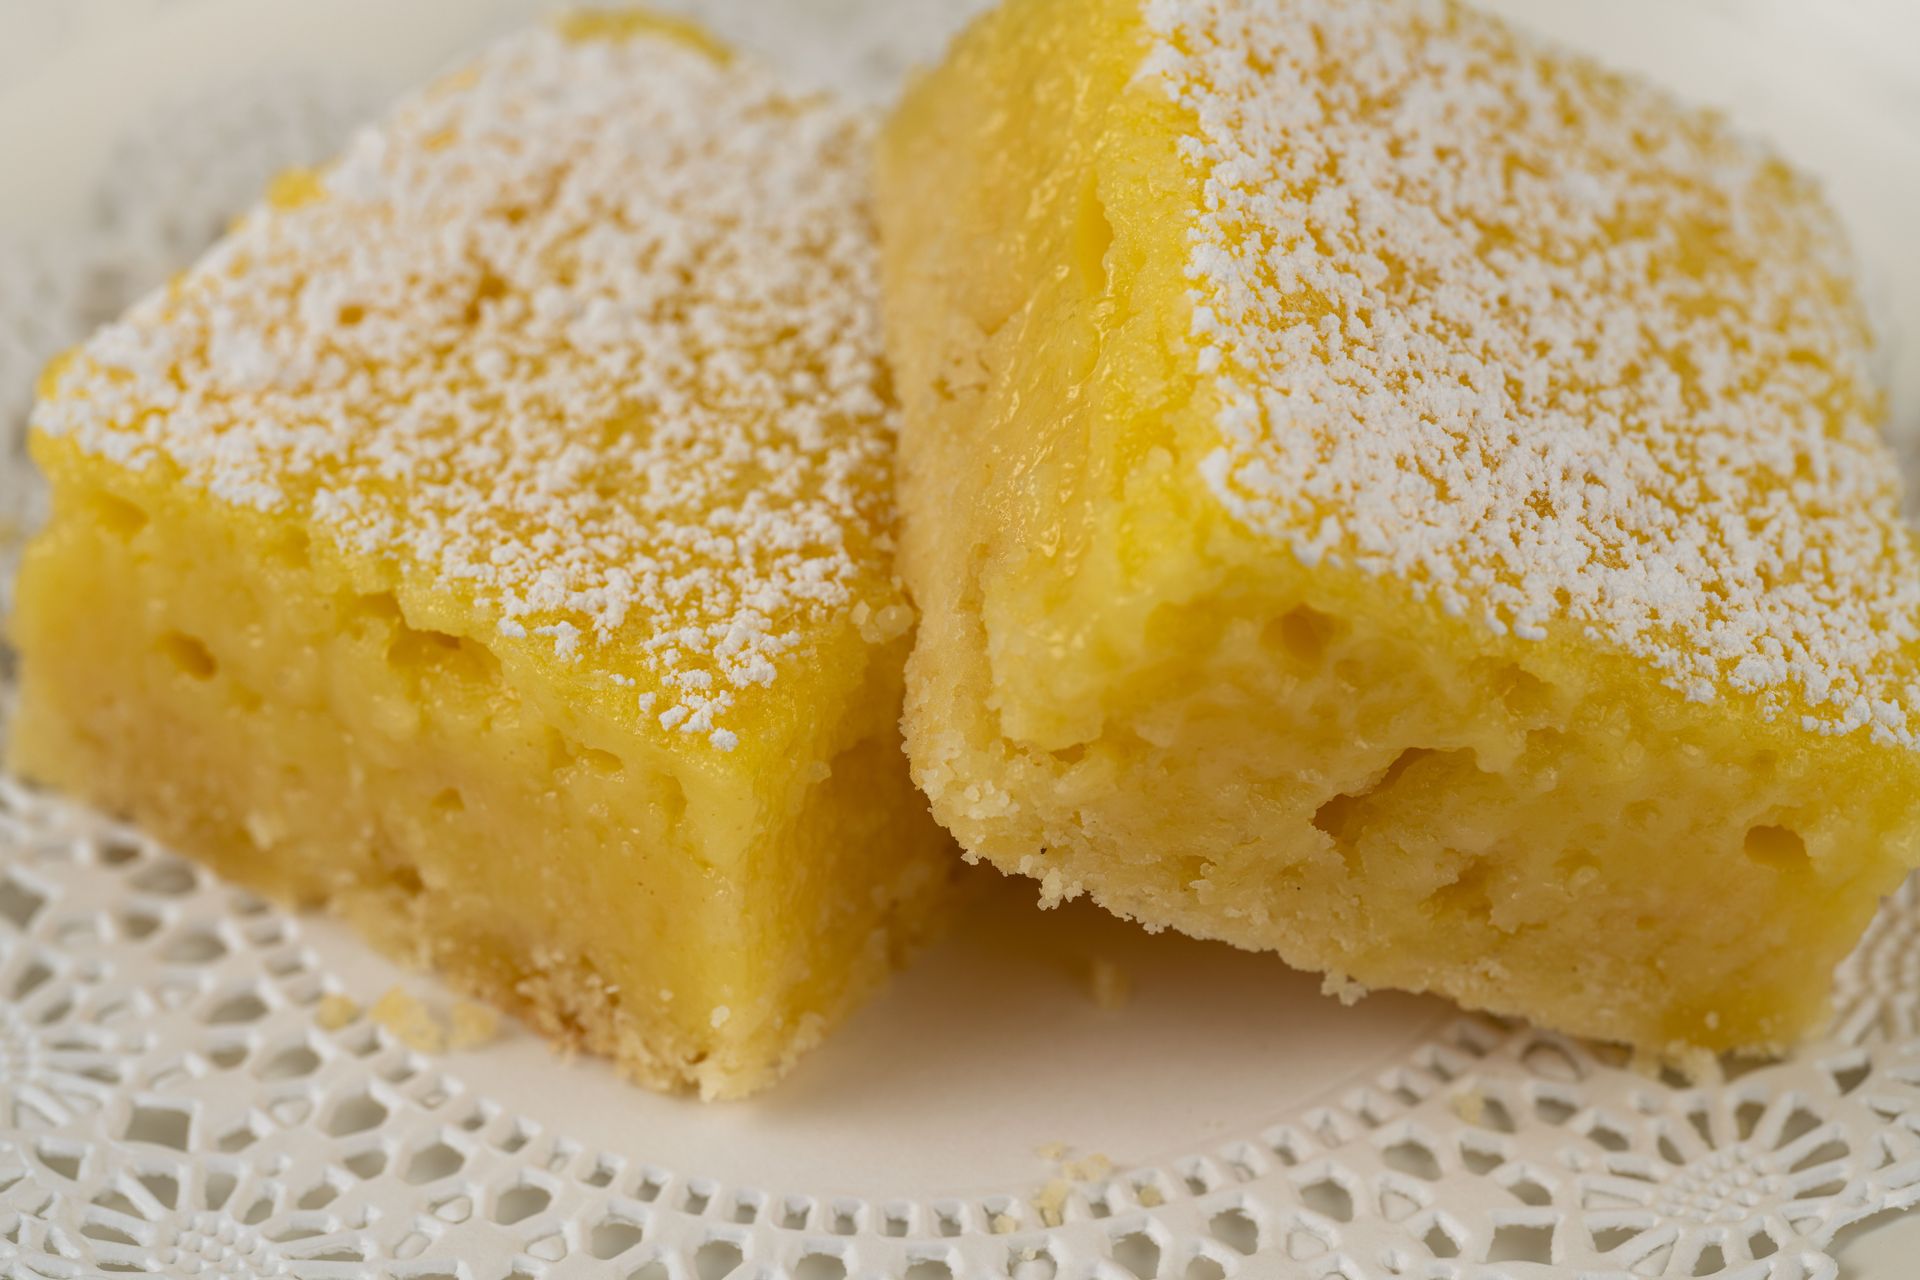
Lemon bars are a two-part recipe — a buttery shortbread crust topped with a tart, set lemon curd filling — and they're a good introduction to the idea of building a baked dessert in layers. The shortbread base is made and partially baked first, then the filling is poured on top and the whole thing goes back into the oven. This par-baking technique appears in cheesecakes, tarts, and many bar cookies.
The crust is a simple mixture of butter, flour, powdered sugar, and a pinch of salt. Combine them until the mixture resembles coarse crumbs, then press it evenly into the bottom of an 8-by-8-inch or 9-by-13-inch pan — a 9-by-13 produces thinner bars, an 8-by-8 thicker ones. Bake at 350°F (175°C) for 15 to 18 minutes until the crust is set and just beginning to color at the edges.
While the crust bakes, prepare the lemon filling. Whisk together eggs, granulated sugar, fresh lemon juice, lemon zest, and a small amount of flour. The flour stabilizes the curd and helps it set to a sliceable consistency rather than staying liquid. Fresh lemon juice is essential here — bottled juice lacks the brightness and acidity that make lemon bars distinctive. You'll need about three to four lemons for the juice and zest.
Pour the filling over the hot crust immediately out of the oven. Return to the oven and bake for another 20 to 25 minutes, until the filling is set at the edges but still has a very slight jiggle in the center. It will firm up completely as it cools.
Cool to room temperature, then refrigerate for at least two hours before cutting. Dust generously with powdered sugar just before serving — the sugar will absorb into the surface if applied too early. Cut with a sharp, clean knife, wiping between each cut for clean edges.
Cinnamon roll biscuits
Credit: Gülsüm Çoban / Pexels
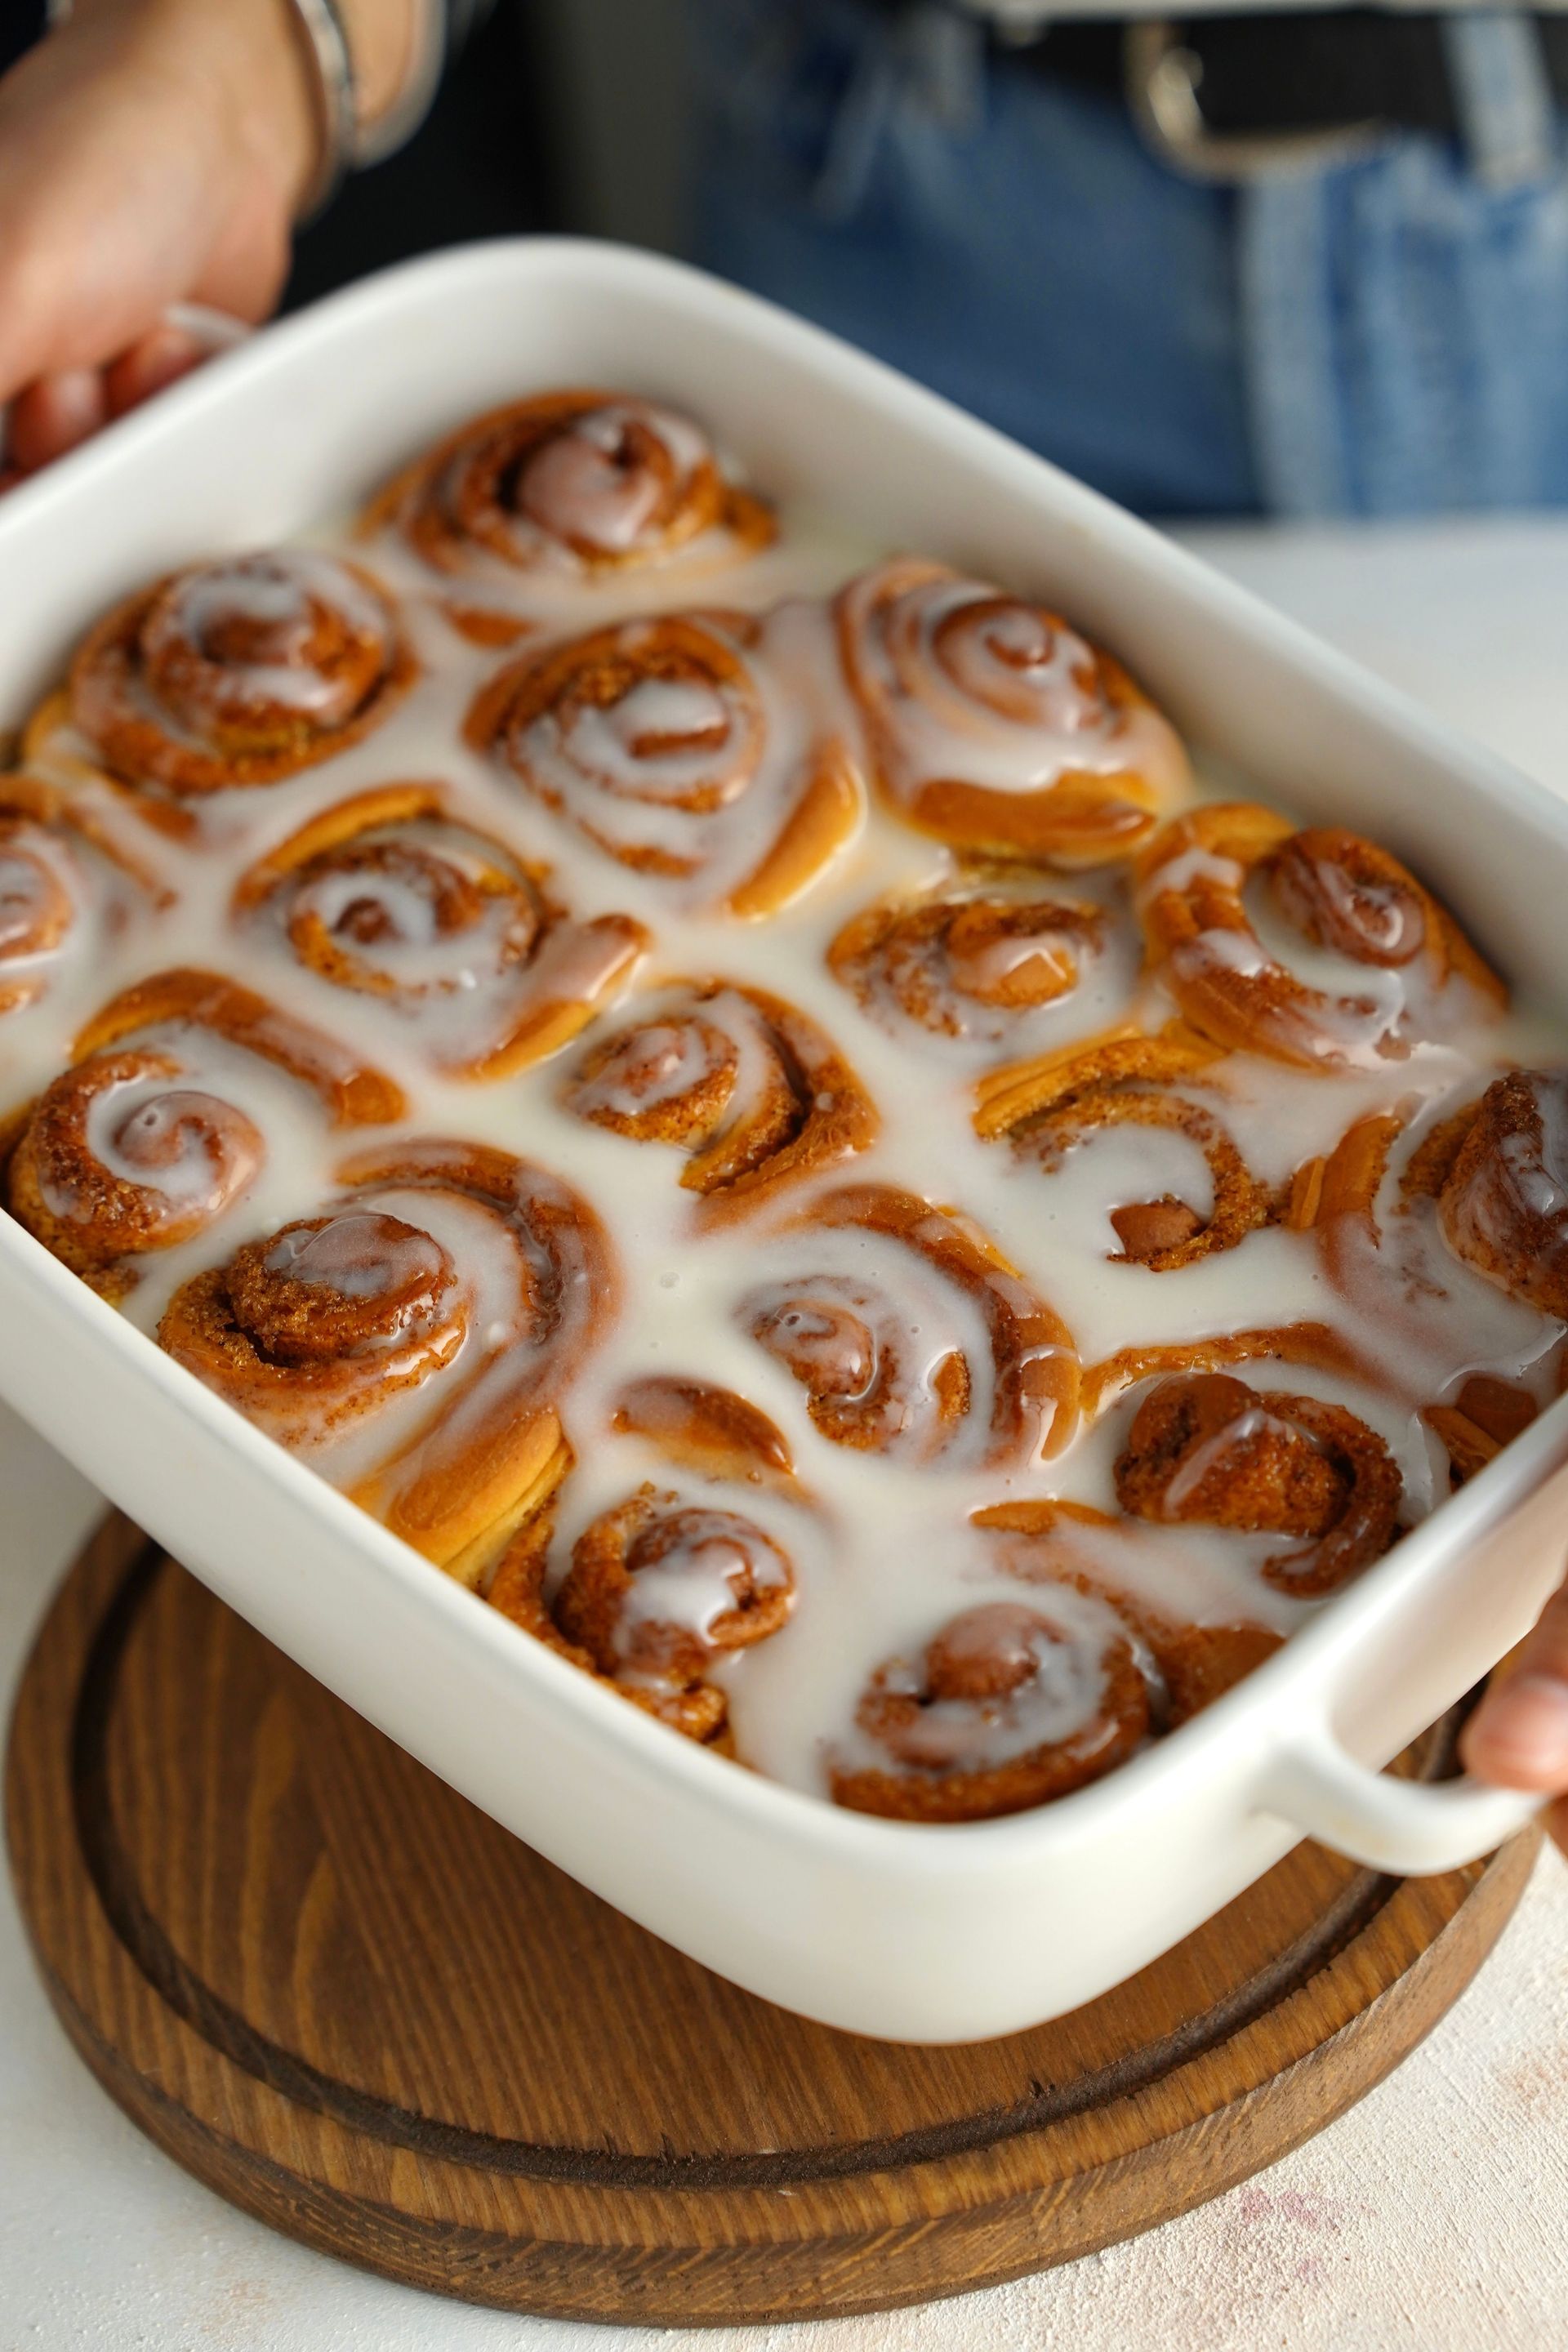
Cinnamon roll biscuits use a simple biscuit dough — rather than a yeasted dough — rolled out, spread with a butter and cinnamon sugar filling, and sliced into rounds. They bake in about 20 minutes and skip the hours of proofing that traditional cinnamon rolls require. For beginners who want the taste and visual appeal of cinnamon rolls without committing to a yeast dough project, this recipe is the practical solution.
The dough starts with all-purpose flour, baking powder, salt, cold butter, and buttermilk or regular milk. Cold butter is essential for biscuit dough — unlike most baking, which calls for room-temperature butter, a good biscuit relies on small pockets of cold fat that steam in the oven, creating flaky layers. Cut the butter into the flour using a pastry cutter, two forks, or your fingertips, working quickly so the heat of your hands doesn't melt the butter. The mixture should look like coarse crumbs with some pea-sized pieces of butter remaining.
Add the buttermilk and stir until a shaggy dough comes together. Turn it out onto a floured surface and gently pat or roll it to a rectangle about a quarter inch thick. Don't work the dough more than necessary — gluten development will make the biscuits tough.
Spread softened butter over the surface of the dough, then sprinkle generously with a mixture of brown sugar and ground cinnamon. Roll the dough from the long side into a tight log. Slice into rounds about an inch thick using a sharp knife or unflavored dental floss (which cuts cleanly without compressing the dough).
Place in a greased baking pan with the rolls touching — this helps them rise upward rather than spreading outward. Bake at 400°F (200°C) for 18 to 22 minutes until golden. Drizzle with a simple glaze of powdered sugar and milk while still warm.
Olive oil cake
Credit: Cyprus Eats / Pexels
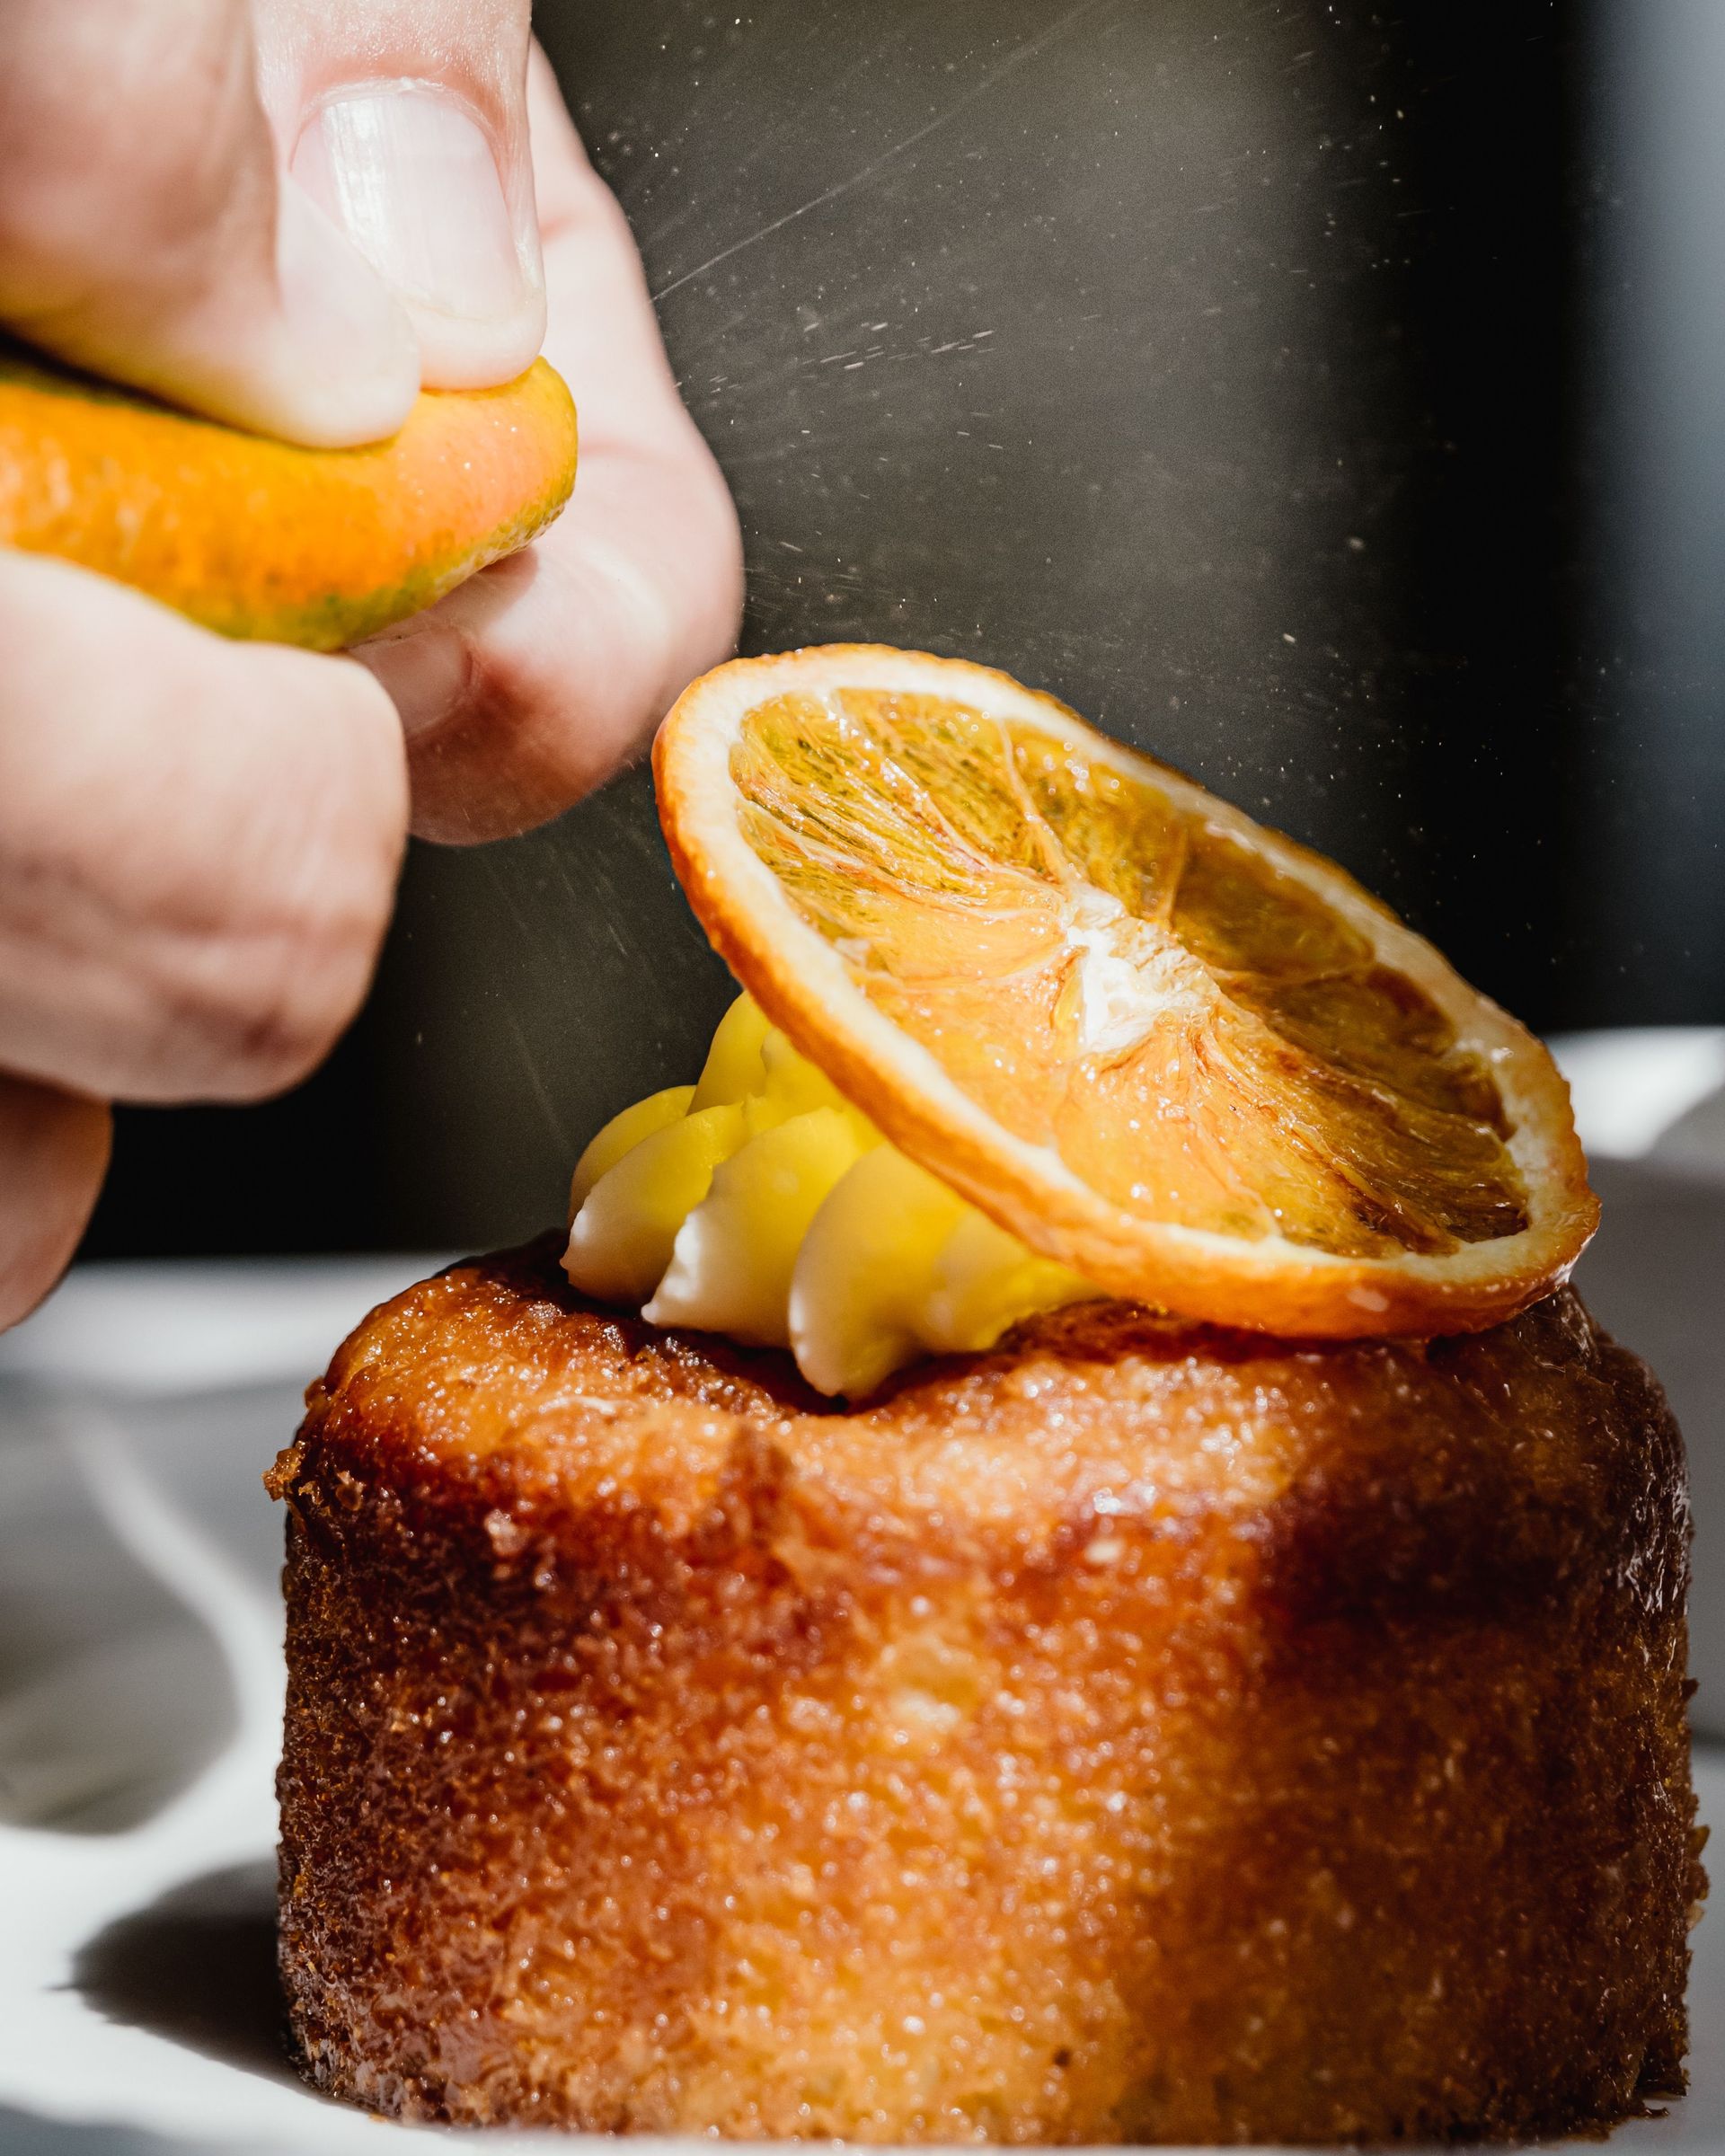
Olive oil cake is a Mediterranean staple that beginners should know because it sidesteps one of the most common problems in home baking: dry cake from overbaked or poorly measured butter. Oil-based cakes stay moist longer than butter-based ones, because oil remains liquid at room temperature while butter solidifies. A slice of olive oil cake left at room temperature for two days is still as tender as the day it was made.
The flavor profile is subtle but distinctive. A good olive oil adds a faint grassy, slightly peppery note that works especially well with citrus — lemon zest, orange zest, or both. The cake is not sweet in the way an American layer cake is, making it suitable for serving with coffee in the morning or tea in the afternoon.
The method couldn't be simpler. Whisk together eggs and sugar until slightly thickened and pale. Add olive oil in a thin stream, whisking constantly, then add orange or lemon zest, a splash of juice, and vanilla. Fold in a mixture of all-purpose flour, almond flour (optional, but it contributes additional moisture and a finer crumb), baking powder, and salt.
Pour into a greased 9-inch round cake pan and bake at 350°F (175°C) for 35 to 40 minutes. The top should be golden and a toothpick should come out clean. The cake will dome slightly, and the edges will pull from the pan.
The choice of olive oil matters more here than in most savory cooking. A mild, neutral olive oil produces a more subtle cake; a robust, fruity one adds flavor. Either works well — it comes down to preference. Do not use extra-light olive oil, which is a refined product that lacks flavor.
Finish with a dusting of powdered sugar or serve with whipped cream and sliced citrus.
Oatmeal cookies
Credit: Dinara Ashurova / Pexels
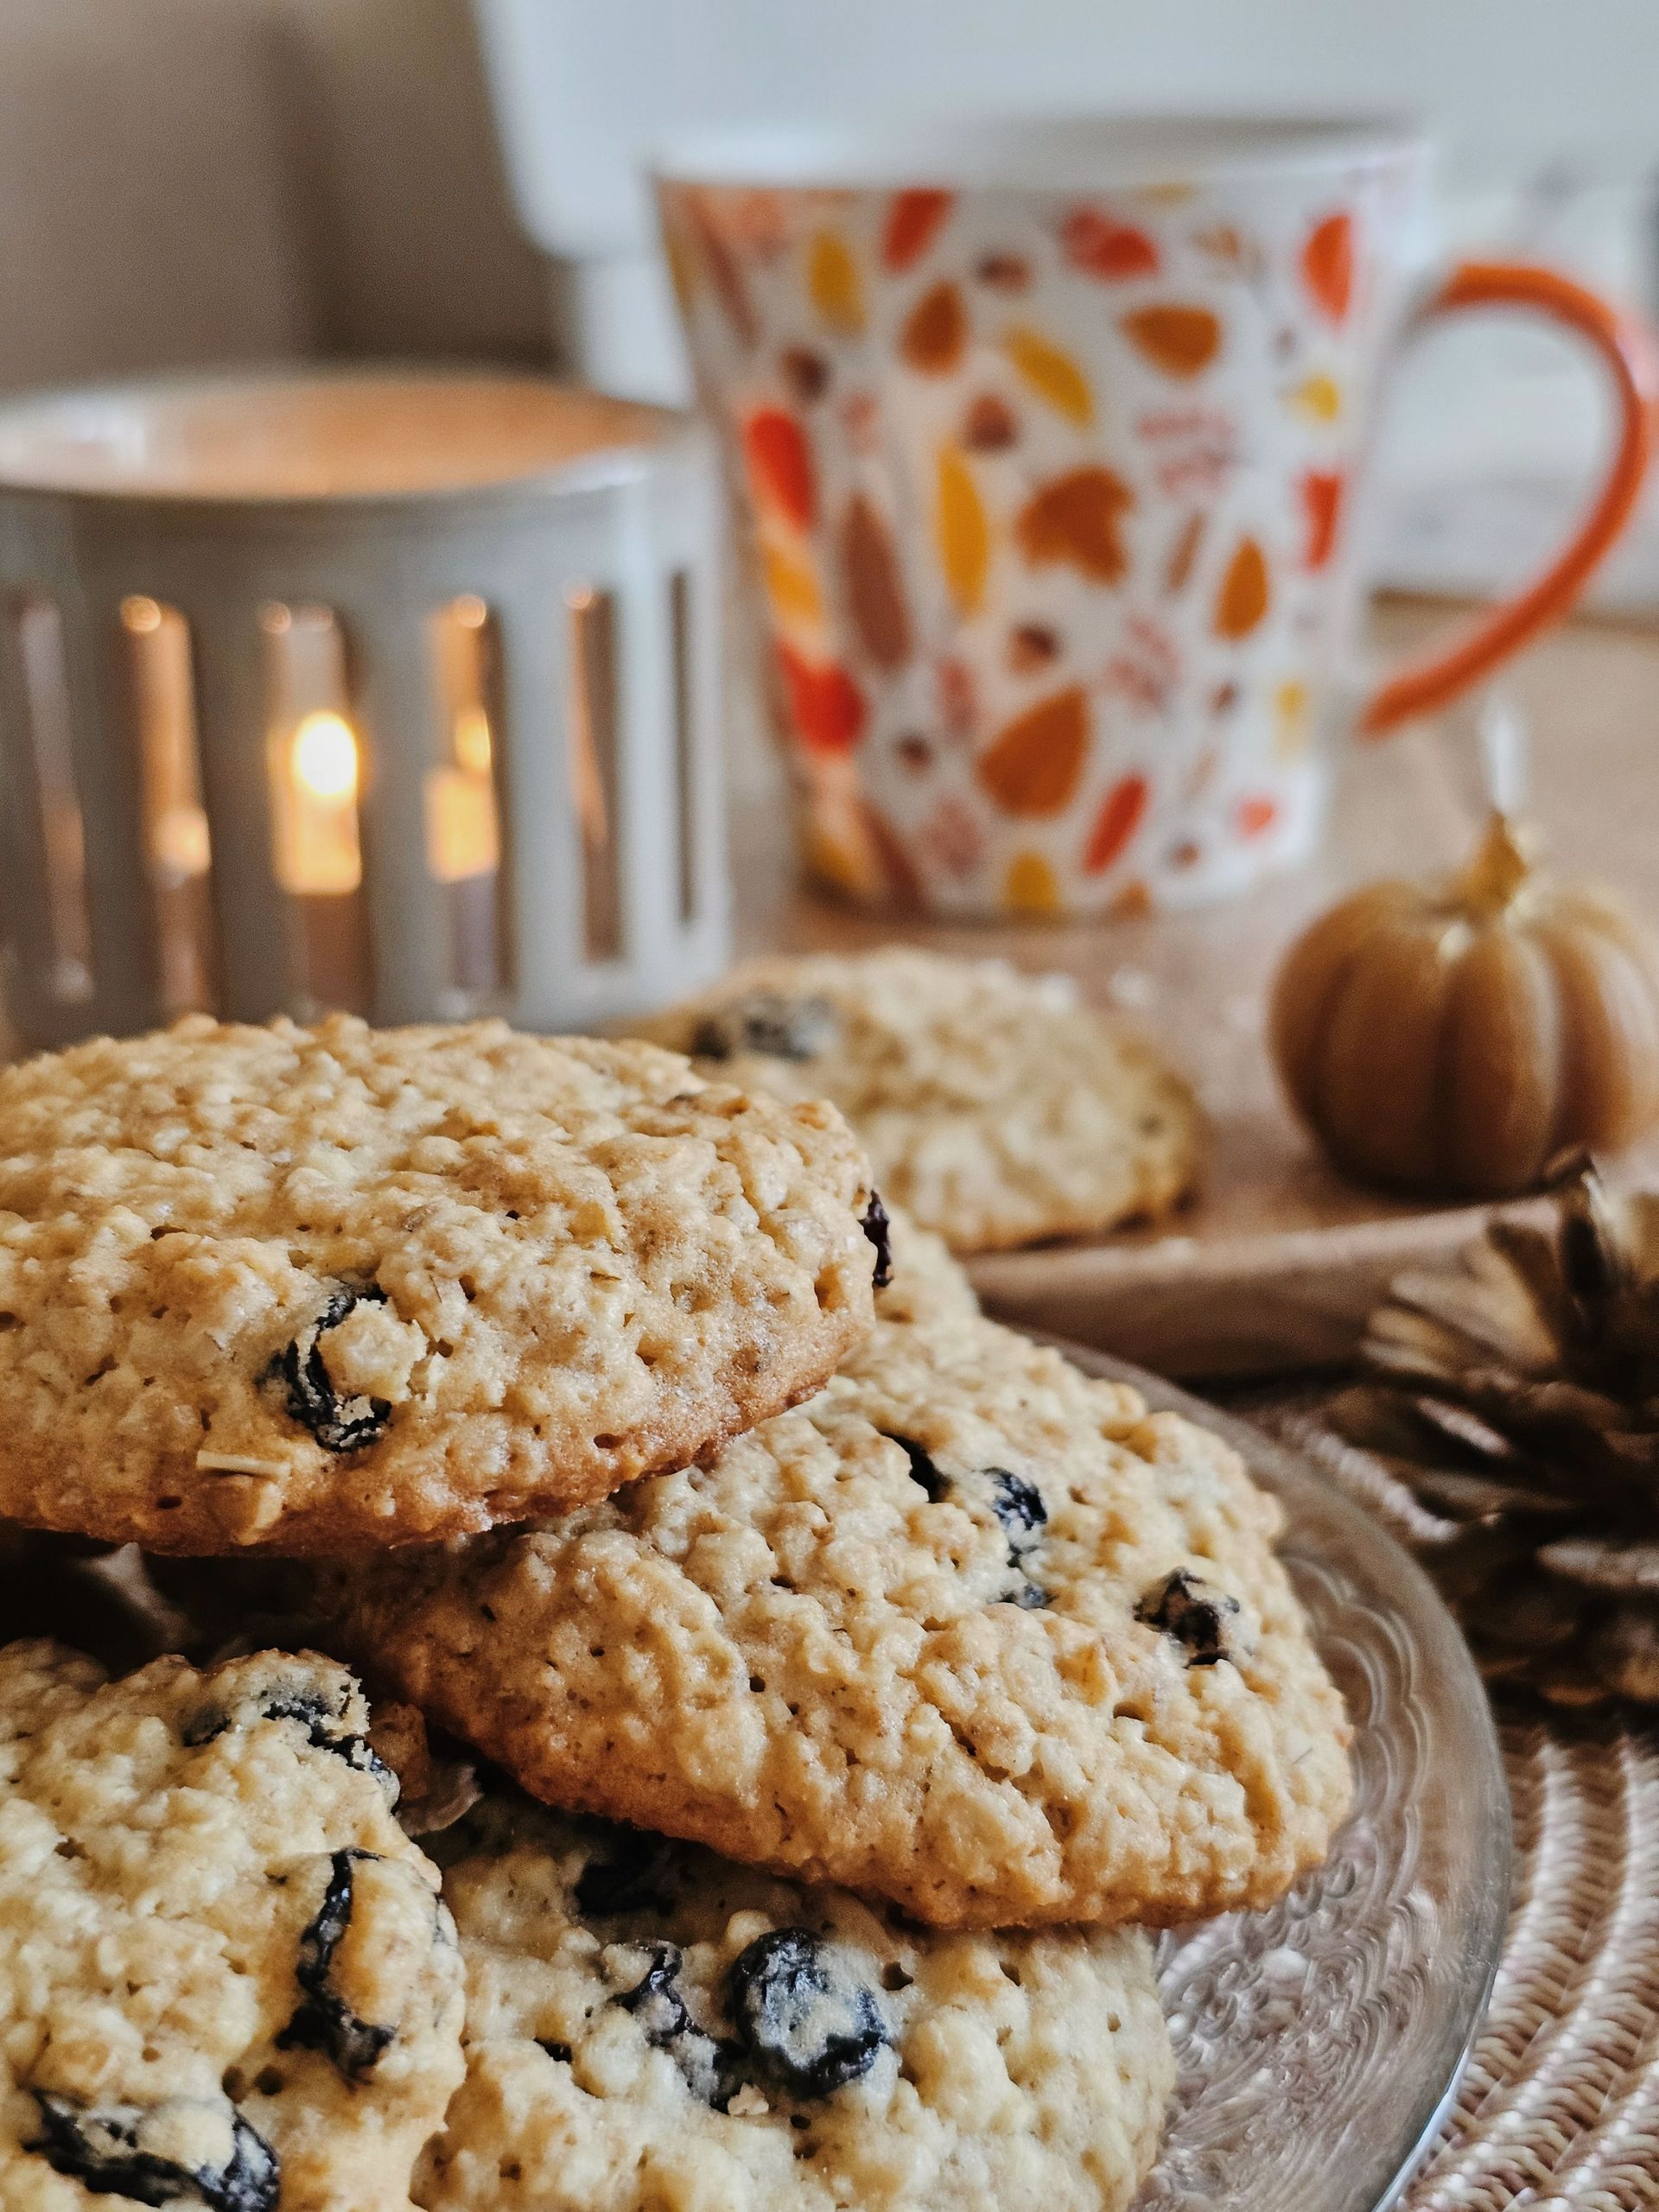
Oatmeal cookies are one of the more flexible cookie recipes a beginner can learn. The base dough is similar to chocolate chip cookies — creamed butter and sugar, eggs, flour — but the rolled oats add chew, texture, and a nutty flavor that makes the cookie distinctly its own thing. They also keep well, holding their texture for up to five days in an airtight container.
The most important technical decision is the type of oats. Old-fashioned rolled oats produce a chewier, more textured cookie with visible oat pieces. Quick oats produce a smoother, softer cookie that bakes more uniformly. Instant oats, which are too finely processed, don't work well and produce a gummy texture. Old-fashioned rolled oats are the standard choice for most oatmeal cookie recipes.
Cream softened butter with both brown and white sugar — brown sugar contributes more moisture and depth of flavor, which balances the heartiness of the oats. Beat in eggs and vanilla, then add all-purpose flour, baking soda, cinnamon, and salt. Fold in the oats last, stirring just until combined.
Cinnamon is non-negotiable in a classic oatmeal cookie — it's what gives the cookie its characteristic warmth. Some recipes add nutmeg as well, though a light hand is required, as nutmeg can overpower the other flavors quickly.
Raisins are the traditional addition, and they work well because their sweetness and chew complement the oats. If you don't like raisins, dried cranberries, chopped dried apricots, or chocolate chips are all workable substitutes. Toasted chopped walnuts or pecans add crunch.
Drop the dough onto a parchment-lined baking sheet in rounded tablespoons, spacing them about two inches apart. Bake at 350°F (175°C) for 10 to 12 minutes. The cookies should be golden at the edges and still look slightly underdone in the centers — they firm up significantly as they cool.
Zucchini bread
Credit: Canva Images
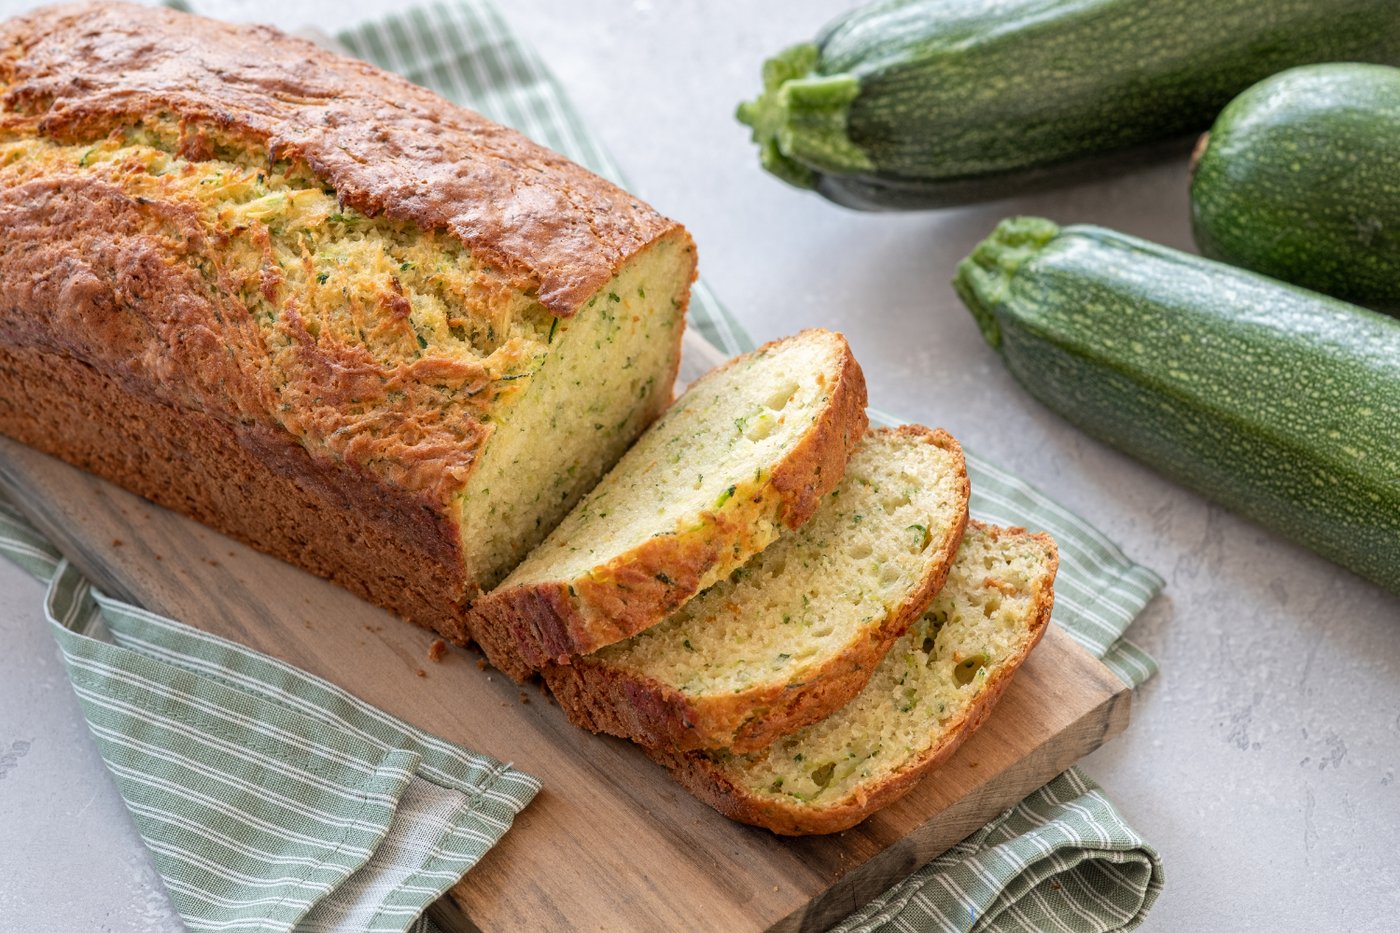
Zucchini bread belongs to the same quick bread family as banana bread — a batter mixed in two bowls and baked in a loaf pan — but it has a different profile. The zucchini adds moisture without a strong flavor of its own, making the resulting bread tender and mild. Most of the flavor comes from the warm spices added to the batter: cinnamon, nutmeg, and sometimes a small amount of clove.
One medium zucchini yields roughly one cup of grated zucchini after squeezing out the excess moisture. That moisture-removal step is essential. Grated zucchini holds a significant amount of water, and if you add it straight to the batter, the bread will be dense and possibly raw in the center despite a long bake time. After grating, bundle the zucchini in a clean kitchen towel and wring it firmly over the sink until the towel stops releasing liquid.
The recipe structure is identical to banana bread. Whisk together flour, baking soda, baking powder, salt, and spices in one bowl. In another, combine eggs, sugar, vegetable oil (oil rather than butter keeps the crumb moist without the dough being heavy), vanilla, and the squeezed zucchini. Fold the wet ingredients into the dry until just combined.
Chopped walnuts or pecans are a natural addition, as is a small amount of lemon zest, which brightens the flavor and adds a contrast to the warmth of the spices. Some bakers fold in chocolate chips, though this takes the bread in a more dessert-oriented direction.
Bake in a greased 9-by-5-inch loaf pan at 350°F (175°C) for 55 to 65 minutes. Like banana bread, zucchini bread is prone to looking done before it actually is — use the toothpick test and don't pull it early.
The bread keeps well for three days at room temperature wrapped in plastic, and it freezes excellently for up to three months.
Scones
Credit: Canva Images
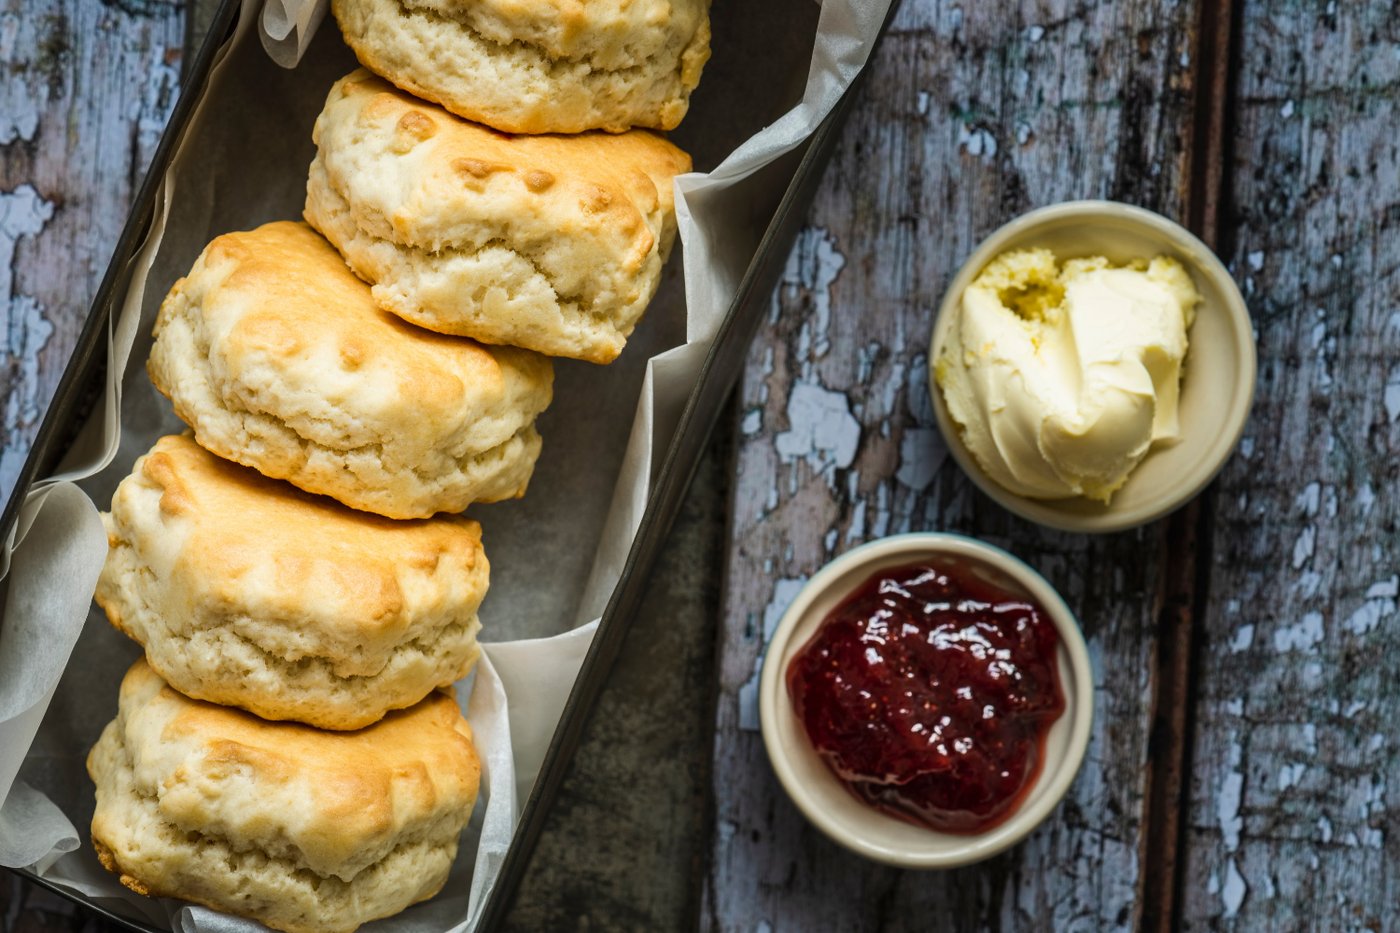
Scones are a close relative of American biscuits — both use cold fat cut into flour — but they're typically richer (more butter, often with the addition of cream) and slightly sweet. They're shaped by hand into rounds or cut into wedges rather than rolled and punched with a cutter, making them faster and more approachable for beginners.
The key to a good scone is handling the dough as little as possible and keeping the ingredients cold. Cold butter creates steam pockets in the oven that produce flaky layers. Warm butter melts into the dough before baking and produces a dense, crumbly scone instead. If your hands are warm, work quickly or use a pastry cutter rather than your fingers.
A classic scone recipe uses all-purpose flour, baking powder, salt, sugar, cold unsalted butter, one egg, and heavy cream. The egg adds richness and helps bind the dough; the cream adds fat that tenderizes the crumb. Mix the dry ingredients, cut in the cold butter until the mixture looks like coarse sand with some pea-sized pieces, then add the egg and cream and stir just until the dough comes together.
Turn the dough out onto a floured surface and gently press it into a disc about an inch thick. Cut into eight wedges or use a round cutter for circular scones. Place on a parchment-lined baking sheet and brush the tops with a small amount of cream — this gives the surface a golden, slightly glossy finish.
Bake at 400°F (200°C) for 15 to 18 minutes until risen and golden. A scone that's slightly underdone will be gummy inside; one that's slightly overdone will be dry. Check at the 15-minute mark.
For fruit scones, fold in a handful of dried currants, raisins, or dried cranberries before adding the liquid. For cheese scones — excellent served warm alongside soup — omit the sugar and fold in shredded sharp cheddar.
Focaccia
Credit: Natalia Olivera / Pexels
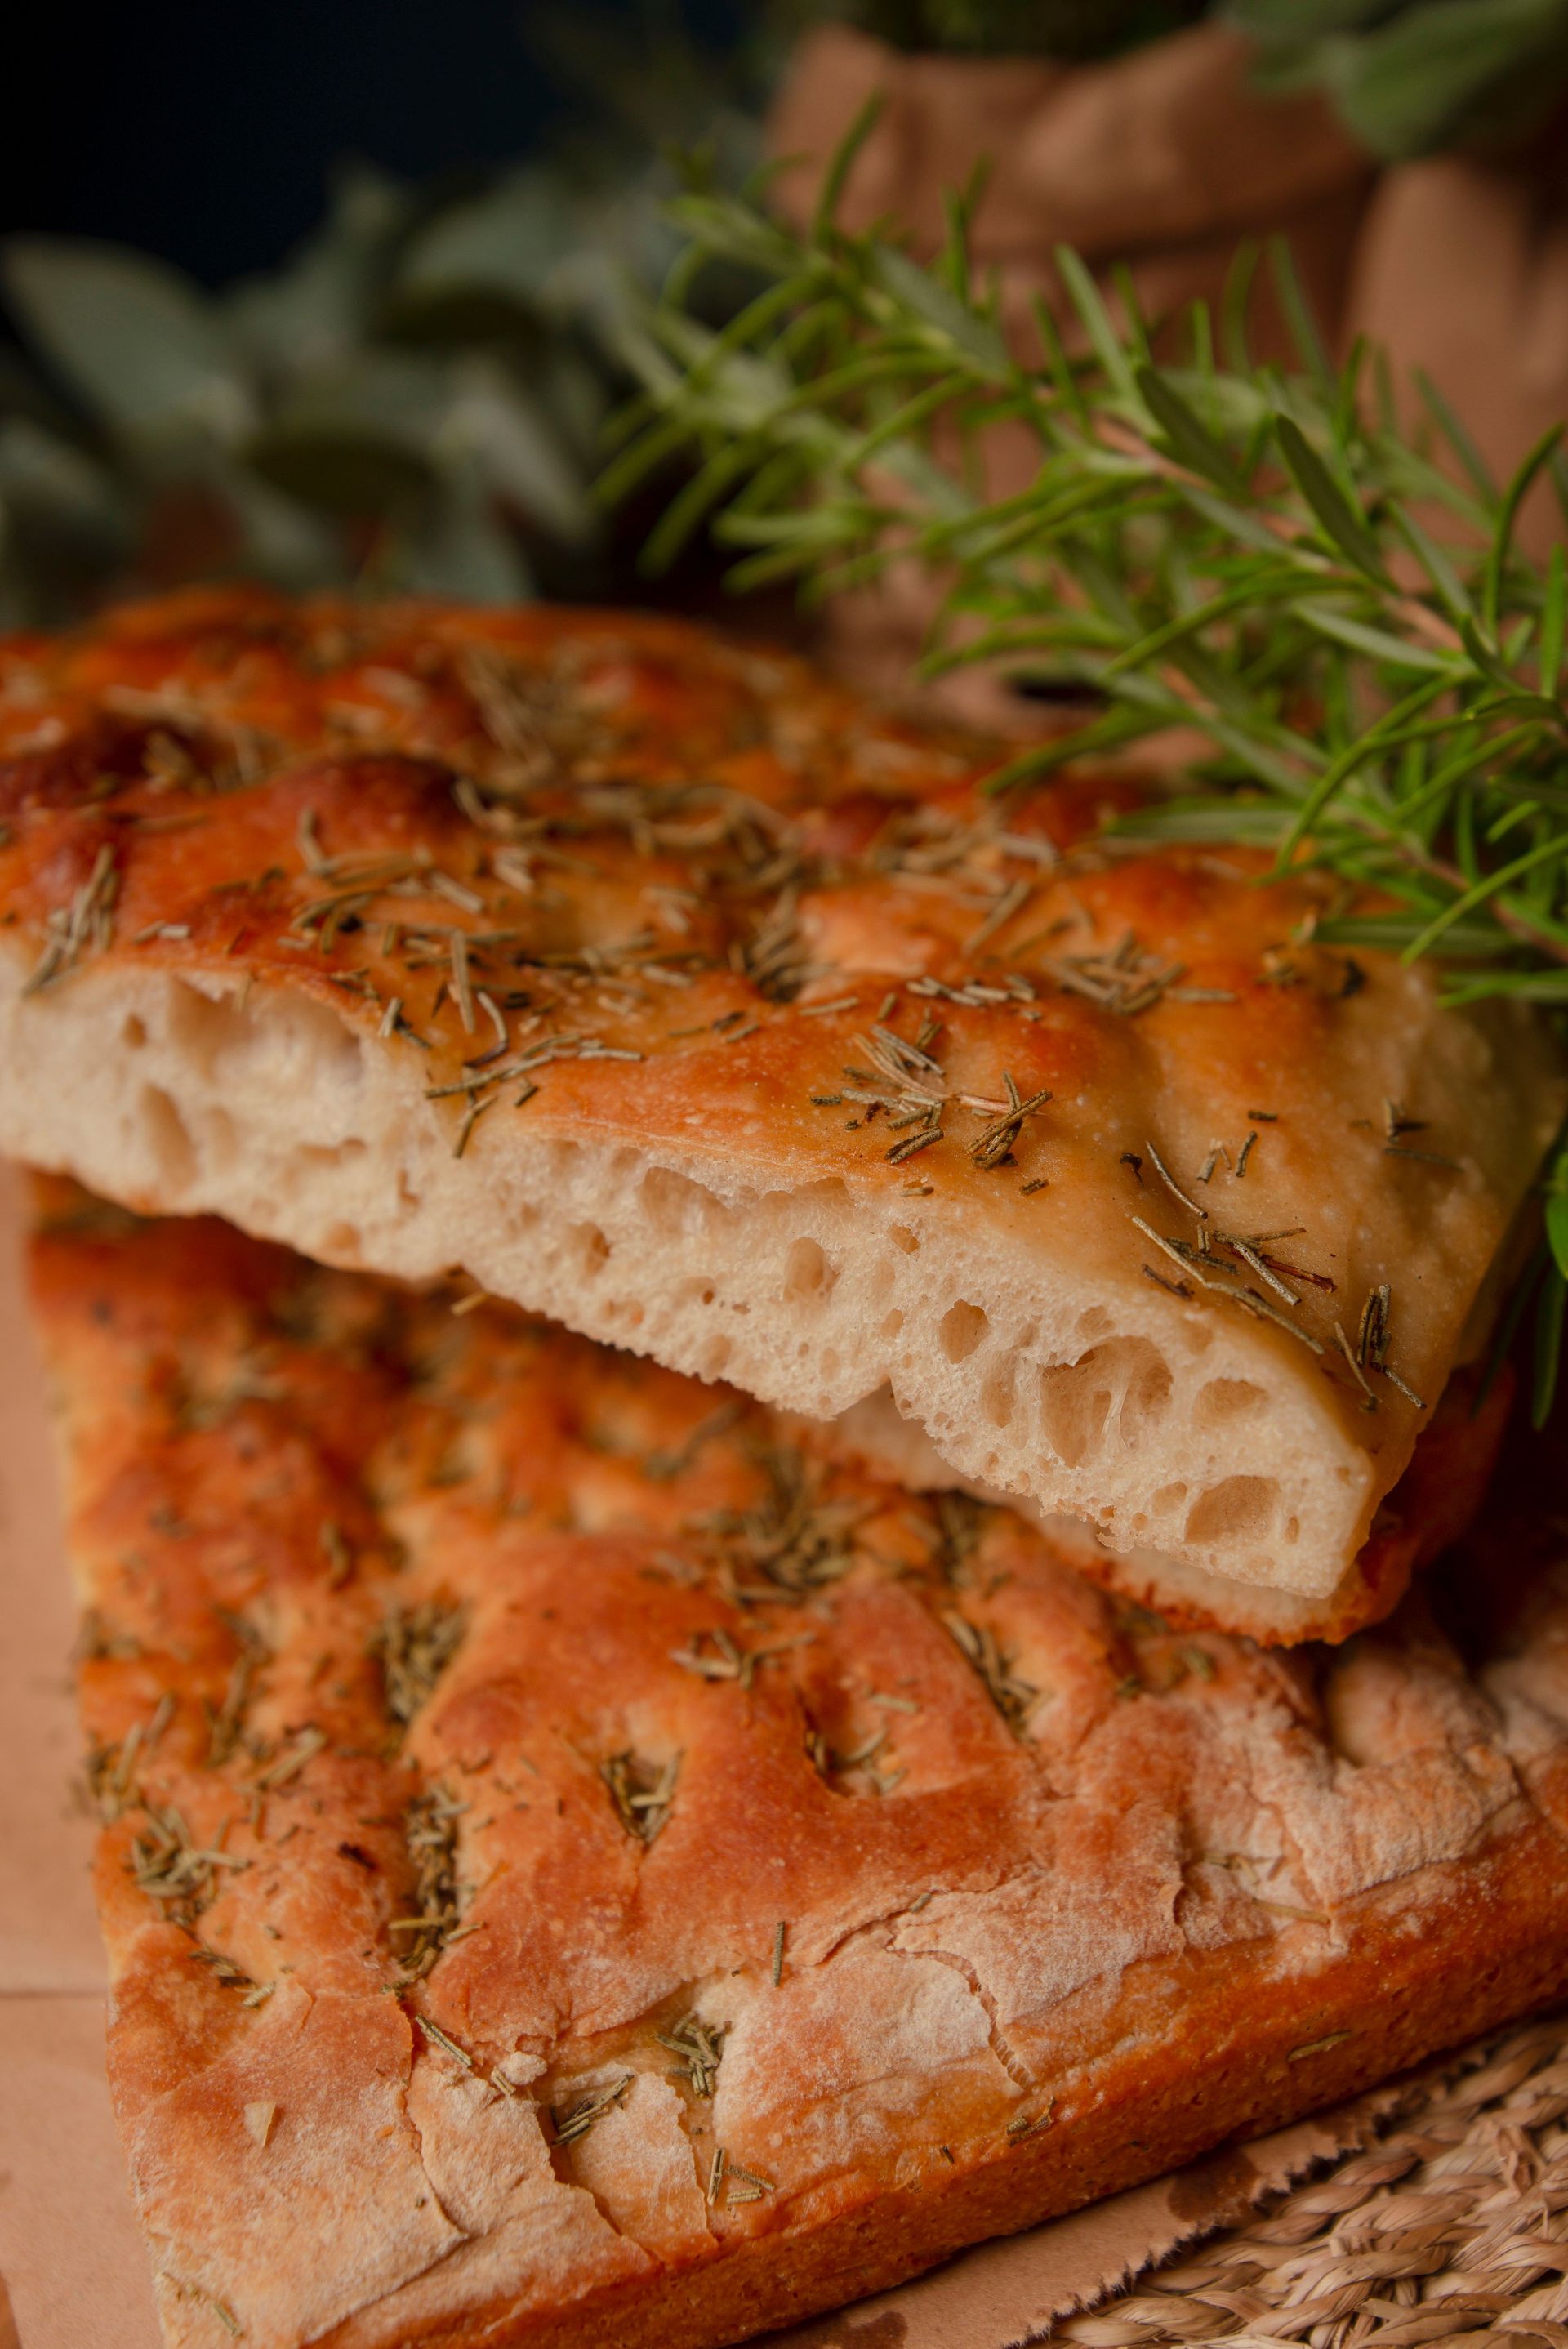
Focaccia is the ideal starting yeasted bread for beginners because it requires no shaping skill and tolerates considerable variation. The dough is wet enough that you handle it with oiled hands rather than kneading on a floured surface, which eliminates the common beginner fear of adding too much flour. The result is a thick, spongy, olive oil-soaked flatbread with a crispy bottom and a dimpled, golden top.
A basic focaccia recipe uses bread flour or all-purpose flour, water, olive oil, instant yeast, and salt. The dough is wetter than most bread doughs — it won't hold a shape and doesn't need to. Combine the ingredients, stir until everything is incorporated, then let the dough rest for 15 minutes. Perform a series of stretch-and-folds: wet your hand, grab one side of the dough in the bowl, stretch it up as far as it will go without tearing, and fold it over the other side. Rotate the bowl 90 degrees and repeat, four times total. Do this set of four folds every 30 minutes for the first two hours, then let the dough rest covered in the refrigerator overnight.
The next day, generously coat a rimmed baking sheet with olive oil — far more than seems necessary, about a quarter cup. Transfer the dough onto the sheet and stretch it gently to fit the pan. Let it rest and puff for two hours at room temperature.
Before baking, dimple the entire surface of the dough with your fingertips, pressing all the way down. Drizzle with additional olive oil and sprinkle with coarse salt. Top with whatever you like: sliced olives, cherry tomatoes, rosemary, caramelized onions. Bake at 450°F (230°C) for 20 to 25 minutes until deep golden brown.
The bread is best eaten the day it's made, still warm and fragrant from the oven.
Peanut butter cookies
Credit: Toa Heftiba / Unsplash
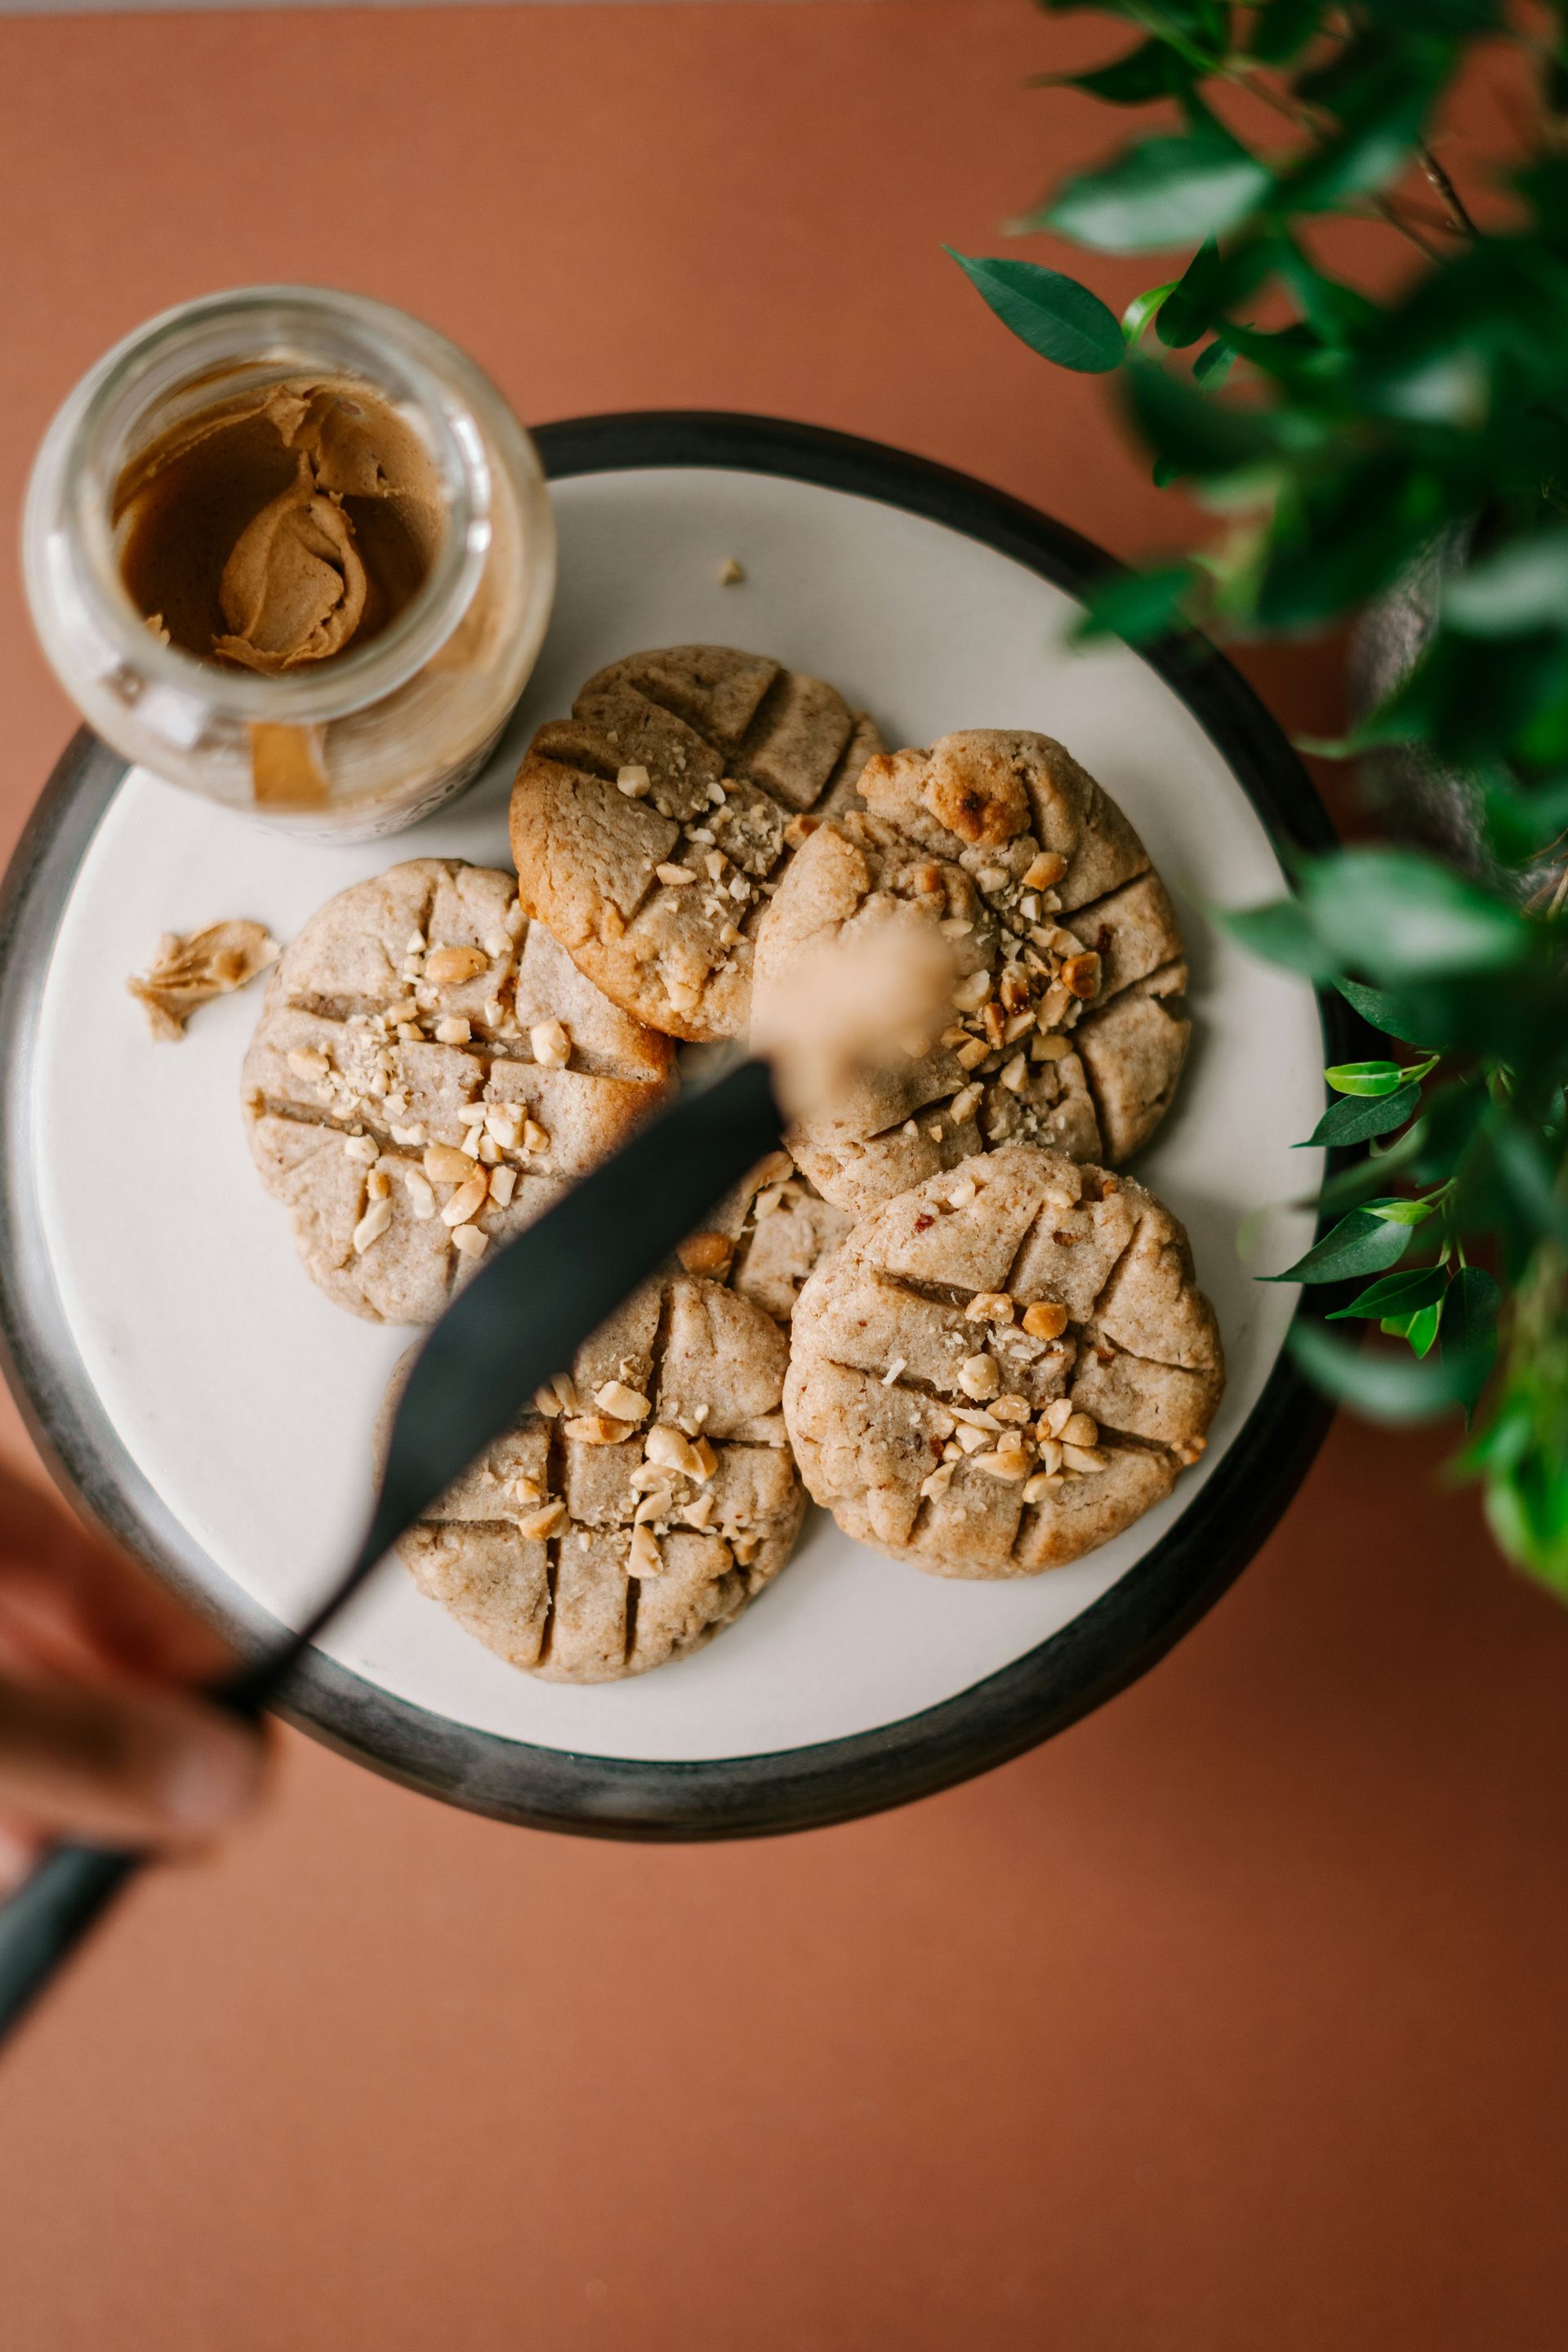
Peanut butter cookies are one of the simplest cookie recipes in existence. A classic version uses only three ingredients — peanut butter, sugar, and an egg — and bakes in 10 minutes. That stripped-down version is genuinely good, but a slightly expanded recipe that adds flour, baking soda, and salt produces a better texture: slightly crisp on the outside and chewy in the middle, with a more complex flavor.
The characteristic criss-cross pattern pressed into the tops of peanut butter cookies exists for a practical reason, not just aesthetics. Peanut butter cookie dough is dense and doesn't spread much on its own. The fork press flattens the ball of dough slightly, ensuring even baking rather than a raw center inside a thick mound of dough.
Use creamy peanut butter rather than natural peanut butter for a standard batch. Natural peanut butter, which separates into oil and solids, has a variable consistency that can make the dough either too oily or too dry depending on how well it's been stirred. Commercial creamy peanut butter has a stable, emulsified texture that behaves predictably in baking.
Cream softened butter with granulated and brown sugar, then beat in one egg and vanilla. Add peanut butter and mix until smooth. Stir in all-purpose flour, baking soda, and salt just until combined. The dough will be firm and slightly oily. Roll into balls about an inch in diameter, place on a parchment-lined baking sheet two inches apart, and press a fork into each one in two directions to make the cross-hatch pattern.
Bake at 350°F (175°C) for 10 to 12 minutes. The cookies should look barely done when they come out — they firm up entirely as they cool. Overbaked peanut butter cookies become very dry and crumbly.
For a variation, press a chocolate kiss or a square of dark chocolate into the center of each cookie immediately after it comes out of the oven, while it's still soft. The chocolate melts slightly against the warm cookie and adheres as it cools — a presentation familiar from holiday cookie trays.
Coffee cake
-1920x2880.jpg)
Credit: Luan Hobold / Unsplash
Coffee cake does not contain coffee. The name refers to its role as an accompaniment to coffee — something to eat alongside a morning cup. It's a single-layer, casual cake, dense and moist, distinguished from other simple cakes by the streusel (crumb topping) that covers the surface.
The streusel is the most important element, and it's also one of the easiest things to make. Combine cold butter, flour, brown sugar, and a generous amount of cinnamon with your fingers until the mixture forms irregular clumps of varying sizes. Some small, some slightly larger — this irregular texture is what gives streusel its satisfying, crunchy quality when baked. Do not mix it into a smooth paste.
The cake base is made using the creaming method: cream butter and sugar, add eggs and vanilla, alternate adding the dry ingredients (flour, baking powder, salt) with sour cream. Sour cream is the ingredient that sets a good coffee cake apart — its fat content and mild acidity produce a crumb that's tender and slightly tangy, with a tighter structure than a layer cake. It keeps the cake moist for two days at room temperature.
Pour the batter into a greased 9-by-9-inch pan and spread it evenly. Scatter the streusel across the entire surface, covering the batter completely. The streusel layer should be thick and generous — about a half inch deep.
Bake at 350°F (175°C) for 35 to 40 minutes, until a toothpick inserted in the center comes out clean. The streusel will be dark and set; the edges of the cake will be golden brown. Let it cool in the pan for at least 20 minutes before cutting.
A drizzle of powdered sugar glaze over the top is optional but adds a visual finish and a touch more sweetness. To make the glaze, whisk together a quarter cup of powdered sugar with one to two teaspoons of milk until it reaches a thin, drizzleable consistency. Let the cake cool for at least 10 minutes before adding the glaze, or it will absorb entirely into the surface.
Dinner rolls
Credit: Jhunelle Francis Sardido / Unsplash
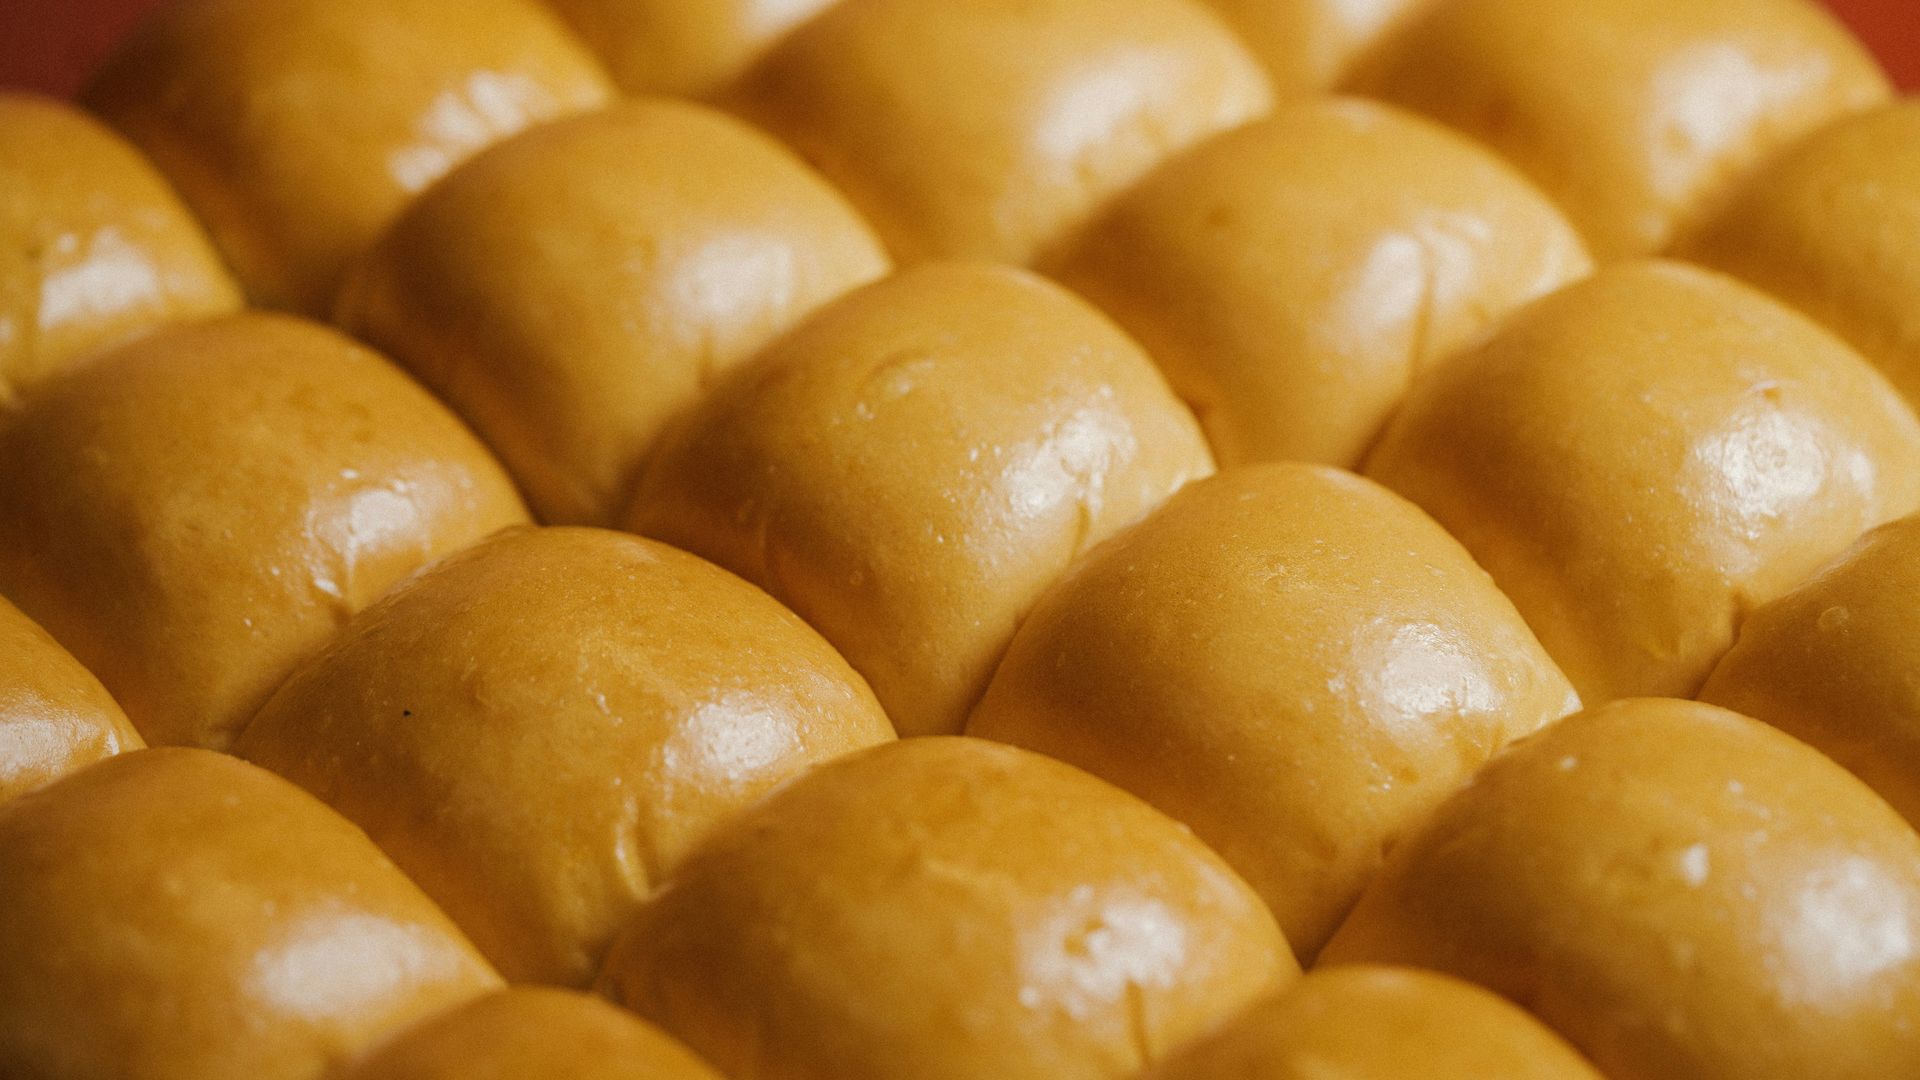
Soft, pull-apart dinner rolls are more approachable than a full loaf of bread because the shaping is minimal — you roll small portions of dough into balls and arrange them in a pan — and the enriched dough (which contains butter, eggs, and milk) is more forgiving than a lean bread dough. Enriched doughs are more tender, rise reliably, and have a wider window between underdone and overdone.
The recipe uses active dry yeast or instant yeast, warm milk, butter, sugar, salt, eggs, and all-purpose or bread flour. If using active dry yeast, proof it first in warm milk (about 110°F or 43°C) with a pinch of sugar for five to 10 minutes, until it foams. This confirms the yeast is alive before you commit the rest of the ingredients. If using instant yeast, you can skip the proofing step and add it directly to the dry ingredients.
Mix everything together until a soft dough forms, then knead for eight to 10 minutes by hand (or four to five minutes in a stand mixer) until the dough is smooth, elastic, and slightly tacky but not sticky. Place in a lightly oiled bowl, cover, and let rise in a warm place for one to 1.5 hours, until doubled in size.
Punch down the risen dough, divide it into 12 equal pieces, and roll each into a smooth ball. Place them in a greased 9-by-13-inch pan with the rolls touching. Cover and let rise for another 45 minutes.
Brush the tops with melted butter and bake at 375°F (190°C) for 18 to 22 minutes until deep golden brown. Brush with more butter immediately after they come out of the oven — this gives them a soft, glossy top and a buttery richness that makes them pull apart easily at the table.
The rolls can be made a day ahead. After shaping and placing them in the pan, cover tightly and refrigerate overnight instead of letting them rise at room temperature. The next day, remove them from the refrigerator and let them sit at room temperature for about an hour before baking. This cold retard slows the rise and gives the dough more time to develop flavor.
Pound cake
Credit: Skyler Ewing / Unsplash
Pound cake gets its name from the original recipe: a pound each of butter, sugar, eggs, and flour. Modern versions adjust that ratio for a lighter crumb, but the essential character remains — a dense, rich, fine-crumbed cake with a buttery flavor and a slightly crisp exterior crust.
It's an excellent recipe for beginners because it introduces the importance of temperature and timing in butter-based cakes. The butter must be genuinely at room temperature — not slightly softened, not warm. Properly softened butter, beaten with sugar for a full four to five minutes, incorporates enough air to give the cake its lift without any baking powder or baking soda.
Cream the butter until fluffy, then add sugar gradually, creaming between additions. Add eggs one at a time, beating well after each. Add vanilla extract. Sift in all-purpose flour and a pinch of salt, folding gently until just combined. The batter should be smooth and very thick.
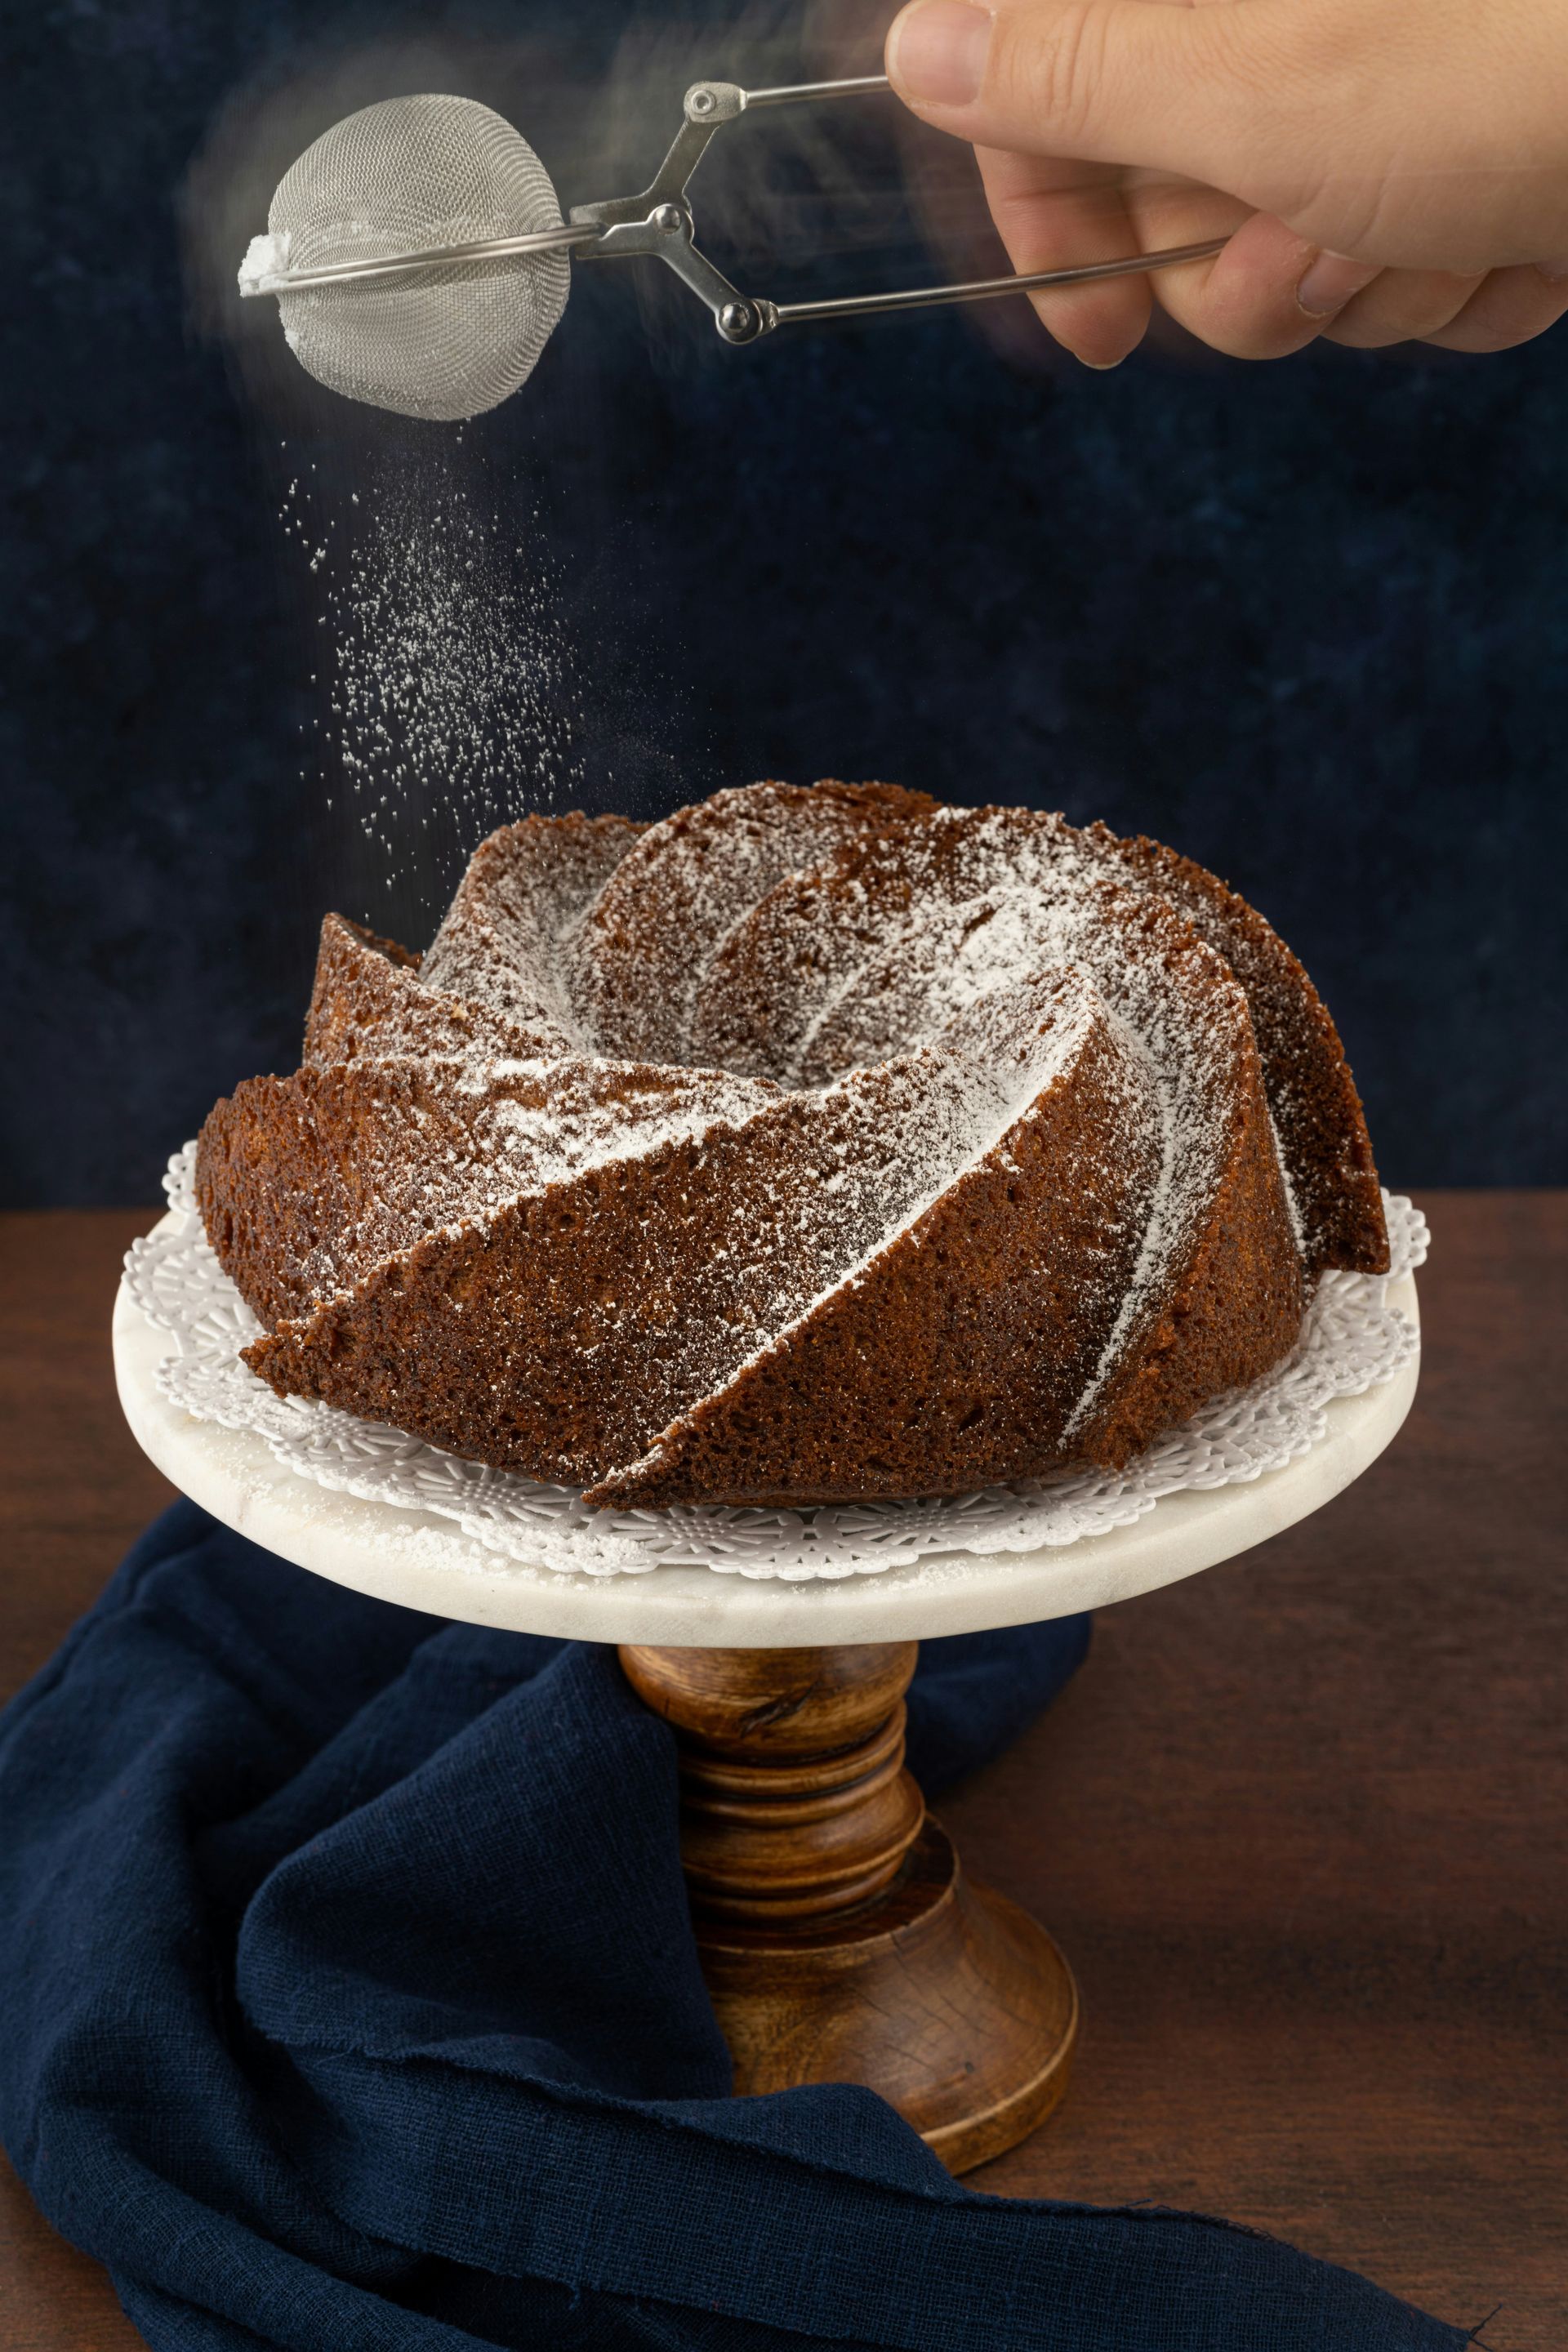
Pound cake is traditionally baked in a loaf pan or a Bundt pan. A loaf pan produces a cake that can be sliced for toasting or serving with fruit; a Bundt pan produces a more decorative, ring-shaped cake with more of the desirable crust on the surface. For beginners, a loaf pan is simpler to work with.
Bake at 325°F (165°C) — lower than most cakes, which allows the dense batter to cook through evenly without the outside burning before the center is done — for 60 to 70 minutes. A toothpick should come out clean and the top should be a deep golden brown with a crack running down the center. That crack is characteristic and correct; the top sets before the interior is fully baked, and the continued expansion forces a crack down the middle.
Let the cake cool in the pan for 15 minutes, then turn out onto a wire rack. It keeps well at room temperature for up to five days, and its flavor and texture actually improve on day two after the crumb has had time to settle.
Pound cake is one of the most versatile bases in baking. A plain slice toasts beautifully and is excellent with fresh berries and whipped cream. It can also be sliced, grilled in a lightly buttered pan, and served warm alongside ice cream. The simplicity of the recipe means there's room to add flavor: a tablespoon of lemon or orange zest folded into the batter alongside the vanilla gives the cake a bright, citrusy character without changing any other part of the recipe.
Apple crisp
Credit: Styves Exantus / Pexels
Apple $AAPL crisp is not quite a baked good in the traditional sense — there's no dough, no batter, no chemical leavening — but it uses the oven, requires the same care with measurements and technique, and teaches skills that carry forward into other baking. It's one of the best recipes for absolute beginners because the margin for error is enormous and the result is reliably good.
The filling is sliced apples — about six medium apples, peeled and cored — tossed with lemon juice, sugar, cinnamon, and a tablespoon of cornstarch. The cornstarch thickens the juices that release from the apples during baking, keeping the filling from being watery. Firm, slightly tart apples work best: Granny Smith, Honeycrisp, Braeburn, or a combination. Softer apples like McIntosh or Fuji will break down too much and become applesauce.
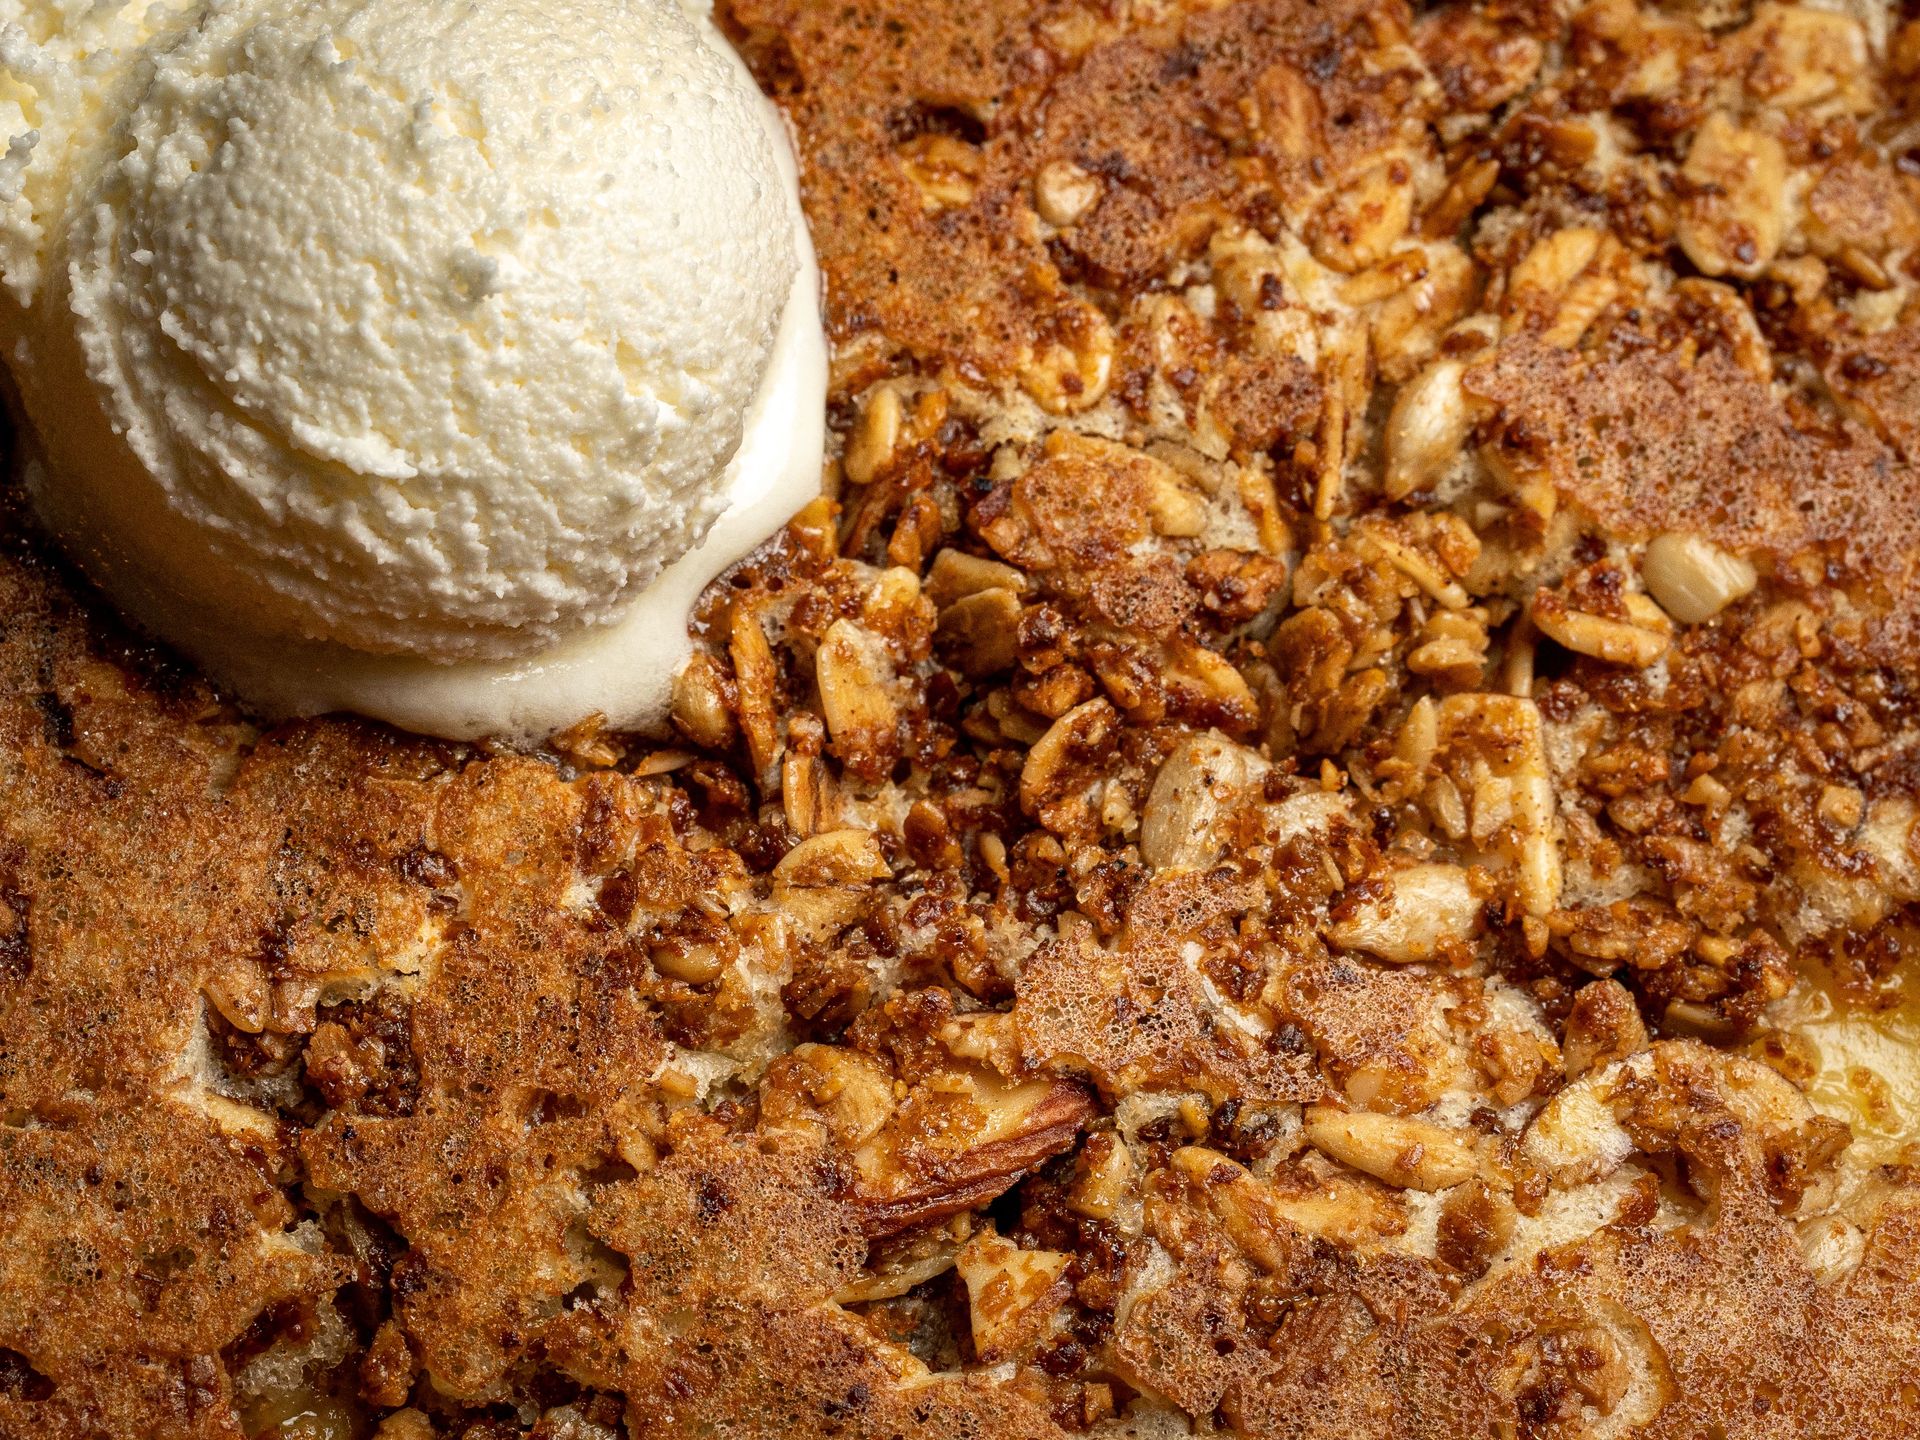
The topping is a mixture of rolled oats, all-purpose flour, brown sugar, cinnamon, salt, and cold butter cut into pieces. Work the butter into the dry ingredients with your fingers until the mixture clumps together — this is the same technique used for streusel in coffee cake. The topping should hold together when pressed but still break apart into irregular pieces.
Spread the apple filling in a baking dish, scatter the topping over it in an even layer, and bake at 350°F (175°C) for 45 to 55 minutes. The filling should be bubbling at the edges and the topping should be deep golden brown. If the topping browns before the apples are tender, tent loosely with foil.
Serve warm with vanilla ice cream or whipped cream. The contrast between the warm, bubbling fruit filling and the cold, creamy accompaniment is what makes apple crisp so satisfying as a dessert. It reheats well, though the topping softens slightly overnight.