25 beginner woodworking projects and how to approach each one
From a simple shelf to a garden planter, these 25 projects teach real woodworking skills without requiring a workshop full of expensive tools
Credit: Los Muertos Crew / Pexels
Woodworking has a reputation for being difficult to start. The tools look expensive, the techniques seem arcane, and the finished projects in magazines appear to require years of skill to produce. That reputation is mostly wrong. Most of the foundational skills in woodworking — measuring accurately, cutting a straight line, joining two pieces of wood cleanly — can be learned in an afternoon with inexpensive materials. The gap between a beginner and someone who can build useful, lasting furniture is smaller than it appears, and the way to close it is simply to start building things.
The projects in this list are ordered roughly by complexity, beginning with builds that require almost no tools and ending with ones that introduce joinery and finishing techniques worth knowing for the rest of your woodworking life. None of them require a workshop. Most can be built on a patio or in a garage with a circular saw, a drill, a tape measure, sandpaper, and wood glue. A miter saw makes several of these easier, but it is never strictly required. A workbench helps, but a pair of sawhorses and a sheet of plywood will do the same job.
The most important lesson any beginner can learn is that wood is forgiving. A bad cut can often be corrected with a hand plane or a sander. A joint that doesn't fit perfectly can be filled with glue and clamped tight. The material itself wants to be worked with — it responds to attention in a way that metal or concrete does not. Every mark you make on a piece of wood is information: where you've been, what you've tried, what you've learned.
This list is also a curriculum. Work through it in order and you will have touched every major category of skill — measuring, crosscutting, ripping, drilling, gluing, nailing, sanding, and finishing — before you reach the final project. Skip around if a particular project appeals to you, but understand that some of the later projects assume you've built confidence with the earlier ones. The goal is not just to end up with a shelf or a box or a bench. The goal is to become someone who can look at a piece of wood and know what to do with it.
1 / 25
Simple wooden shelf
Credit: Canva Images
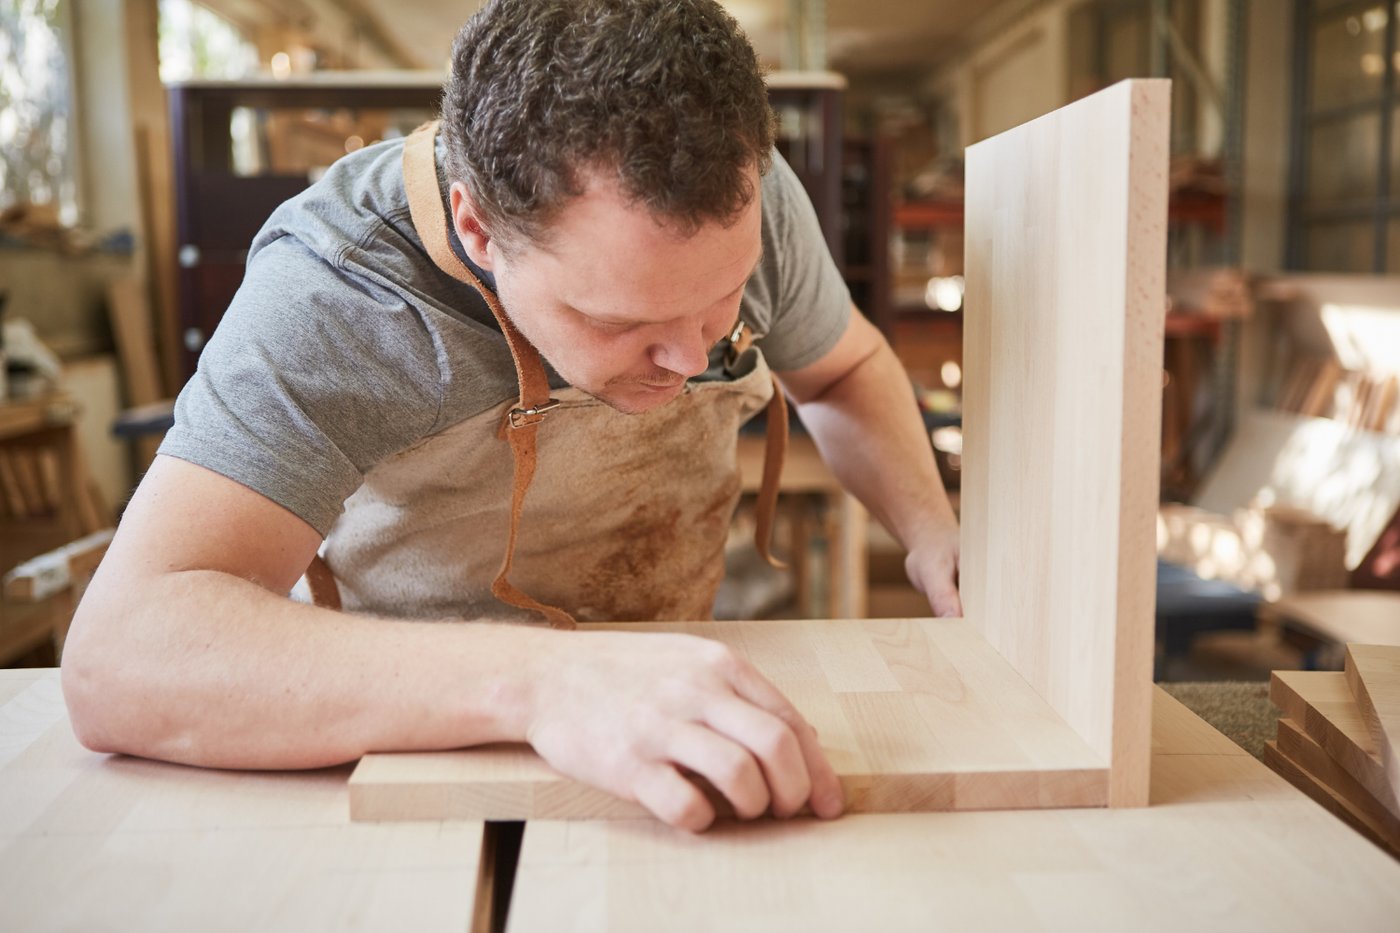
A wall-mounted shelf is the canonical first woodworking project, and for good reason. It requires only three pieces of wood — a top board, a bottom board, and a back panel — and the only joints are butt joints, which means two flat surfaces glued and screwed together. The result is functional, it goes on a wall where people can see it, and it teaches the most important skill in all of woodworking: measuring twice and cutting once.
Start by deciding the dimensions. A shelf 24 inches wide and 8 inches deep is a useful size and works well with dimensional lumber from a hardware store. Most home-improvement stores sell "1x8" boards, which are actually three-quarters of an inch thick and seven and a quarter inches wide — this discrepancy between nominal and actual lumber dimensions is one of the first things beginners encounter, and it matters when you're planning a build.
Use a speed square or a combination square to mark your cut lines. A square is a tool that ensures your pencil line is exactly perpendicular to the edge of the board. Without it, your cuts will wander, and pieces that should sit flush against each other will have gaps. Mark all your cuts before you make any of them. This habit — laying out the full cut list on paper before touching a saw — will save you lumber and frustration throughout your woodworking life.
For mounting, a French cleat is a beginner-friendly option that makes the shelf easy to level and reposition. A French cleat is simply a strip of wood cut at a 45-degree angle along its length: one half mounts to the wall, the other attaches to the back of the shelf, and the two hook together when the shelf is hung. The cleat distributes weight across a large area of wall and is strong enough to hold many pounds of books or objects.
Sand all surfaces before assembly, starting with 80-grit sandpaper to remove any mill marks or rough spots, then moving to 120-grit and 180-grit. Apply a water-based polyurethane or a simple wax finish to protect the wood and bring out its grain. Three thin coats of polyurethane, lightly sanded between each with 220-grit paper, will produce a smooth, durable surface that looks intentional rather than rushed.
2 / 25
Cutting board
Credit: Sara Alder / Pexels
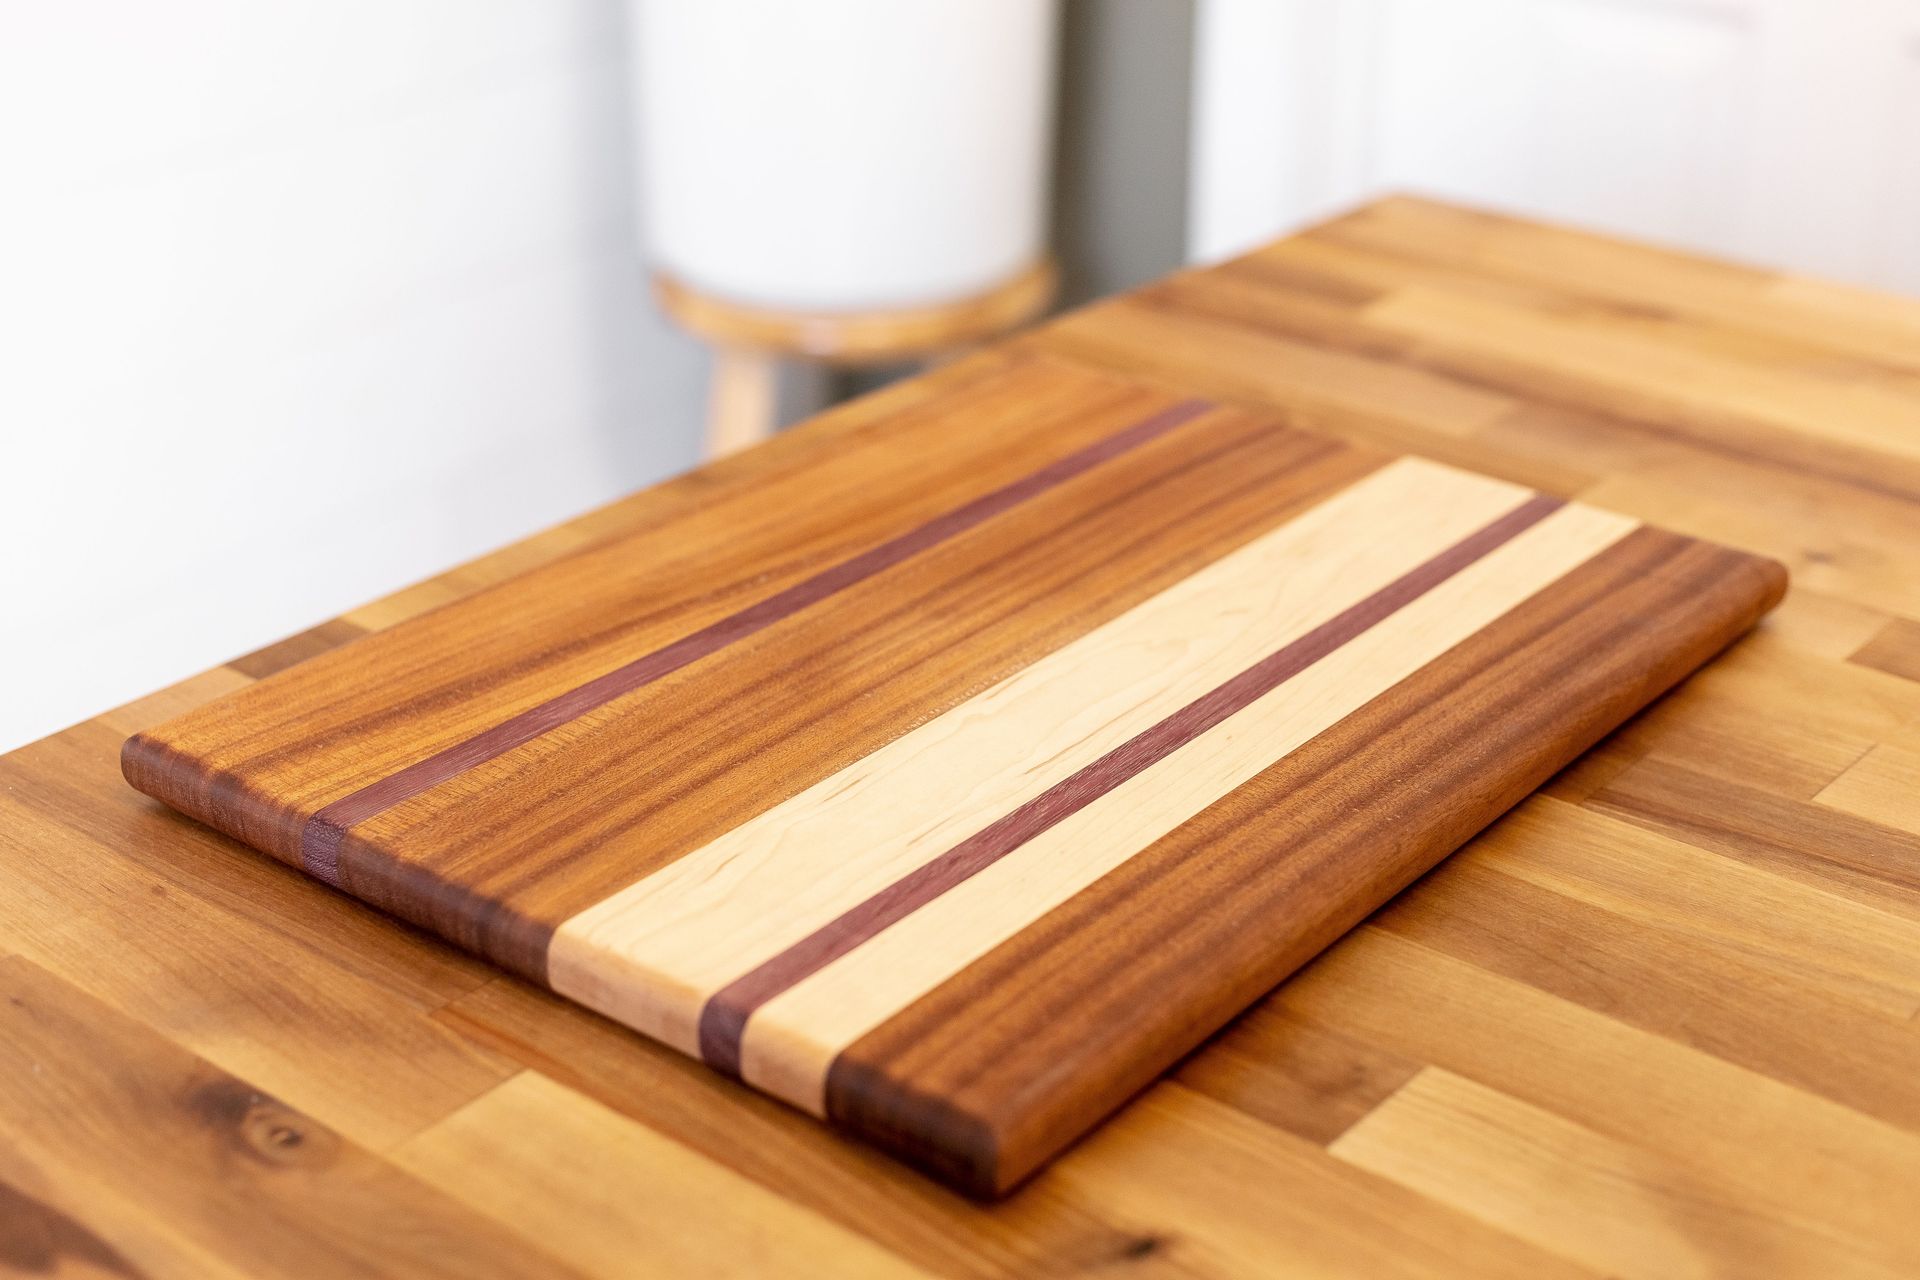
A wooden cutting board is one of the best introductory projects because it teaches three skills at once: edge gluing, surface flattening, and finishing with food-safe oil. It also produces something you will use every day, which gives the project a kind of weight that purely decorative builds don't have.
The simplest cutting board design is an edge-grain board: strips of hardwood glued together along their long edges so the face grain is on top. Choose a closed-grain hardwood — hard maple, walnut, and cherry are the classic choices — and avoid open-grain woods like oak or ash, which trap food particles and are harder to clean. Hard maple is the most affordable of the three and is what most professional cutting boards are made from.
Start with boards that are already planed flat on both faces, which is how most hardwood suppliers sell them. Rip them into strips two to three inches wide on a table saw or circular saw with a ripping guide. The strips don't need to be identical in width — a board with varying strip widths often looks better than a perfectly uniform one. Alternate the direction of the end grain in each strip as you lay them out, which helps the board remain flat as it expands and contracts with humidity changes.
Apply wood glue to the mating edges of each strip, spread it evenly with a brush or your finger, and clamp the assembly with bar clamps or pipe clamps. Use at least three clamps for a 12-inch board: one in the middle and one near each end. Wipe off any squeeze-out with a damp cloth before it dries.
Once the glue cures — typically 24 hours — flatten the surface with a random-orbit sander, starting with 80-grit and working up to 220-grit. The goal is a surface that is perfectly flat and smooth to the touch. Finish with multiple coats of food-safe mineral oil, wiping it on liberally and letting the wood absorb as much as it wants. A cutting board treated this way will last for decades.
3 / 25
Wooden plant stand

Credit: feeypflanzen / Unsplash
A plant stand is a forgiving project that teaches the basics of building with legs. It is also one of the first projects where visual proportion starts to matter — the relationship between a stand's height, its platform size, and the leg angles determines whether it looks elegant or clunky. Getting that proportion right is a design skill that transfers to every piece of furniture you build afterward.
The simplest version uses four straight legs and a flat top platform. Cut the legs from 2x2 lumber or from a larger board ripped down to square section. A stand 12 to 14 inches tall is appropriate for a small to medium plant. For a larger statement piece, 24 to 30 inches gives the plant room to breathe and creates a more dramatic silhouette.
The platform can be a single piece of one-by lumber or a small glued-up panel. If you use a single board, choose one that is quarter-sawn or rift-sawn if possible, as these cuts are more dimensionally stable and less likely to cup over time with the humidity from watering. A small drainage lip around the platform edge, cut with a router or simply added as a thin strip of wood glued to the underside perimeter, keeps water from running off the stand onto the floor.
Leg attachment is where the project teaches something new. The simplest approach is to cut the top of each leg at the angle of the platform's corner and glue and nail it in place from underneath. A stronger approach uses pocket-hole joinery, which requires a pocket-hole jig — a $20 to $40 tool that drills angled holes into one piece of wood so screws can pull it tight against another. Pocket-hole joinery is fast, strong, and used extensively in furniture production.
Finish the stand with an exterior-grade oil or a penetrating hardwax oil if it will live outdoors. For indoor stands, a wiping oil or a water-based finish both work well. Let the wood species guide your finish choice: walnut and cherry look beautiful with a simple oil that enhances their natural color; pine and poplar benefit from a stain if a darker tone is desired, though staining requires extra preparation to achieve an even result.
4 / 25
Birdhouse
Credit: Pixabay / Pexels
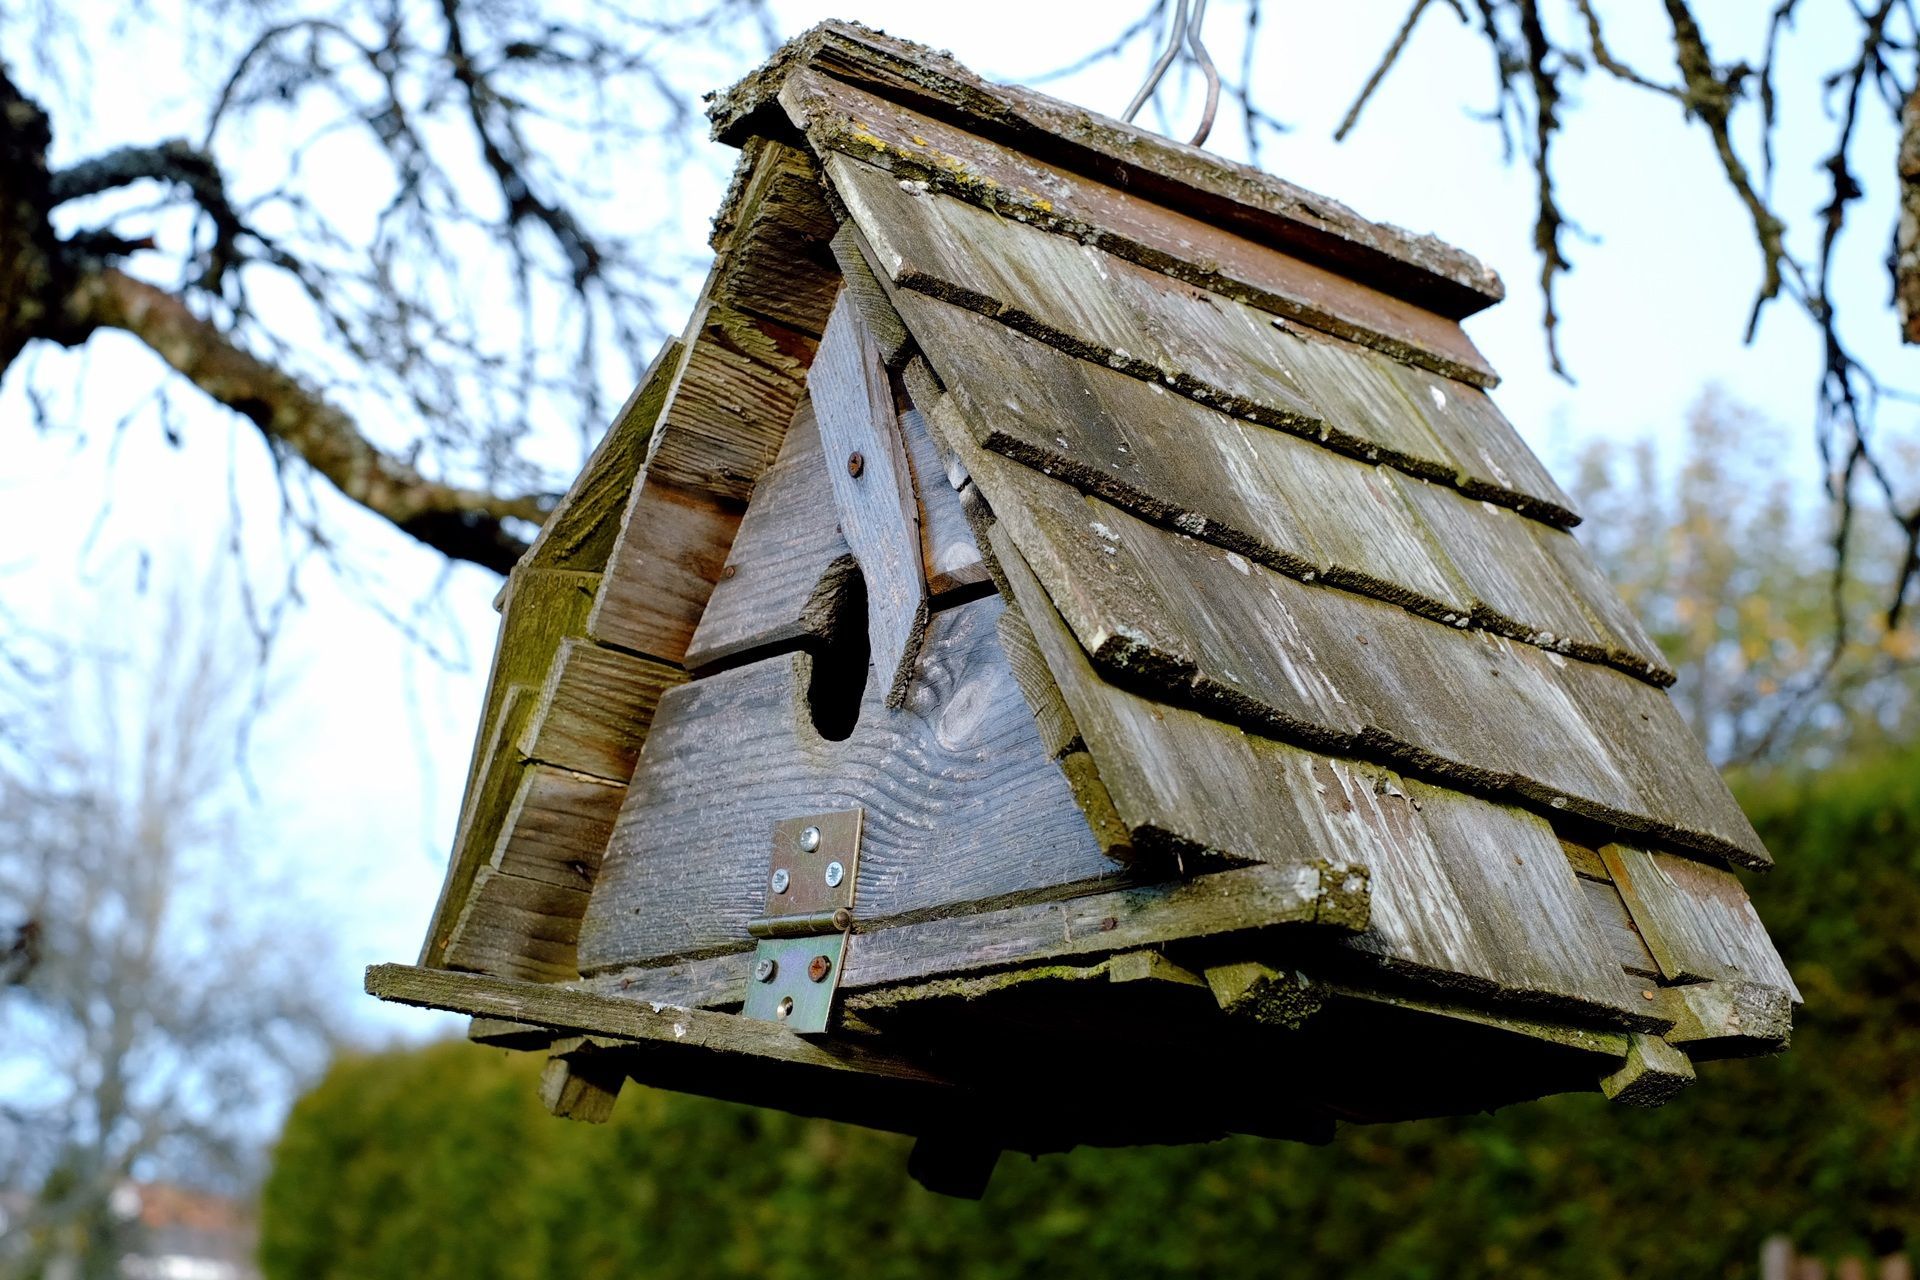
A birdhouse is a classic beginner project for a reason: it has tight tolerances that teach precision, it requires a few basic joinery decisions, and the entry hole diameter is a functional specification — different bird species require different hole sizes — so you cannot simply approximate. That kind of constraint is actually good for a beginner. It forces you to measure carefully and to think about the purpose of each dimension before you cut.
Standard dimensions for a bluebird house, which is one of the most commonly built, call for a floor roughly five by five inches, a cavity depth of eight to 12 inches, and an entry hole one and a half inches in diameter placed about six to eight inches above the floor. Chickadees prefer a slightly smaller hole — one and one-eighth inches — while purple martins need a two-and-a-half-inch opening. A quick reference from a bird conservation organization will give you the correct specifications for whatever species you're hoping to attract.
Use cedar, redwood, or exterior-grade pine for a birdhouse that will survive outdoors. Avoid pressure-treated lumber, which contains chemicals that can harm nesting birds. Do not paint the interior of the box, as nesting birds prefer unfinished wood. If you paint or stain the exterior, use an earth tone or natural color rather than white, which reflects heat and can overheat eggs in summer.
One design detail that beginners often skip is a ventilation gap at the top of the side panels. Leaving a small gap between the side panels and the roof, or drilling a few small holes near the top of the sides, allows hot air to escape in summer. Similarly, drilling four small drainage holes in the floor prevents water from pooling inside. These details take almost no extra time but significantly affect whether birds will actually use the house.
Cut the entry hole with a spade bit or a hole saw before assembling the box. Drilling into an already-assembled box is much harder. Attach the roof with hinges on one side so you can open it for annual cleaning, which is recommended to remove old nests and parasites.
5 / 25
Wooden toolbox
Credit: Design Diva / Pexels
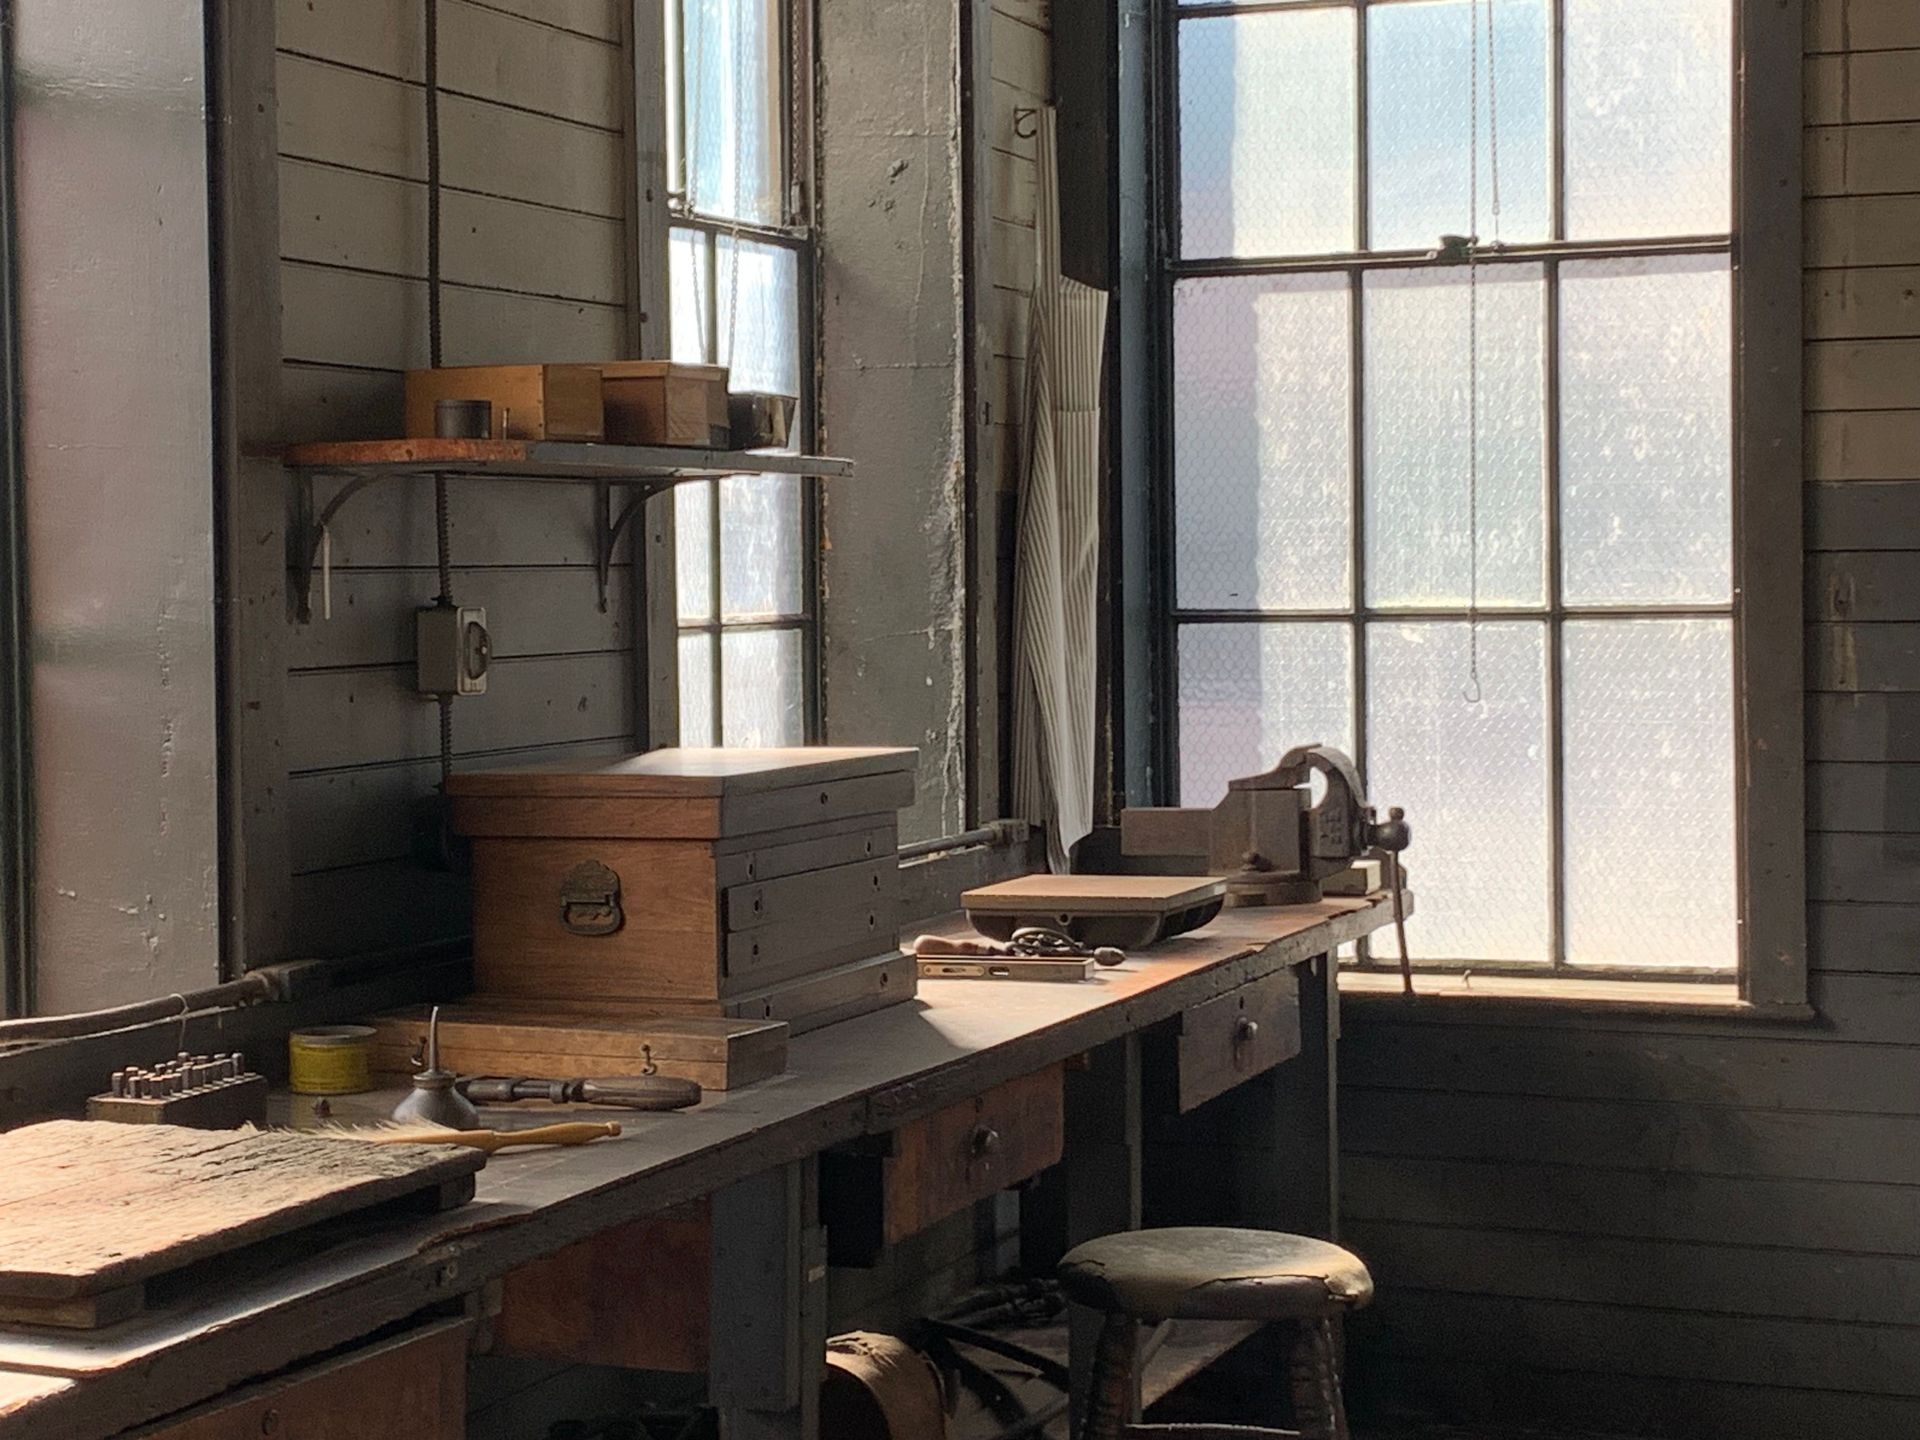
A wooden toolbox teaches more than it appears to. On the surface, it is a simple box with a handle. Underneath that, it is a lesson in deciding between different methods of joining corners, thinking about load-bearing capacity, and building something that will take real abuse over its working life.
The basic form is four sides, a bottom, and a central divider that doubles as the handle. Cut the sides and ends from three-quarter-inch pine or plywood. Plywood is structurally superior for a toolbox because it resists splitting and holds screws well even near edges, where solid wood can crack. A toolbox built from half-inch birch plywood will last longer than one built from solid pine at the same thickness.
The handle divider is the most important piece to get right. It runs along the top from one end panel to the other, and a hand or fingers will grip it at the center. Rout or sand a comfortable curve on the top edge of this piece before assembly — a sharp 90-degree arris on a handle that you grip repeatedly will become uncomfortable quickly. A simple cove cut, or even just heavy chamfering with a block plane or sander, makes a significant ergonomic difference.
Corner joints on the box can be simple butt joints reinforced with glue and screws, or you can cut rabbets — a step cut into the edge of one board that receives another board — which produce a stronger, more visually refined corner. A rabbeted corner has more glue surface than a butt joint and is less reliant on the mechanical strength of the screws. You can cut rabbets with a router, a table saw, or carefully by hand with a chisel.
Finish the toolbox with a penetrating oil or leave it unfinished — a working toolbox that gets grimy quickly is not worth coating in polyurethane. A coat of boiled linseed oil will protect the wood from moisture and give it a warm, amber tone. Add a thin strip of rubber or felt to the bottom to protect the surfaces the toolbox rests on.
6 / 25
Picture frame
Credit: Monstera Production / Pexels
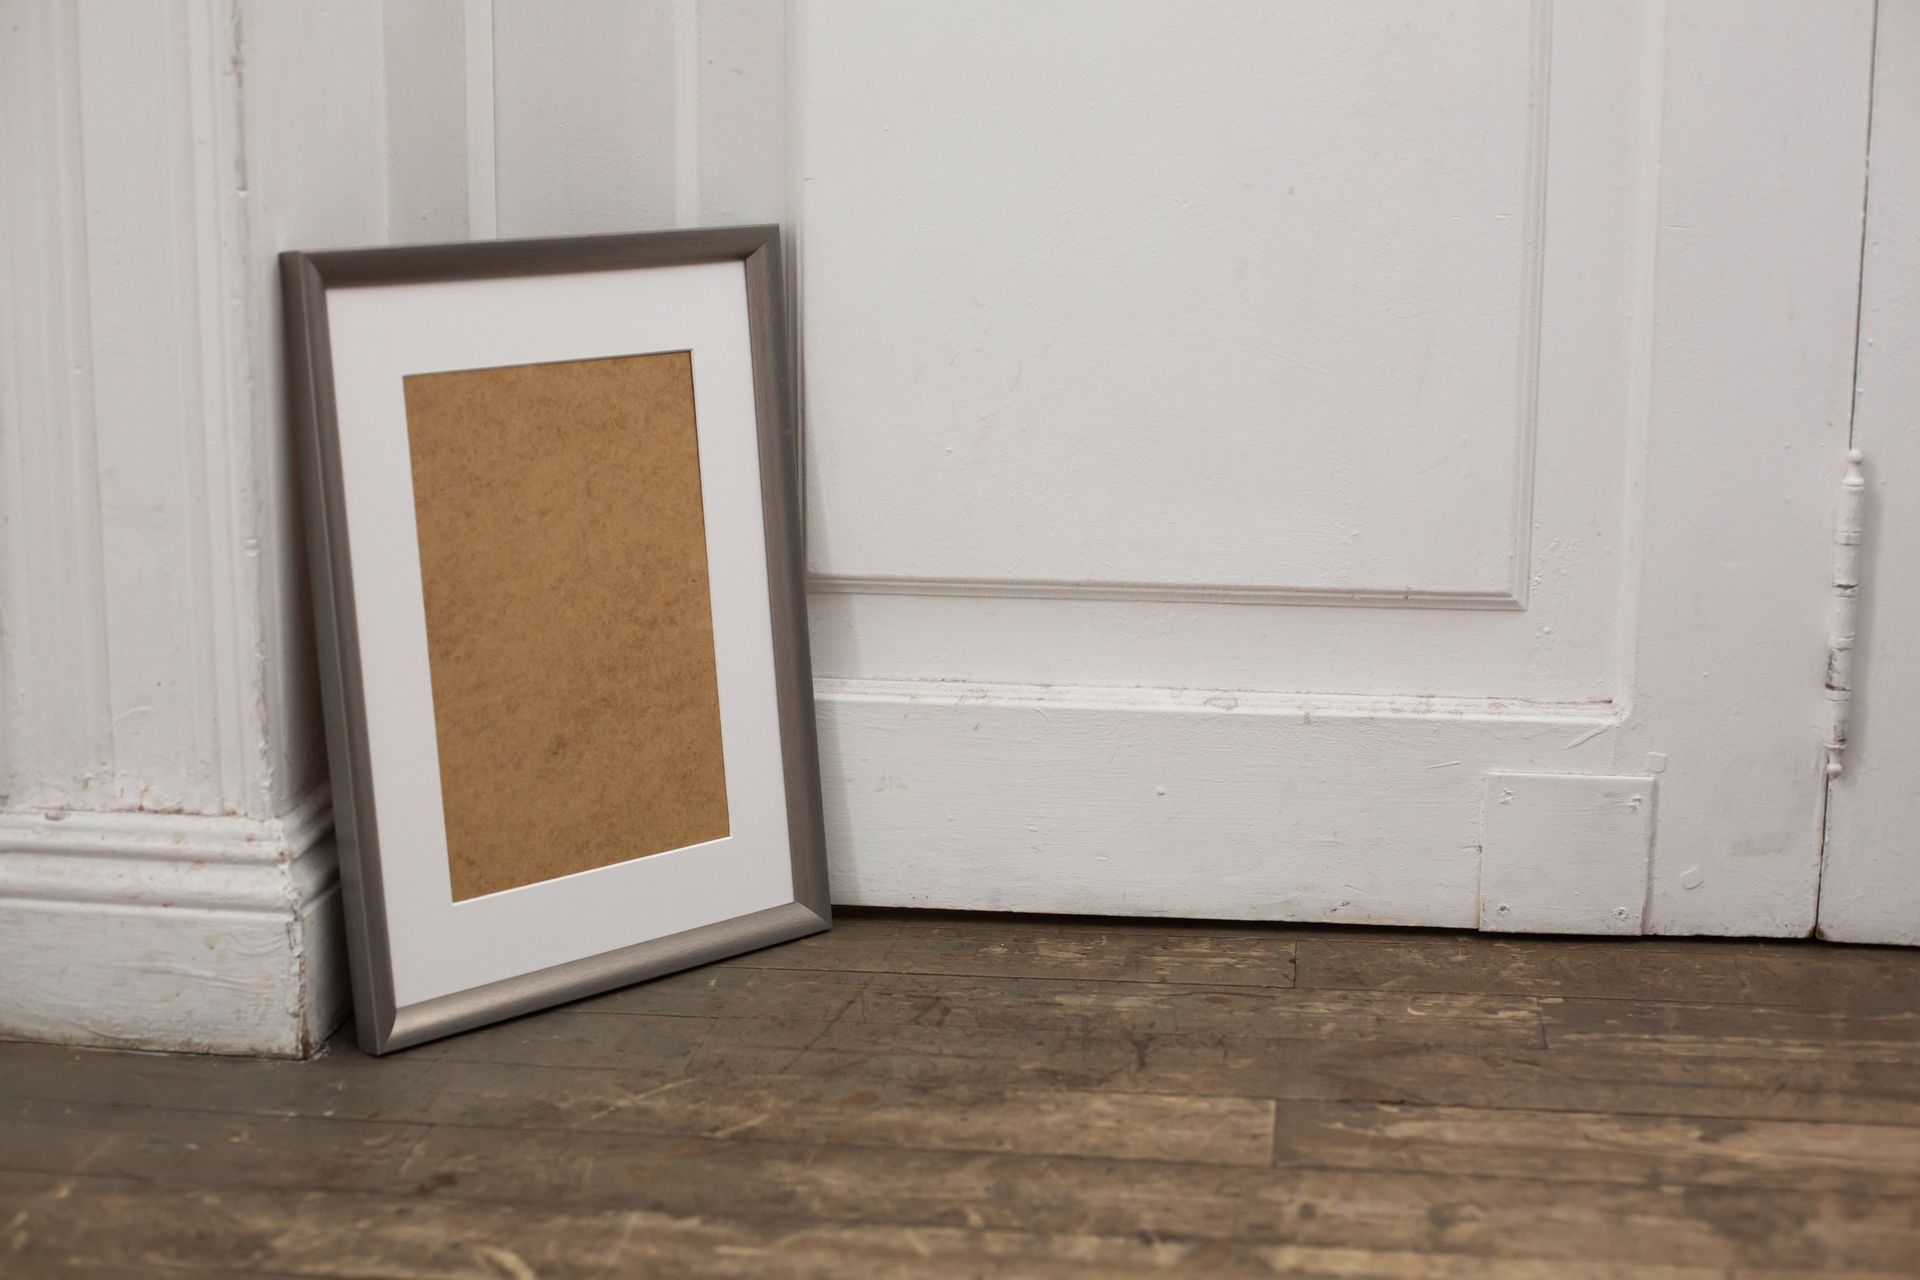
Building your own picture frames is a project that teaches miter cuts — the 45-degree cuts at the corners that produce the seamless joint — which are one of the most precisely demanding cuts in woodworking. A picture frame with poor miters will have visible gaps at the corners. A frame with clean miters looks like it was machine-made. Getting there requires a sharp saw, careful measurement, and the patience to test your setup before cutting good wood.
The miter cut must be exactly 45 degrees, which is why a miter saw is the preferred tool for this project. A miter saw locks at specific angles and produces repeatable cuts, which is what you need when making four cuts that all have to work together. A handheld circular saw with a miter guide can produce accurate miters too, but requires more care.
Molding profile is the other major decision. You can buy pre-milled picture frame molding from art supply stores, or you can mill your own profile on a flat board using a router table or a combination of router bits. A simple rabbet on the back edge of the frame, which is a stepped cut that receives the glass, mat, and artwork, is the minimum required. Additional profile details — an ogee curve, a chamfer, a cove — add visual interest and require additional router passes.
Glue picture frame corners together with a band clamp, which wraps around the entire assembly and applies even pressure to all four corners simultaneously. You can also use corner clamps, which hold each joint individually. The key is to keep the frame flat on your workbench as the glue cures, because any twist introduced during clamping will remain in the finished frame.
Reinforce each glued corner with a small corrugated fastener tapped into the back of the joint, or drill a small pilot hole and drive a nail through the miter from one direction. Finish the frame before installing the hardware — it is far easier to sand and coat a bare frame than to work around glass and hanging hardware.
7 / 25
Small wooden bench
Credit: Javi Osorio Flores / Pexels
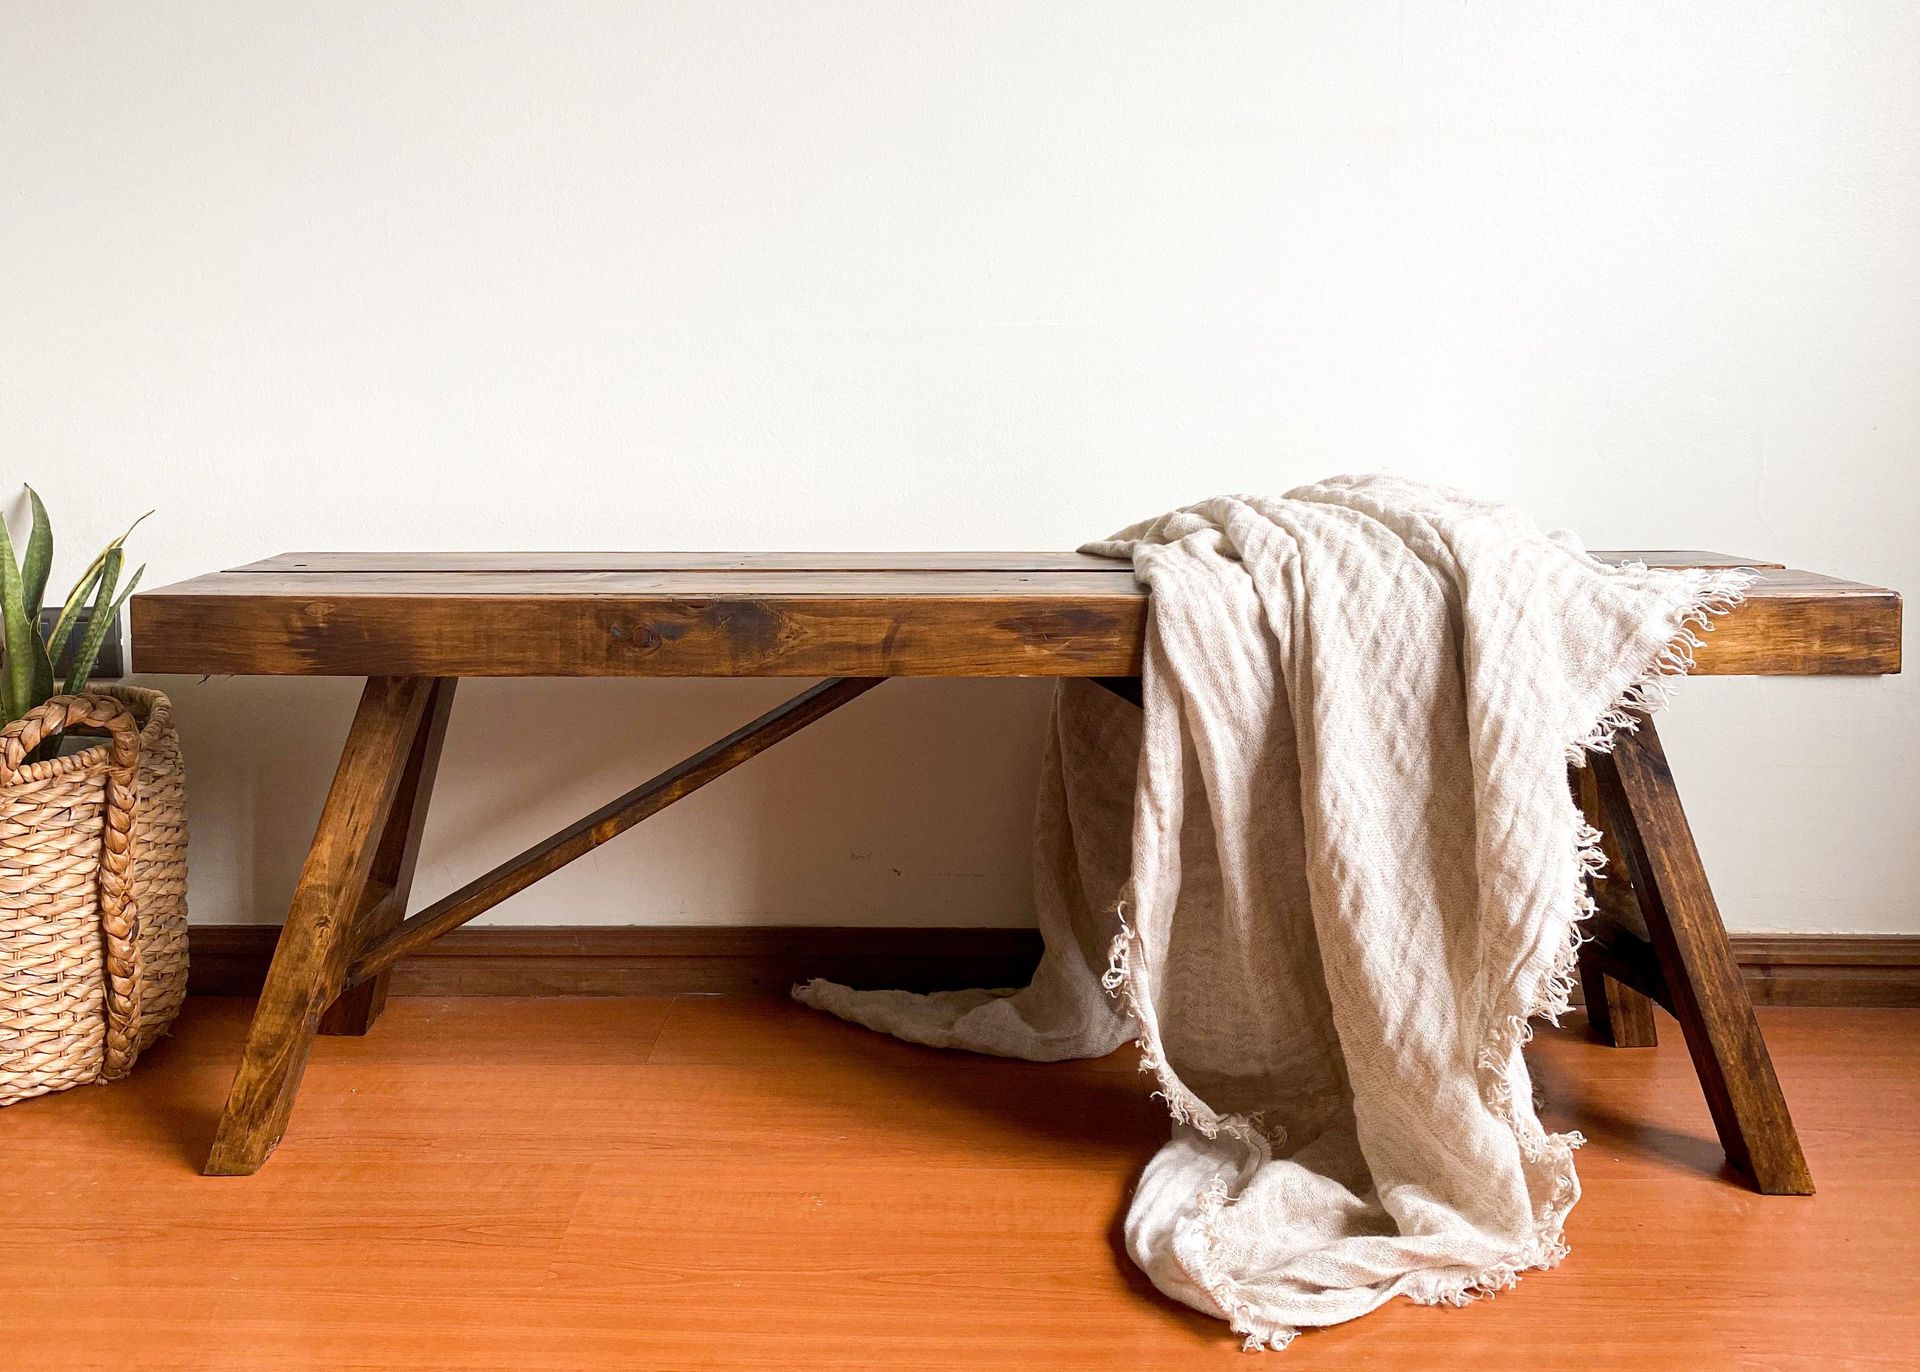
Building a small bench — sometimes called a step stool or a low bench — is the project where you first encounter the challenge of structural rigidity. A shelf can be wobbly and still hold objects. A bench that wobbles is a safety problem. Making a structure that resists racking, the tendency of a rectangular frame to collapse into a parallelogram under lateral load, is a core furniture-making skill.
The simplest approach to an anti-racking bench uses angled leg assemblies. Rather than four vertical legs, you build two end assemblies in an "H" shape, with a horizontal stretcher connecting the two legs of each end. This H-frame design resists racking far better than a simple four-post design. The two H-frames are then connected by a top board and sometimes a lower stretcher running lengthwise between them.
Proportions matter for a bench in a way they don't for a shelf. A standard seat height is 17 to 18 inches for an adult. A step stool might be eight to 12 inches tall. The top board width — typically between 10 and 14 inches — determines how comfortable it is to sit on. Going narrower than 10 inches makes the seat uncomfortable; going wider than 14 inches is unnecessary for most uses and adds weight.
Mortise-and-tenon joinery is the traditional way to attach legs to a seat or stretcher. For a beginner, pocket-hole screws are a practical alternative that produces strong joints quickly. The legs can also be notched to receive the stretcher in a half-lap joint — where each piece is cut to half its thickness and the two pieces interlock — which is stronger than a butt joint and teaches the concept of interlocking joinery without requiring the precision of a mortise-and-tenon.
Choose a species with some density for a bench: hard maple, beech, or oak will hold up to years of use better than pine or poplar, which dent easily. Finish with a hard wax oil or a floor-grade polyurethane for maximum durability.
8 / 25
Wooden serving tray
Credit: Polverini Lian / Pexels
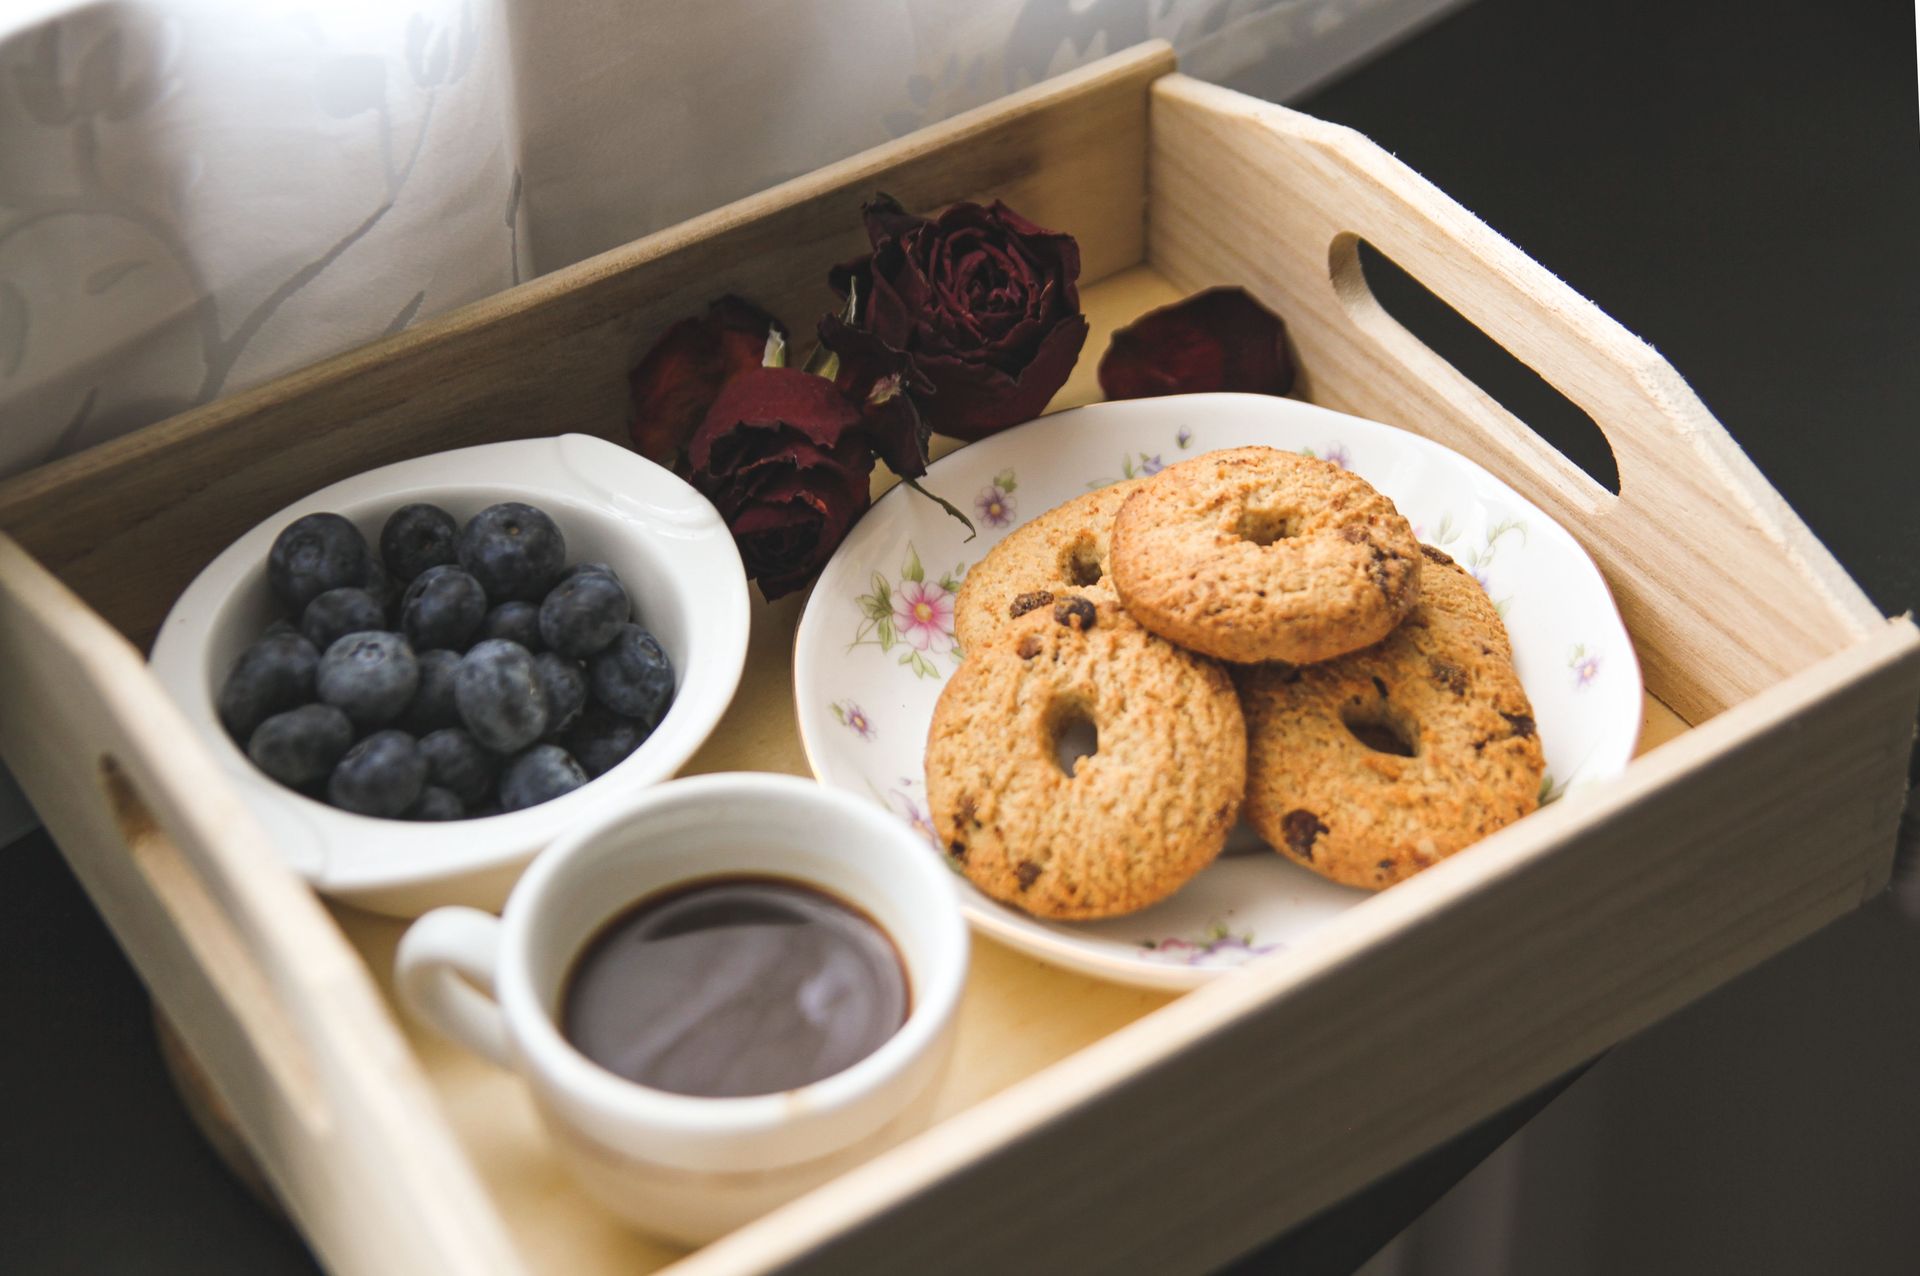
A serving tray is a project that introduces handles and teaches you to think about ergonomics from first principles. It is also an opportunity to work with wood at a slightly thinner dimension — three-eighths or half an inch — than most beginner projects, which requires more care to avoid splitting and teaches you something important about how wood behaves at different thicknesses.
The tray surface can be a single wide board, a glued-up panel, or a plywood base. Walnut, cherry, and maple are the traditional choices for a kitchen tray because they are closed-grain, dense, and attractive. Baltic birch plywood, which has a uniform core without voids, is also a fine choice and has the advantage of being stable in humid kitchen environments.
Handles are the defining design element. The two most common approaches are cut-out handles — where you drill two holes in the end of the board and cut the opening between them with a jigsaw — and applied handles, where separate pieces of wood are attached at each end. Cut-out handles are simpler to execute and have a clean, monolithic look. Applied handles allow more design freedom, including the option of turned knobs or shaped pieces that would be difficult to achieve in a flat board.
For cut-out handles, drill a hole at each end of the opening with a 1-inch or larger spade bit, then use a jigsaw to connect the two holes. Clean the cut with a rasp or file, then sand smooth with progressively finer grits. The inside curve of a cut-out handle should be comfortable to grip — test it with your hand as you shape it.
The sides of the tray, if included, serve a practical function: they prevent items from sliding off. They can be simple strips glued and nailed to the perimeter of the base, or they can be mitered at the corners for a more finished look. Finish the tray with multiple coats of food-safe mineral oil or a cutting-board oil blend, as the tray will likely contact food and moisture.
9 / 25
Floating wall shelves
Credit: الف / Pexels
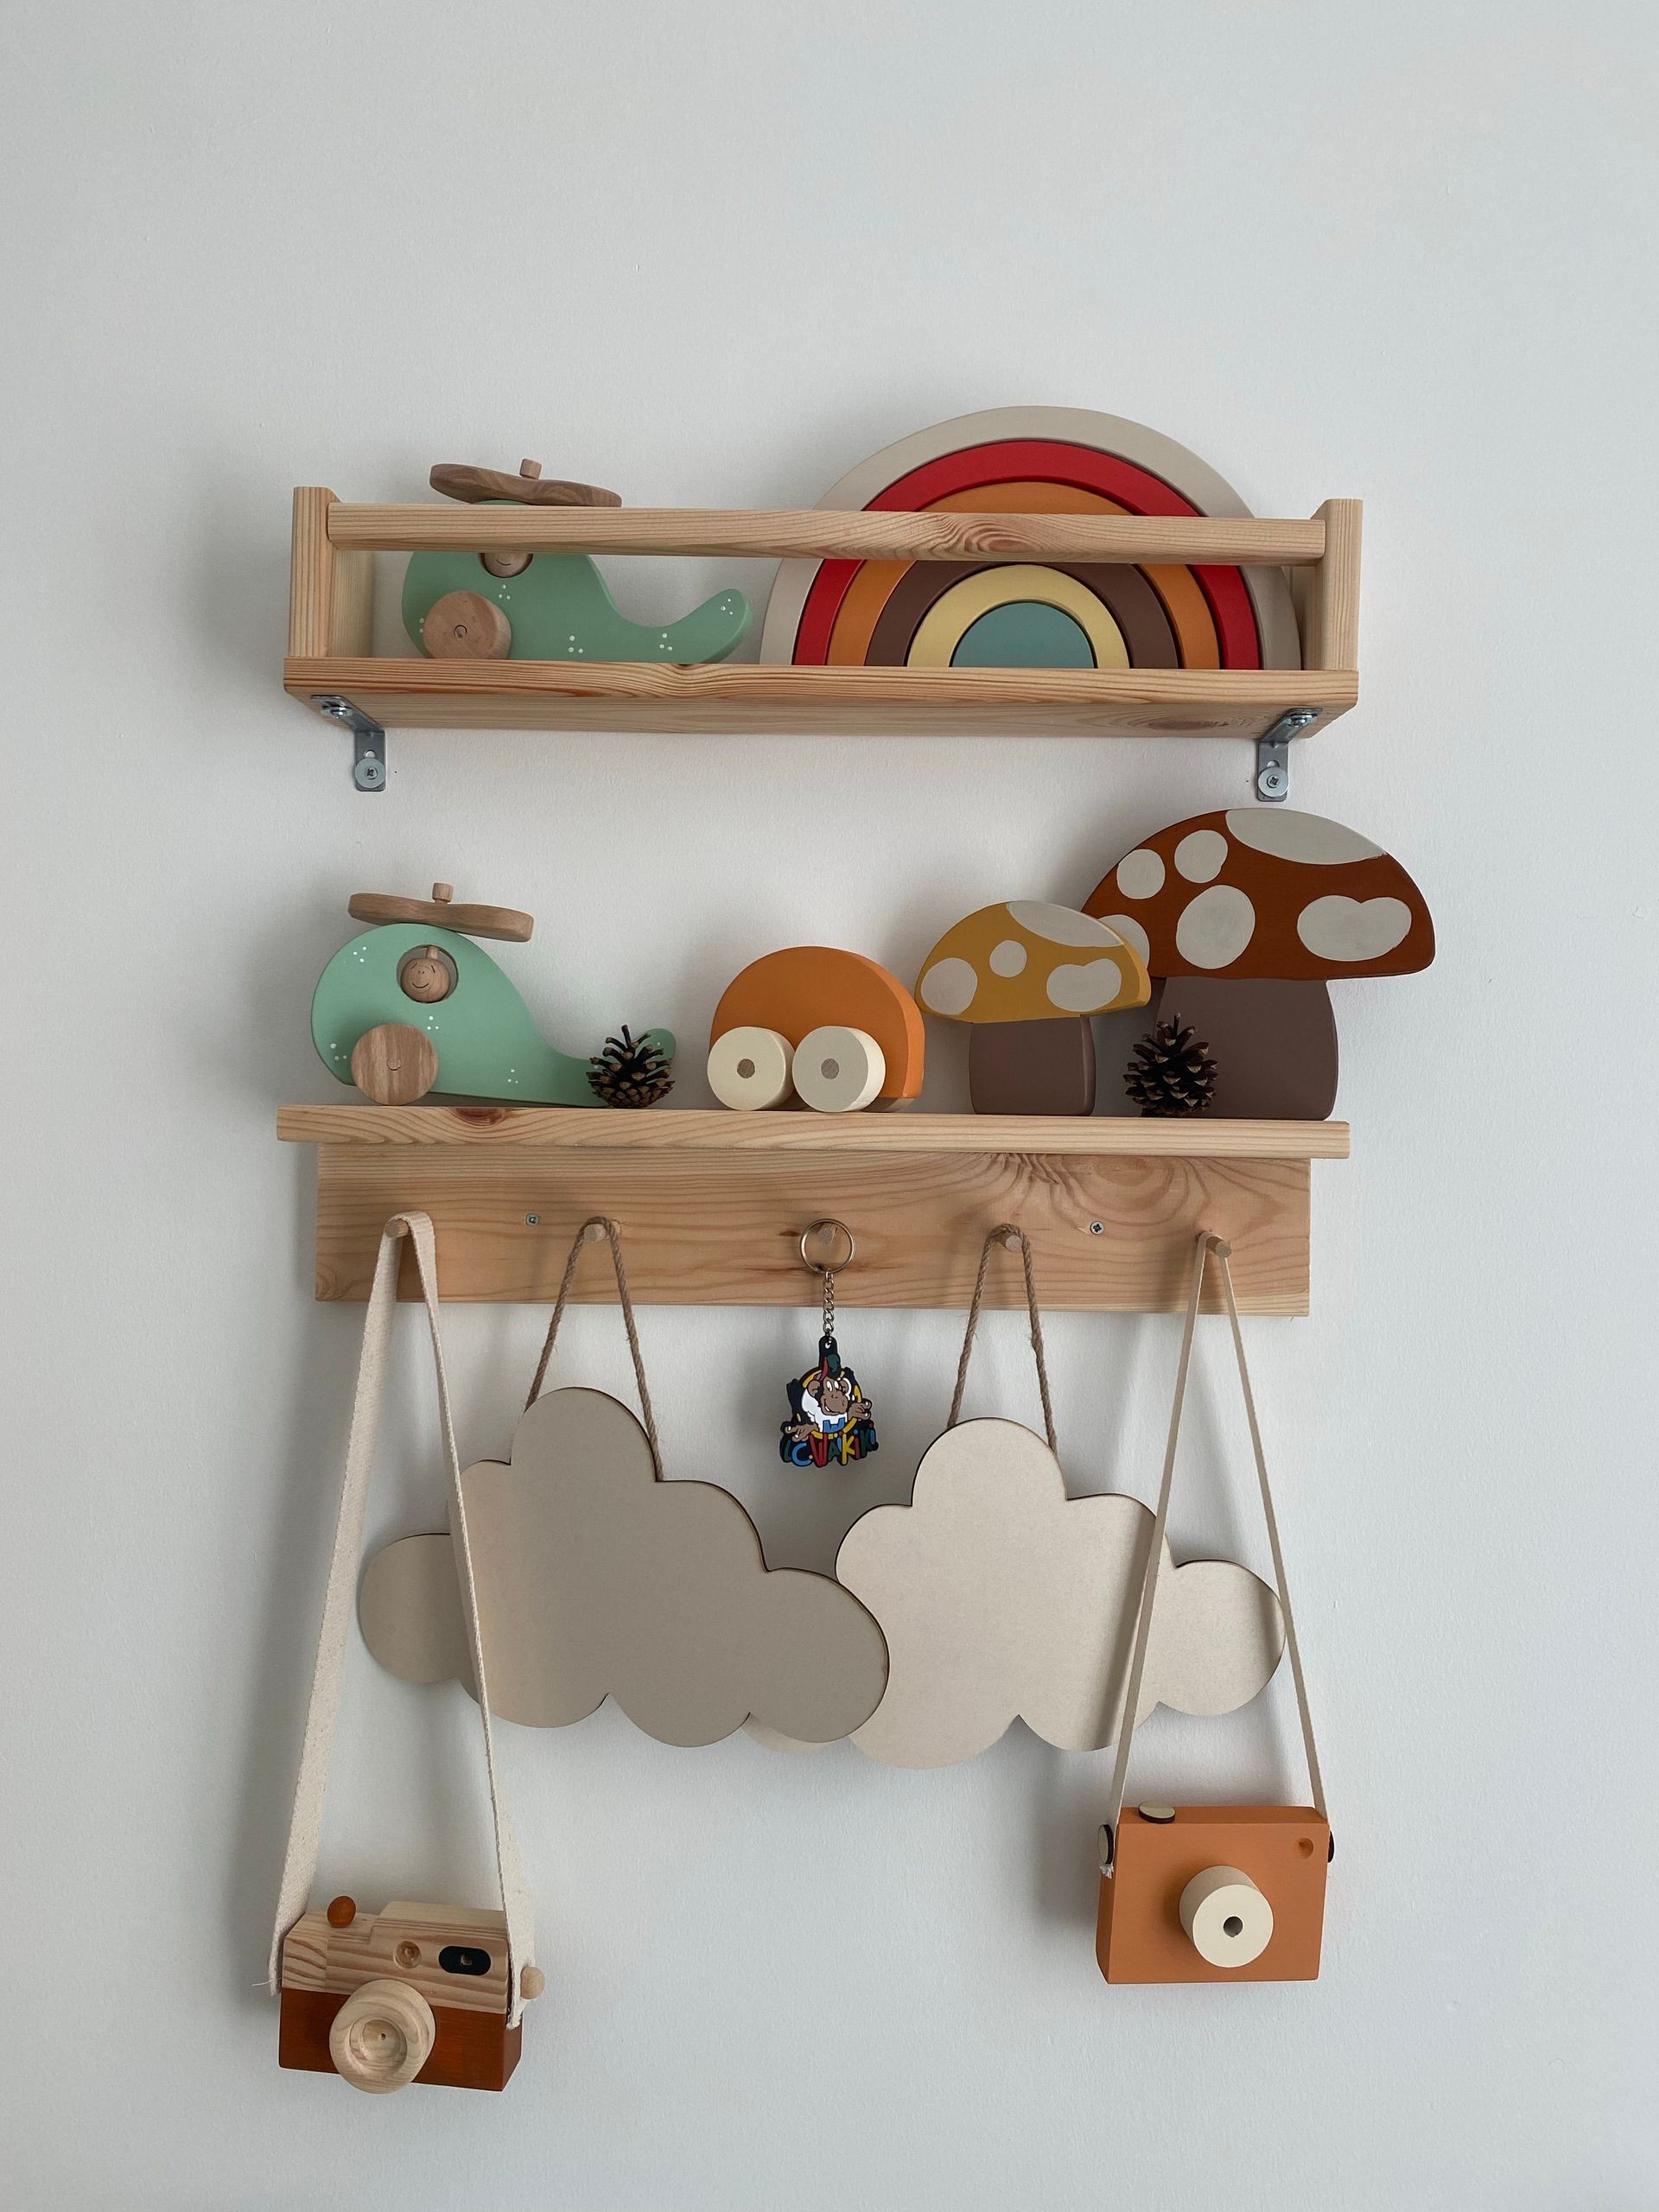
Floating shelves — shelves that appear to have no visible supports — are among the most requested items in home interiors, and building them teaches the relationship between hidden structure and visible surface. The "floating" appearance is achieved by concealing the mounting hardware inside the shelf body, which requires slightly more planning than a conventional shelf but is not technically difficult.
The most beginner-friendly floating shelf uses a cleat system: a wooden or metal cleat screws to the wall studs, and the shelf slides over it like a glove over a hand. The shelf is essentially a hollow box — a top, bottom, and two end pieces — with a slot or groove routed into the back that fits over the cleat. When the shelf is slid onto the cleat, the top panel sits on top of the cleat and the shelf appears to float.
The critical variable is finding wall studs, which are the vertical framing members inside your wall that can actually support weight. A stud finder simplifies this, or you can tap along the wall listening for the change in sound that indicates a solid member behind the drywall. Most studs are spaced 16 inches apart. Screws driven into studs can hold significant weight; screws driven only into drywall cannot.
Build the shelf box from three-quarter-inch hardwood plywood for strength, then veneer the front edge with a strip of solid wood or iron-on edge banding to conceal the plywood layers. The result looks like solid wood. Choose your finish before assembly and test it on a scrap piece — water-based polyurethane is quick-drying and durable, while an oil-varnish blend produces a softer, more matte appearance.
Depth is a key design decision: a 10-inch deep shelf works for books, while a 4-inch deep shelf is better for decorative objects and takes up less visual space. A longer shelf — over 36 inches — needs a third mounting point in the center to prevent sagging over time.
10 / 25
Wooden coat rack
Credit: Lisa Anna / Pexels
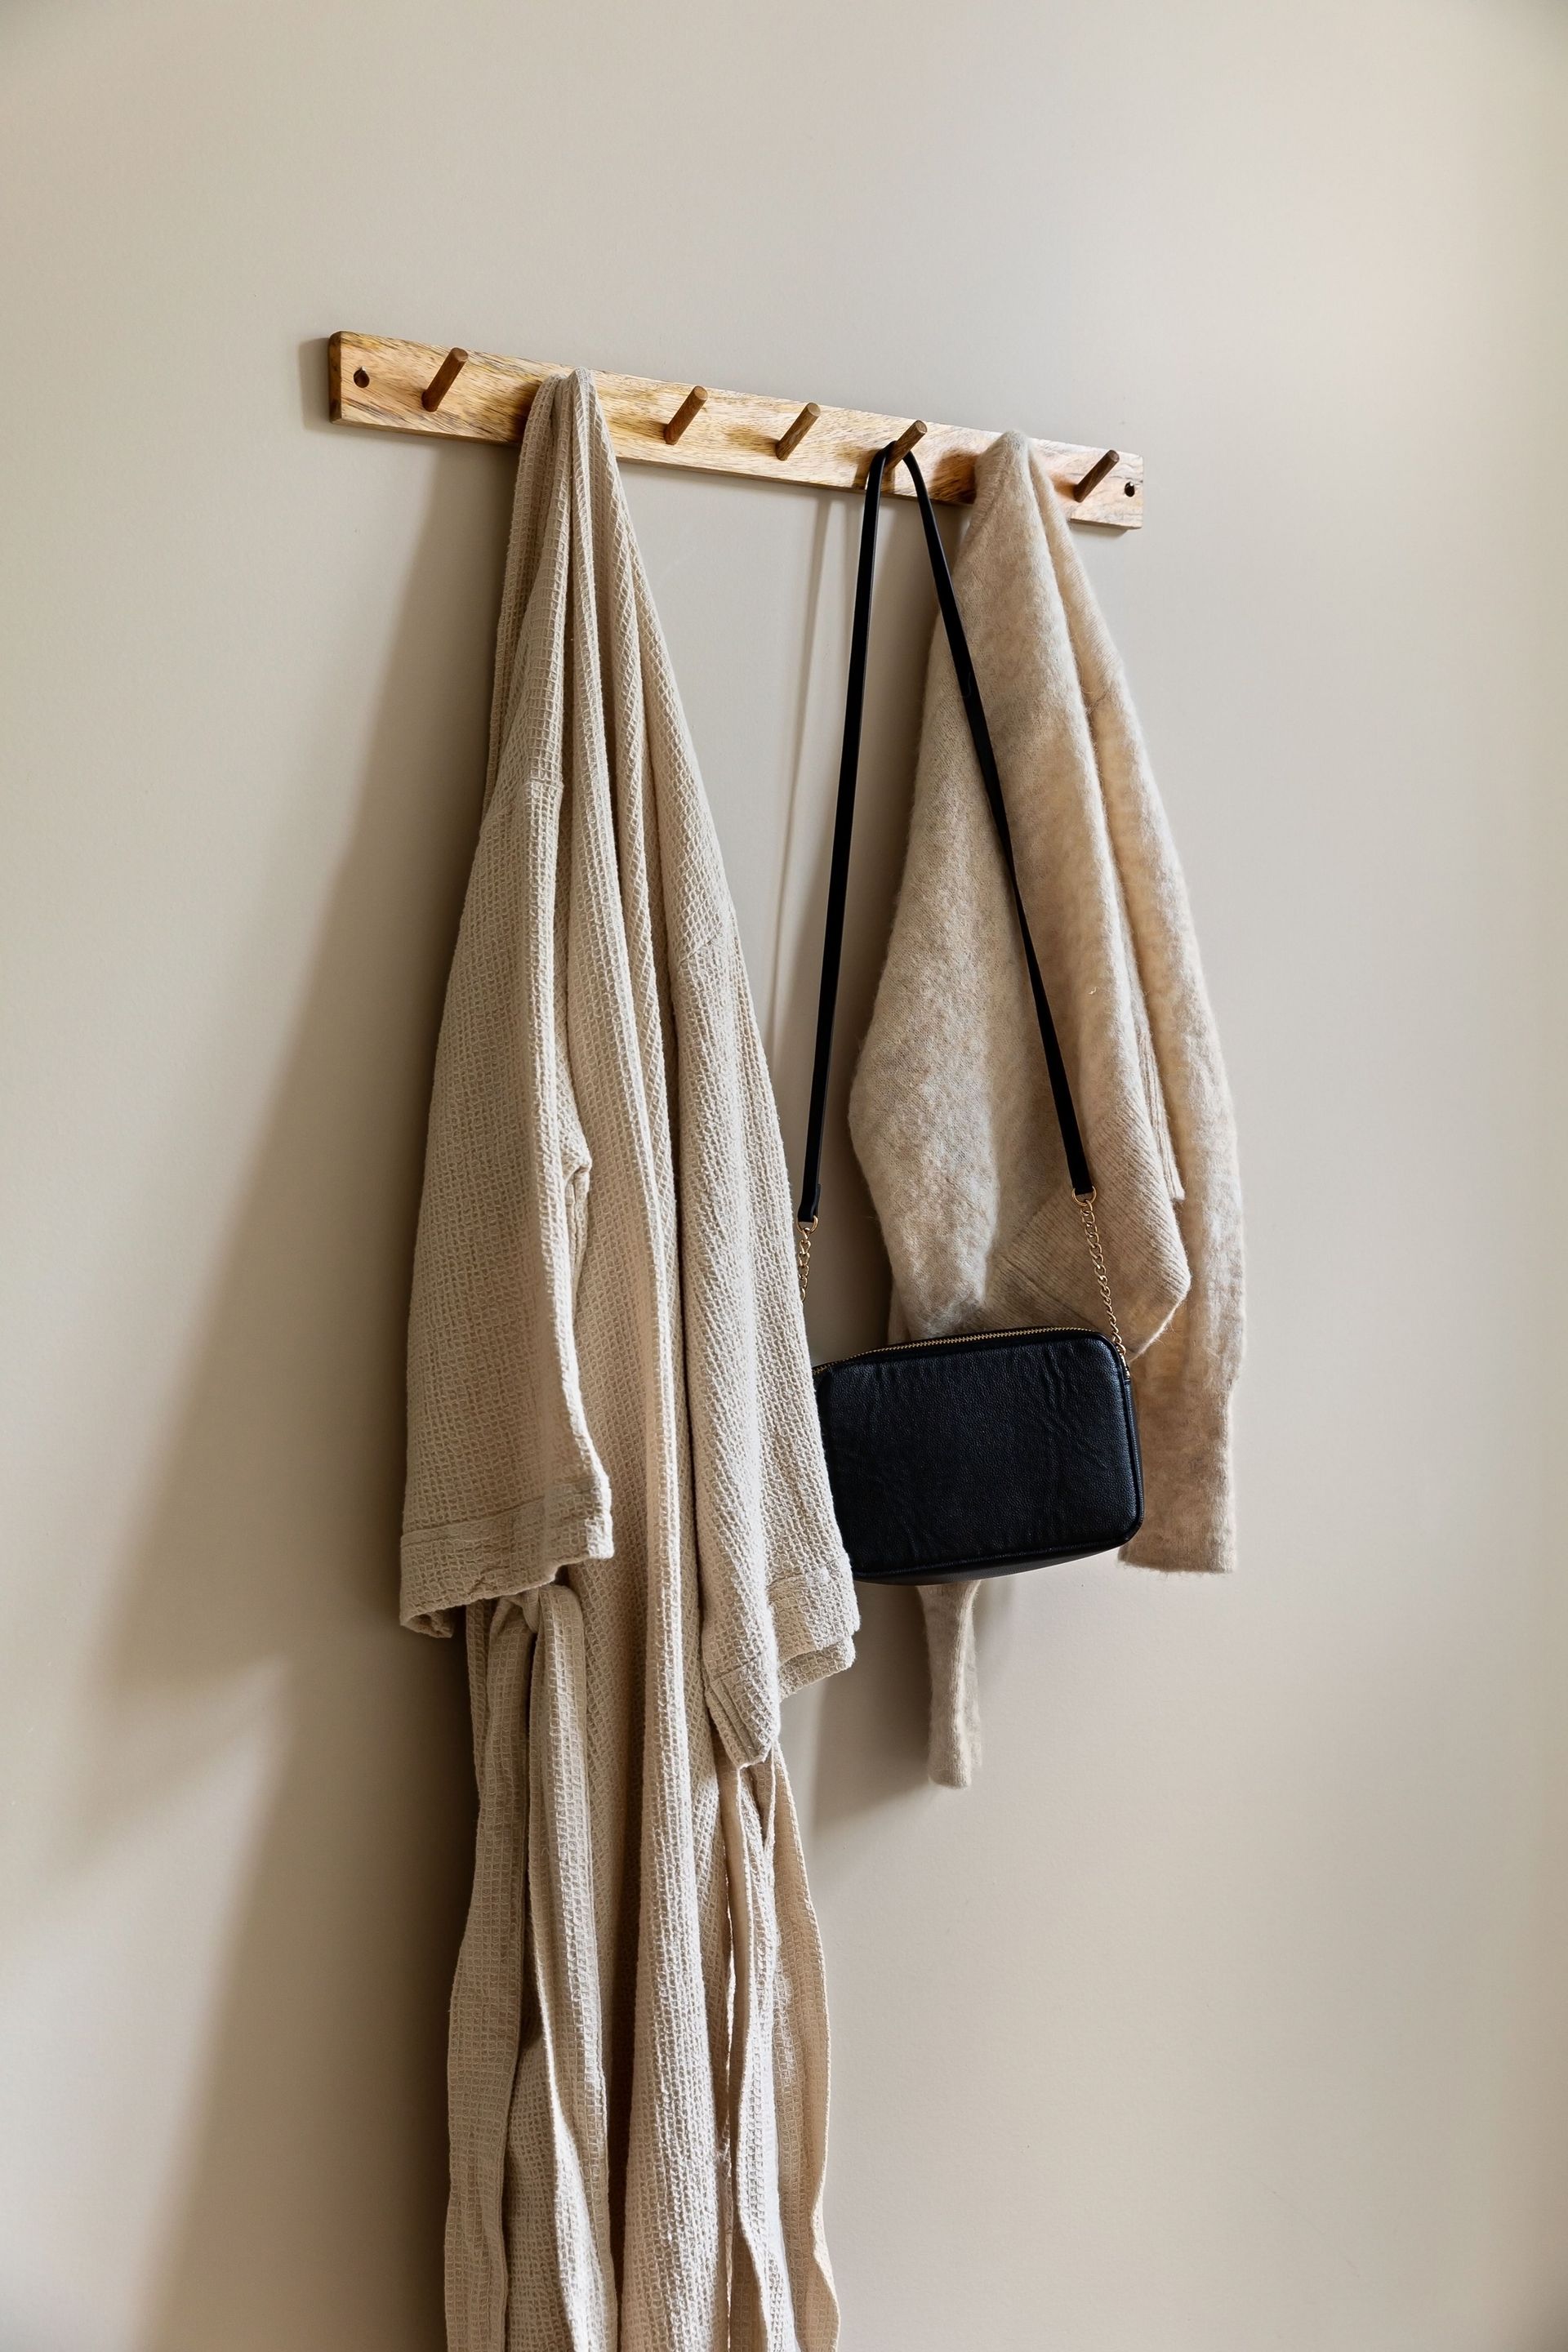
A wall-mounted coat rack is a high-use, visible piece that teaches you to think about load-bearing fasteners and introduces simple decorative shaping. Every component of a coat rack is under repeated mechanical stress — hooks pulled down by coats and bags, the back panel yanked by mounting forces — which means you can't cut corners on fastener choice or wall anchoring.
The back rail is the central element: a horizontal board mounted to the wall that carries the hooks. Its length determines how many coats it can hold; 36 to 48 inches is a practical range for a household coat rack. Choose a wood that is dense enough to hold the threaded inserts or screws that will anchor the hooks: poplar, maple, or oak are all appropriate. Avoid knotty pine for this application, as knots can split under repeated load.
The visual interest of a coat rack comes from two places: the profile of the back board and the shape of the hooks. The board can have square ends, angled ends, or a carved or sawn decorative profile. A router with a decorative bit — an ogee, a roundover, or a cove — can transform a plain rectangular board into something that looks considered and finished. The hooks themselves can be store-bought or hand-shaped from short lengths of turned stock or carved wood.
Mounting to the wall correctly is the most important step. A coat rack loaded with winter coats can weigh 30 to 50 pounds. Each mounting screw should go into a wall stud, not just drywall. Use at least three mounting points for a 36-inch rack: one at each end and one in the center. Countersink the screw holes so the screw heads sit flush with the face of the board, then fill the countersinks with wooden plugs or matching wood filler.
Finish the rack before mounting it. A full coat of polyurethane on all surfaces, including the back, helps prevent the wood from absorbing moisture from the wall and warping over time.
11 / 25
Wooden step stool
Credit: Maria Ovchinnikova / Pexels
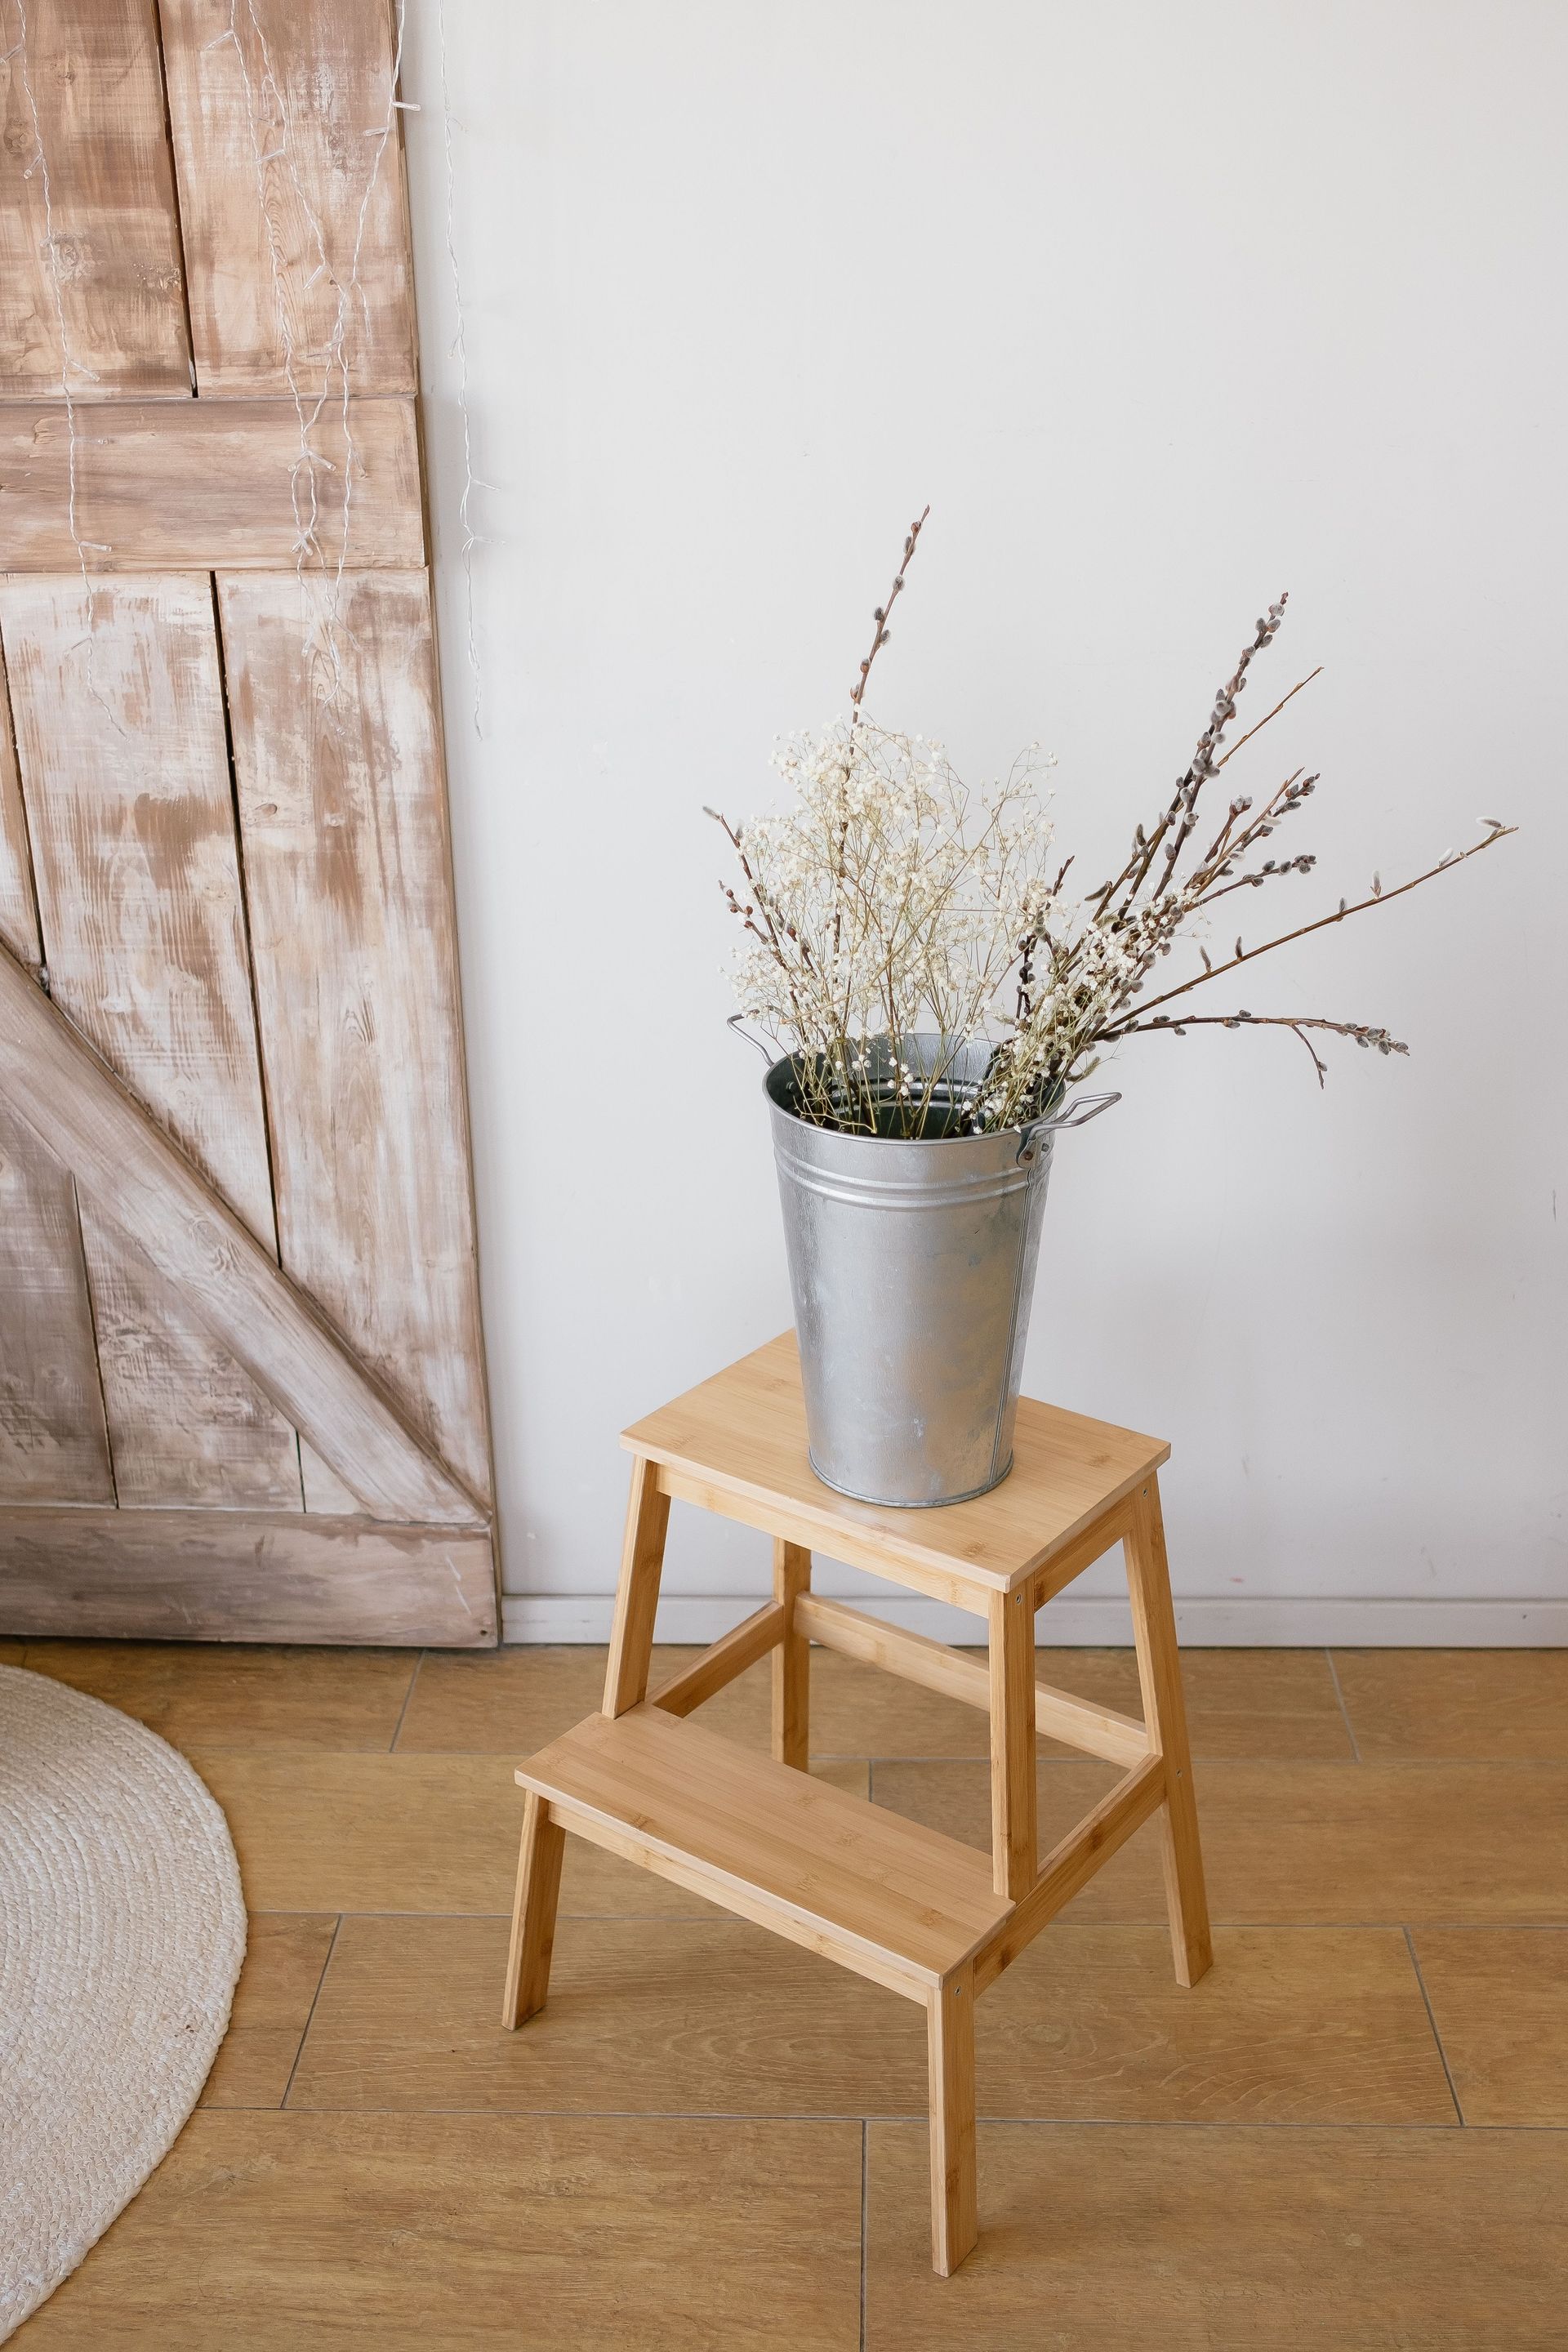
A step stool that will support an adult's weight is a more demanding structural project than most beginner builds, but it is also one of the most useful things you can make. The design challenge is stability: a step stool needs to be rigid enough that it doesn't wobble under load, light enough to move easily, and tall enough to be useful. Balancing these requirements teaches you to think about structure in a purposeful way.
A classic step stool design uses two shaped side panels as the structural core. The panels are cut from one-by-12 lumber or three-quarter-inch plywood in an outline that suggests legs: wide at the bottom for stability, narrow at the middle to reduce weight, and with a step notch cut into the top front corner. The step board spans between the two side panels and is supported by the notch. The assembly is strong because the load from the step is transferred directly to the side panels, which distribute it across a wide footprint on the floor.
Cut the side panel profiles with a jigsaw, using a paper template to ensure both sides are identical. Stack the two panels together with double-sided tape and cut them simultaneously — this technique, called gang cutting, guarantees matching profiles even if your jigsaw wanders slightly. Sand the curves smooth with a drum sander in a drill or with a sanding block shaped to fit the inside radii.
The step board should be at least three-quarters of an inch thick for an adult-weight step stool. Attach it to the side panels with glue and several screws driven in from the outside of each panel, with the screw heads countersunk. Add rubber feet to the bottom of each side panel — self-adhesive rubber pads from a hardware store work well — to prevent the stool from sliding on hard floors.
A step stool gets heavy use and deserves a durable finish. Two coats of floor-grade polyurethane on all surfaces will hold up to years of use. Scuff lightly between coats with 220-grit sandpaper.
12 / 25
Wooden desktop organizer
Credit: Maria Angel / Unsplash
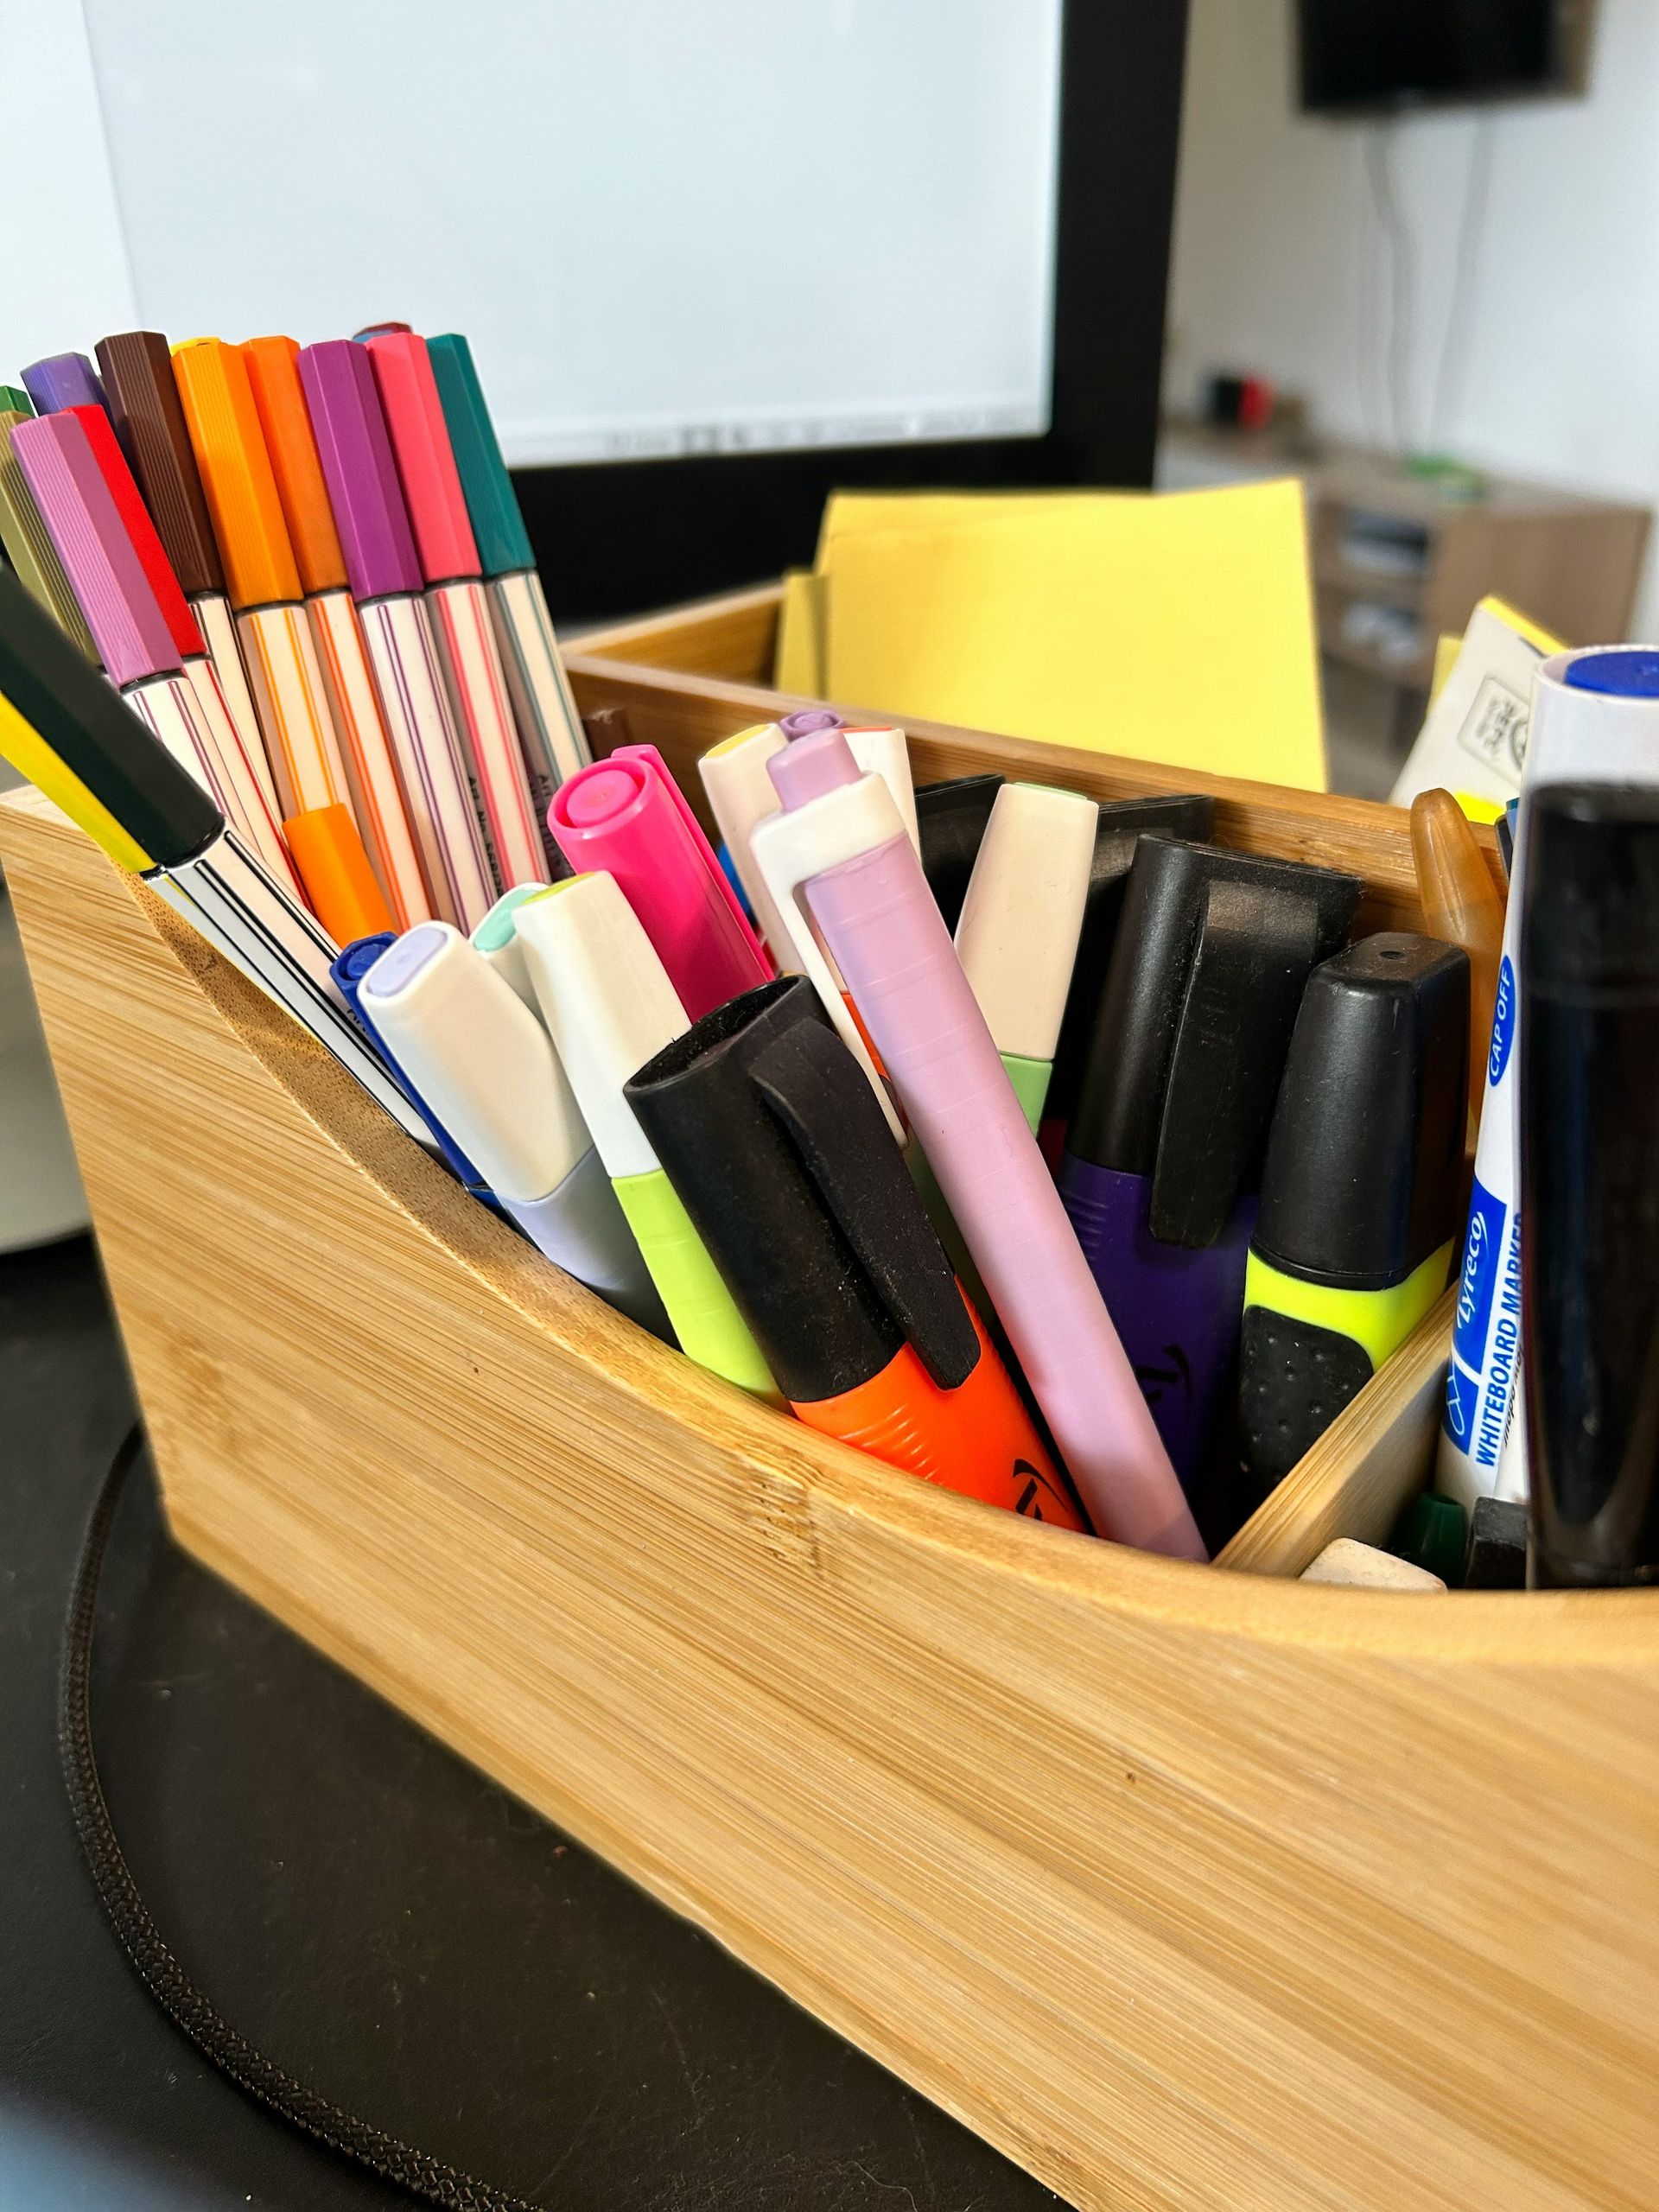
A desktop organizer is a project that introduces dadoes — grooves cut across the grain of a board that receive another board in a sliding fit — which is one of the most useful joints in cabinetmaking. An organizer made with dado joints is noticeably stronger and better-fitting than one made entirely with butt joints, and the process of cutting dadoes teaches you something essential about how furniture is actually put together.
The organizer consists of a base, two end panels, and several dividers that slot into dadoes in the base. The size depends on what you want to organize: a pen and document organizer might be 12 inches wide and 6 inches tall, while a larger desktop station could be 24 inches wide with multiple compartments of different heights.
Cut dadoes with a router and a straight bit, using a fence or a guide clamped to the workpiece to keep the router on a straight line. The dado should be exactly as wide as the thickness of the divider board that will fit into it. This requires careful setup: measure the actual thickness of your divider stock with calipers, then find or grind a router bit to match. A slight friction fit — where the divider slides in but doesn't rattle — is the goal.
The end panels can be joined to the base with rabbets: a dado that runs along the end of the base board receives the end panel, holding it flush with the ends of the base. This creates a clean, professional corner that is stronger than a simple butt joint. The assembled structure should be squared before the glue sets by measuring the diagonals — two identical diagonal measurements indicate a square frame.
Finish the organizer with a wipe-on oil or a light coat of shellac, which dries quickly and provides a pleasant warm tone. Shellac is also easy to repair: a fresh coat of shellac dissolves into a previous coat without any stripping required, which makes touching up easy.
13 / 25
Garden planter box

Credit: Mateusz Feliksik / Pexels
A garden planter box is a demanding outdoor project that introduces the challenge of building for moisture and durability. Wood that lives outdoors and holds soil and water is exposed to far more stress than indoor furniture, and the choices you make about wood species, joinery, and finish determine whether the planter lasts two years or 20.
Cedar and redwood are the species of choice for outdoor planters. Both are naturally rot-resistant due to oils in the wood that repel moisture and inhibit decay. Western red cedar is widely available and relatively affordable. Teak is another excellent choice but significantly more expensive. Avoid using pressure-treated lumber for planters that will grow food, as the chemicals used in the treatment process can leach into the soil.
The planter design needs to account for drainage. A solid bottom traps water and accelerates rot; drill or cut drainage holes spaced every four to six inches across the bottom panel. Elevating the planter slightly off the ground — on short feet or a simple base frame — allows air circulation beneath it and further protects the bottom from constant moisture.
Corner joinery on a planter is under significant stress from the weight and moisture of the soil inside. Butt joints held only with screws will eventually fail as the wood swells and contracts. A stronger approach is to use corner posts: square lengths of stock at each corner, with the side panels screwed into the posts from the outside. The posts carry the load and provide a solid gluing and fastening surface.
Treat all cut ends and surfaces with a penetrating exterior wood oil or a deck-treatment product before assembly. End grain is the most vulnerable surface — it absorbs moisture far more readily than face grain — so give cut ends extra attention. A planter built from cedar and treated generously with a quality exterior oil can last a decade or more with minimal maintenance.
14 / 25
Wooden bookends

Credit: www.kaboompics.com / Pexels
Bookends are small, heavy objects that must resist a lateral force — the weight of leaning books — and they represent a type of woodworking challenge that is more about weight and stability than structural joinery. Building bookends teaches you to think about mass distribution and about using weights or heavy hardware as functional design elements rather than afterthoughts.
The simplest wooden bookends are L-shaped: a vertical panel that books lean against and a horizontal base that the bookend rests on. The base needs to be heavy or grippy enough to stay in place. The standard approach is to attach a steel plate to the underside of the base — flat steel weights available from a hardware store, or even a piece of bar stock from a metal supplier — and cover it with felt to protect the shelf beneath.
Another approach uses the weight of a dense hardwood: a bookend made from walnut, oak, or maple and sized generously will stay in place through sheer mass. A base two to three inches wide and six to eight inches long, made from three-quarter-inch hardwood, weighs enough to hold most book collections without any added steel weight.
The visual design of bookends is an opportunity to practice shaping. The vertical panels can be simple rectangles, or they can be cut into decorative silhouettes: a simple arch, a slanted parallelogram, or a stepped profile. A scroll saw or jigsaw allows fairly complex profiles. Smooth all shaped edges carefully with files and sandpaper, as the edges are highly visible and will be handled frequently.
A matched pair of bookends requires precise duplication: both pieces should be identical in size and profile. The gang-cutting technique — taping two pieces together and cutting them simultaneously — works well here. If you use a decorative profile, make a paper template first to ensure the shapes will match.
15 / 25
Wooden jewelry box
Credit: Rumman Amin / Unsplash
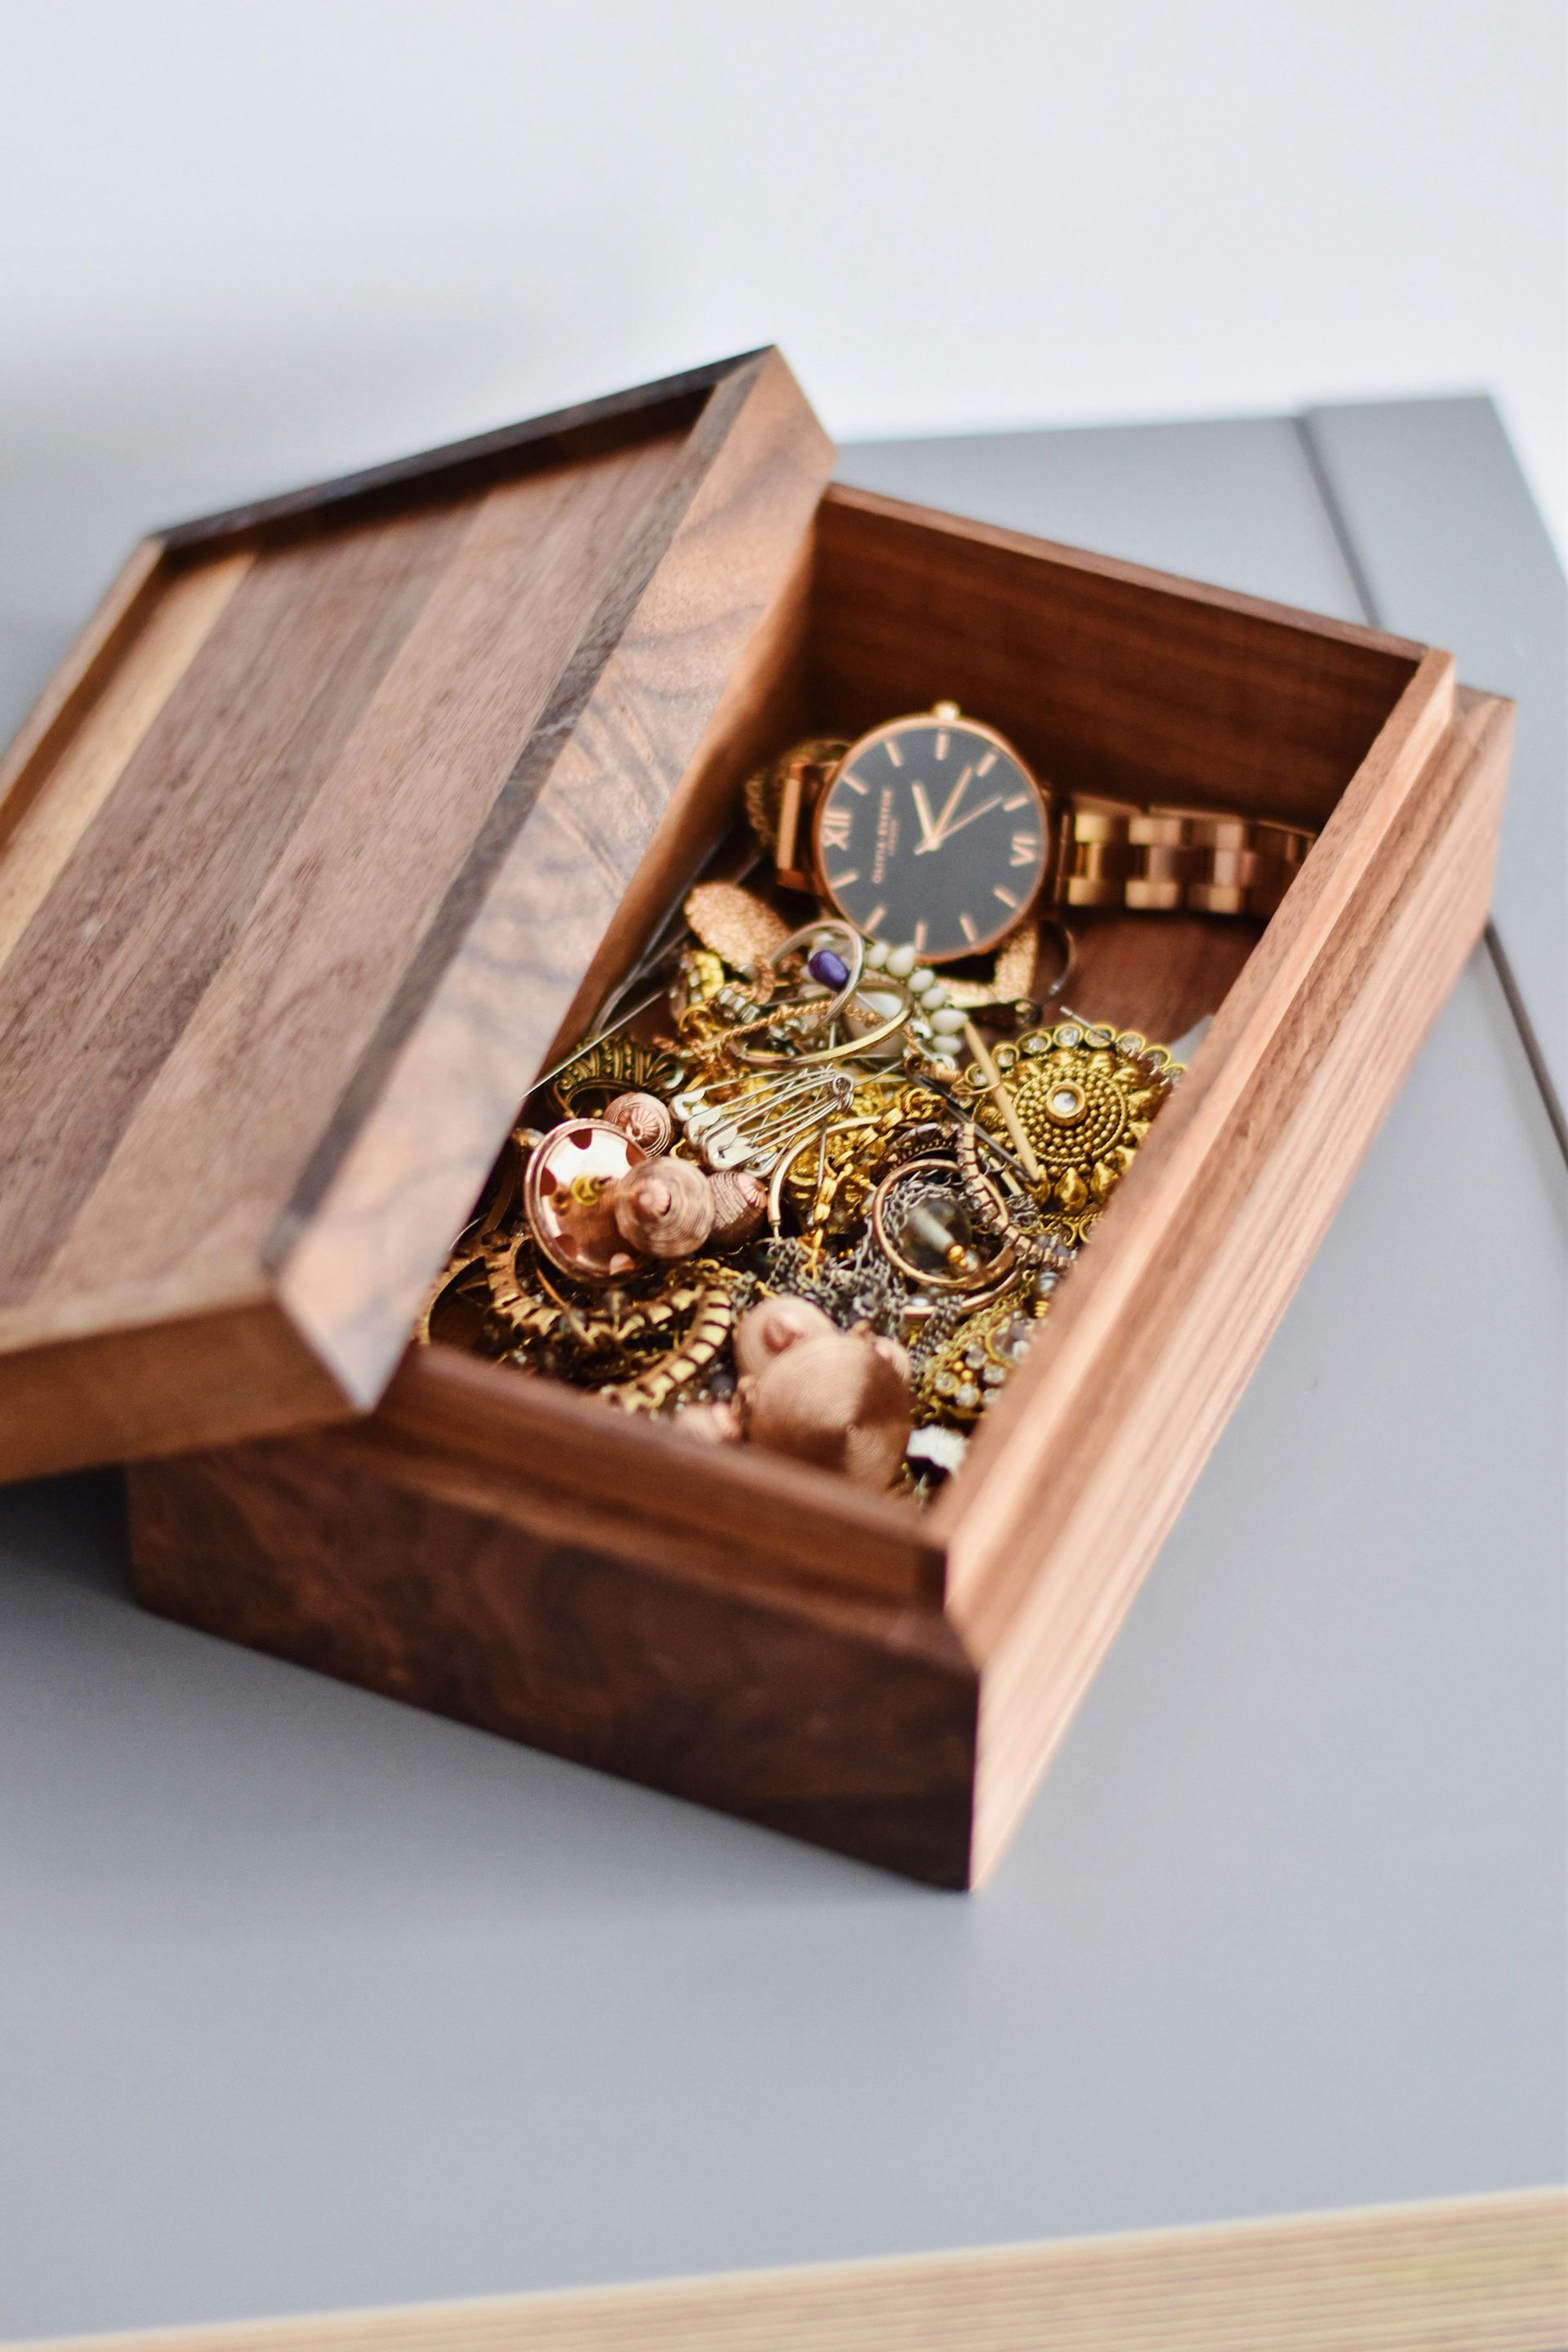
A jewelry box is the project where precision and finish quality become primary concerns rather than secondary ones. A rough shelf can be forgiven. A rough jewelry box, where the lid doesn't close smoothly and the interior smells of uncured finish, is a disappointment. Building a good jewelry box requires you to slow down, test your setups, and treat surface quality as a technical goal.
The box form is conceptually simple: four sides, a bottom, and a lid. The complexity is in the details: the lid must fit precisely without being so tight that it's difficult to open; the hinges must be mortised flush so the lid closes flat; the interior should be lined with a soft material — velvet, suede, or felt — that protects jewelry without scratching; and the exterior finish must be smooth enough to invite touching.
Box hinges, also called piano hinges or jewelry box hinges, are typically small and require mortises in both the lid and the back of the box. Cut these mortises carefully with a sharp chisel — a mortise that is even slightly too deep will cause the lid to tilt forward when closed. Test the hinge fit with a dry run before applying any glue.
Lid stays — small hardware pieces that prevent the lid from opening past 90 degrees and falling backward — are easy to overlook but important for the longevity of the hinges. Without them, repeatedly opening the lid fully puts stress on the hinge mortises and can eventually cause the wood to crack.
The interior lining is applied last, after all finishing is complete. Cut the lining material slightly larger than each interior surface, apply contact cement to both the wood and the fabric, allow both surfaces to become tacky, then press them together for a bond that is immediate and permanent. Trim excess material with a sharp knife.
16 / 25
Wooden picture ledge
Credit: Leonie Janko / Unsplash
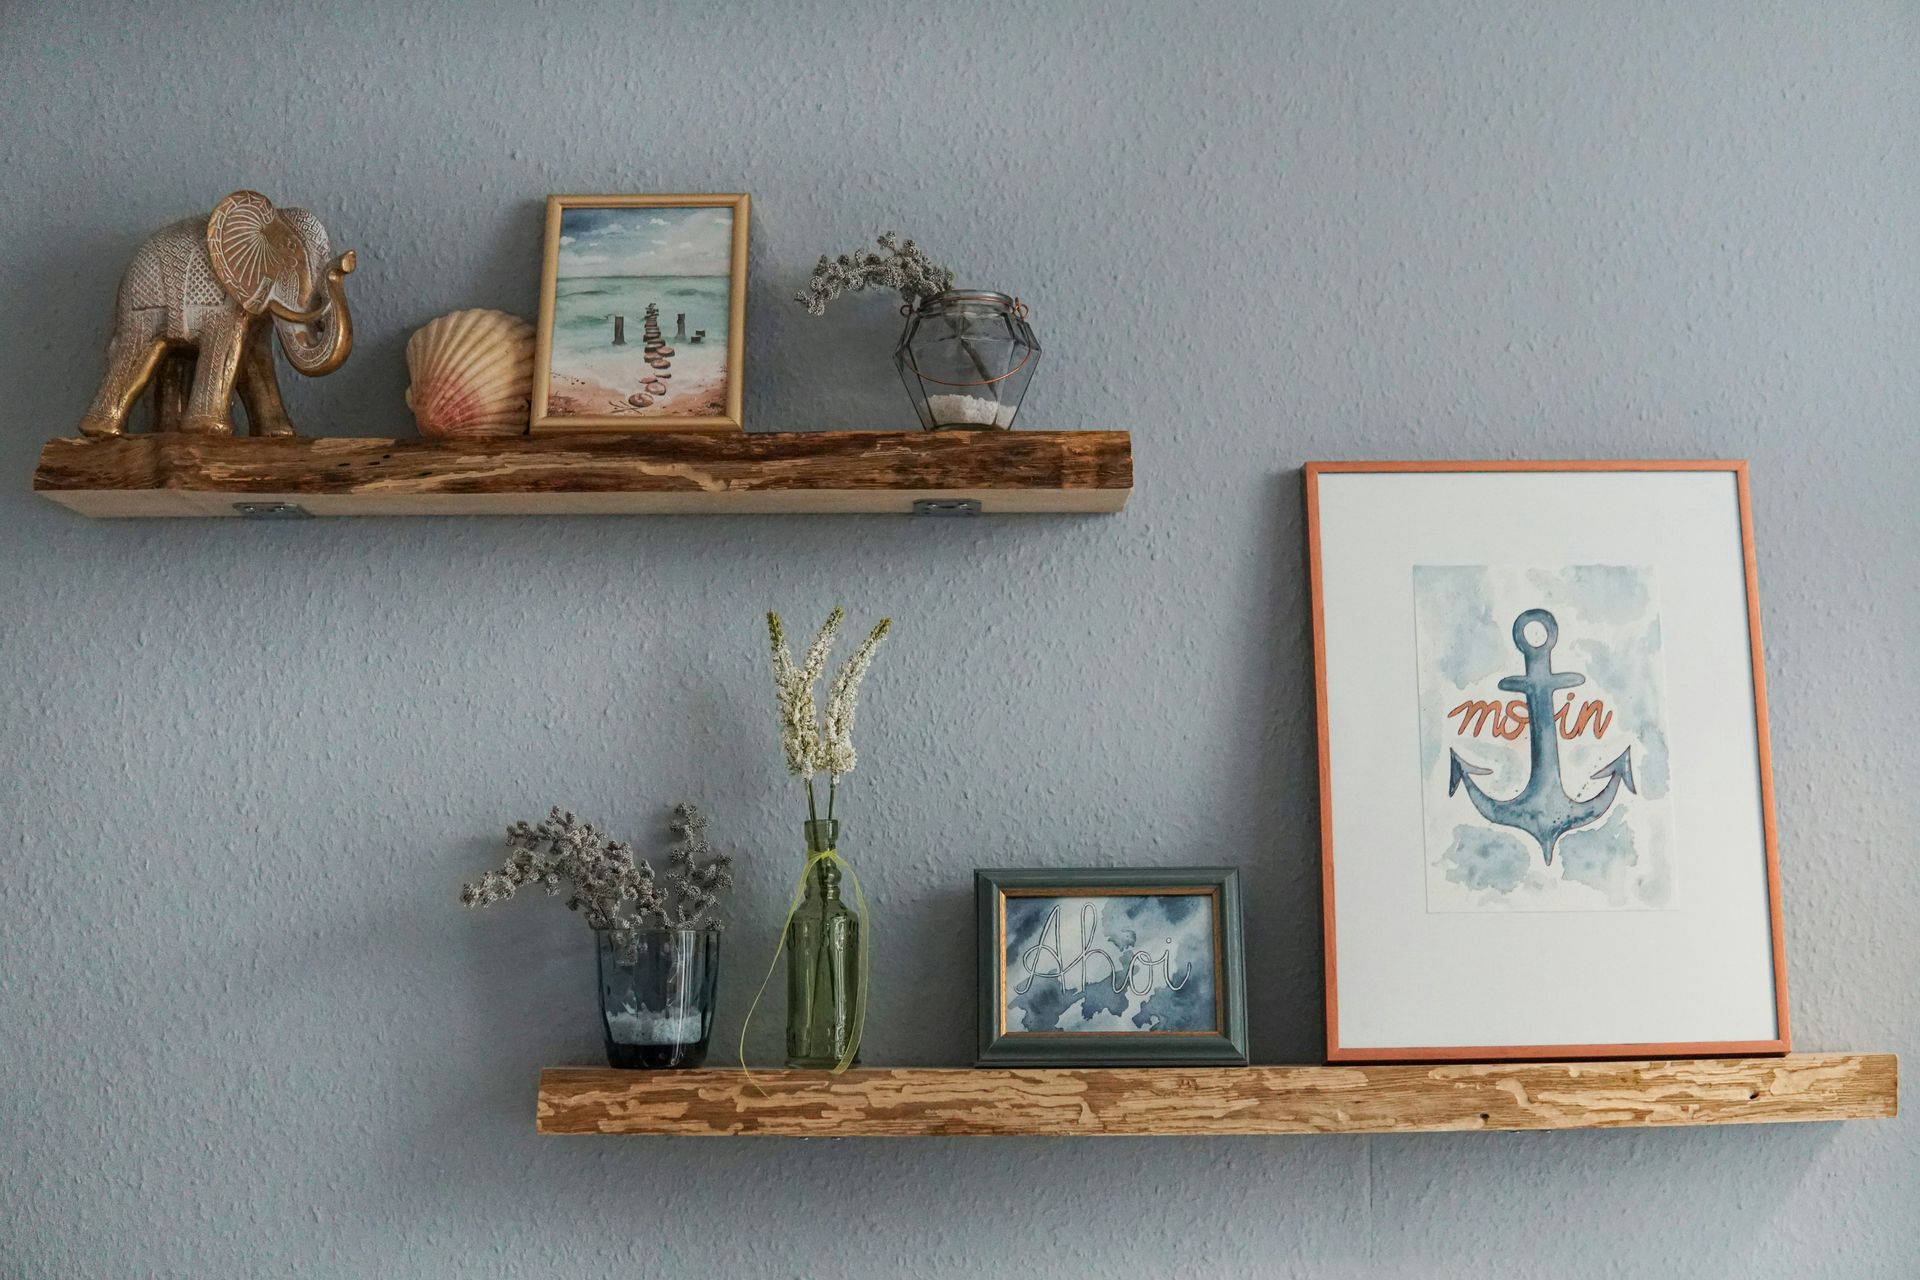
A picture ledge — a shallow shelf with a front lip that holds framed pictures upright without requiring them to be hung individually — is a project that rewards accuracy in its proportions. Too short a lip and pictures tip forward; too tall a lip and it obscures the bottom of the frame. The construction is simple, but getting the details right requires attention.
The ledge has three components: a back board that mounts to the wall, a flat shelf board that pictures rest on, and a front lip that keeps them from sliding off. The back board and shelf board are joined at 90 degrees; the front lip is a thin strip, typically one inch tall, glued and nailed to the front edge of the shelf.
Length is flexible — a 36-inch ledge holds a significant collection of frames, while a 24-inch ledge works well above a desk or dresser. Depth should be proportional to the frames you intend to display: most standard frames are three-quarters of an inch thick at the back, so a shelf four to five inches deep gives you room for one row of frames plus a little clearance.
The front lip is the element that most affects function. Make it from a material thick enough to resist warping — three-eighths of an inch minimum — and wide enough to genuinely support frames without being so tall that it obscures the picture. A lip that is three-quarters of an inch tall works for most standard frames.
Wall mounting follows the same principles as any wall-mounted shelf: find the studs, use appropriate fasteners, and ensure the ledge is level. A 36-inch ledge with a collection of frames can weigh 20 pounds or more, so don't rely on drywall anchors alone. Finish the ledge to match or complement the frames it will hold — a painted ledge at the same color as the wall creates a clean, minimal look; a natural wood ledge makes a warmer statement.
17 / 25
Wooden candle holder
Credit: Stephanie Klepacki / Unsplash
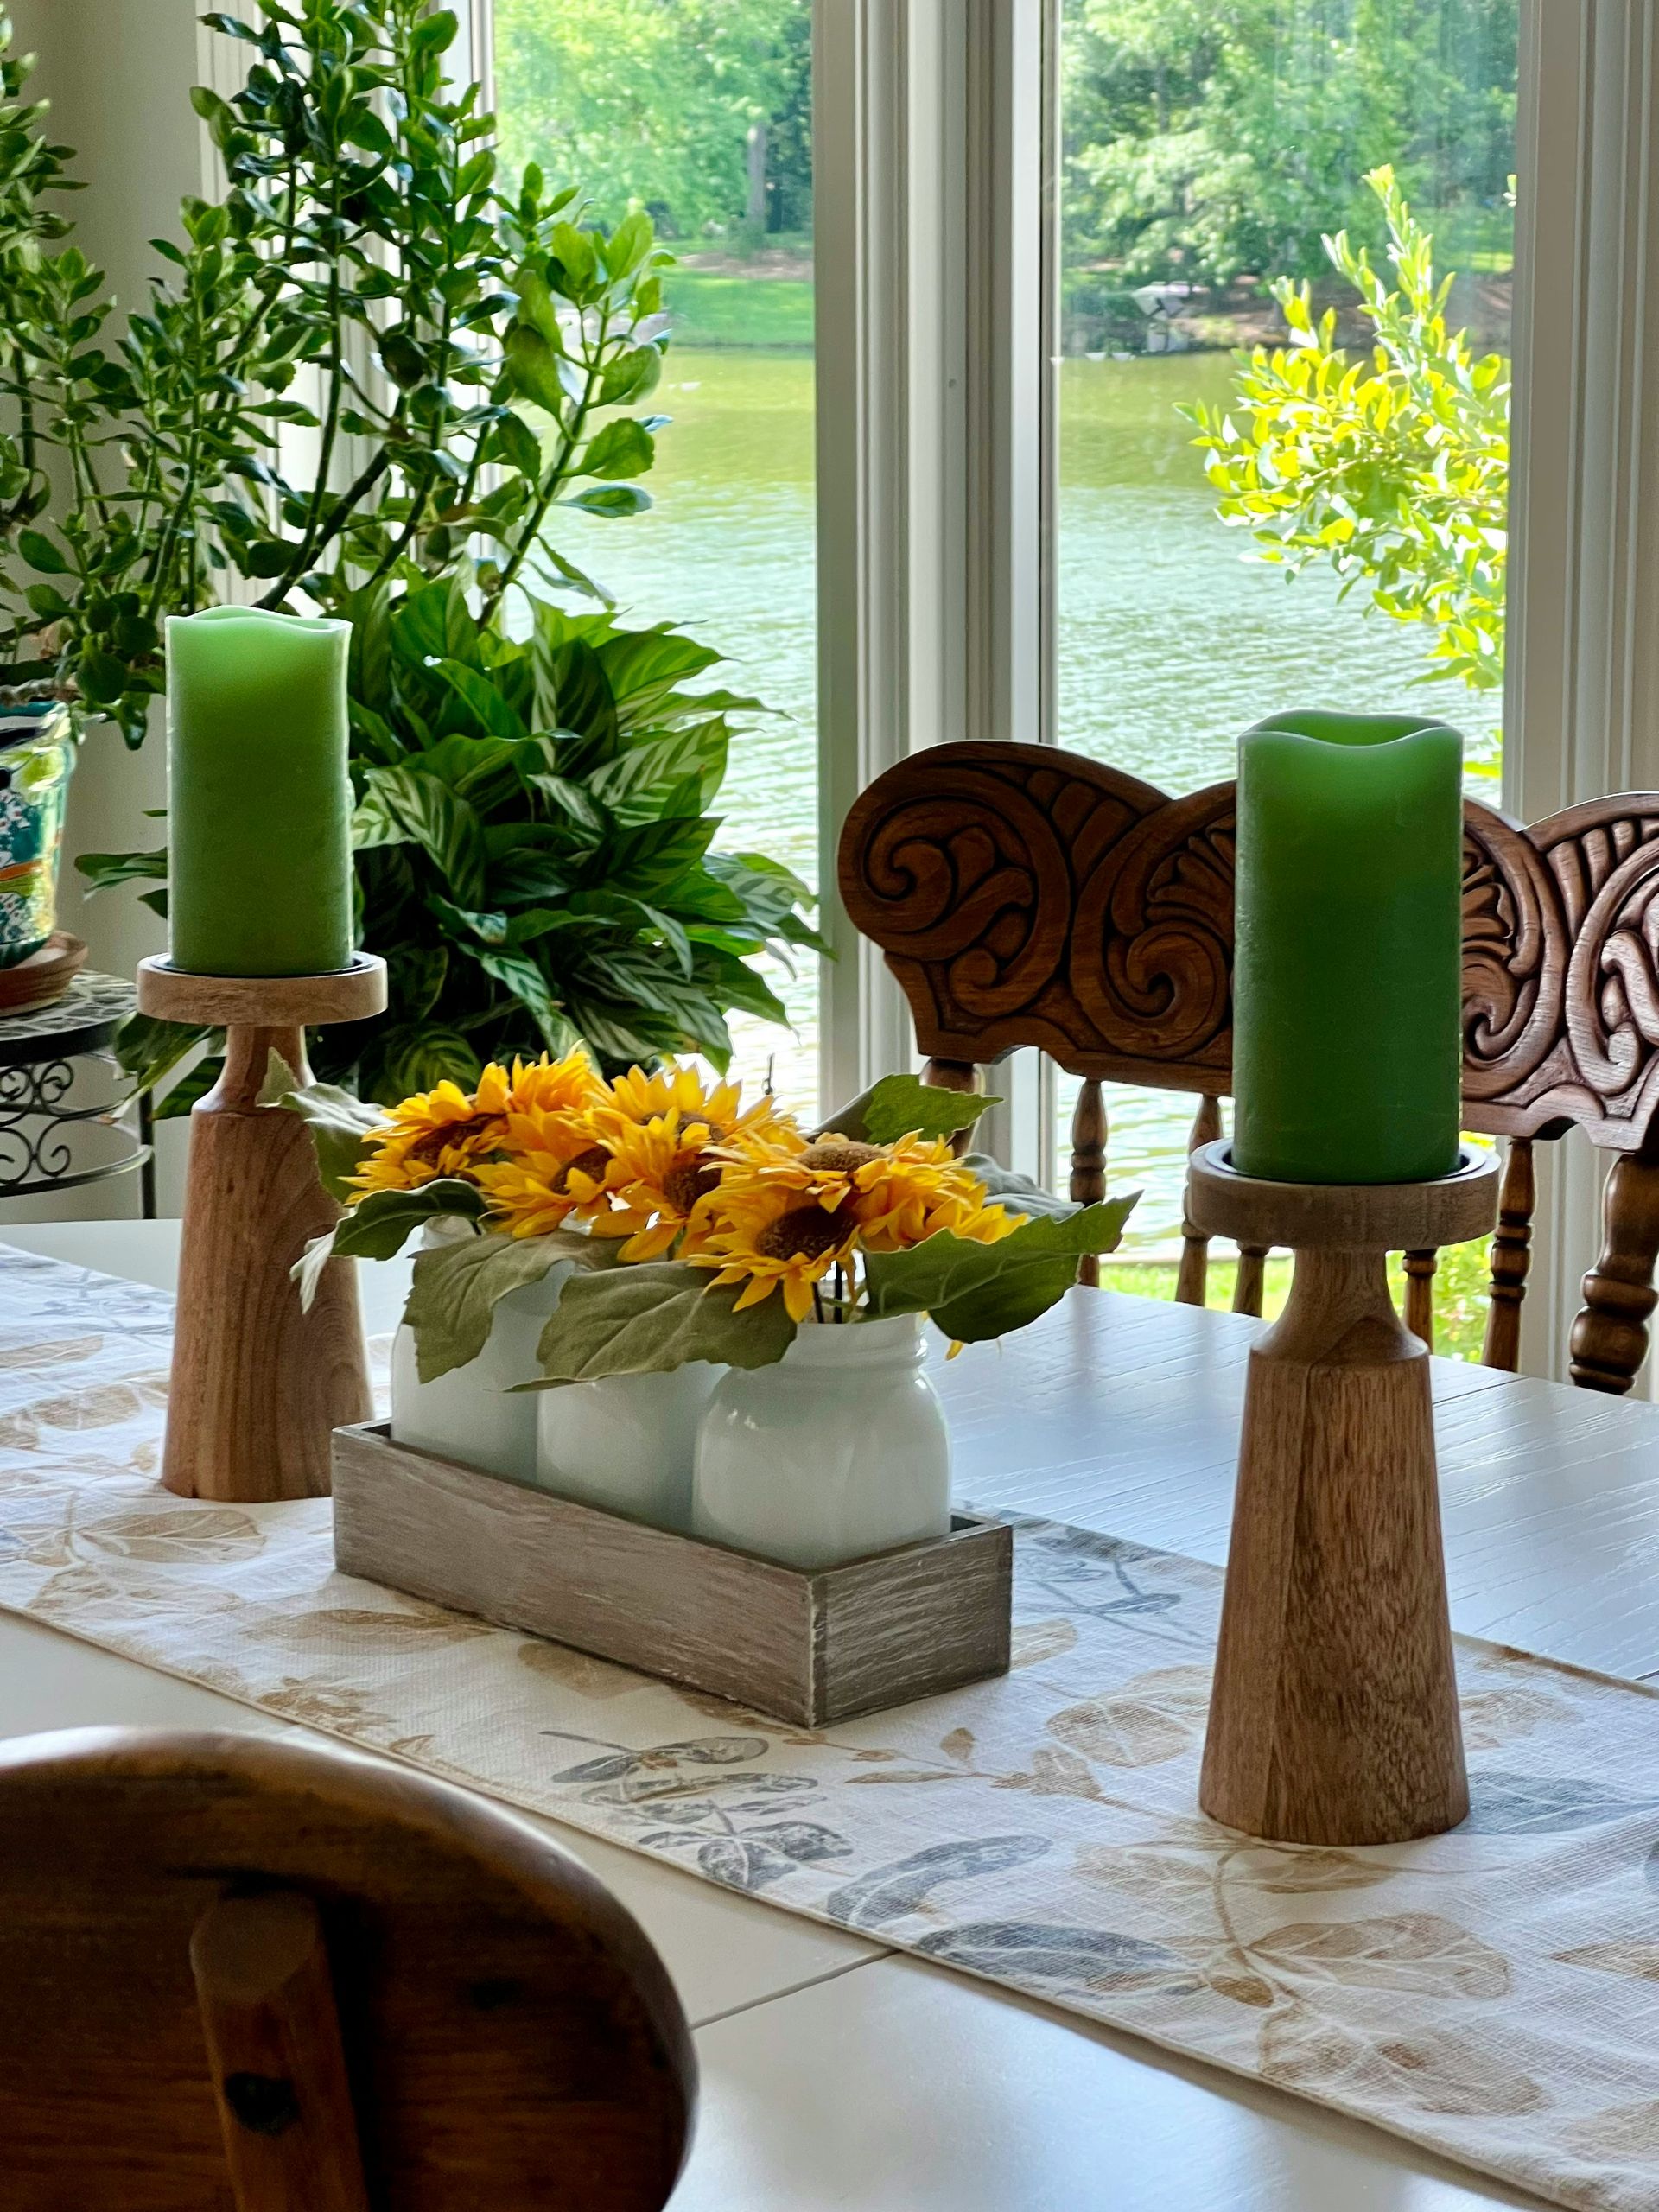
A wooden candle holder is a deceptively useful project that teaches basic turning concepts on a lathe or, for those without a lathe, introduces relief carving or simple drilling techniques to create a functional form from a solid block. The project is also a lesson in fire safety and material selection — certain finishes are flammable, and a candle holder must be built with appropriate clearances.
For a lathe-turned candle holder, start with a dry hardwood blank: maple, cherry, or walnut are traditional choices. Mount the blank between centers on the lathe and turn it to a cylinder, then shape a profile — a tapered column, a barrel form, a series of coves and beads. The candleholder recess at the top is drilled or bored to the diameter of the candle it will hold: standard taper candles fit a seven-eighths-inch hole, while pillar candles require larger openings.
For a candle holder built without a lathe, the approach is different but equally instructive. Start with a short section of square stock, drill the candle hole with a Forstner bit, then shape the exterior with a block plane, rasp, and sandpaper. The goal is to transition from the square blank to a more organic, rounded form through progressive shaping. This method produces a holder with a quality that looks hand-crafted rather than machined.
Finish for a candle holder should be heat-resistant and non-flammable once cured. Hardwax oil products are appropriate; polyurethane in a thin coat is also fine once fully cured. Avoid applying finish to the interior of the candle recess, where it could be exposed to candle heat.
The holder base should be wide and heavy enough that the holder cannot easily tip over. A minimum base diameter of three to four inches — roughly twice the height of the holder for short designs — is a reasonable guideline.
18 / 25
Small nightstand
Credit: Pew Nguyen / Pexels
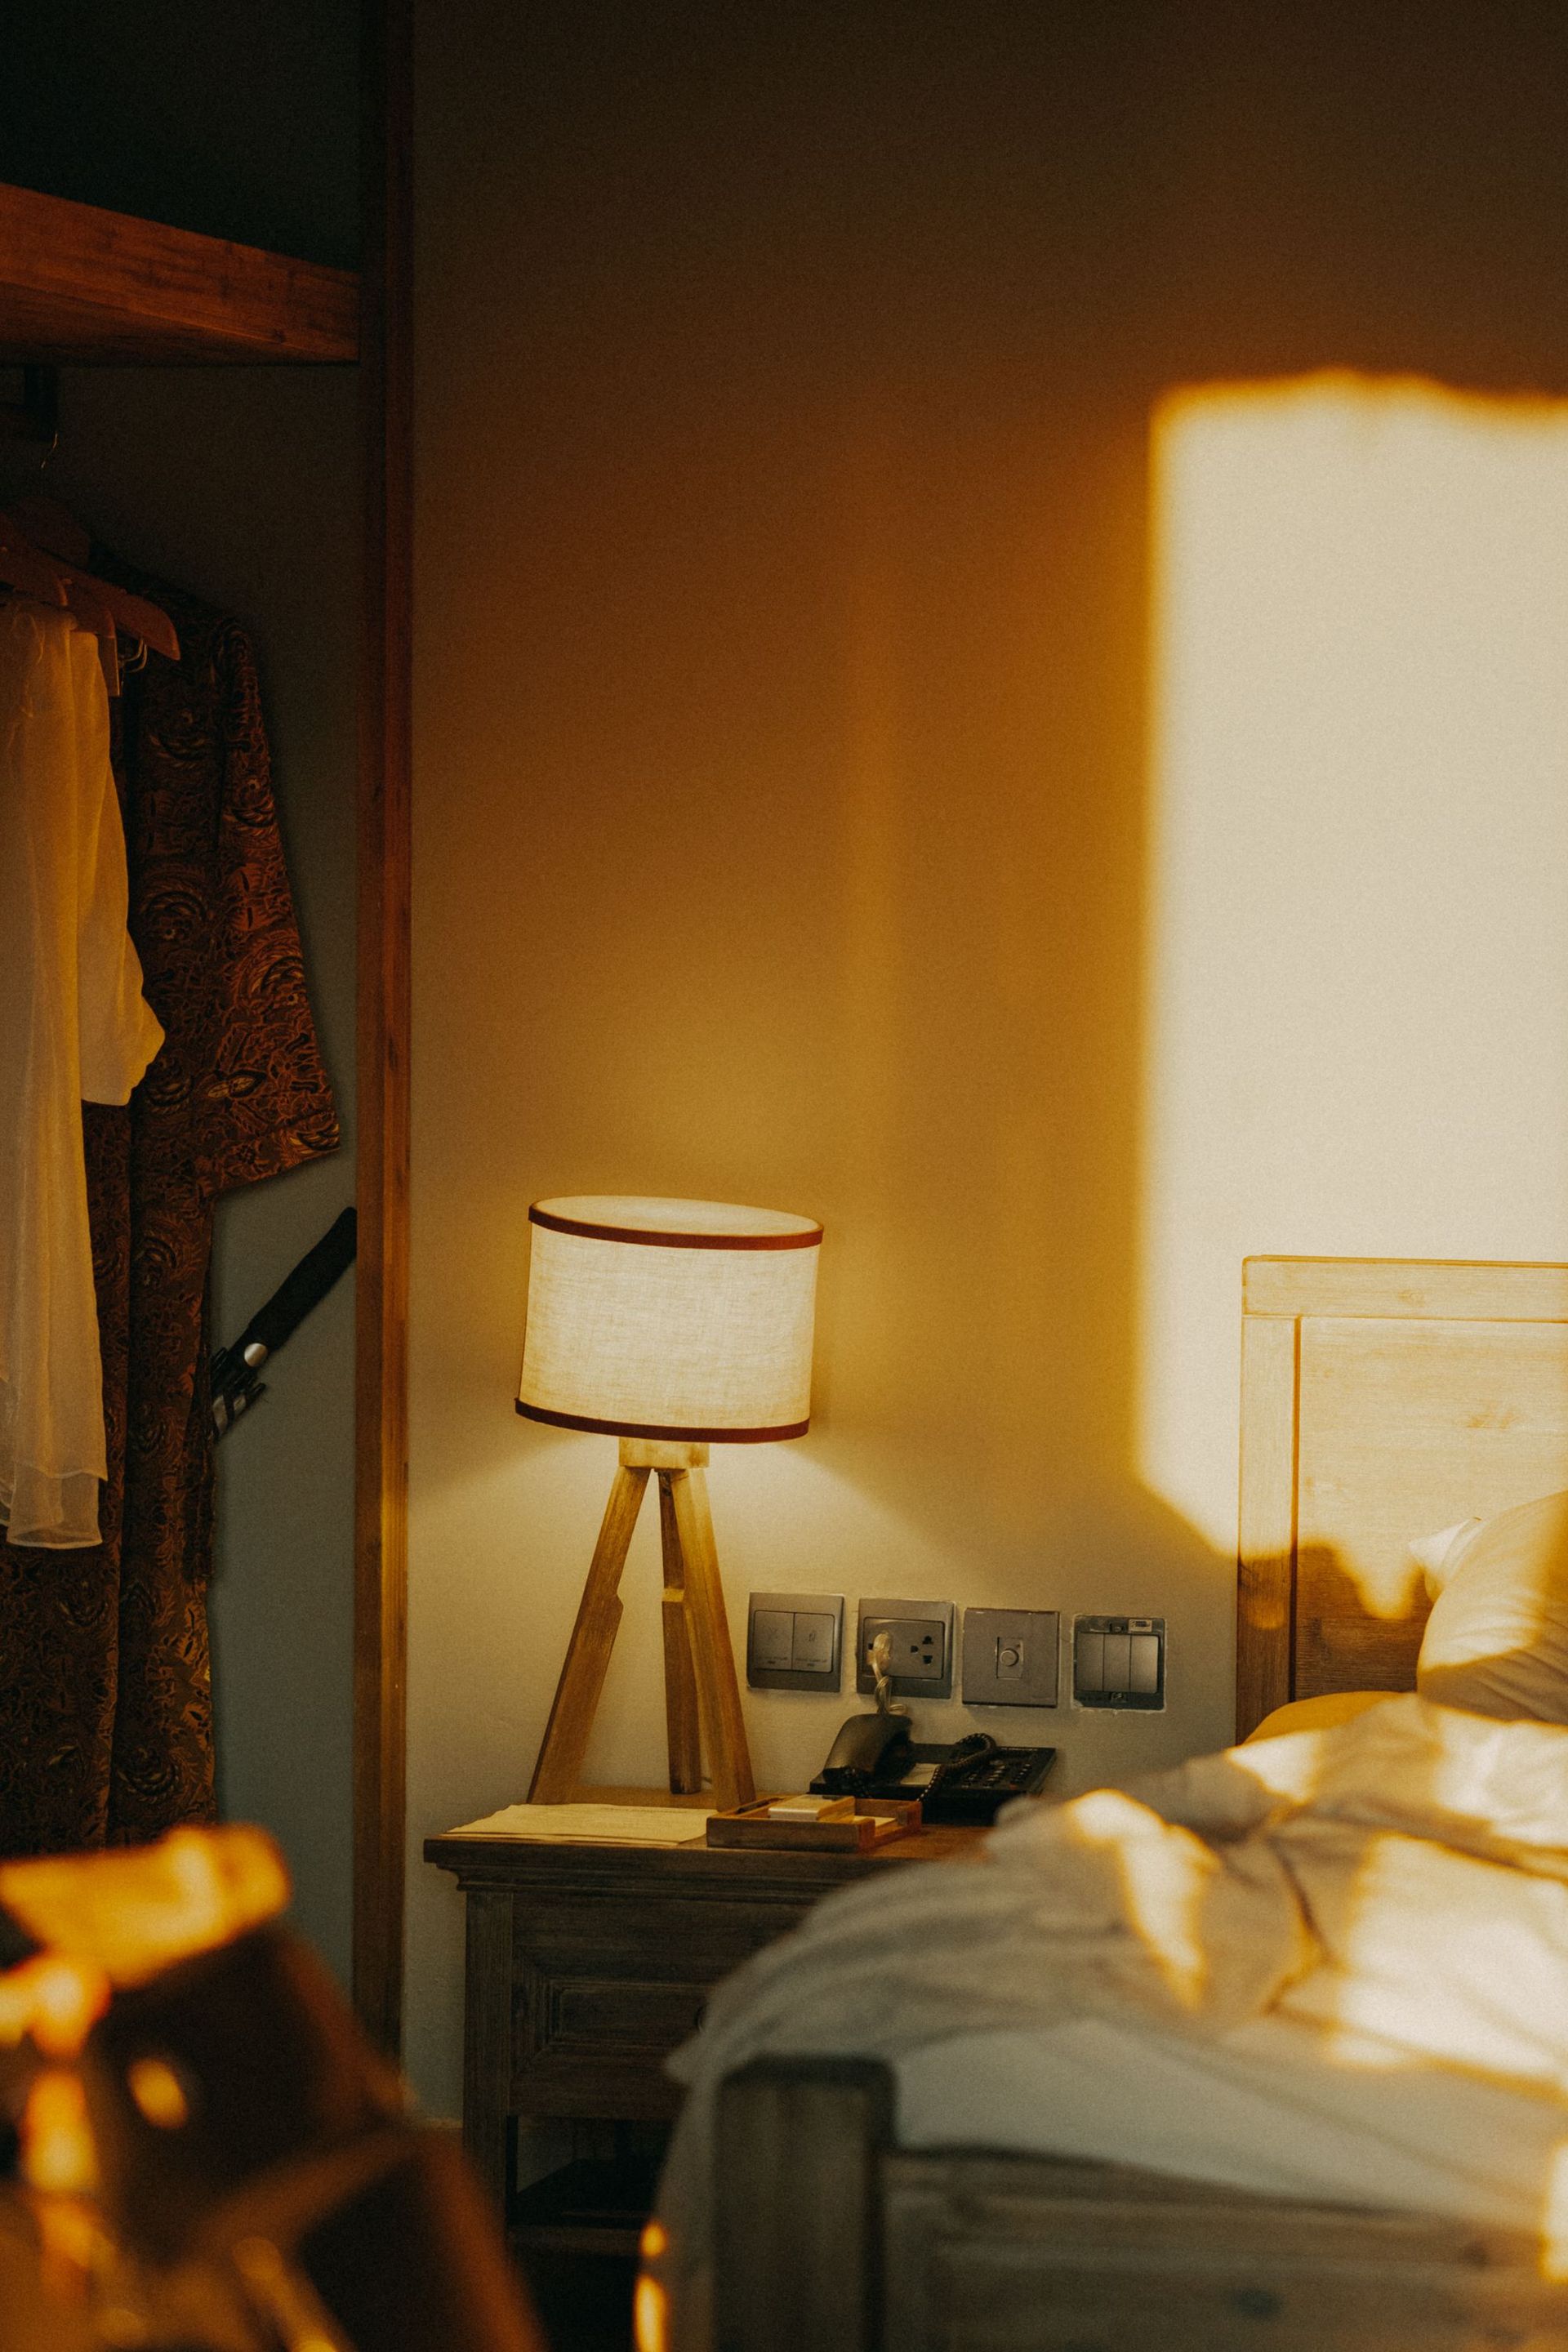
A small nightstand is the first project on this list that functions as genuine furniture: it holds things, it lives in a bedroom, and it is looked at every day. This elevates the demands on both construction and finish quality. It also introduces the challenge of building a carcass — a box-form structure that is the backbone of almost all cabinet and furniture work.
A nightstand carcass consists of a top, two sides, and a shelf or bottom. These four panels join at their edges, and keeping them perfectly square during assembly is the main challenge of the build. A carcass that is out of square — where the corners are not exactly 90 degrees — will cause every subsequent step, from drawer fitting to door hanging, to be harder. Squaring during glue-up requires checking diagonal measurements and adjusting clamp angles to bring the structure into alignment before the glue sets.
Adding a drawer is the optional step that pushes this project from intermediate to more advanced. A drawer requires a runner system — either wooden drawer guides or metal drawer slides — and a drawer box sized with the correct clearance: typically one-eighth to three-sixteenths of an inch smaller in width than the opening to allow smooth operation as the wood expands and contracts with humidity changes.
A simpler option than a full drawer is an open shelf in the lower section of the nightstand. This is easier to build, equally functional for most purposes, and teaches the rabbet-and-dado joinery needed to create a clean, supported shelf inside a carcass without visible fasteners from the outside.
Finish the nightstand inside and out. Finishing the interior panels of a carcass — even surfaces that are rarely seen — prevents uneven moisture absorption that can cause the finished piece to warp over time. Two coats of water-based polyurethane on interior surfaces and three on exterior surfaces is a good baseline.
19 / 25
Wooden toy box
Credit: Jana Heinemann / Unsplash
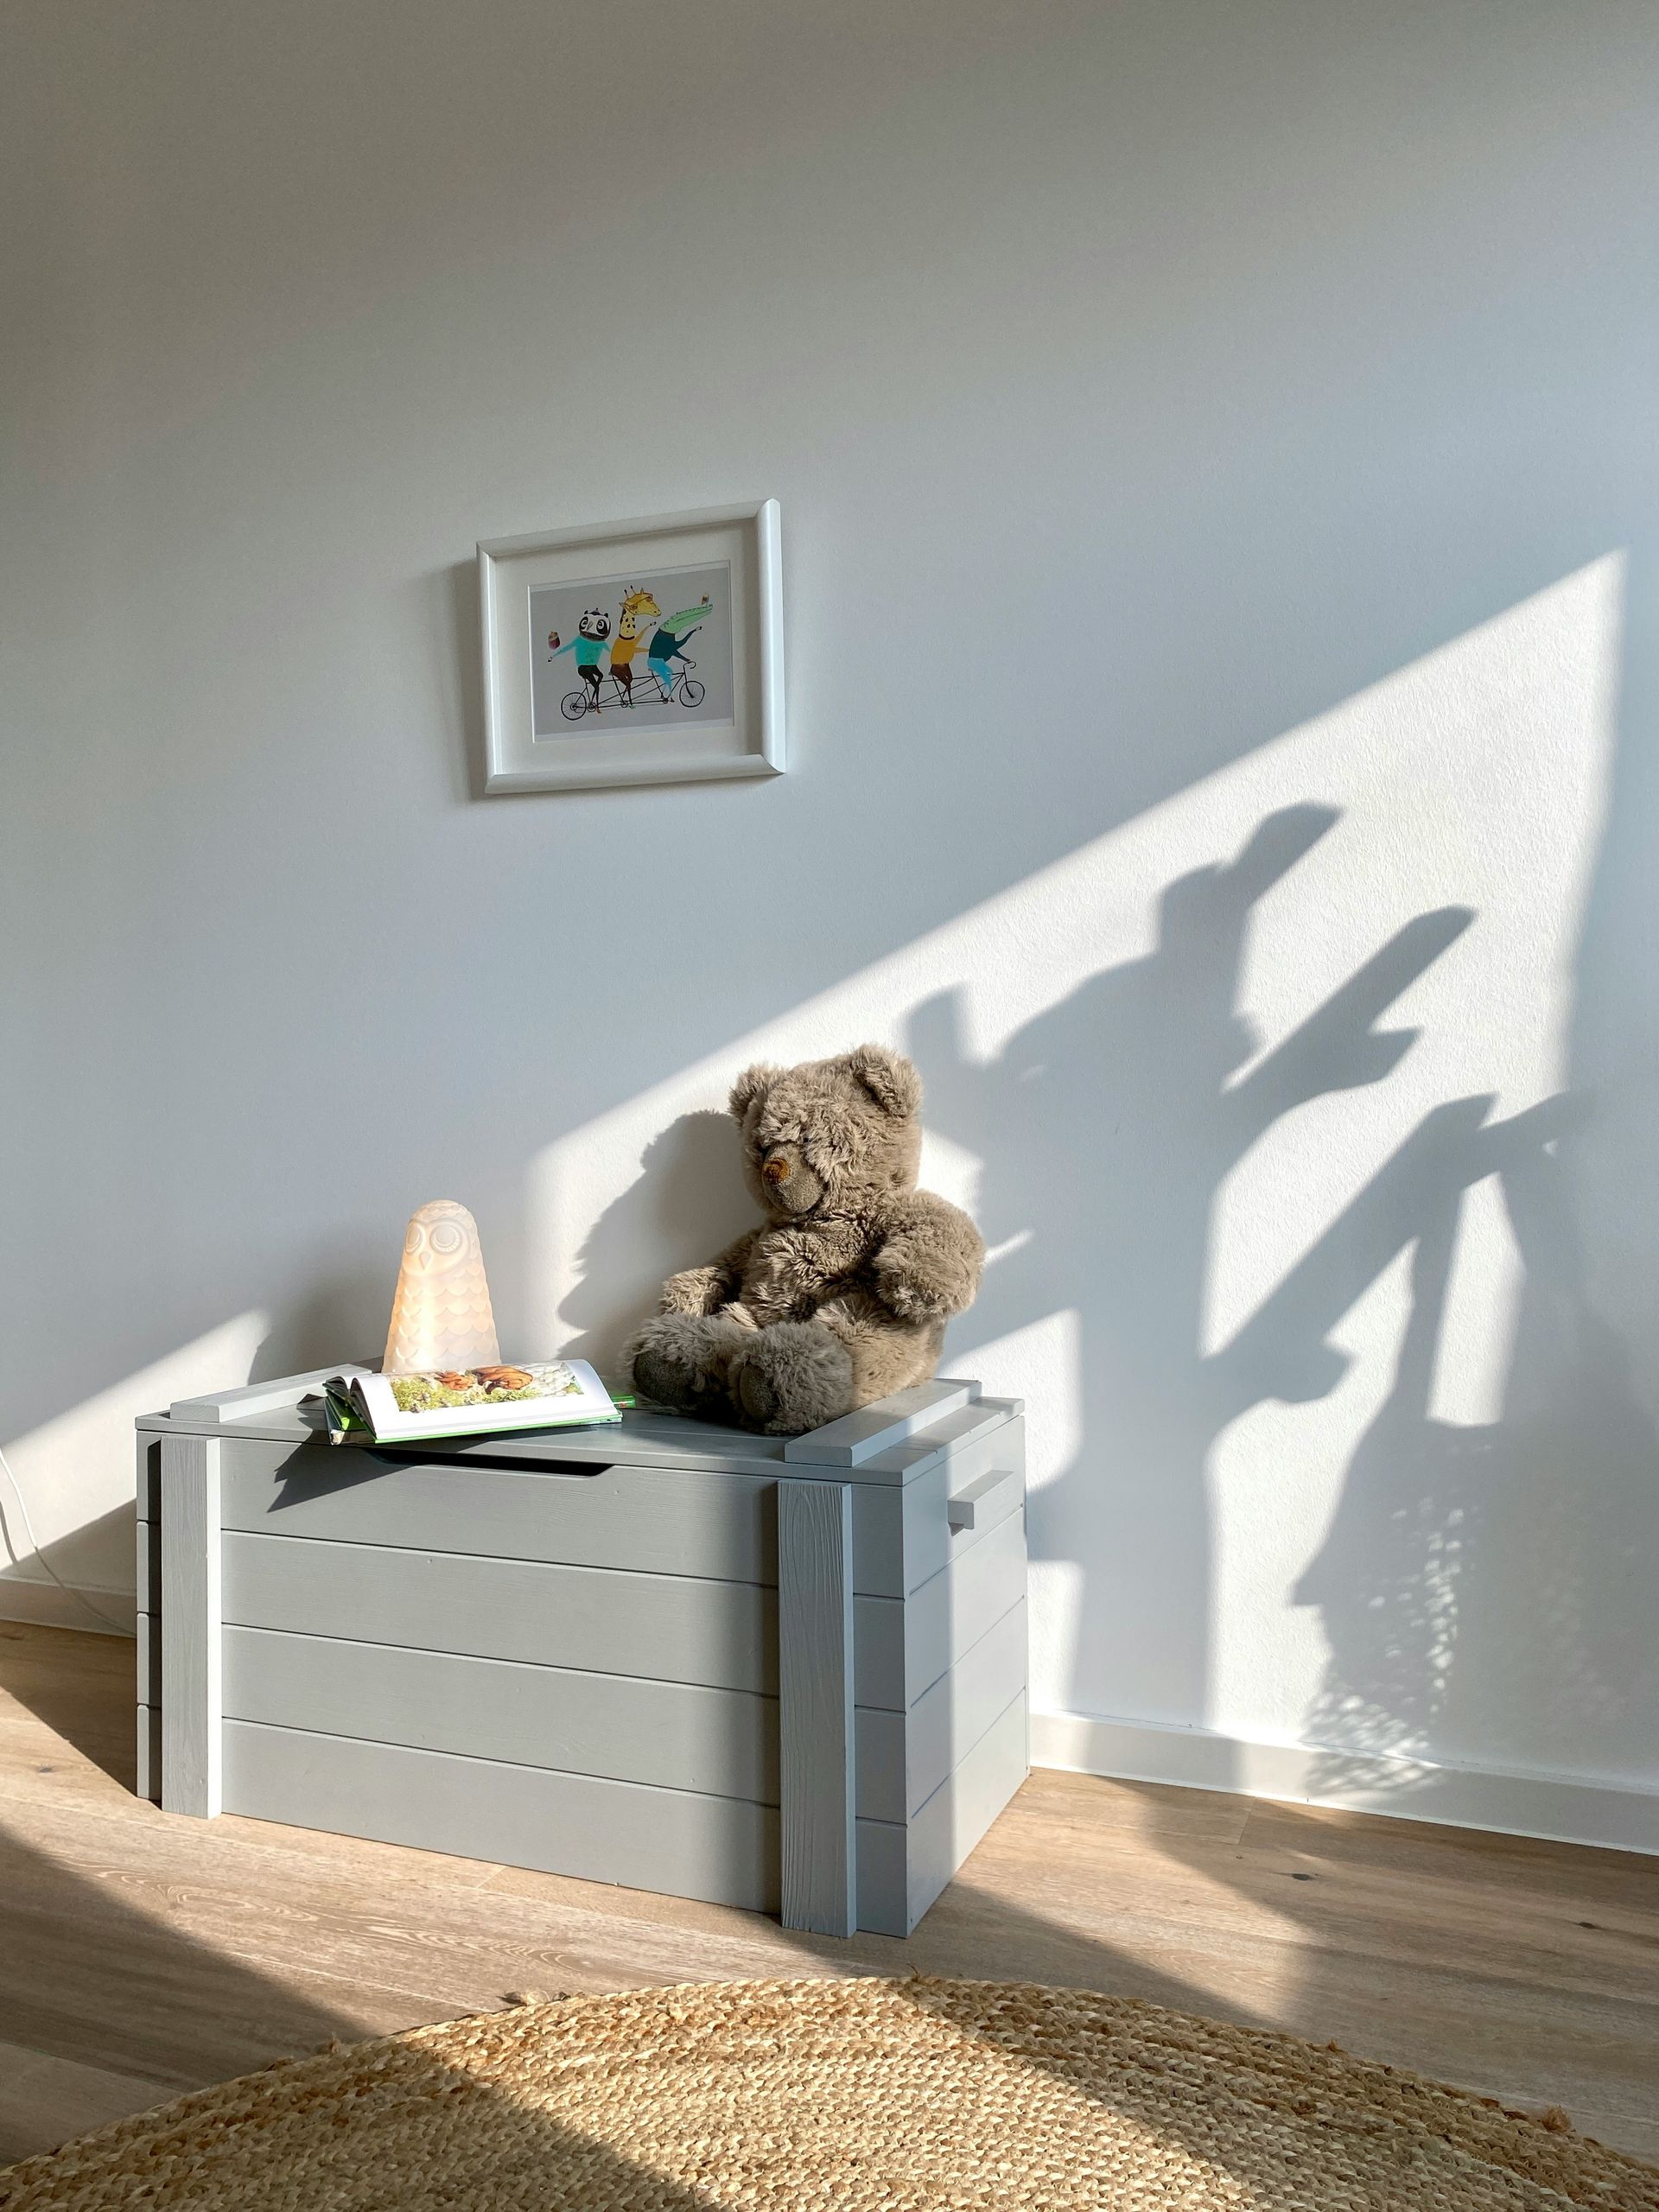
A toy box is a project where safety considerations come to the front. A lid that slams shut is a hazard; a box without ventilation holes in the sides could trap a child who climbs inside; sharp corners and splinters are unacceptable on something children will handle daily. Building a safe toy box means thinking through every design decision from a hazard perspective, which is a useful discipline for any woodworking project involving children.
The lid is the most safety-critical element. A lid support hinge — a hardware piece that prevents the lid from opening past 90 degrees and supports it in the open position so it doesn't fall on a child's fingers — is not optional on a toy box. These are widely available and easy to install; there is no good reason to omit them.
The box itself should be built from plywood — ideally Baltic birch or cabinet-grade plywood without voids — for strength and stability. A toy box holds heavy loads: blocks, trucks, games, and books can easily weigh 50 to 80 pounds in an average child's collection. The bottom panel needs to be three-quarters-inch thick or supported by a frame to prevent it from sagging or breaking under load.
Ventilation is a safety concern that many toy box designs ignore. Drill at least two ventilation holes in the sides or back of the box, each at least one inch in diameter. This allows air circulation if a child climbs inside and also prevents the musty smell that develops in poorly ventilated storage boxes.
Sand all surfaces to 220-grit and ease every edge and corner with a roundover. A light roundover — one-eighth-inch radius — is appropriate for most surfaces; increase it to one-quarter-inch on the lid edges and top rails. Use a non-toxic, child-safe finish: water-based polyurethane is the standard choice, as it is low in volatile organic compounds once cured and durable enough for daily use.
20 / 25
Wooden folding tray table
Credit: MChe Lee / Unsplash
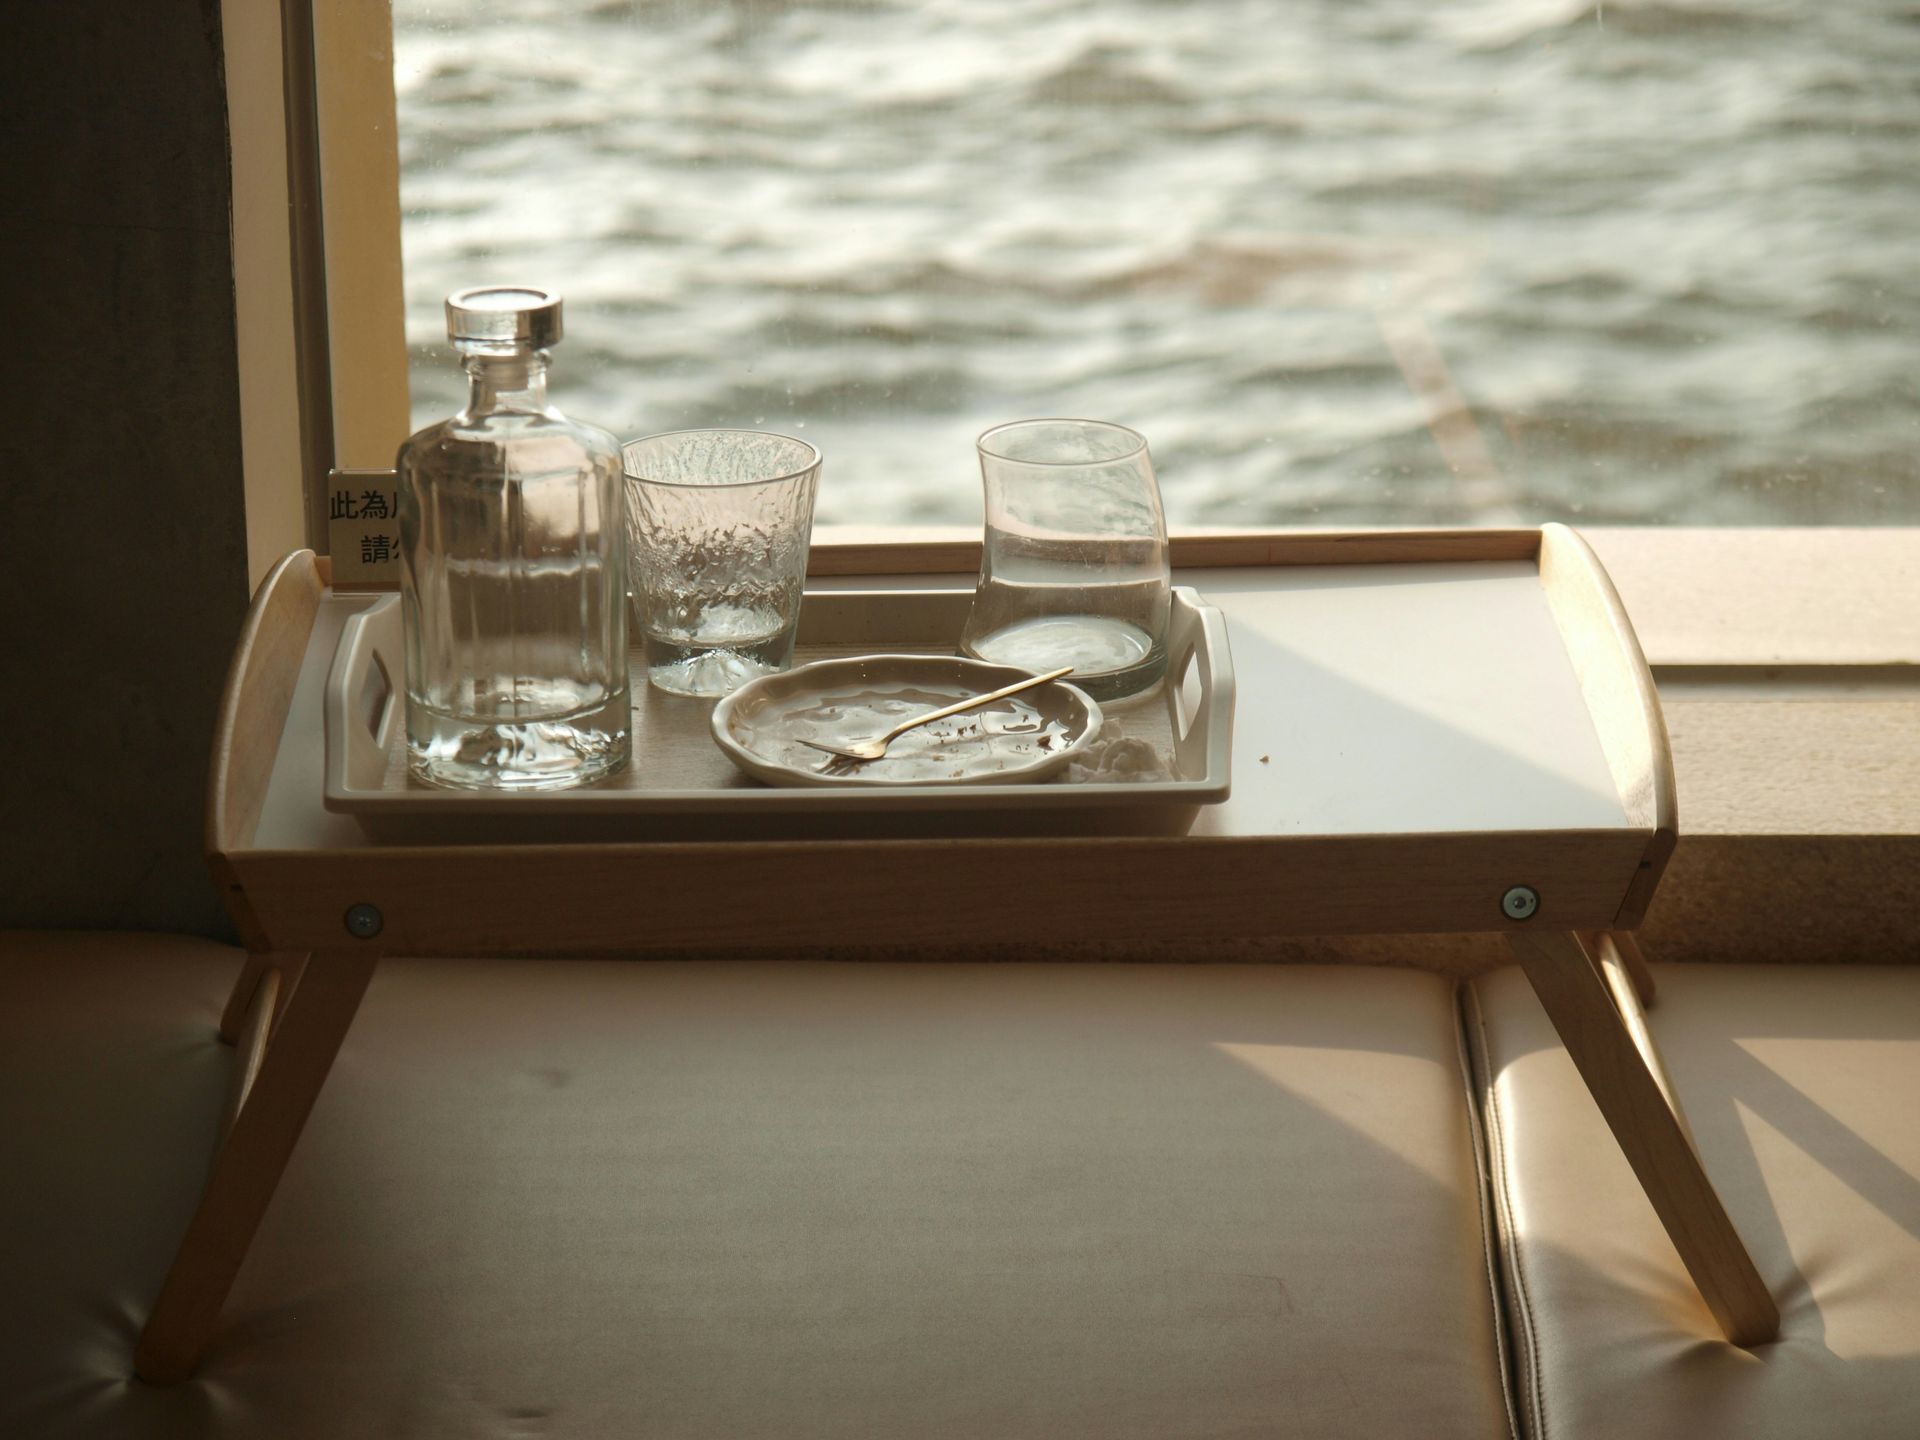
A folding tray table introduces one of the more satisfying mechanisms in furniture: a pivot joint that allows a rigid object to collapse for storage. Understanding how to build and calibrate a pivot joint — how to size the pivot hole, how much clearance to leave for smooth operation, and how to add a stop that prevents over-extension — is a skill that transfers to many other projects.
The classic folding tray table consists of a rectangular top with rounded corners, two X $TWTR-crossed leg assemblies connected by a pivot bolt at their crossing point, and a set of hinged stretchers at the lower ends of the legs that pull the legs apart and lock the table at its working height. When the stretchers are folded in, the legs close against each other and the table collapses flat.
The X-shaped leg assemblies are the mechanical heart of the table. Each leg pair is made from two identical pieces of stock, cut to the same length and crossed at their midpoints. The crossing joint is typically a half-lap, where both pieces are cut to half their thickness at the crossing point so they interlock flush. A bolt or wooden peg through both pieces at the crossing allows the joint to pivot while maintaining alignment.
The tray top can be a simple rectangle with routed edges, or it can be shaped to include a small lip on one or more sides that prevents items from sliding off. Attaching the tray to the leg assembly requires a pivot connection at the two front legs: a simple bolt-and-washer arrangement works well. The back legs are attached more rigidly.
A smooth pivot action requires careful sizing of the pivot hole relative to the bolt or peg diameter: the hole should be just large enough for the bolt to rotate without wobbling. Wax or a dry lubricant on the pivot reduces friction and prevents squeaking over time.
21 / 25
Wooden serving board (charcuterie board)
Credit: Aliona Gumeniuk / Unsplash
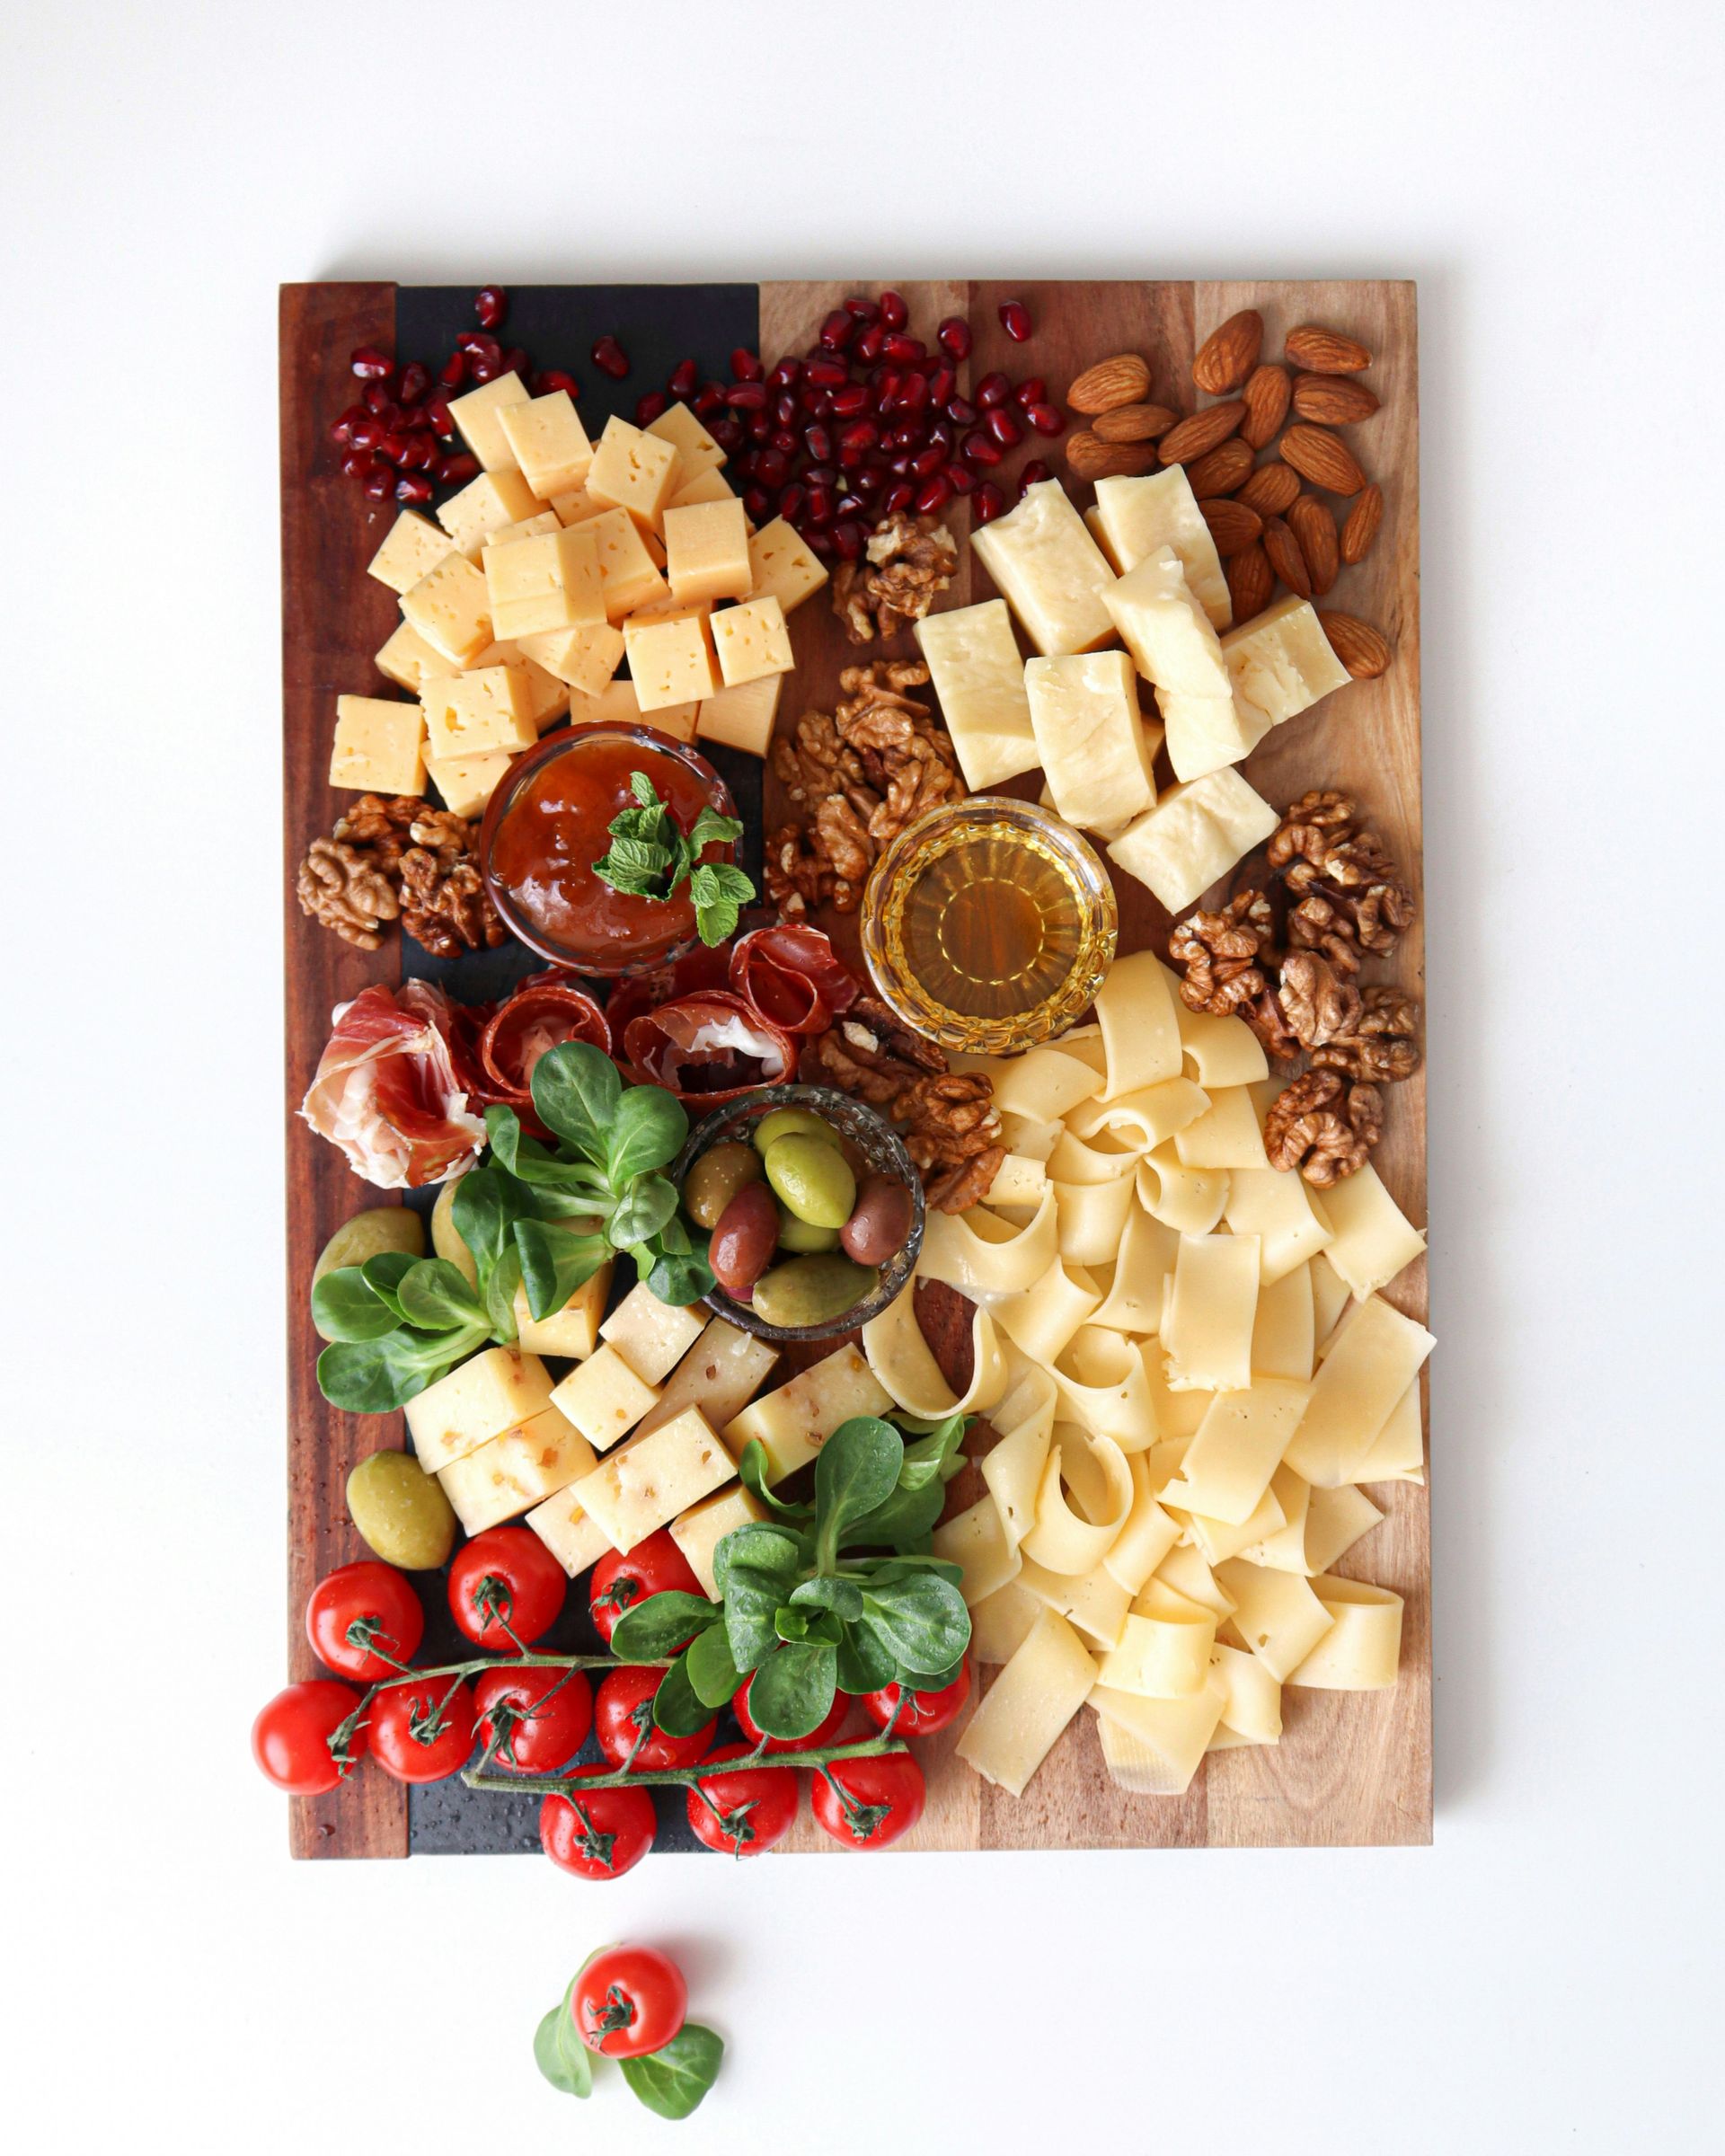
A charcuterie board — a flat, handled serving board used to display cheese, meats, and accompaniments — is essentially a cutting board with more deliberate aesthetic design. The project sits at the intersection of function and presentation: it must be safe for food contact and easy to clean, but it is also a centerpiece on the table and should look considered.
End-grain construction is the premium version: boards glued together with their end grain facing up create a surface that is gentler on knife edges than face grain, self-healing to a small degree as the wood fibers close back around cuts, and visually interesting because the end grain pattern is complex and varied. Building an end-grain board requires more planning and material than an edge-grain board but is within reach of a careful beginner.
To build end-grain, start with edge-grain strips — the same method as the cutting board earlier in this list. Glue them into a panel, let the glue cure, then crosscut the panel into strips again. The cut exposes the end grain of each original strip. Rotate these new strips 90 degrees and glue them together again to produce a panel with end grain on top. The checkerboard or herringbone patterns characteristic of end-grain boards come from varying the species or alternating the orientation of the strips.
A handle on a charcuterie board is typically a tapered extension of the board itself, thinned and shaped for grip. It can be left flat and sanded smooth, or shaped with a spokeshave — a small hand tool with a curved blade designed for shaping handles and curved work. A spokeshave is a worthwhile introduction to hand tools that do not require electricity.
Food-safe finish for a serving board is the same as for a cutting board: mineral oil, applied generously and repeatedly until the wood stops absorbing it. A final coat of a beeswax-and-mineral-oil blend produces a slightly higher sheen and a surface that repels water well.
22 / 25
Wooden bed tray

Credit: Polina Tankilevitch / Pexels
A bed tray — a flat surface with folding legs that allows eating or working while sitting in bed — is a functional piece that revisits the folding mechanism introduced in the tray table project, but at smaller scale and with the added challenge of building legs that must collapse flat beneath the tray for storage.
The tray surface is a flat panel, typically 18 to 24 inches wide and 12 to 16 inches deep: wide enough for a plate and a cup, with room to work. A small lip around the perimeter of the tray — half an inch to three-quarters of an inch — prevents items from sliding off. The lip can be a separate strip of wood glued and nailed to the tray, or it can be cut as a rebate: a groove routed around the perimeter of the underside, which lowers the center of the tray slightly relative to the edge.
The legs are the mechanical challenge. Each leg must pivot from its working position — vertical, supporting the tray at a comfortable height — to a collapsed position where it folds flat beneath the tray for storage. The pivot is a simple bolt-and-washer arrangement at the point where the leg meets the underside of the tray. A small wooden stop attached to the underside of the tray limits how far the leg can open, setting the working angle. Without a stop, the leg would continue to rotate past vertical and the tray would collapse.
Leg height determines the intended use. For eating in bed, a tray height of approximately 12 inches above a mattress surface is comfortable for most adults sitting upright with legs extended. For working with a laptop, 14 inches is closer to the right height. Build and test a cardboard prototype before cutting the wood if you want to verify the dimensions for your specific use.
23 / 25
Wooden kitchen shelf with hooks
Credit: Jenn Buxton / Unsplash
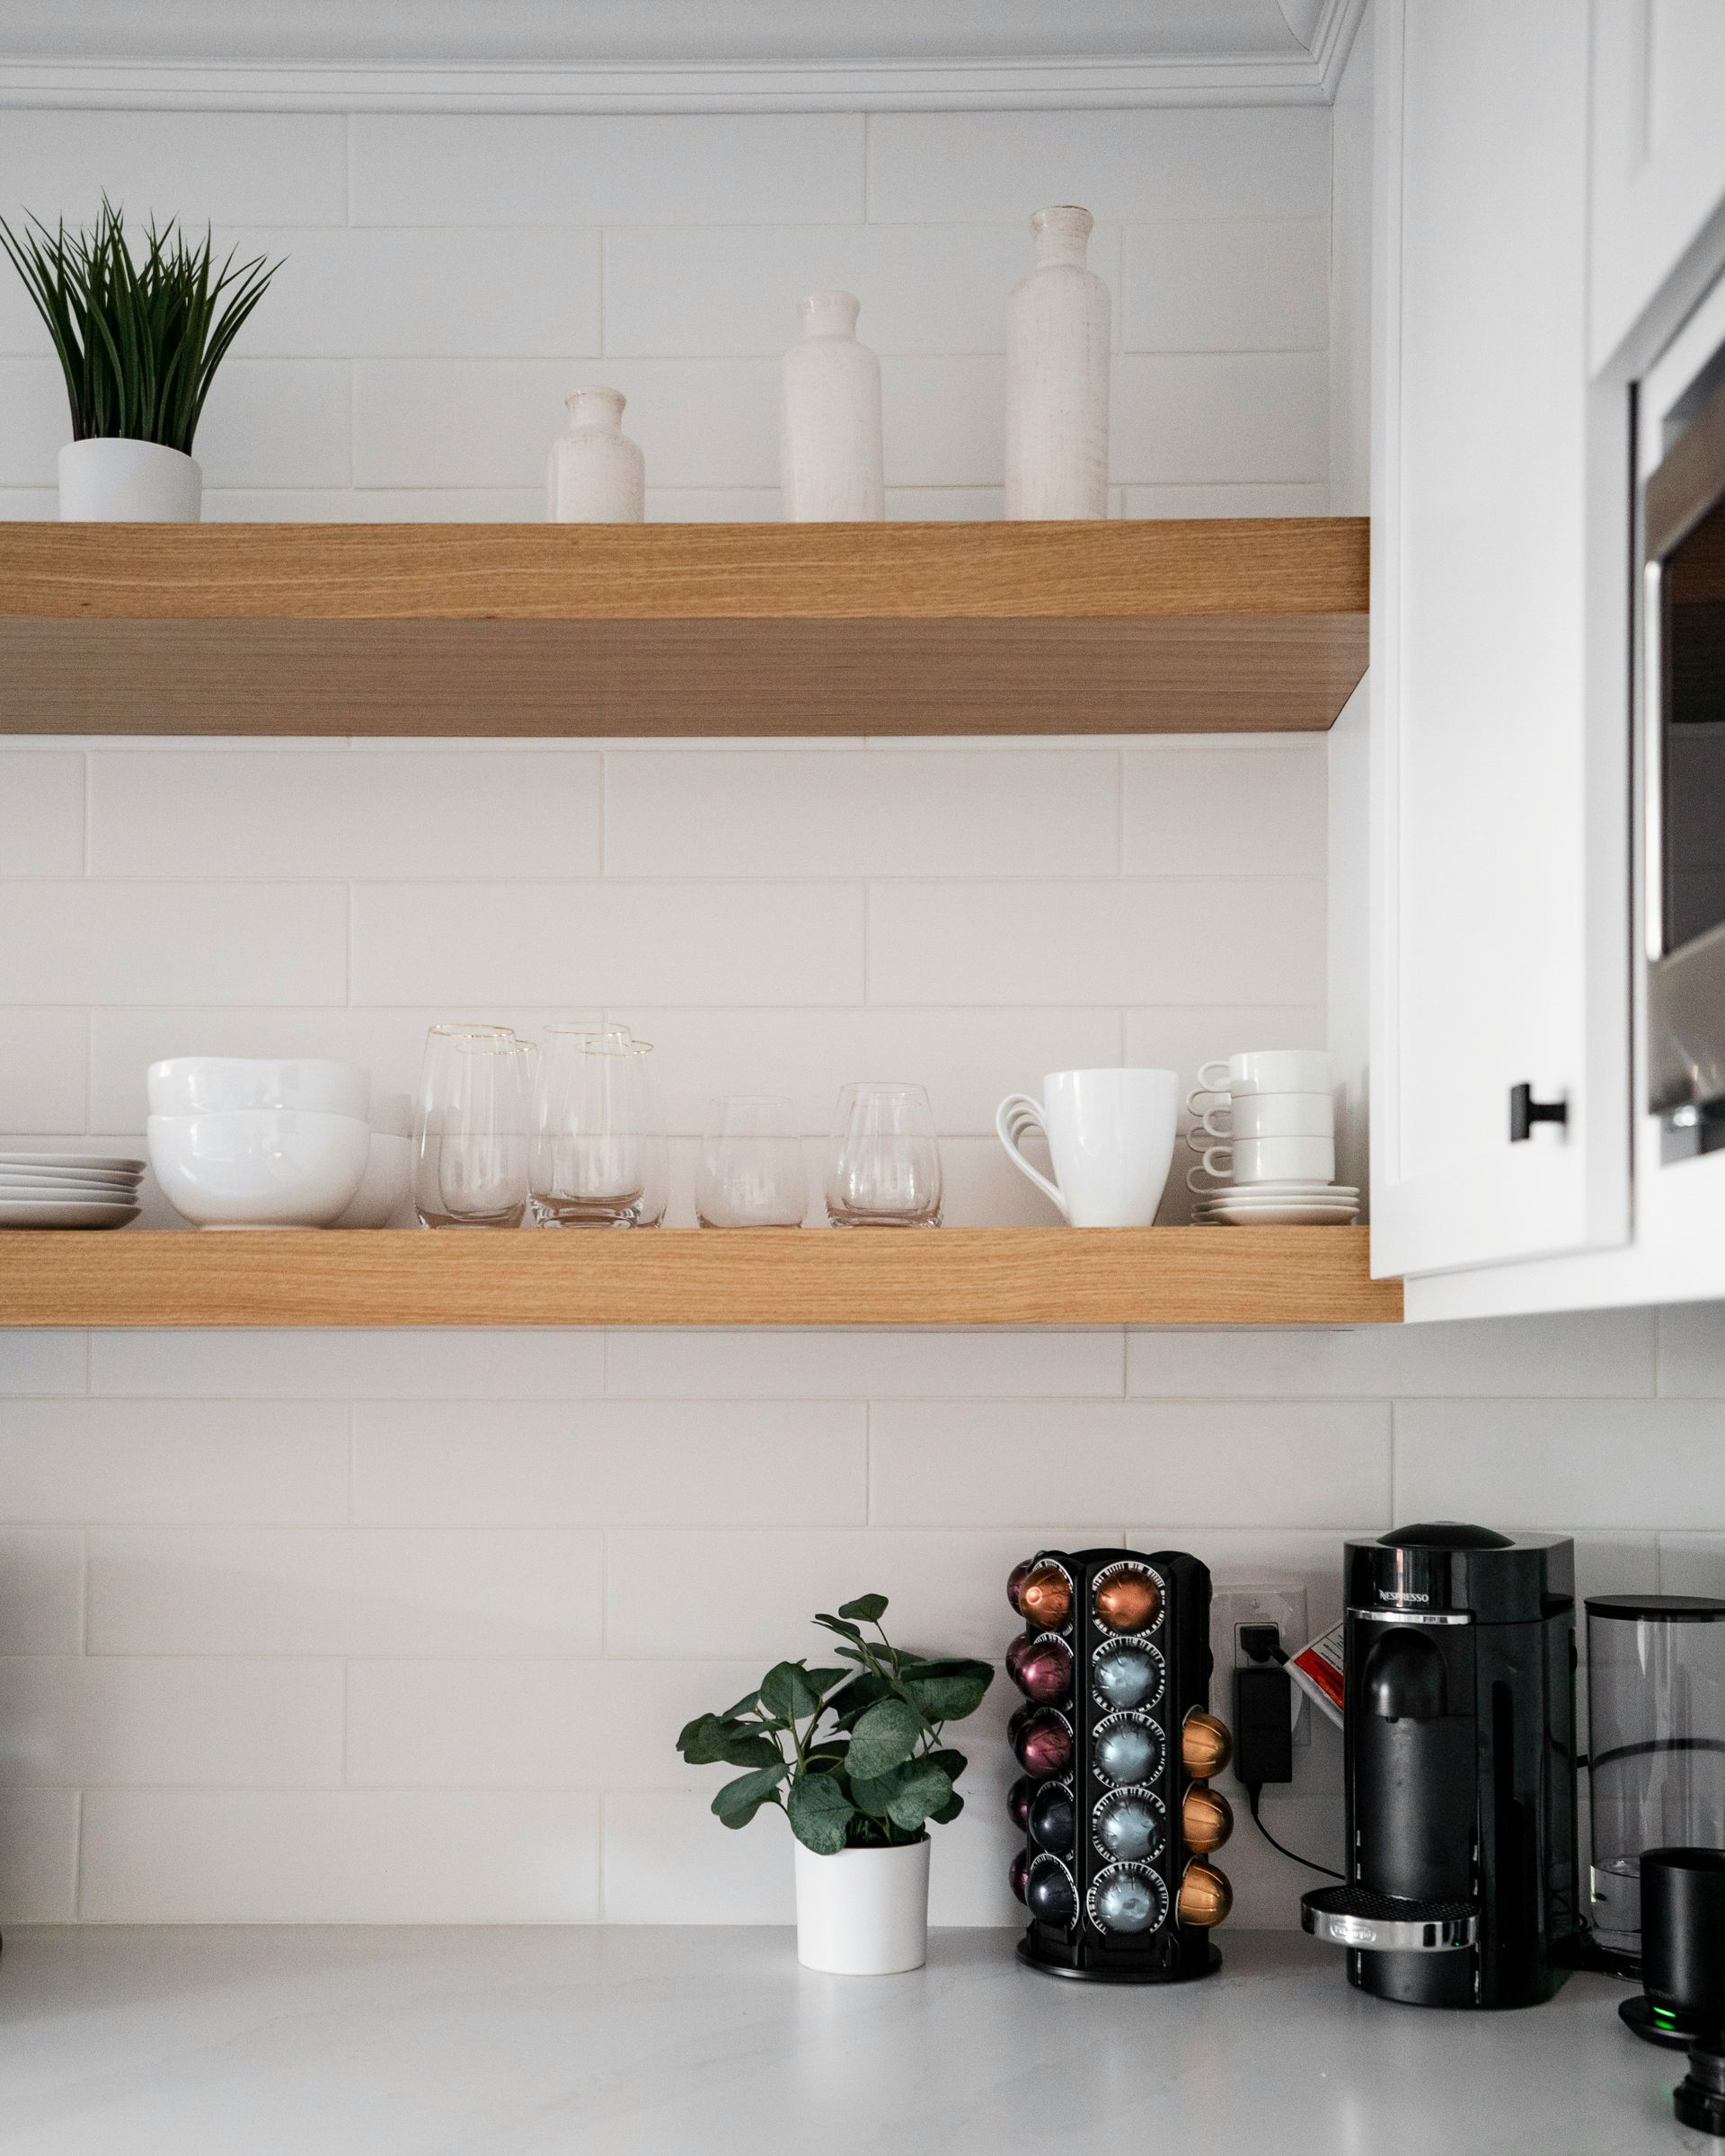
A kitchen shelf with hanging hooks is a practical build that combines the floating shelf principles covered earlier with the hook-mounting techniques from the coat rack project. The combination is more than the sum of its parts: a shelf that holds spice jars or cookbooks with hooks below for hanging mugs, utensils, or towels is a genuinely space-efficient piece of furniture that works hard in a small kitchen.
The shelf portion should be deeper than a standard decorative shelf — 6 to 8 inches — to accommodate jars and boxes. Make it from solid hardwood or hardwood-veneered plywood for durability in the kitchen environment. Apply a food-safe finish or a hard-curing polyurethane that can withstand occasional wipes with damp cloths.
The mounting approach for a heavy-use kitchen shelf must be more robust than for a purely decorative piece. Identify two or more wall studs and drive 2.5-inch screws into each. The bracket or cleat that supports the shelf should be made from one-by-four lumber or thicker, not from a thin cleat. A shelf holding jars, books, and mugs with tools hanging below it can easily weigh 30 to 40 pounds when loaded.
Hooks can be store-bought or hand-shaped. Shaker-style peg hooks — turned wooden pegs with a gently tapered shank that is driven into a drilled hole in the shelf base — are traditional, easy to make, and visually clean. Metal S-hooks hung from a dowel rod mounted below the shelf are another option that allows the hooks to be repositioned. Threaded brass hooks from a hardware store are the most durable option for heavy utensils.
The visual design of the piece should account for the kitchen context: a painted finish might make more sense than natural wood in a kitchen with painted cabinetry, while a natural walnut or oak shelf would complement wood-toned kitchen elements.
24 / 25
Wooden side table
Credit: Canva Images
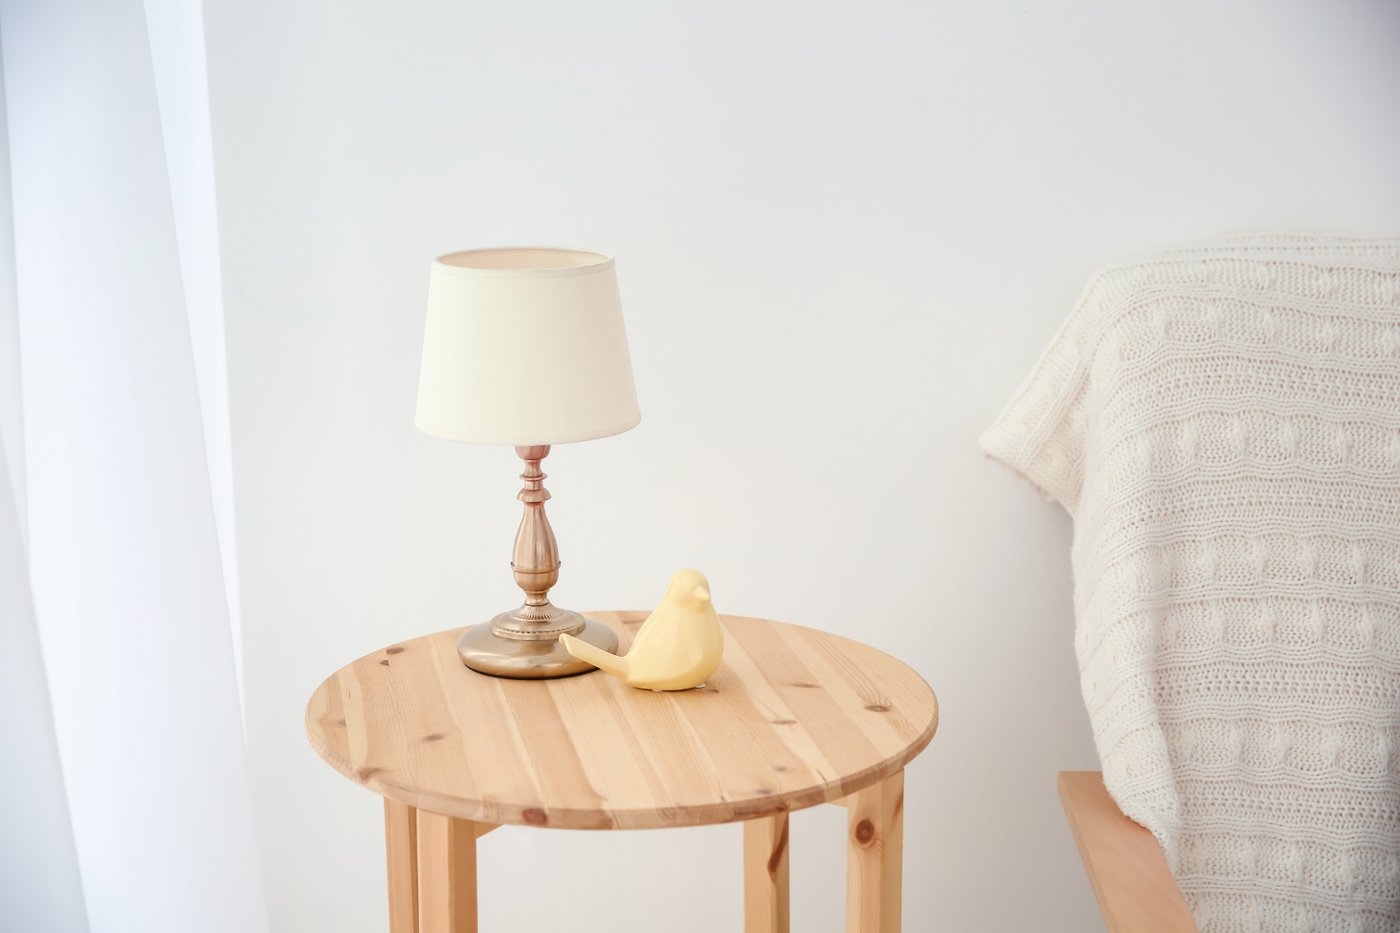
A side table — a small table approximately 24 to 28 inches tall with a top surface large enough to hold a lamp, a book, and a drink — is a project that synthesizes skills from several earlier projects and adds a new one: building and attaching a frame that is both rigid and visually proportionate. It is a significant step toward being able to build any piece of furniture you want.
The design space for a side table is wide. The simplest version is four legs connected by two apron rails on each side and a top board. The apron — the horizontal rail that runs between adjacent legs just below the top — is critical for stiffness. Without aprons, a table with only a top and four legs will rack easily. The aprons triangulate the leg assembly and resist lateral movement.
Mortise-and-tenon is the traditional joint for attaching aprons to legs, and for a side table, it is worth learning. The mortise is a rectangular pocket cut into the leg; the tenon is a matching rectangular tongue cut on the end of the apron. The joint has enormous glue surface and mechanical resistance to racking. Cut mortises with a drill press and a series of overlapping holes, then clean to a rectangular shape with a chisel. Cut tenons on a table saw or with a router.
Alternatively, pocket-hole screws driven through the inside face of the apron into the leg make a serviceable side table joint that is much faster to execute. The pocket-hole version is not as strong as a mortise-and-tenon, but for a lightly loaded side table in an interior setting, it is entirely adequate.
Top attachment matters: the top should be fastened in a way that allows it to expand and contract with seasonal humidity changes. Figure-8 fasteners, which are small hardware pieces that allow the top to move while staying attached to the apron, are simple and effective. Routing slots in the apron and using wooden clips that ride in the slots is the traditional approach.
25 / 25
Wooden media console
Credit: Zen Chung / Pexels
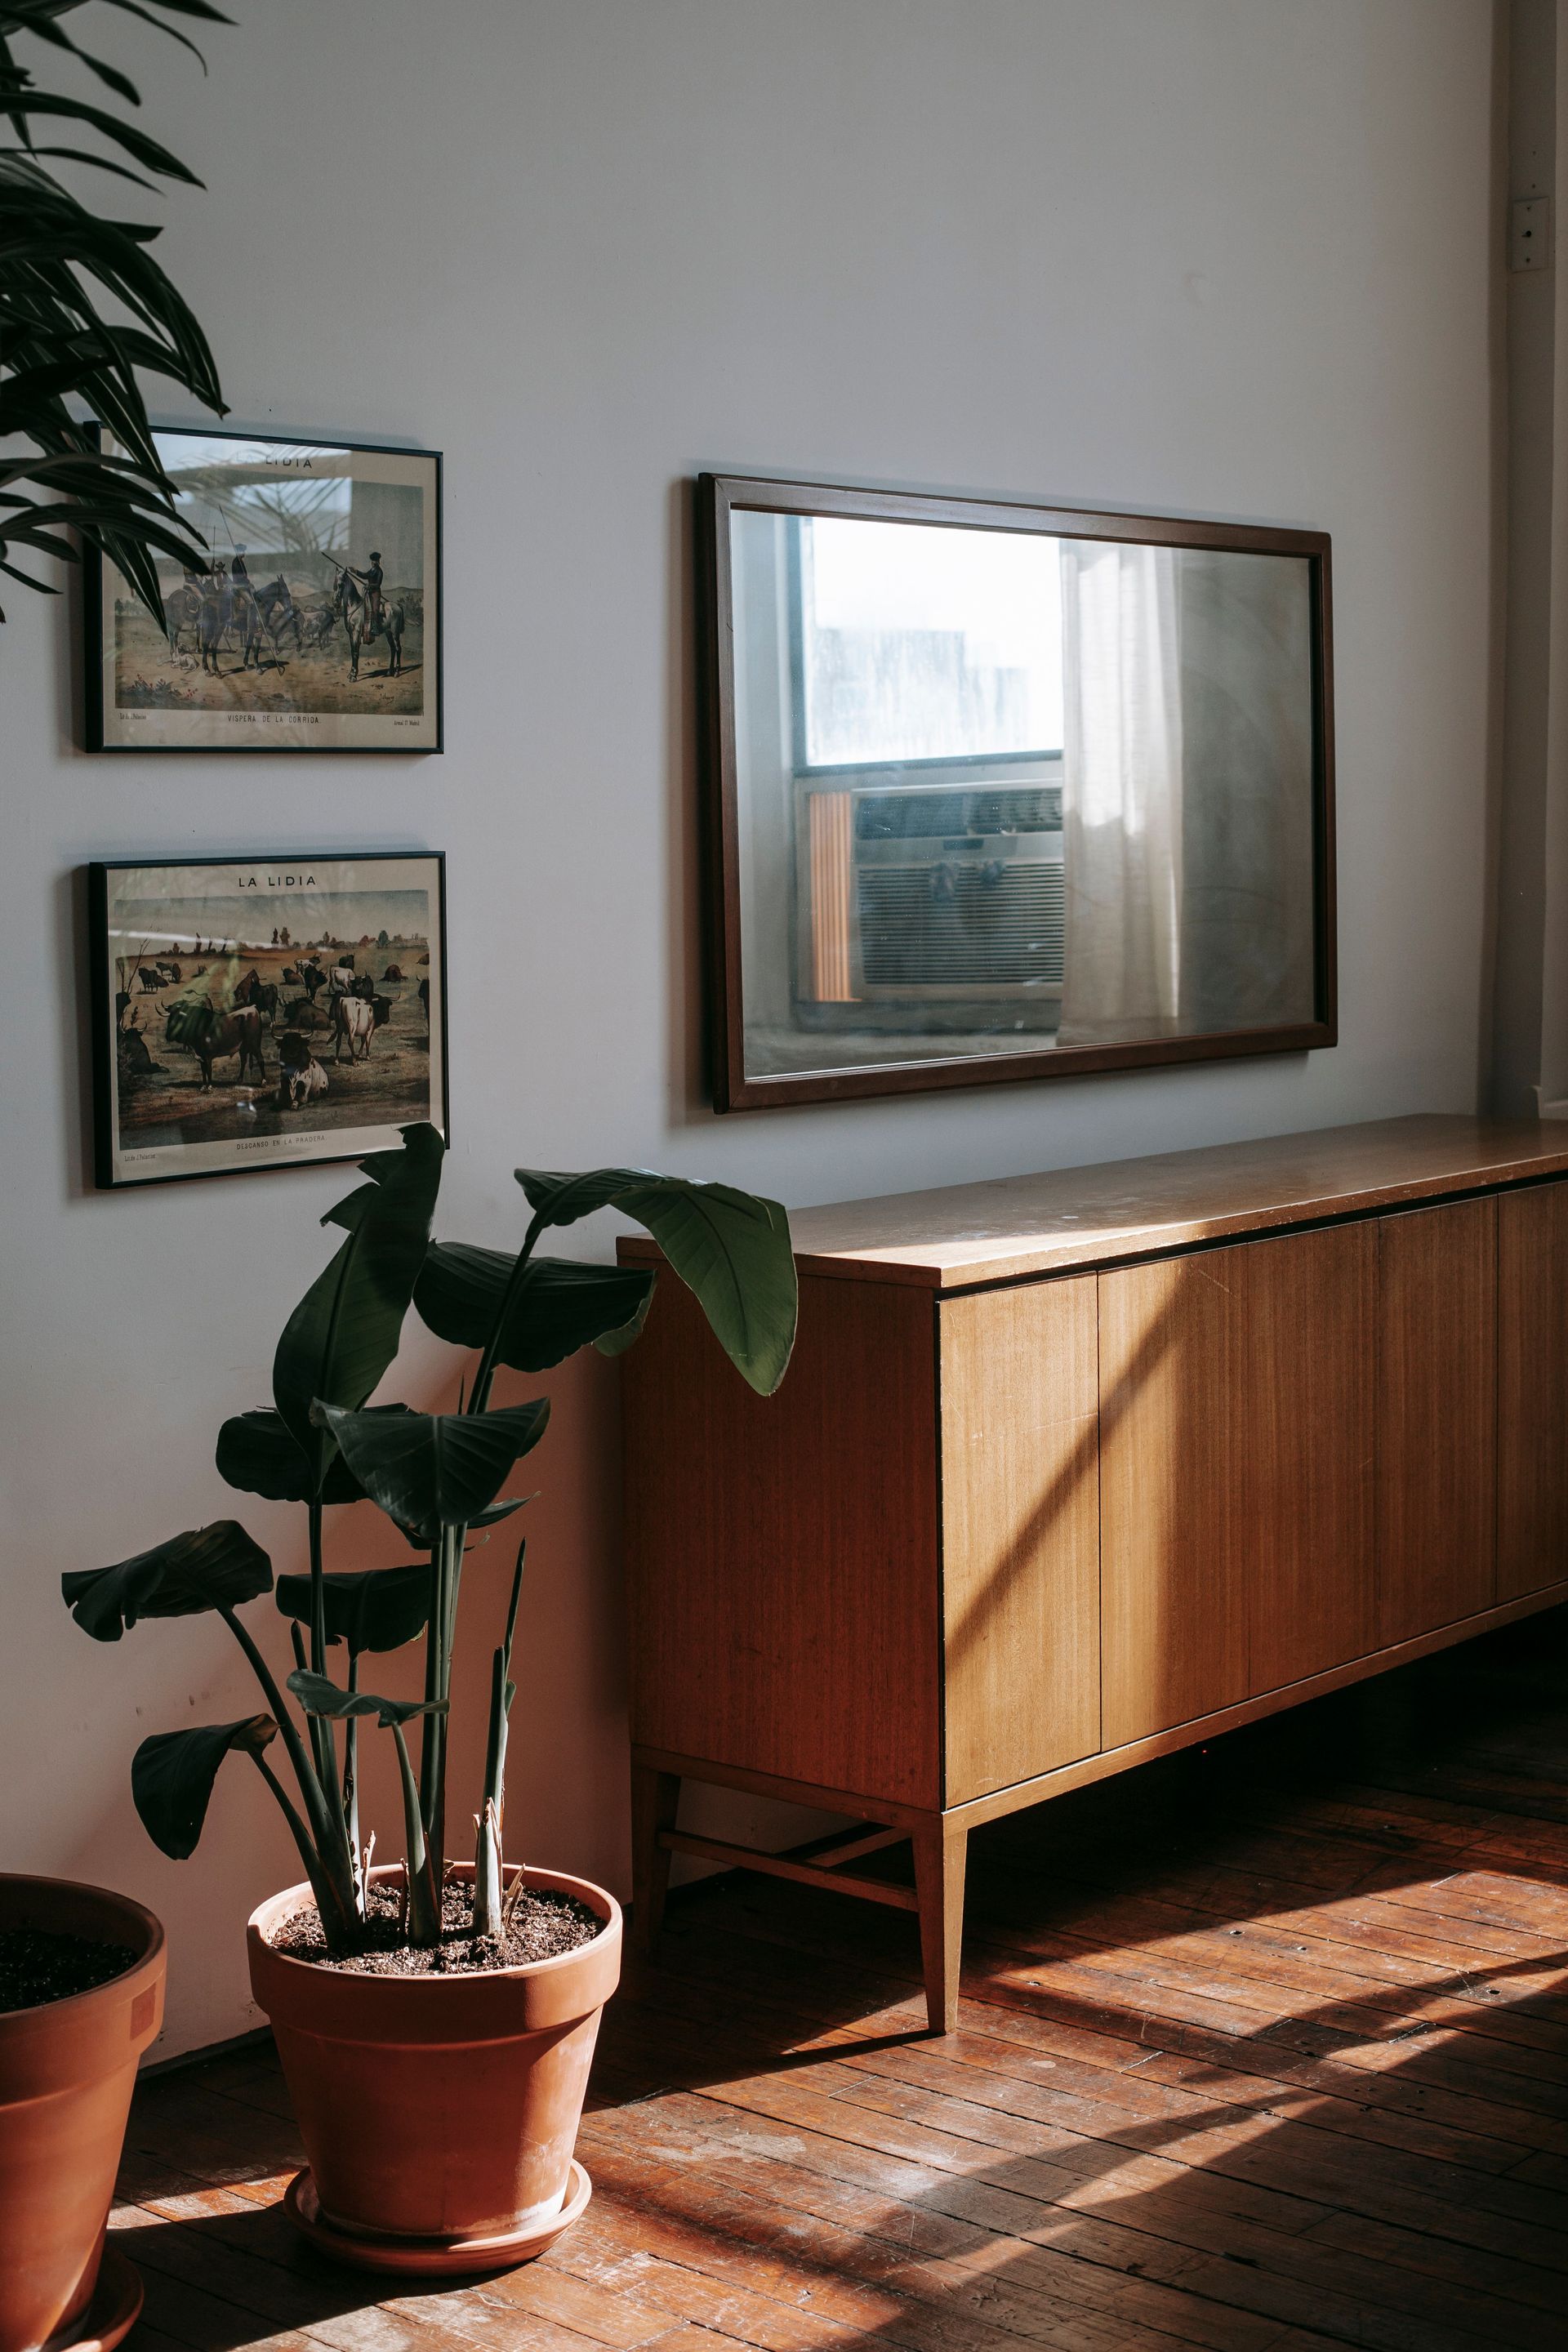
A media console — a low cabinet designed to hold a television and audio/video equipment — is the most demanding project on this list, and it is the one that brings together every skill introduced in the earlier builds: carcass construction, drawer fitting, door hanging, finishing, and installation. It is also a piece of furniture that will be seen and used every day, which raises the standard for both craft and design.
The console is typically 48 to 60 inches wide, 18 to 20 inches deep, and 20 to 24 inches tall — low enough to keep a mounted television at eye level from a seated position, and shallow enough to leave walking room in front of the sofa. The interior is divided into compartments for a receiver, a game console, a streaming device, and cables. Plan the interior based on your actual equipment, measuring component heights and widths before building.
The carcass construction follows the same principles as the nightstand: four main panels — top, bottom, and two sides — joined at their edges and kept square during assembly. The back panel, typically three-eighths-inch plywood, adds enormous rigidity when glued and fastened into rabbets cut into the perimeter of the back edges. Do not skip the back panel, even if you think the carcass feels rigid without it — thermal and humidity cycling over years will rack an unsupported carcass.
Doors on a media console can be solid panels, frame-and-panel construction, or open mesh panels that allow remote control signals to pass through without requiring the doors to be open. Frame-and-panel doors, where a floating central panel sits in a groove in a surrounding frame, are the traditional cabinetmaking approach and allow the panel to expand and contract without stressing the joint.
Cable management is a functional detail worth building in: a hole or slot in the back panel through which cables pass, positioned to align with existing wall outlets, keeps the space behind the console from becoming chaotic. Finishing the interior of the console with the same care as the exterior — particularly the back panel and the bottom surfaces — produces a piece that will last as long as well-made furniture.
