From coq au vin to crème brûlée, these 20 French classics break down what each dish is, where it comes from, and how to cook it well
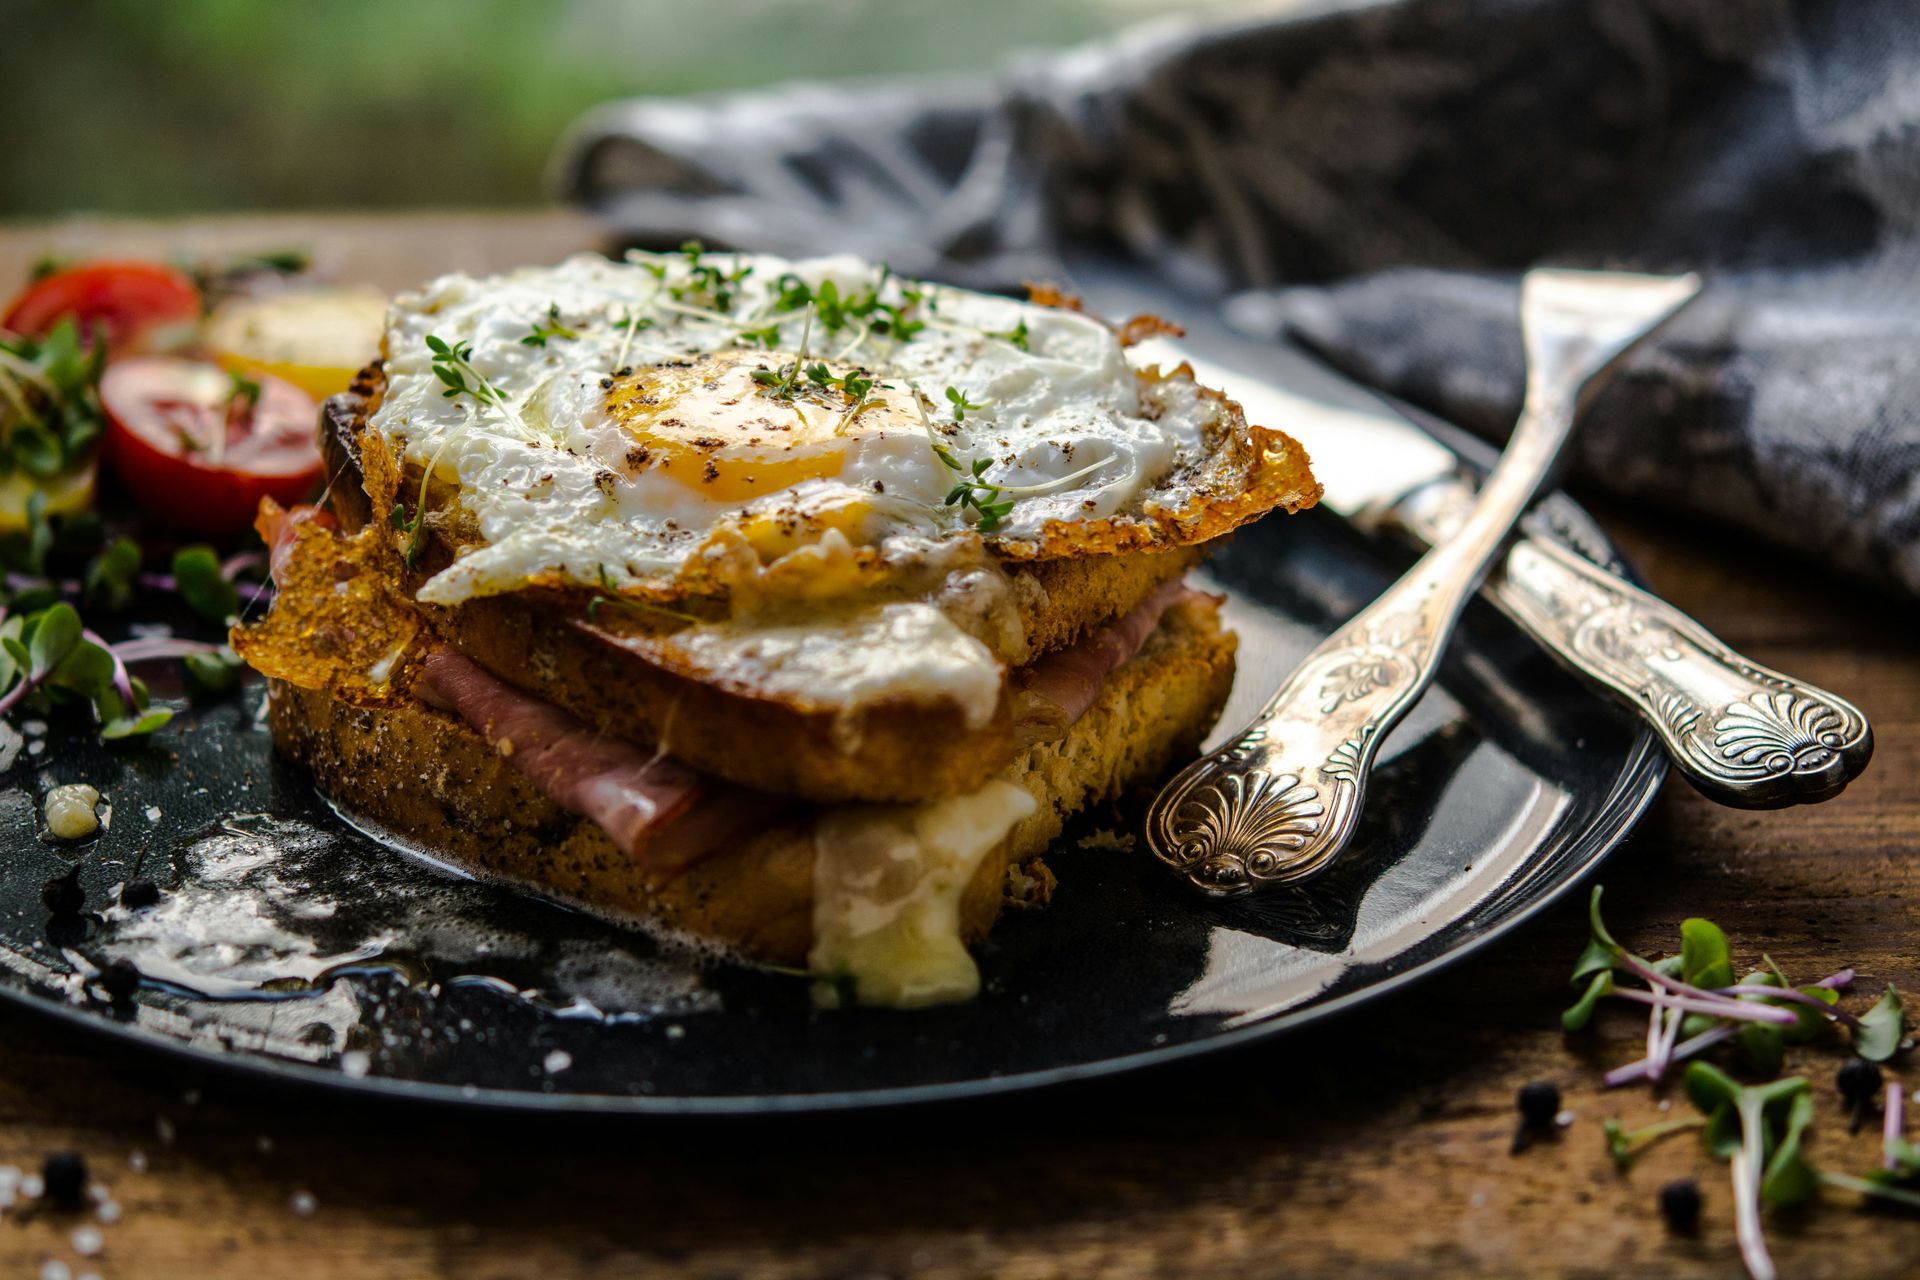
Credit: Jonathan Pielmayer / Unsplash
French cooking has a reputation for being difficult, and that reputation is mostly undeserved. The techniques that underpin the cuisine — braising, emulsifying, reducing, caramelizing — are learnable. The ingredients are often humble. What the tradition demands is patience and attention, not professional training or expensive equipment.
The French culinary canon was not built in restaurant kitchens. Most of its foundational dishes originated in farmhouses, fishing villages, and working-class city neighborhoods where cooks had to stretch cheap cuts and seasonal produce into something worth eating. Coq au vin was originally a way to deal with a tough old rooster. Bouillabaisse was fishermen's stew, made from the catch no one wanted to buy. Cassoulet was peasant food from the southwest, built around dried beans and whatever meat was available. The elegance came later, when professional chefs codified these recipes and gave them the gloss of haute cuisine.
That history matters when you approach these dishes at home, because it means most of them are fundamentally forgiving. A braise improves with time. A vinaigrette can be adjusted to taste. A tarte tatin is still worth eating even if the caramel gets slightly dark. The French domestic cook — not the Michelin-starred chef — is the better model for what you're trying to do.
What separates good French home cooking from mediocre French home cooking is usually not technique. It's ingredients. French recipes tend to use few of them, which means each one is load-bearing. The butter needs to be good butter. The wine you add to a braise should be wine you'd drink. The mustard in a vinaigrette makes a real difference if it's Dijon rather than a generic yellow variety. Shortcuts at the ingredient level tend to show up on the plate in ways they don't in more heavily spiced cuisines.
The 20 dishes in this guide span regions, seasons, and levels of difficulty. Some take under 30 minutes. Others require several hours. All of them are achievable in a home kitchen, and all of them are worth the effort.
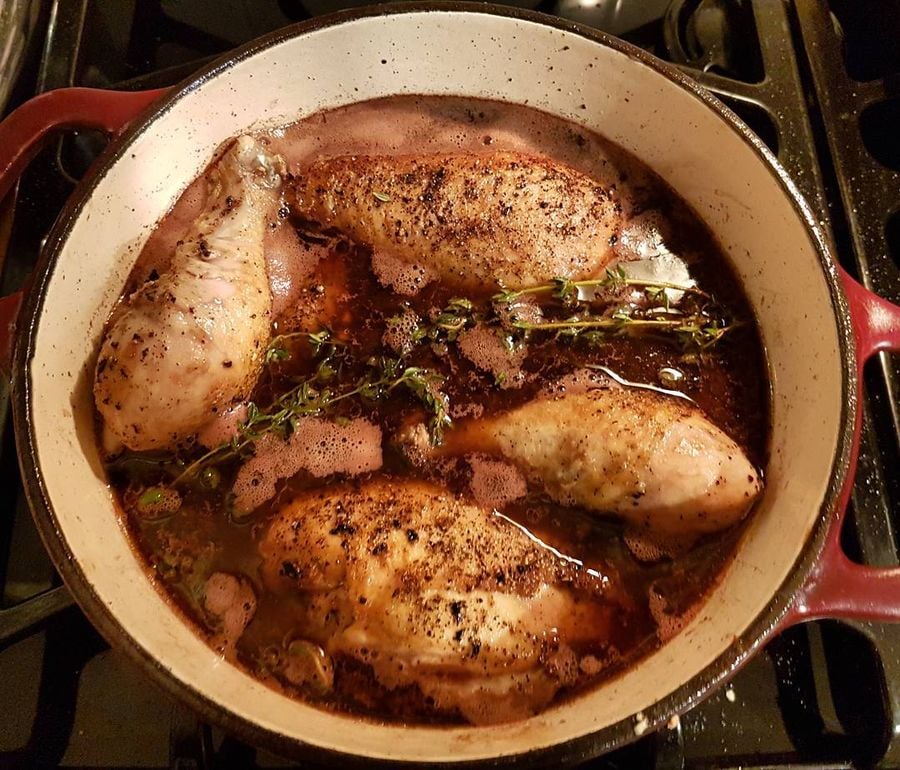
Credit: Ryan Merkley / Wikimedia Commons (CC BY 2.0)
Coq au vin translates literally as "rooster in wine," and the name tells you exactly what the dish originally was: a tough old bird, too stringy to roast, slow-cooked in red wine until the meat surrendered. The modern version uses chicken — usually a whole bird cut into pieces, or bone-in thighs and drumsticks — but the logic remains the same. Long, slow cooking in wine breaks down the collagen in the joints and transforms a relatively inexpensive cut into something deeply savory and tender.
The dish comes from Burgundy, which also produces the wine most traditionally used in it. You don't need to use an expensive Burgundy, but you should use a wine you'd drink. Cheap cooking wine will give the sauce a harsh, acidic edge that no amount of simmering will fix. A basic Côtes du Rhône or any decent Pinot Noir works well.
Start by browning the chicken pieces in a heavy Dutch oven with a little oil. Don't rush this step — good color on the skin means flavor in the finished dish. Set the chicken aside and cook lardons or thick-cut bacon in the same pot until the fat renders. Add pearl onions and mushrooms (cremini or button both work), cook until they pick up a little color, then add a few cloves of garlic and a tablespoon of tomato paste. Deglaze with a splash of cognac if you have it, then pour in most of the bottle of wine and enough chicken stock to come about halfway up the chicken pieces when you return them to the pot.
Add a bouquet garni — a bundle of bay leaves, thyme, and parsley stems tied together or wrapped in cheesecloth — and braise in a 325°F oven for about 90 minutes, or until the chicken is completely tender and pulling away from the bone.
Remove the chicken and strain the braising liquid into a saucepan. Reduce it over medium-high heat until it thickens into a glossy, concentrated sauce — this usually takes 15 to 20 minutes. Return the chicken and vegetables to the pot and reheat gently. Finish with a knob of butter stirred in off the heat for richness and sheen.
Coq au vin improves overnight. Made a day ahead and reheated, the flavors meld and deepen in ways they don't on the day of cooking. It reheats well on the stovetop over low heat, covered, with a splash of stock if the sauce has thickened too much.
Serve with crusty bread to mop up the sauce, or over egg noodles, mashed potatoes, or steamed rice. The sauce is the point — make sure there's something on the plate to absorb it.
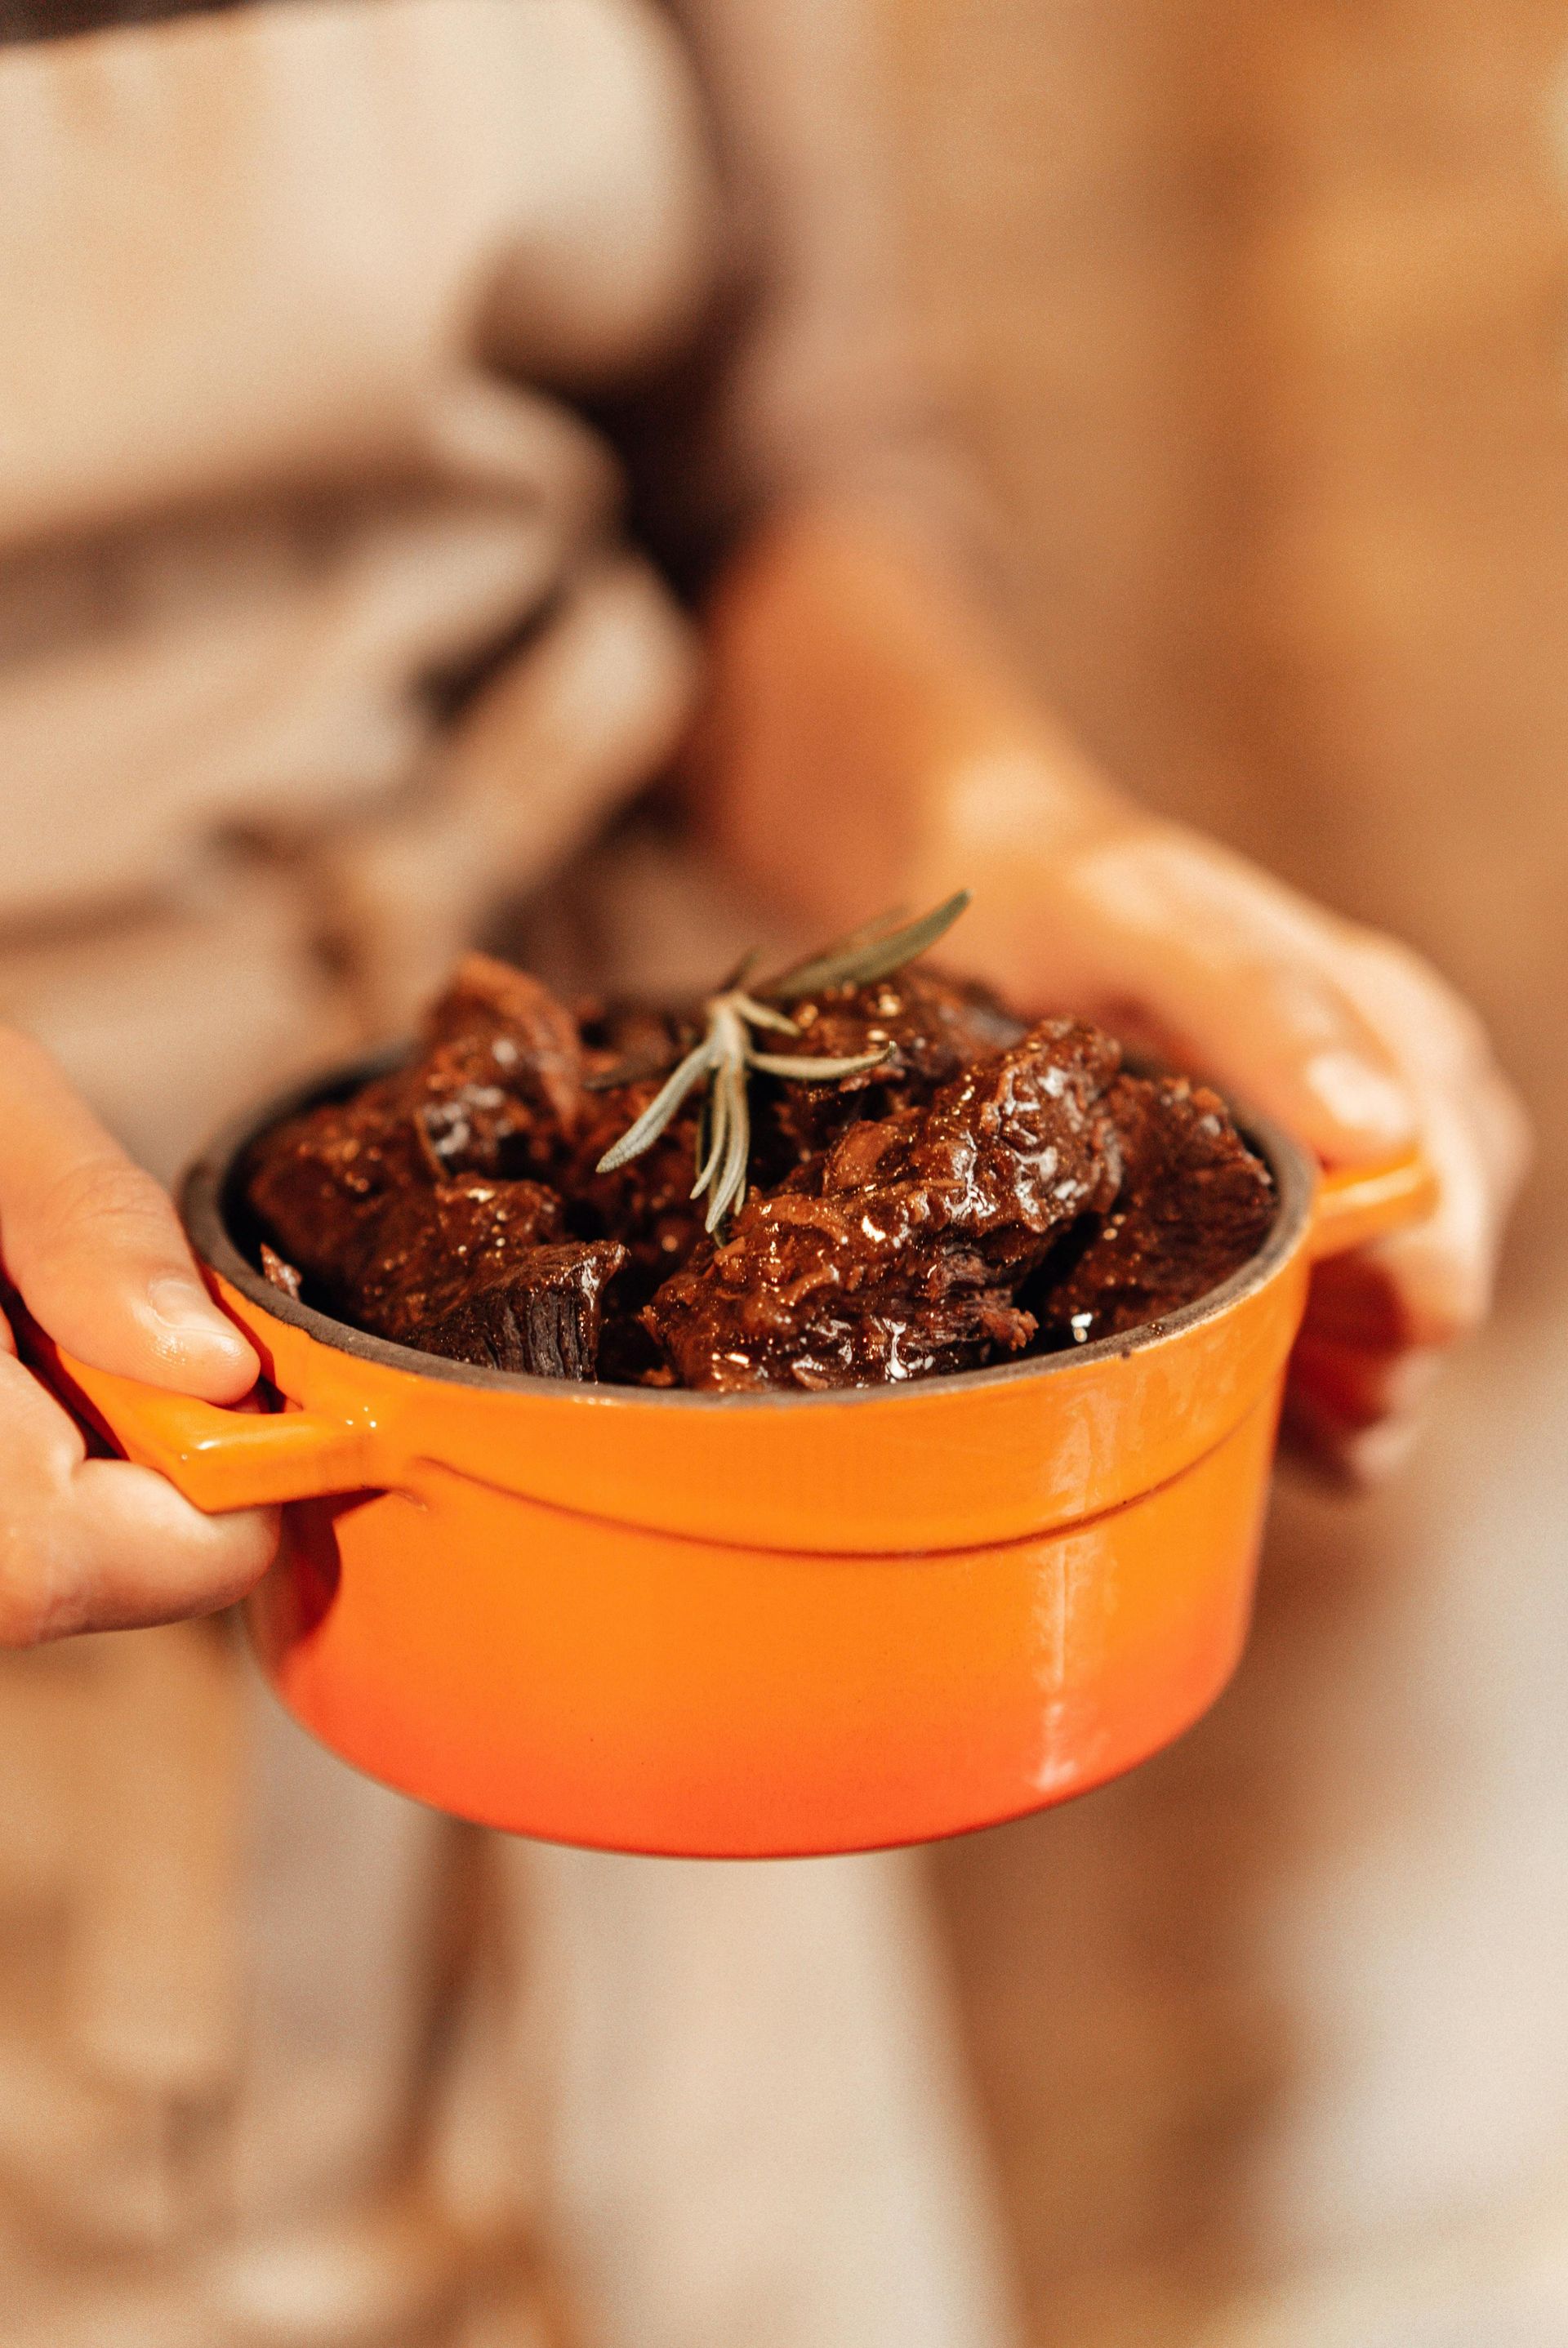
Credit: furkanfdemir / Pexels
Boeuf bourguignon is, in many ways, coq au vin's beef equivalent — a Burgundian braise built on wine, aromatics, mushrooms, and pearl onions. But the cooking time is longer, the cut of meat is different, and the result has a richness and body that makes it feel like its own dish entirely.
The cut to use is chuck, also sold as braising beef or stewing beef. It comes from the shoulder of the cow, which gets a lot of exercise, making it tough and collagen-rich. That collagen is exactly what you want: it melts during the long braise and gives the sauce a silky, almost gelatinous quality. Leaner cuts — sirloin, tenderloin — will dry out and taste chalky after two to three hours in the oven. Do not use them.
Cut the beef into large pieces, roughly two inches square, and dry them thoroughly with paper towels. Wet beef won't brown — it steams, and steamed beef has a gray, unappetizing surface and less developed flavor. Season generously with salt and pepper.
Brown the beef in batches in a Dutch oven over high heat. Crowding the pan drops the temperature and, again, leads to steaming rather than browning. Each piece should get a deep brown crust on at least two sides. Set the browned beef aside and cook diced onion, carrot, and celery in the same pot until softened. Add garlic, tomato paste, and flour — the flour will thicken the final sauce — and cook for a minute or two. Deglaze with cognac or brandy if using, then pour in a full bottle of red wine and enough beef stock to submerge the meat.
Return the beef to the pot with a bouquet garni and braise in a 300°F oven for two and a half to three hours. The meat is done when it yields to gentle pressure and a fork slides in with no resistance.
While the beef braises, cook pearl onions in butter until lightly caramelized, and sauté mushrooms separately until golden. Add them to the finished braise after removing the bouquet garni. Taste the sauce and adjust seasoning. If it tastes thin, remove the beef and reduce the sauce on the stovetop before combining.
Like coq au vin, this dish is better the next day.
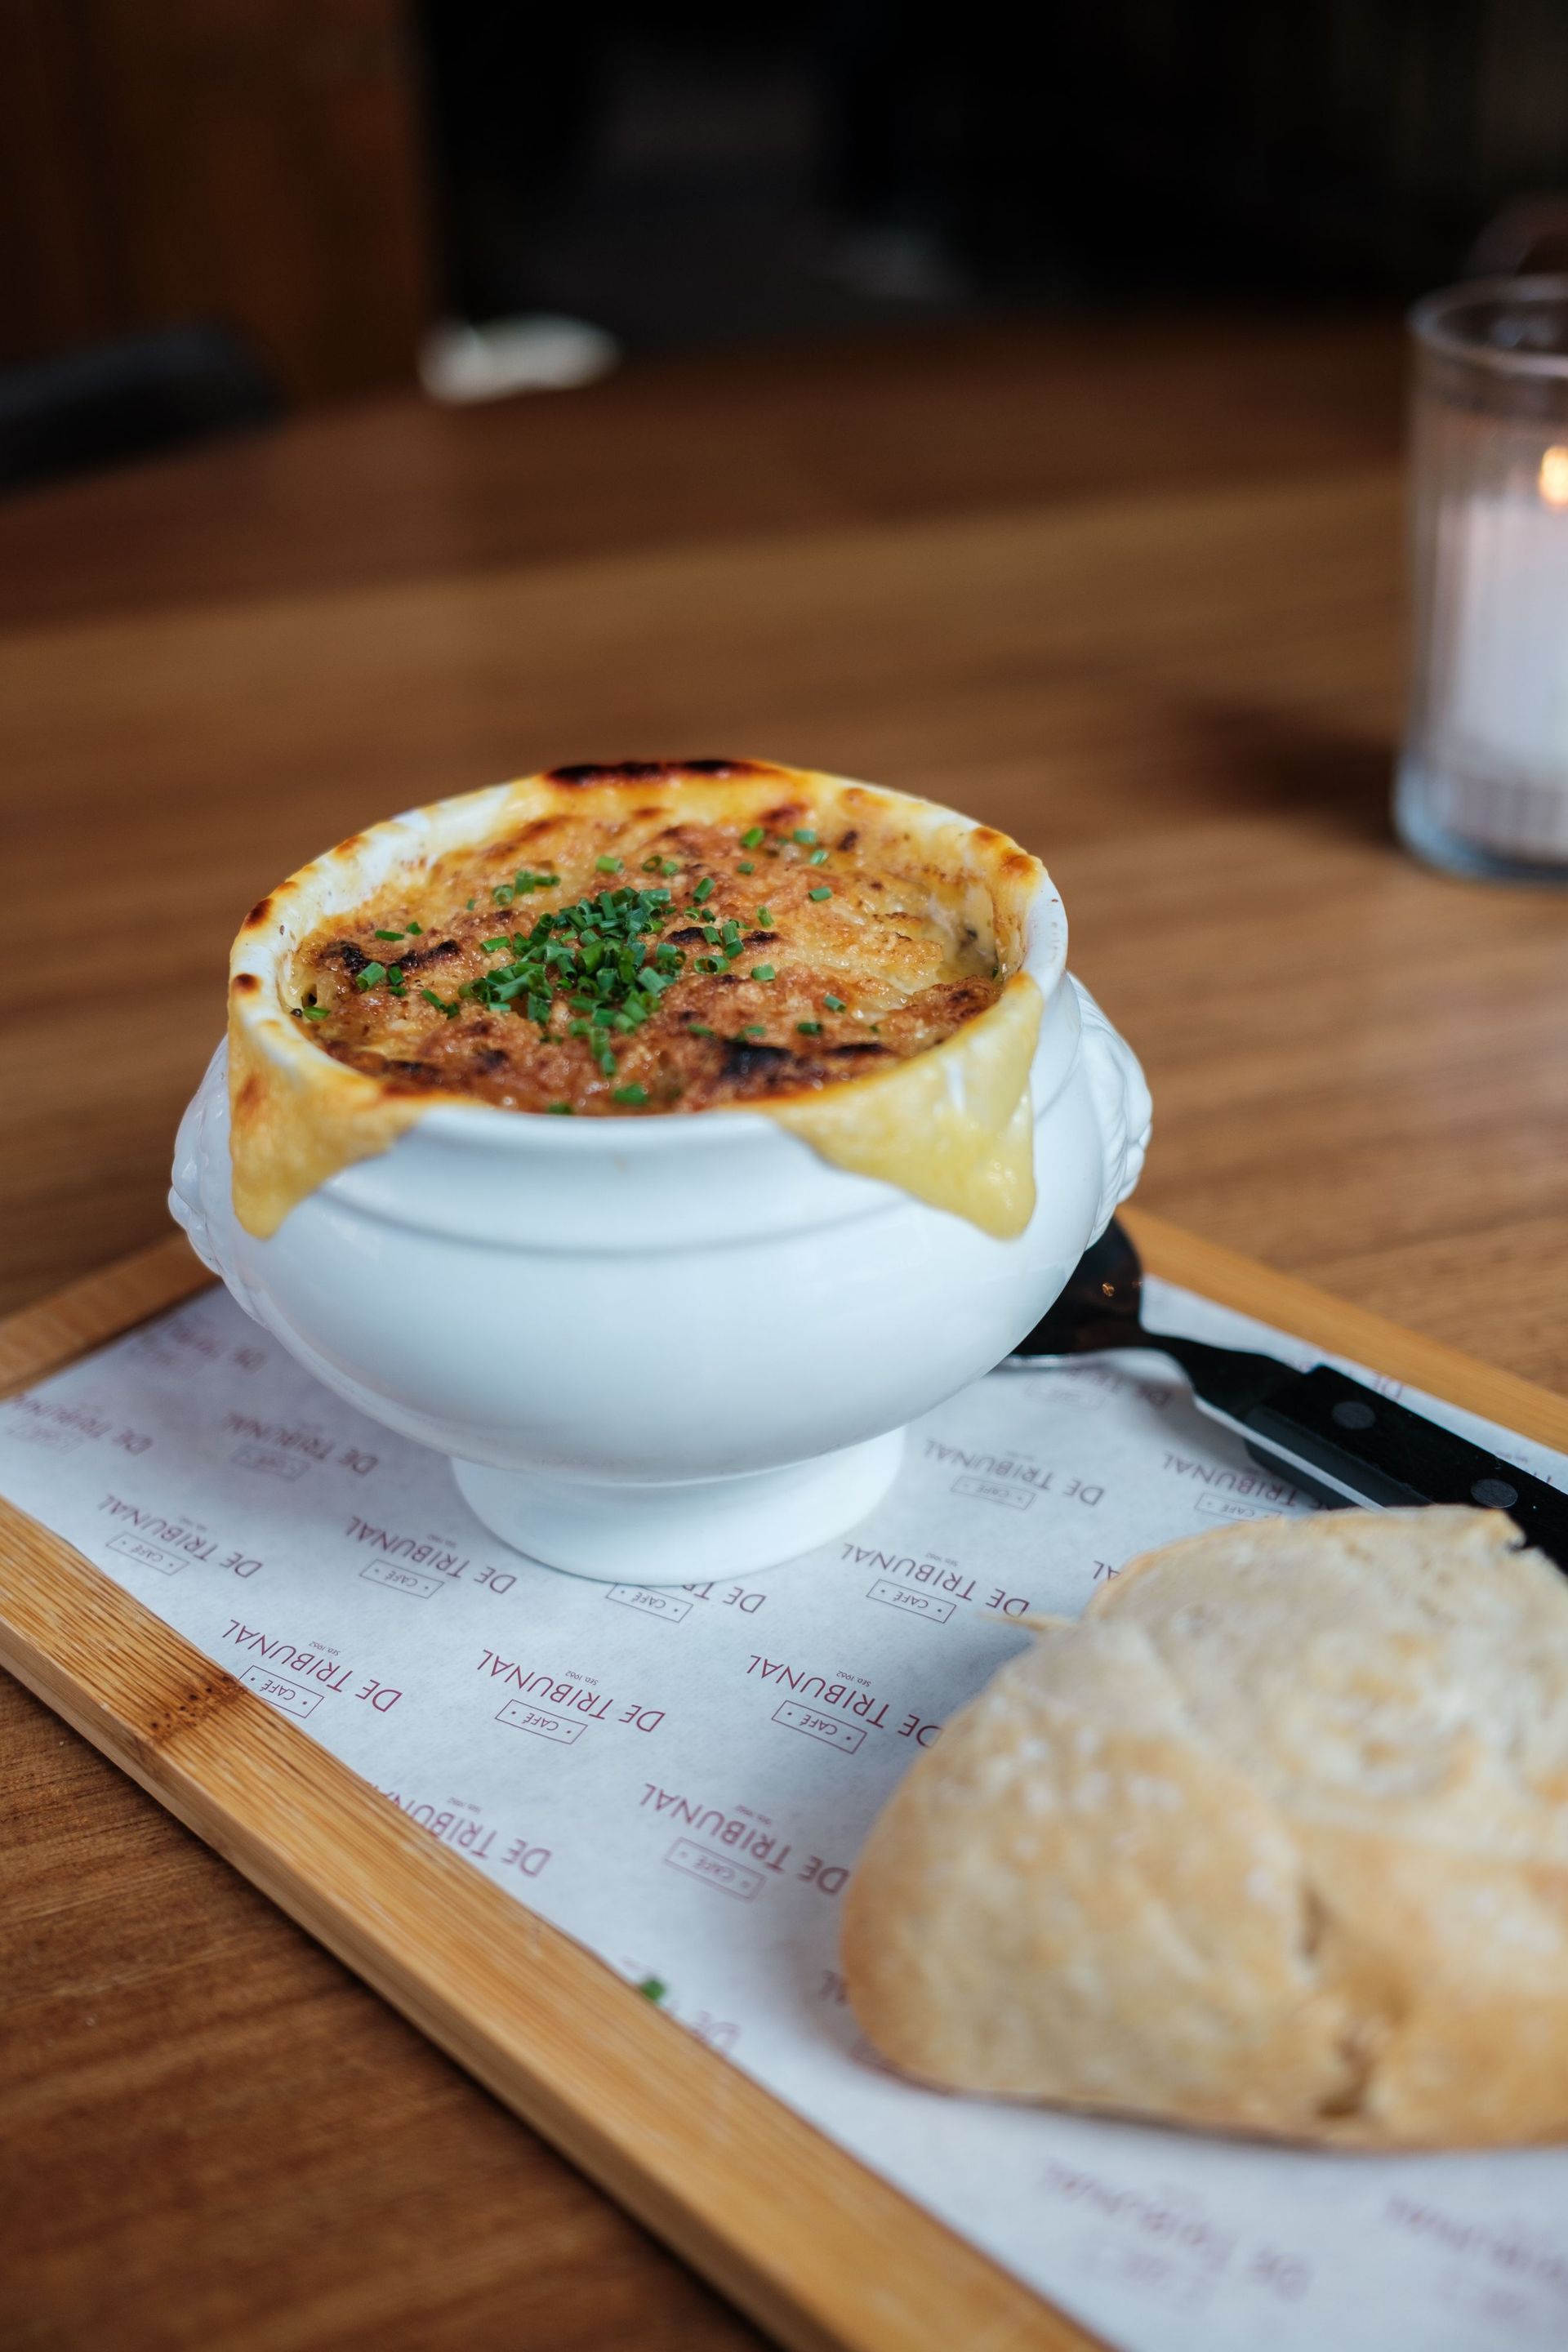
Credit: Laura Paredis / Pexels
French onion soup has three components — deeply caramelized onions, rich broth, and a melted cheese crust — and all three need to be done properly for the dish to work. Shortcutting any one of them produces a soup that tastes flat, thin, or vaguely sweet in an unpleasant way.
The onions come first, and they take time. Plan on 45 minutes to an hour of slow, patient cooking over medium-low heat. Slice three or four large yellow onions thinly and cook them in a generous amount of butter in a heavy-bottomed pot. They will shrink dramatically as the water cooks off — what looks like an enormous pile will reduce to a fraction of its original volume. Stir them occasionally to prevent sticking, and don't rush the process by turning up the heat. Caramelization happens through slow, sustained heat. High heat burns the sugars and turns the onions acrid rather than sweet.
When the onions are a deep golden-brown and have a jammy, almost melted texture, add a splash of dry white wine or sherry and cook until it evaporates. Season with salt, pepper, and a pinch of fresh thyme.
Add beef stock — homemade or a good-quality store-bought version. The stock is the main liquid of the soup, so its quality matters. Simmer for 20 to 30 minutes to let the flavors meld, then taste and adjust seasoning.
To serve, ladle the soup into oven-safe bowls. Place a slice or two of toasted baguette on the surface — the bread should be stale enough to hold its shape rather than immediately dissolving. Cover generously with grated Gruyère or Comté. Place the bowls on a baking sheet and broil until the cheese is bubbling and spotted with brown.
The cheese crust should be thick enough to require a spoon to break through, forming a lid over the soup beneath. That moment of breaking through the crust is part of the experience.
Credit: Nadin Sh / Pexels
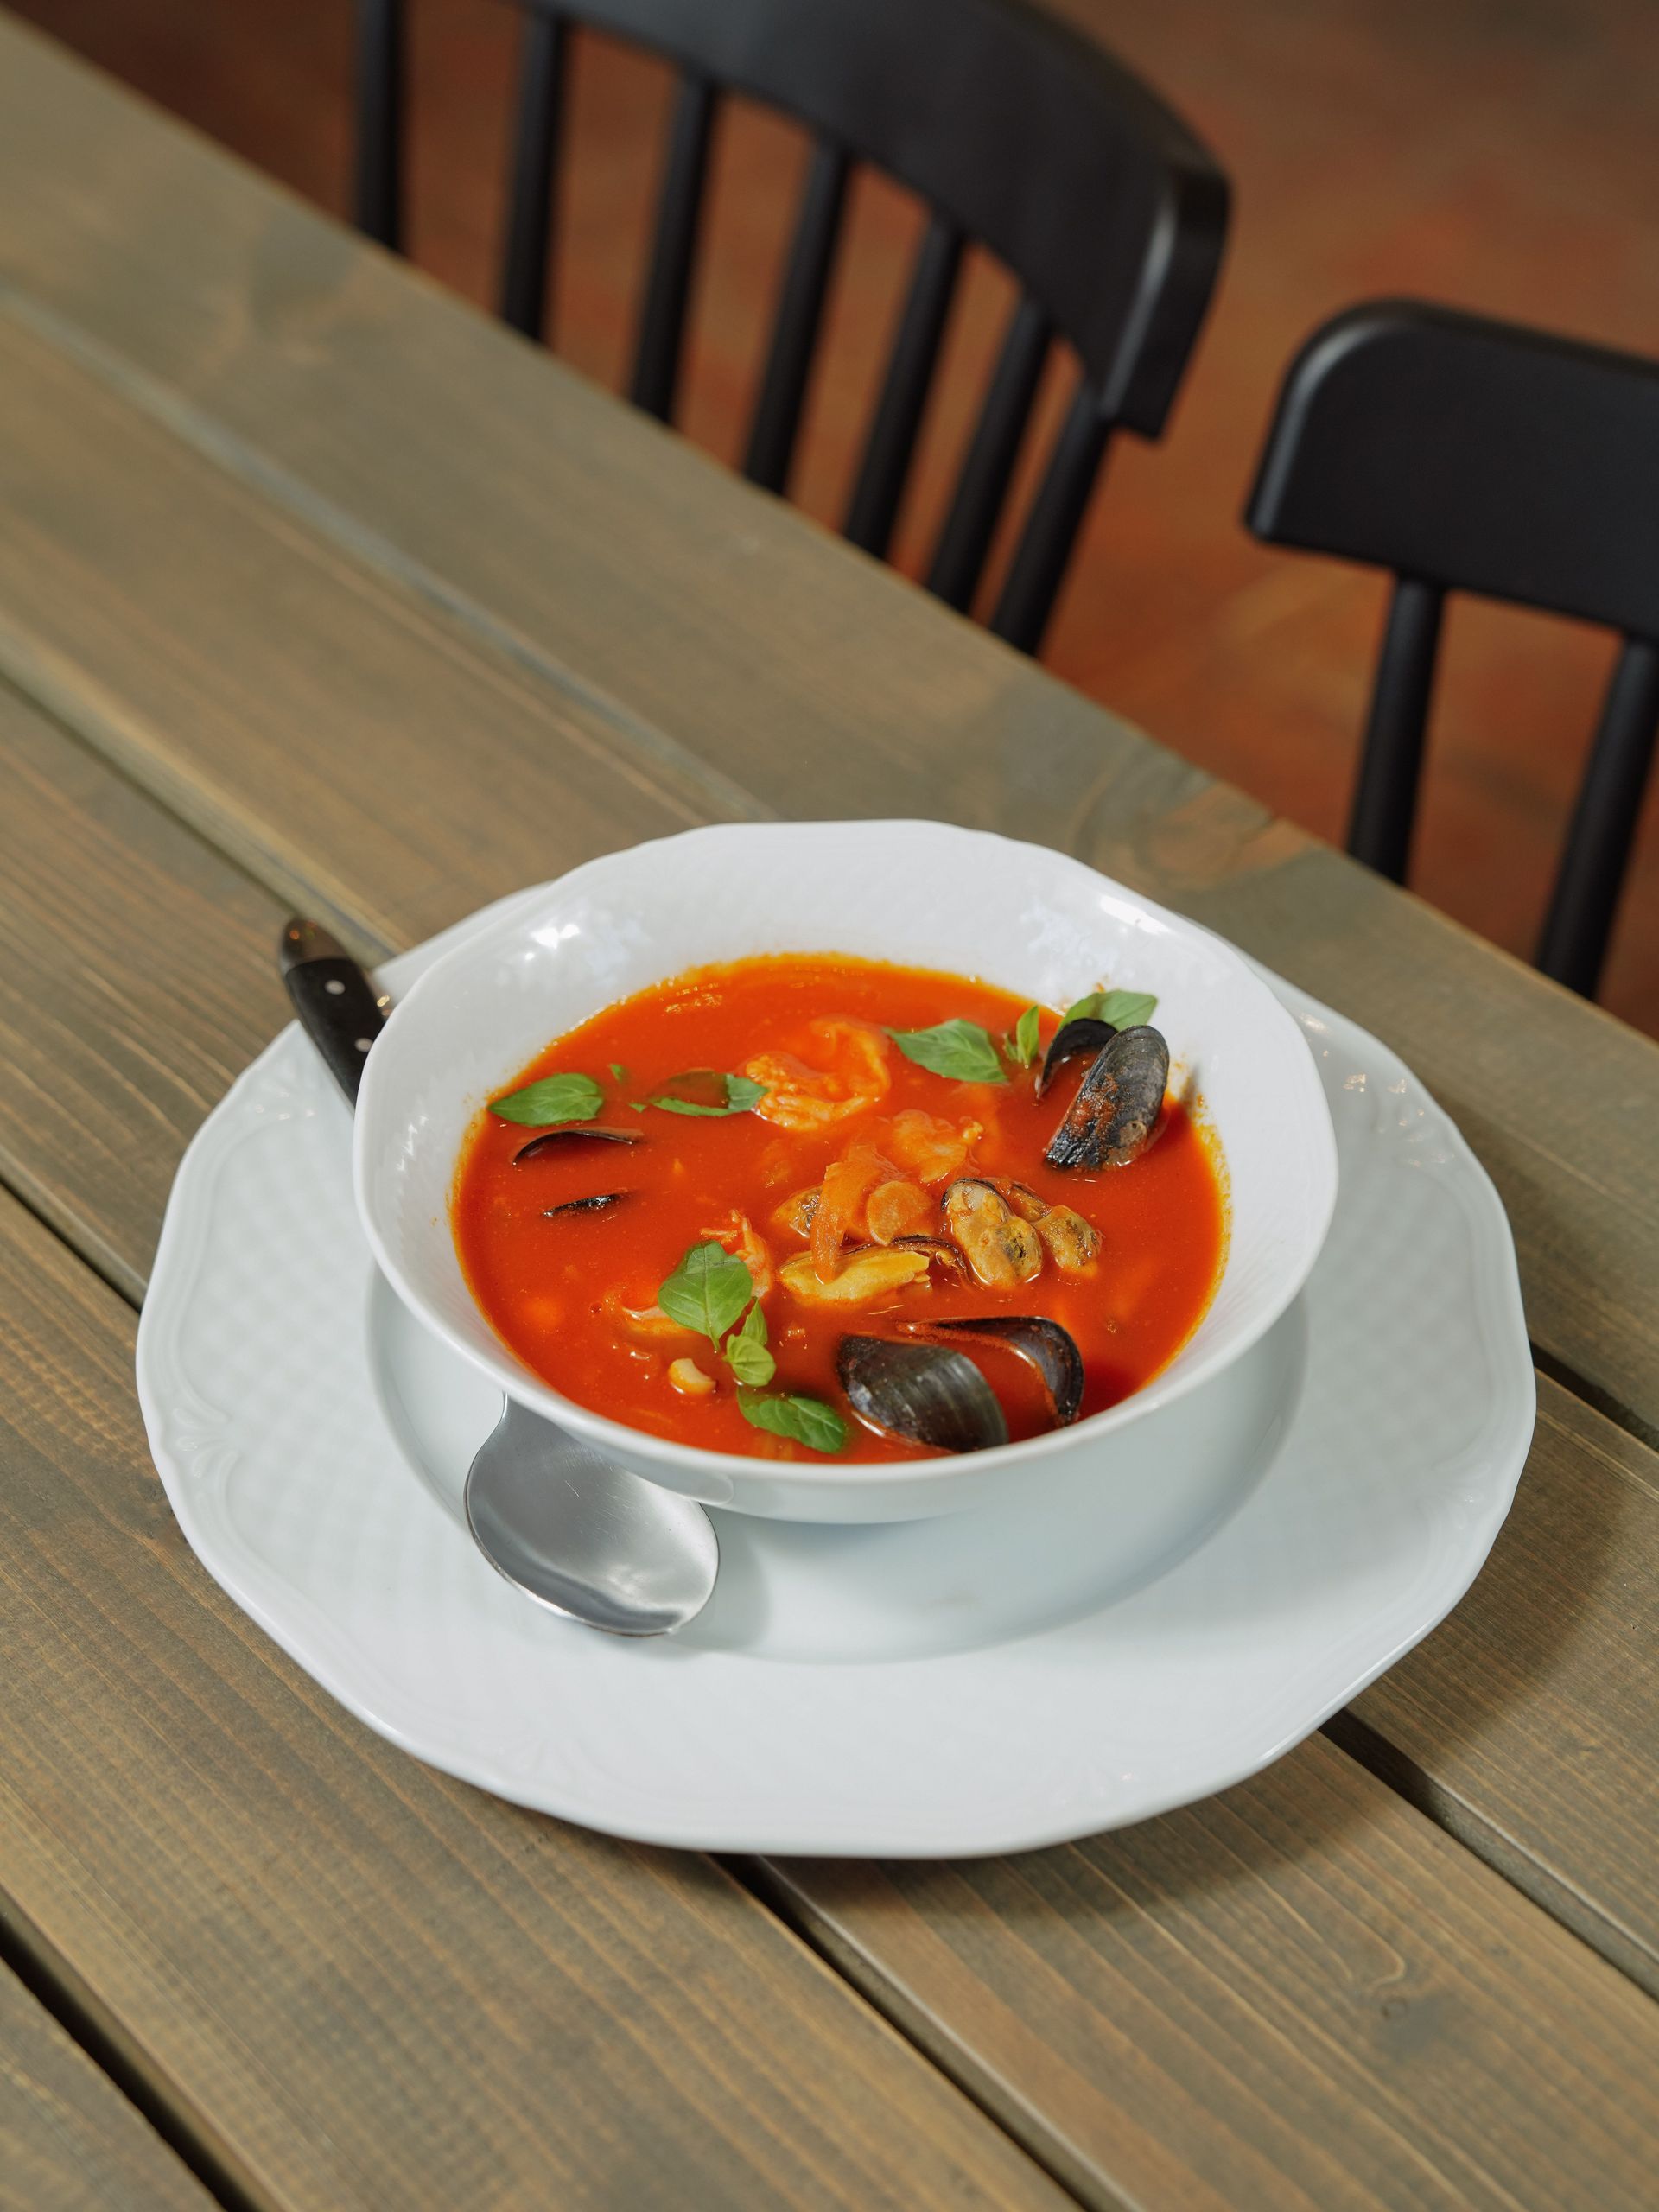
Bouillabaisse originated in Marseille, where fishermen would simmer the unsellable portion of the catch — bony fish, shellfish, scraps — with tomatoes, garlic, and the wild herbs of the Provençal coast. The dish that emerged from those humble beginnings has become one of the most debated recipes in French cooking, with Marseillais purists insisting on specific fish varieties unavailable outside the Mediterranean. For home cooks outside France, the important thing is the technique and the flavoring, not the exact species in the pot.
The defining flavor of bouillabaisse comes from saffron, fennel, and a base of tomatoes, garlic, and olive oil. These are not optional. Omit the saffron and you have a different soup. Use butter instead of olive oil and it no longer reads as Provençal.
Start by making a flavorful base: sweat diced fennel, onion, and leek in olive oil until soft. Add crushed garlic, chopped tomatoes (fresh or canned), a strip of orange peel, a pinch of saffron dissolved in a little hot water, a bay leaf, and dried thyme. Pour in white wine and fish stock — or water and a good fish bouillon — and simmer for 20 minutes.
Add firm-fleshed fish first: cod, halibut, monkfish, or sea bass cut into chunks. After five minutes, add shellfish: mussels, clams, shrimp, or scallops, whatever is available and fresh. Cook just until the shellfish opens and the fish is opaque. Do not overcook — the fish will fall apart and the shrimp will become rubbery.
Bouillabaisse is traditionally served with rouille — a garlic and saffron-spiked mayonnaise — spread on toasted croutons that float on the broth. The rouille can be made by blending roasted garlic, saffron, egg yolk, and olive oil, or by stirring saffron and garlic into good store-bought mayonnaise for a simpler version.
Credit: Codrin Alex / Pexels
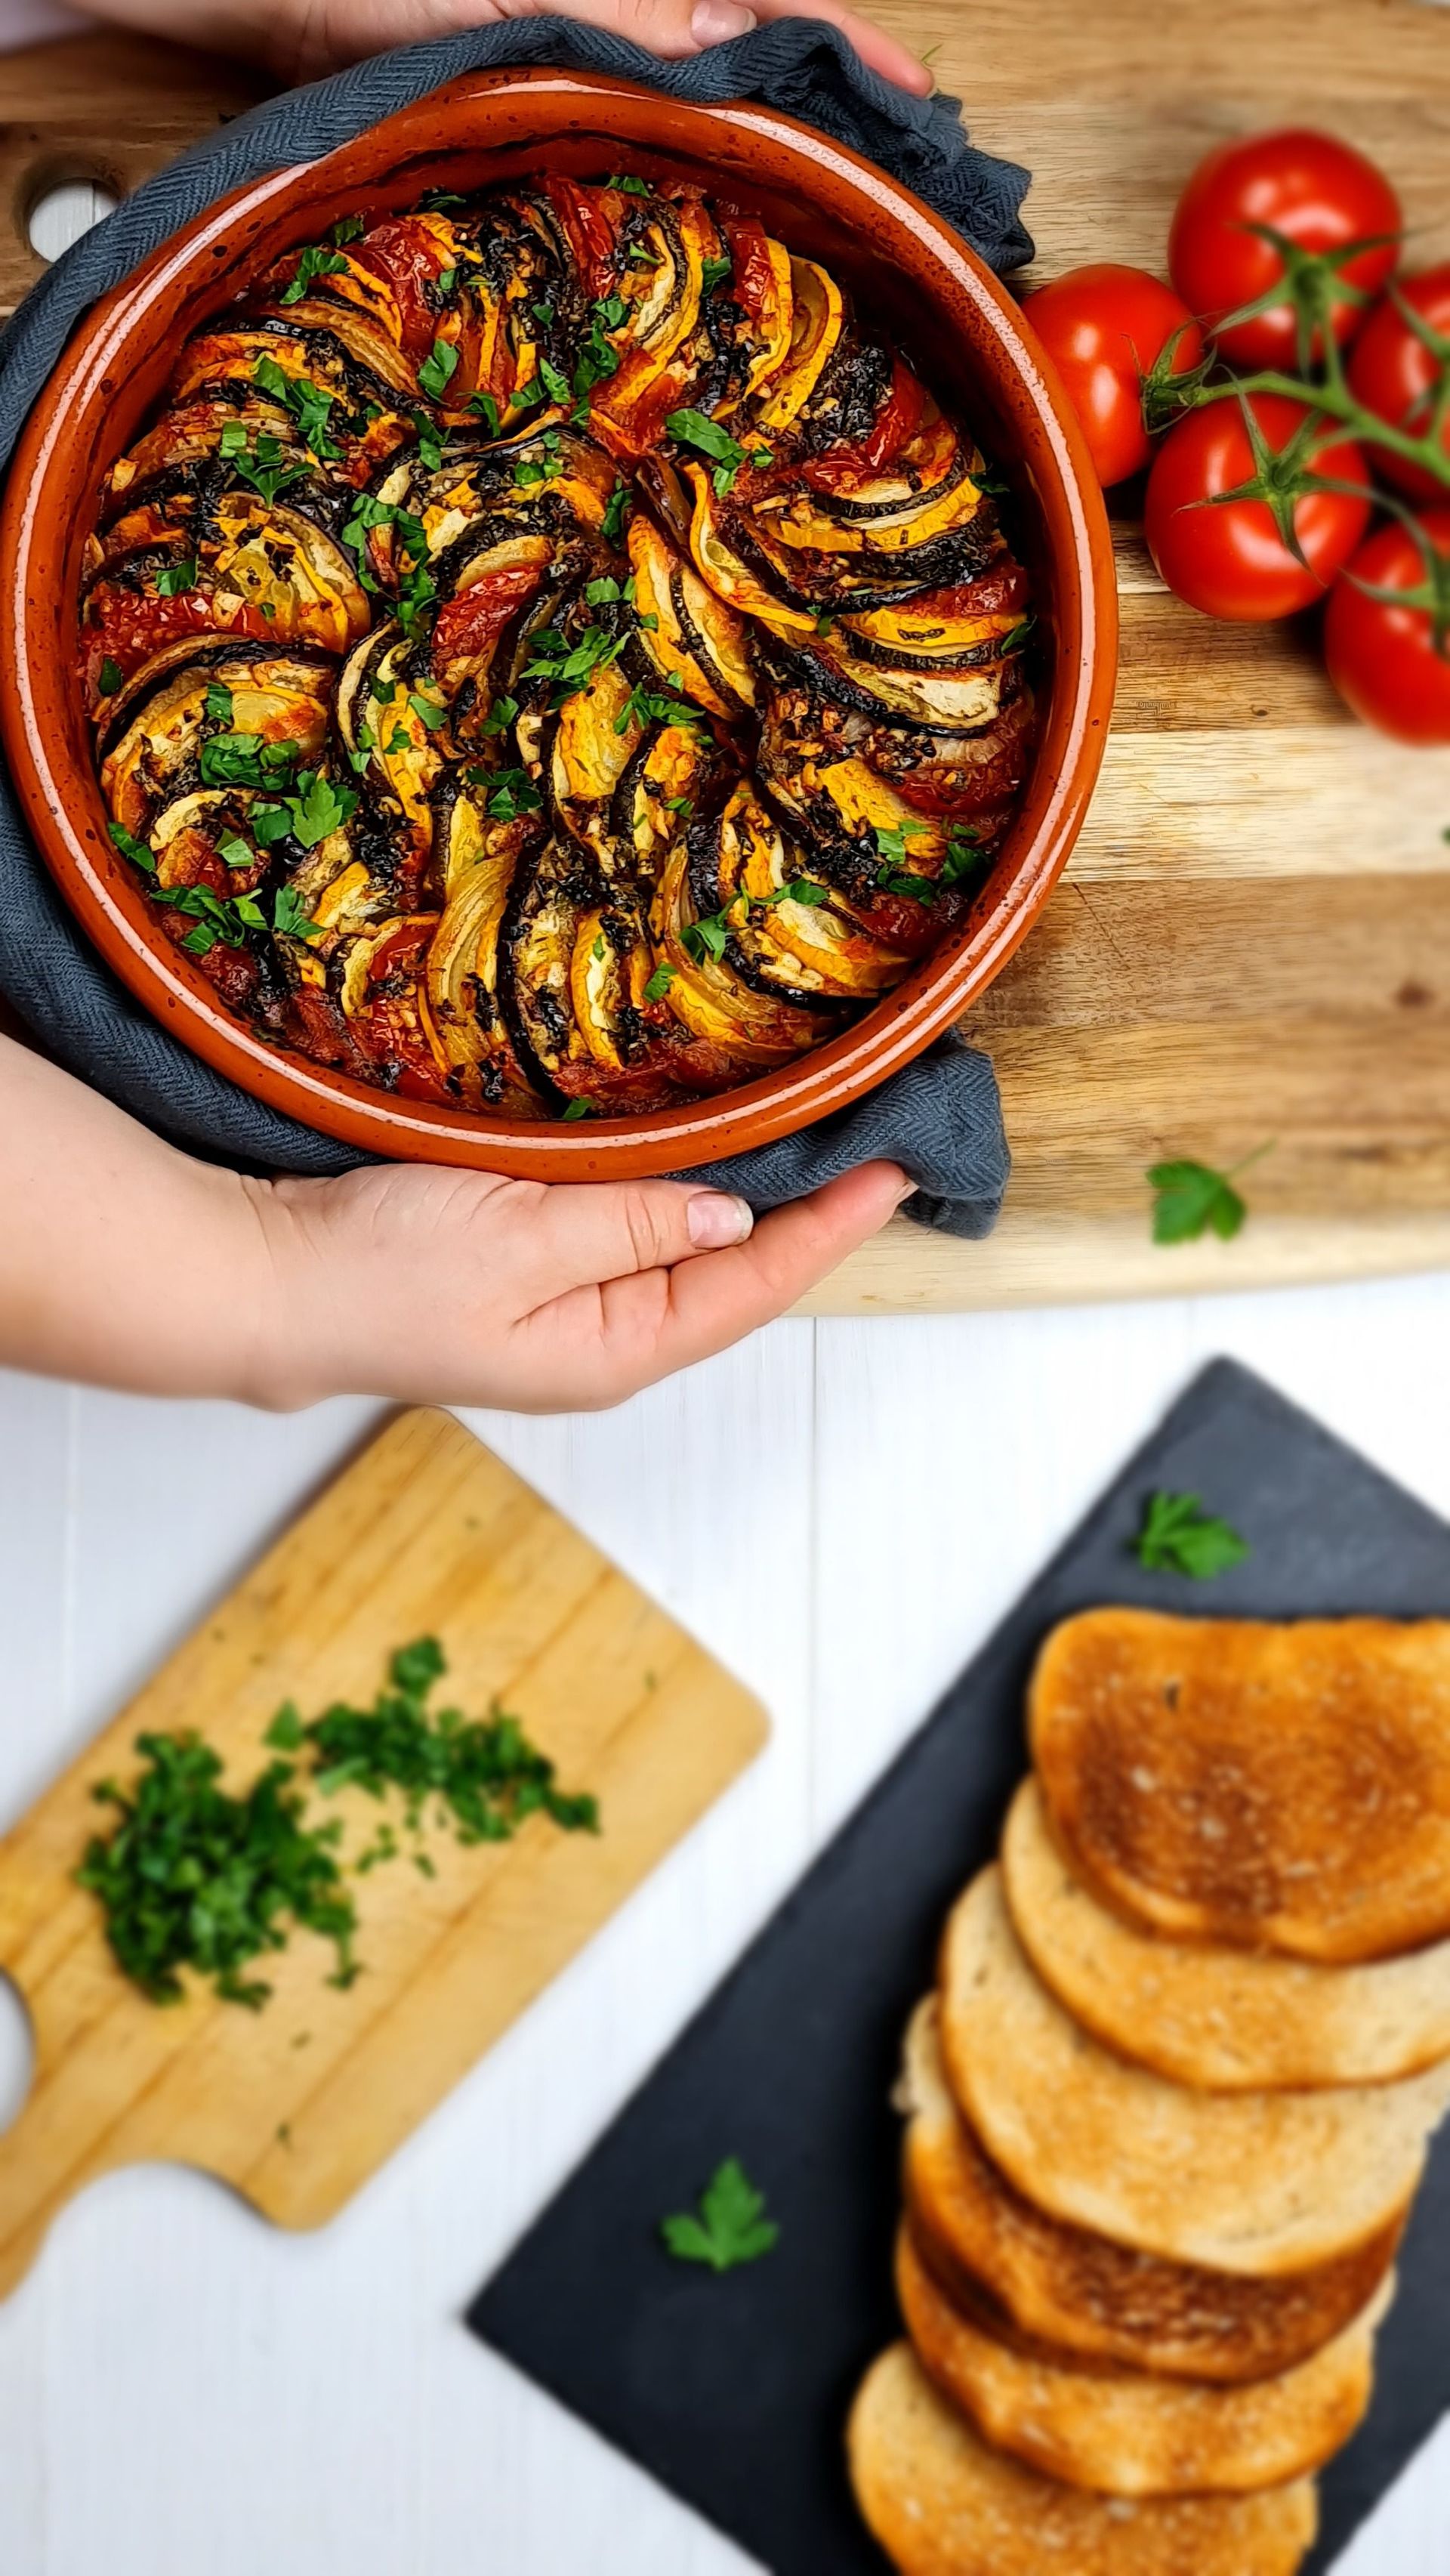
Ratatouille is a vegetable stew from Provence, made with summer vegetables — zucchini, eggplant, bell peppers, tomatoes, onion, and garlic — cooked slowly in olive oil with herbs. At its best, it is a deeply savory, almost meaty dish despite containing no meat at all. At its worst, it is a watery mush of undercooked or poorly handled vegetables.
The key mistake most people make is cooking all the vegetables together at once. Each vegetable has a different moisture content and cooks at a different rate. If you add them all to the pot simultaneously, the eggplant and zucchini release water that prevents anything from browning, and the peppers stay slightly crunchy while everything else falls apart. The traditional approach is to cook each vegetable separately, then combine them.
Dice the eggplant, sprinkle it with salt, and let it sit for 30 minutes to draw out moisture. Pat it dry, then sauté it in olive oil over medium-high heat until golden. Set aside. Repeat with the zucchini. Soften diced onion in the same pan, add sliced bell peppers (red and yellow are sweeter than green), cook until tender, then add garlic and chopped tomatoes. Simmer this tomato base until it reduces and thickens.
Combine the pre-cooked vegetables in the pan with the tomato base. Add fresh thyme, bay leaf, and a handful of fresh basil torn in. Season generously. Simmer everything together over low heat for 20 to 30 minutes, stirring occasionally. The vegetables should be completely tender and the sauce should have reduced to a thick, intensely flavored base.
Ratatouille is one of those dishes that genuinely improves as it sits. Serve it warm, at room temperature, or cold. It works as a side dish alongside roast chicken or grilled fish, as a topping for pasta or polenta, or as a filling for omelets. It keeps well in the refrigerator for up to five days and freezes without issue.
Credit: alleksana / Pexels
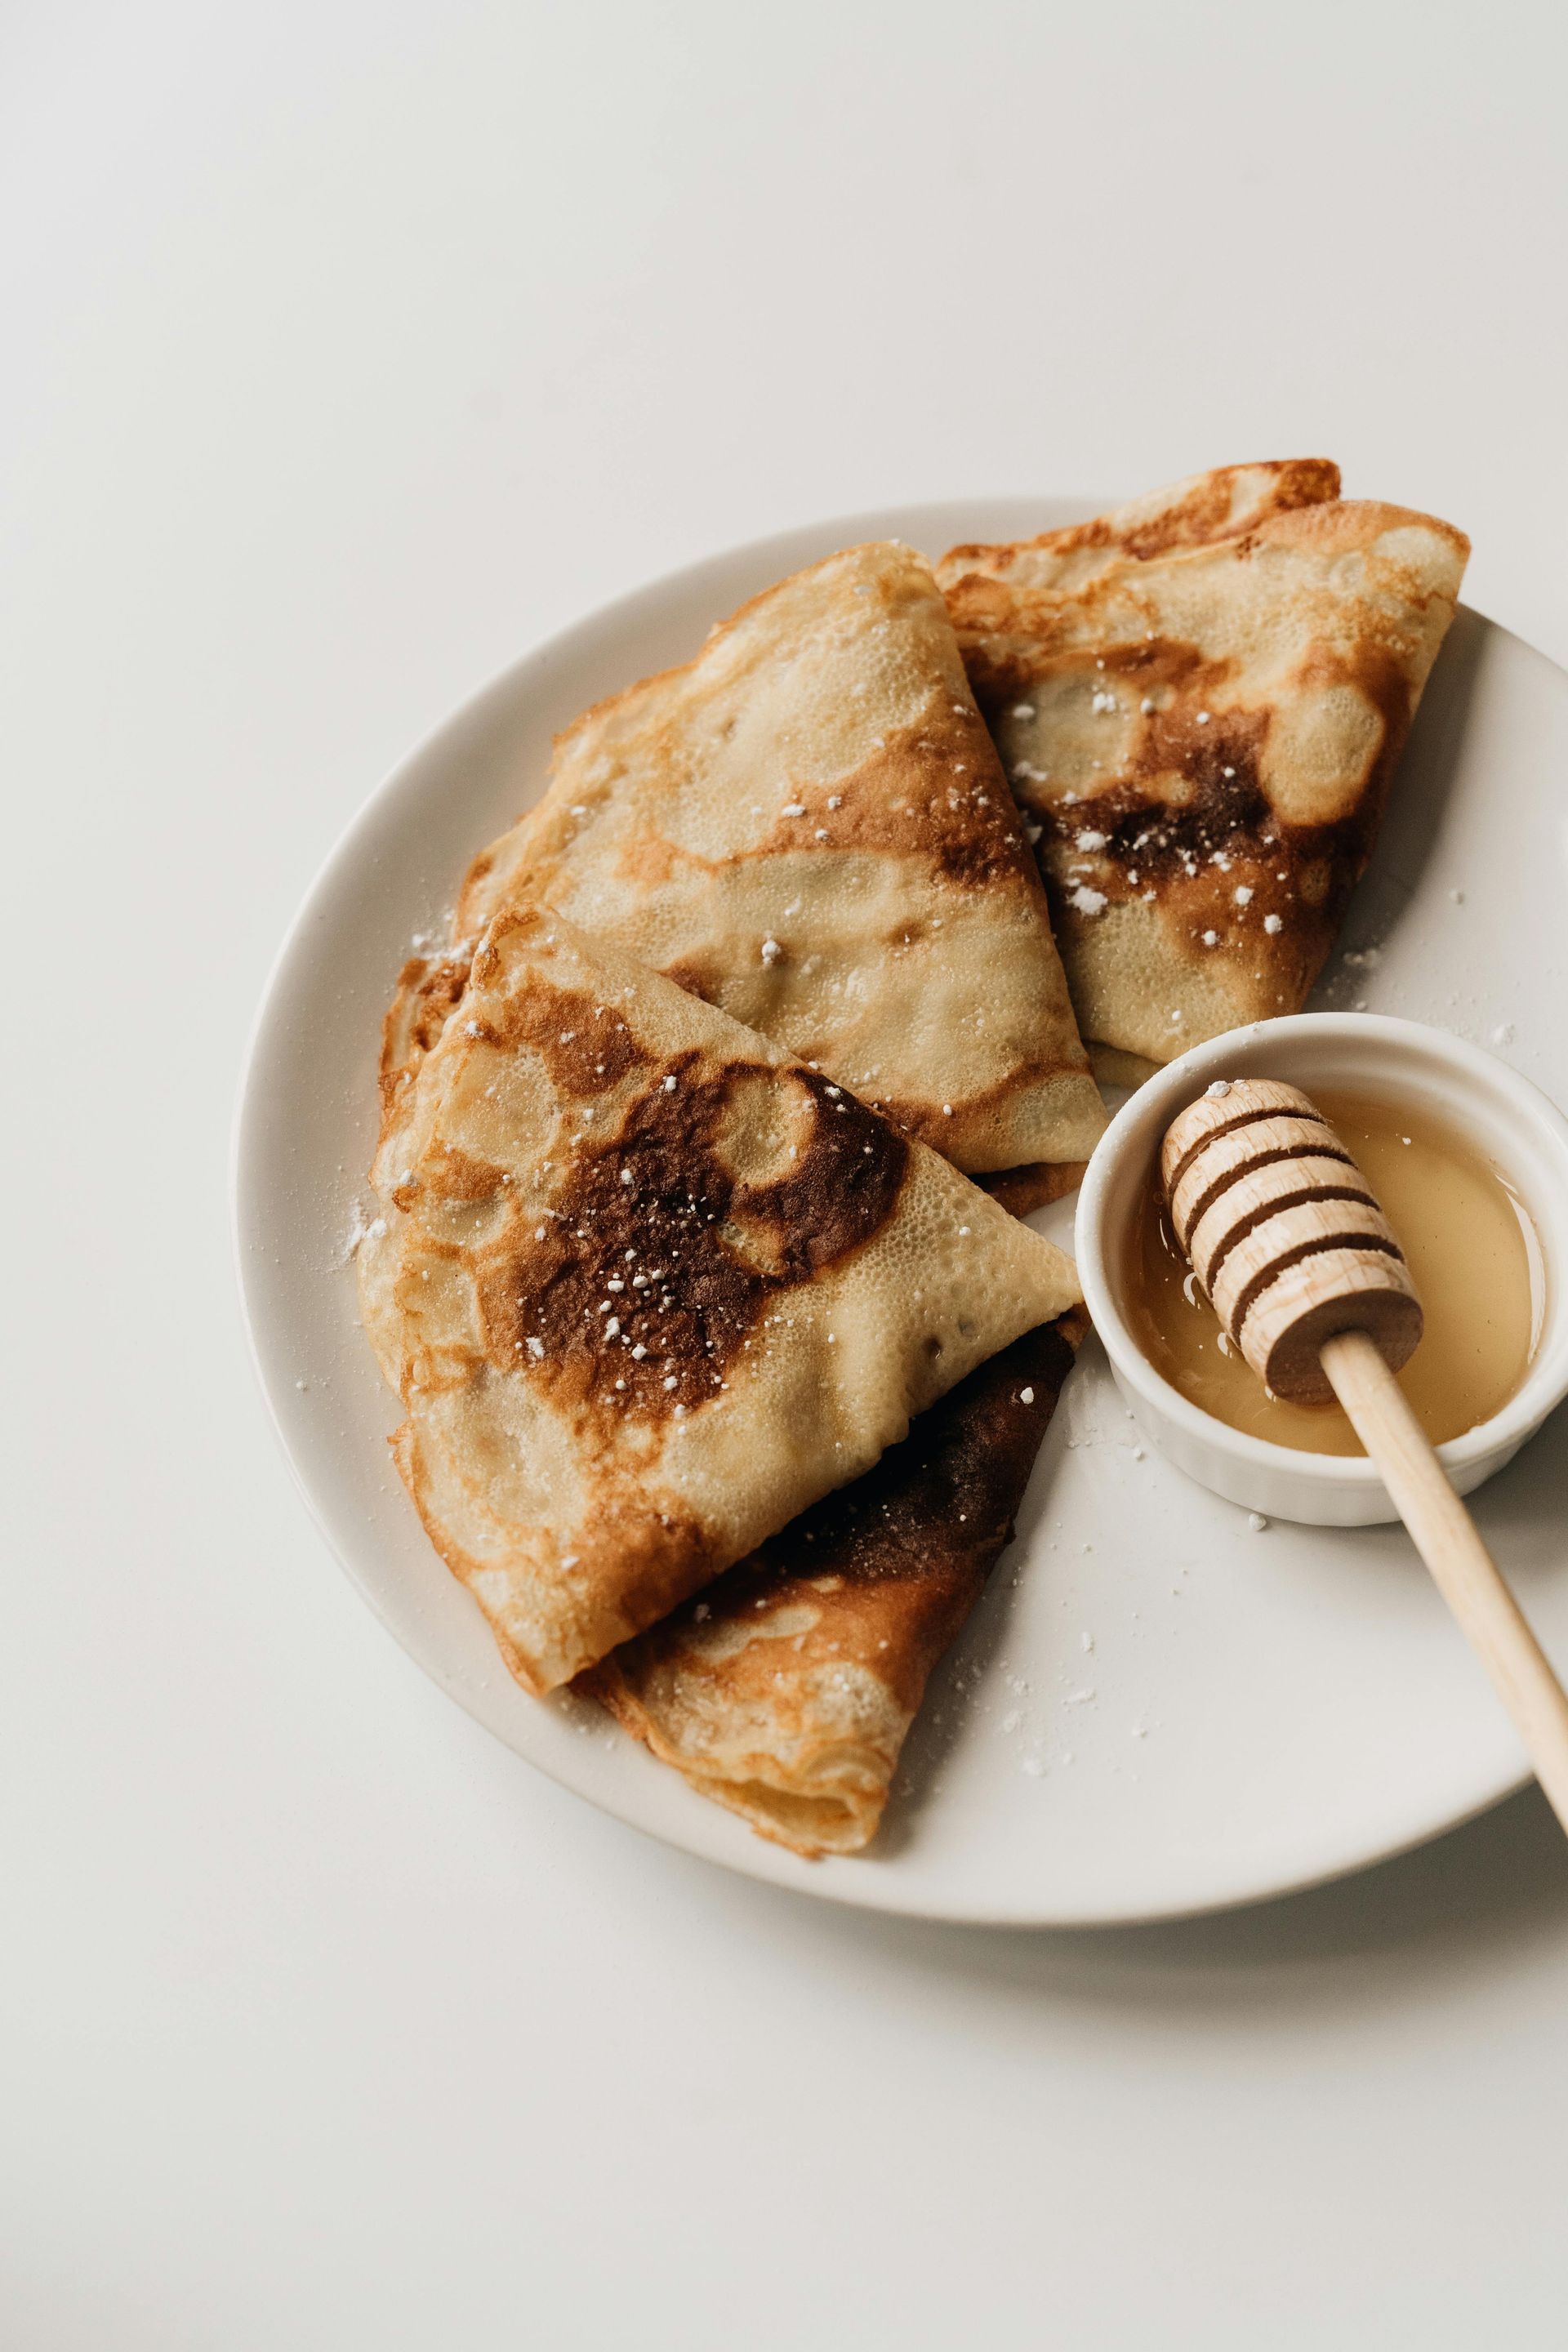
Crêpes are thin pancakes made from a simple batter of flour, eggs, milk, butter, and a pinch of salt. In France, they appear in both sweet and savory forms: sweet crêpes (made with a touch of sugar) filled with jam, Nutella, or lemon juice and sugar; savory galettes made with buckwheat flour and filled with ham, cheese, and egg. Both start with essentially the same technique.
The batter must rest before cooking. Mix flour, two eggs, and a small amount of melted butter together, then whisk in milk gradually to avoid lumps. The batter should be the consistency of light cream — pourable and thin. Cover it and let it rest in the refrigerator for at least 30 minutes, or up to overnight. Resting allows the gluten in the flour to relax, which produces a more tender crêpe. It also gives any air bubbles time to dissipate, which helps the crêpe cook evenly.
Use a flat, non-stick pan or a crêpe pan if you have one. Heat it over medium heat and rub it with a small amount of butter — just enough to coat the surface. Pour in a small ladleful of batter (about three tablespoons for a 10-inch pan) and immediately tilt and swirl the pan to spread the batter in a thin, even circle. Cook until the edges look dry and begin to pull away from the pan — about 60 to 90 seconds. Flip carefully with a thin spatula and cook for another 30 seconds.
The first crêpe is almost always a throwaway. The pan isn't at the right temperature yet, and the batter needs a moment to calibrate. Stack the finished crêpes on a plate with a small piece of parchment or wax paper between each to prevent sticking.
For savory crêpes, use buckwheat flour in place of all-purpose and omit the sugar. Fill with ham, Gruyère, and a fried egg for a classic crêpe complète.
Credit: Caleb Oquendo / Pexels
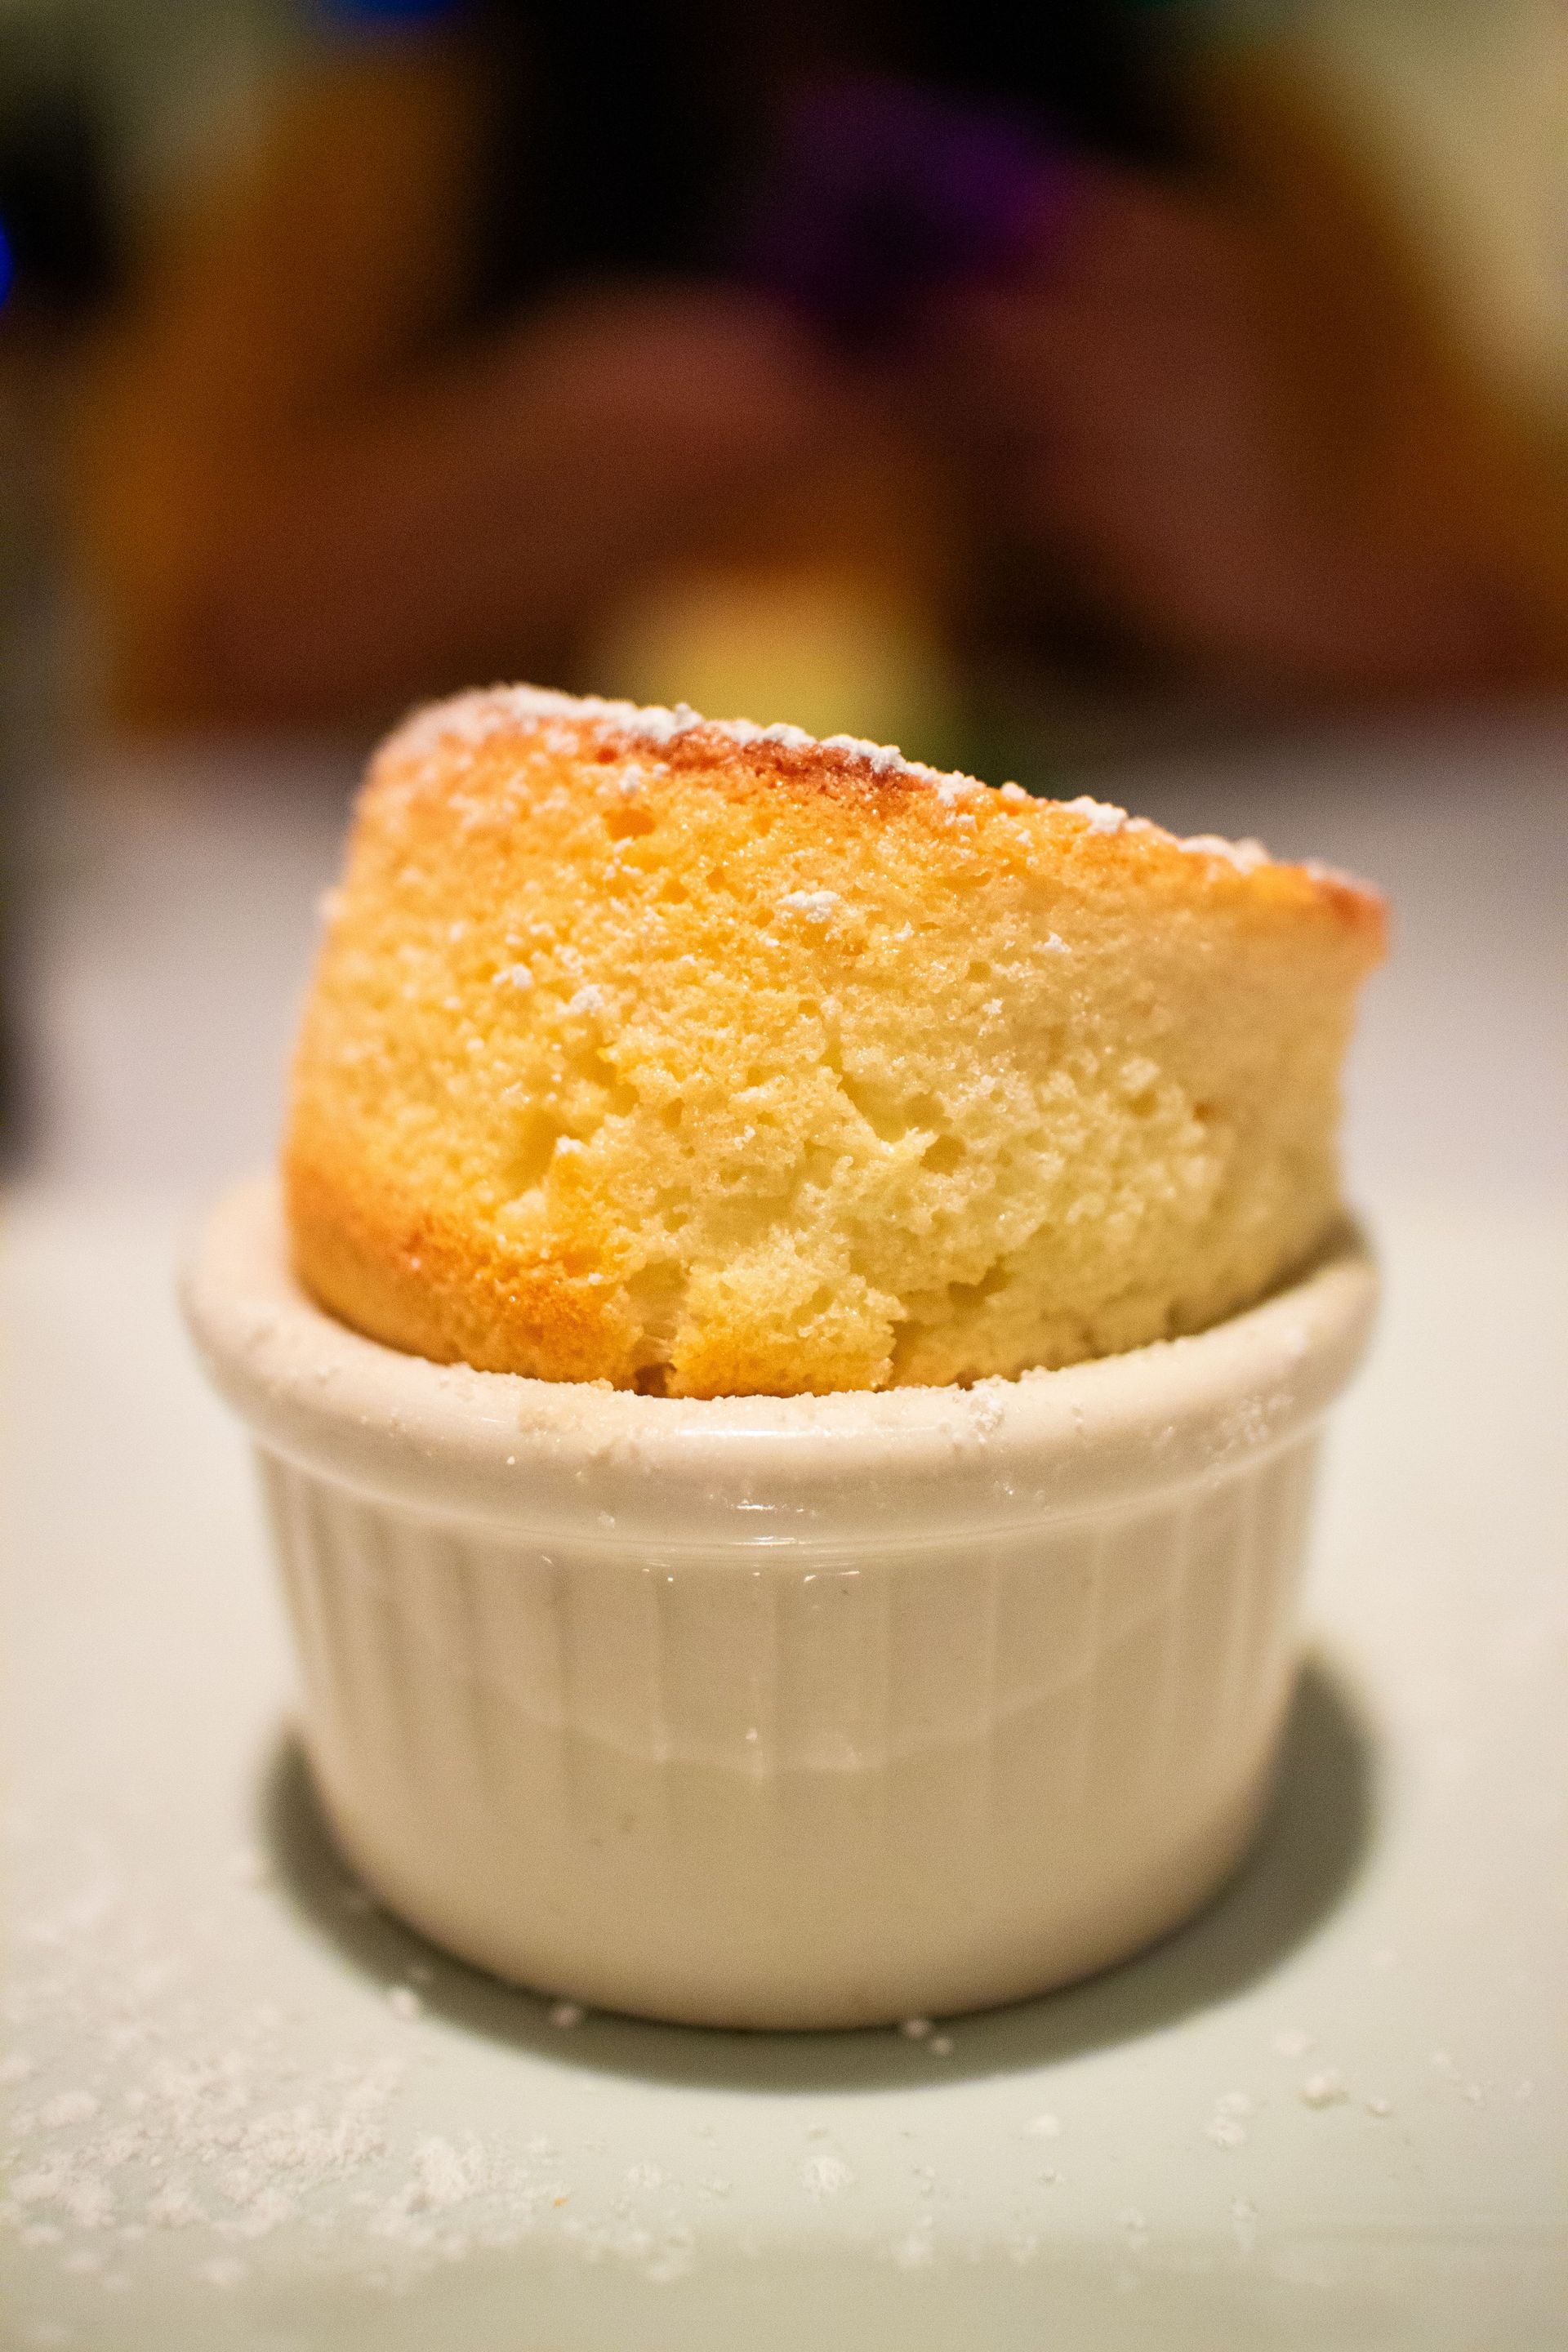
The soufflé has a reputation as the most technically demanding dish in French cooking, the one most likely to collapse before it reaches the table. That reputation is somewhat exaggerated. A soufflé will not fall if someone walks too heavily across the kitchen floor. It will fall if it is underbaked, taken out of the oven and left to sit, or opened during cooking. The science behind it is straightforward: beaten egg whites create a foam of air bubbles, which expand in the oven's heat and lift the soufflé above the rim of the dish. Once removed from the heat, the bubbles cool and contract. This is why a soufflé must be served immediately.
A cheese soufflé is the standard starting point. Make a béchamel — a thick white sauce of butter, flour, and milk — and stir in grated Gruyère or Comté while it's still hot. Season aggressively, because the egg whites will dilute the flavor. Let it cool slightly, then stir in egg yolks.
In a separate, scrupulously clean bowl, whisk egg whites with a pinch of salt or cream of tartar until stiff peaks form. The bowl must be completely free of fat — even a trace of yolk will prevent the whites from reaching full volume. Fold the whites into the cheese base in three additions: the first to lighten the mixture, the second and third to incorporate fully while retaining as much air as possible. Fold gently and stop when no white streaks remain.
Prepare a soufflé dish or ramekins by buttering the interior and coating with grated Parmesan. This gives the soufflé something to grip as it rises. Fill to about three-quarters capacity, run your thumb around the inner rim to create a shallow groove (this helps the soufflé rise straight), and bake at 375°F for 12 to 15 minutes for individual ramekins, or 25 to 30 minutes for a larger dish.
Do not open the oven during baking. Have your guests at the table before the soufflé comes out of the oven — not the other way around.
Credit: Bia Metidieri / Pexels
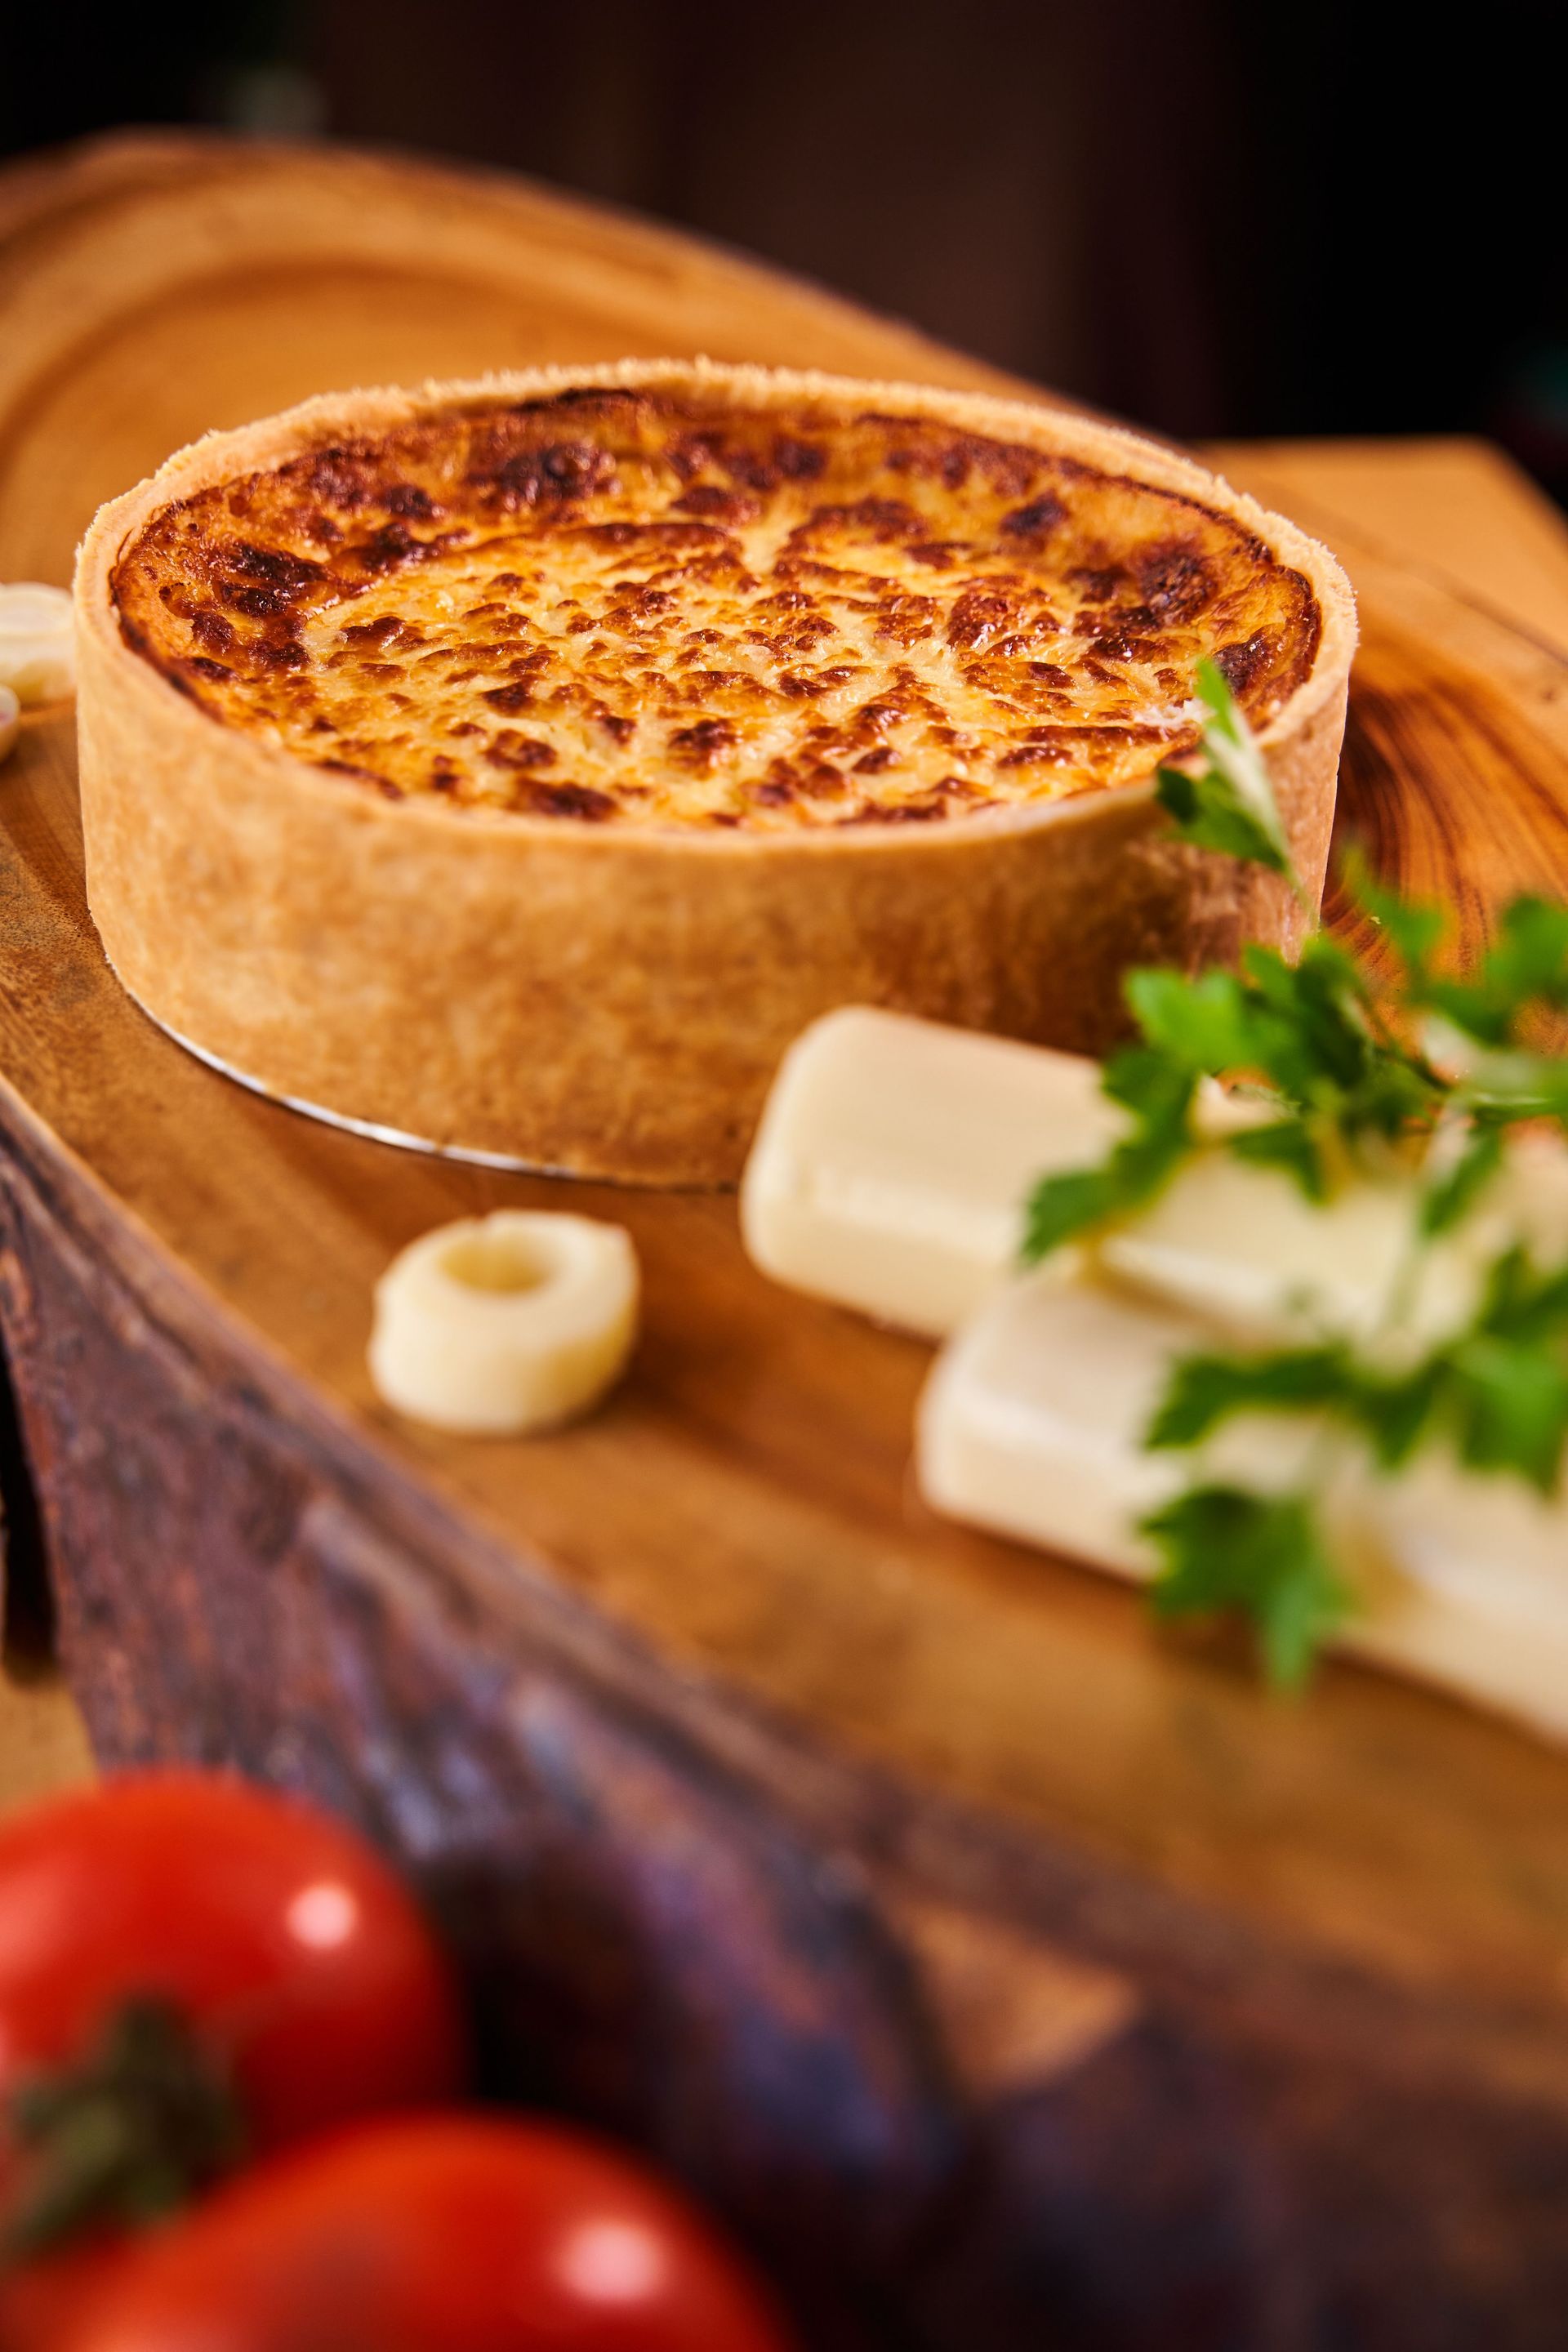
Quiche Lorraine is one of the most widely reproduced and most frequently misunderstood dishes in French cooking. The original, from the Lorraine region in northeastern France, contains three things in its filling: eggs, cream, and lardons. Not cheese. Not spinach. Not sundried tomatoes or caramelized onions. Those variations exist, but they are not quiche Lorraine.
The custard — eggs and cream — is the soul of the dish. The ratio matters. Too many eggs and it becomes rubbery; too little and it won't set. A reliable ratio is three whole eggs plus two egg yolks to 300 milliliters of heavy cream. The yolks add richness and help the custard set with a silky, rather than springy, texture.
The pastry shell requires attention. Use a shortcrust pastry — butter, flour, a pinch of salt, and just enough cold water to bring it together. Chill it before rolling, and rest it again after lining the tart tin. Blind bake the shell: line it with parchment and fill with baking beans or dried chickpeas, bake at 375°F for 15 minutes, remove the weights and parchment, then bake for another five minutes until the base is dry and lightly golden. This prevents the classic failure mode of quiche: a soggy bottom.
Cook lardons or thick-cut bacon pieces in a dry pan until the fat renders and the edges crisp. Drain on paper towels. Scatter the lardons in the blind-baked shell. Pour the egg and cream mixture over the top. Season with nutmeg — not optional — and white pepper. Salt sparingly because the lardons are already salty.
Bake at 325°F for 30 to 35 minutes until the custard is just set — it should wobble slightly in the center when the tin is gently shaken. It will continue to set as it cools. A quiche that is perfectly set in the oven will be overcooked and rubbery by the time it reaches the table.
Credit: Vladimír Sládek / Pexels
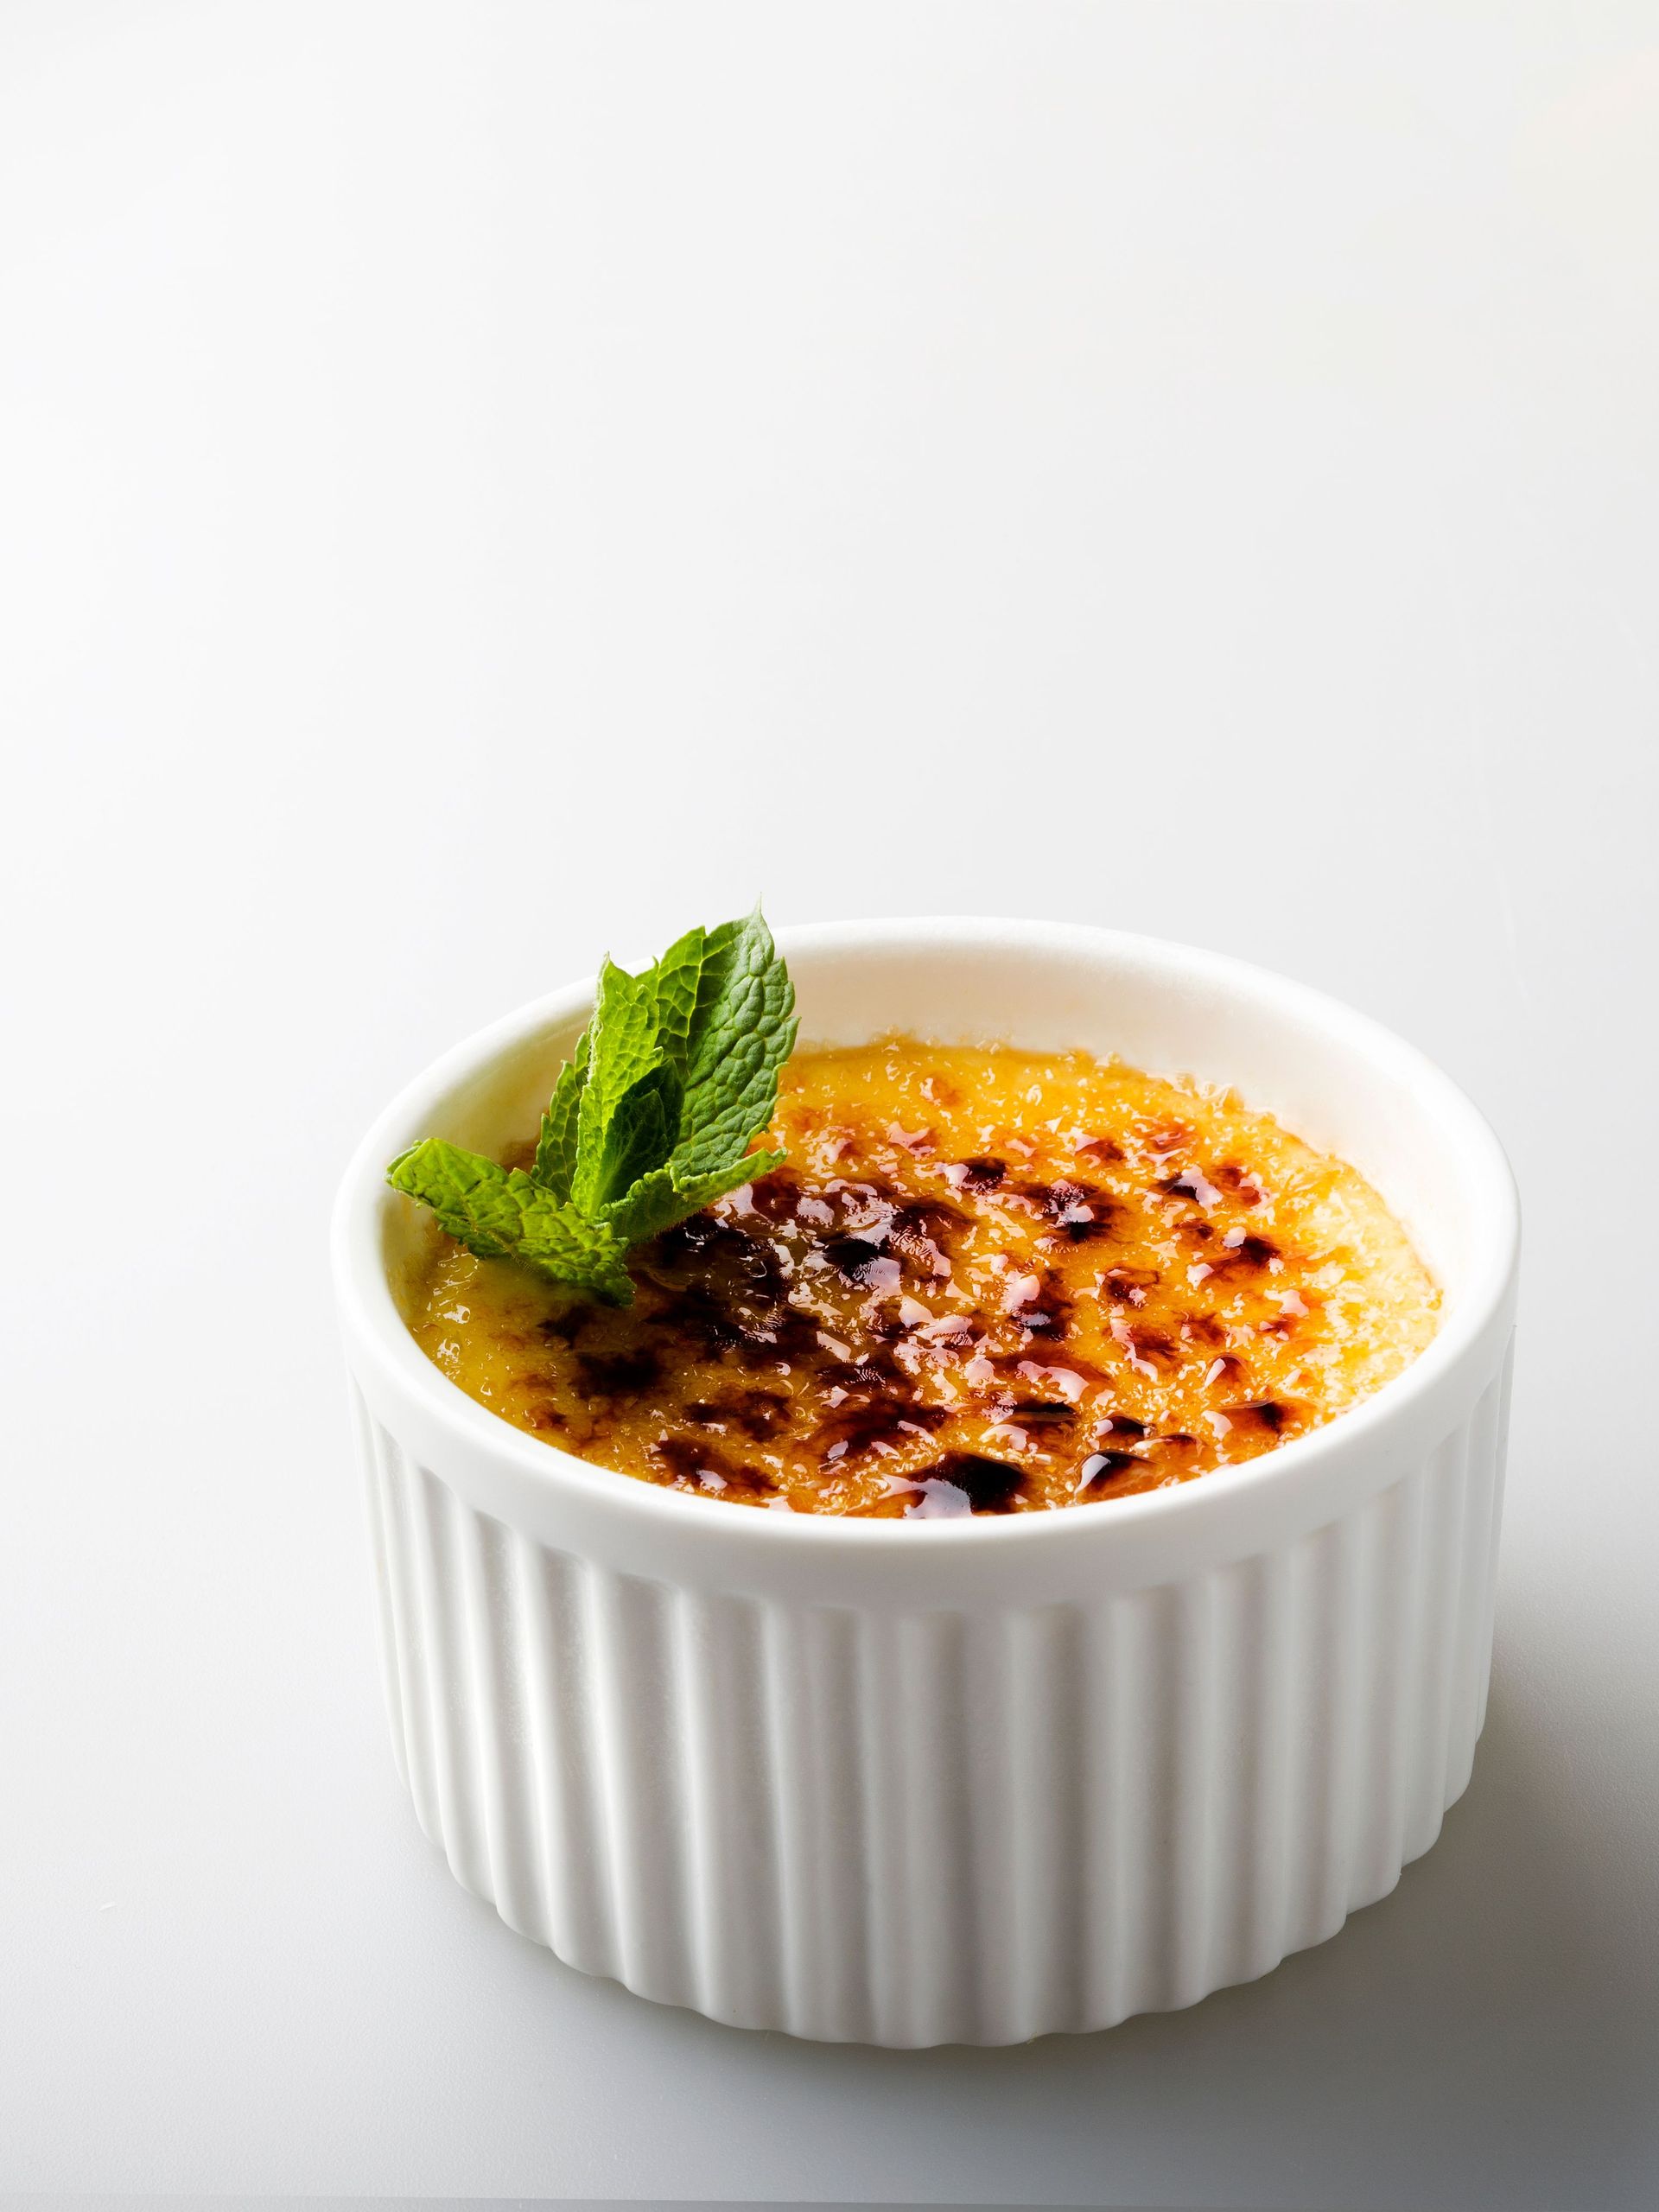
Crème brûlée is custard beneath a layer of caramelized sugar — the contrast between the cold, silky cream and the brittle, warm shell on top is the whole point of the dish. It requires minimal ingredients and no special skill beyond patience and a kitchen torch, or a very attentive broiler.
The custard is made from heavy cream, egg yolks, sugar, and vanilla. Split a vanilla bean, scrape out the seeds, and add both the seeds and the pod to the cream. Heat the cream gently until it just begins to steam — do not boil it. Meanwhile, whisk egg yolks with sugar until pale. Pour the hot cream slowly into the yolks, whisking constantly. This gradual addition, called tempering, prevents the yolks from cooking into scrambled eggs. Strain the mixture through a fine-mesh sieve to remove the pod and any bits of cooked egg, then skim any foam from the surface.
Pour into ramekins. Place the ramekins in a deep baking dish and pour hot water into the dish until it reaches halfway up the sides of the ramekins — this water bath, called a bain-marie, ensures gentle, even heat. Bake at 300°F for 30 to 35 minutes. The custard is done when the edges are set but the center still jiggles like Jell-O. Over-baked crème brûlée turns grainy and develops a curdled texture.
Remove from the water bath, cool to room temperature, then refrigerate for at least two hours and up to 48 hours.
To serve, scatter a thin, even layer of white sugar — about one teaspoon per ramekin — over the surface. Use a kitchen torch to caramelize it, moving in small circles until the sugar melts, bubbles, and turns amber. Let the caramel harden for one minute before serving. If using a broiler instead of a torch, place the ramekins as close to the heat element as possible and watch carefully.
Credit: Geraud pfeiffer / Pexels
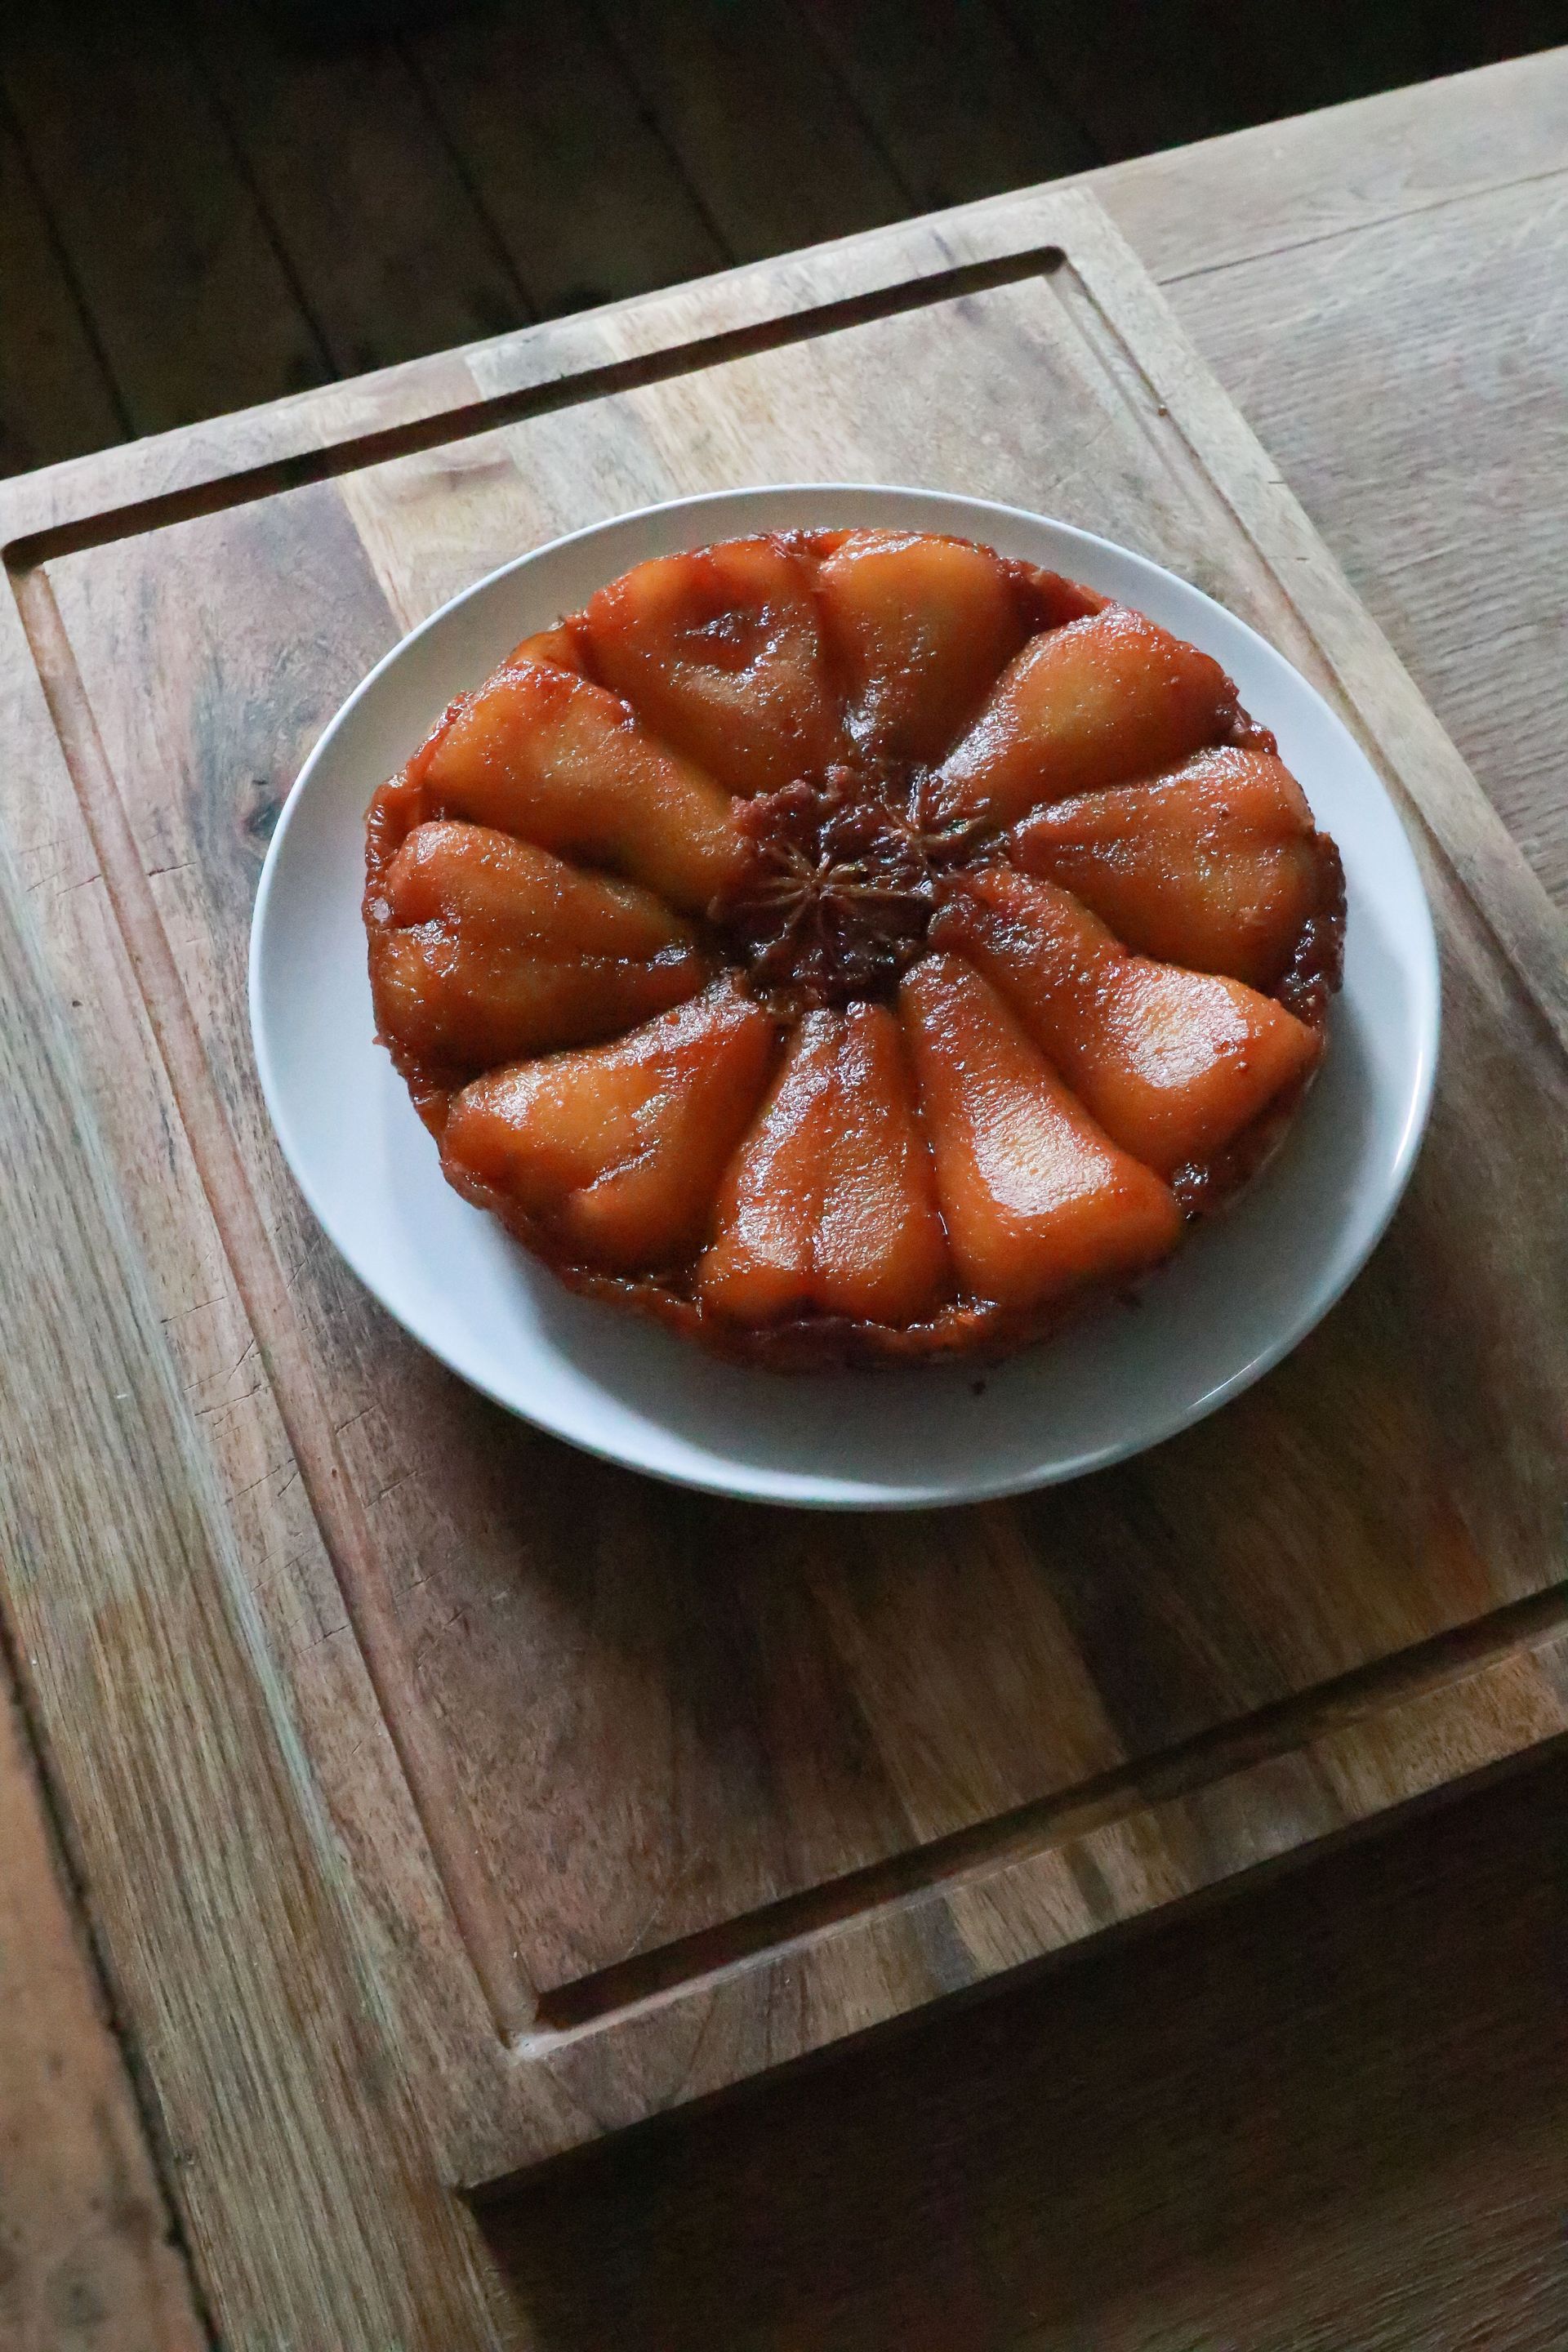
Tarte tatin is an upside-down caramelized apple tart — apples cooked in butter and sugar until deeply golden, then covered with pastry and baked, flipped out of the pan before serving so the caramel and fruit are on top. The story behind it attributes the dish to the Tatin sisters, who ran a hotel in the Loire Valley in the late 19th century. Whether the dish was invented intentionally or salvaged from a kitchen error, the result became one of the most celebrated desserts in French cooking.
The choice of apple matters. You need a variety that holds its shape under long cooking — Golden Delicious, Braeburn, or Granny Smith all work well. Soft varieties like McIntosh will disintegrate into applesauce.
Use an oven-safe skillet — cast iron is ideal. Melt butter in the pan over medium heat, add sugar, and cook without stirring until the mixture forms a golden caramel. The color should be amber — a pale caramel will taste sweet but flat; a dark one will be bitter. Arrange apple halves or thick quarters tightly in the pan, core-side up, fitting them as closely as possible. They will shrink as they cook.
Cook the apples in the caramel over medium heat for 15 to 20 minutes, occasionally tilting the pan to baste the apples with caramel. The apples should be tender and the caramel deeply golden.
While the apples cook, roll out a circle of puff pastry or shortcrust slightly larger than the pan. Place the pastry over the apples, tucking the edges down around the fruit inside the pan. Bake at 400°F for 20 to 25 minutes, until the pastry is golden and cooked through.
Let the tart cool in the pan for five minutes — not longer, or the caramel will solidify and the tart will stick. Place a serving plate over the pan, hold both firmly, and invert quickly. If any apples stick to the pan, rearrange them on the tart. Serve warm with crème fraîche or vanilla ice cream.
Credit: Canva Images
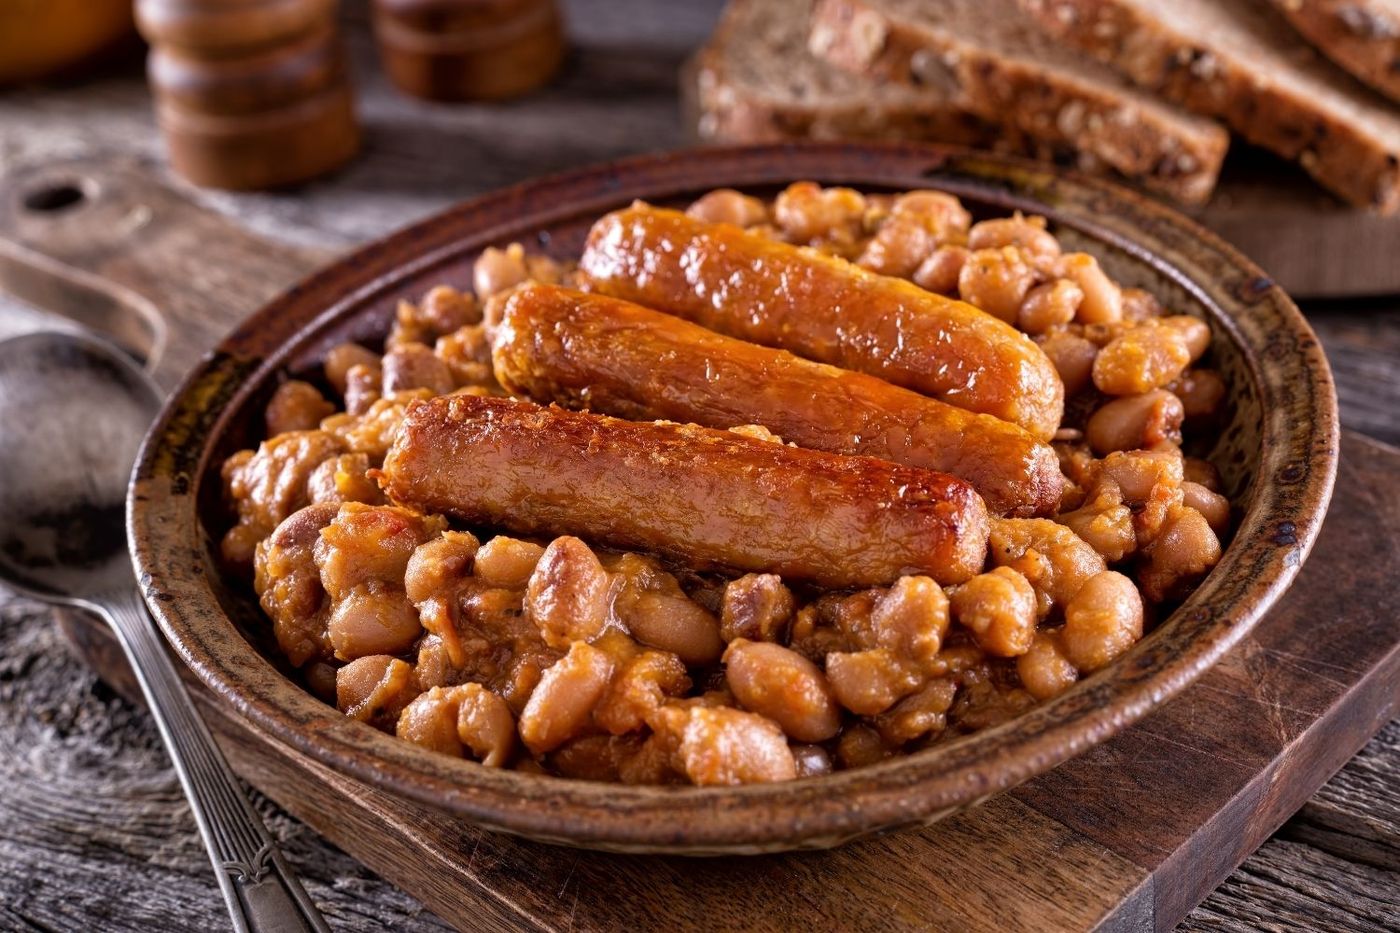
Cassoulet is a slow-cooked casserole from the Languedoc region of southwestern France, built around white beans, sausage, and various cuts of preserved or cured meat. The dish takes its name from the cassole, the earthenware vessel traditionally used to cook and serve it. The three towns of Toulouse, Carcassonne, and Castelnaudary each claim the definitive version, and their disagreements about what the dish should contain — whether it requires duck confit, which sausage to use, how thick the crust should be — have been argued for centuries.
For home cooking, the important elements are the beans, the fat, and the slow cook. Use dried white beans — cannellini or Great Northern beans — soaked overnight and simmered until just tender before the main cooking begins. Canned beans will become mushy under the long cook that follows.
The meat typically includes Toulouse sausage (a coarse, garlicky pork sausage), duck confit (duck legs slow-cooked and preserved in their own fat), and some form of pork — salt pork, pork belly, or pork shoulder. Duck confit can be bought ready-made at specialty grocers and many supermarkets. It is time-consuming to make from scratch, though the process itself is not difficult.
In a large Dutch oven, render the fat from the sausage and duck confit. Brown the pork if using fresh cuts. Remove the meat, soften onion and garlic in the rendered fat, add the soaked beans, the meat, a bouquet garni, and enough chicken stock to cover. Simmer on the stovetop until the beans are tender and the stock has reduced, then transfer to the oven at 325°F. A thick, golden crust will form on the surface; break it and push it into the beans at intervals during cooking. The crust should be broken and re-formed at least three times. This is what makes the finished dish rich and cohesive rather than soupy.
Cook for two to three hours total. The finished cassoulet should be thick, not liquid, with the beans having absorbed much of the fat and stock.

Credit: Canva Images
Duck confit — confit de canard — is one of the oldest preservation techniques in French cooking. Duck legs are cured in salt and aromatics, then submerged in their own rendered fat and cooked at very low temperature until the meat is fall-off-the-bone tender. Sealed in fat, the legs can be stored in the refrigerator for weeks. The technique originated before refrigeration as a practical preservation method; today it's valued for what it does to the texture and flavor of the duck.
The cure is simple: rub duck legs generously with coarse salt, a little sugar, crushed garlic, fresh thyme, bay leaf, and black pepper. Place in a dish, cover, and refrigerate for 12 to 24 hours. The salt draws out moisture and begins to season the meat from the inside.
Rinse the cure off the duck legs and pat them dry. Melt duck fat in a heavy pot — enough to submerge the legs. Duck fat is sold in jars at most specialty food stores and many regular supermarkets. If you can't find it, a combination of duck fat and olive oil works. Add the duck legs to the pot and heat slowly until the fat reaches 190°F to 200°F — barely simmering, with just an occasional bubble. Cook for two to two and a half hours at this temperature. The meat should be completely tender but not falling apart.
Remove the legs from the fat and let them drain. At this point, they can be stored submerged in the strained fat in the refrigerator for up to a month.
To serve, place the duck legs skin-side down in a cold skillet, then heat over medium-high. The fat on the skin will render slowly, and the skin will become crisp and golden without the meat drying out. This takes about 10 minutes. Finish for a few minutes in a hot oven if needed. Serve with lentils, white beans, or a simple green salad.
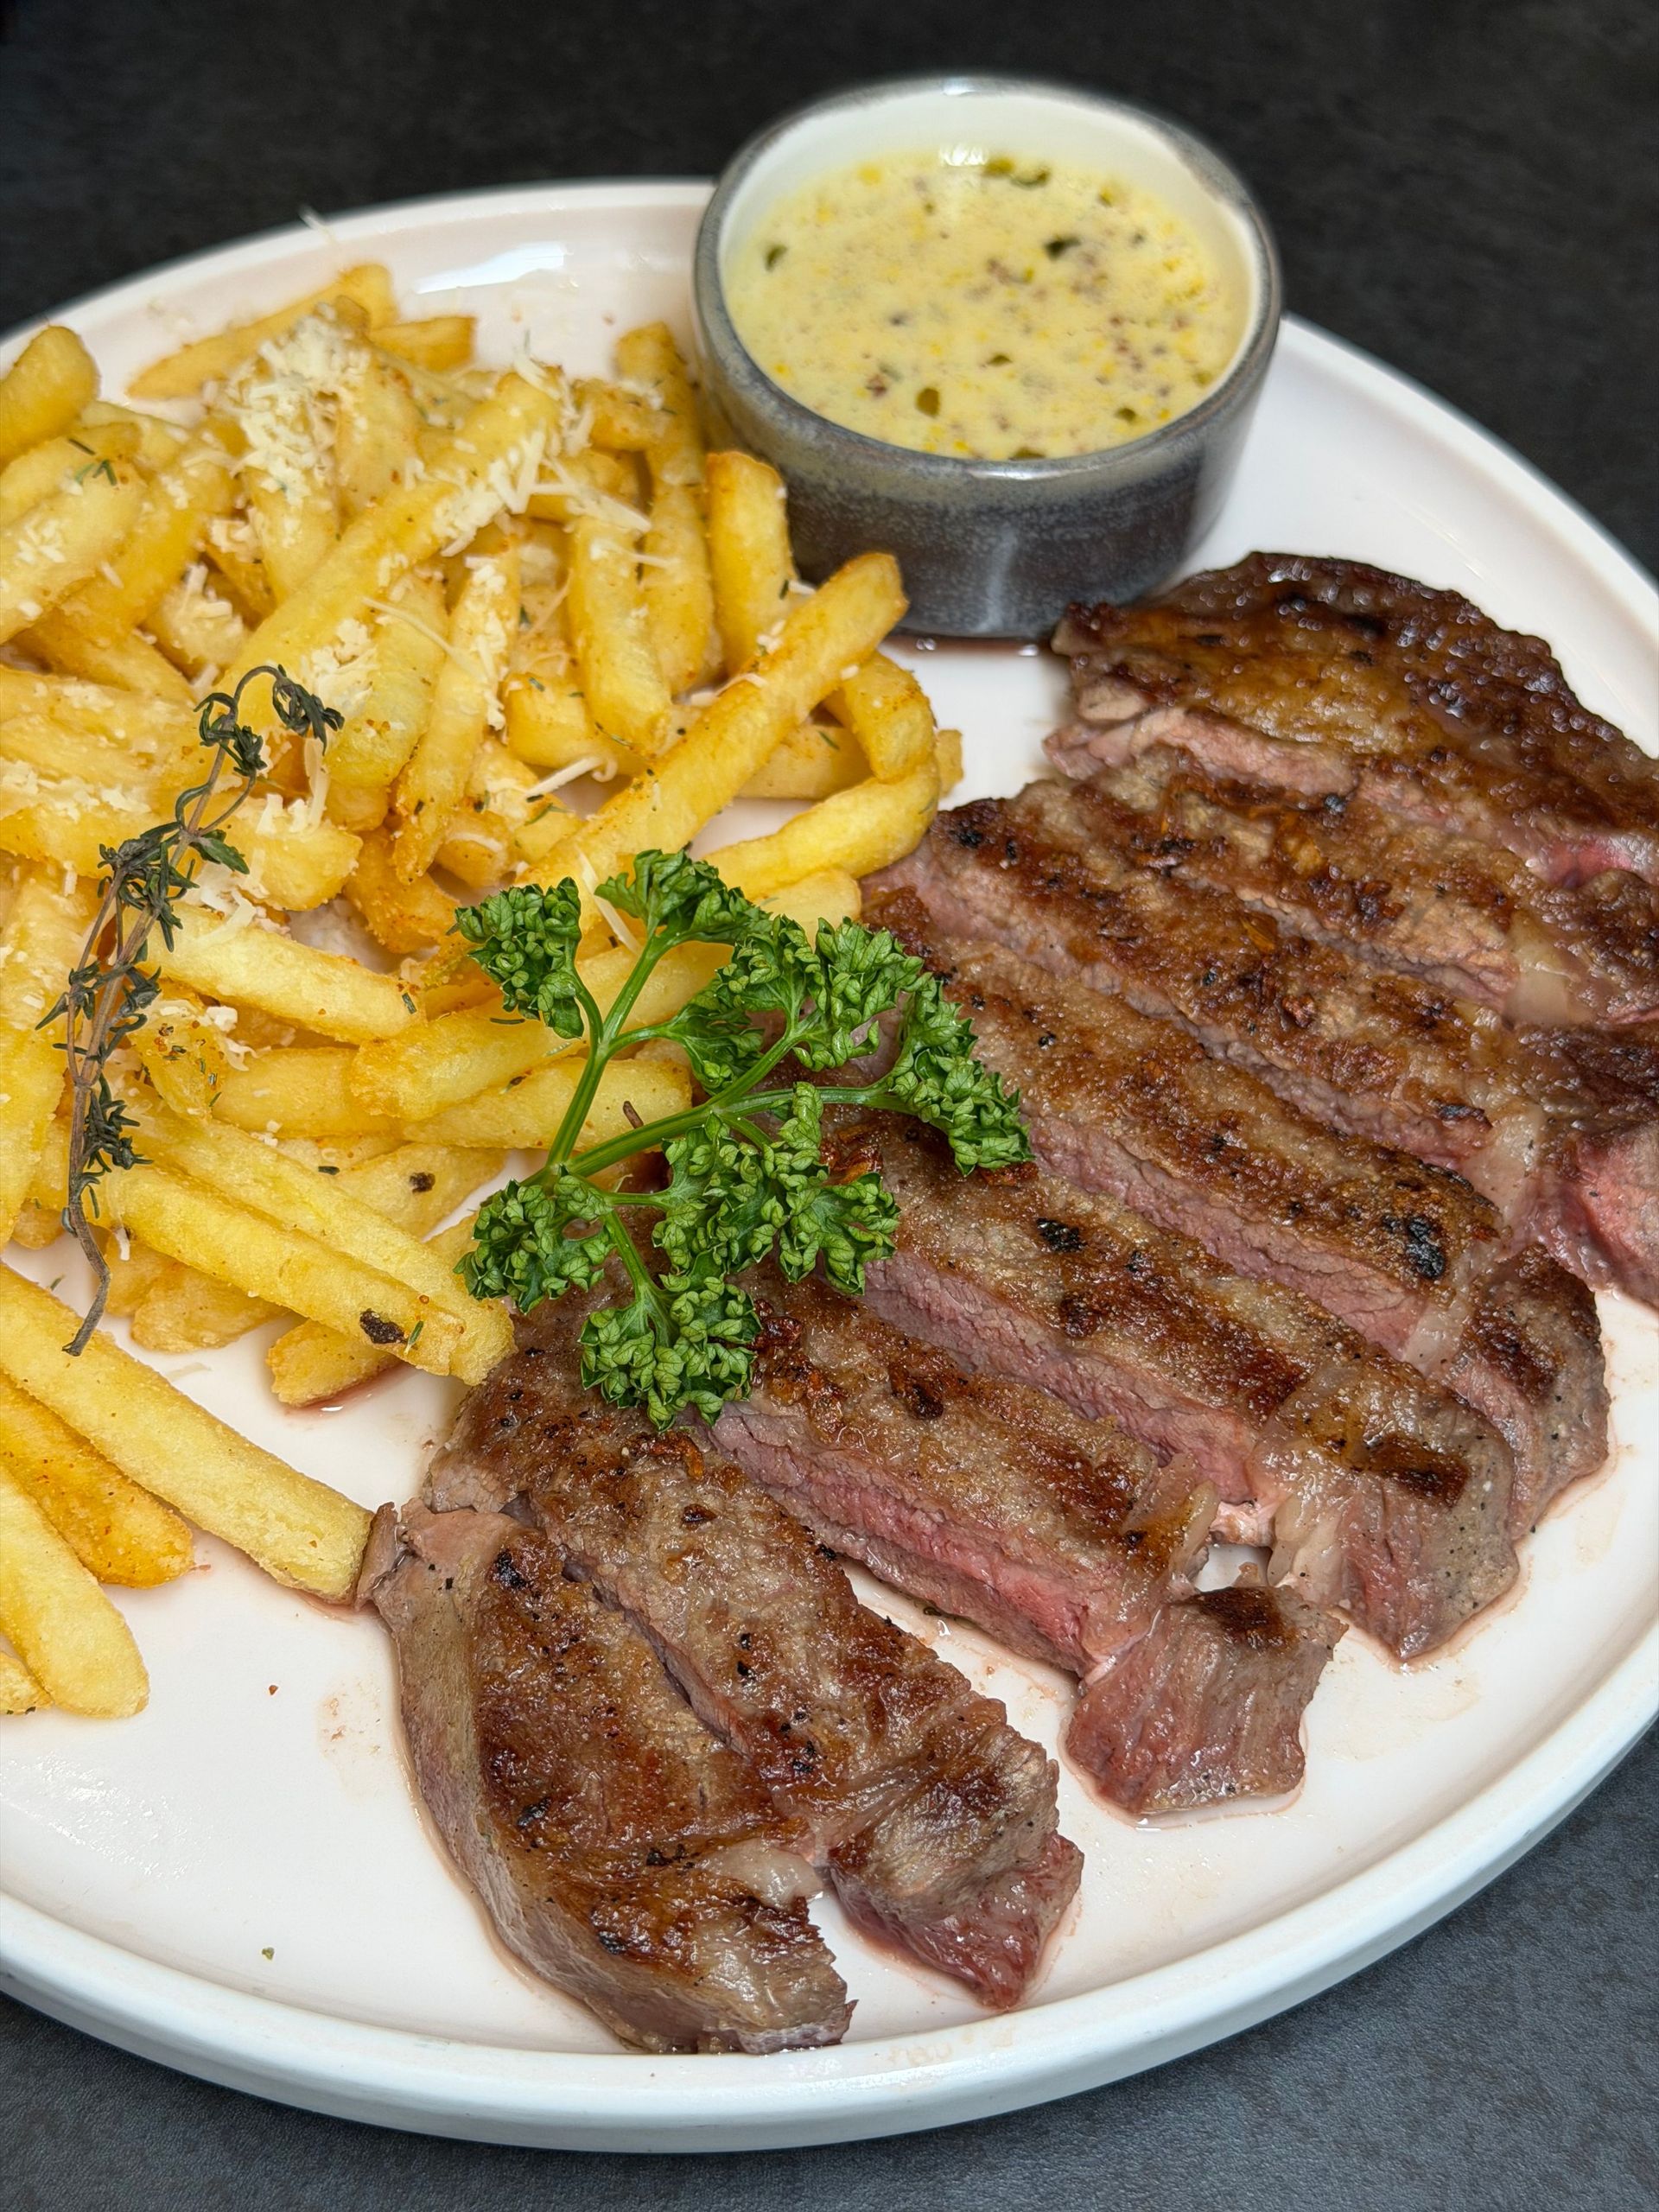
Credit: Anthony Rahayel / Pexels
Steak frites — steak and fries — is the quintessential French brasserie dish. It appears on virtually every traditional café and brasserie menu in France, and it succeeds because it does two things simply and correctly. The steak is cooked hot and fast with good butter and aromatics. The frites are thin, twice-fried, and salted immediately out of the oil.
The cut of choice in France is often entrecôte — the equivalent of a rib-eye — or bavette, which is flank steak. Both have good marbling and flavor. For home cooking, a rib-eye or strip steak works well. The steak should be at room temperature before cooking — take it out of the refrigerator at least 30 minutes before it hits the pan.
Season generously with salt and pepper. Heat a cast-iron or heavy stainless-steel pan until very hot — the surface should just begin to smoke before the steak goes in. Sear the steak without moving it for two to three minutes per side for medium-rare on a one-inch-thick cut. In the last minute, add a generous knob of butter, a crushed garlic clove, and a few sprigs of thyme. Tilt the pan and baste the steak repeatedly with the foaming butter. Rest the steak on a rack for five minutes.
For frites, cut russet or Maris Piper potatoes into thin batons — about a quarter inch. Rinse in cold water, dry thoroughly. Fry in oil heated to 300°F for five to six minutes until cooked through but not colored. Remove, drain, and let cool. Raise the oil temperature to 375°F and fry again for two to three minutes until deeply golden and crisp. Salt immediately.
The twice-fry produces frites with a crisp exterior and a fluffy interior. One fry produces a crust that goes soft within minutes.
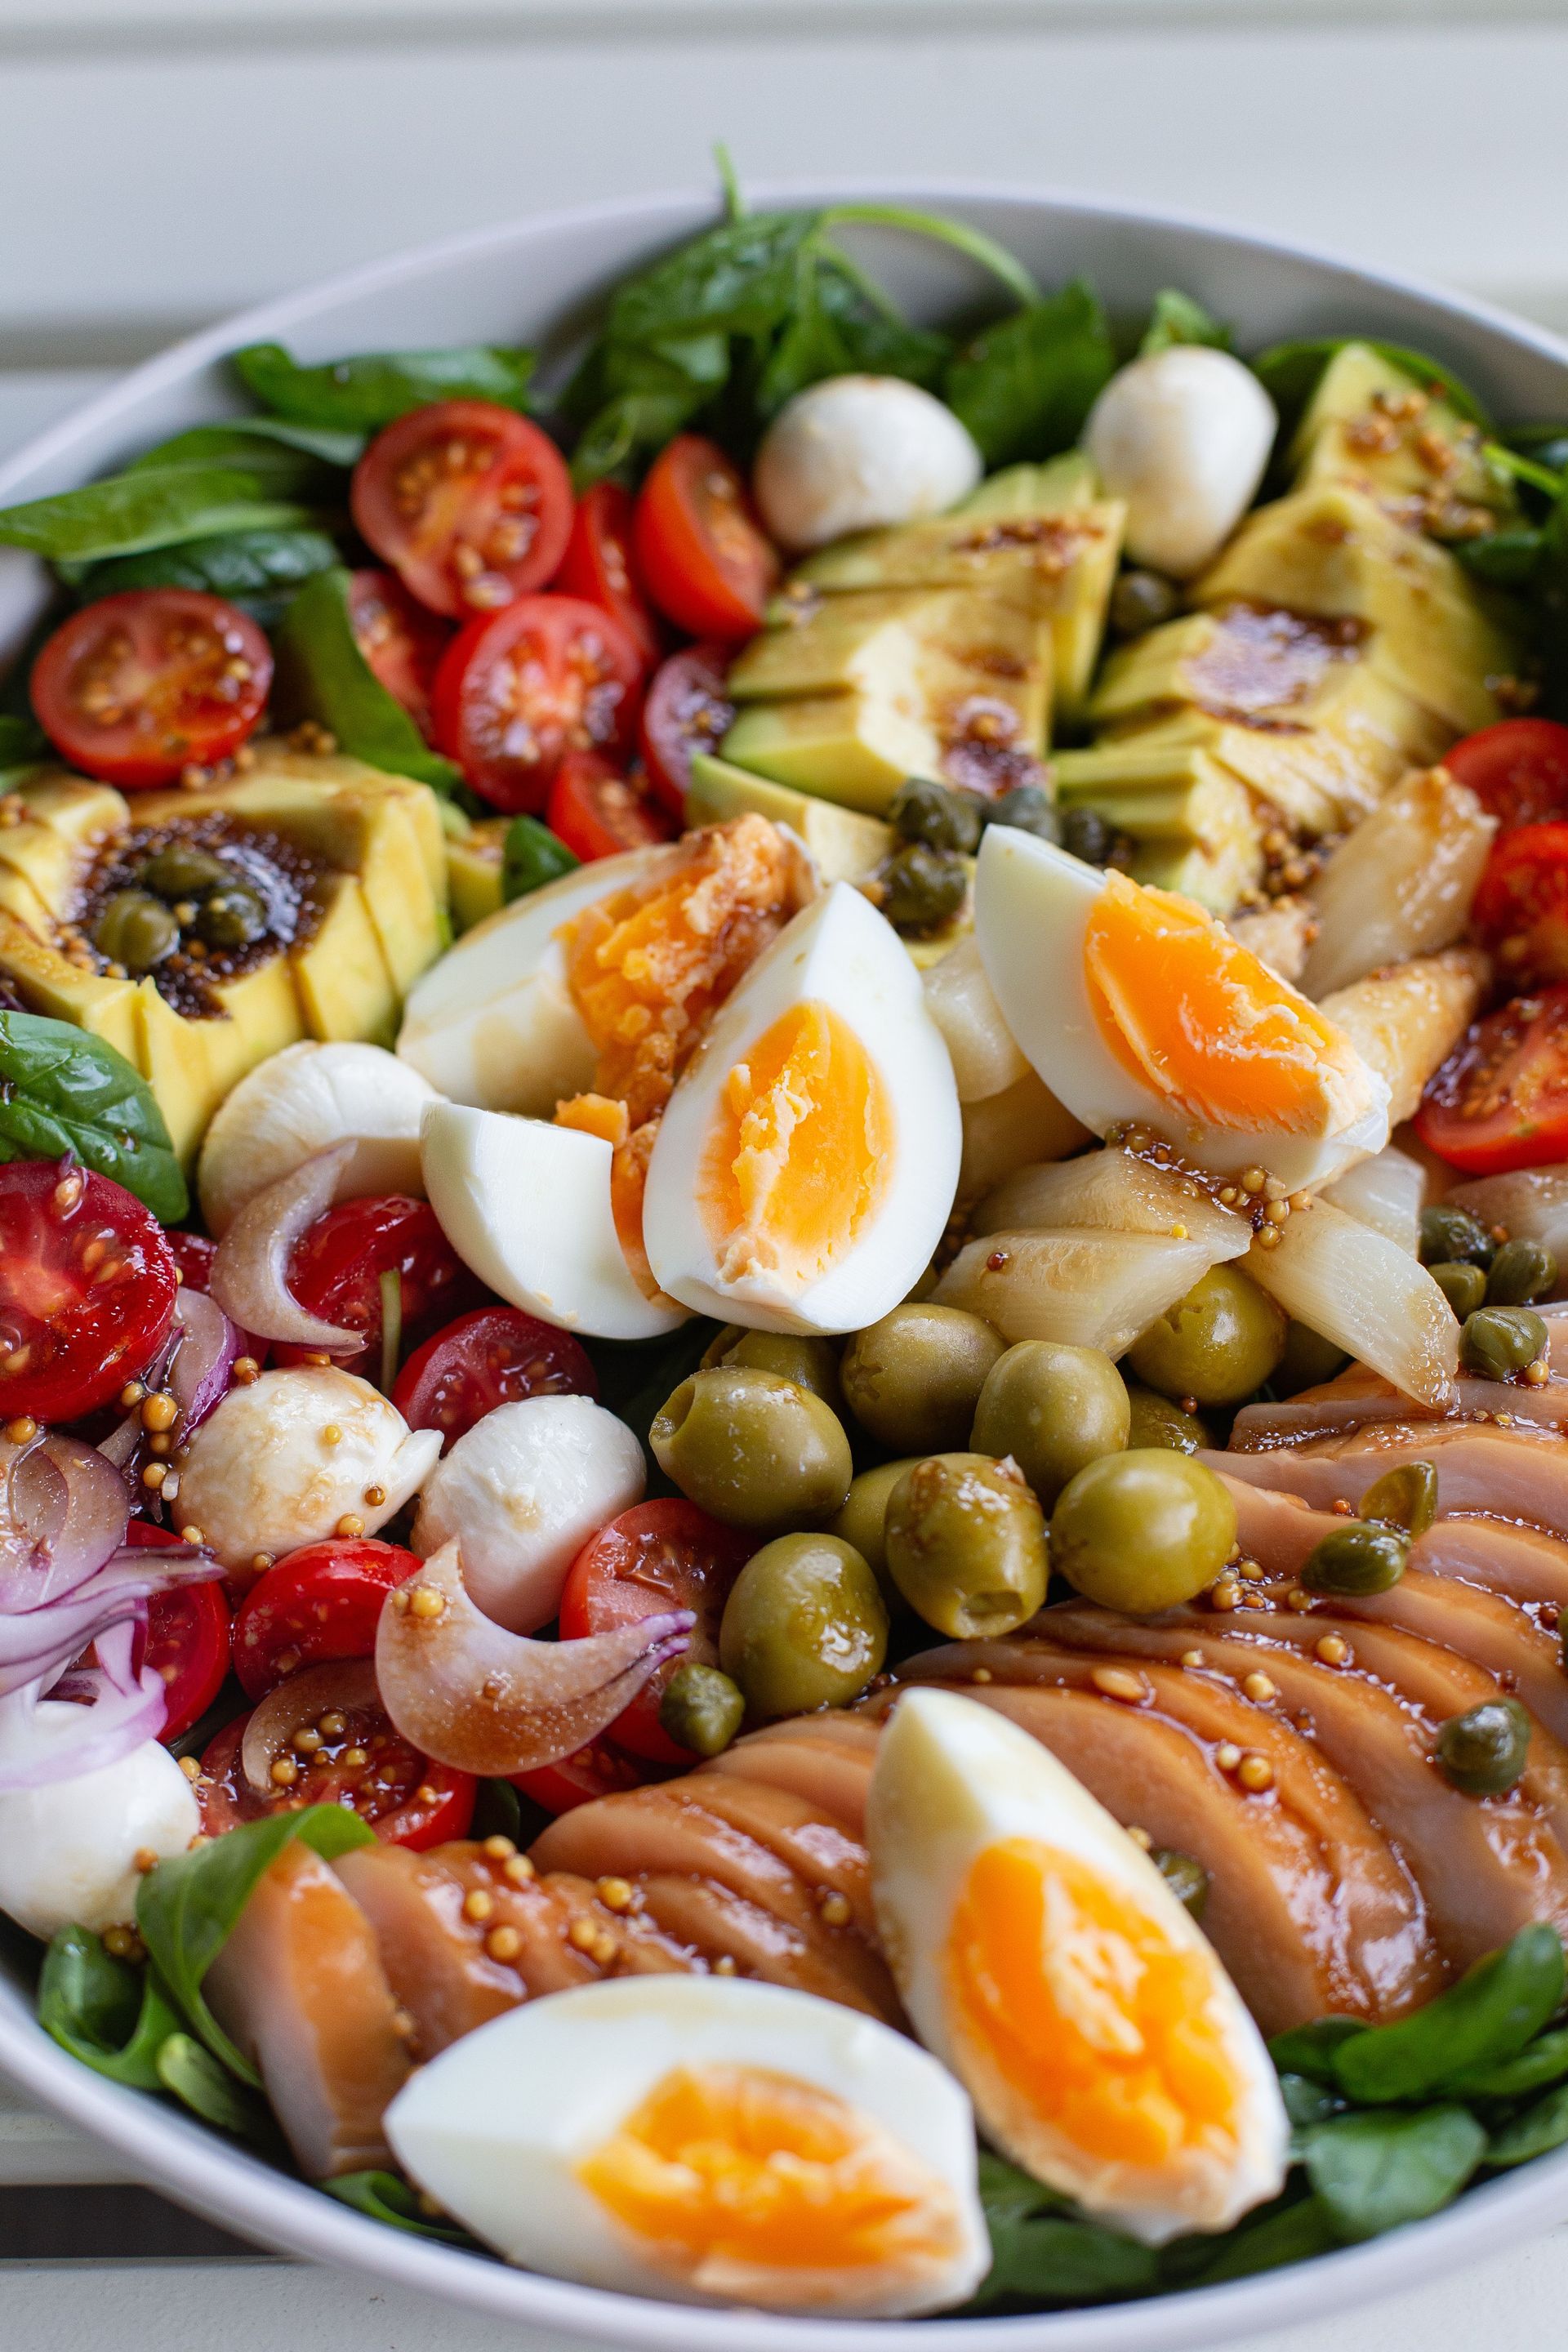
Credit: Hannah Milar / Pexels
Salade niçoise comes from Nice, on the Mediterranean coast, and it is a composed salad — the ingredients are arranged separately on the plate rather than tossed together. This distinction is not merely aesthetic. Each component is dressed and seasoned individually, so every element tastes fully of itself rather than blending into the background.
The traditional composition is debated. In Nice, locals insist the authentic version contains only raw vegetables: tomatoes, radishes, green peppers, broad beans or artichoke hearts, hard-boiled eggs, anchovies, and olives. No cooked green beans, no potatoes, no tuna. Outside Nice, the version most people recognize includes tuna, cooked green beans, and small waxy potatoes — and that is the version found in most French restaurants and cookbooks.
For the broader version: boil small waxy potatoes until just tender, slice, and dress while warm with a little vinaigrette. Blanch green beans briefly — two to three minutes — until bright green and just tender, then shock in ice water to stop the cooking. Hard-boil eggs: lower them into boiling water and cook for nine minutes, then into ice water. The yolk should be fully set but still bright yellow and creamy, not chalky.
Arrange everything on a large platter: potatoes, green beans, halved tomatoes, sliced radishes, quartered eggs, drained oil-packed tuna (in chunks, not flakes), anchovies, and olives. The quality of the tuna matters — Italian or Spanish brands packed in olive oil are far superior to water-packed tuna. Anchovies are not optional; they provide the salt and the umami backbone of the dish.
Dress with a Dijon vinaigrette — mustard, red wine vinegar, olive oil, salt, and pepper — whisked together and spooned over the salad rather than tossed. Finish with fresh basil.
Credit: Jonathan Pielmayer / Unsplash
The croque monsieur is a baked or fried ham and cheese sandwich, topped with béchamel and more cheese. It appears in Parisian cafés and brasseries as a lunchtime staple, and it is considerably more than the sum of its parts. The combination of the crisp bread, the salty ham, the nutmeg-scented béchamel, and the browned Gruyère on top creates something that bears little resemblance to a plain toasted sandwich.
The bread matters. Use a dense, slightly sturdy bread — a pain de mie, a brioche loaf, or a regular white sandwich loaf. Baguette doesn't work well here because the crust makes the sandwich difficult to eat once assembled. Slice the bread thickly, about half an inch.
Make a béchamel: melt butter in a small saucepan, stir in an equal amount of flour, cook for a minute to eliminate the raw flour taste, then add warm milk gradually while whisking. Season with salt, white pepper, and nutmeg. Cook until thick — thick enough to hold its shape when spread. Stir in a small handful of grated Gruyère.
Spread one slice of bread with a thin layer of Dijon mustard. Top with one or two thin slices of good ham — jambon de Paris, a mild cooked ham, is the traditional choice. Top with a slice of Gruyère. Spread the second piece of bread with béchamel on the inside, press together, then spread more béchamel generously over the top of the sandwich. Top with more grated Gruyère.
Place on a baking sheet and bake at 400°F for 10 minutes, then broil for two to three minutes until the top is bubbling and golden brown. The cheese should be spotted with brown but not burnt.
A croque madame is the same sandwich with a fried egg placed on top after baking.
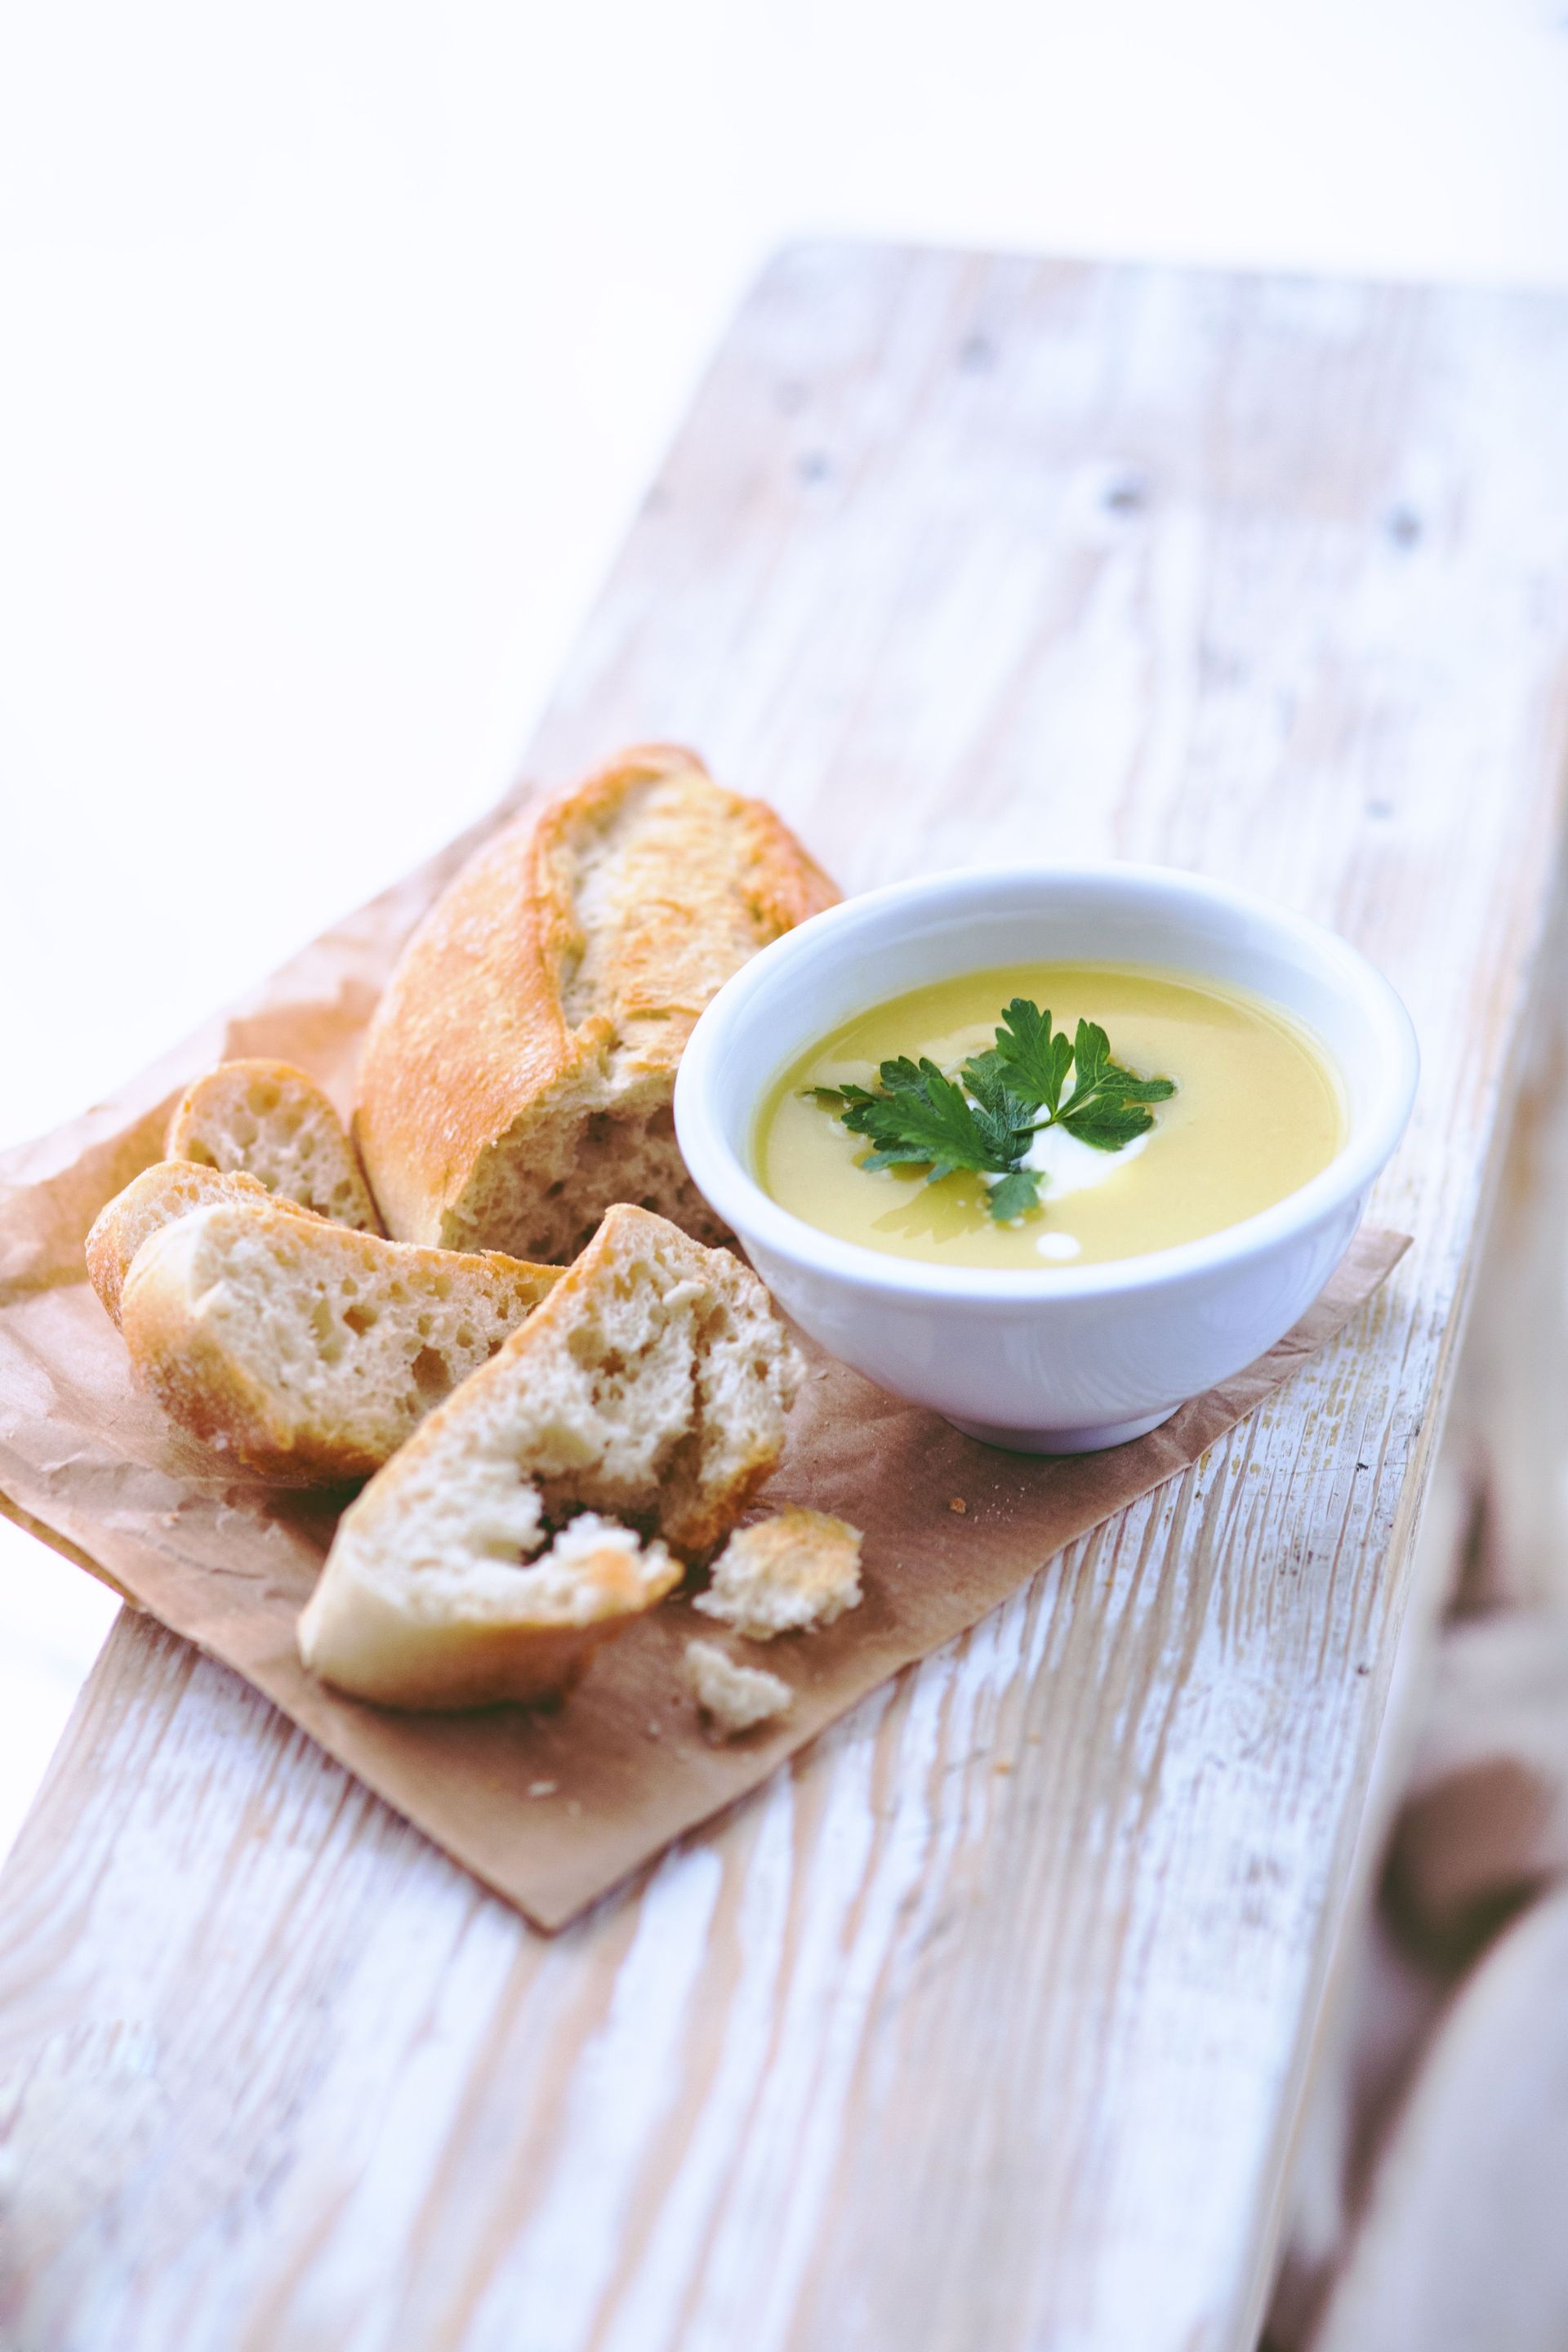
Credit: Karolina Grabowska www.kaboompics.com / Pexels
Vichyssoise is a cold potato and leek soup, smooth and creamy, served chilled. Despite its French name and its association with French cuisine, it was created in New York — reportedly at the Ritz-Carlton hotel in 1917, by a French-born chef named Louis Diat. He based it on a warm leek and potato soup he remembered from his childhood in the Vichy region of France, and served it cold. Whether that story is entirely accurate or not, the soup has been claimed as French ever since.
The technique is simple. Sweat the white and pale green parts of four or five leeks in butter over low heat until completely soft — this takes at least 15 minutes. Do not let them color. Add three or four peeled and diced waxy or all-purpose potatoes, then pour in chicken stock to cover. Simmer until the potatoes are completely tender, about 20 to 25 minutes.
Blend the soup until completely smooth — a high-powered blender produces a smoother result than an immersion blender. Pass through a fine-mesh sieve for an even silkier texture, though this step is optional. Stir in heavy cream — the amount determines the richness, with a range of about half a cup to a full cup for a pot serving six. Season generously with salt and white pepper. White pepper is traditional because black pepper would leave visible specks in the pale soup.
Cool to room temperature, then refrigerate for at least four hours until thoroughly chilled. The flavors develop as it sits, and the texture becomes thicker and creamier.
Serve in chilled bowls — put them in the refrigerator for 20 minutes before serving. Garnish with thinly sliced chives. The chive flavor and the slight textural contrast of the fresh herb against the smooth soup are both part of the dish.
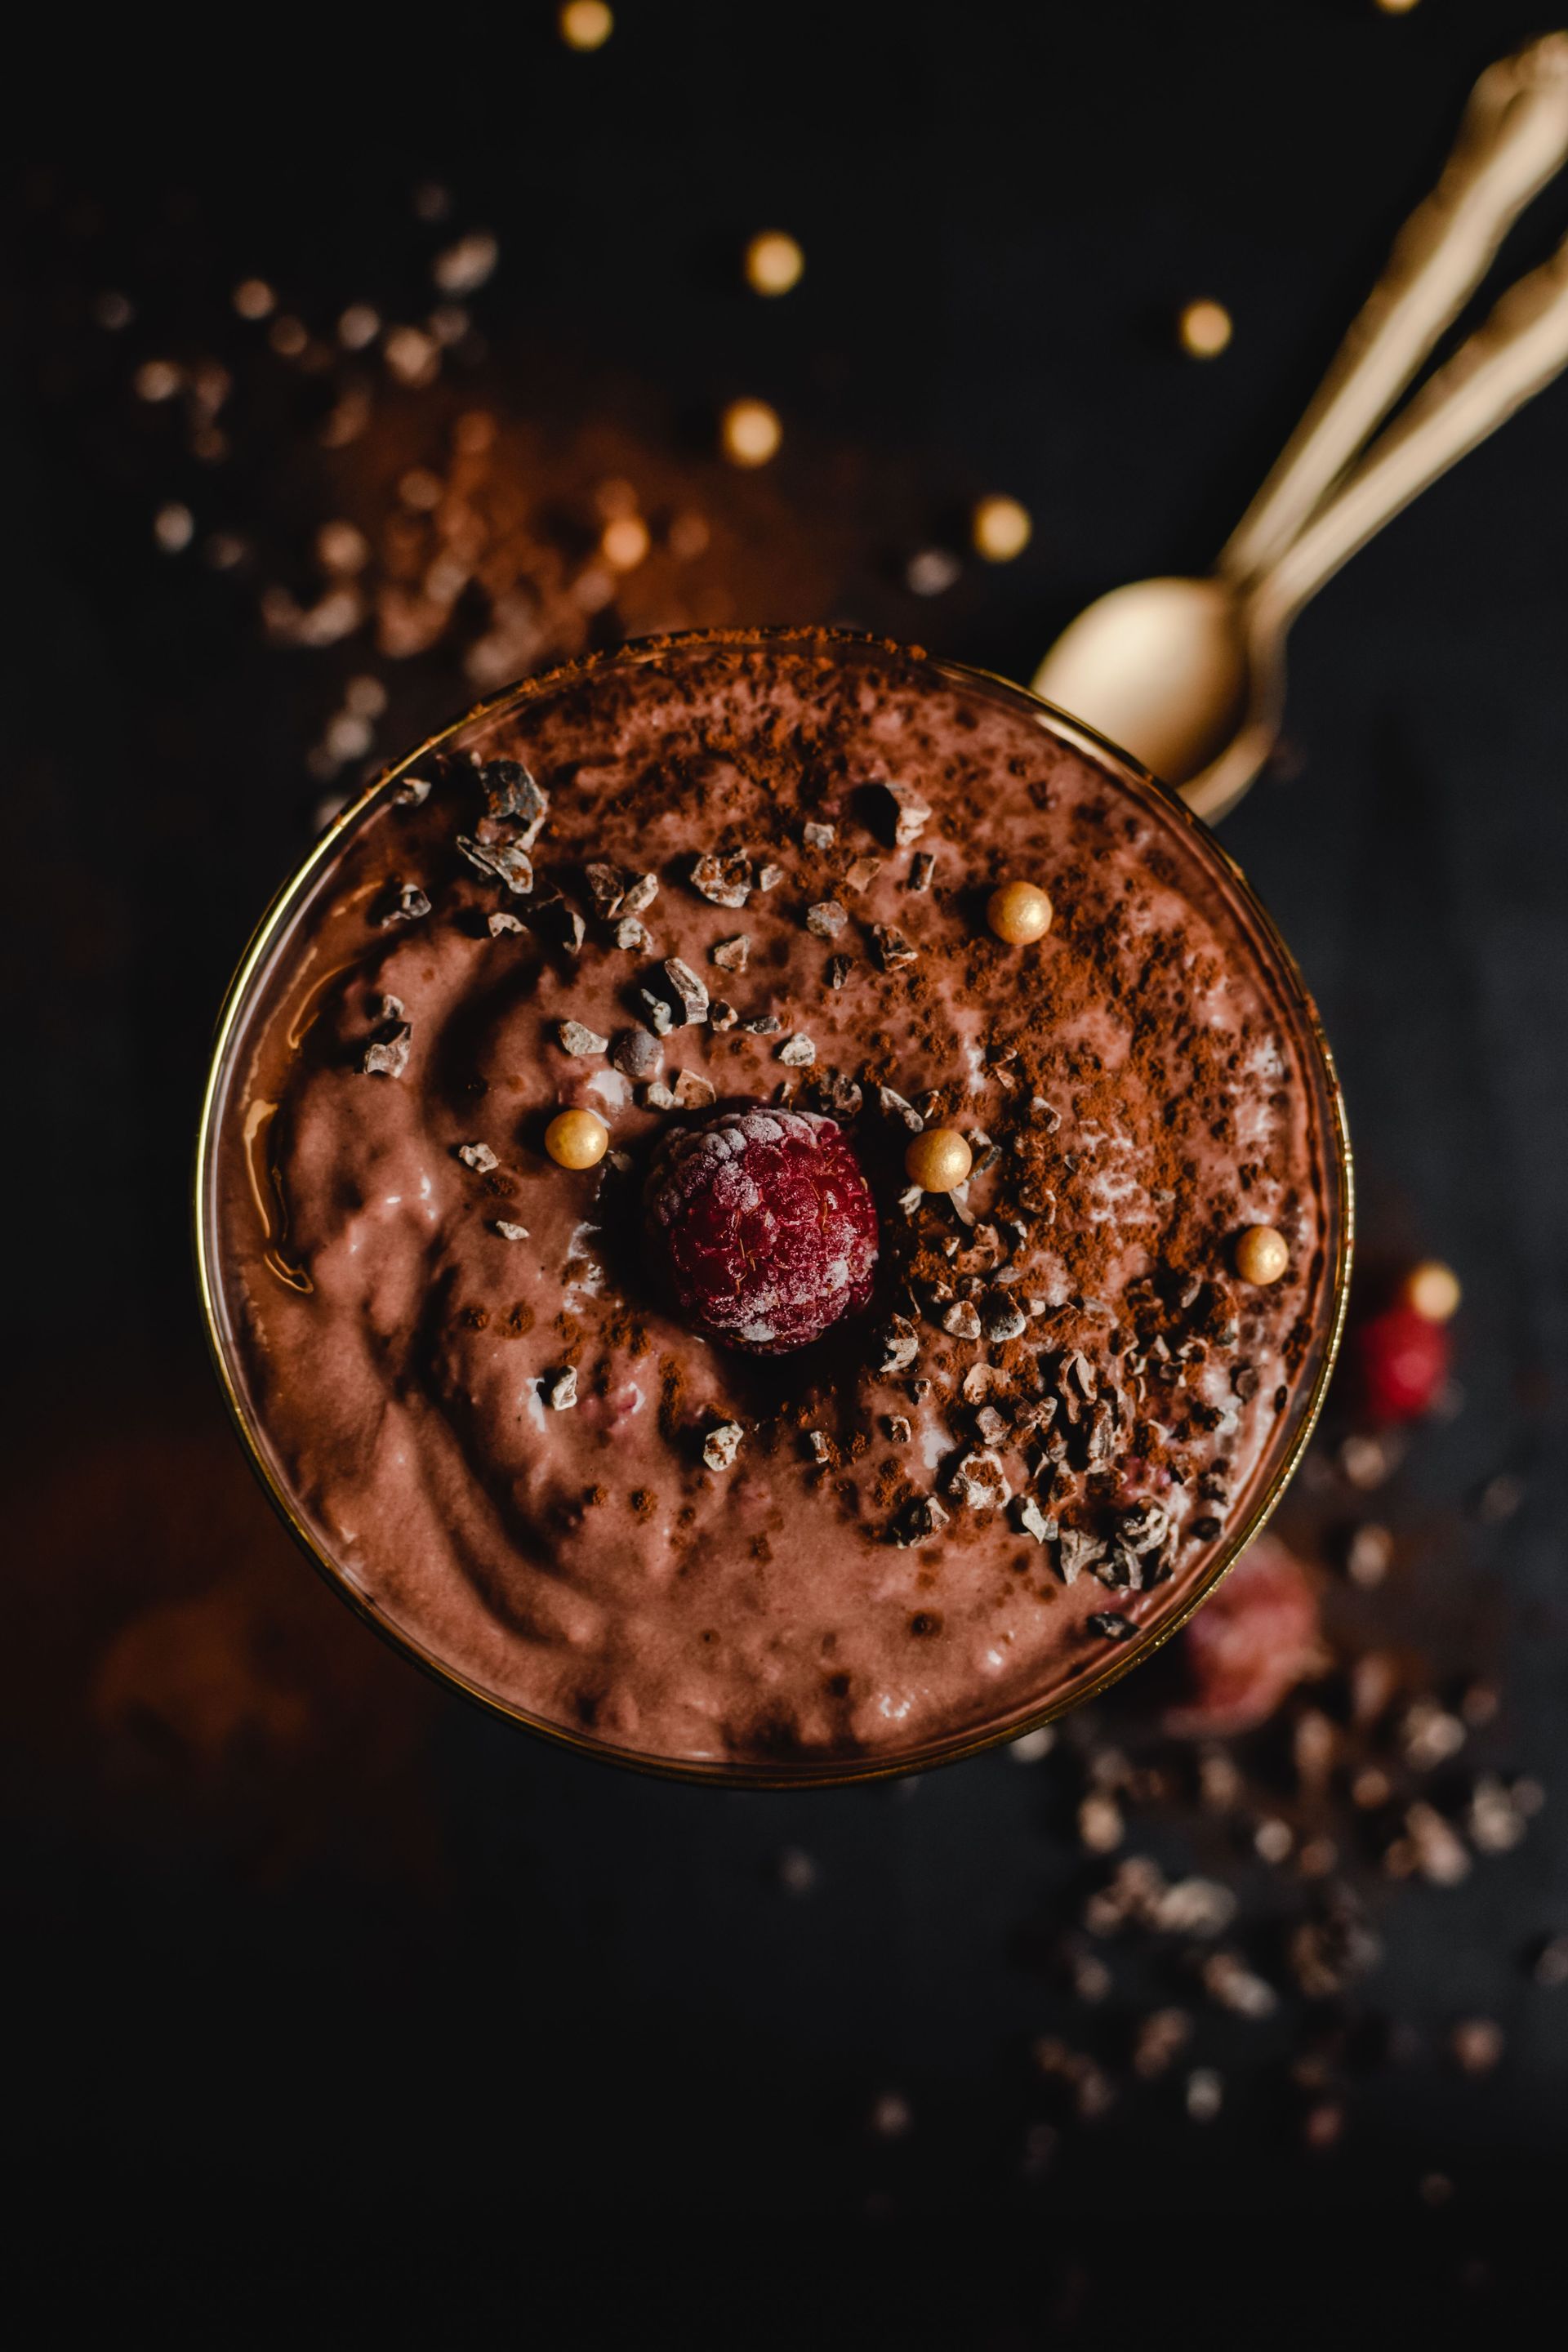
Credit: Eva Bronzini / Pexels
Chocolate mousse is made from just a few ingredients — chocolate, eggs, and sometimes cream or butter — but the technique determines whether the result is light and airy or dense and gummy. The key is the egg whites: beaten to stiff peaks and folded into the chocolate base, they provide the lift that makes mousse mousse and not ganache.
Use good-quality dark chocolate with a cocoa content between 60% and 70%. Above 70%, the mousse can become slightly bitter and less smooth. Break the chocolate into pieces and melt it gently over a bain-marie — a heatproof bowl set over barely simmering water, making sure the bottom of the bowl doesn't touch the water. Stir occasionally. Once melted, remove from the heat and let it cool slightly. Stir in egg yolks one at a time, followed by a knob of softened butter if using. Some recipes add a splash of cognac, rum, or espresso at this point — all work.
In a separate clean bowl, whisk the egg whites with a pinch of salt until stiff peaks form. The same rule applies here as with soufflé: the bowl must be grease-free. Add a tablespoon of sugar in the last 30 seconds of whisking; it stabilizes the whites and adds a slight sweetness.
Fold the whites into the chocolate in three additions, using a rubber spatula and a light, scooping motion. Resist the urge to stir. Each fold should incorporate white into chocolate without deflating the foam. The finished mixture should be smooth and uniform in color, with no white streaks, but still light in texture.
Spoon into glasses or ramekins and refrigerate for at least two hours. The mousse will firm up as it chills. Serve with a small amount of crème fraîche or whipped cream on the side. The mousse keeps well for up to two days in the refrigerator.
Credit: Geraud pfeiffer / Pexels
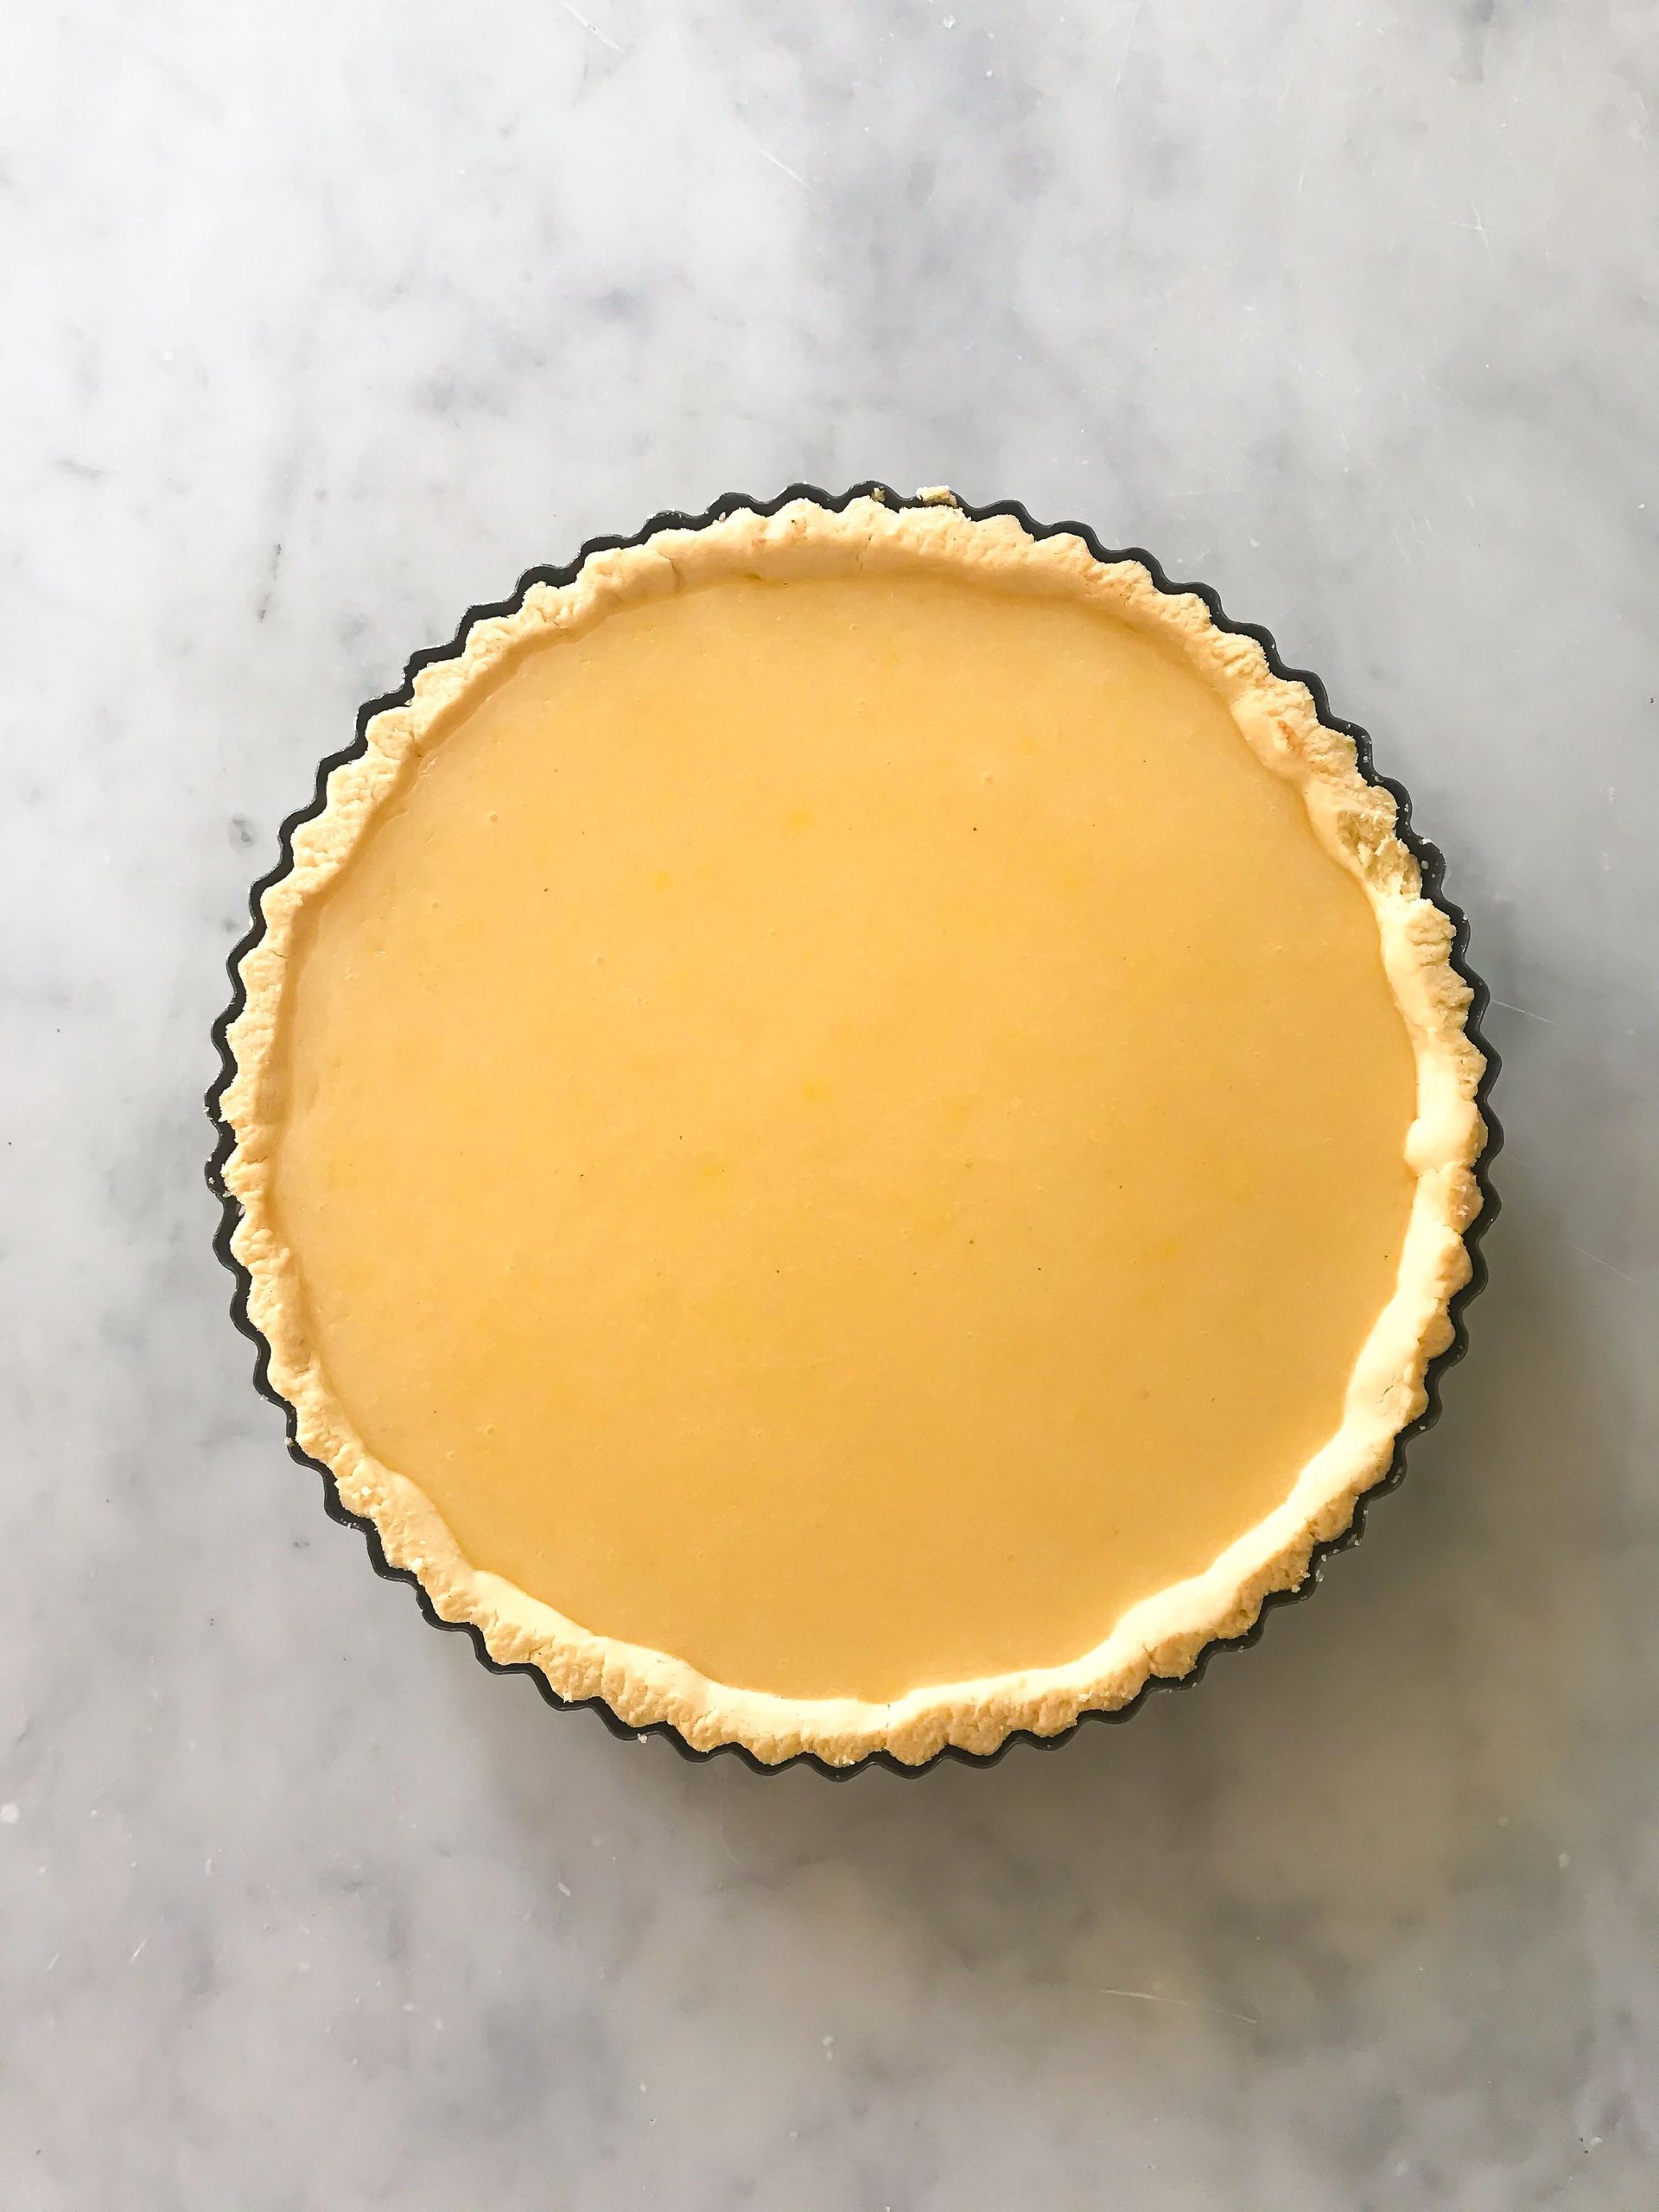
Tarte au citron — lemon tart — is one of the cleanest, most precise desserts in French baking. The filling is a lemon curd: eggs, sugar, lemon juice, and butter cooked together into a smooth, tangy, glossy cream, poured into a blind-baked pastry shell. The balance between sweet and acidic is the whole point. Too much sugar and the tart tastes flat; not enough and it becomes mouth-puckering and unpleasant.
Start with the pastry. Pâte sucrée — sweet shortcrust — is the standard shell for a lemon tart. It contains a higher proportion of butter and sugar than regular shortcrust, giving it a crumbly, almost cookie-like texture. To make it: cream together butter and icing sugar until pale and smooth, beat in an egg yolk, then fold in flour just until the dough comes together. Chill for 30 minutes, roll out thinly, line a tart tin, and refrigerate again before blind baking at 375°F until fully cooked and lightly golden.
For the curd: whisk together eggs (a mix of whole eggs and yolks gives the best texture), sugar, and freshly squeezed lemon juice in a saucepan. Add the zest of two lemons. Cook over medium-low heat, stirring constantly, until the mixture thickens and coats the back of a spoon. Do not let it boil, or the eggs will curdle. Remove from the heat and strain through a fine-mesh sieve into a clean bowl. Add cold butter cut into small pieces and stir until fully incorporated and the curd is glossy. This addition of butter enriches the curd and makes it smooth.
Pour the curd into the blind-baked shell while still warm. Smooth the surface. Refrigerate for at least two hours before slicing.
The tart is traditionally finished simply — sometimes with a thin layer of torched meringue on top, but equally good unadorned with a little crème fraîche on the side.
Credit: Nathan Dumlao / Unsplash
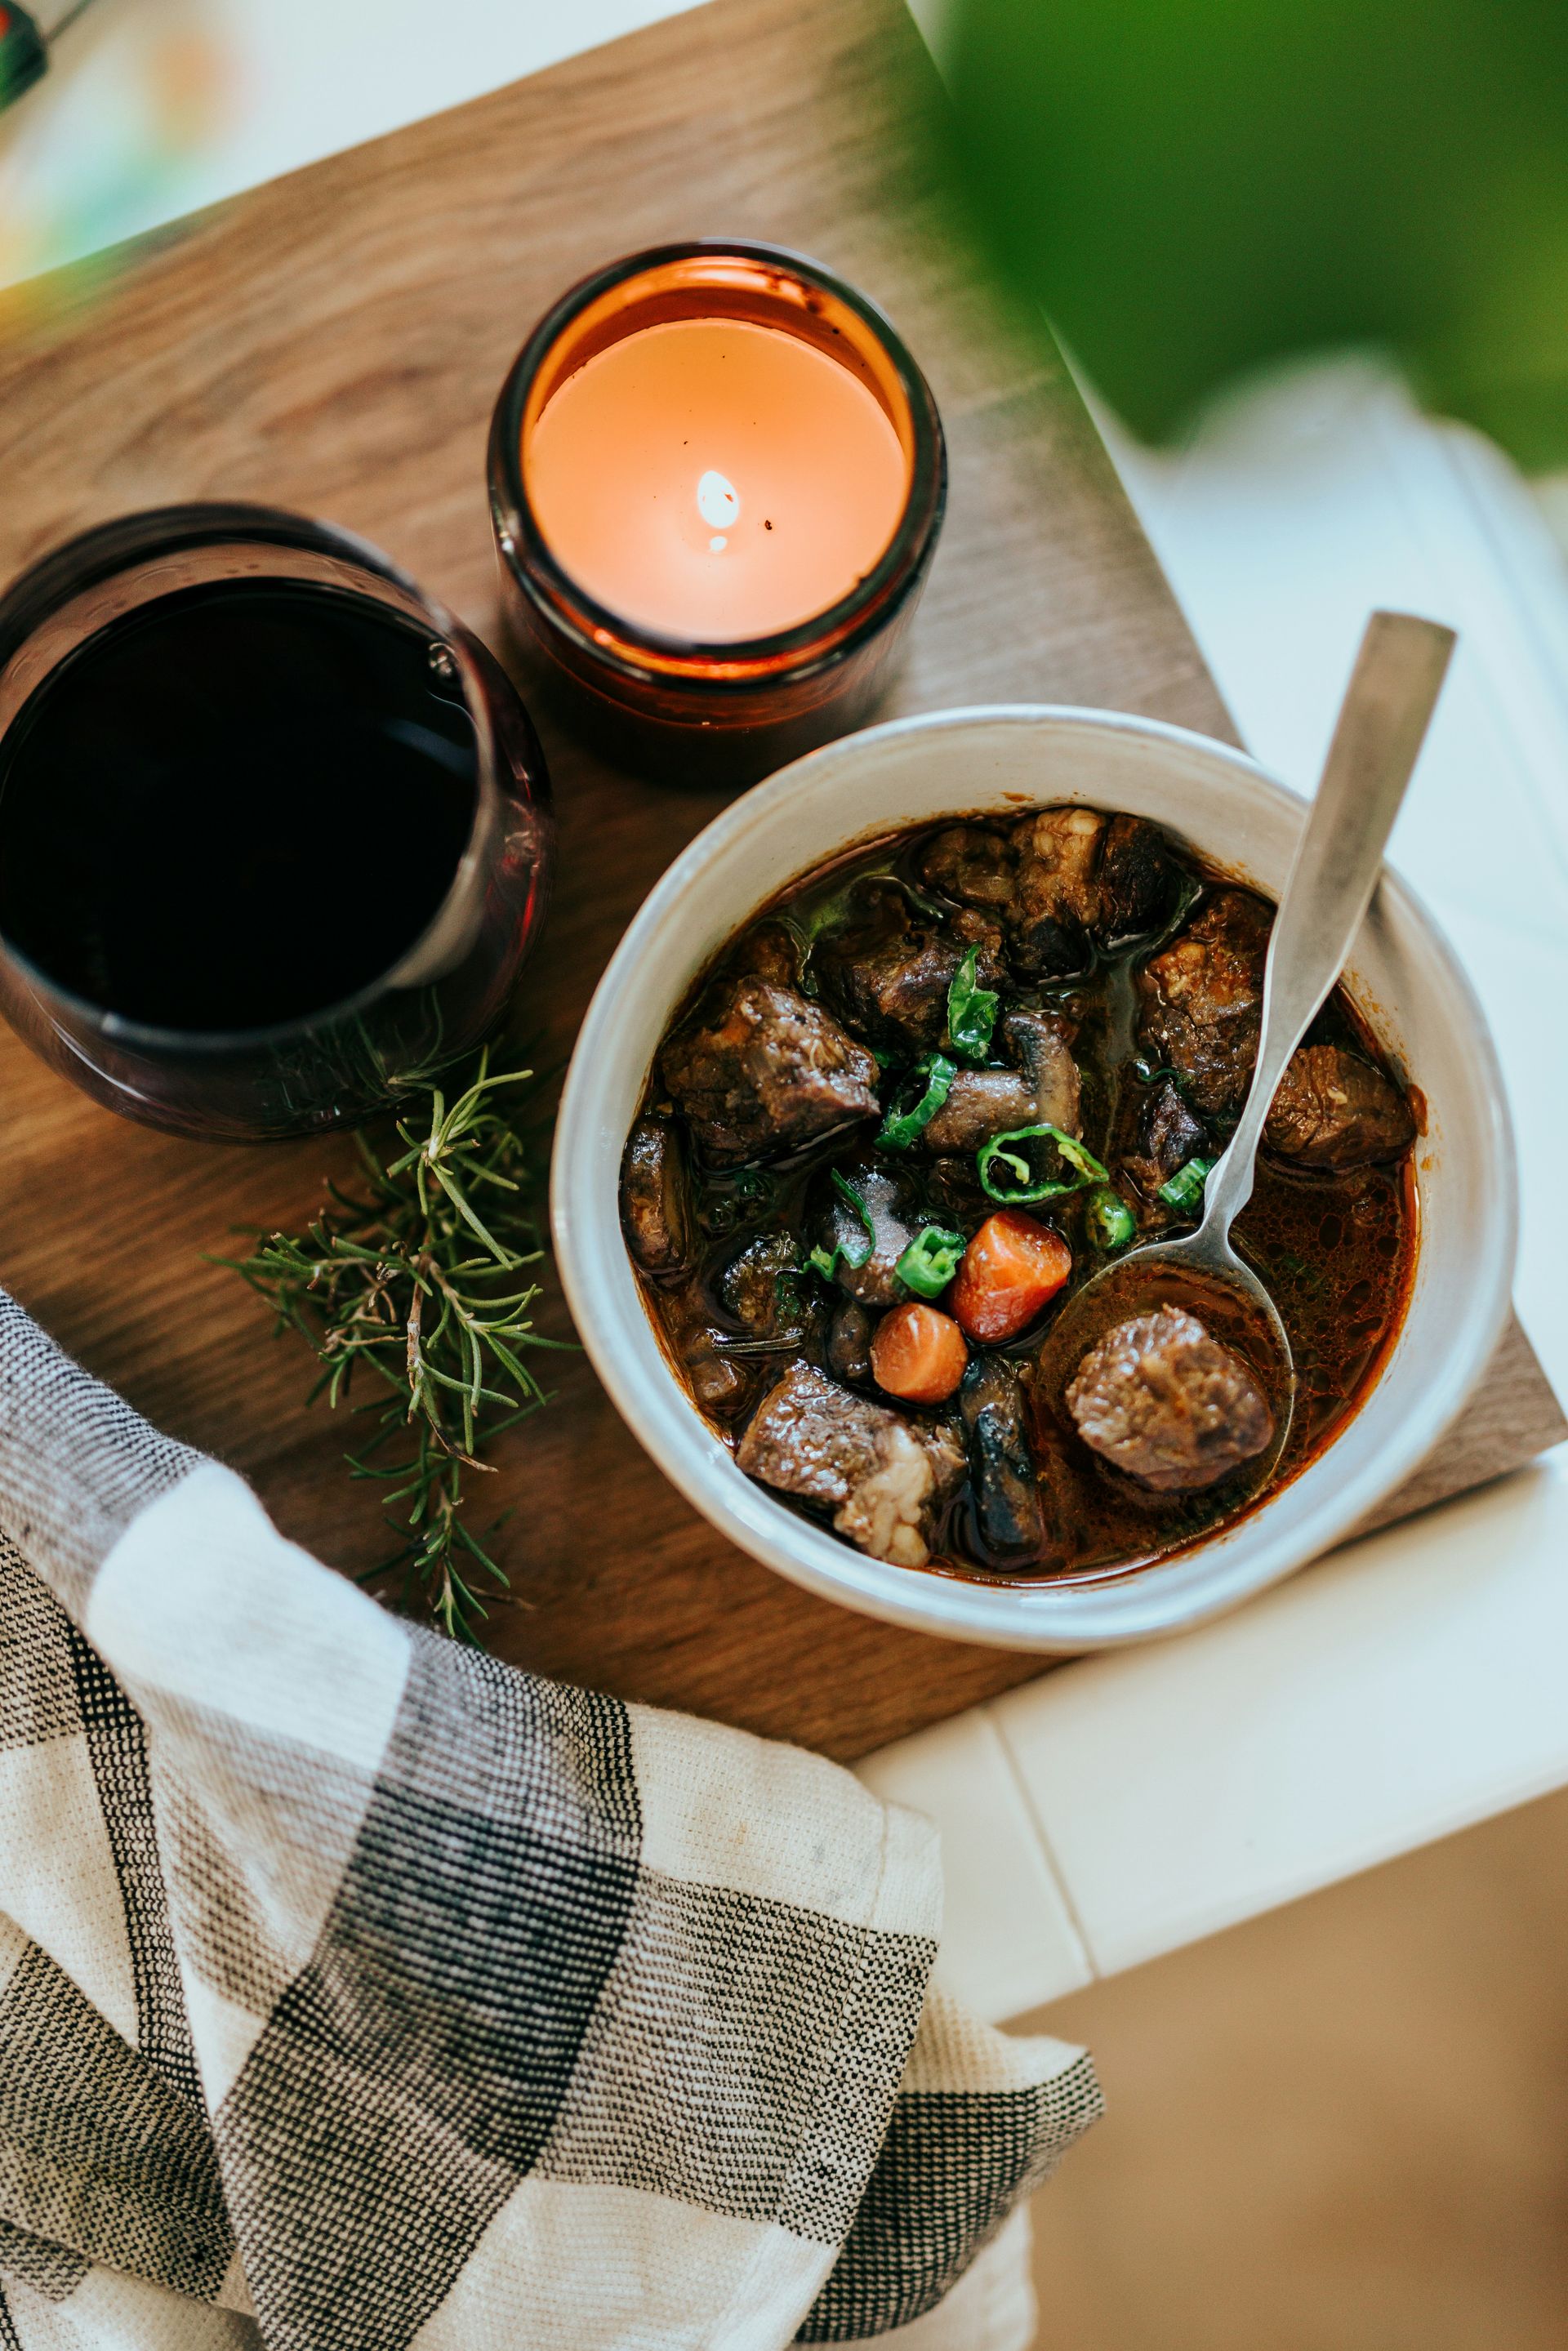
Pot-au-feu — literally "pot on the fire" — is a French boiled dinner, one of the oldest and most fundamental dishes in the cuisine. Cuts of beef, marrow bones, and vegetables are simmered together for hours in water until the beef is tender and the broth is richly flavored. The broth and the solids are traditionally served separately: the clear broth as a first course, the beef and vegetables as the main. It is a dish built entirely on long, slow extraction of flavor from simple ingredients.
The cuts of beef used are deliberately tough and collagen-rich: short rib, chuck, brisket, or shank all work well. At least one marrow bone adds richness to the broth. A chicken piece or a small piece of veal can also be added for complexity, though it's not required.
Place the beef and bones in a large pot and cover with cold water. Bring slowly to the boil, skimming constantly. The grey foam that rises to the surface is coagulated protein — remove it thoroughly, or the broth will be murky and slightly bitter. Once the broth is clear, add an onion (charred on a gas burner or under a broiler for depth of color), a bouquet garni, and whole peppercorns. Add the vegetables — carrot, leek, celery root, turnip, and parsnip — in large pieces. A single small cabbage wedge can also be added toward the end of cooking.
Simmer gently, partially covered, for two to three hours. The beef should be very tender. Remove the vegetables when they are done to prevent overcooking; the beef needs longer.
Strain the broth and serve it as a first course with thin slices of toasted bread and grated Gruyère. Slice the beef and arrange on a platter with the vegetables and bones. Traditional condiments include coarse salt, Dijon mustard, pickled cornichons, and horseradish.
Credit: Max Griss / Pexels
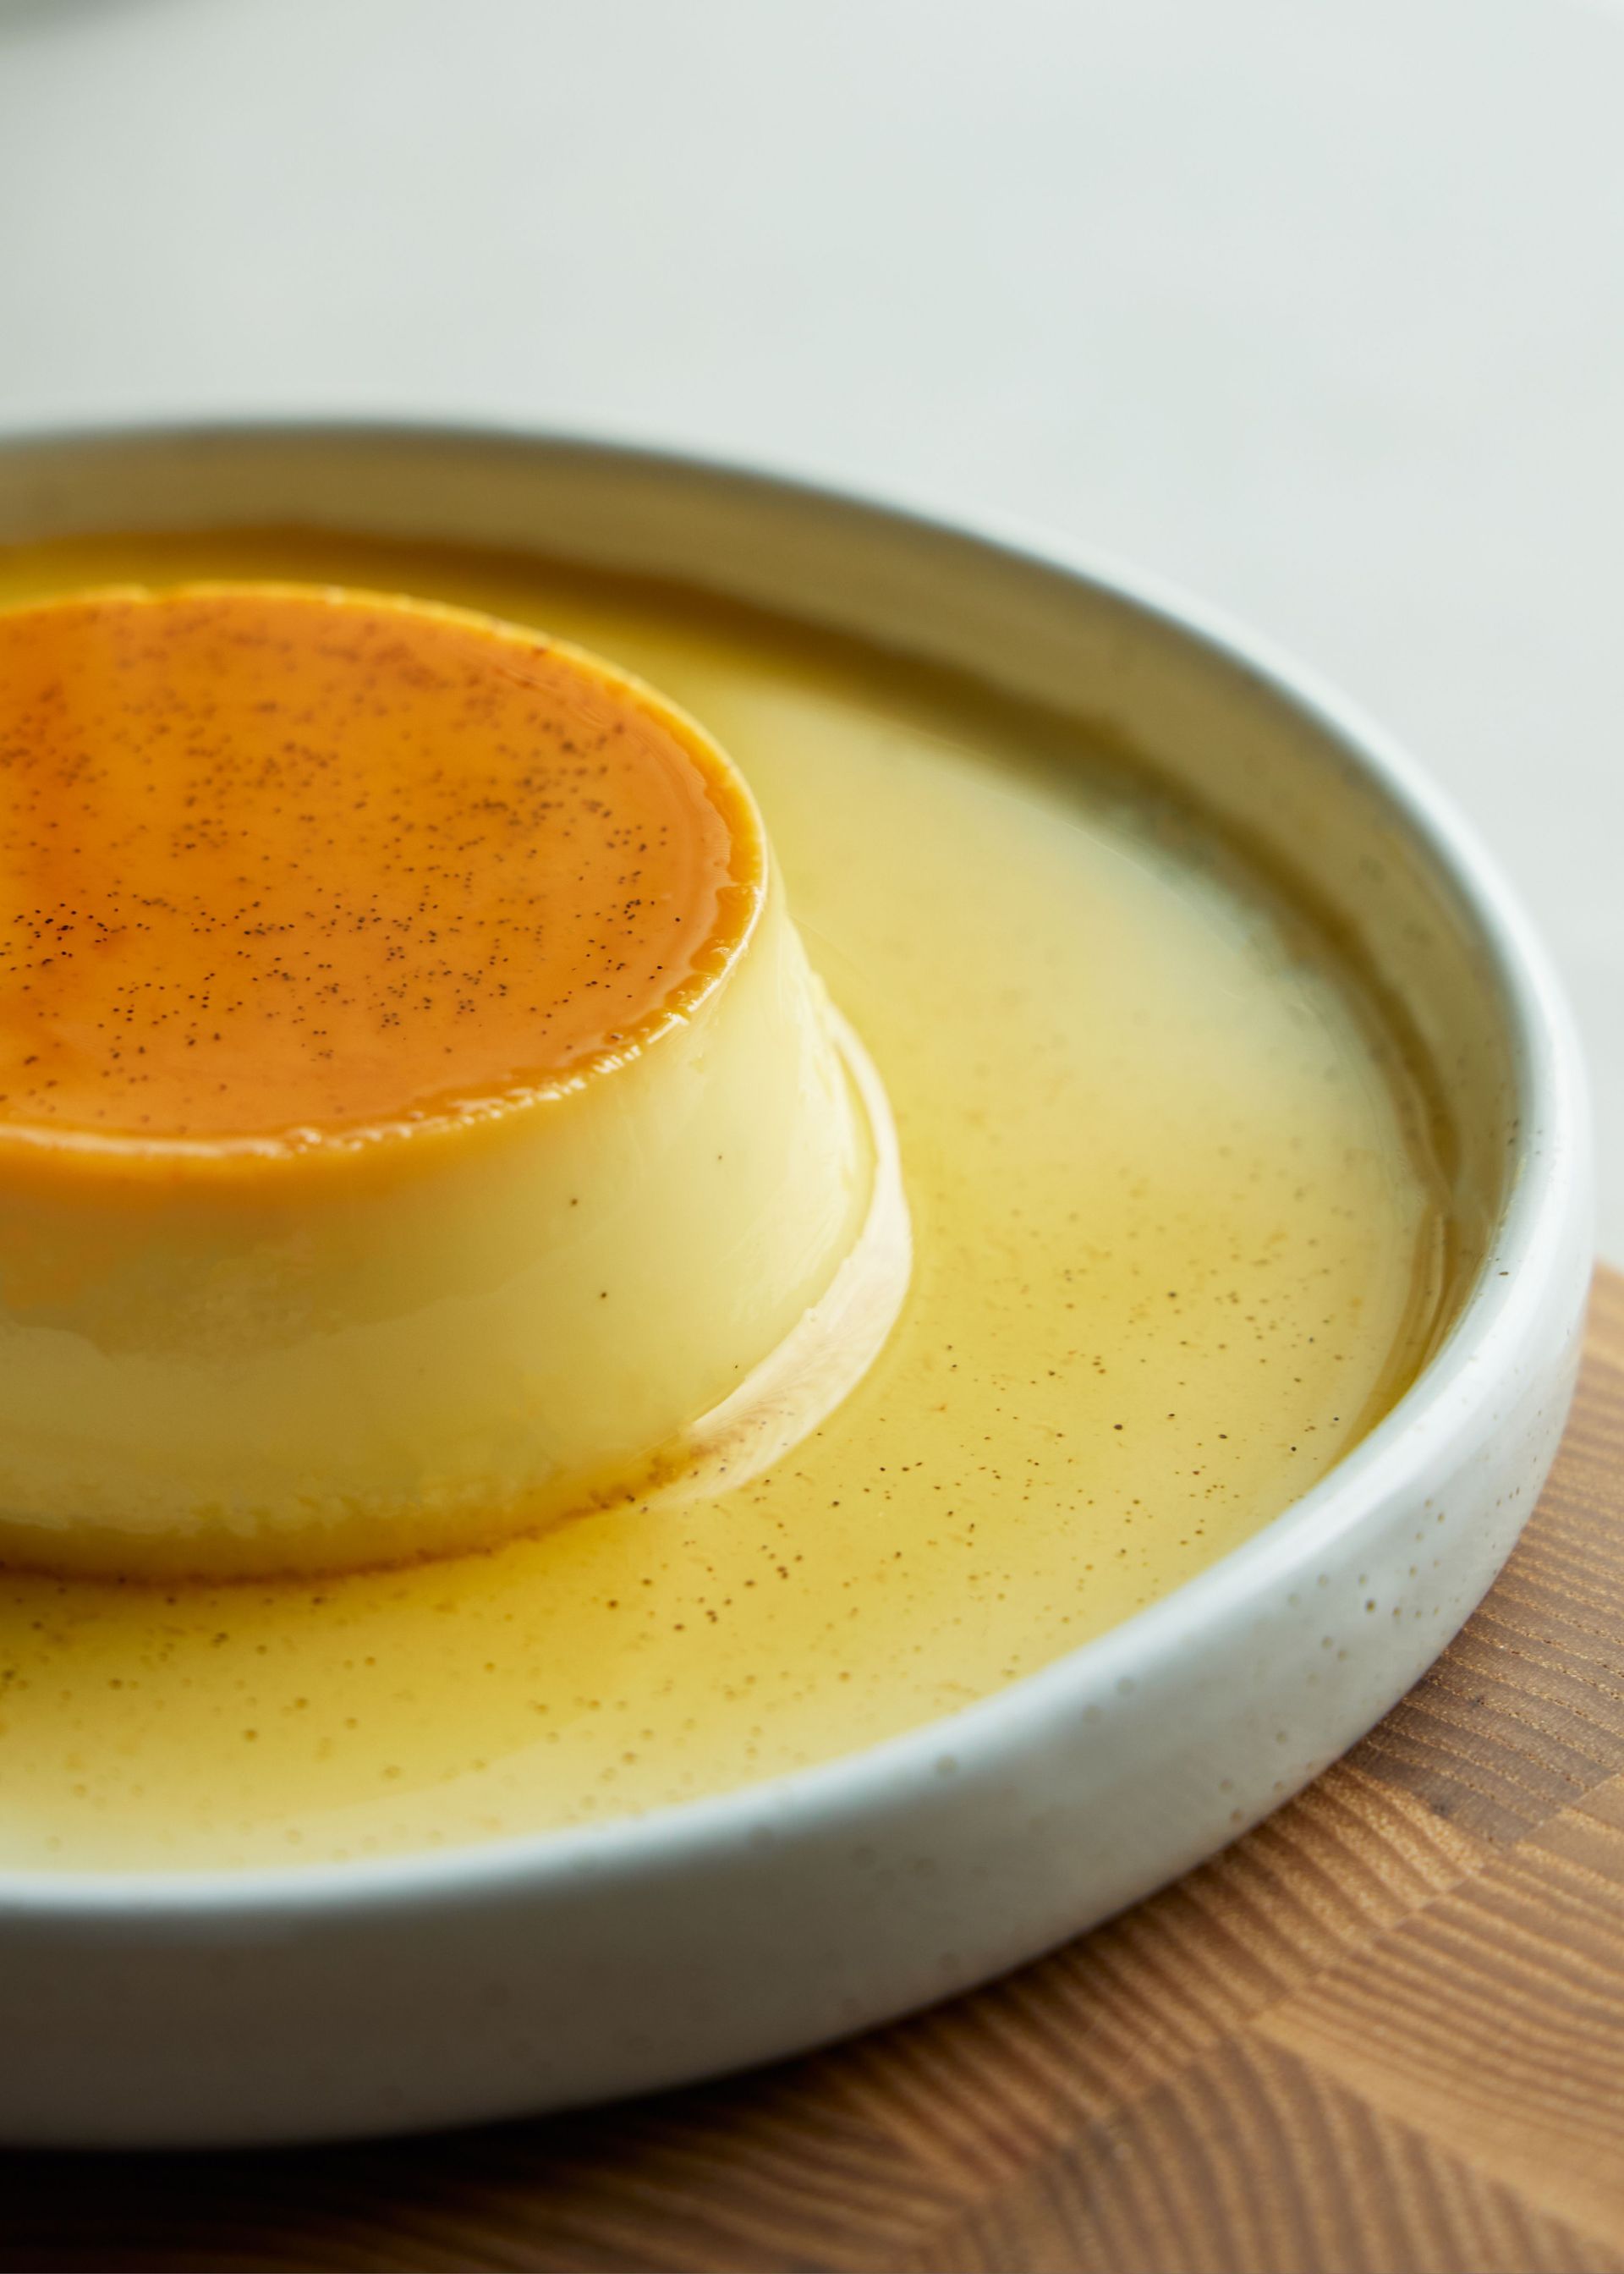
Crème caramel is a baked custard with caramel sauce — the inverse of crème brûlée in the sense that the caramel is on the bottom of the mold during cooking and becomes the sauce when the dessert is inverted to serve. The custard is lighter and silkier than crème brûlée because it uses whole milk rather than cream, and it includes more whole eggs, giving it a more delicate, quivering texture.
Start by making the caramel. Put sugar in a dry saucepan over medium heat and cook without stirring until it melts and turns a deep amber. Pour it immediately into the bottom of a soufflé dish or individual ramekins, tilting to coat the base evenly. Work quickly — caramel hardens within seconds. Be careful with the hot sugar.
For the custard: heat whole milk with a vanilla pod split and scraped until it just begins to steam. Whisk together whole eggs and egg yolks with sugar — a small amount, since the caramel provides sweetness — until smooth. Gradually pour the hot milk into the egg mixture, whisking as you pour. Strain through a fine sieve to remove the pod and any curdled bits. Skim any foam from the surface.
Pour the custard over the hardened caramel in the molds. Place in a bain-marie — a deep roasting pan filled with hot water to halfway up the sides — and bake at 300°F for 40 to 50 minutes for a large mold, or 25 to 30 minutes for individual ramekins. The custard is done when the edges are set and the center wobbles gently.
Cool completely in the water bath, then refrigerate for at least three hours. To unmold, run a thin knife around the edge of the custard, place a serving plate over the mold, and invert firmly. The caramel will flow around the custard as a sauce.
