These 15 techniques transfer across cuisines, ingredients, and occasions — and make every recipe you attempt work better
Gary Barnes / Pexels
The difference between a cook who reliably produces good food and one who produces good food occasionally and mediocre food the rest of the time is not, for the most part, a collection of better recipes. It is technique. A person who understands how to build a fond, how to properly caramelize onions, how to temper an egg, and how to emulsify a pan sauce can produce excellent food from almost any ingredient combination, because they understand the underlying principles that determine whether food is good rather than merely following instructions whose logic they do not understand.
This matters because recipes fail. Ovens vary, ingredients vary, pans vary, timing varies — and a cook who understands only what the recipe says, without understanding why, has no way to recognize when something is going wrong and no way to correct it. The cook who understands technique can adapt. The fish is thicker than the recipe assumed — they can feel when it is done rather than watching the clock. The sauce has broken — they know what broke it and how to repair it. The bread has not risen as expected — they can diagnose whether the yeast was dead, the dough was too cold, or the flour was wrong, and they know which of these problems is recoverable.
The 15 techniques in this list are those with the widest transfer — the ones that are not specific to a single cuisine or a single dish but that appear, in different forms, across the entire range of cooking. Learning each one properly (not just reading about it but actually practicing it until it is reliable) changes the relationship to cooking in a fundamental way: from executing instructions to actually cooking.
Each slide covers what the technique is, why it works, what it teaches about underlying cooking principles, and the specific moment of recognition — the point at which the technique clicks and the food it produces reveals what was missing before.
Lalada / Pexels
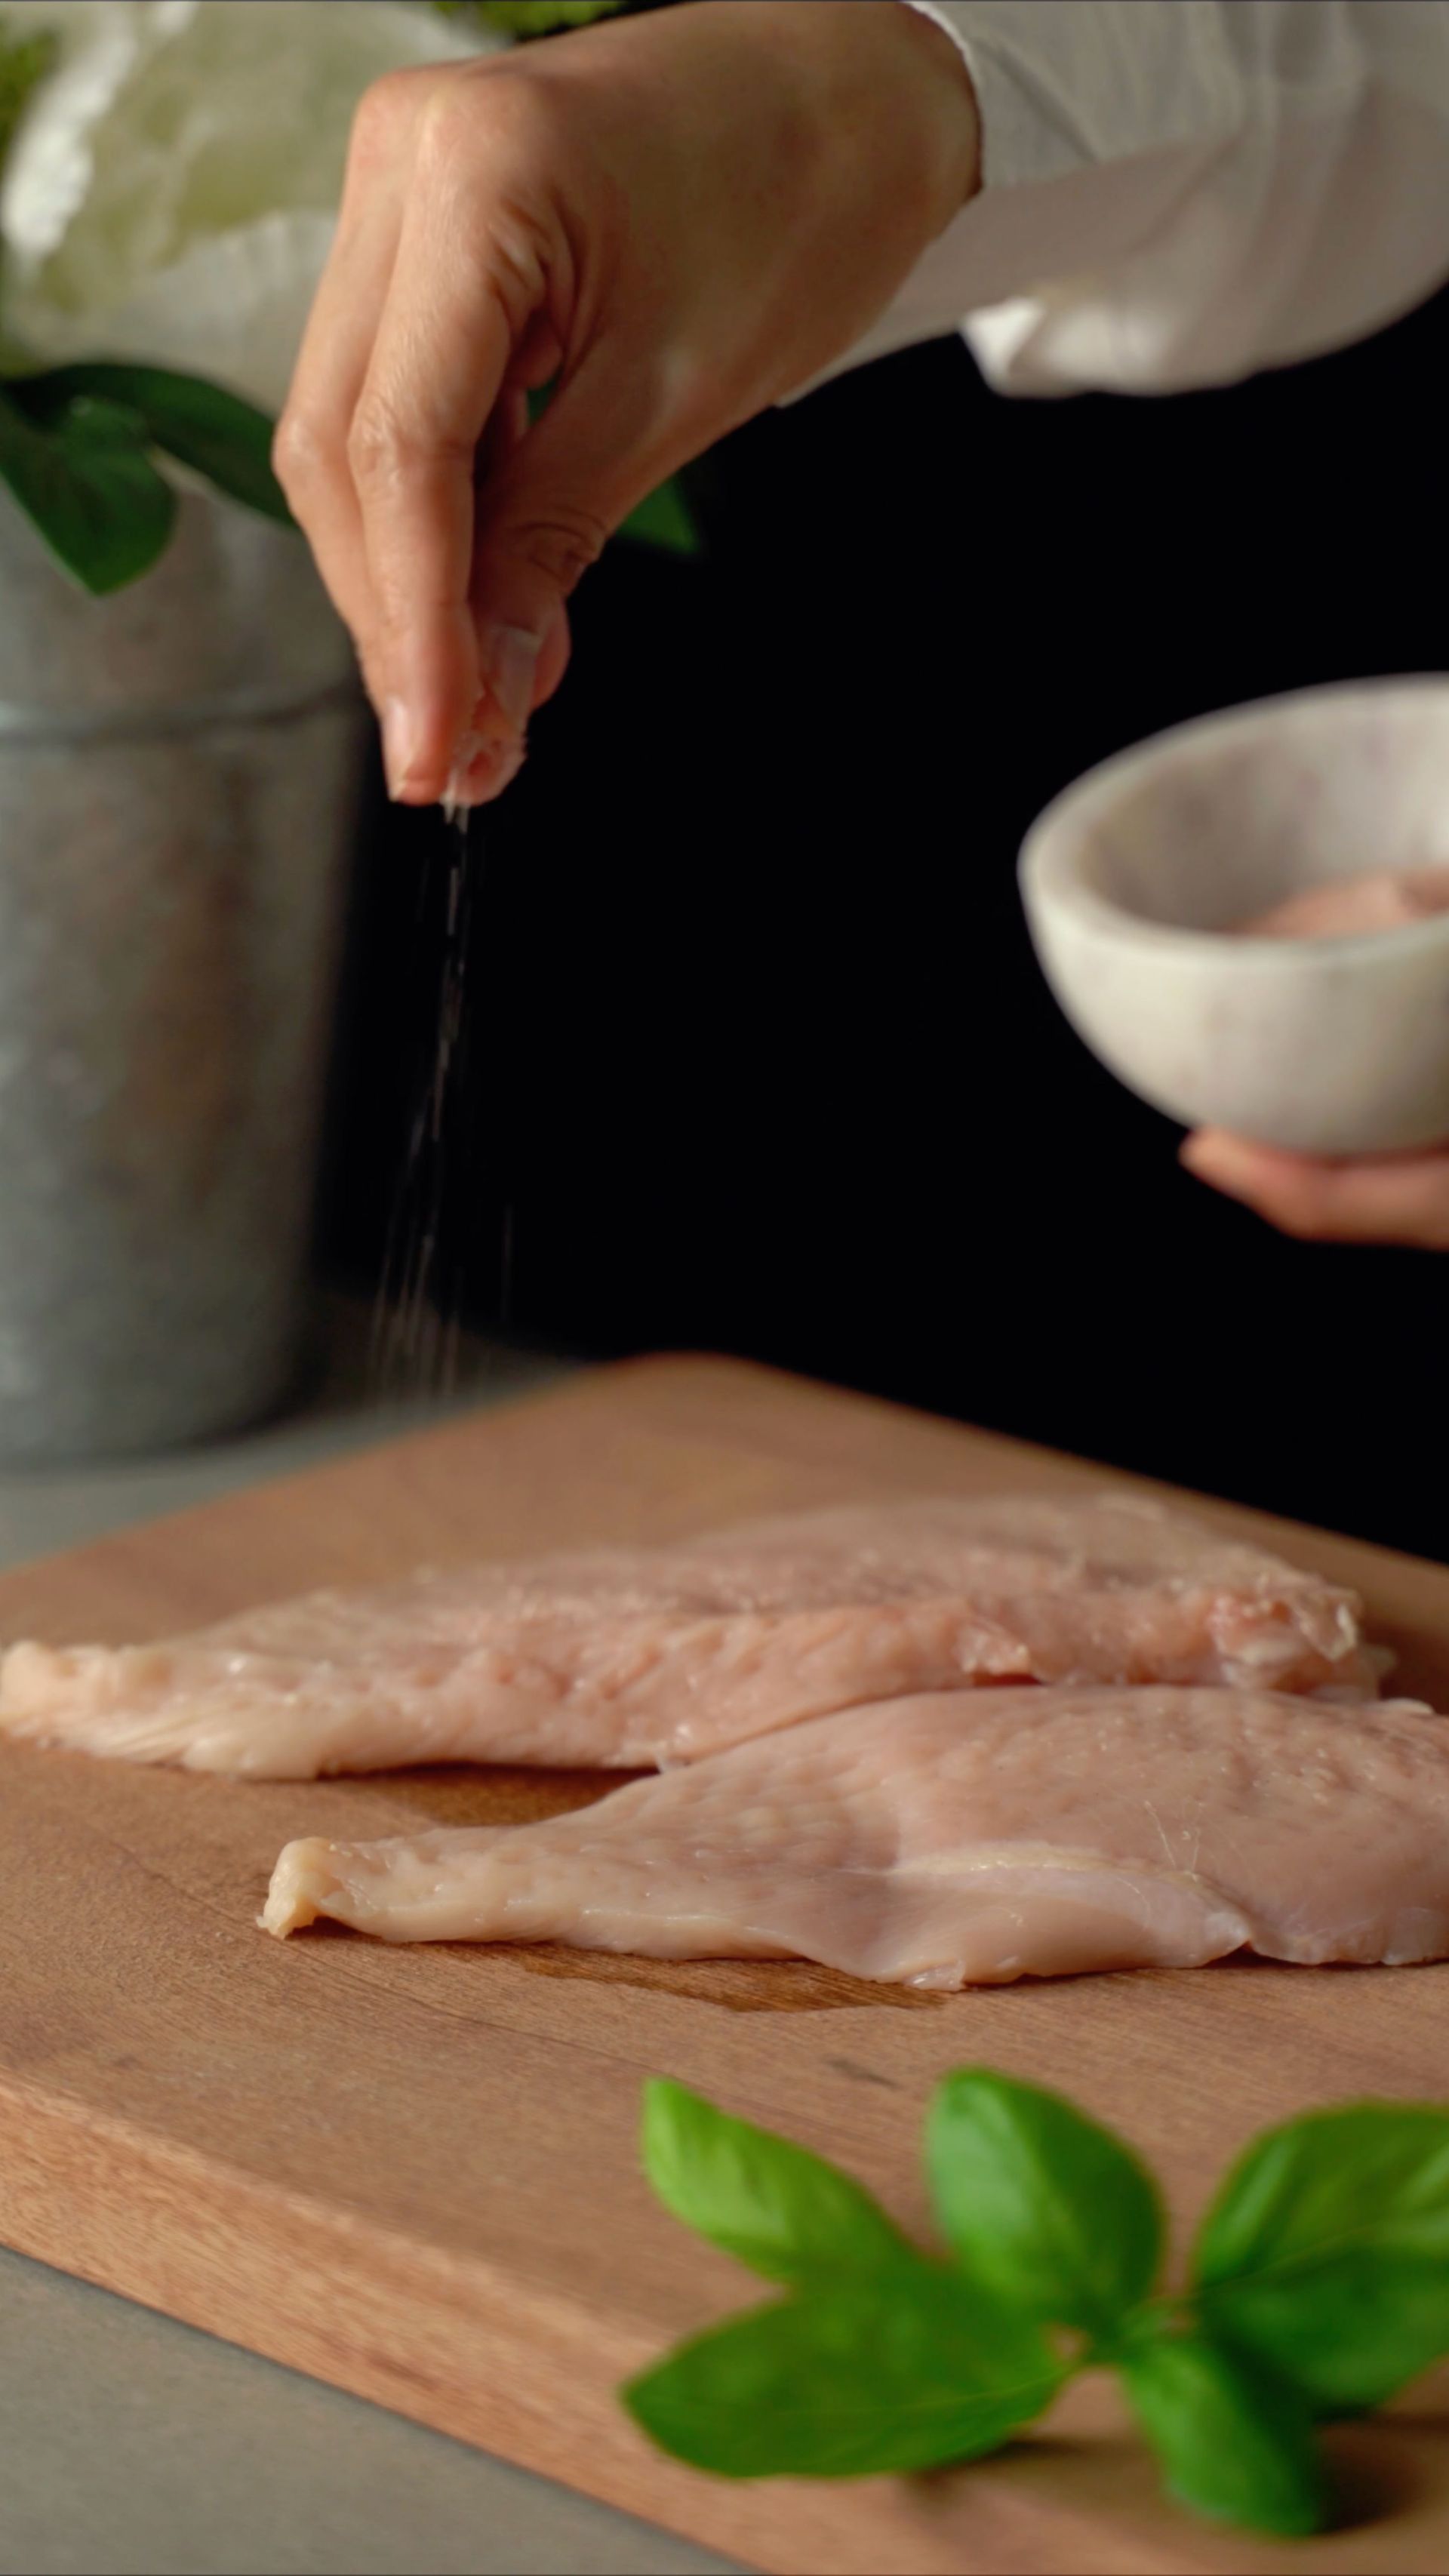
Dry brining — the technique of salting meat or fish generously and allowing it to rest, uncovered, in the refrigerator for a period ranging from 30 minutes to 72 hours before cooking — is the single highest-return technique available to a home cook in terms of the improvement in food quality relative to the effort invested. It produces juicier, more deeply seasoned, and more evenly cooked meat than any alternative seasoning approach, and it requires nothing beyond salt and time.
The mechanism has two stages. In the first stage (approximately the first hour), salt draws moisture out of the meat through osmosis, creating a concentrated brine on the surface. In the second stage, this brine is reabsorbed through osmosis back into the meat, carrying dissolved salt and flavor-enhancing molecules deeper into the tissue than surface seasoning alone achieves. The result is meat that is seasoned throughout, not just on the surface.
The secondary benefit for poultry and roasts is skin and surface drying: leaving meat uncovered in the refrigerator allows the surface to dry completely, which dramatically improves browning (dry surfaces brown; wet surfaces steam before browning, producing a gray exterior rather than the Maillard reaction-driven crust that is the goal). A dry-brined chicken roasted after 24 to 48 hours in the refrigerator has skin that crackles and crisps in a way that a freshly salted chicken cannot match.
What it teaches: that salt does different things at different times — surface seasoning and deep seasoning are not the same, and the timing of salt application fundamentally changes its effect. Practice it on: any bone-in chicken pieces or a whole chicken; pork chops (even 30 minutes makes a perceptible difference); thick-cut steaks. The recognition moment: the first bite of a properly dry-brined chicken thigh, where the seasoning reaches the bone rather than residing only on the surface.
ab_h_i s_h_ek_09 / Pexels
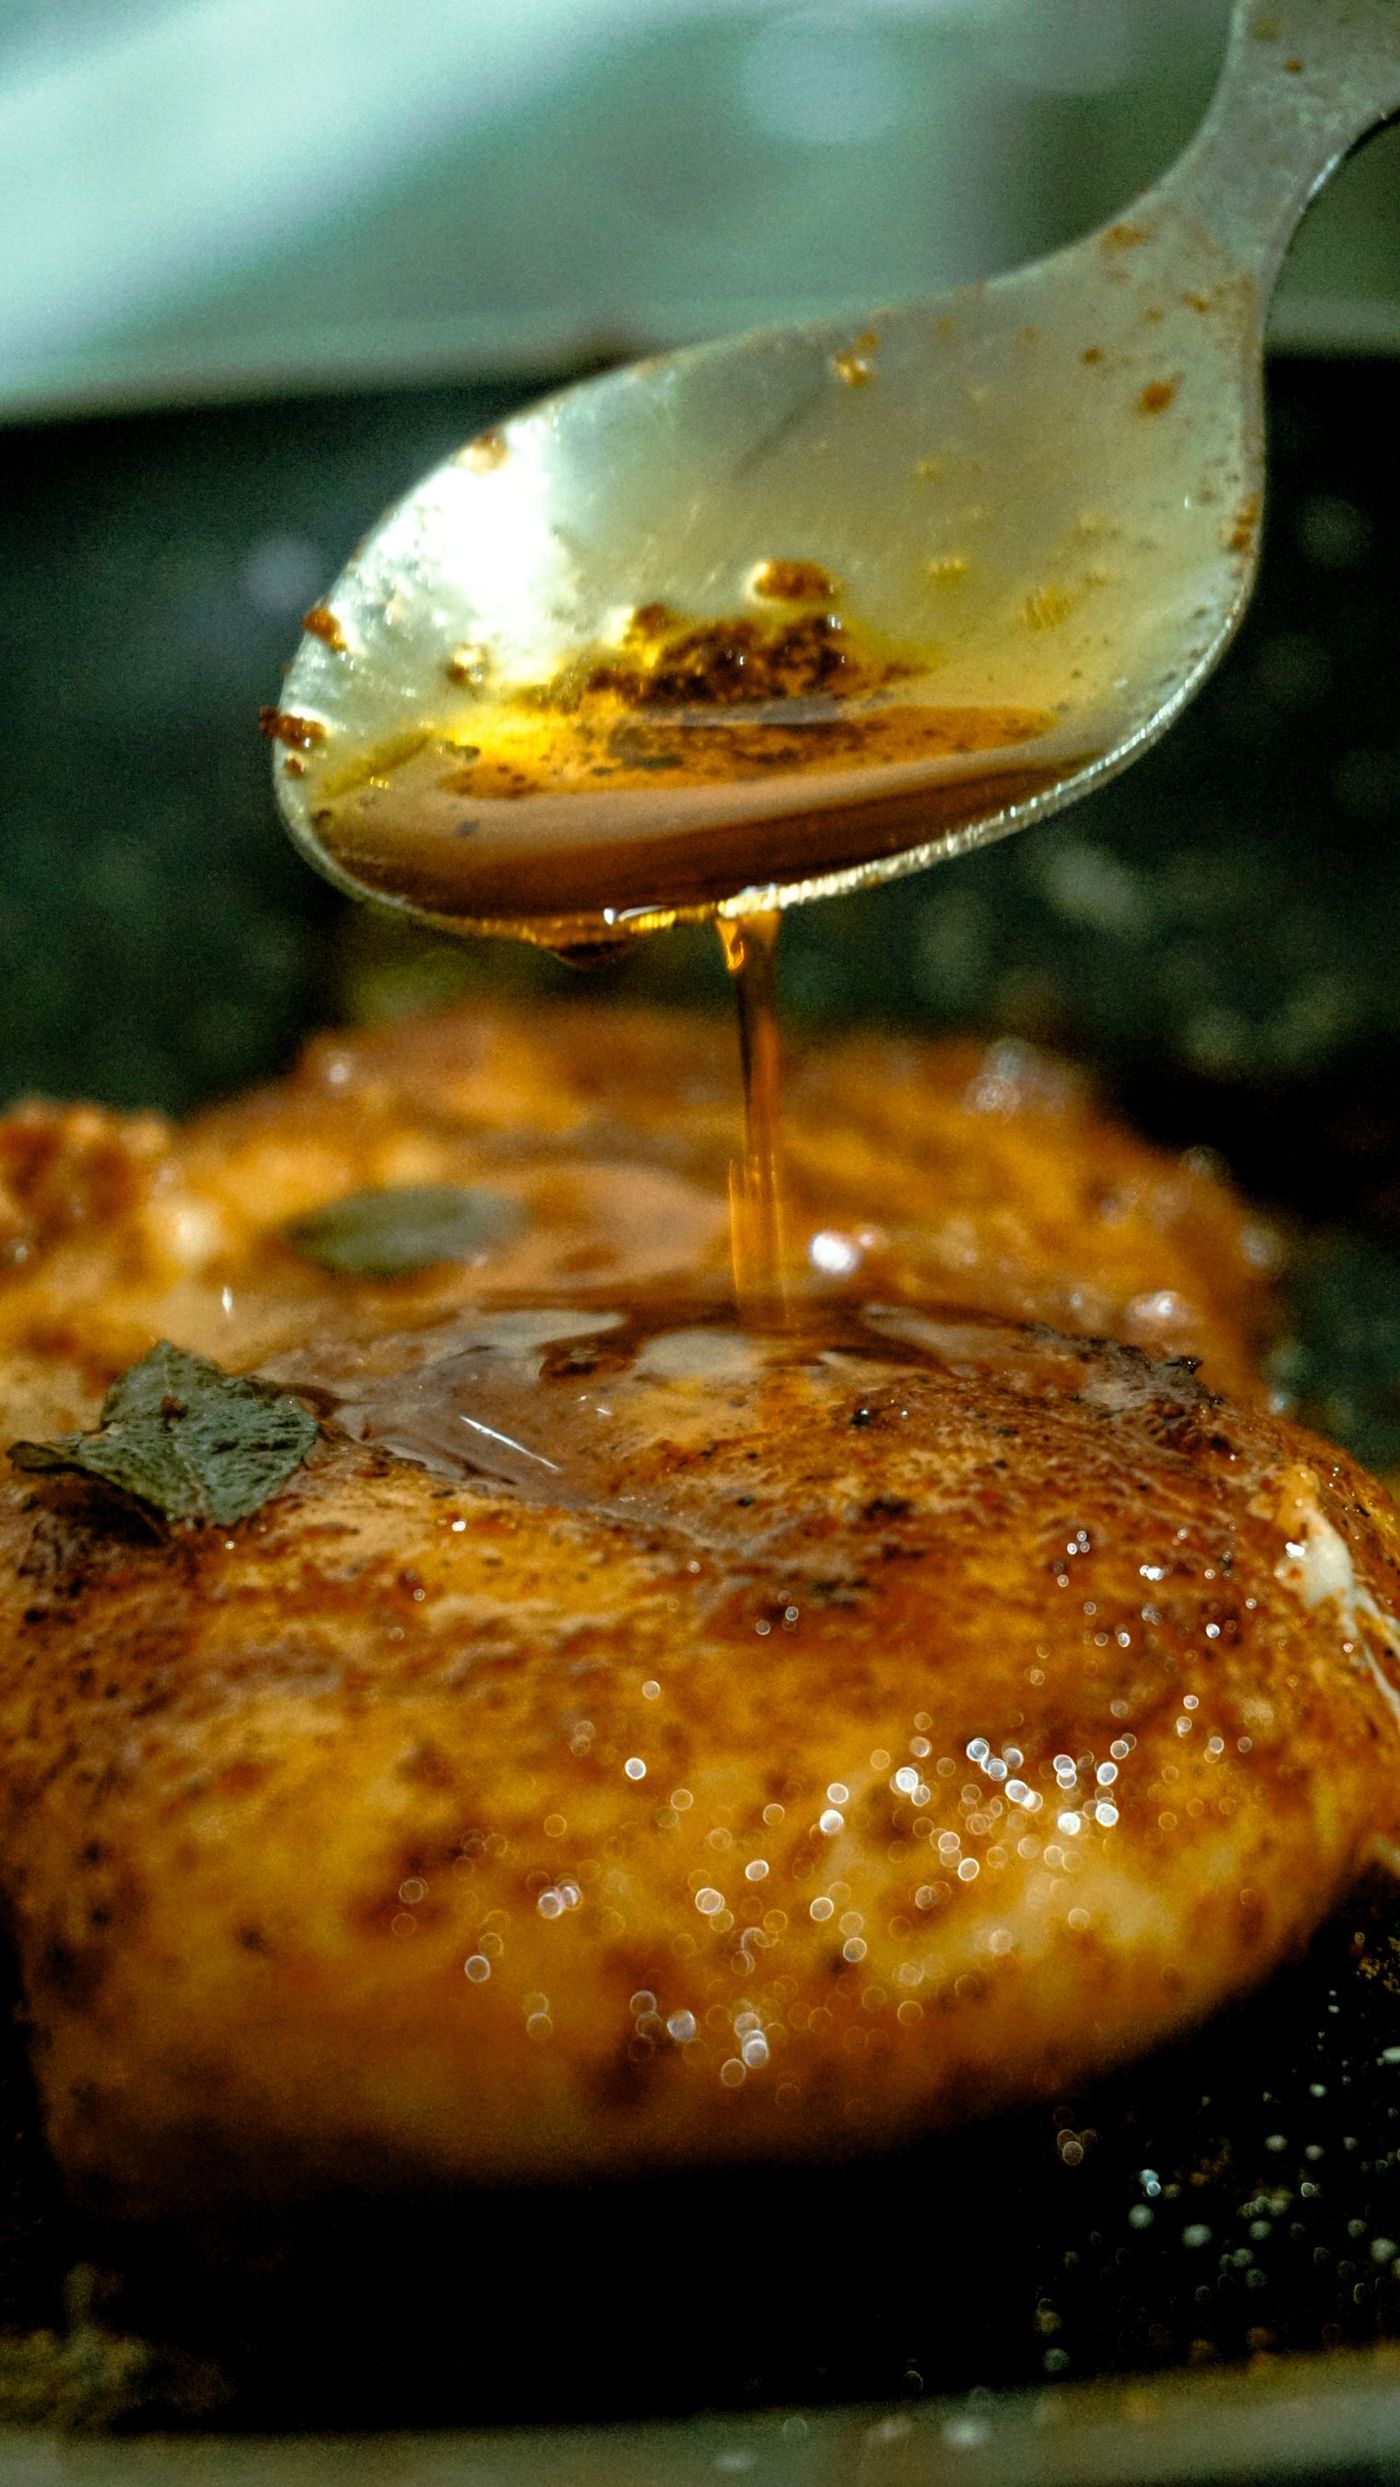
The fond — the browned, caramelized deposits left on the bottom of a pan after searing meat, poultry, or vegetables at high heat — is one of the most valuable flavor resources in cooking and one of the most frequently discarded by cooks who do not know what it is. It is not burning; it is concentrated Maillard reaction products, caramelized proteins and sugars whose flavor is several times more intense than the surface of the meat itself.
Deglazing the fond — adding liquid (wine, stock, water, or any suitable liquid) to the hot pan and scraping up the deposits with a wooden spoon or spatula — dissolves the fond into the liquid, creating the foundation of a pan sauce in seconds. The fond's flavor transforms an ordinary liquid into something complex and specifically savory, and this transformation is available at essentially zero additional cost because the fond would otherwise be washed away.
The technique applies to any high-heat cooking in a metal pan: seared chicken thighs, browned beef, caramelized onions, roasted vegetables. The only requirement is a pan that can develop fond — stainless steel and cast iron are ideal; non-stick pans do not develop fond, which is their primary culinary limitation.
What it teaches: that the pan contains as much flavor as the food after searing, and that a good pan sauce is not a separate dish but the completion of the same cooking process. Practice it on: sear a chicken thigh in a stainless pan until the skin is golden; remove the chicken; add a splash of white wine to the hot pan; scrape and stir; taste the sauce that results. The recognition moment: the first time you taste the deglazed fond straight from the pan and realize what you have been leaving behind.
Geraud Pfeiffer / Pexels
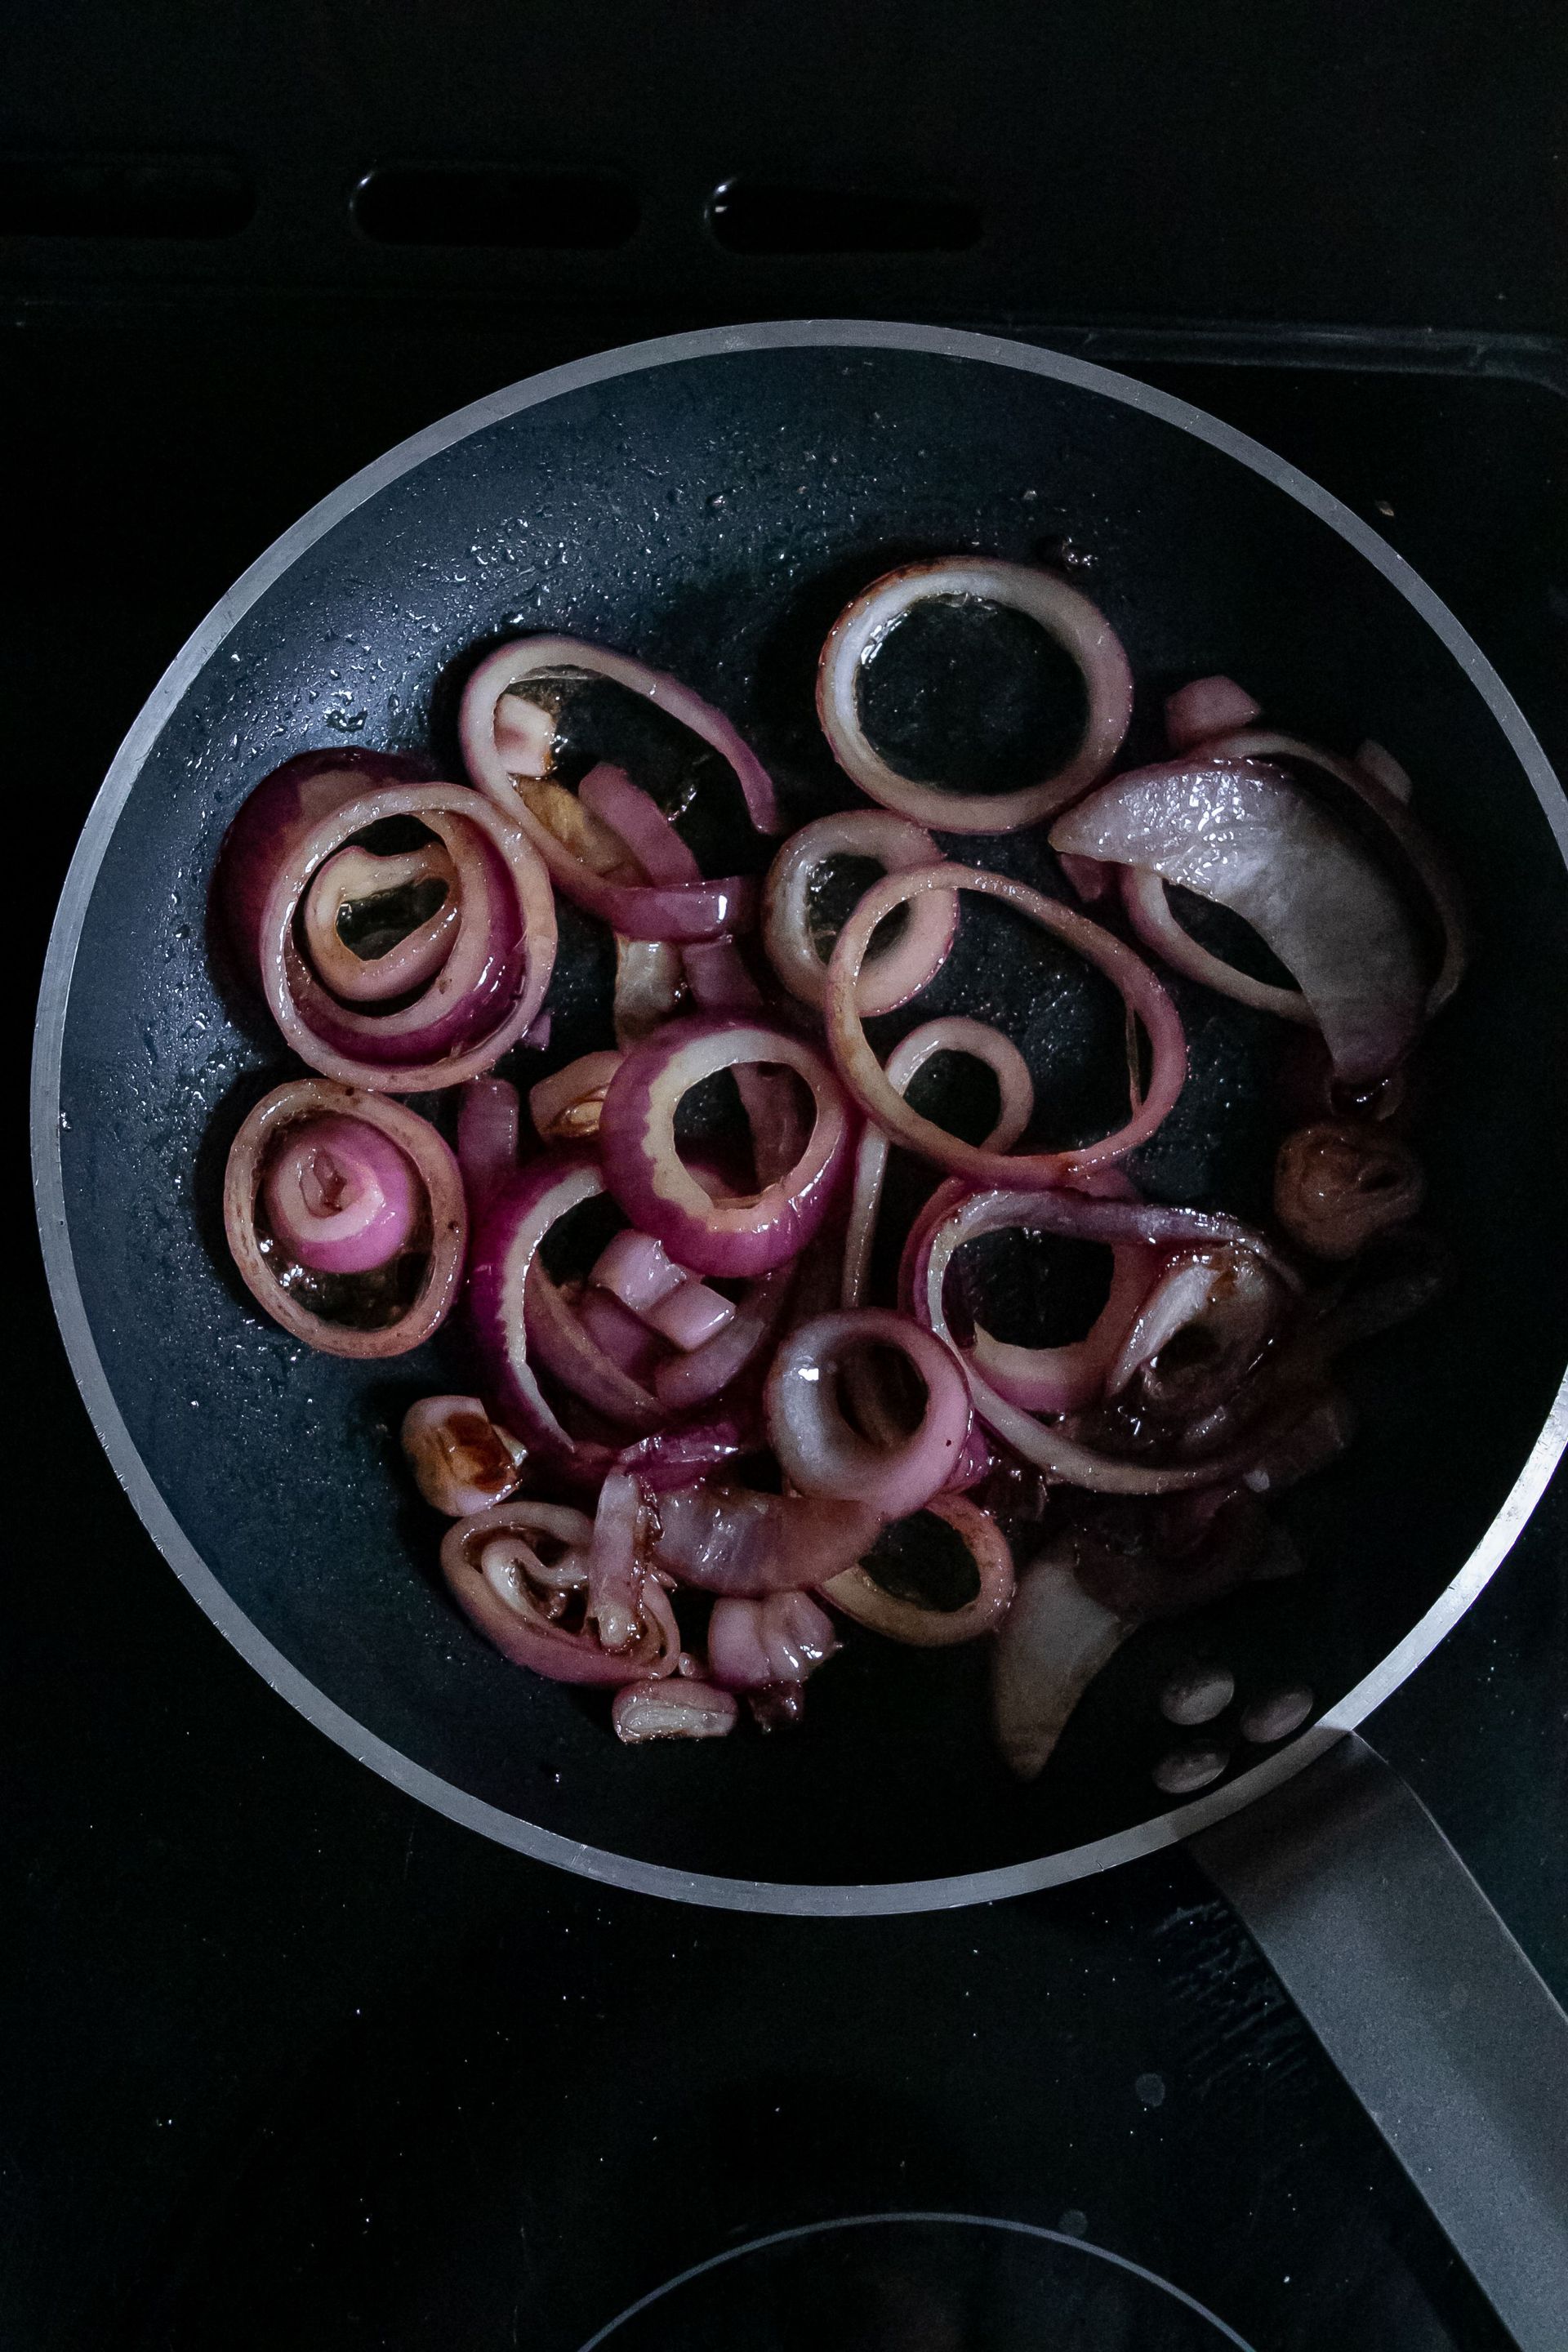
True caramelization of onions — not the lightly softened, faintly golden result that most recipes produce when they say "cook the onions until golden, about 5 minutes" but the deeply collapsed, sweet, mahogany-brown, intensely flavored transformation that takes 45 minutes of patient cooking over medium-low heat — is one of the most significant flavor-building techniques in cooking and one of the most systematically rushed by both home cooks and recipe writers.
The chemistry is worth understanding: raw onions contain sharp, pungent sulfur compounds and starch. With heat, the sulfur compounds volatilize (their harshness dissipates), the starch breaks down to sugars, and those sugars then undergo caramelization (sugar browning) and Maillard reactions (protein-sugar browning) as cooking continues. The sweet, deeply complex flavor of properly caramelized onions is the end product of all three transformations — none of which are complete in five minutes.
The practical result of properly caramelized onions is transformative in a range of dishes: French onion soup, pizza, pasta, tarts, sandwiches, burgers — any dish where onions are a component becomes significantly better when the onions are genuinely, not approximately, caramelized.
What it teaches: that flavor development requires time, that recipes frequently understate cooking times, and that the difference between "cooked" and "properly cooked" is sometimes 40 minutes and one of the most significant flavor upgrades available. Practice it on: two large onions, sliced thin, in a wide heavy pan with butter over medium-low heat. Check every five minutes. Taste at 15 minutes, at 30 minutes, at 45 minutes. The recognition moment: the taste at 45 minutes compared to the taste at 15 minutes — two completely different things from the same ingredients.
Helena Lopes / Pexels
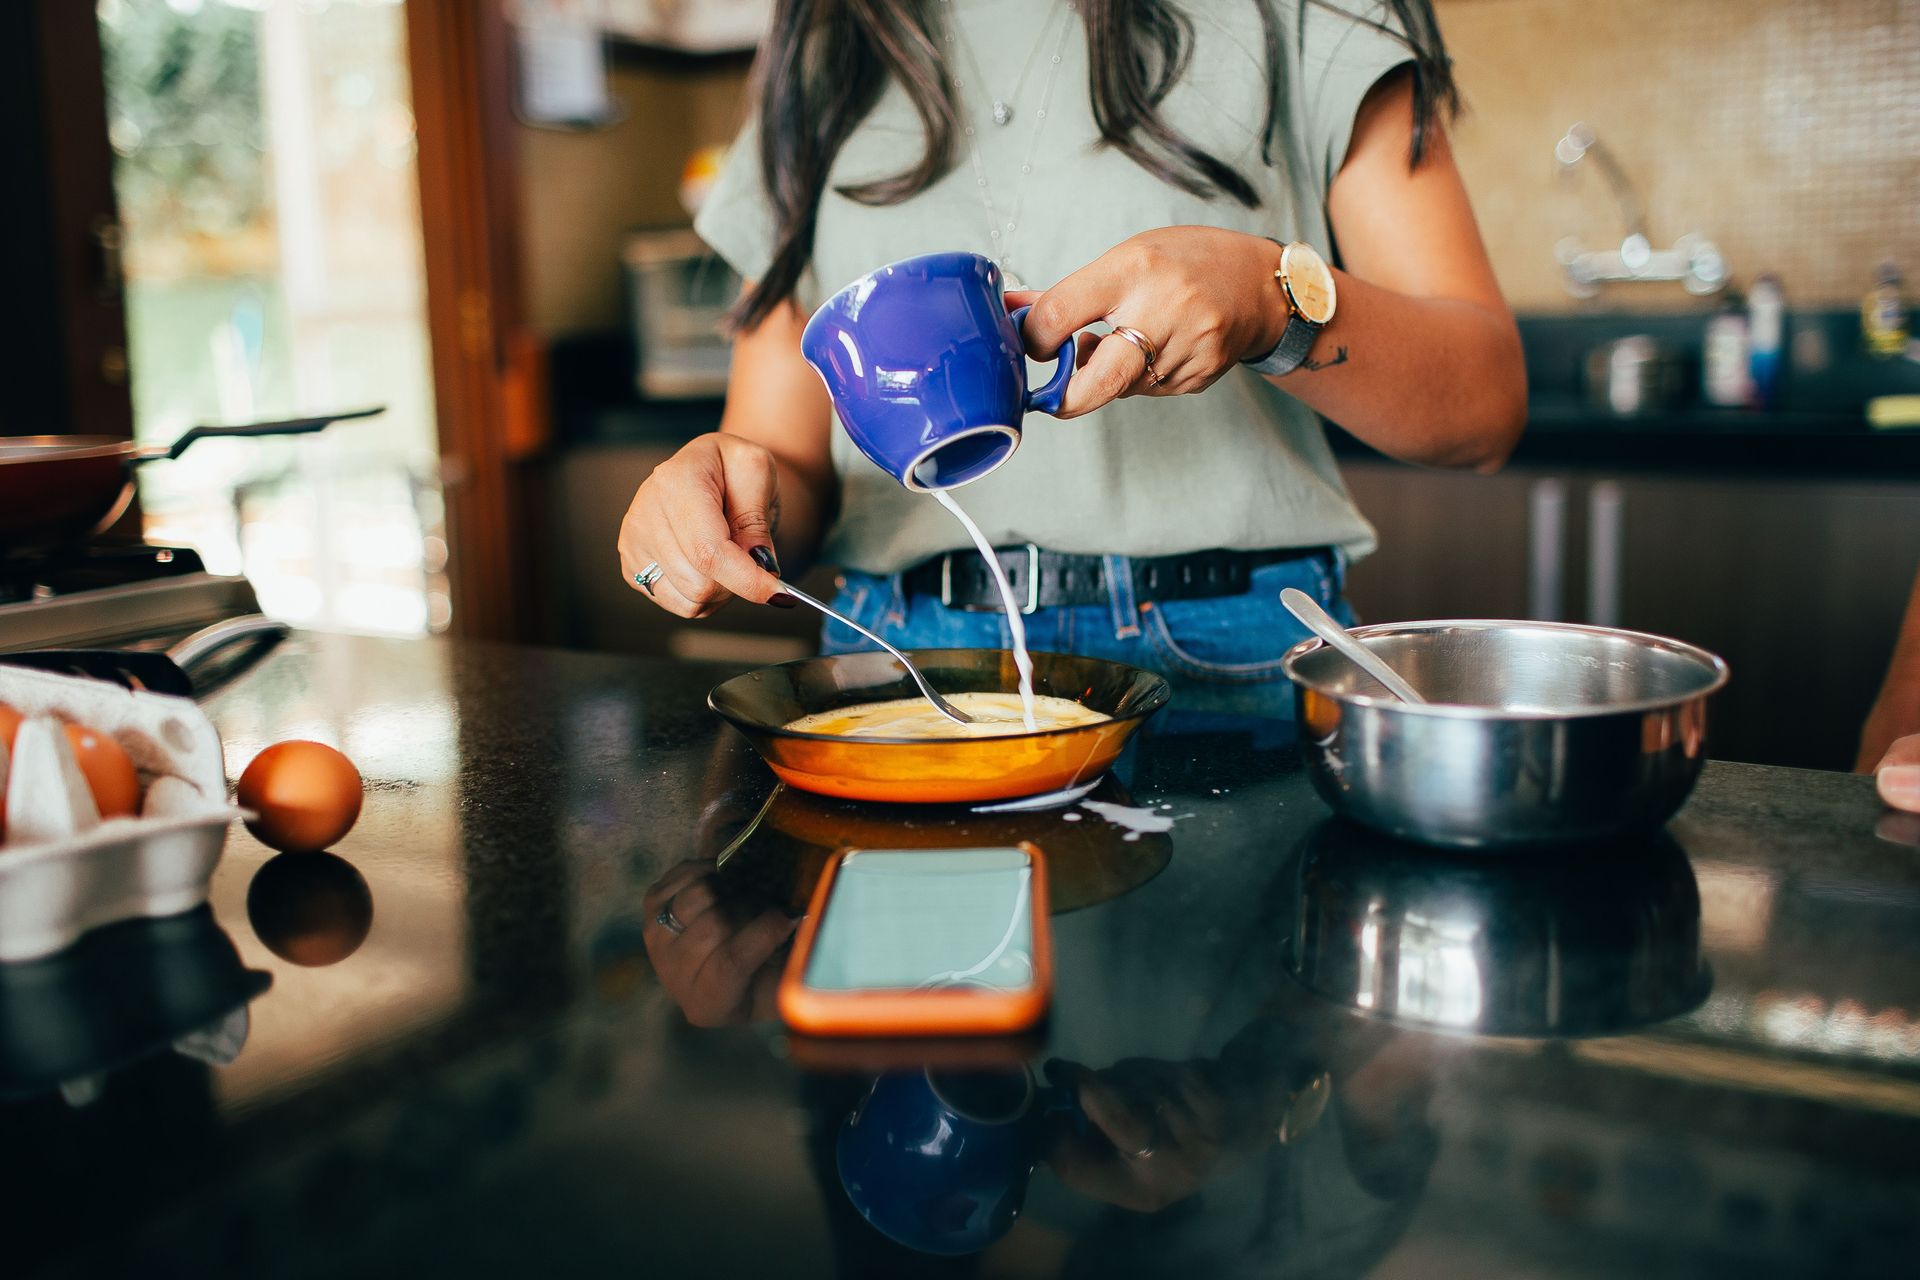
Tempering — the process of gradually raising the temperature of eggs (or egg yolks) by slowly adding a hot liquid to them while stirring, rather than adding the eggs directly to the hot liquid — is the technique that makes the difference between a smooth, creamy custard, crème brûlée, or hollandaise sauce and a curdled, grainy scramble. It is one of the most clearly mechanical techniques in cooking: the eggs need heat to set, but too much heat too quickly causes the proteins to tighten and seize. Tempering gives the proteins heat at a rate they can accommodate.
The specific application: when a recipe requires adding eggs to a hot liquid (cream for crème brûlée, hot butter for hollandaise, hot milk for pastry cream), a small amount of the hot liquid is first poured into the eggs while whisking constantly — raising their temperature gradually — before the tempered egg mixture is added back to the remaining hot liquid. The gradual temperature equalization prevents the thermal shock that curdles eggs.
The technique transfers to any recipe involving eggs and heat: hollandaise, béarnaise, sabayon, lemon curd, pastry cream, ice cream base, and any egg-based sauce. Once learned, it makes all of these preparations consistently achievable rather than temperamental.
What it teaches: that proteins have specific temperature thresholds and that the speed of temperature change is as important as the final temperature. Practice it on: a basic crème anglaise (vanilla custard sauce): heat milk with sugar, temper egg yolks into it, cook to 82°C. The recognition moment: the transformation of a thin milk mixture into a glossy, lightly thickened custard that coats the back of a spoon without any scrambled egg texture.
Mohamed Olwy / Pexels
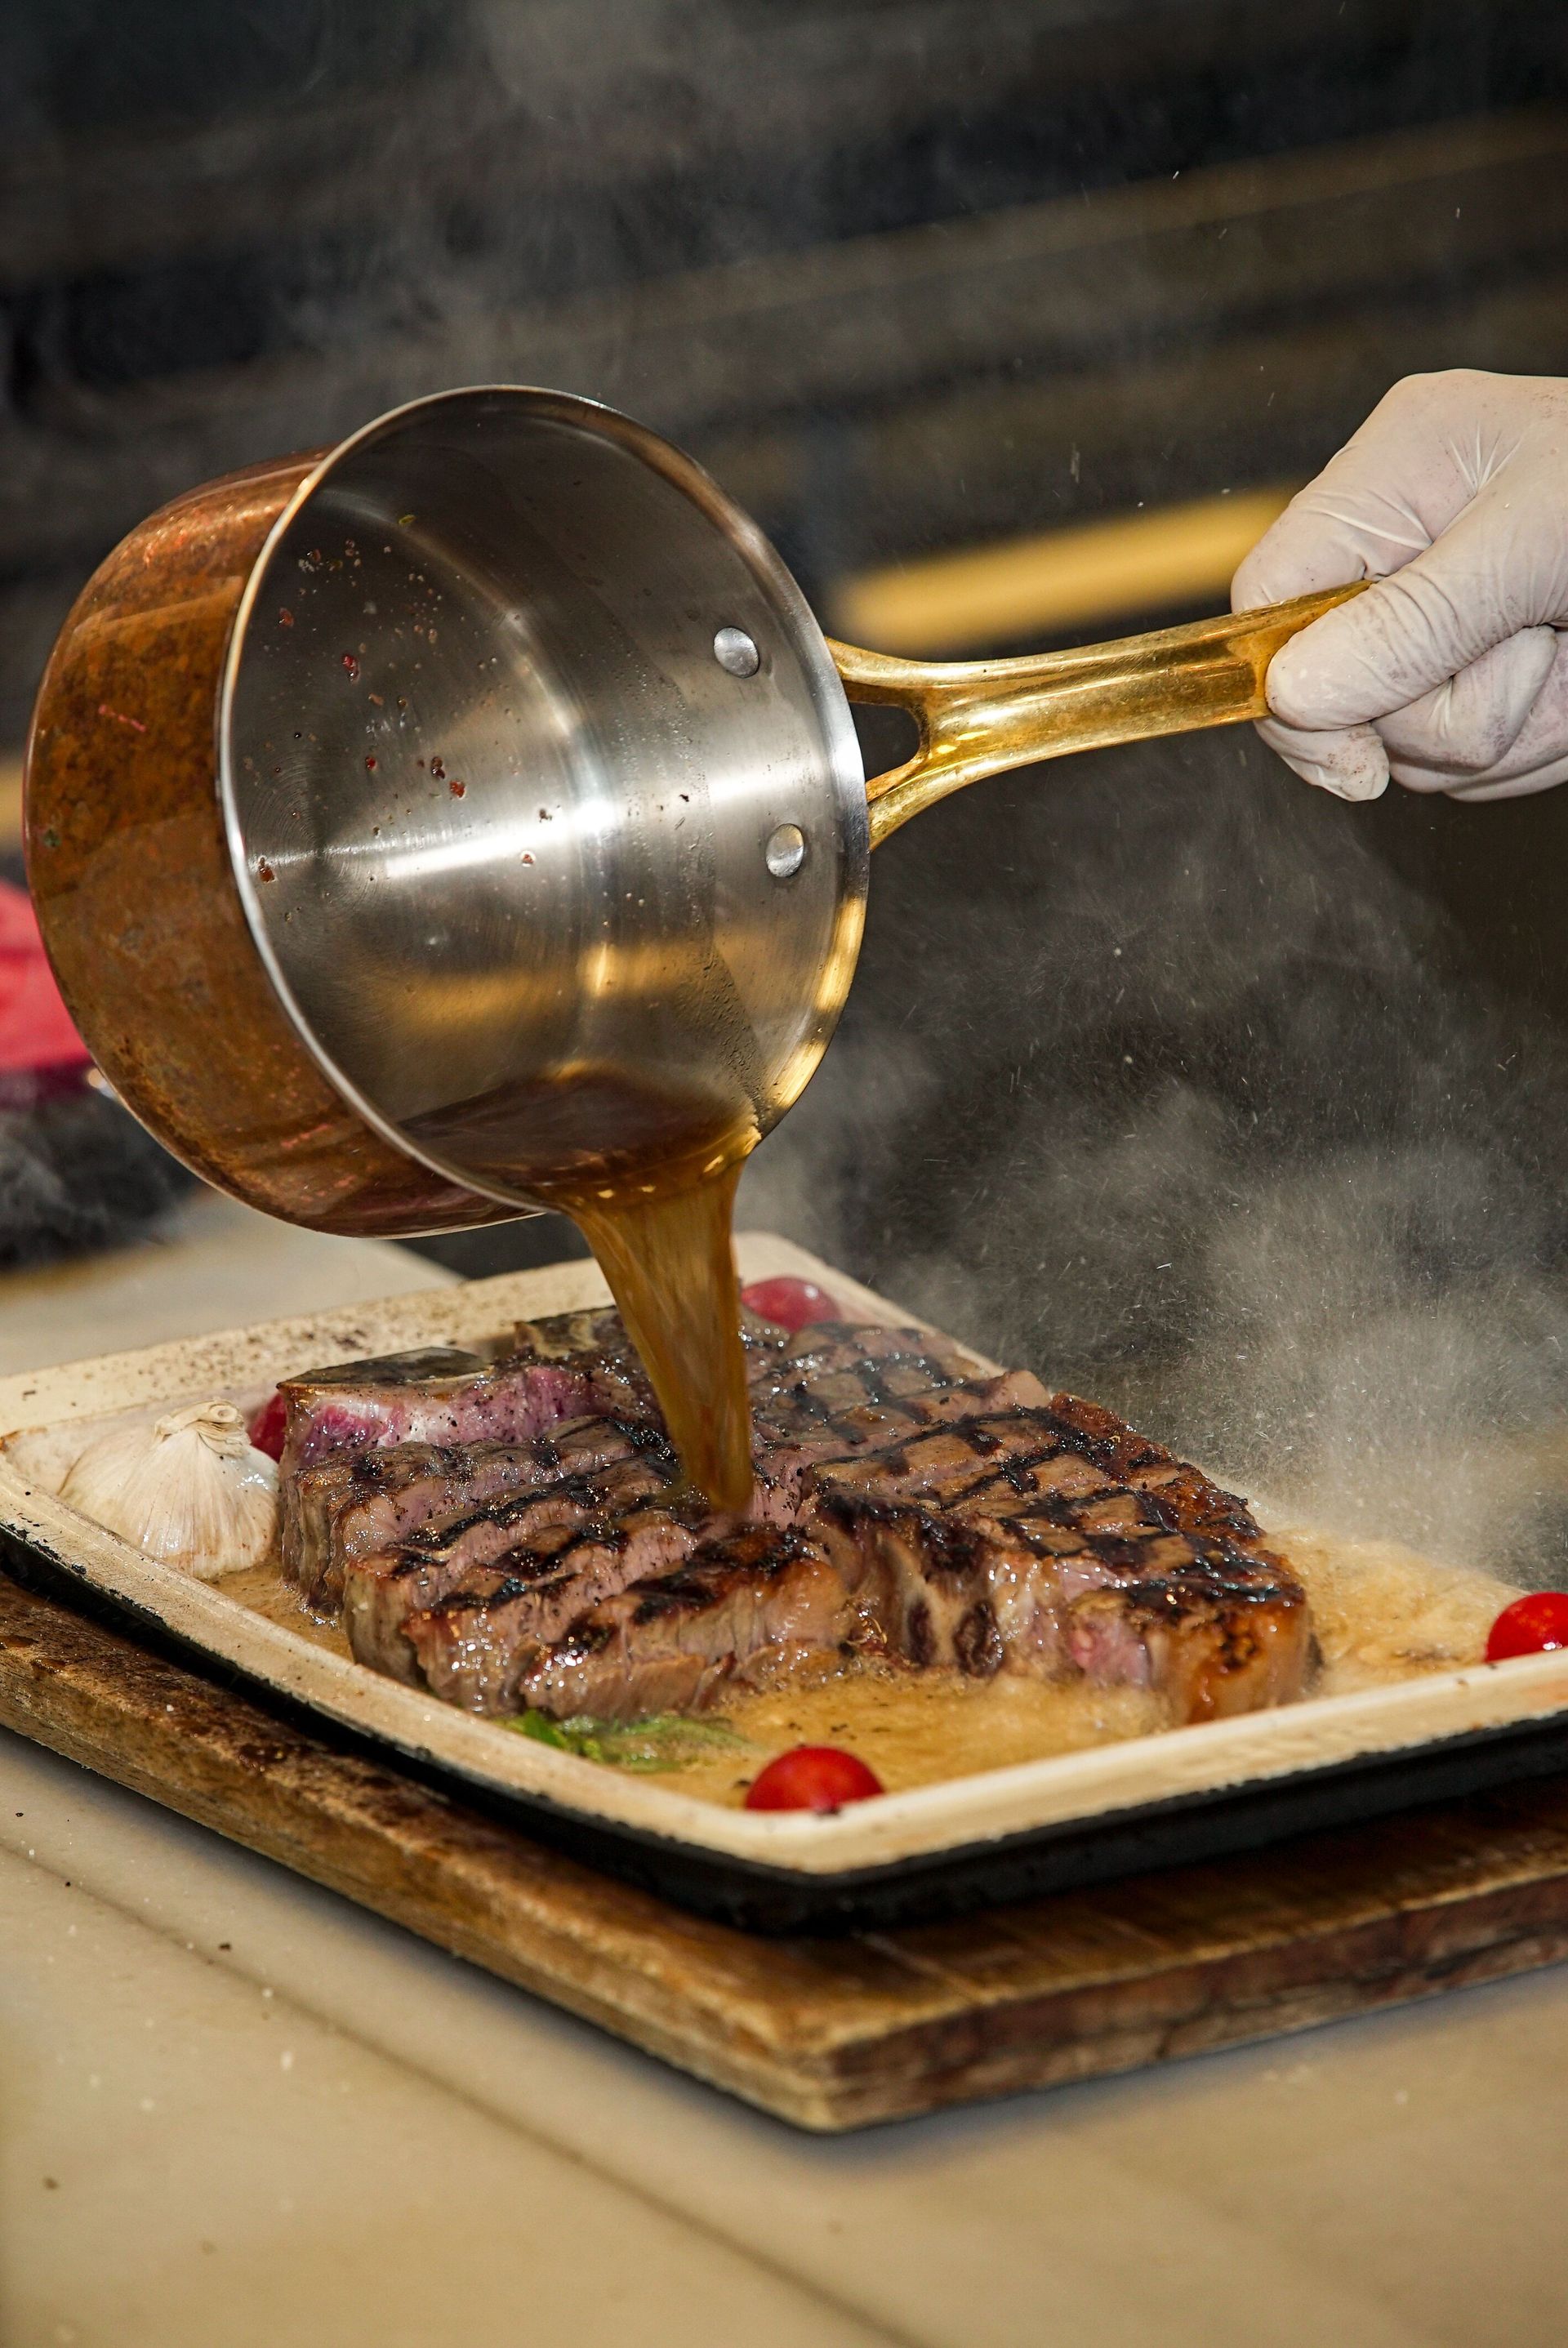
A pan sauce — made from the fond described earlier, with additional aromatics, wine, stock, and finished with cold butter — is the technique through which restaurant-quality sauces are produced in minutes from the cooking pan itself. The butter finish (mounting, or monter au beurre) is the specific technique that produces the glossy, slightly thickened sauce that distinguishes a proper pan sauce from a liquid reduction: cold butter cut into the sauce off the heat, swirled constantly until it incorporates, creating a stable emulsion of fat droplets in the liquid.
The physics is the same as any emulsion — fat and water do not naturally combine, but the lecithin in the butter and the proteins in the sauce act as emulsifiers that stabilize the fat droplets in the liquid, producing a homogeneous sauce with a glossy sheen and a creamy mouthfeel that the liquid alone cannot achieve. The critical variable is temperature: if the sauce is too hot when the butter goes in, the emulsion breaks and the butter separates into greasy puddles; if it is too cold, the butter does not melt smoothly.
What it teaches: the principle of emulsification and why fat and water can be made to coexist in a stable state — a principle that applies to vinaigrette, hollandaise, mayonnaise, and dozens of other preparations. Practice it on: sear a steak; remove it; add shallot and garlic to the fond; deglaze with red wine; add stock; reduce by half; remove from heat; swirl in four tablespoons of cold butter. The recognition moment: the visual transformation of the sauce from thin and watery to glossy and coating — the moment the emulsion forms.
Valeria Drozdova / Pexels
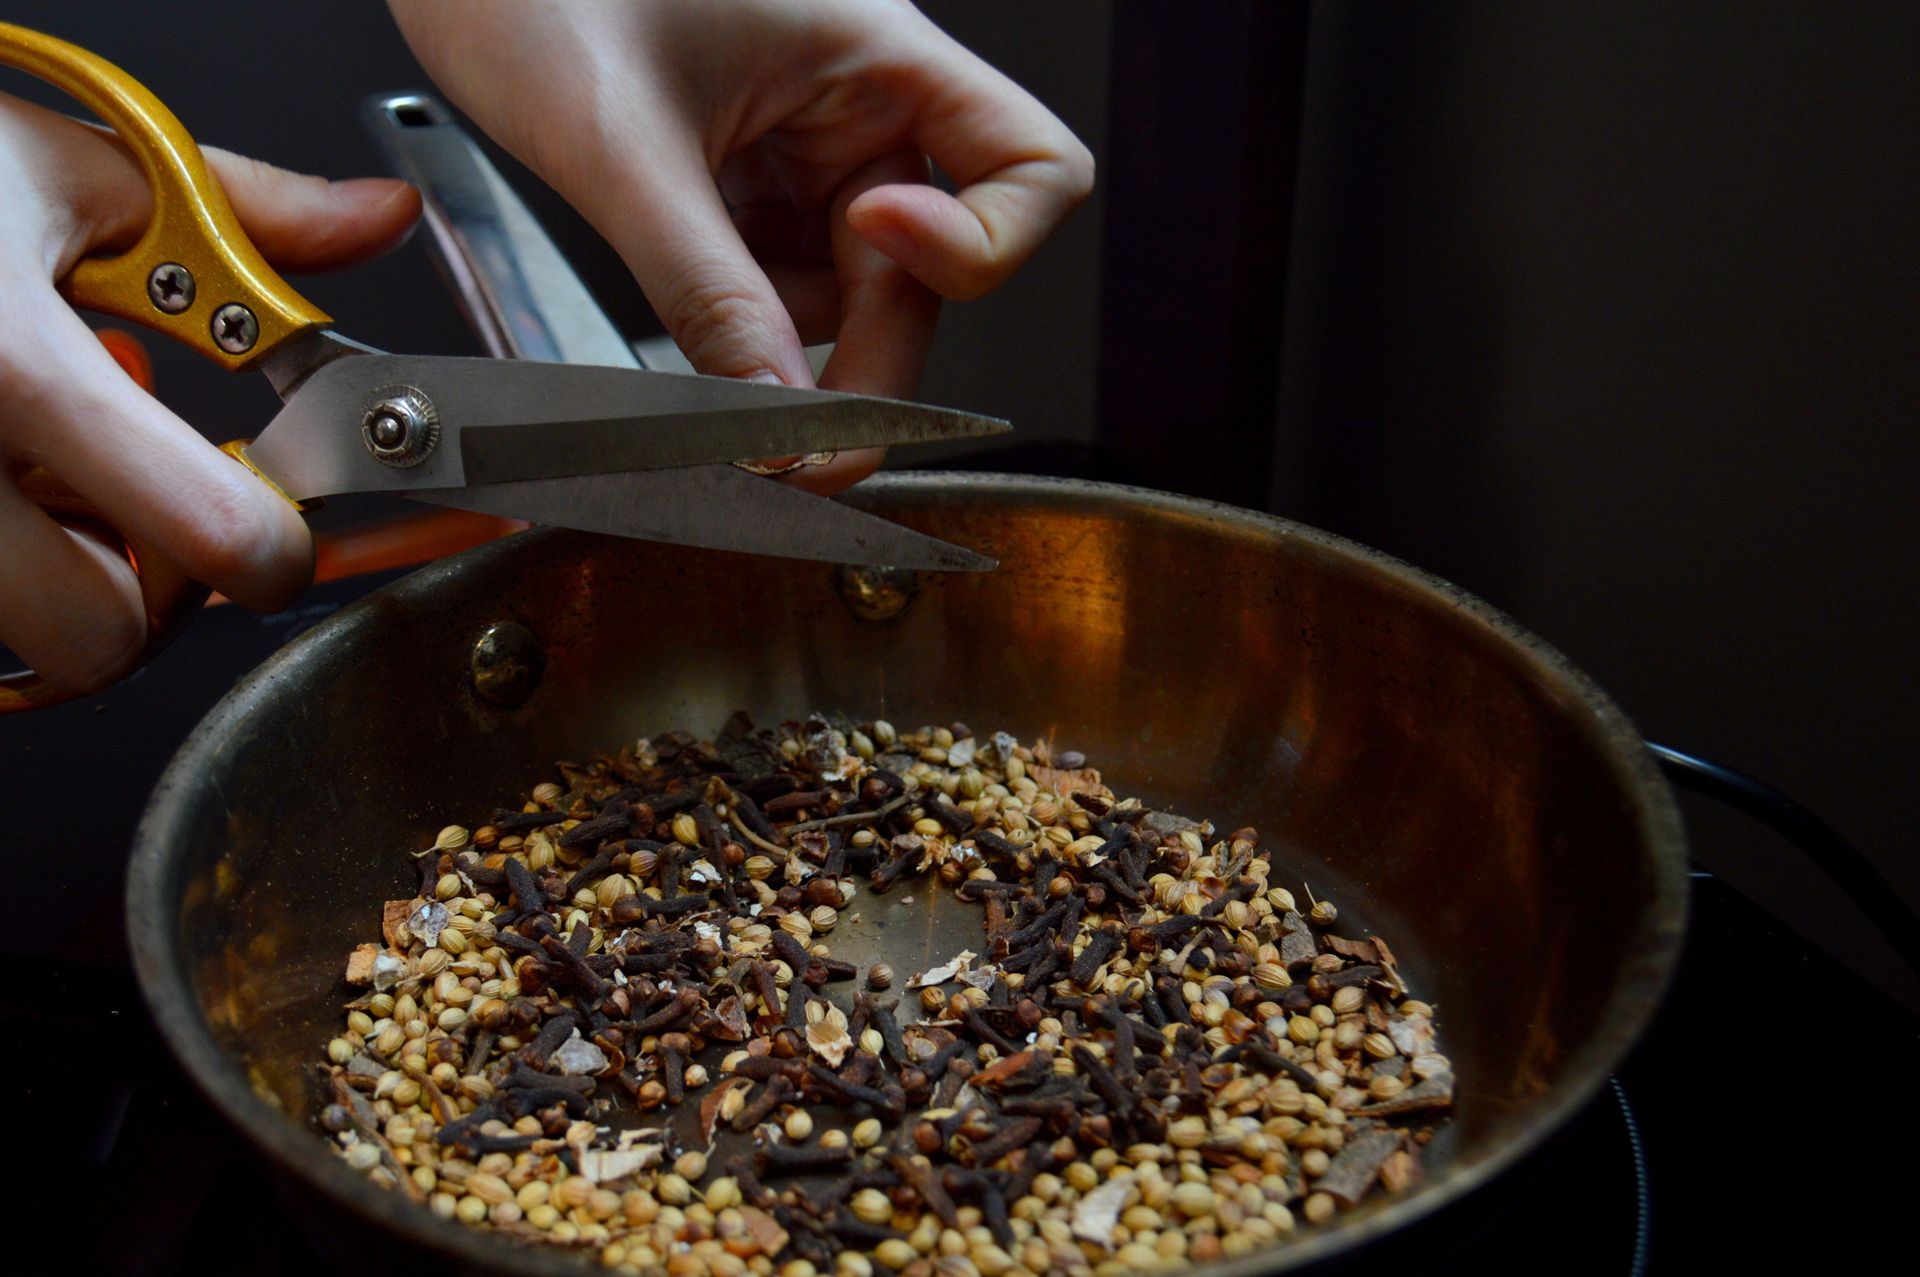
Blooming — cooking whole or ground spices briefly in hot fat (oil, butter, or ghee) before adding other ingredients — is the most important technique in South Asian, Middle Eastern, and many other cooking traditions for unlocking the full flavor potential of dried spices, and one of the least understood by cooks who have encountered it primarily through Westernized recipes that often reduce or omit it.
The chemistry: dried spices contain flavor compounds that are primarily fat-soluble rather than water-soluble — they dissolve in fat and release their flavors into fat much more readily than into water. Cooking them briefly in hot fat extracts these compounds into the cooking medium, distributing their flavor throughout the entire dish. The same quantity of spice, added directly to a water-based sauce rather than bloomed first in fat, produces a fraction of the flavor impact.
The technique applies in two forms: whole spice blooming (mustard seeds, cumin seeds, dried chillies, curry leaves added to very hot oil at the beginning of cooking, before any other ingredients) and ground spice blooming (ground spices added to onion-and-fat mixtures partway through the cooking of aromatics, fried briefly before liquid is added). Both produce markedly more flavorful results than adding the same spices to the liquid component of a dish.
What it teaches: that the fat-soluble flavor compounds of spices require fat for extraction — and that the sequence and medium of cooking fundamentally affects flavor development. Practice it on: heat a tablespoon of oil until very hot; add one teaspoon of cumin seeds; listen for the pop and sizzle; smell the aromatic compounds releasing immediately. The recognition moment: the specific fragrance released in the first 30 seconds of blooming whole spices — a fragrance impossible to achieve any other way.
hello aesthe / Pexels
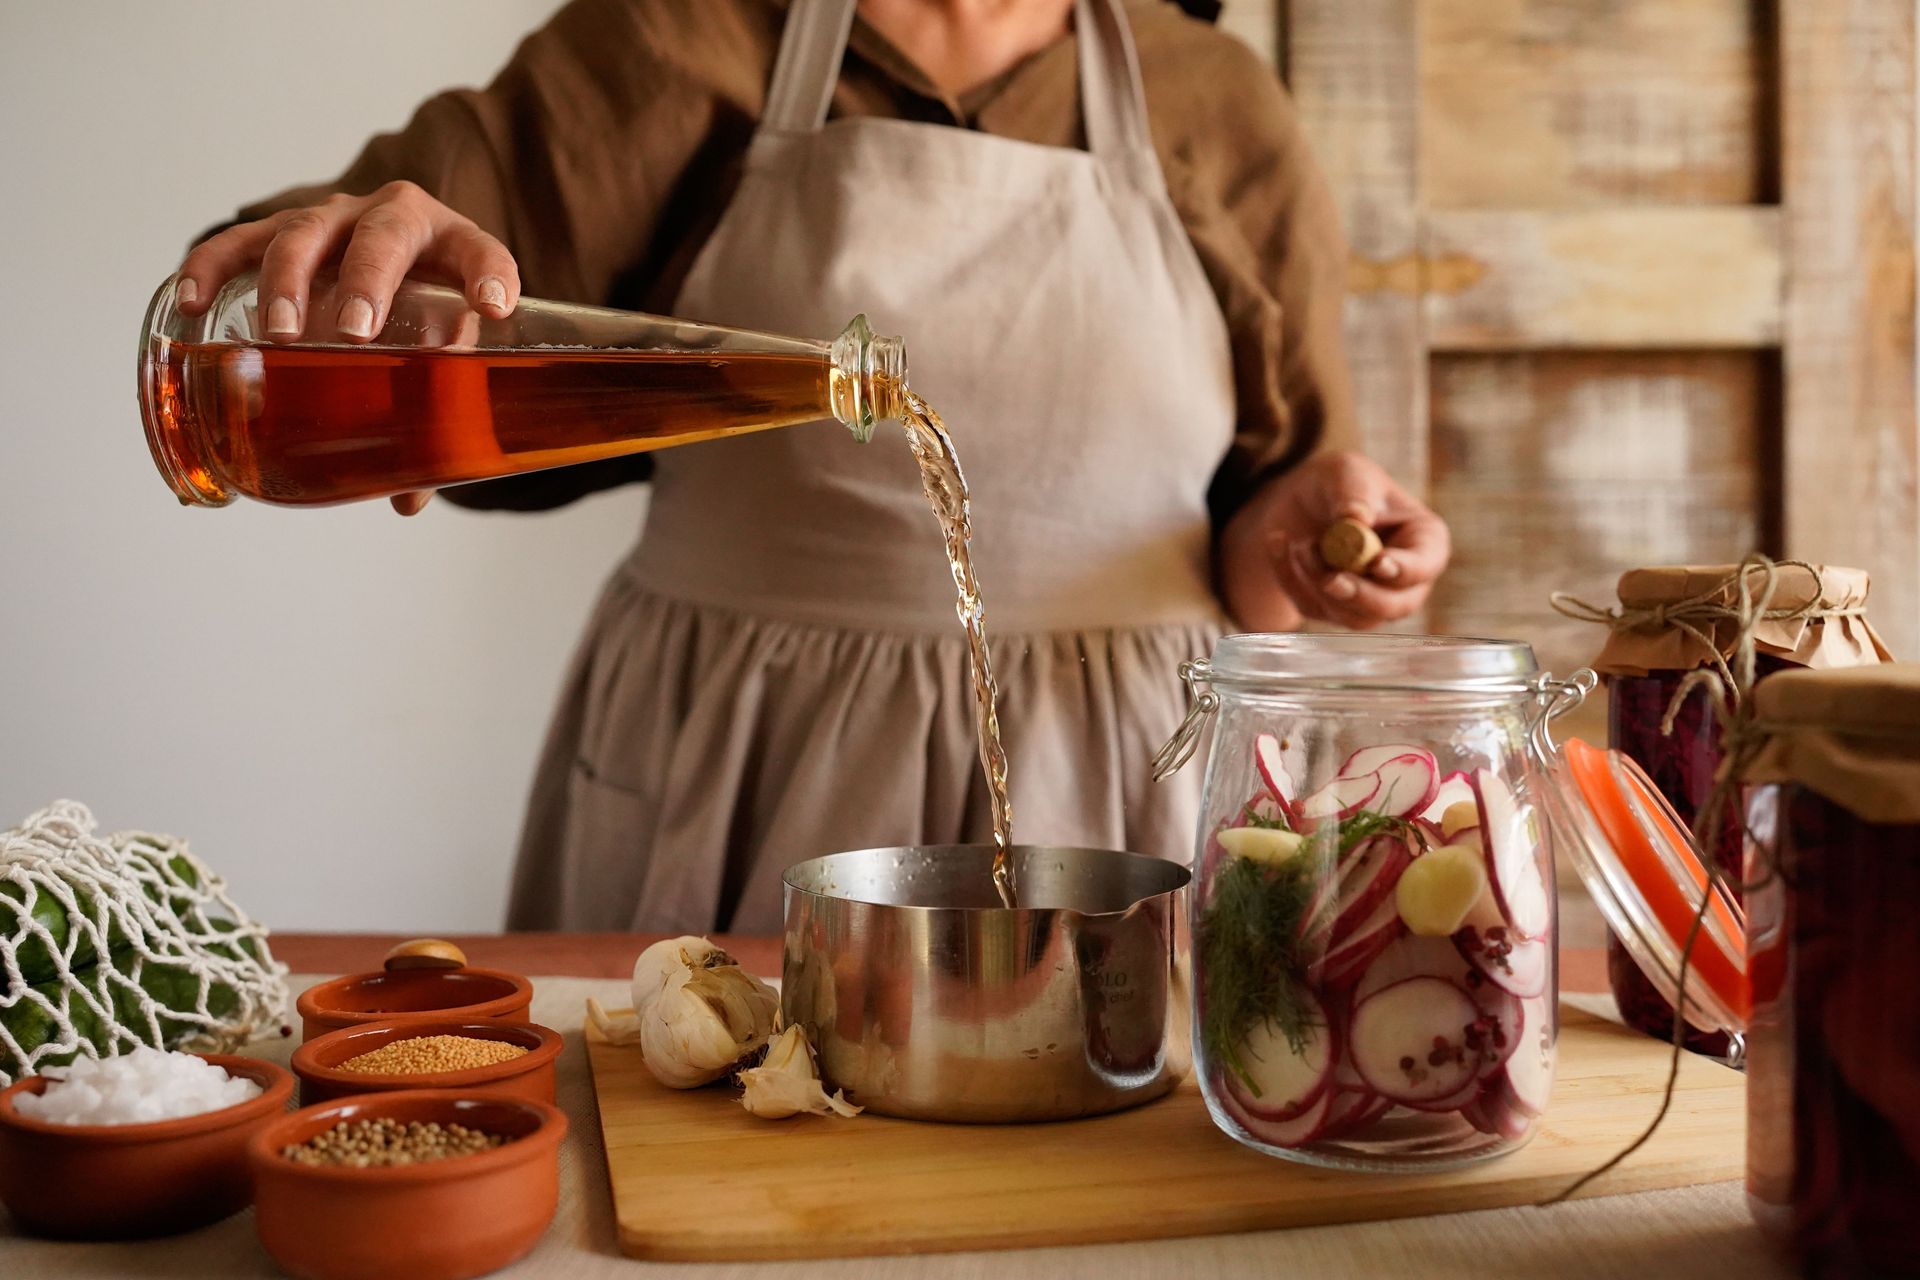
A gastrique — a sweet-sour reduction of sugar and vinegar, used to balance rich meat dishes, cut through fatty proteins, or add brightness to a sauce — is one of the most versatile tools in classical French cooking and one that is significantly underused in home cooking, primarily because it sounds more technical than it is.
The technique is simple: sugar is cooked in a dry pan until it caramelizes to a light amber, then acid (typically red wine vinegar or citrus juice) is added carefully (it will sputter and boil violently — stand back and use a deep pan), and the mixture is stirred until the caramel dissolves into the acid, producing a dark, concentrated, sweet-sour syrup. This syrup is then added in small amounts to sauces for game, duck, liver, or any rich protein where its acidity and sweetness provide balance.
The broader principle the gastrique teaches — that acid and sweetness together perform a balancing function that neither can achieve alone — is one of the most important in sauce construction. Once this principle is understood, the cook develops an intuition for when a dish needs brightening (acid) versus when it needs rounding (sweetness) versus when it needs both simultaneously (gastrique).
What it teaches: the principle of balancing sweet and acid in sauce construction, and how a small amount of a highly concentrated flavoring can transform an entire dish. Practice it on: a small batch to taste alongside a piece of duck breast or a rich lamb preparation. The recognition moment: the specific effect of adding two teaspoons of gastrique to a sauce — how the entire balance of the dish shifts toward brightness without any increase in liquid volume.
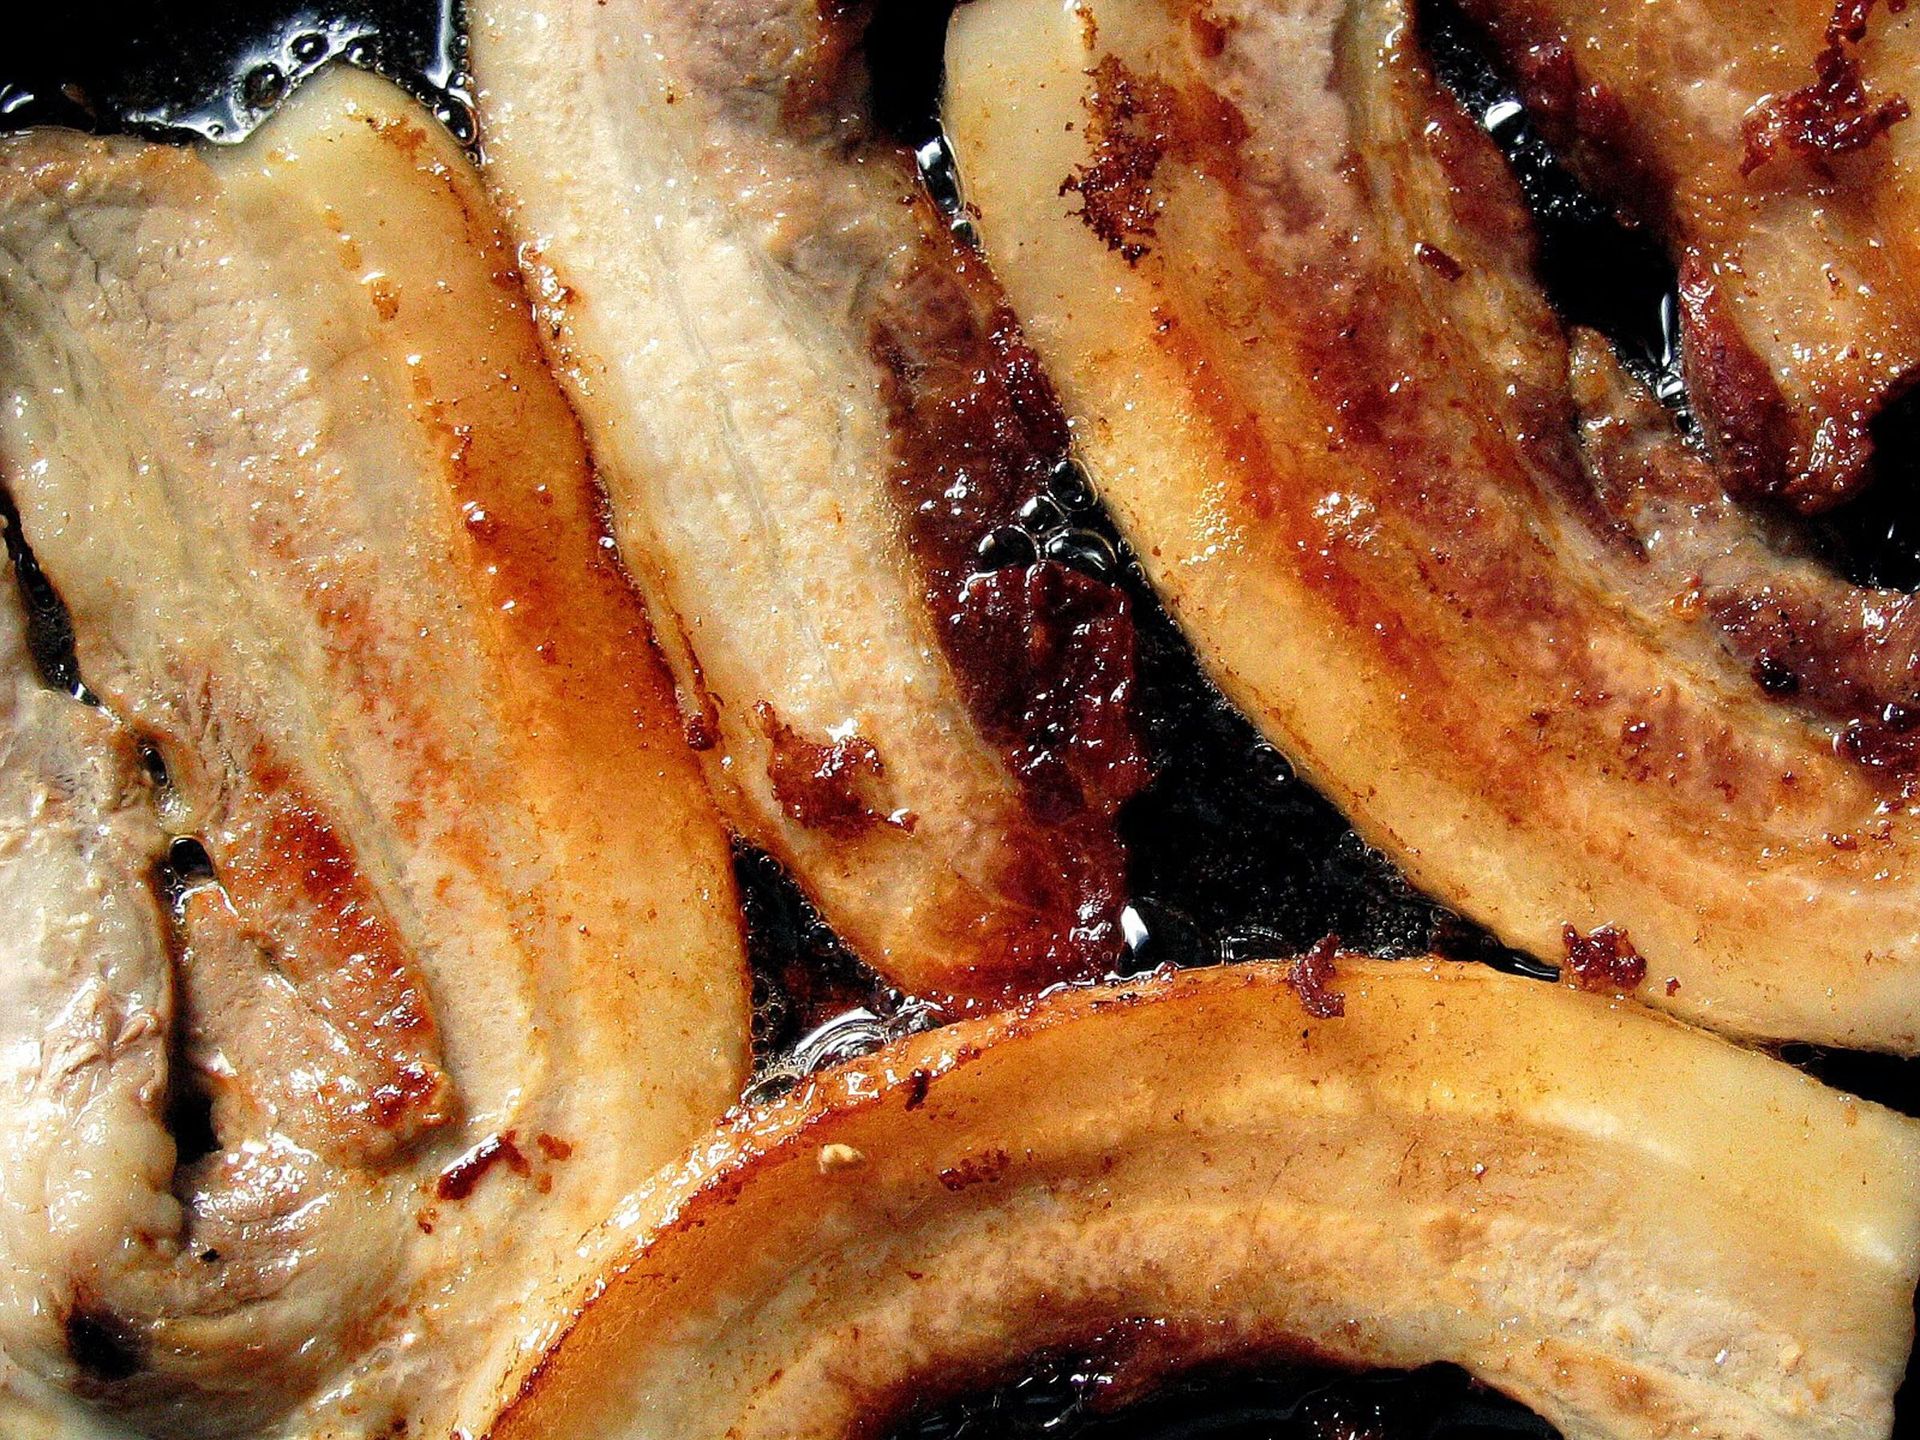
Hans Heemsbergen / Pexels
Rendering — the process of cooking fatty ingredients (bacon, pancetta, duck fat, chicken skin, bone marrow) over low to medium heat until the solid fat melts out of the tissue and becomes liquid, leaving behind crispy, caramelized solids and a pool of flavored fat — produces two things simultaneously: the cracklings or lardons whose texture and flavor are distinct from any other preparation of the same ingredient, and the rendered fat itself, which is one of the most flavorful cooking mediums available for the specific cuisine from which it comes.
Duck fat rendered from duck legs and used to cook potatoes produces pommes sarladaises — the specific potato preparation of the Périgord region of France whose flavor is unlike any potato cooked in any other fat. Chicken fat (schmaltz) rendered from chicken skin and used to cook vegetables or spread on bread is the flavor foundation of Ashkenazi Jewish cooking. Lardons of rendered pancetta or guanciale in the fat they rendered into are the foundation of carbonara, amatriciana, and dozens of other Italian pasta preparations.
What it teaches: that fat is a flavor vehicle as well as a cooking medium, and that the most flavorful fat is fat that has been rendered from the specific protein being cooked. Practice it on: dice 150g of pancetta; cook in a dry pan over medium-low heat until the fat runs and the dice are golden and crisp. Use the rendered fat to cook the pasta sauce. The recognition moment: the difference between pasta cooked with rendered pancetta fat versus pasta cooked with olive oil and pancetta added at the end.
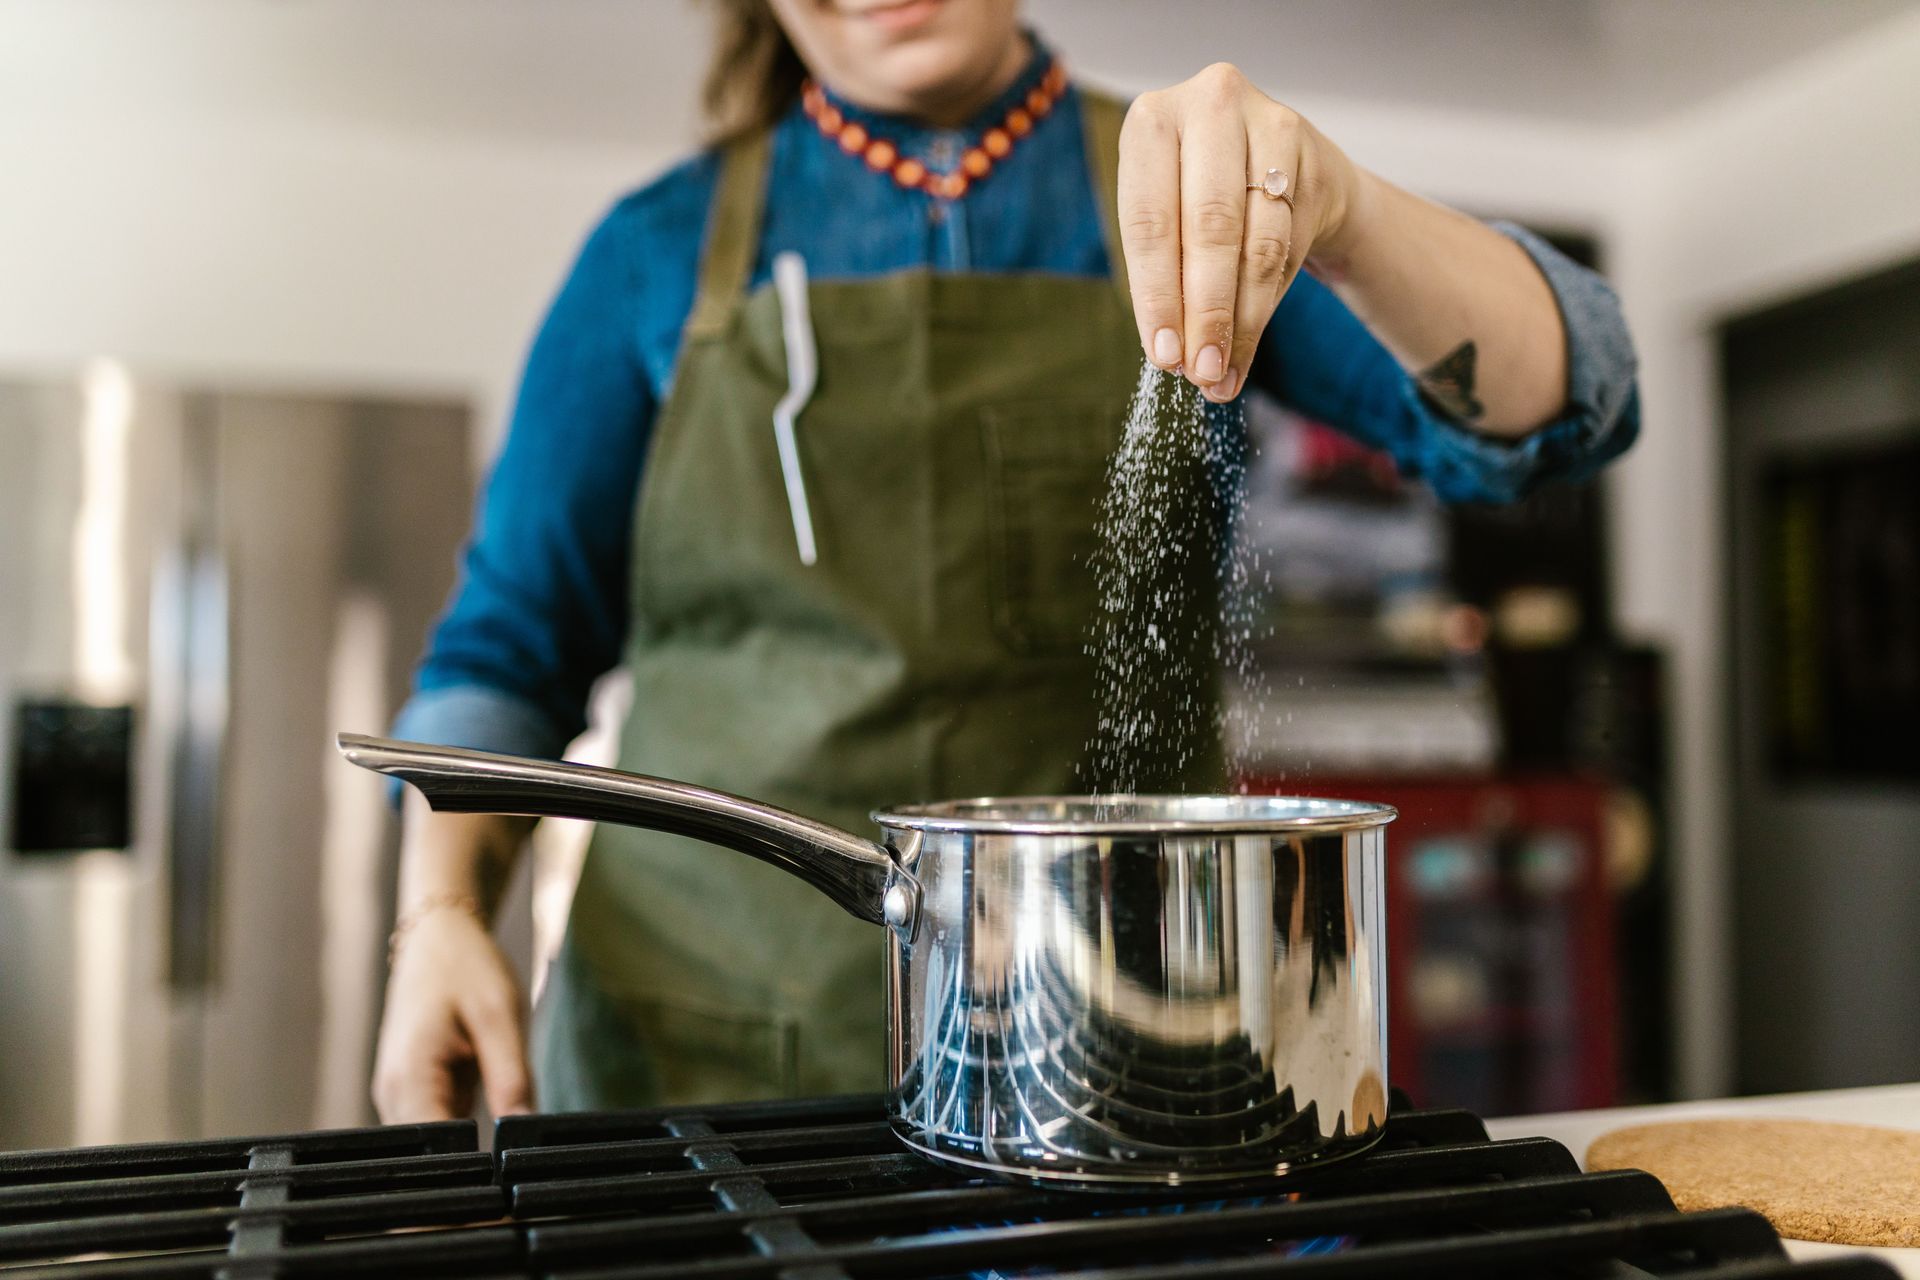
RDNE Stock project / Pexels
Seasoning at every stage of cooking — adding salt at the beginning (to onions and aromatics, which draws out moisture and begins flavor development), in the middle (to proteins before and during cooking, and to vegetables as they cook), and at the end (as a finishing element, often with a different salt — flaky sea salt rather than kosher or table salt) — is the specific technique that produces the fully seasoned, balanced flavor of restaurant food compared to the flat, then-over-salted quality of home cooking where all the salt goes on at the end.
The mechanism is different at each stage. Salt added early to aromatics draws out water through osmosis and concentrates flavor by reducing moisture content. Salt added during cooking seasons the food as it is absorbed into the developing texture. Salt added at the end provides the specific sensation of salinity on the palate — the direct salty flavor and the enhancement of all other flavors that salt's sodium ions produce through their effect on taste receptor cells.
The specific skill this teaches is the difference between the three types of seasoning and the ability to identify when each is lacking — the flat, slightly bitter quality of under-salted early cooking; the protein that has not been seasoned before cooking and tastes seasoned only on its surface; and the dish that is technically seasoned throughout but lacks the brightness of a finishing salt.
What it teaches: that salt timing is as important as salt quantity, and that "season to taste" at the end cannot compensate for absent seasoning at earlier stages. Practice it on: make two batches of the same simple soup or sauce — one salting only at the end, one salting at each stage. Taste both. The recognition moment: the taste comparison between the two batches, which will be more different than expected.
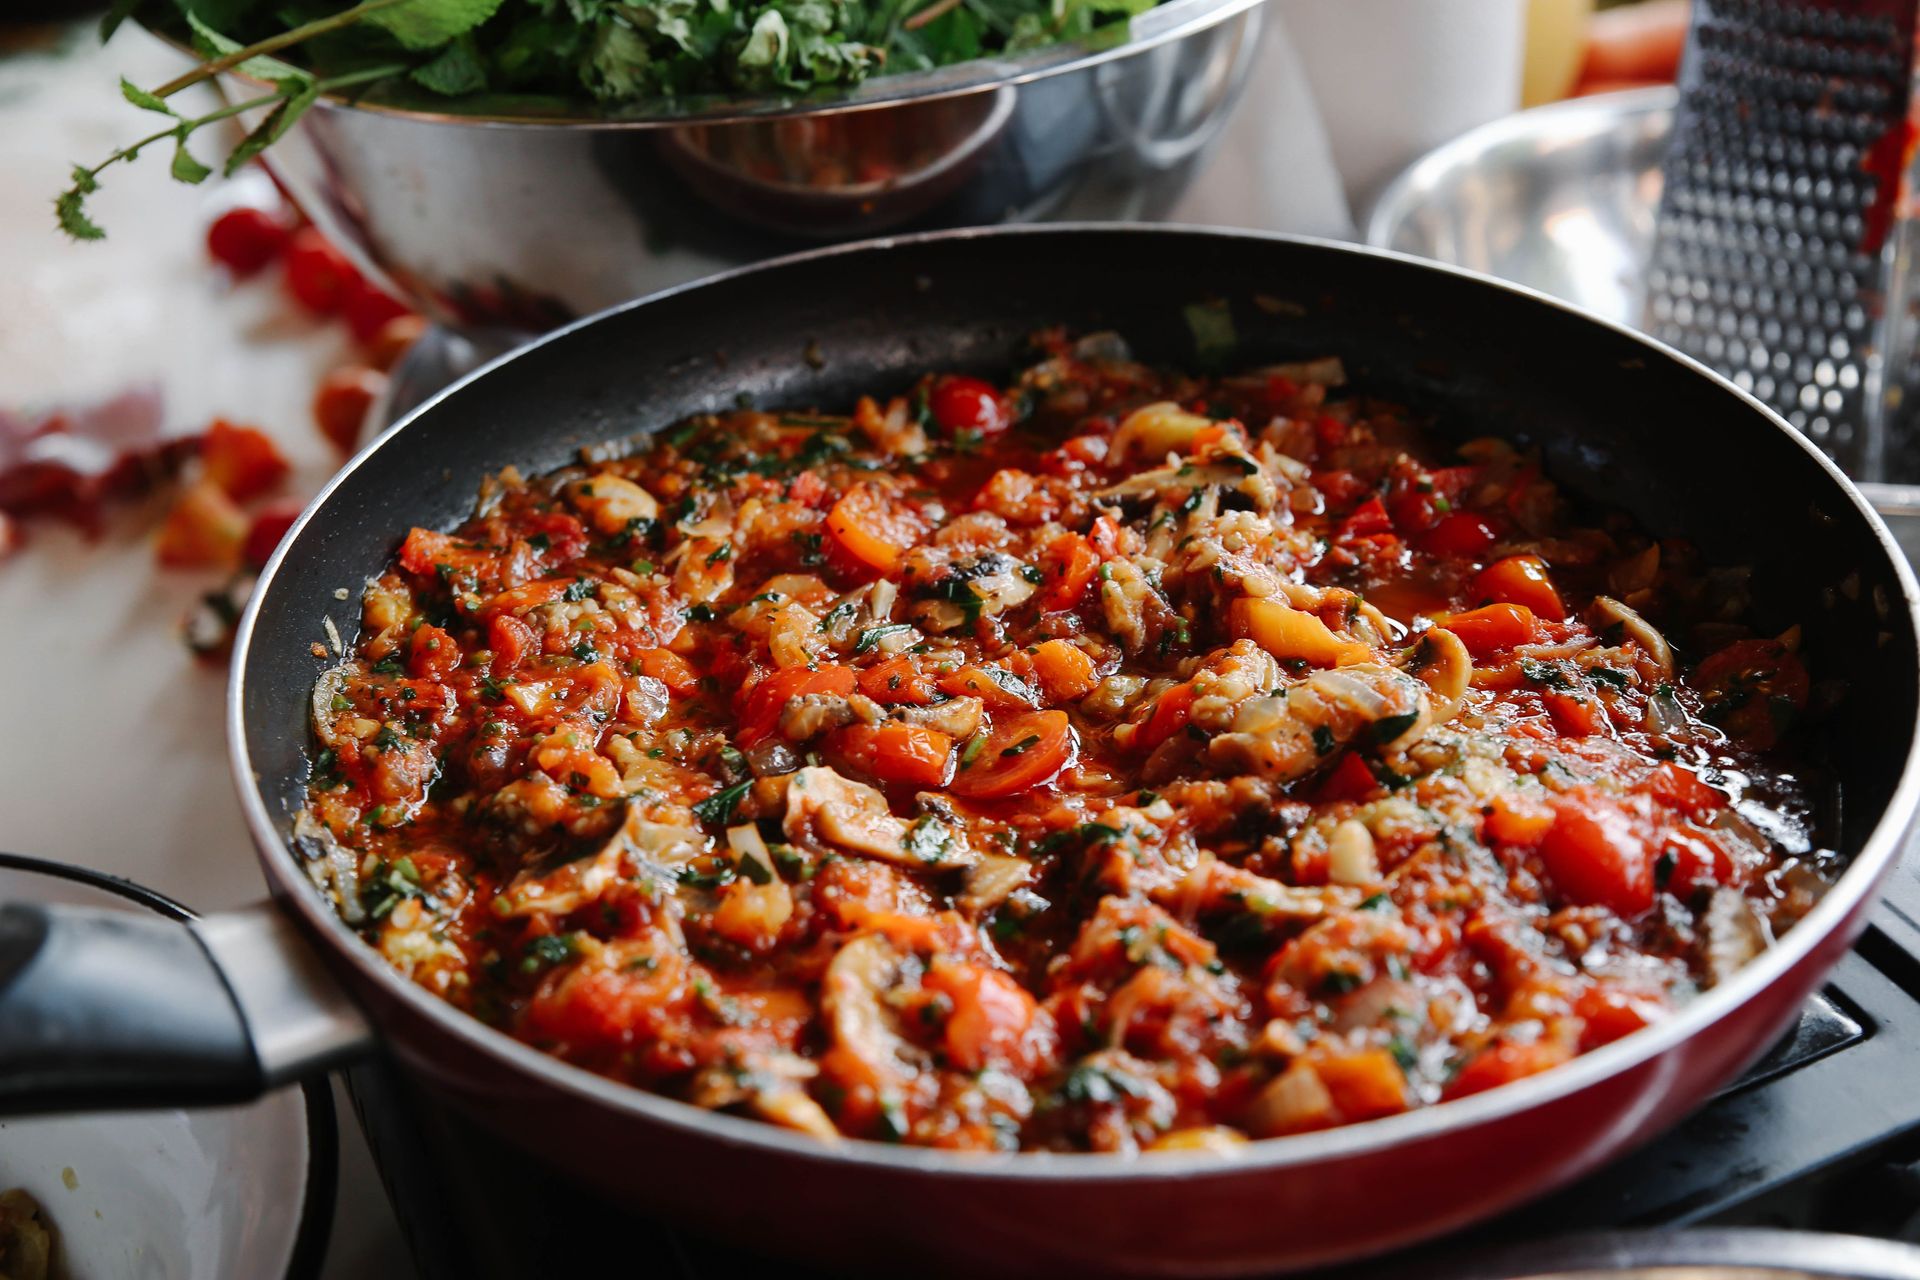
Maor Attias / Pexels
Reduction — simmering a liquid (wine, stock, cream, or a combination) over moderate to high heat until evaporation removes water and concentrates the remaining flavors, sugars, and dissolved solids into a more intense, more viscous preparation — is the primary technique through which thin, flat-tasting cooking liquids are transformed into sauces with depth, body, and intensity. It is also the technique most consistently misjudged by home cooks, who either under-reduce (producing thin, watery sauces) or over-reduce (producing salty, intensely flavored syrups that have lost their balance).
The skill in reduction is reading the sauce's progress: observing how the surface bubbles change from vigorous, large bubbles (water boiling off rapidly) to smaller, more viscous bubbles (the liquid thickening as water content decreases); tasting periodically to assess flavor concentration and salinity (as water evaporates, salt concentration increases, so a sauce that tasted properly seasoned at the start may be too salty when fully reduced); and learning to stop the reduction at the point where flavor and consistency are both correct.
The specific vocabulary of reduction — reduce by half, reduce to a glaze, reduce until the sauce coats the back of a spoon — describes visual and physical states that need to be experienced rather than just described, which is why this technique specifically rewards practice rather than reading.
What it teaches: that concentration is a flavor technique, not just a thickening one; that the relationship between flavor intensity and liquid volume is the primary variable in sauce construction; and that salt content must be considered in relation to the final volume, not the starting volume. Practice it on: reduce 500ml of chicken stock to 100ml; taste at every stage; observe the transition from thin to sauce-like to glaze-like.
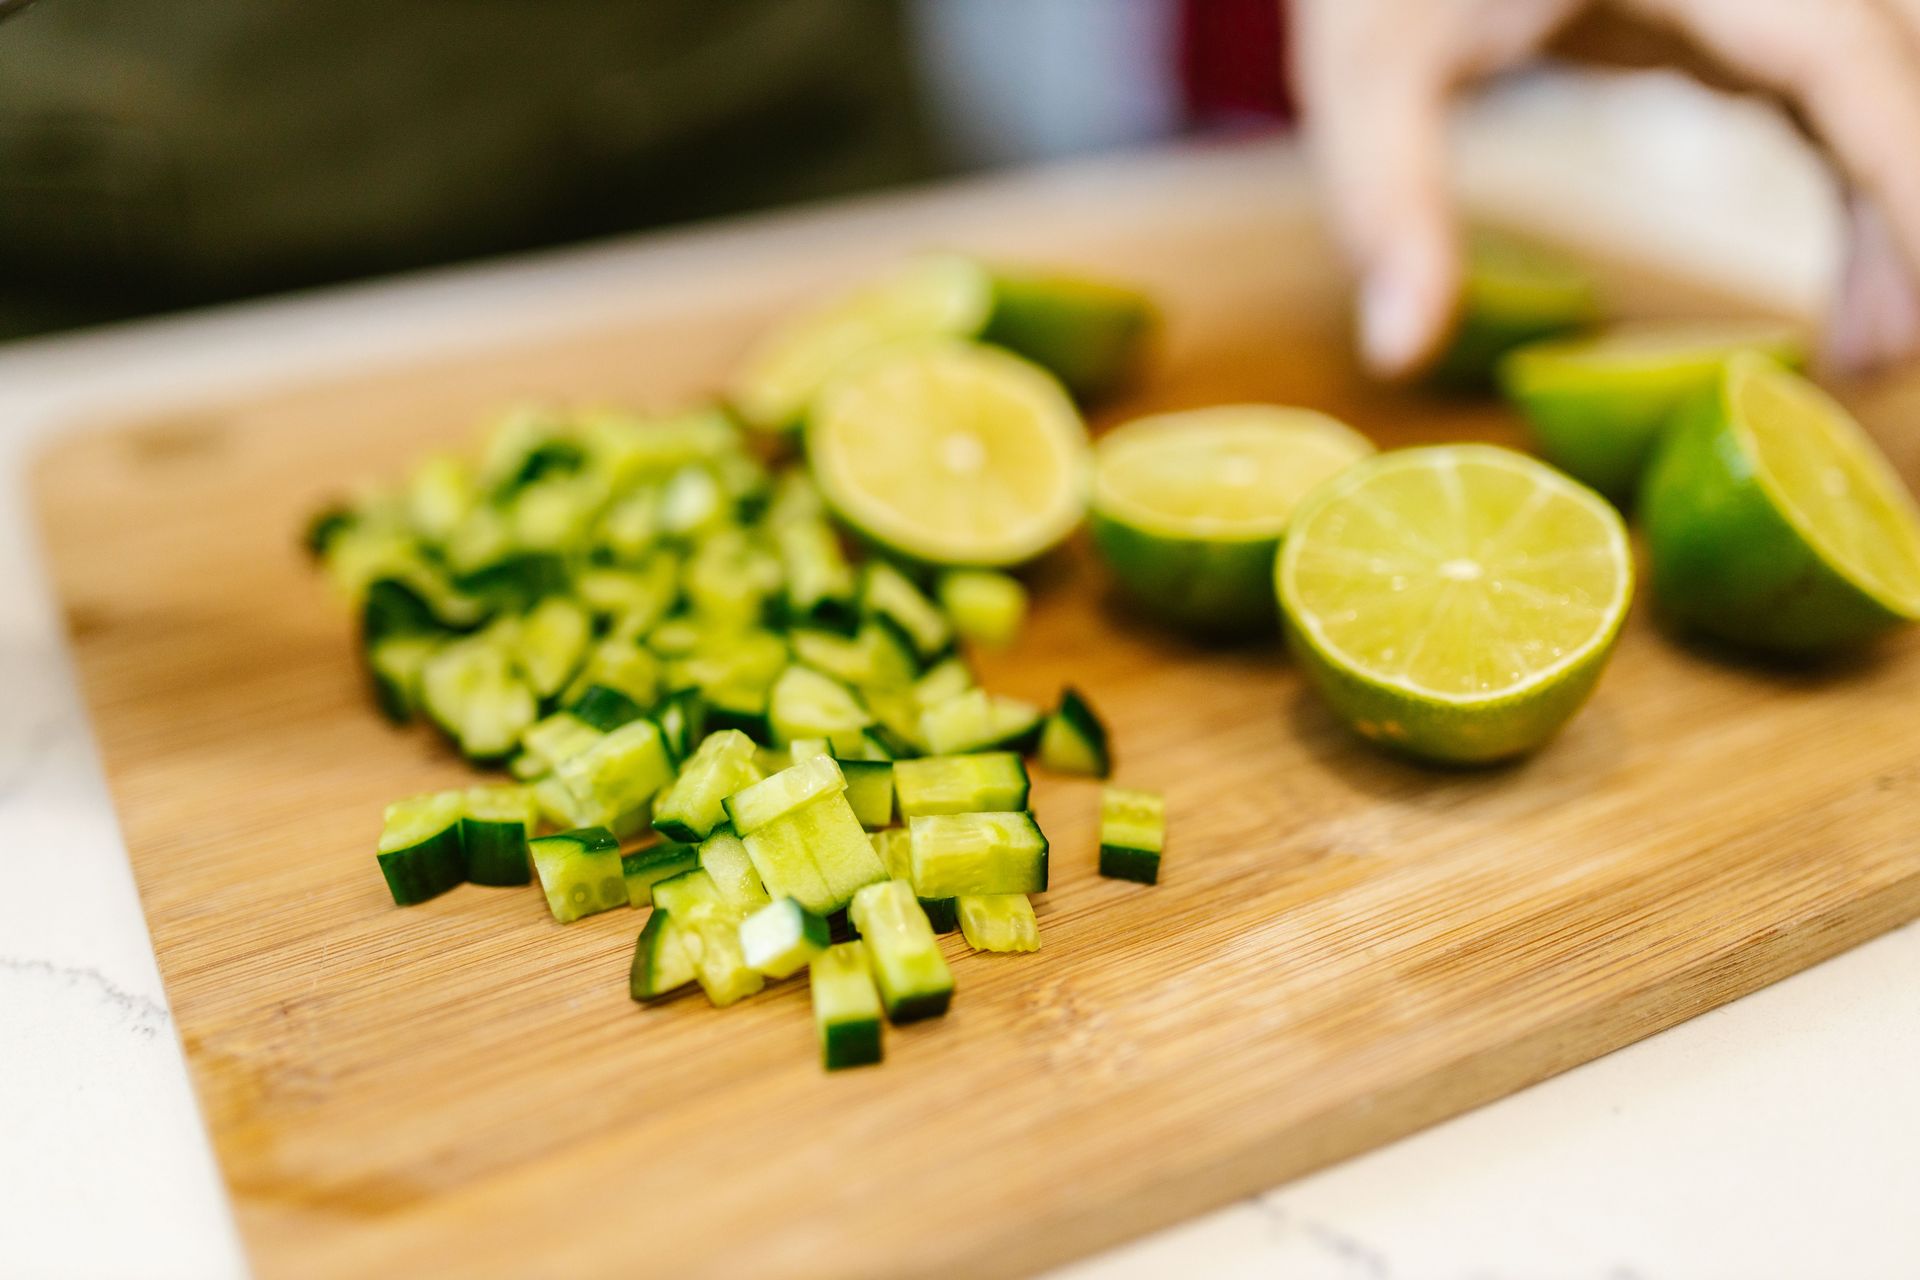
RDNE Stock project / Pexels
The julienne (thin matchstick cuts, approximately 3mm × 3mm × 5cm) and brunoise (tiny uniform dice, approximately 3mm × 3mm × 3mm) are the two precision knife cuts whose mastery most transforms a cook's relationship to vegetables, both by producing cuts that cook uniformly (everything the same size finishes cooking at the same time) and by developing the knife skills that make all other cutting faster, more precise, and less effortful.
The specific skill underlying both cuts is the "claw" grip — the method of holding the food with fingertips curled under and knuckles guiding the blade, which prevents the blade from contacting the fingers regardless of cutting speed. This grip, once habitual, removes the anxiety that makes most home cooks cut slowly and inaccurately, allowing confident, efficient knife use.
The julienne and brunoise are not merely decorative — the fineness of the cut directly affects how the ingredient tastes and functions: a finely diced brunoise of mirepoix (onion, carrot, celery) melts into a sauce, becoming invisible and contributing pure flavor; a rough-cut mirepoix retains texture and produces a rougher, more rustic result. The choice between the two is a deliberate one once the skill exists.
What it teaches: knife technique fundamentally — the claw grip, the rocking motion of the knife, the relationship between cut size and cooking time — as well as the principle that uniformity of cut produces uniformity of cooking. Practice it on: a carrot, a shallot, and a stick of celery; start with the julienne strips, then turn them to produce the brunoise dice.
Doğukan Melik Sevindik / Pexels
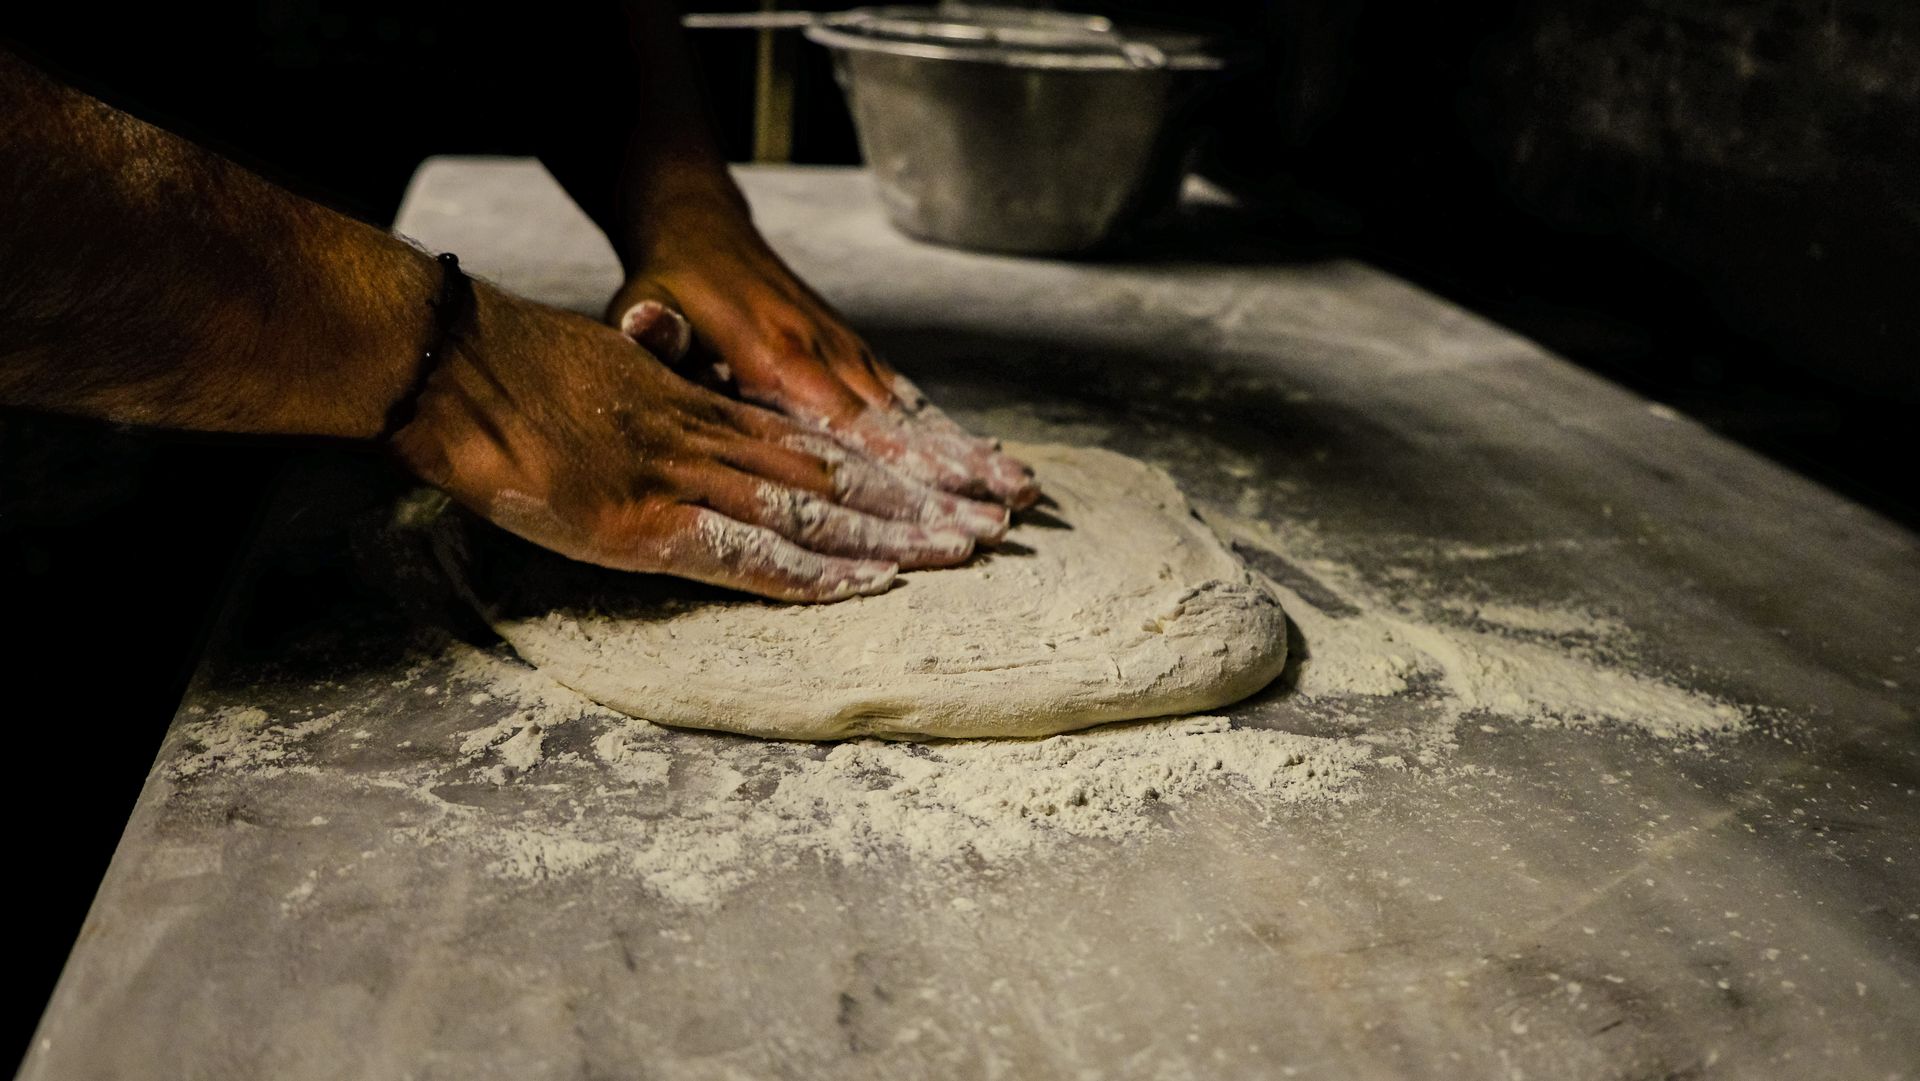
The windowpane test — stretching a small piece of bread dough between the fingers until it is thin enough to be translucent to light without tearing, demonstrating that the gluten has developed sufficiently to form the elastic network that traps the carbon dioxide bubbles produced by the yeast — is the specific diagnostic technique that teaches a baker to feel the difference between adequately developed and under-developed dough without relying on timing.
Gluten development is the most important single variable in bread baking and the most frequently mismanaged, because the time required to develop gluten varies with flour type (bread flour develops faster than all-purpose flour, whole wheat faster still due to the bran's cutting of developing strands), hydration (higher hydration doughs develop gluten faster), temperature (warmer dough develops faster), and mixing method (vigorous machine mixing develops gluten faster than gentle folding). A timer is therefore an unreliable indicator of development; the dough's physical state is the only reliable one.
A piece of properly developed dough stretched between the fingers forms a thin, even membrane that allows light to pass through without tearing. Under-developed dough tears immediately or produces thick, uneven patches. This physical test, performed in 30 seconds, provides accurate information about the dough's state that no recipe timing can fully convey.
What it teaches: that baking requires physical assessment of the dough's state rather than reliance on timing alone — the same principle that distinguishes a skilled baker from a recipe-follower. Practice it on: any basic bread dough — mix the dough, test it after 5 minutes of kneading, then again after 10 and 15 minutes. Feel the difference between each stage. The recognition moment: the first time the dough stretches to a near-translucent sheet without tearing — and the bread that results is noticeably better than under-kneaded previous batches.
Mohamed Olwy / Pexels
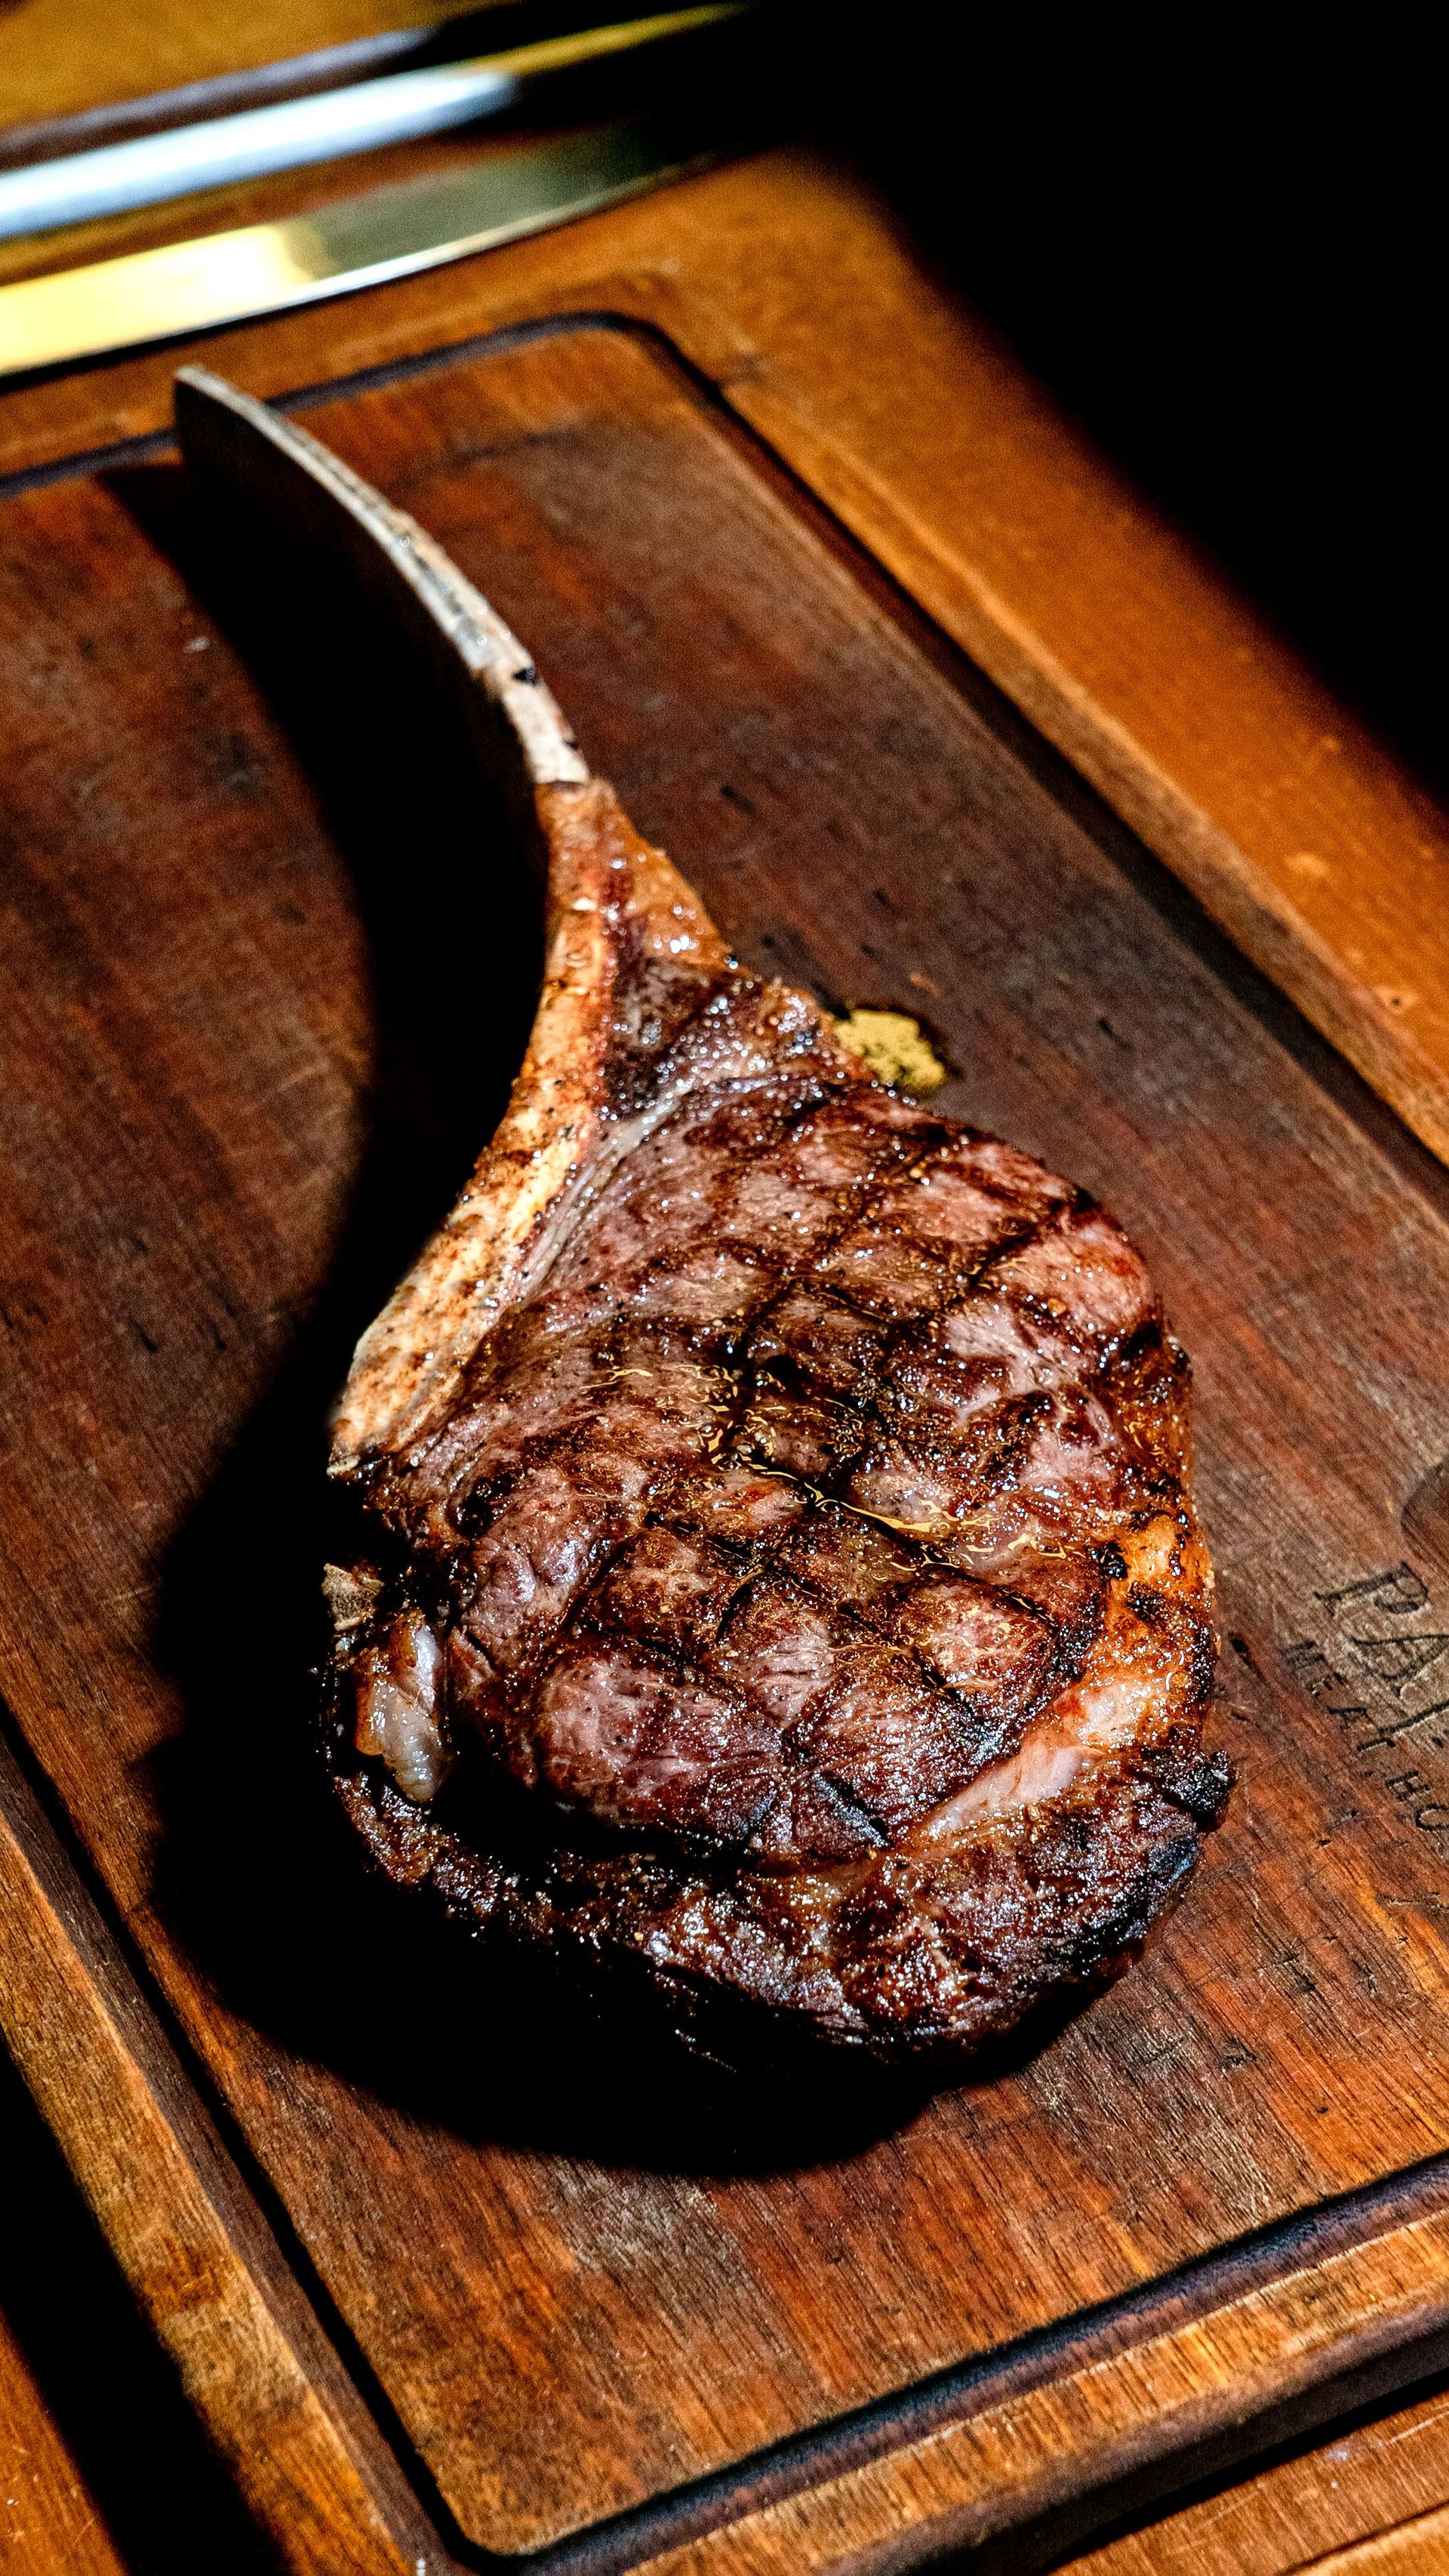
Resting cooked meat — allowing it to stand, loosely covered, for a period of five to twenty minutes (depending on size) after removing from heat before cutting — is the technique that determines whether the meat retains its juices or releases them immediately onto the cutting board, and it is among the most widely stated and most frequently ignored of all cooking instructions.
The mechanism is temperature equilibration: during cooking, the muscle fibers contract and squeeze moisture toward the cooler center of the meat, creating a pressure differential between the surface and the interior. Immediately after cooking, the interior is under pressure and the fibers are tightly contracted — cutting at this point releases the pressurized juices onto the board. During resting, the surface and interior temperatures equilibrate, the pressure differential dissipates, the fibers relax slightly, and the moisture redistributes through the meat — allowing it to be cut with significantly less juice loss.
The quantitative difference is measurable: a chicken breast cut immediately after cooking loses approximately 15 to 20% of its weight in juices; the same breast rested for five minutes loses approximately 5 to 8%. This difference is the difference between juicy and dry chicken, between a steak that sits in a pool of juice on the board and one that retains that juice in its fibers.
What it teaches: that carryover cooking and temperature equilibration are real phenomena with real effects on texture and juiciness — and that the five-minute investment of patience is among the highest-return acts available in cooking. Practice it on: cook two identical chicken breasts; cut one immediately, rest the other for five minutes; taste both. The recognition moment: the visible difference in juice loss between the immediately cut and rested breast — and the corresponding difference in texture.
Cottonbro Studio / Pexels
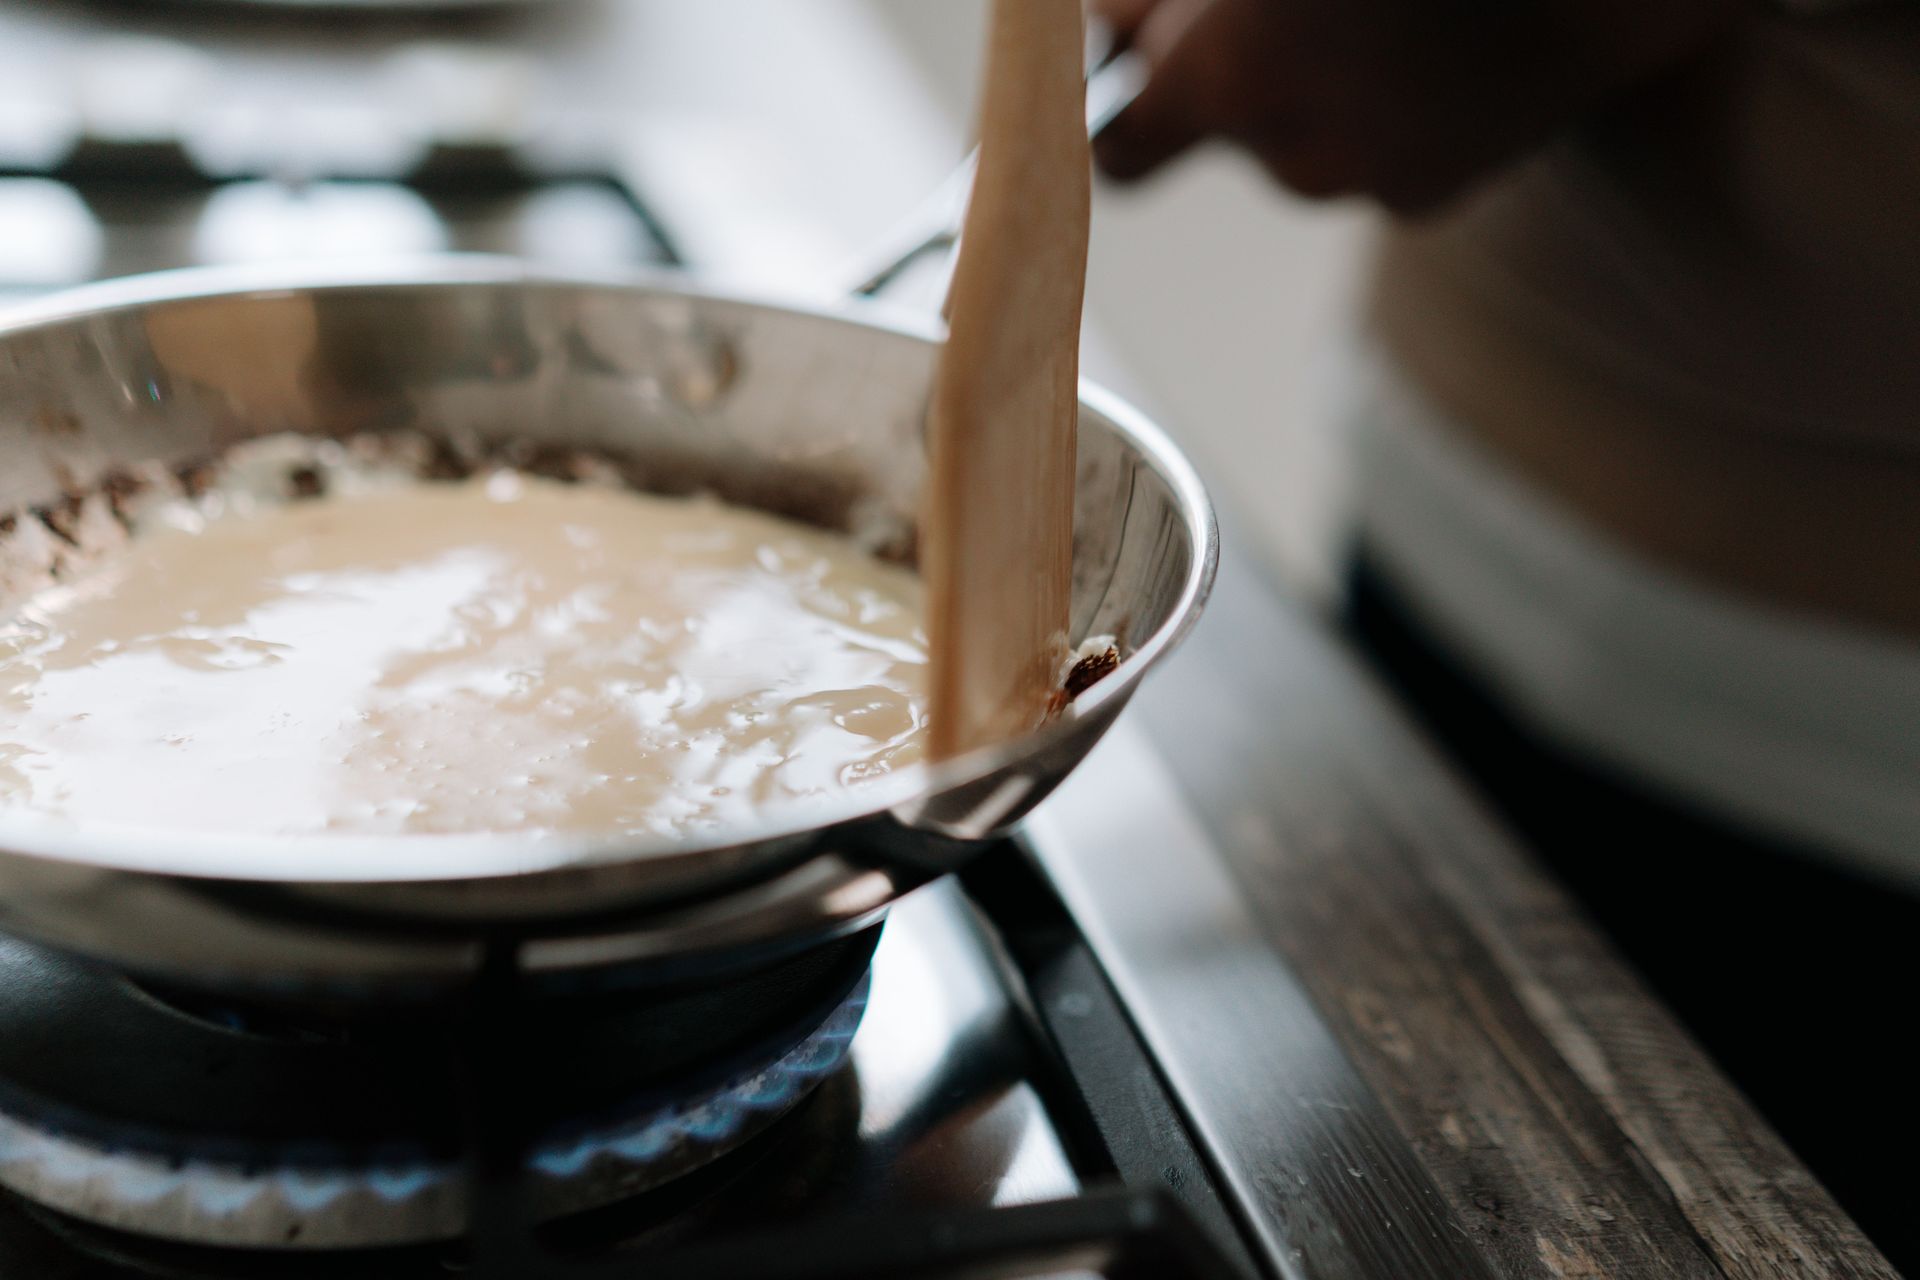
A roux — equal weights of fat (butter, oil, or other) and flour cooked together over moderate heat — is the thickening agent of classical French and Cajun cooking whose mastery unlocks a range of sauces and preparations unavailable through any other thickening method. The roux's specific advantage over starch slurries (cornstarch in water) and reduction is its ability to thicken without thinning on cooling, its integration into the sauce's flavor profile rather than producing a starchy taste, and its capacity to be made in advance and stored.
The cooking time and color of the roux determine its flavor and thickening power: a white roux (cooked for approximately two minutes, just past raw flour taste) is used for béchamel and cream sauces; a blond roux (five to eight minutes, light golden color) is used for velouté; a brown roux (fifteen to twenty minutes, deep brown color, nutty flavor) is used for espagnole and dark sauces; and a dark roux (thirty or more minutes, very dark, reduced thickening power but intense flavor) is the foundation of Cajun gumbo. As the roux darkens, its flavor deepens and its thickening power decreases — a trade-off the cook calibrates to the dish.
What it teaches: the relationship between the cooking of starch and its thickening behavior — and the specific technique of adding liquid to roux in stages while whisking constantly to prevent lumps. Practice it on: a simple béchamel — 50g butter, 50g flour, cooked to white, then 500ml warm milk added gradually while whisking. The recognition moment: the smooth, lump-free, properly thickened sauce that results from correctly made and correctly hydrated roux.
Büşra Yaman / Pexels
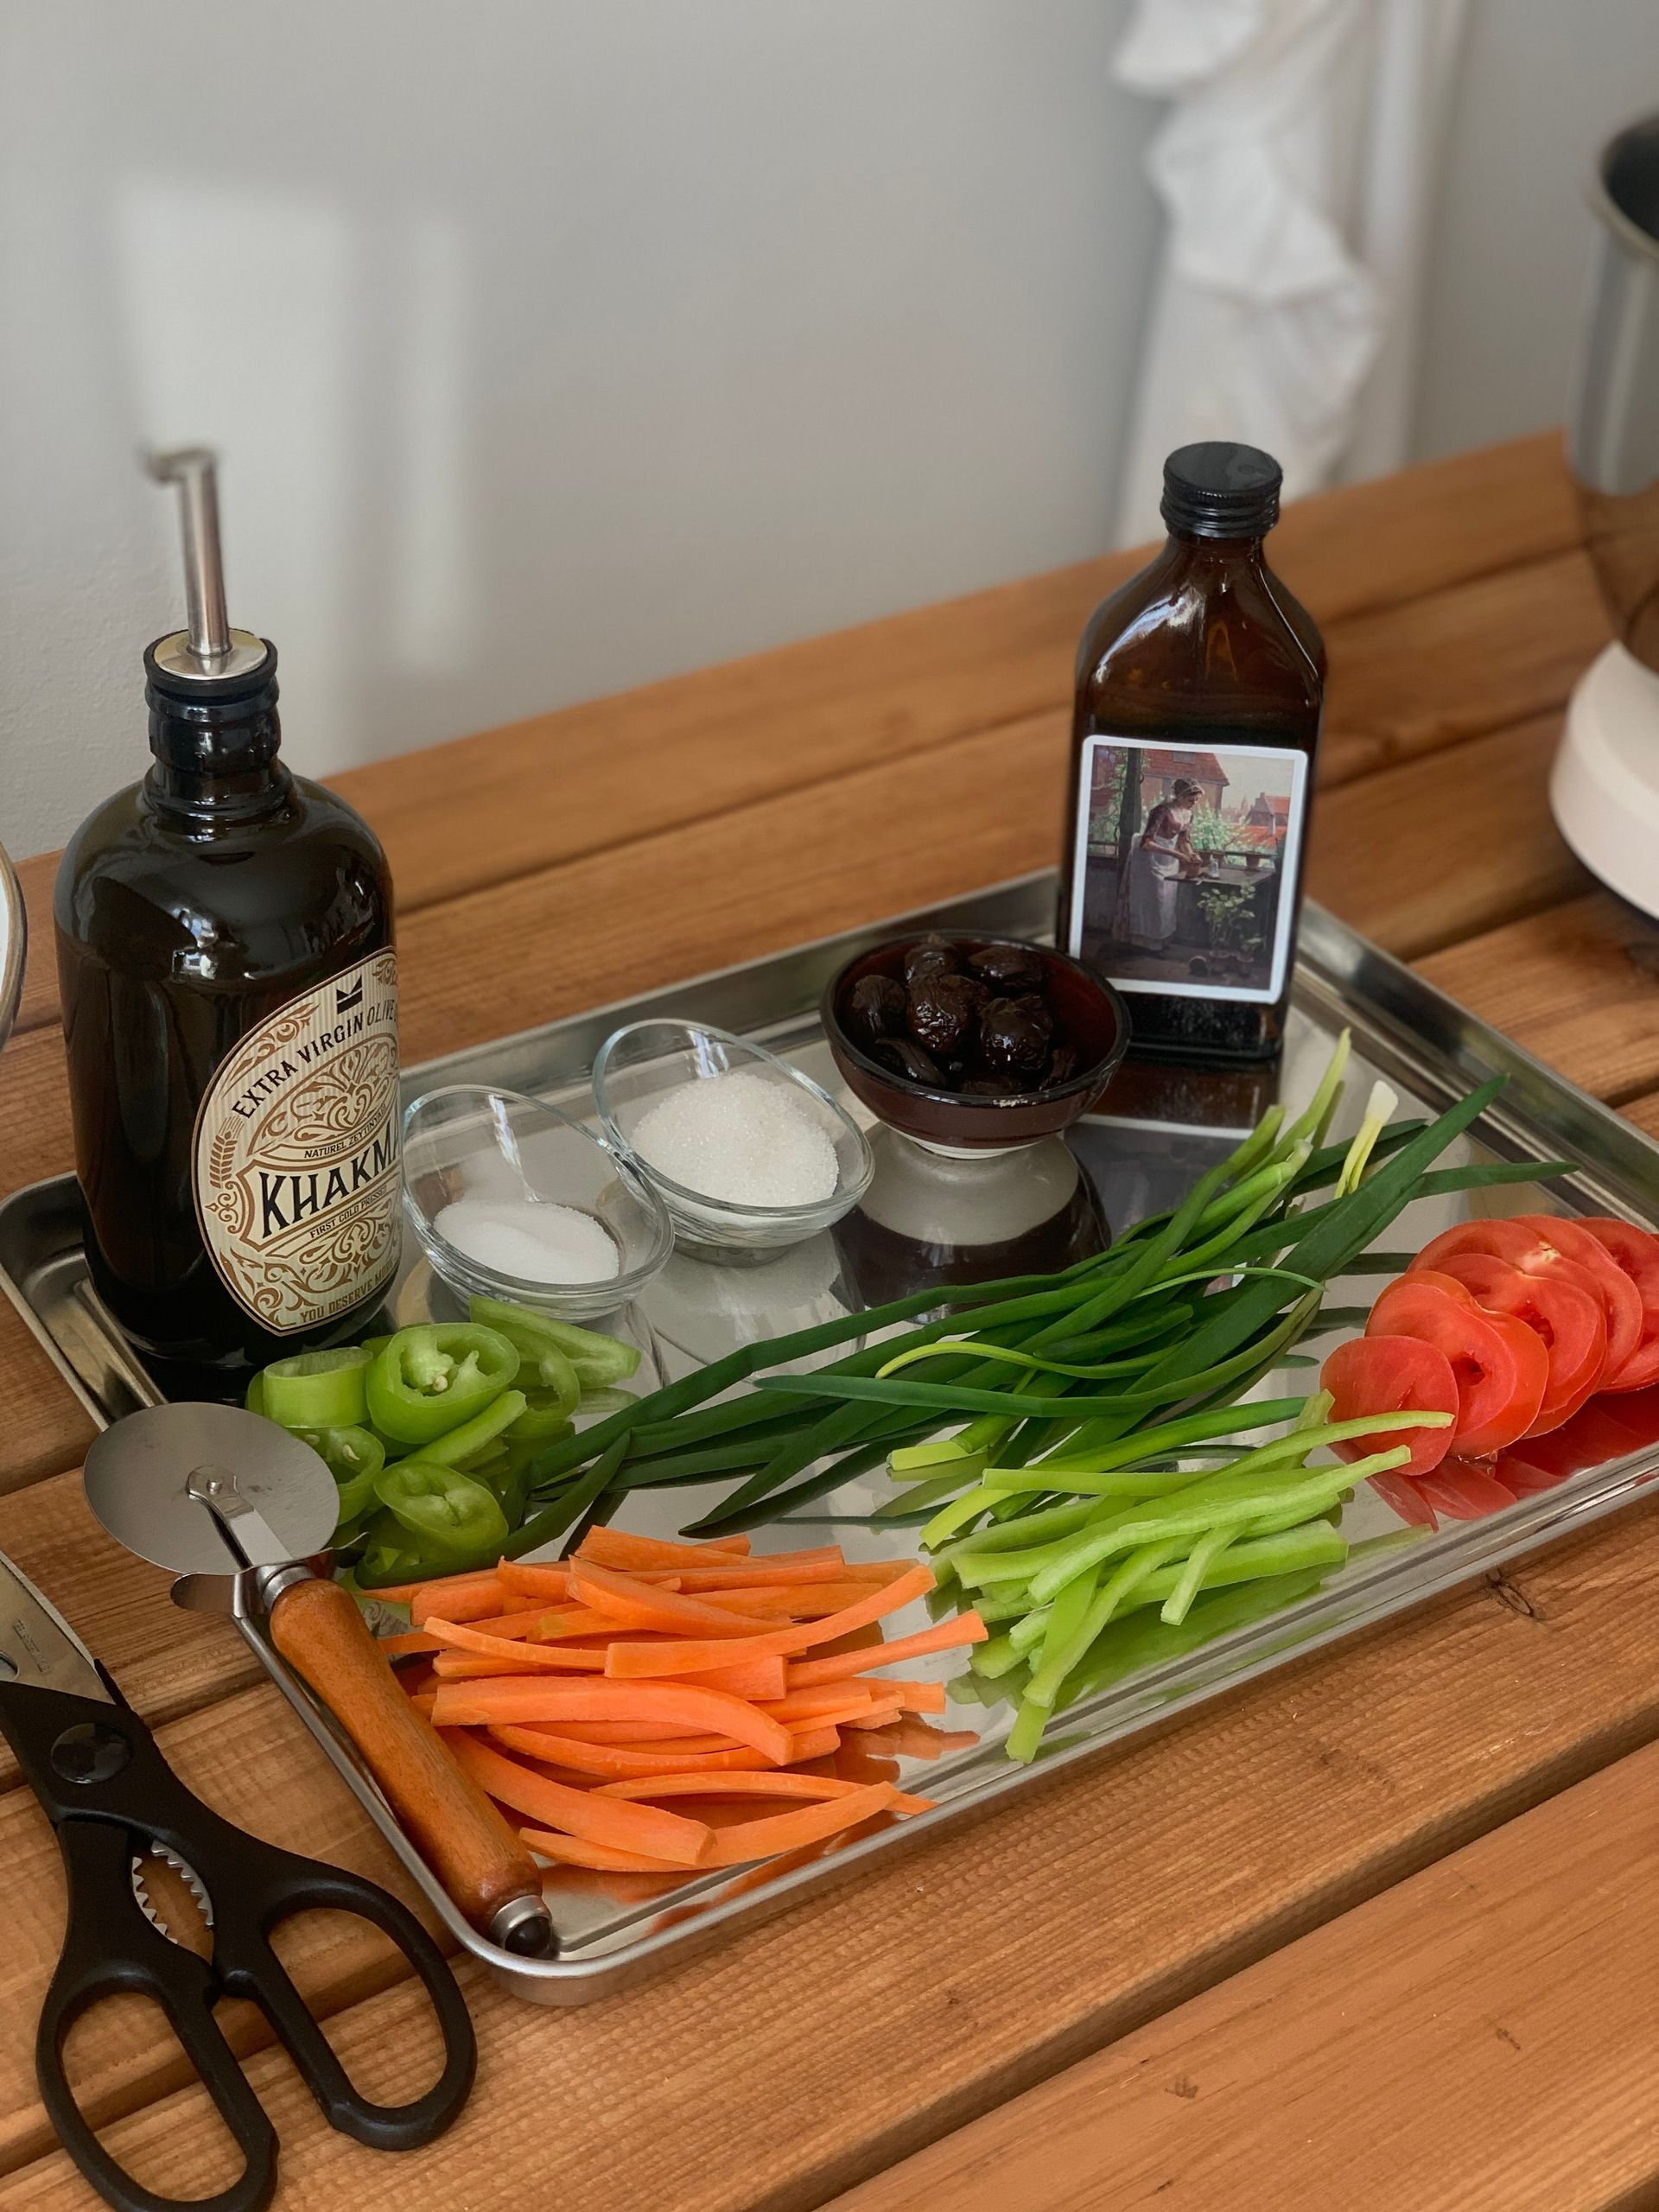
Mise en place — the French culinary concept of "everything in its place," the practice of measuring, chopping, and organizing all ingredients before cooking begins — is less a technique than a discipline of preparation, and it is the single practice most responsible for the difference in quality and calm between professional and home cooking. A cook who has measured every ingredient, chopped every vegetable, and arranged everything within arm's reach before lighting the stove is a fundamentally different cook from one who is still dicing onions while the oil smokes.
The reason mise en place matters mechanically is the irreversibility of heat: once a pan is hot and oil is in it, the cooking has begun, and the sequence of additions must proceed at the pace the heat demands rather than at the pace the cook is ready for. A sauce that requires garlic added after onions has gone wrong if the garlic is not yet chopped when the onions are ready — the onions overcook while the garlic is being prepared, or raw garlic goes into a sauce whose initial aromatics are already past their ideal state.
The psychological benefit is equally important: mise en place converts cooking from a reactive process (responding to what has happened) into a deliberate one (executing a planned sequence), reducing the cognitive load and the panic that make cooking feel difficult and produce the specific errors — missed steps, forgotten seasonings, overcooked elements — that distinguish anxious cooking from confident cooking.
What it teaches: that preparation is cooking — that the quality of the finished dish begins with the quality of the setup before the heat goes on. Practice it on: choose any recipe with five or more ingredients; prepare every single ingredient completely before starting the stove; notice the qualitative difference in the cooking experience. The recognition moment: the first time a recipe that previously felt rushed and chaotic proceeds with complete calm — because everything needed was already ready.
