These 20 recipes form the backbone of competent home cooking — learn them properly and you'll never be stuck in a kitchen again
Chiara Guercio / Unsplash
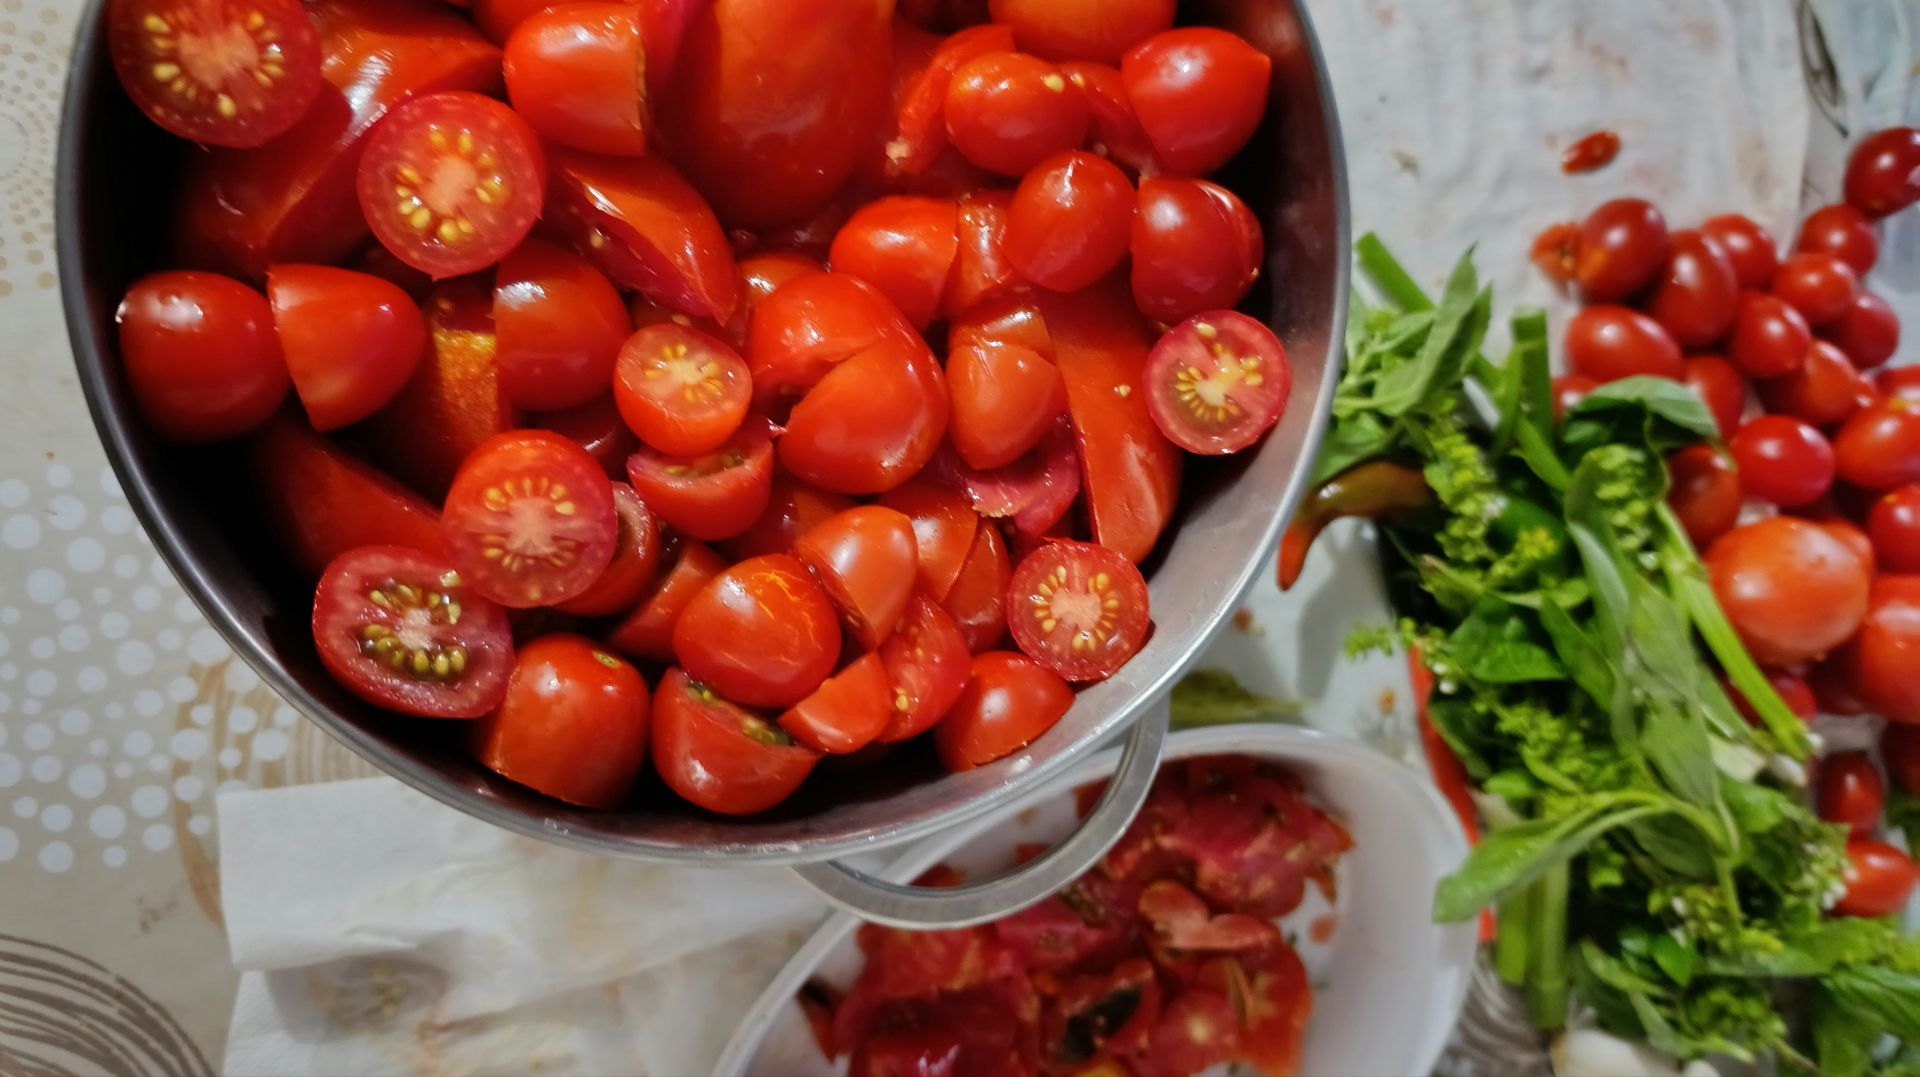
Knowing how to cook is less about the food than about what the food makes possible — the ability to feed people you care about, to make something from what happens to be in the kitchen, to sit down to a meal that did not come from a box or a delivery bag. Those are not small things. They accumulate over a lifetime into a particular kind of domestic competence that is quietly one of the most satisfying things a person can have.
This list is not a collection of showpieces. None of the 20 dishes here require specialist equipment, unusual ingredients, or years of practice. What they require is attention — and the willingness to make each one several times until it becomes automatic. A repertoire built from these dishes will answer almost every cooking situation you encounter: a quick weeknight dinner, a meal for guests, a way to use up whatever needs eating. That range is the point.
The dishes are organized loosely by category and roughly by the sequence in which it makes sense to learn them. The earlier ones teach foundational techniques — how eggs behave under heat, how to build flavor in a pan, how to manage a piece of protein. The later ones apply those techniques to more complex preparations. None of them are beyond a genuine beginner, but none of them are done well without attention. Cooking rewards attention more than almost any other domestic skill.
A few principles apply across all of them. Heat management is the most important skill in cooking, and it cannot be learned from a recipe — it has to be felt, observed, and adjusted in real time. Seasoning throughout the cooking process produces better results than seasoning at the end. Tasting as you go is not optional. And reading a recipe all the way through before beginning is a discipline that prevents more disasters than any other single habit.
Each slide covers the dish, why it matters, and how to cook it well — including the specific errors that most people make. Learn these 20, cook each of them several times until they feel automatic, and the kitchen will become a different kind of place.
Imad 786 / Unsplash
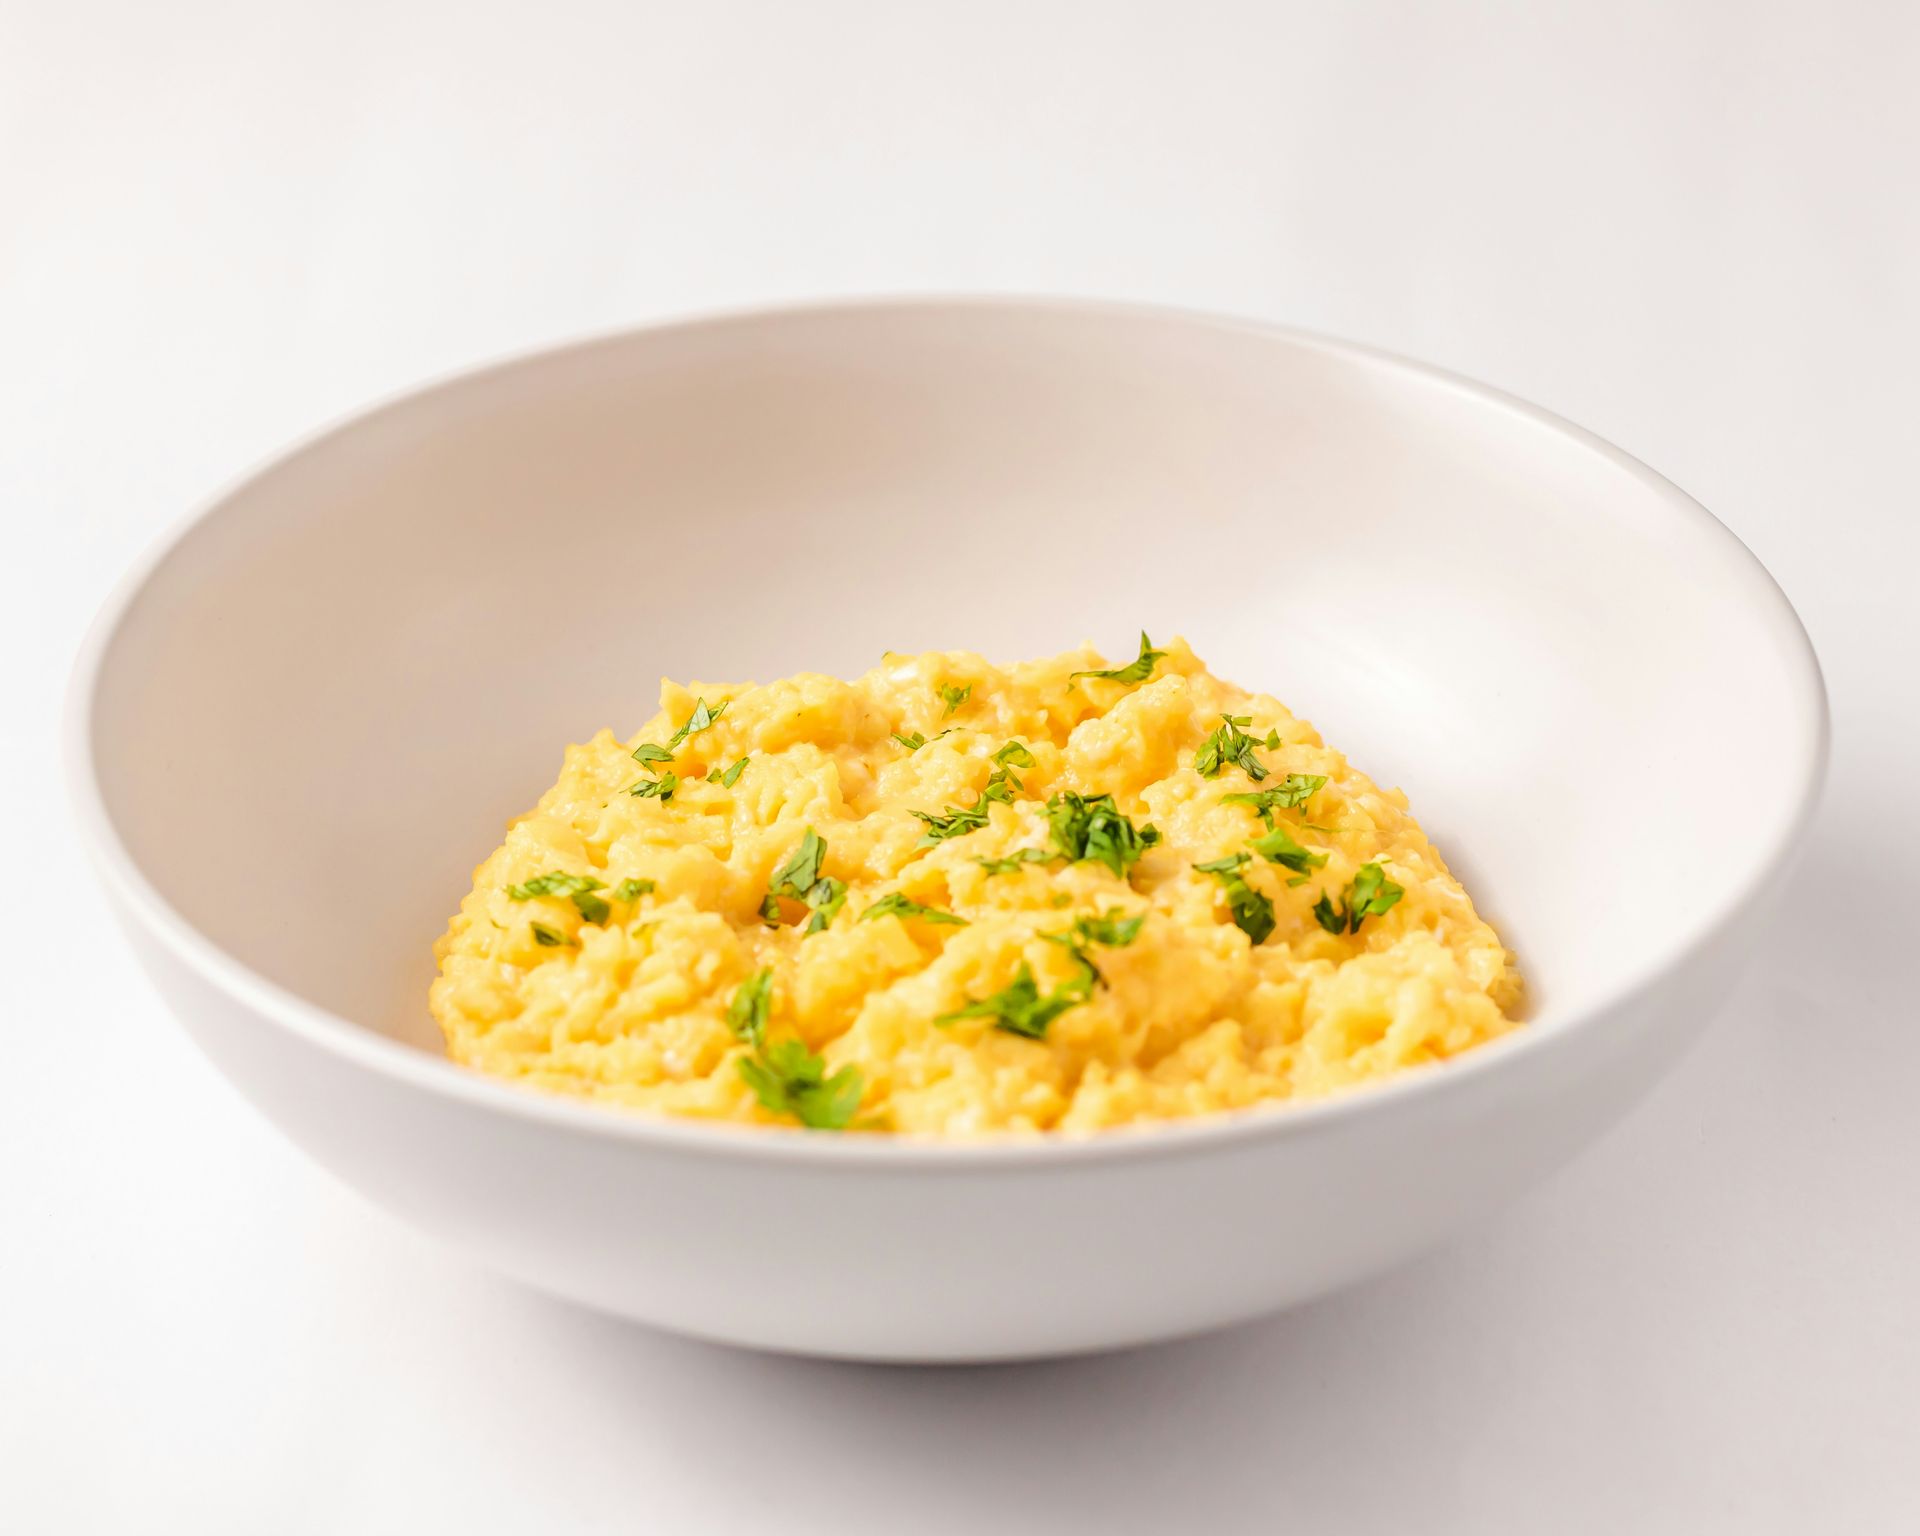
The scrambled egg is where cooking competence begins, and the version most people make — eggs beaten, poured into a hot pan, stirred quickly, and served in dry, slightly rubbery curds — is a demonstration of what happens when you apply too much heat too fast. Soft-scrambled eggs, cooked slowly over low heat with patience and attention, are a different dish entirely: silky, creamy, barely set, almost custardy, and among the most satisfying things you can eat at any time of day.
The method is straightforward but requires surrendering the instinct to cook fast. Crack three eggs into a cold, non-stick pan. Add a small knob of butter — roughly a teaspoon. Place the pan over the lowest heat your stove produces. Stir continuously with a rubber spatula, moving the eggs gently across the base of the pan. The eggs will take five to eight minutes to cook. That is not a mistake. That is the process.
As the eggs begin to set — when the mixture starts to look creamy rather than liquid — pull the pan off the heat and continue stirring. The residual heat of the pan will finish the cooking. If they need more time, return the pan to the heat briefly. Remove from the heat when the eggs are just barely set and still look slightly underdone — they will continue cooking from their own heat for another 30 seconds after you stop.
Season with salt and pepper at the end rather than the beginning — salt added early draws moisture from the eggs and produces a wetter, less creamy result. A small spoonful of crème fraîche or sour cream stirred in just before serving adds richness and slows the cooking in the final stage, giving you more control.
The soft-scrambled egg teaches patience and the relationship between heat and protein — two lessons that transfer to almost every other thing you will cook. If you can make soft-scrambled eggs without rushing them, you can cook.
Roberto Machado Noa / Getty Images
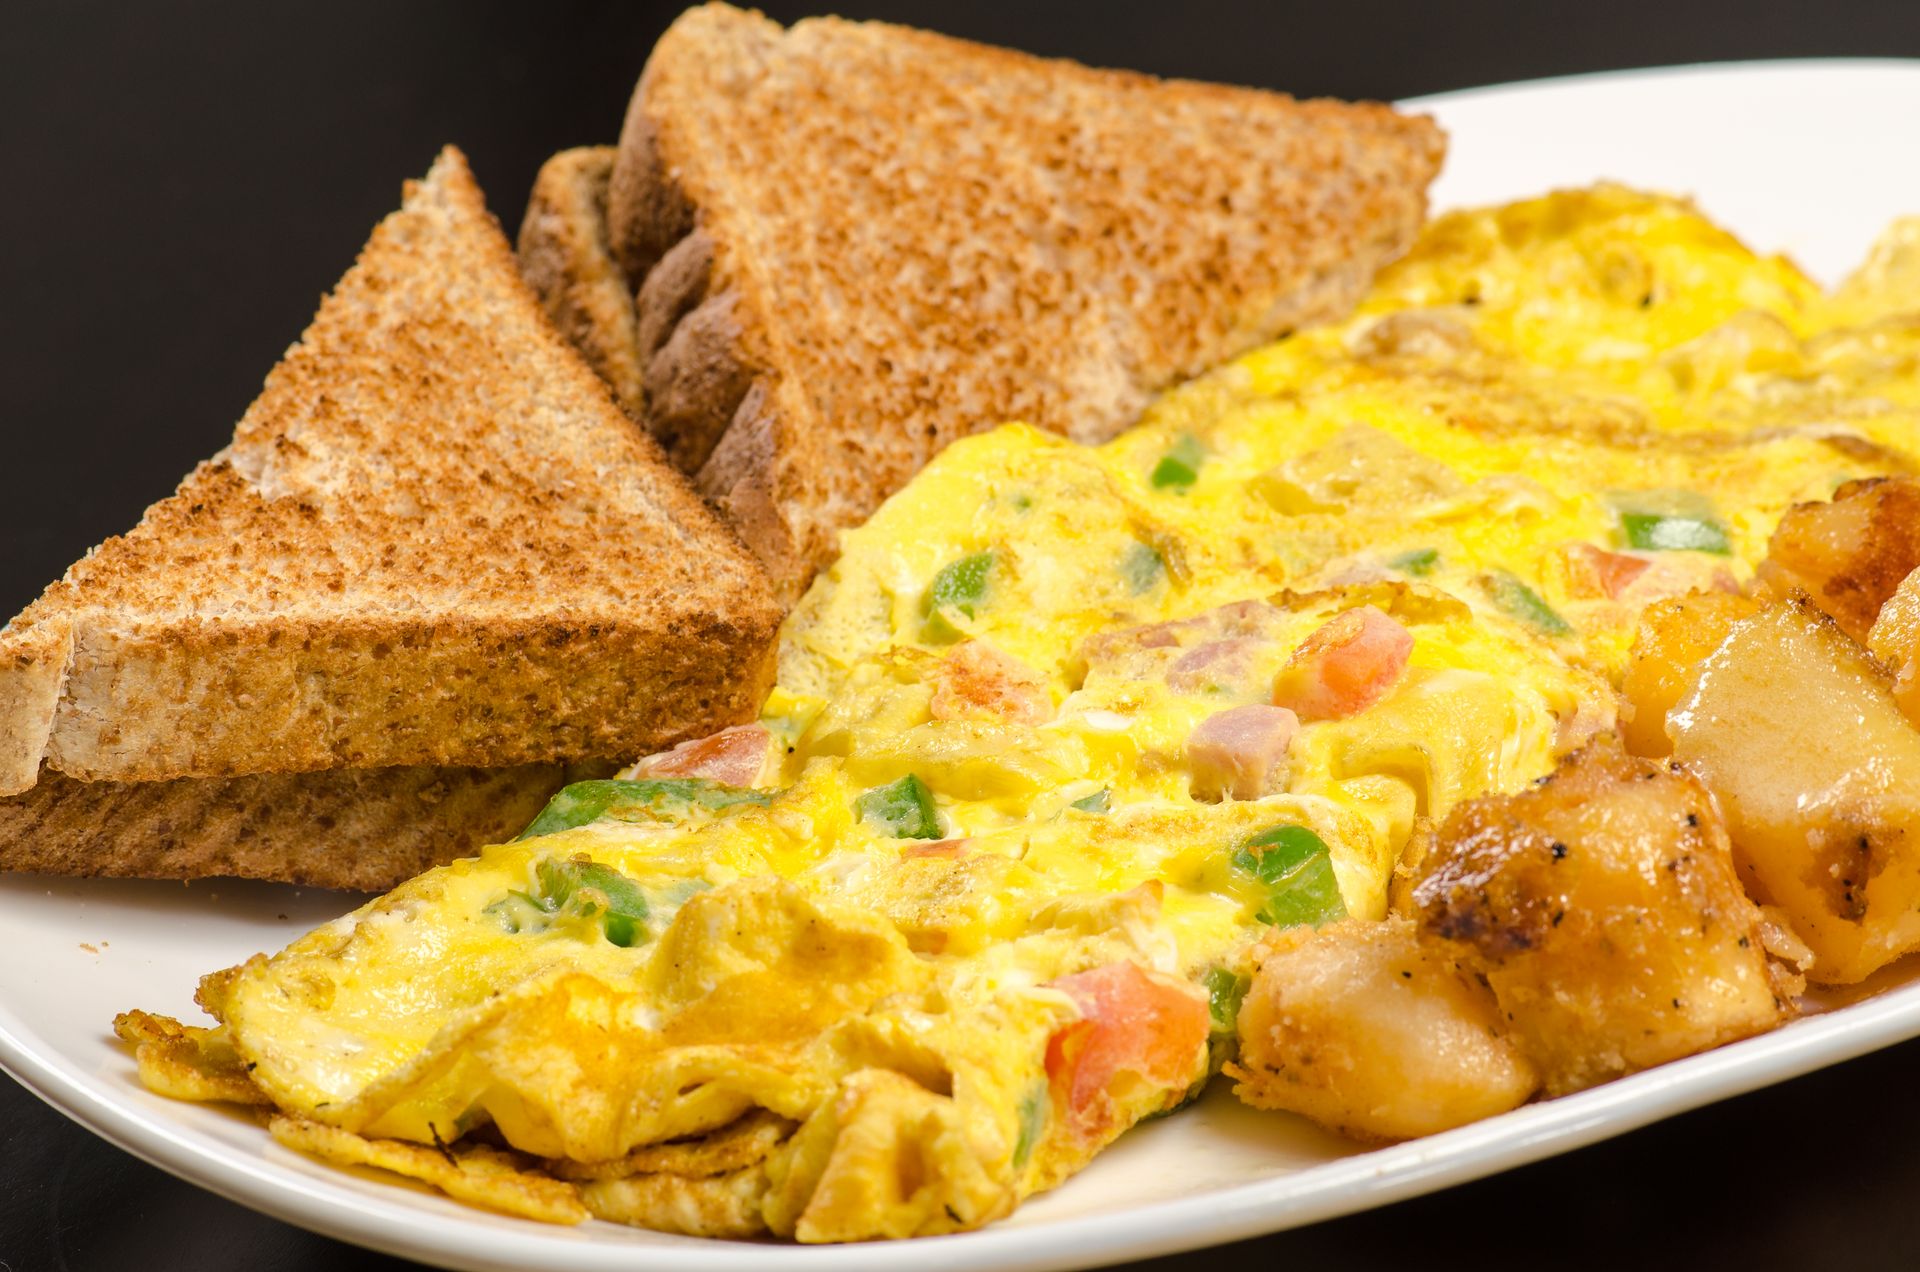
The French omelet and the soft scramble are related but distinct. Where the scramble is loose and curdy, the omelet is a smooth, pale yellow cylinder — lightly set on the inside, with no color on the outside, folded over itself and served in under two minutes from pan to plate. It is the classic test of a cook's technique in the French tradition, and mastering it teaches pan control and heat management at a level that no other simple dish does.
Beat two or three eggs with a pinch of salt until fully combined — no streaks of white remaining. Heat a non-stick pan over medium-high heat with a small knob of butter. When the butter foams and the foam begins to subside, pour in the eggs. Immediately begin stirring with a rubber spatula, moving the eggs in small circles across the entire surface of the pan while simultaneously shaking the pan back and forth. This simultaneous stirring and shaking sets the eggs in a fine, uniform curd with no large curds and no brown spots.
After 20 to 30 seconds, stop stirring and let the surface just barely set — it should look slightly wet and glossy on top. Add any filling to the center. Tilt the pan away from you and use the spatula to fold the near third of the omelet over the center. Roll the omelet out of the pan onto a plate, using the pan's edge to fold the last third over as it lands.
The omelet should be pale gold on the outside and soft inside. If it is brown, the heat was too high. If it is dry and tough, it cooked too long. Neither is a catastrophe — both are information. Cook it again. The French omelet rewards repetition more than almost any other dish, and the tenth one will be noticeably better than the first.
Las Vegas Review-Journal / Getty Images
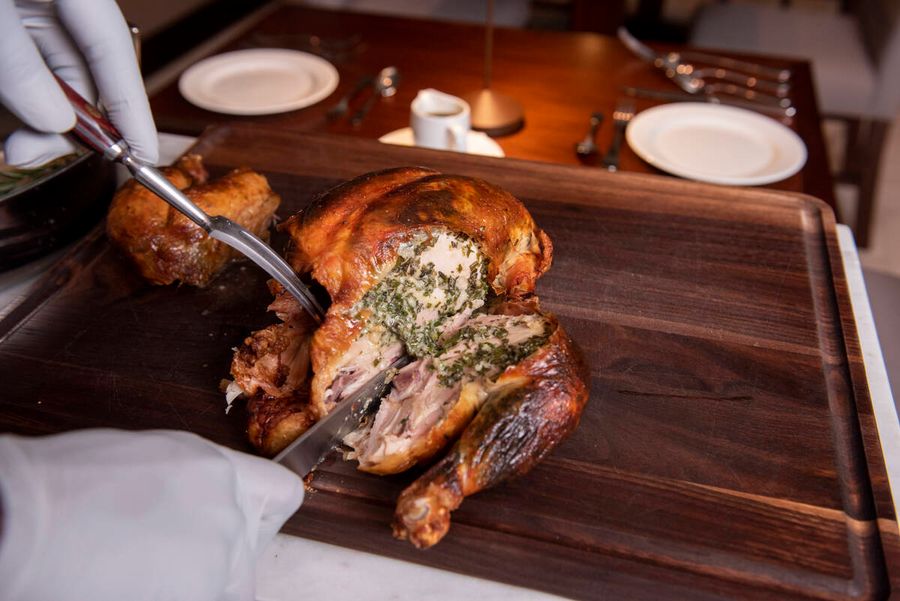
A roast chicken is the most forgiving of the technically demanding dishes and the most rewarding of the simple ones. It feeds four people from a single piece of equipment with minimal active work. The leftovers produce sandwiches, salads, and a carcass that makes stock. It is the dish that defines competent home cooking for most people who grew up eating it, and it is less difficult than its reputation suggests.
Buy the best chicken you can afford — the quality difference between a standard supermarket chicken and a free-range or organic one is significant in flavor and texture. Pat it completely dry with paper towels, both inside and out. Dryness is the prerequisite for crispy skin, and crispy skin is most of what makes a roast chicken worth making. Season generously with salt — inside the cavity, on the skin, and under the skin on the breast if you are willing to loosen it with your fingers. Leave the seasoned chicken uncovered in the refrigerator for at least an hour and ideally overnight.
Roast at 220°C on a rack or a bed of halved onions — the elevation allows hot air to circulate under the bird. Cook until the thickest part of the thigh reads 74°C on a meat thermometer, or until the juices run clear when you pierce the thigh with a skewer. A 1.5kg chicken will take roughly 60 to 70 minutes. Rest for at least 15 minutes before carving — the rest allows the juices to redistribute through the meat, and a chicken carved immediately after roasting will be noticeably drier than one that has rested.
The pan drippings are not optional. While the chicken rests, place the roasting pan over a medium flame, add a splash of white wine or chicken stock, and scrape up the caramelized bits from the bottom. That liquid, reduced by half and seasoned, is the sauce. It takes three minutes and tastes better than anything you could make separately.
REDA / Getty Images
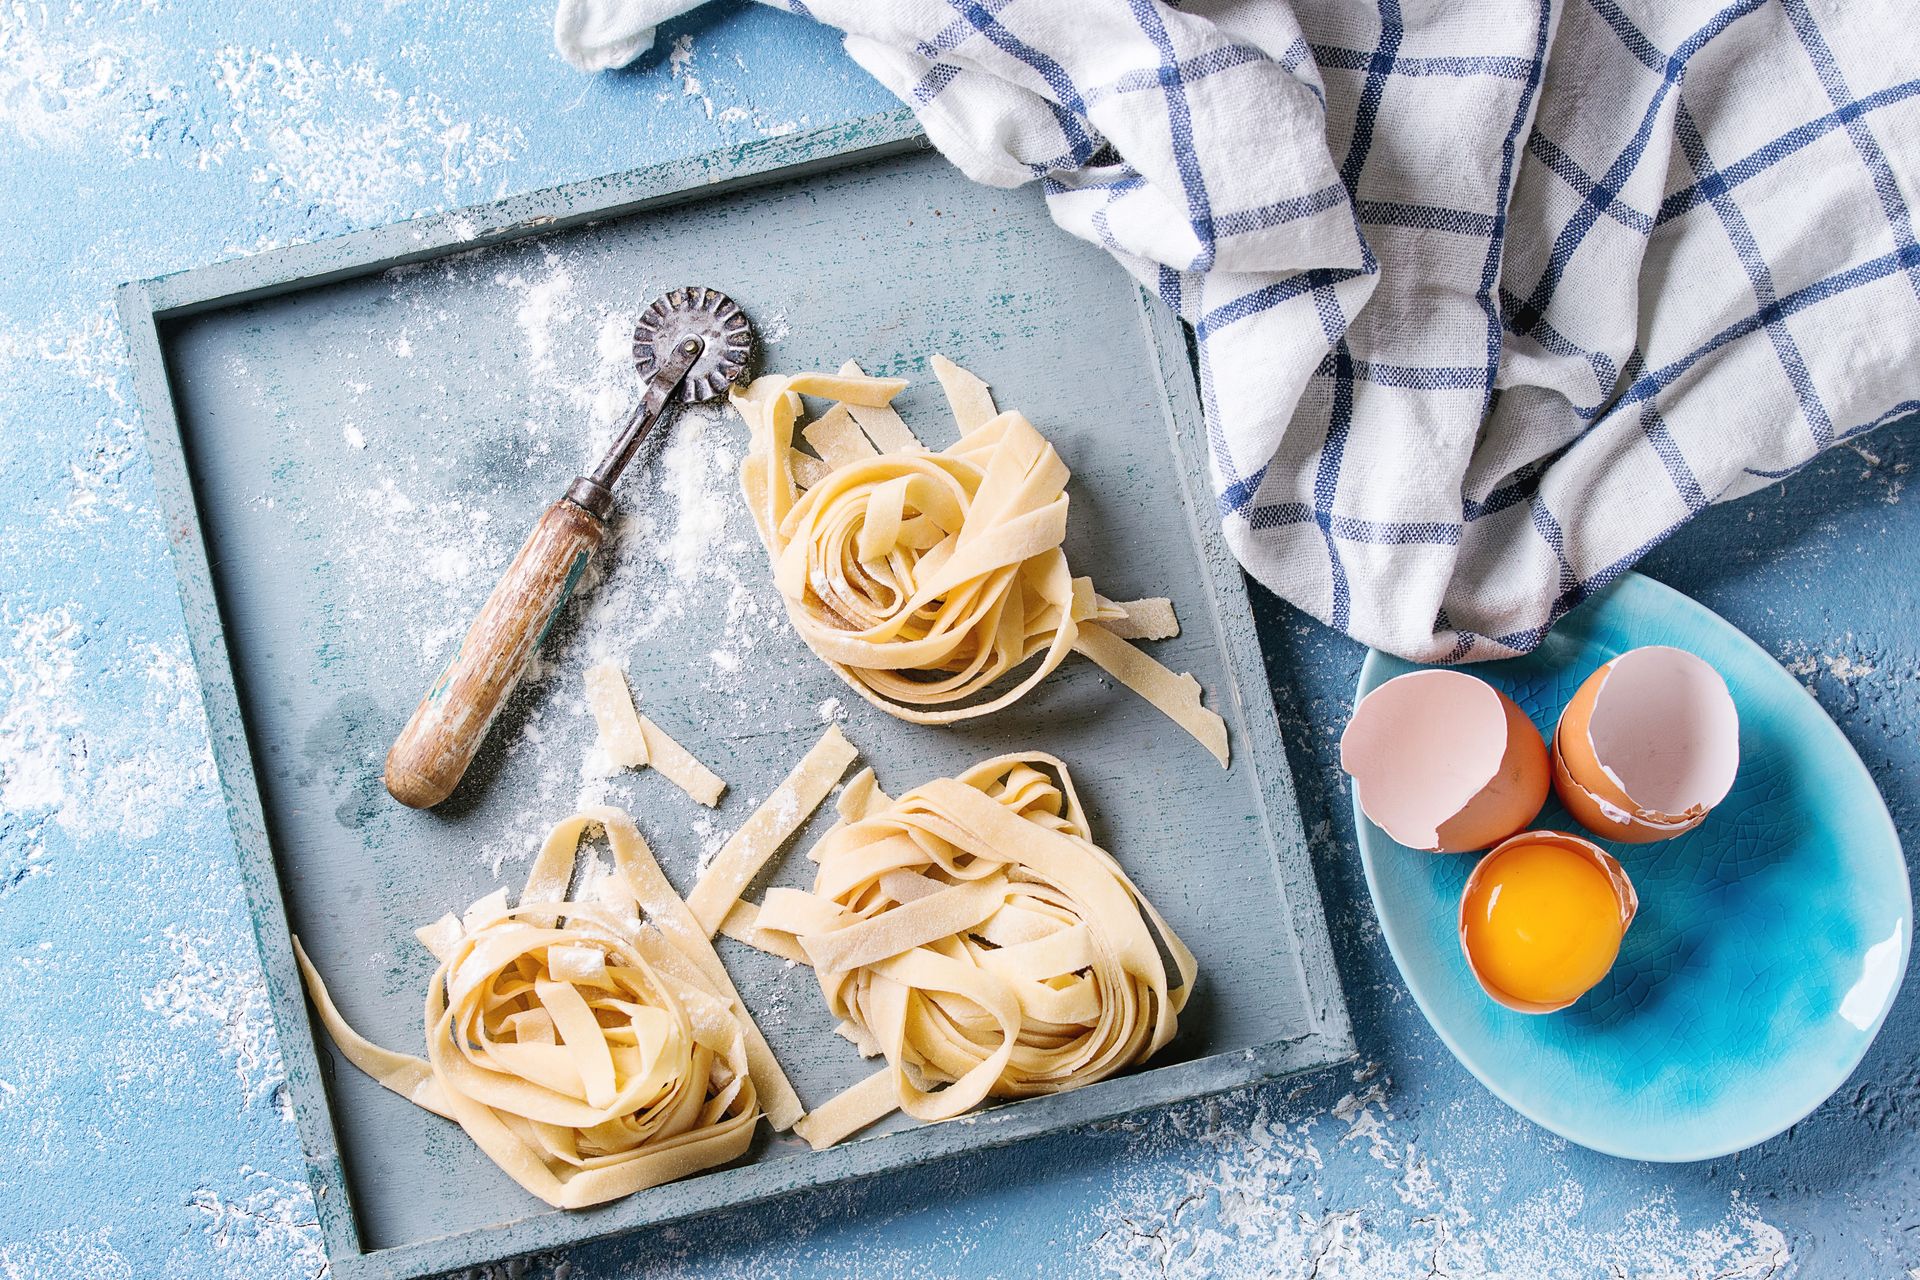
Dried pasta is excellent and there is no shame in using it. Fresh pasta made at home is a different product — softer, silkier, better at holding certain sauces, and satisfying to make in a way that very few kitchen projects are. The basic dough requires two ingredients and no equipment beyond a work surface, a rolling pin, and a knife. Learning to make it is a morning's project that rewards you indefinitely.
The ratio is simple: 100 grams of 00 flour (or plain flour if 00 is unavailable) per egg, plus a pinch of salt. For two people, use 200 grams of flour and two eggs. Make a mound of flour on a clean surface, form a well in the center, crack the eggs into it, and beat them gently with a fork, incorporating flour from the inner walls of the well gradually until a rough dough forms. Knead for eight to ten minutes until the dough is smooth, elastic, and springs back when pressed. Wrap in cling film and rest for 30 minutes — the resting relaxes the gluten and makes the dough easier to roll.
Roll the dough as thin as you can manage — the pasta should be almost translucent. For tagliatelle, dust with flour, roll loosely, and cut into ribbons roughly one centimeter wide. Shake out the ribbons and leave them loosely piled to dry for 15 minutes. Cook in well-salted boiling water for two to three minutes.
The difference between fresh pasta and dried pasta is most apparent with rich, fatty sauces — a simple butter and sage sauce, a carbonara, a ragu. The fresh pasta's texture carries these sauces in a way dried pasta cannot quite replicate. Make it once and you will understand why Italian grandmothers make it every week.
Bloomberg / Getty Images
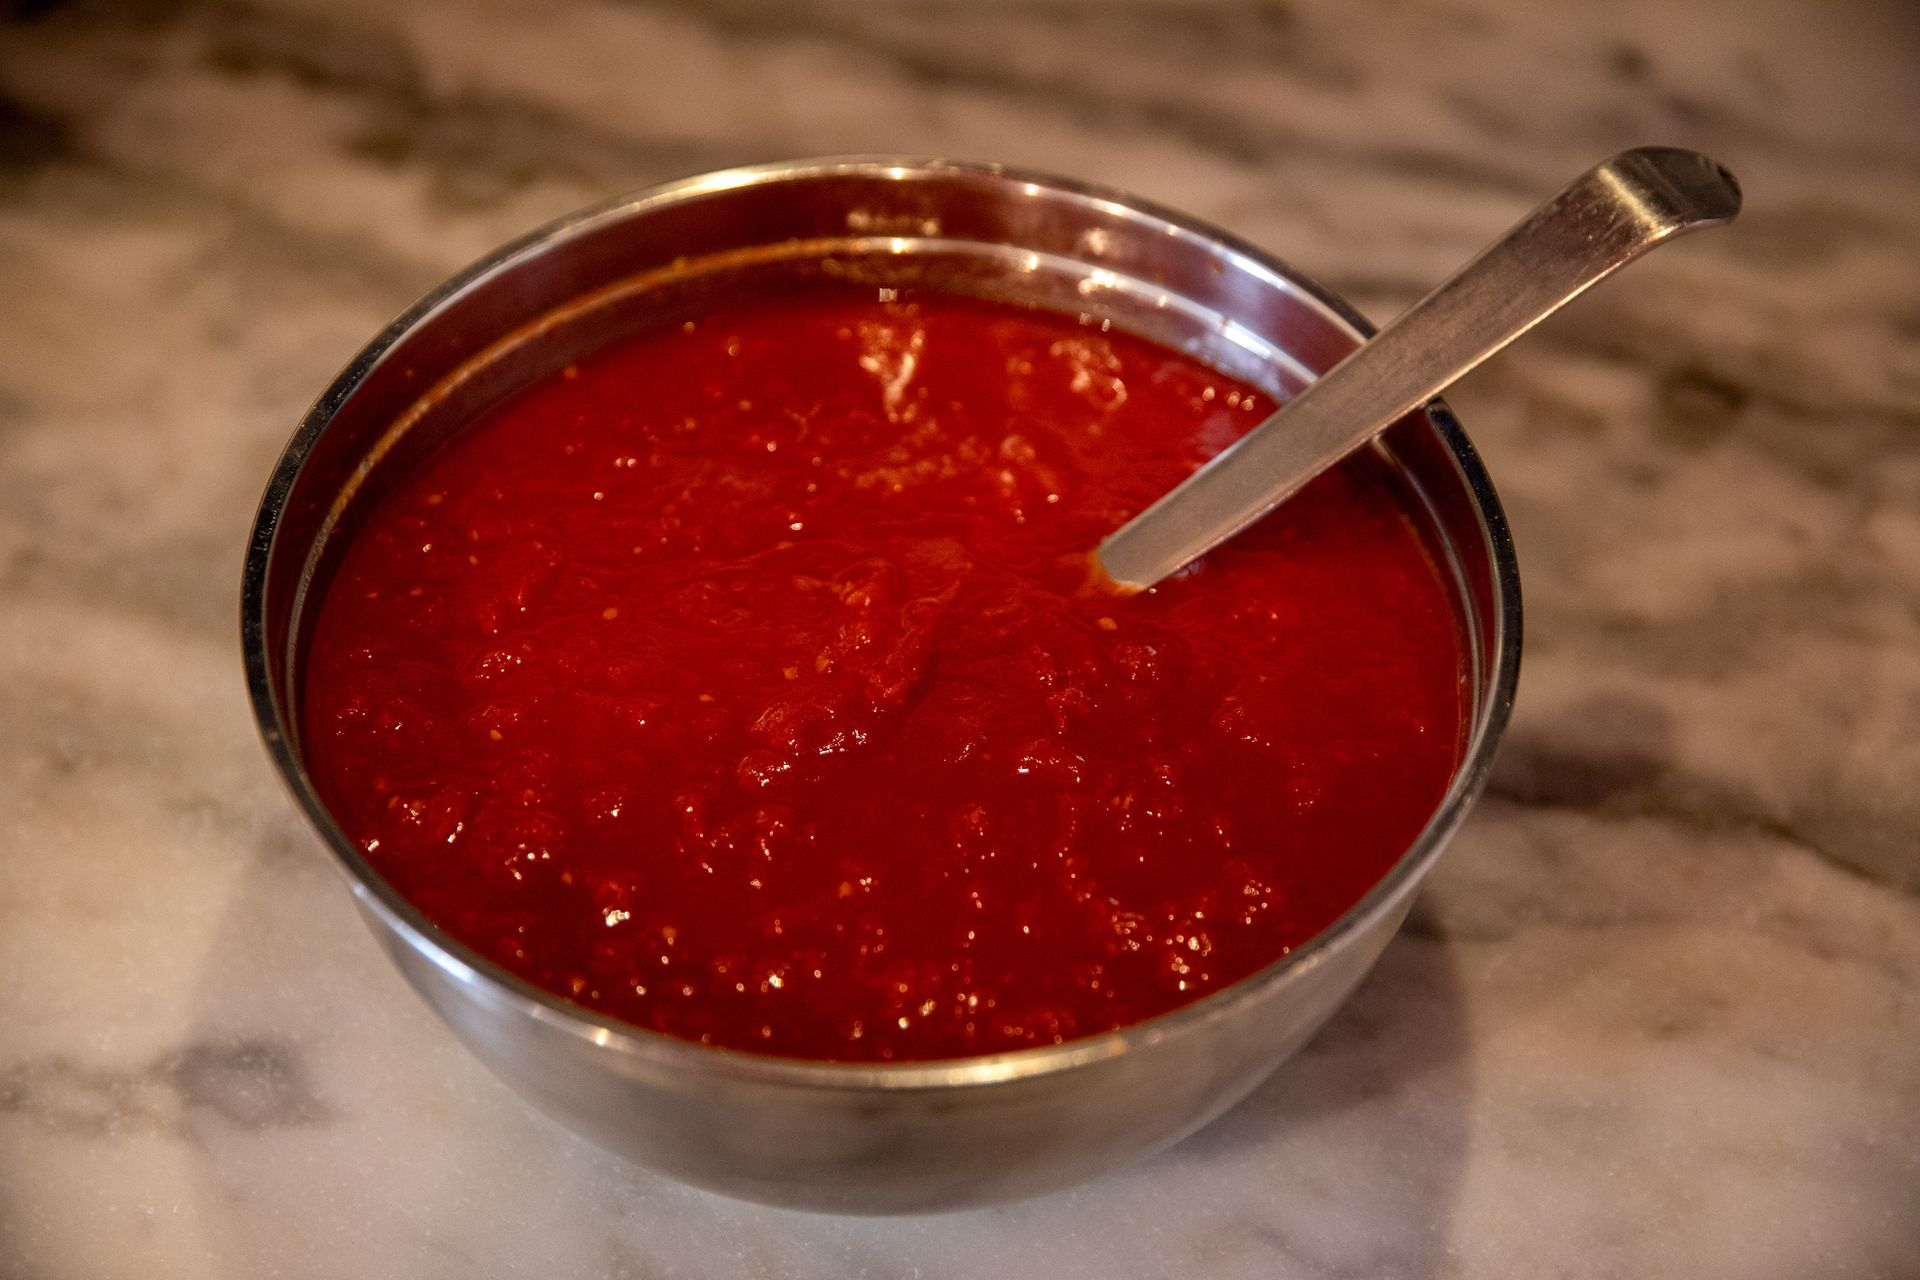
The tomato sauce is the most useful thing you can learn to make well, and the version most people make — tinned tomatoes tipped into a pan with some garlic and left to simmer until thick — is adequate but misses what a good tomato sauce actually is. A properly made tomato sauce is sweet, bright, and complex, with a depth that comes not from long cooking but from good technique in the first five minutes.
Start with olive oil — more than you think. Heat three or four tablespoons in a wide pan over medium heat. Add four cloves of garlic, thinly sliced, and cook until pale gold — not brown. Add a pinch of dried chili flakes if you like heat. Pour in one 400-gram tin of whole plum tomatoes and crush them with your hand as they go in, or use a spoon to break them up in the pan. Add a pinch of salt and a pinch of sugar. Cook over medium-high heat, stirring occasionally, for 15 to 20 minutes until the sauce has reduced and darkened slightly.
Taste. Adjust salt. Finish with a handful of fresh basil torn over the top and a drizzle of good olive oil. The finishing oil is not optional — it adds richness and lifts the flavor in a way that no amount of additional cooking achieves.
The technique that most people skip is the initial reduction over relatively high heat. Many recipes instruct a long, slow simmer, which produces a cooked, mellow sauce. The version above cooks faster and retains more brightness — the tomatoes taste of themselves rather than of long cooking. Both approaches are valid, but the quick version is more useful for a weeknight and produces a sauce that is genuinely better than anything from a jar.
Portland Press Herald / Getty Images
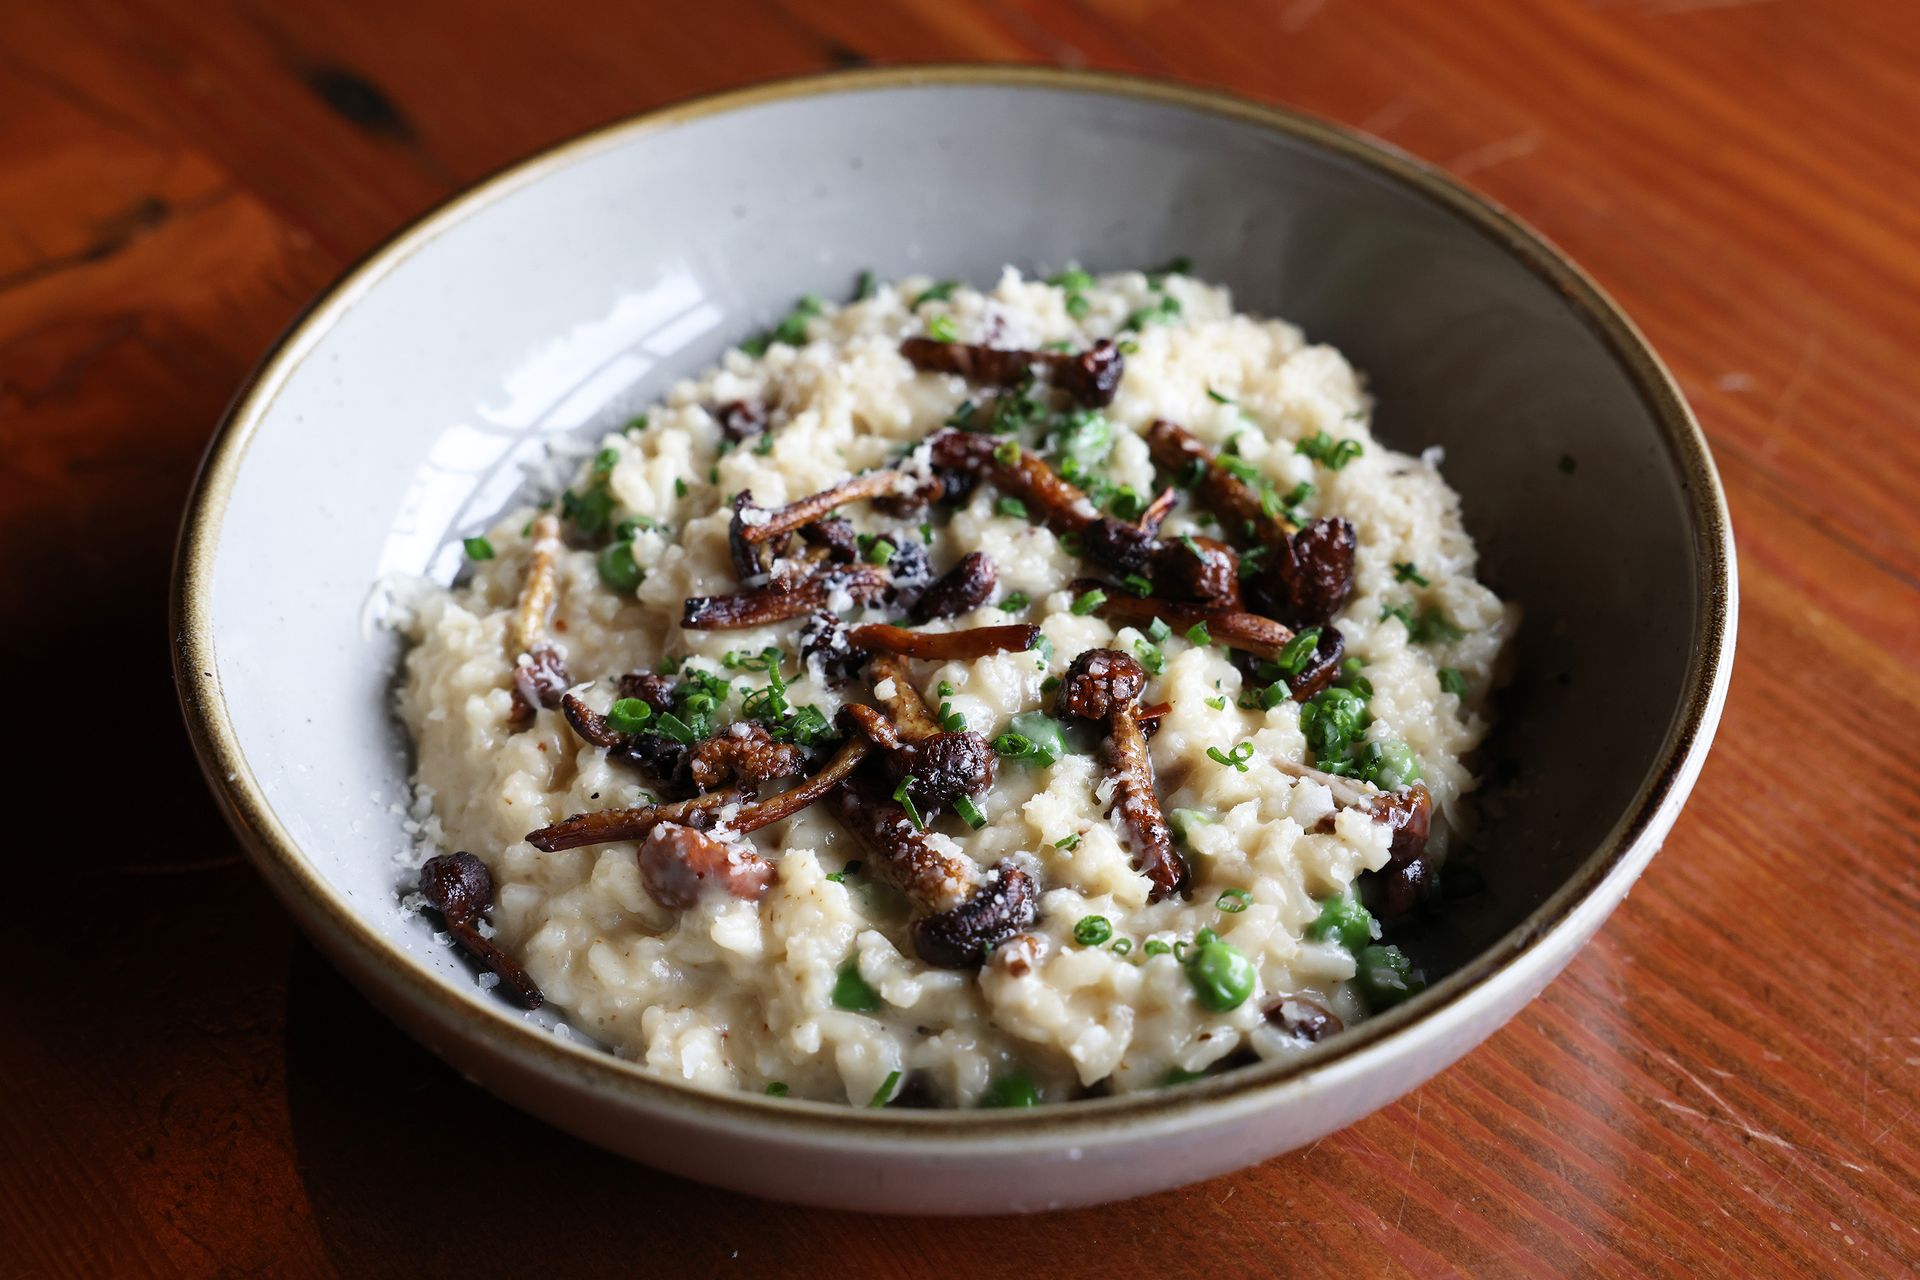
Risotto has a reputation for being difficult and time-consuming. It is neither, once the technique is understood. It requires 25 minutes of active attention — stirring, adding stock gradually, and monitoring consistency — but nothing in the process is technically demanding. The payoff is a dish that impresses people disproportionately relative to the skill required.
Use Arborio, Carnaroli, or Vialone Nano rice — the starch content of these specific varieties is what produces the risotto's characteristic creamy consistency. Begin by warming your stock in a separate saucepan — cold stock added to the risotto will slow the cooking and produce uneven results.
In a wide, heavy-based pan, cook one finely diced shallot or small onion in butter until soft and translucent — about five minutes. Add the rice and stir to coat in the butter, cooking for one to two minutes until the outer edge of each grain becomes translucent. Add a glass of dry white wine and stir until absorbed. Begin adding the warm stock a ladleful at a time, stirring after each addition and waiting until each addition is absorbed before adding the next. The stirring releases starch from the rice, which thickens the cooking liquid into the creamy sauce that makes risotto what it is.
After 18 to 20 minutes, the rice should be tender with a slight bite at the center — al dente. Remove from the heat and stir in a generous amount of cold butter and a large handful of finely grated Parmigiano-Reggiano. This final enrichment, called the mantecatura, is what produces the glossy, flowing consistency of a properly finished risotto. Season and serve immediately — risotto waits for no one.
REDA / Getty Images
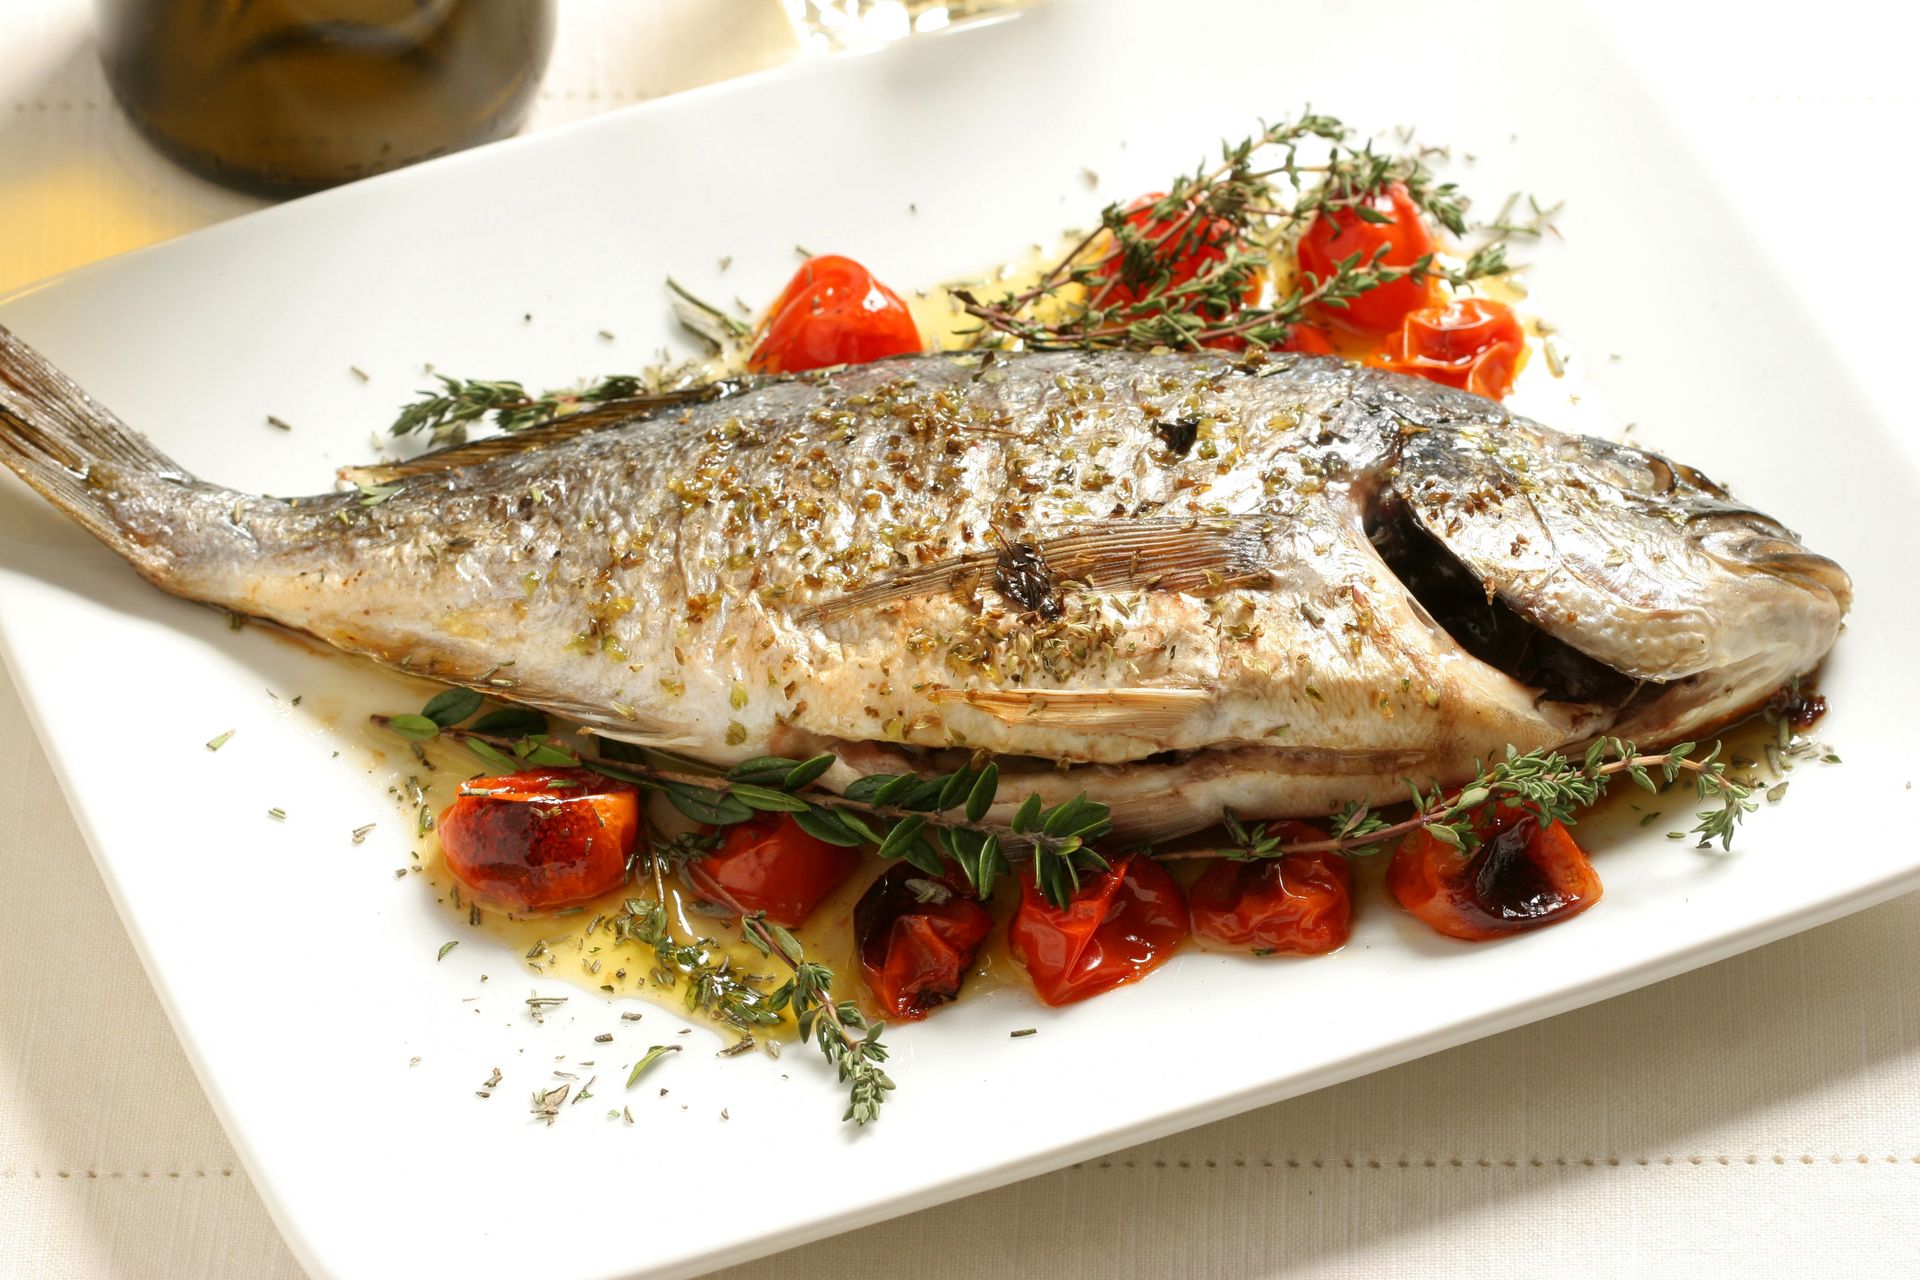
A whole fish roasted in the oven is one of the simplest, fastest, and most elegant dishes in home cooking, and the fact that most people never attempt it is a result of unwarranted apprehension about cooking fish on the bone. Bone-in fish is more forgiving than fillet — the bone insulates the flesh from the heat and makes it far harder to overcook — and the flavor is substantially better.
Ask your fishmonger to clean and scale the fish. Sea bass, sea bream, red snapper, and trout are all well-suited to this method. Score the flesh two or three times on each side with a sharp knife — deep cuts that go almost to the bone. This allows the seasonings to penetrate and helps the fish cook evenly.
Season generously inside the cavity and on the outside with salt and olive oil. Stuff the cavity with sliced lemon, fresh herbs — thyme, rosemary, or fennel fronds — and a couple of crushed garlic cloves. Place on a lightly oiled roasting tray and roast at 220°C for 15 to 20 minutes for a fish weighing roughly 500 grams, or until the flesh at the thickest point pulls away from the bone cleanly when tested with a fork.
The technique for serving a whole fish is worth learning: run a spoon along the lateral line from head to tail to open the fish, lift the top fillet away from the bone, then lift the entire skeleton away from the bottom fillet by inserting a fork under the head and peeling it back. It takes one minute and produces clean fillets without bones. Dress with good olive oil, a squeeze of lemon, and flaky salt.
The Washington Post / Getty Images
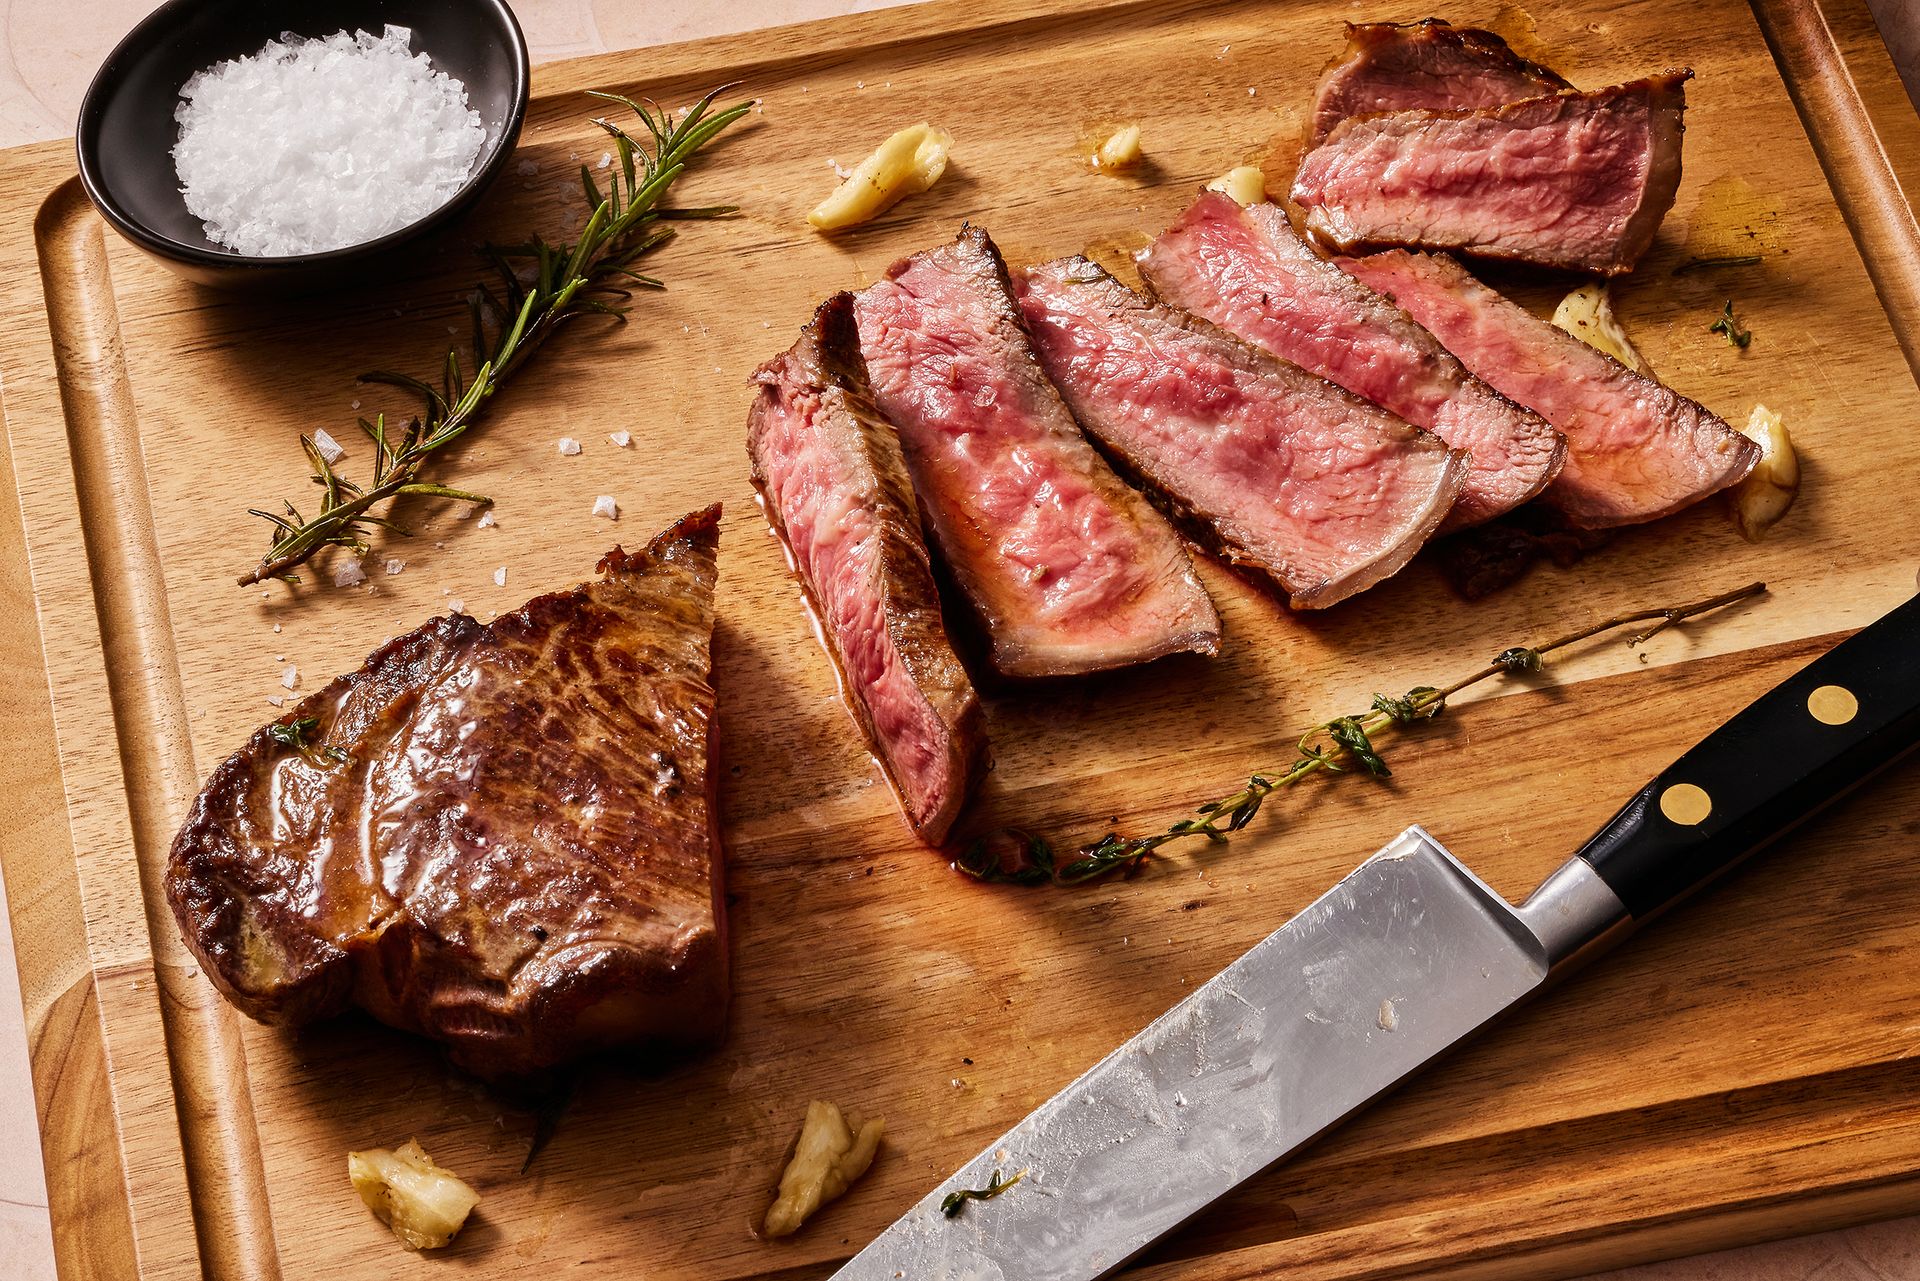
Cooking a steak well at home is one of the most practically useful skills in the repertoire — not because steak is a frequent weeknight meal but because the technique is fast, the result is better than most restaurant versions once the skill is acquired, and the principles involved — high heat, minimal intervention, proper resting — apply to almost every other piece of protein you will cook.
The most important decision is the cut. Ribeye has the most intramuscular fat and is the most forgiving for home cooking. Sirloin is leaner and has a firmer texture. Bavette and flat iron are less expensive and have excellent flavor. Whatever the cut, thickness matters: a steak thinner than two centimeters will overcook before it develops a proper crust. Aim for two to three centimeters.
Take the steak out of the refrigerator 30 minutes before cooking. Pat it completely dry — moisture is the enemy of crust formation, because wet meat steams rather than sears. Season generously with salt on both sides immediately before cooking.
Heat a cast-iron or heavy stainless pan over the highest heat your stove produces for at least three minutes. Add a thin film of neutral oil with a high smoke point. Place the steak in the pan and do not move it for two minutes. Turn, cook for two more minutes, then turn every minute until your target internal temperature is reached — 52°C for rare, 57°C for medium-rare, 63°C for medium. Add butter, a crushed garlic clove, and a sprig of thyme to the pan in the final minute and baste continuously.
Rest for at least five minutes before cutting. The rest is not optional — it is the difference between a steak that is juicy and one that runs dry on the plate.
The Washington Post / Getty Images
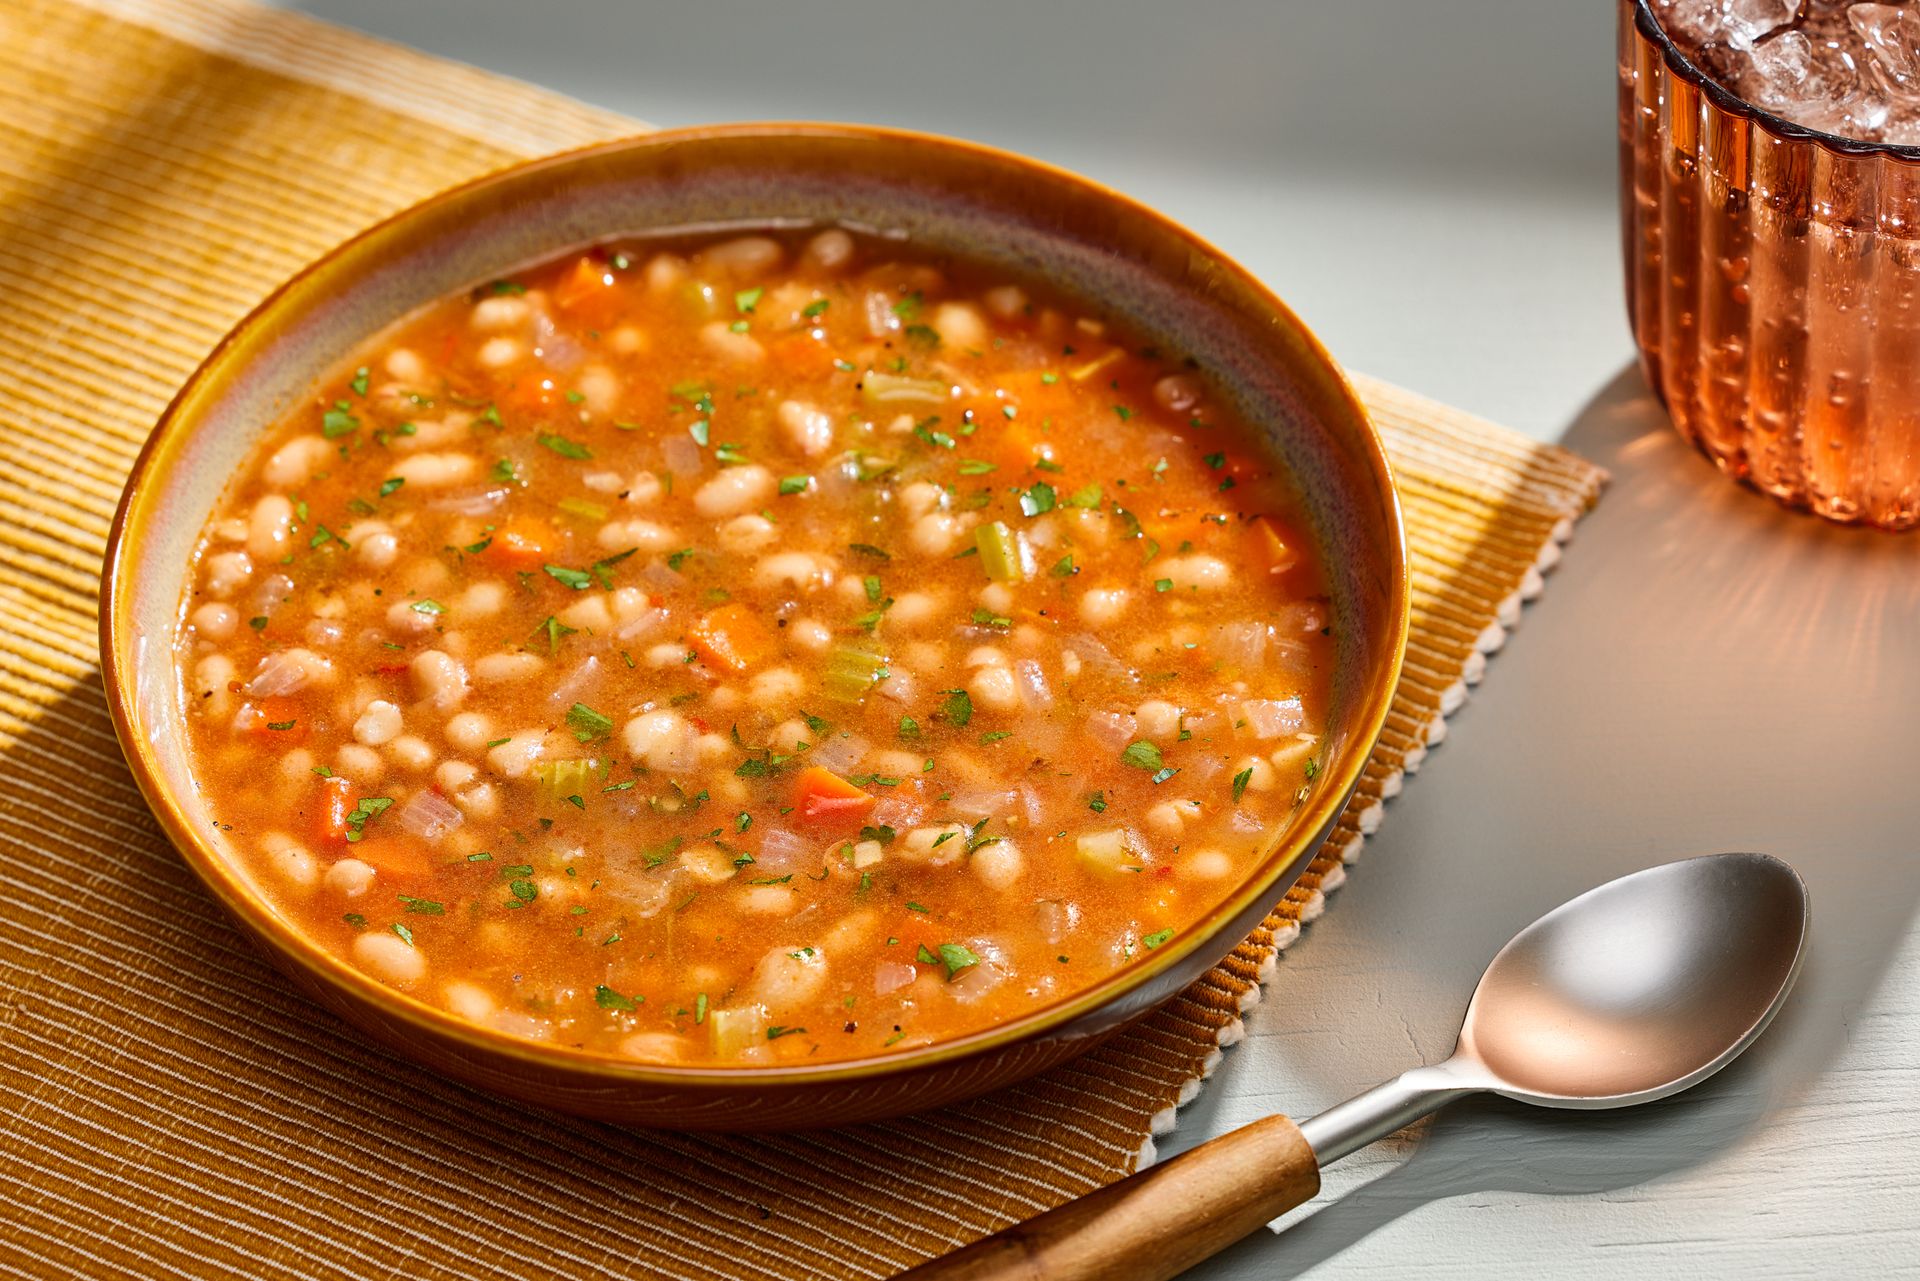
The ability to make soup from scratch — not from a packet, not from stock cubes and pre-cut vegetables, but from raw ingredients built into something warm and deeply flavored — is one of the most useful things a home cook can know. A good homemade soup costs very little, requires no particular skill, and produces a result that no commercial version approaches.
The principle is the same for almost every vegetable soup. Start with aromatics — onion, carrot, celery — cooked slowly in butter or olive oil until soft and sweet, roughly ten minutes over medium-low heat. This base, called a soffritto in Italian and a mirepoix in French, is the flavor foundation on which everything else builds. Do not rush it. Soft, sweet, slightly golden aromatics produce a very different soup from ones that have been cooked for two minutes and then covered in liquid.
Add whatever vegetable is the focus of the soup — butternut squash, leek and potato, cauliflower, broccoli, carrot — cut into rough pieces. Add enough stock or water to cover, a bay leaf, salt, and a pinch of black pepper. Simmer until the vegetables are completely tender. Blend until smooth, taste, adjust seasoning, and finish with a drizzle of good olive oil, a spoonful of cream, or whatever garnish is appropriate.
The principles that produce excellent vegetable soup — patience with the aromatics, seasoning at each stage, finishing with fat — apply equally to lentil soup, bean soup, chicken soup, and almost every other variety. Learn one soup well and you have learned all of them.
Chicago Tribune / Getty Images
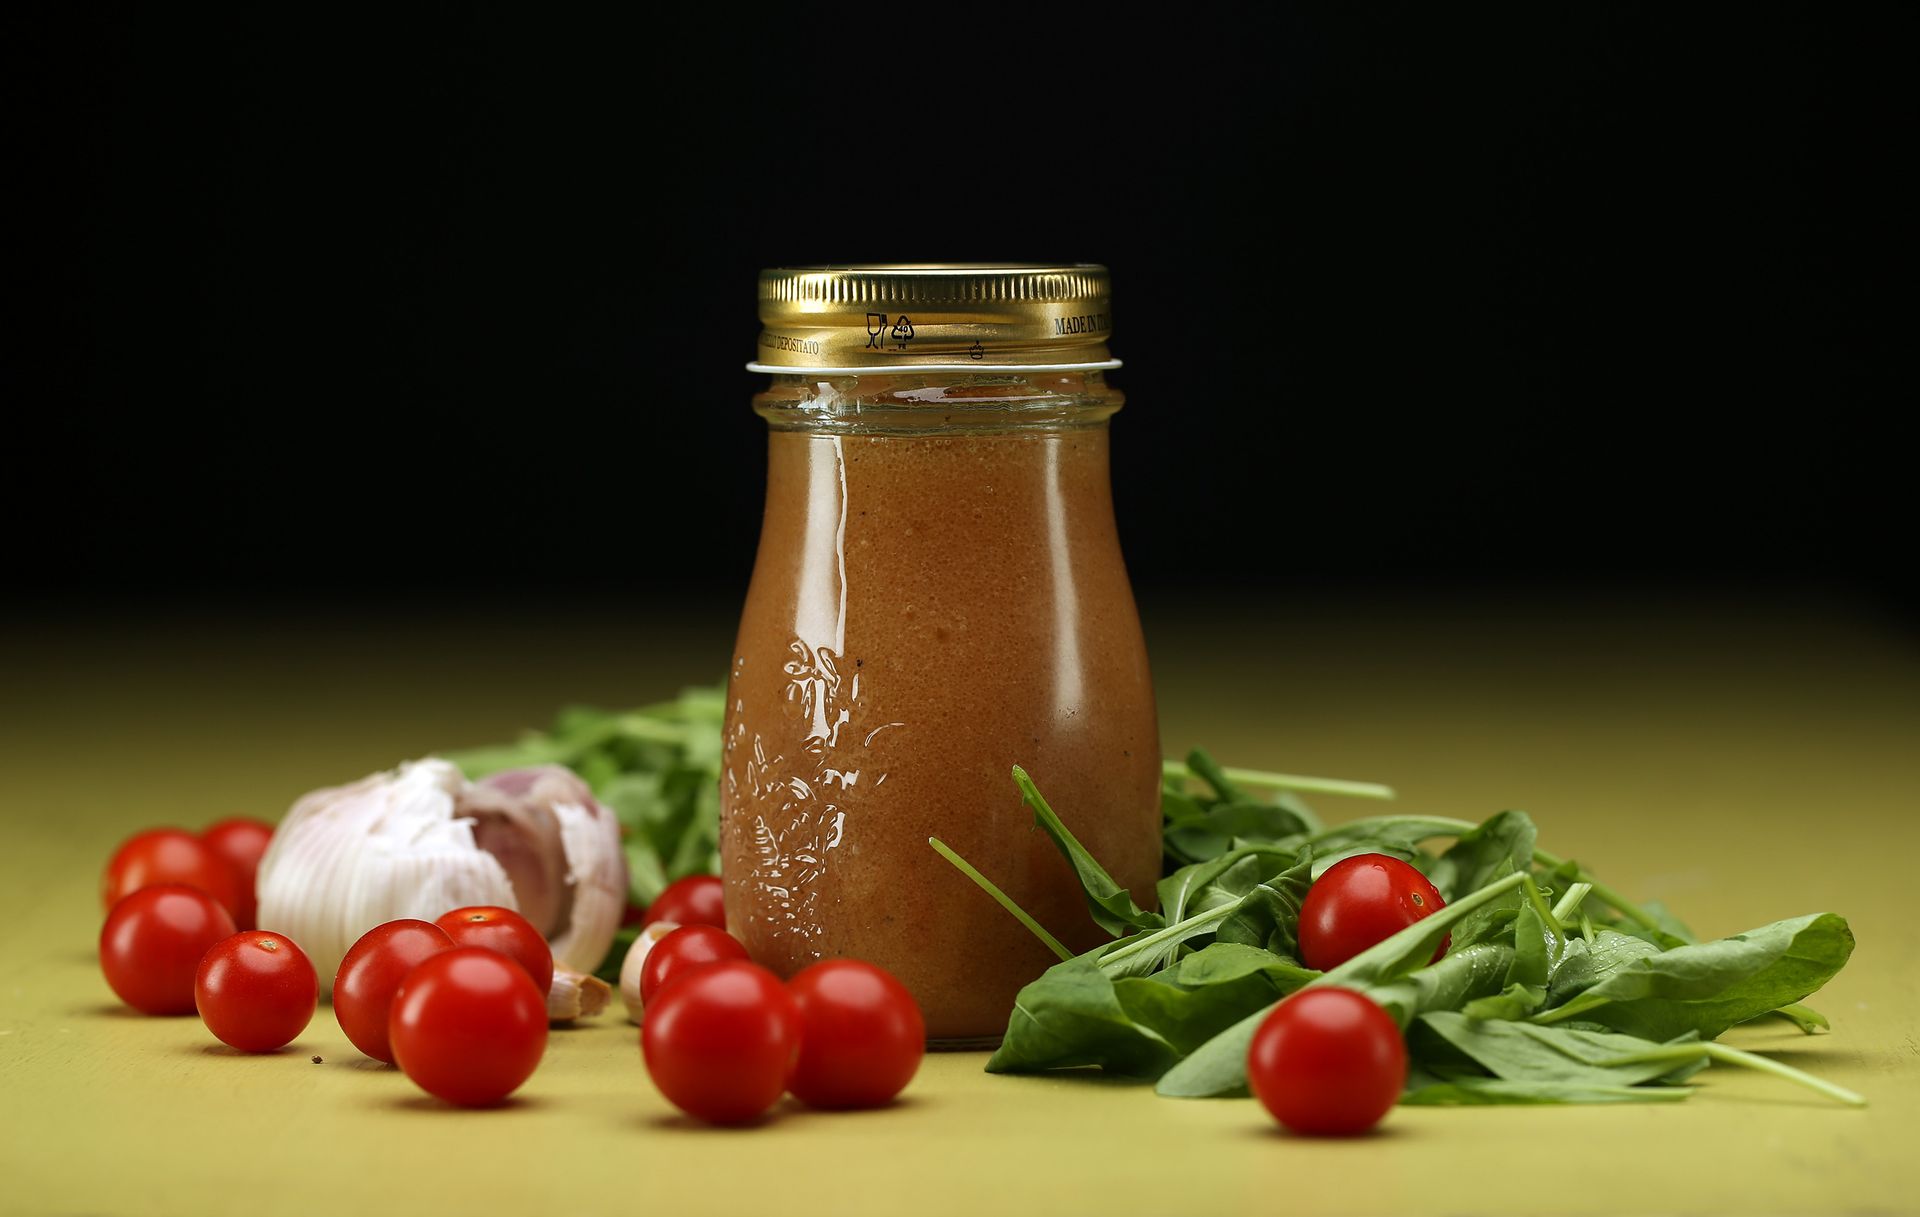
The gap between a good salad and a bad one is almost never the leaves. It is almost always the dressing. A properly made vinaigrette — balanced between acid and fat, emulsified so it clings rather than pools at the bottom of the bowl, seasoned correctly — transforms ordinary salad leaves into something genuinely worth eating. A watery, unbalanced dressing applied too generously to un-dried leaves produces the wilted, undistinguished salad that makes people think they do not like salad.
The ratio for a vinaigrette is one part acid to three parts oil — one tablespoon of good wine vinegar or lemon juice to three tablespoons of extra virgin olive oil. To this add a small pinch of salt, a grind of black pepper, and half a teaspoon of Dijon mustard. The mustard serves as an emulsifier — it helps the oil and vinegar combine into a stable, creamy dressing rather than separating. Whisk vigorously until the dressing is opaque and slightly thick. Taste on a leaf and adjust.
The most common error is using too much dressing. A salad should be lightly coated — every leaf touched, none of them swimming. The second most common error is dressing wet leaves, which dilutes the dressing and prevents it from adhering. Spin or thoroughly dry your leaves before dressing.
Dress the salad in a large bowl, toss gently with your hands to coat every leaf, and serve immediately. A dressed salad held for more than a few minutes begins to wilt. The vinaigrette keeps in a jar in the refrigerator for a week, which makes it worth making in larger quantities.
Houston Chronicle/Hearst Newspapers / Getty Images
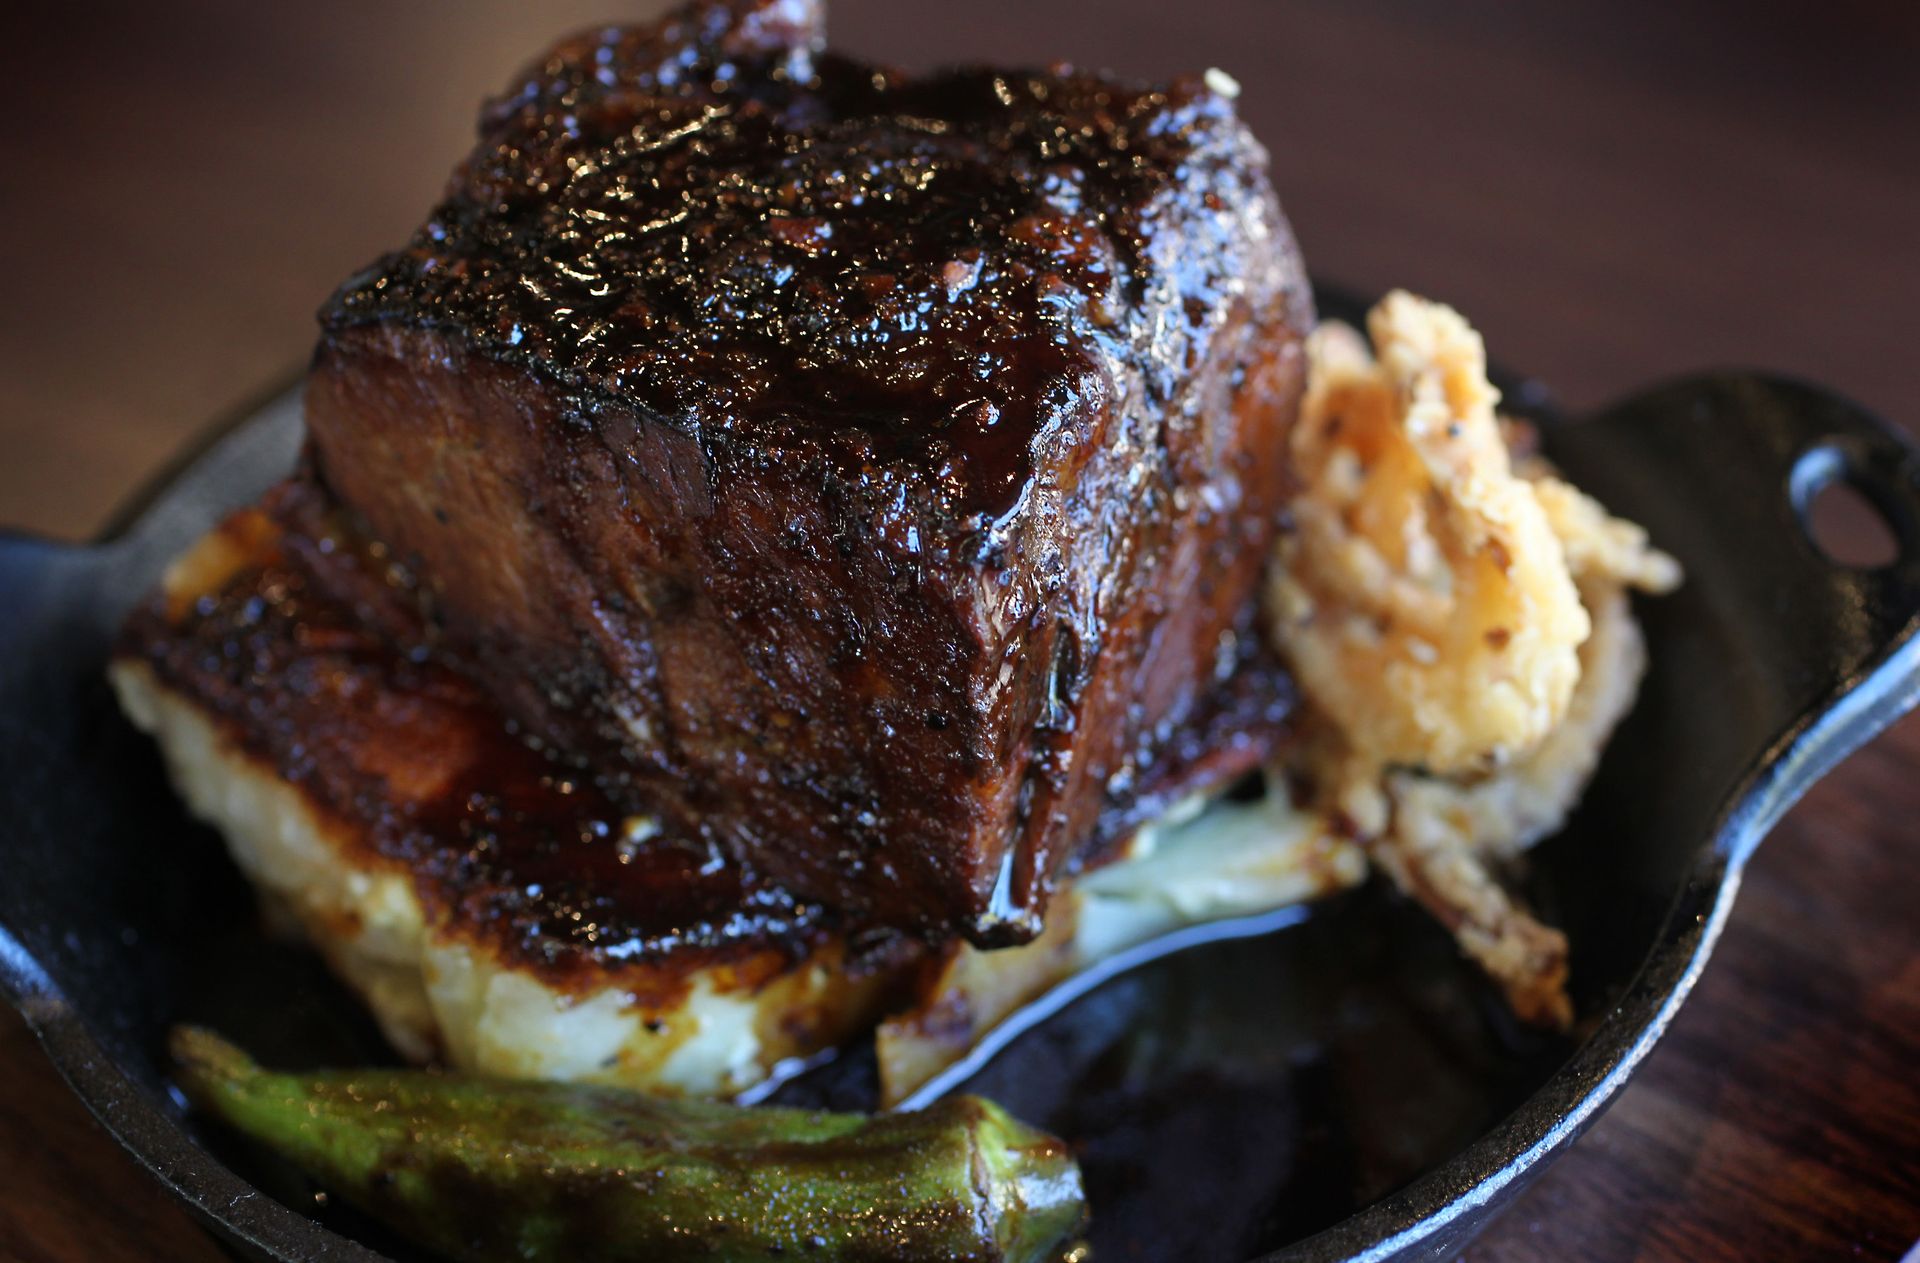
Braising — cooking a tough cut of meat in liquid over low heat for a long time until the connective tissue breaks down into gelatin and the meat becomes tender enough to pull apart — is the technique that produces the most dramatic transformation in cooking. A piece of pork shoulder or beef short rib that would be unpleasant if cooked quickly becomes, after three to four hours in a low oven, something deeply flavored, extraordinarily tender, and impressive enough to serve to guests without apology.
The method is consistent across cuts. Season the meat generously the night before if possible, or at least an hour ahead. Brown it thoroughly on all sides in a heavy pot over high heat — the browning produces the Maillard reaction, a suite of chemical changes that create hundreds of flavor compounds. This step is not optional. An unbrowned braise is a pale, flat version of what a properly browned one achieves.
Remove the meat and cook diced onion, carrot, and celery in the same pot until soft and golden. Add tomato paste and cook for two minutes. Add red wine, scraping the caramelized bits from the bottom, and reduce by half. Add beef or chicken stock until the liquid comes two-thirds of the way up the meat. Return the meat, add a bay leaf and a few sprigs of thyme, bring to a simmer, cover, and transfer to a 160°C oven.
Cook for three to four hours until the meat is completely tender — a skewer should slide in and out with no resistance. Rest the meat in the liquid before serving. Reduce the braising liquid over high heat until it coats the back of a spoon, then season and strain it. This is the sauce. It will be extraordinarily good.
The Washington Post / Getty Images
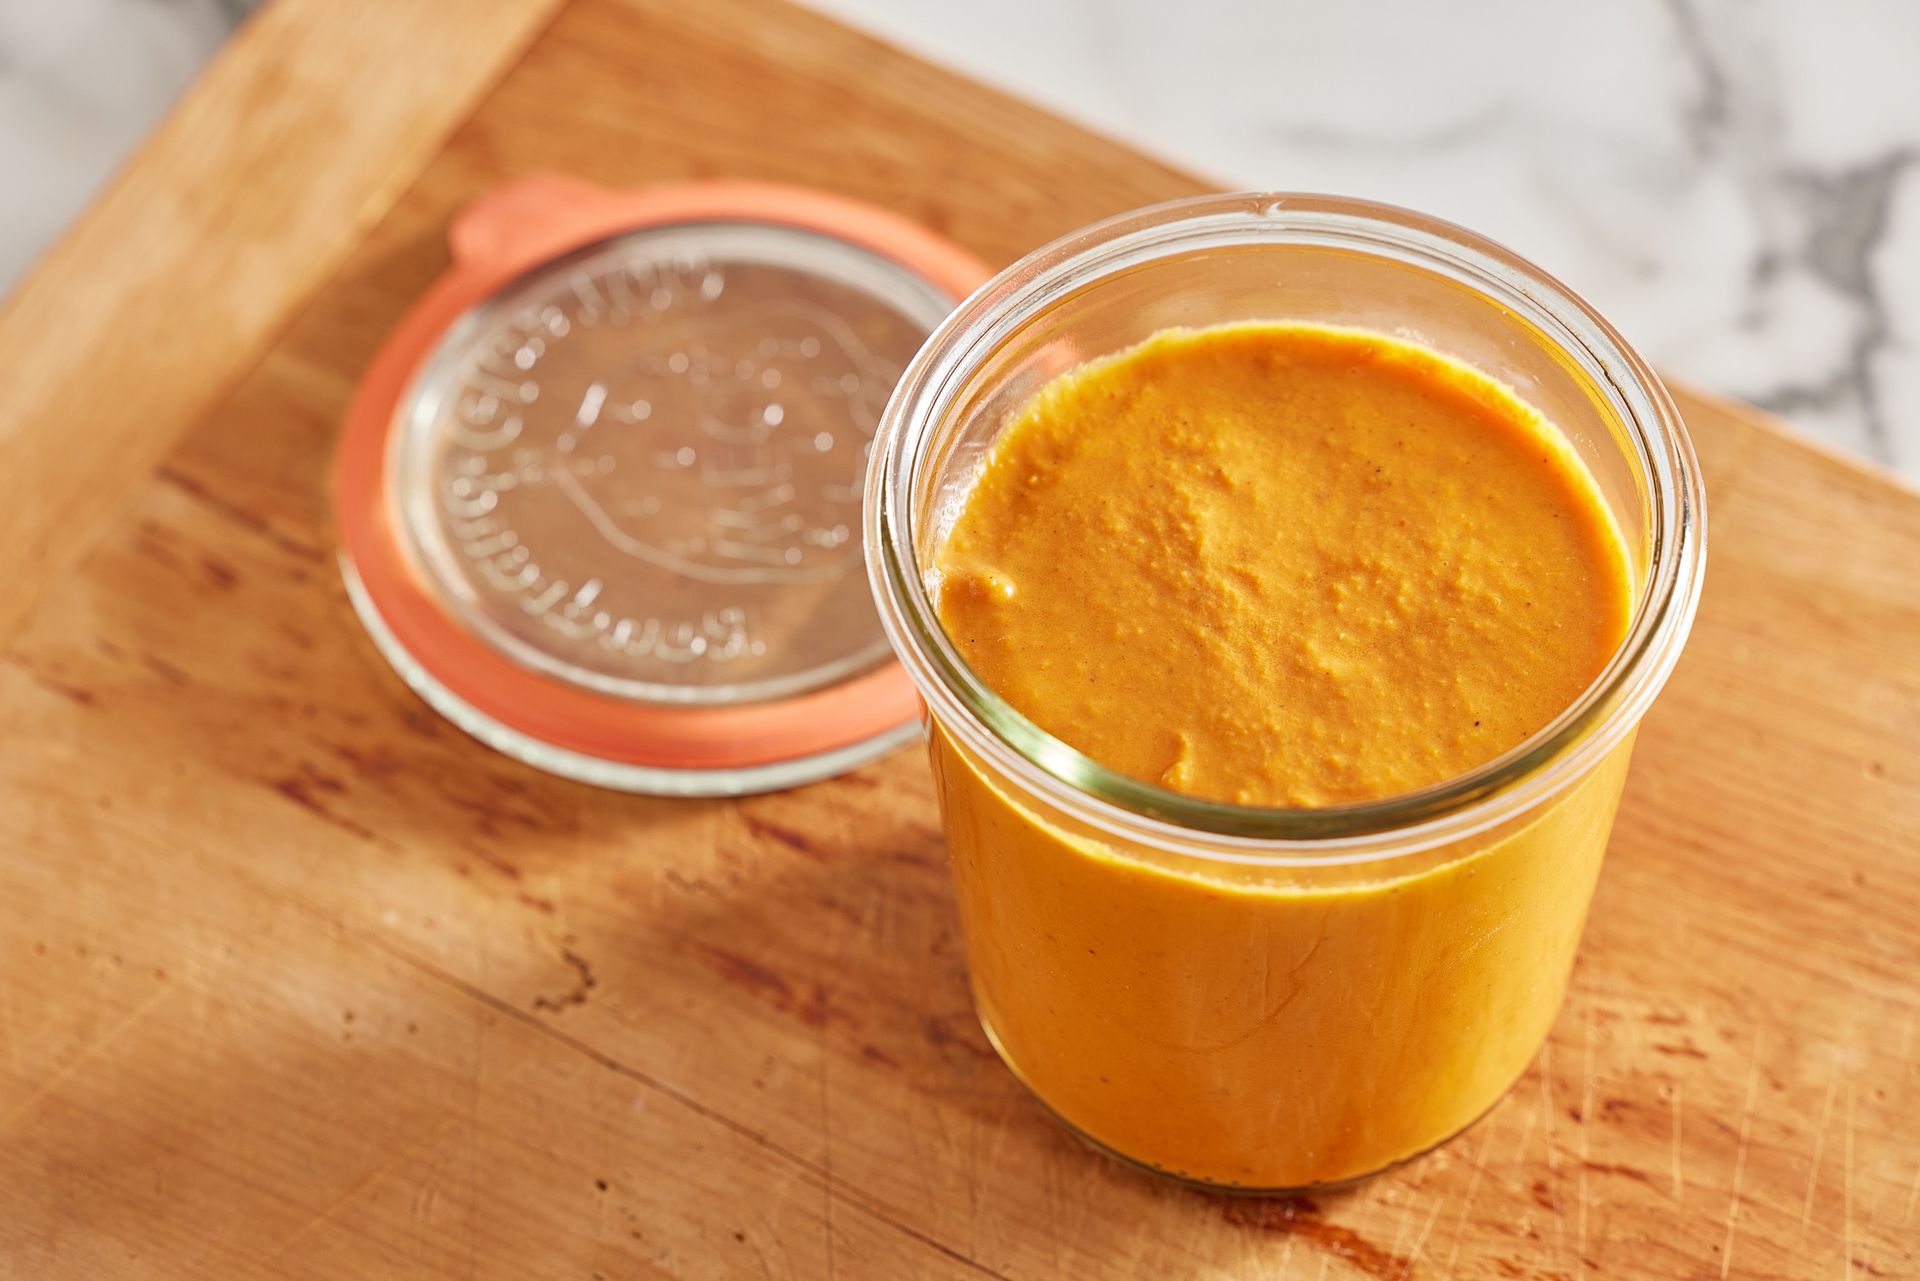
The ability to make a curry from scratch — not from a jar of paste, but from whole spices and fresh aromatics — is one of the most practical expansions of a home cook's repertoire available, and it is more accessible than the spice list implies. Once you understand the basic structure — aromatics cooked in fat, spices bloomed in the fat, liquid added to form a sauce — you have a framework that applies to dozens of variations.
Begin by toasting one teaspoon each of cumin seeds and coriander seeds in a dry pan until fragrant — about one minute. Grind roughly in a pestle and mortar or spice grinder. In a heavy pan, heat two tablespoons of neutral oil over medium heat. Add one large diced onion and cook slowly for 15 minutes until deep golden — this step is the foundation of the curry's flavor and cannot be rushed. Add three cloves of grated garlic, a thumb of grated ginger, and the ground spices, plus one teaspoon of turmeric and one of garam masala. Cook for two minutes, stirring continuously, until the spices are fragrant and the paste is slightly drier.
Add one tin of chopped tomatoes and cook until the oil separates from the sauce — roughly ten minutes — which indicates that the tomatoes have cooked down enough and the base is ready. Add your protein — chicken thighs, lamb shoulder, chickpeas, or paneer — and enough water or stock to make a sauce. Simmer until cooked through, season generously with salt, and finish with a large handful of fresh cilantro.
The curry made this way is simple and adaptable. Add coconut milk for a richer, milder sauce. Add dried chilies with the spices for more heat. The structure remains the same.
Amy Brothers / Getty Images
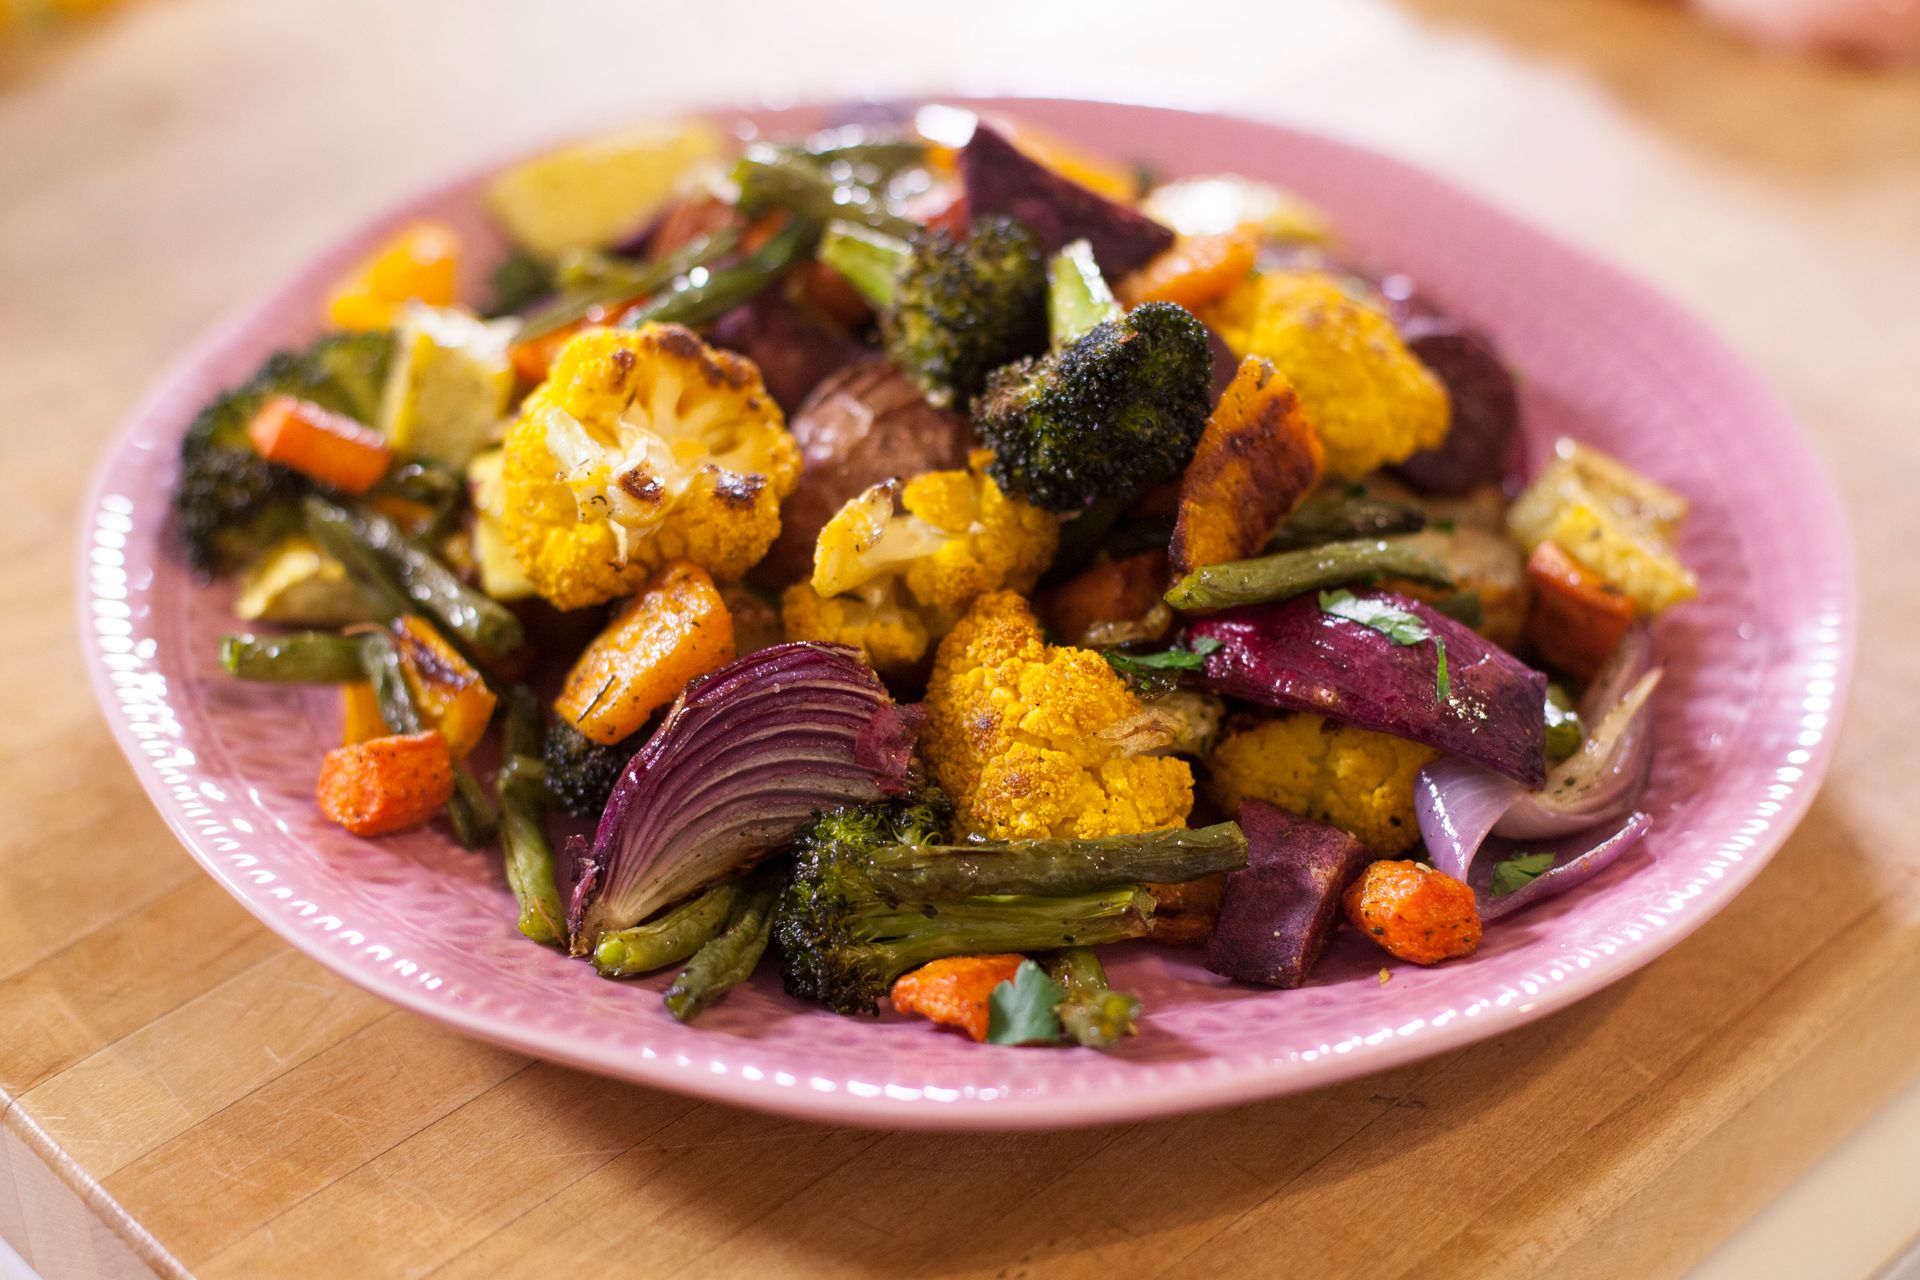
Roasting vegetables transforms them in a way that no other cooking method does. The high, dry heat of the oven drives off surface moisture, concentrates the natural sugars, and produces caramelization on the cut surfaces — the golden-brown color and complex, slightly sweet flavor that makes a roasted carrot or cauliflower worth eating on its own rather than as an obligation.
The principles are consistent across all vegetables. Cut into pieces of uniform size so they cook at the same rate. Coat thoroughly in enough olive oil that every surface is glossy — under-oiled vegetables steam rather than roast, and the result is soft and pale rather than golden and caramelized. Season generously with salt. Spread in a single layer on a roasting tray without crowding — overlapping vegetables trap steam and prevent browning.
Roast at 220°C — high heat is essential. Most vegetables take 25 to 40 minutes, depending on density. Turn once halfway through. The vegetables are done when they are tender throughout and deeply caramelized on the cut surfaces.
The most common errors are insufficient oil, insufficient heat, and overcrowding the tray. Each one produces the same result: pale, steamed vegetables with no caramelization. Use more oil than feels comfortable, use a higher oven than feels safe, and use two trays rather than one if your vegetables do not fit in a single layer.
Finish roasted vegetables with something acidic — a squeeze of lemon, a splash of sherry vinegar, or a handful of capers — which lifts the sweetness of the caramelization and gives the dish balance.
The Washington Post / Getty Images
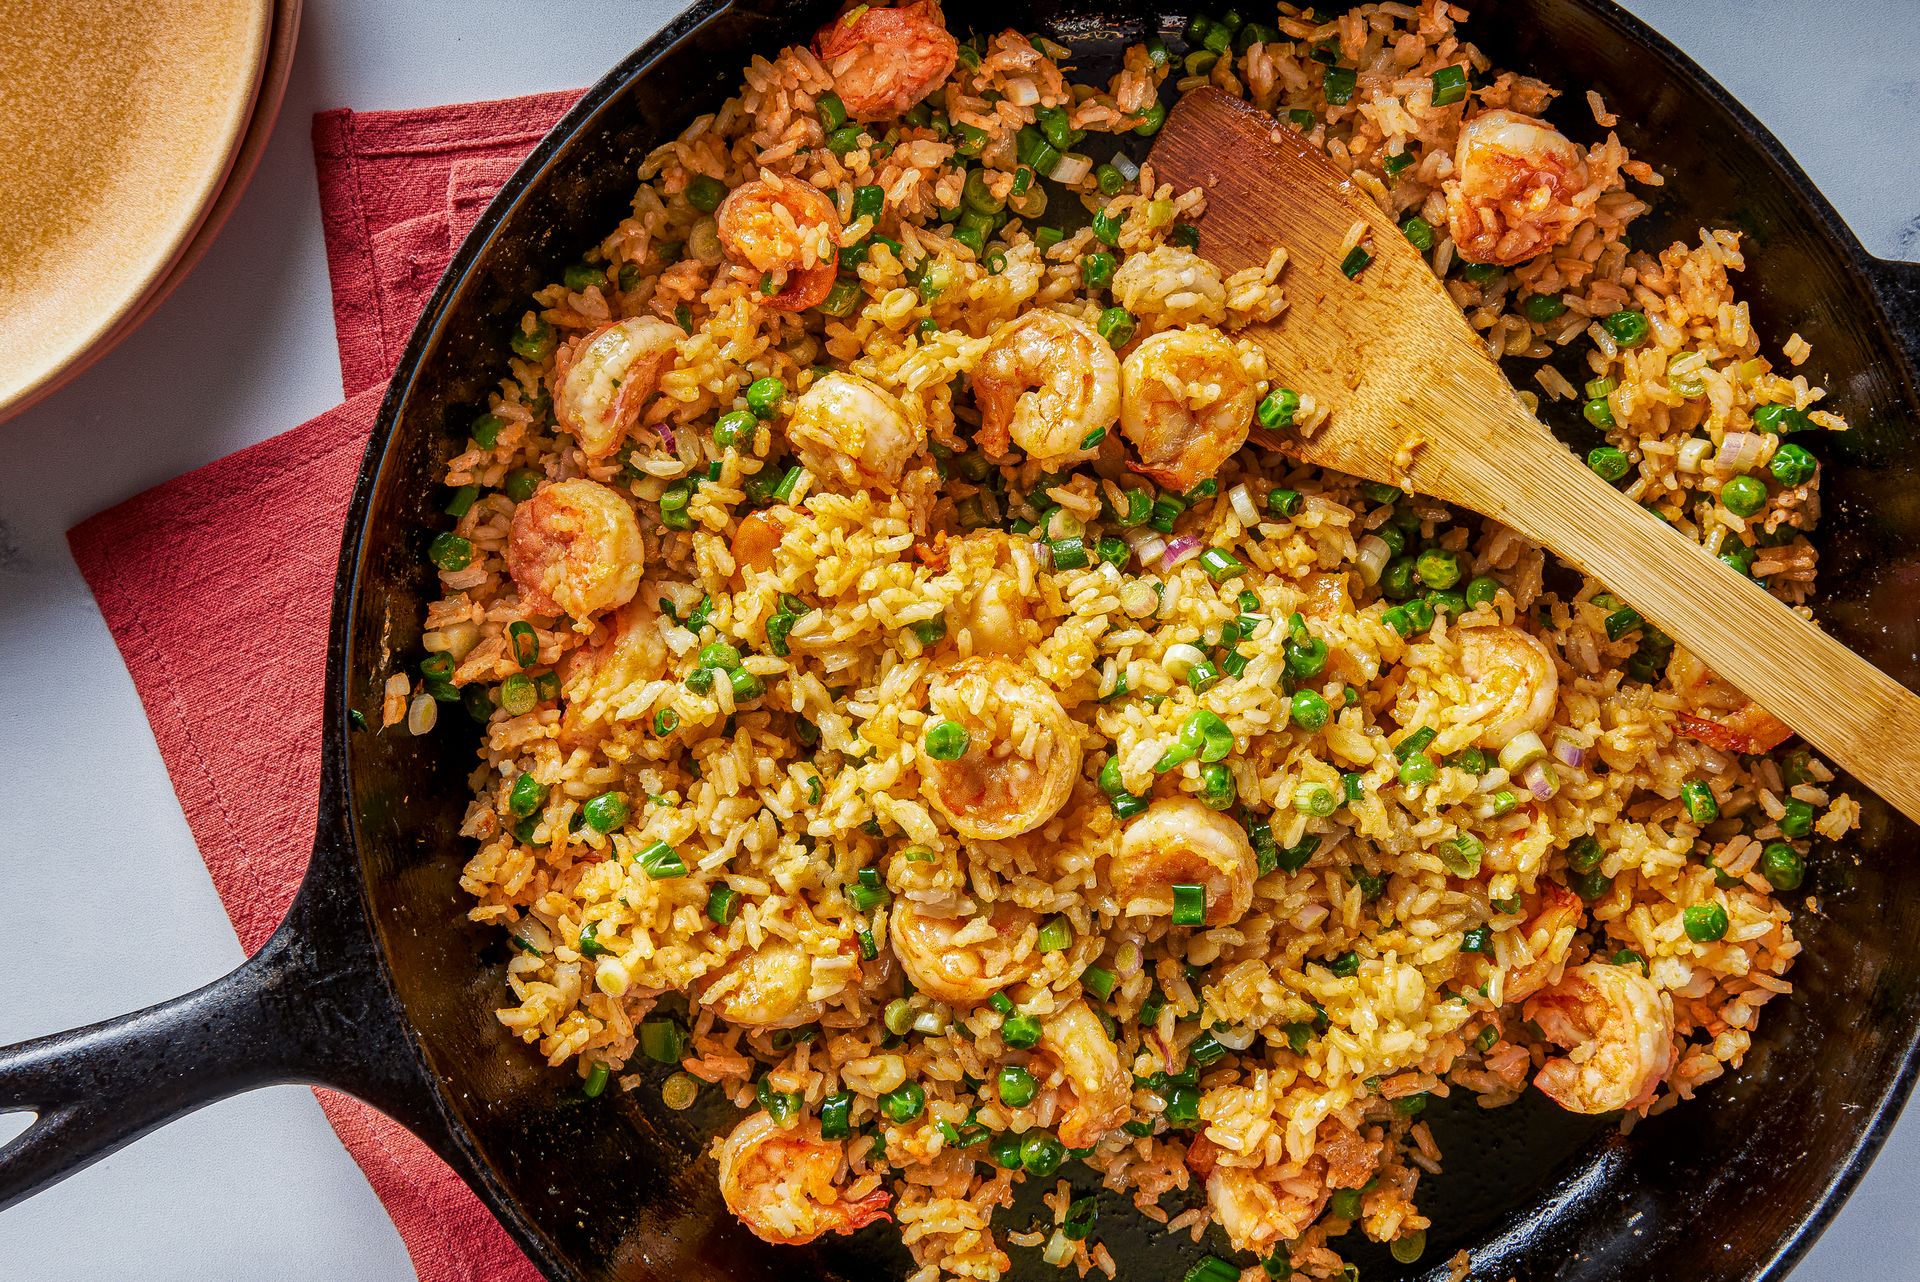
Fried rice is one of the most practical dishes in home cooking — a method for transforming day-old cooked rice, leftover proteins, and whatever vegetables are in the refrigerator into a complete meal in under ten minutes. It is also a dish that teaches more about heat management and timing than almost any other quick cook, because it requires very high heat and very fast movement that most home cooks find unfamiliar.
The foundational rule is day-old rice. Freshly cooked rice has too much surface moisture and will steam rather than fry, producing a sticky, clumped result. Rice cooked the day before and stored uncovered or loosely covered in the refrigerator dries out on the surface and fries properly — each grain remaining separate.
Heat a wok or the widest pan you own over the highest heat your stove produces. Add two tablespoons of neutral oil and heat until just smoking. Add any protein first if it needs cooking — diced chicken, prawns, beaten egg scrambled quickly and broken into pieces. Remove and set aside. Add diced vegetables — whatever you have, cut small enough to cook in two minutes. Add the rice, spreading it across the pan, and press it flat. Leave it undisturbed for one minute to develop some color on the bottom, then toss. Add the protein back, season with soy sauce and a small amount of sesame oil, and toss everything together over high heat for another 30 seconds.
Taste and adjust seasoning. Garnish with sliced green onions. The entire process from cold pan to plate takes eight minutes if the rice is ready. That speed and the quality of the result make fried rice one of the most useful dishes in the repertoire.
Portland Press Herald / Getty Images
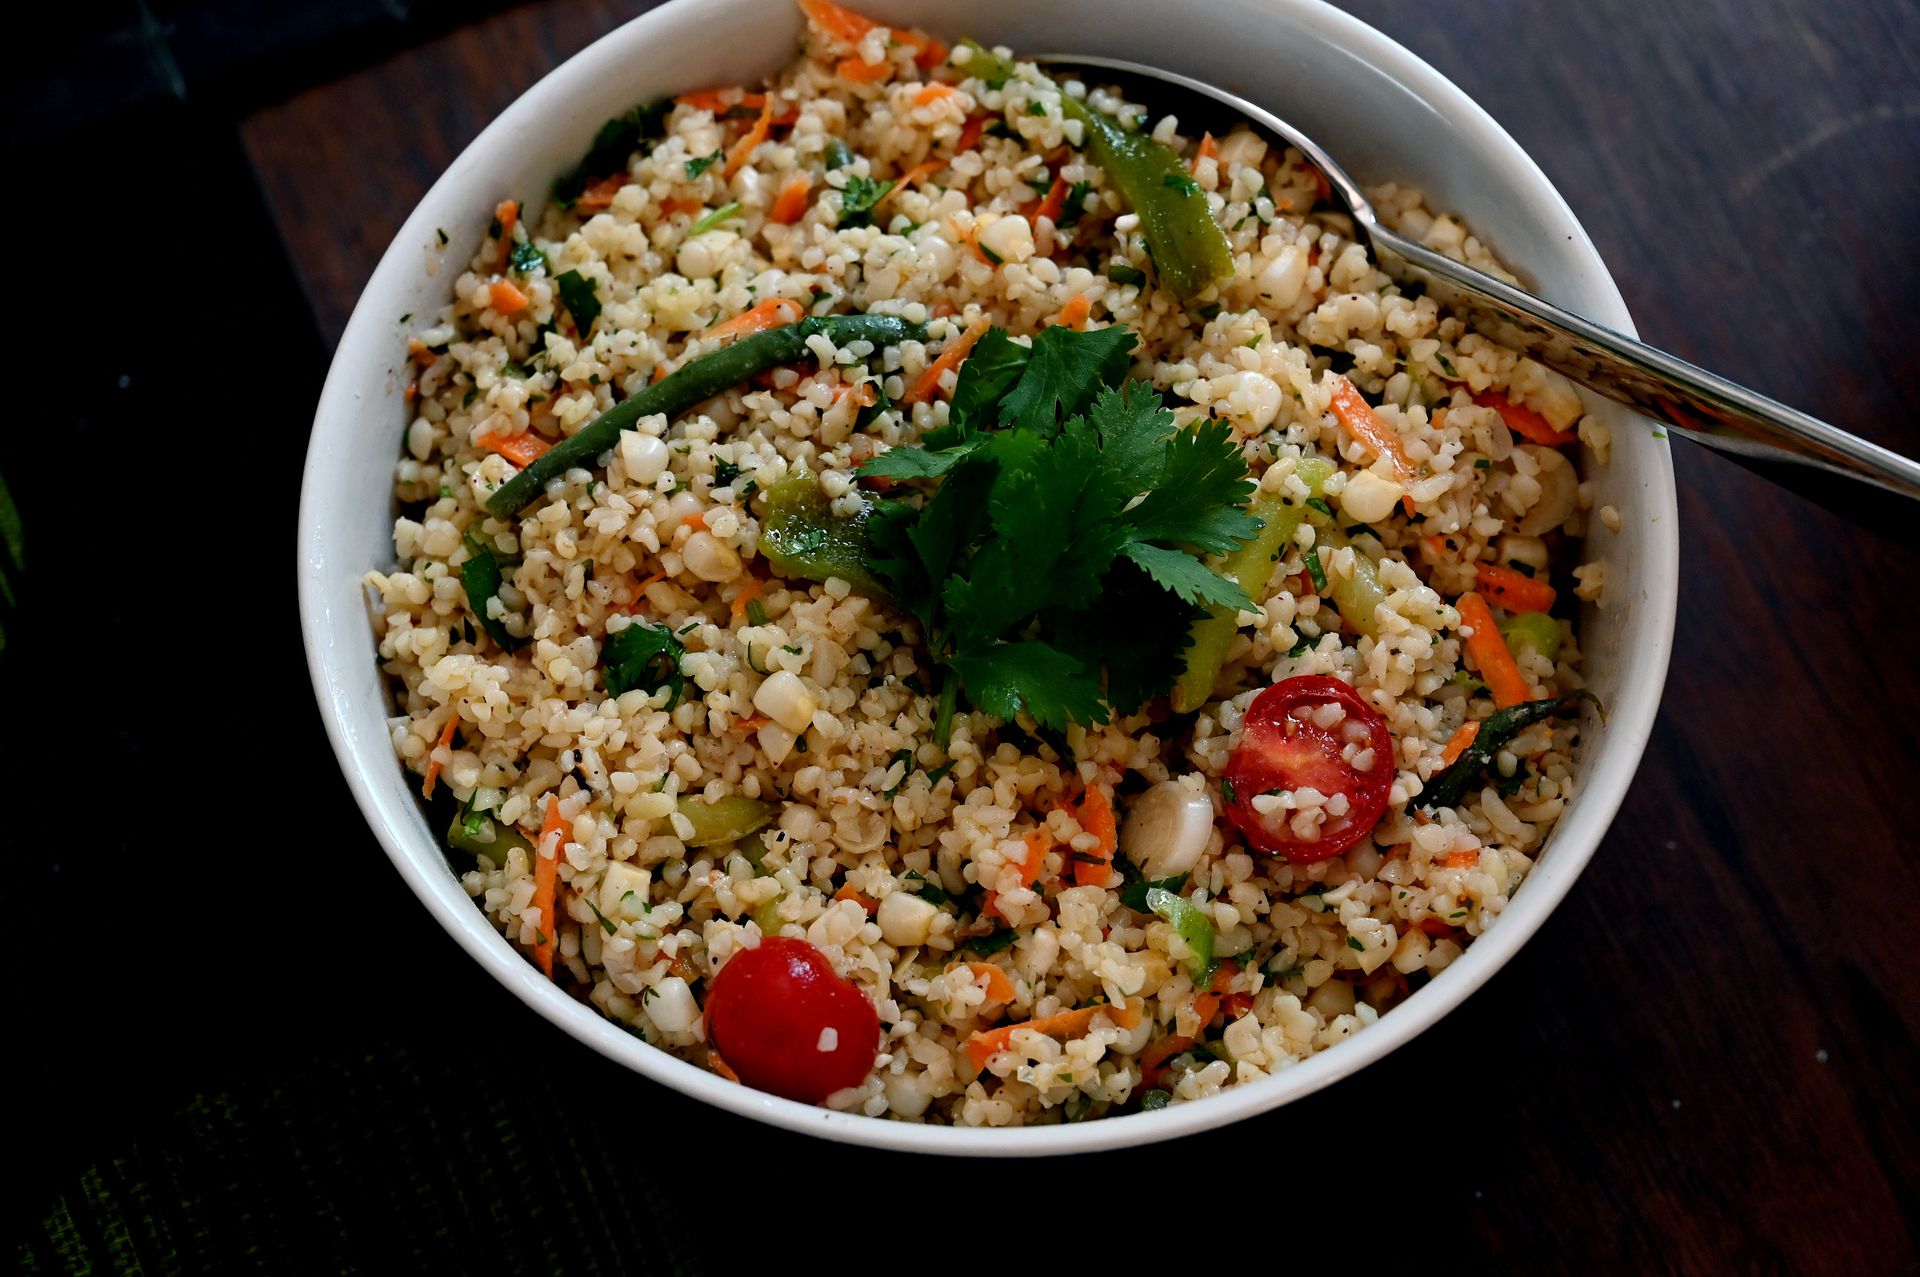
The grain salad — cooked farro, freekeh, barley, quinoa, or bulgur dressed with vegetables, herbs, and a sharp vinaigrette — is one of the most practical things to have in the refrigerator. It keeps for several days, improves as it sits, works as a lunch, a side dish, or a base for a more composed meal, and is nutritionally more complete than most things achievable in 30 minutes. Learning to make one well is a form of meal planning that does not feel like meal planning.
The technique is simple: cook the grain according to its specific instructions, drain if necessary, and spread on a tray to cool and dry slightly. Dress while still warm — warm grains absorb dressing far more effectively than cold ones, and a grain salad dressed cold is almost always underdressed regardless of how much dressing is added.
The dressing should be assertive — more acid and more salt than you would use for a leaf salad, because grains absorb and mute seasoning more than leaves do. A good combination is lemon juice, olive oil, Dijon mustard, salt, and black pepper. Add whatever vegetables are available — roasted or raw — along with a generous amount of fresh herbs. Soft herbs work best: parsley, mint, cilantro, dill, or a combination. A crumbled salty cheese — feta, ricotta salata, pecorino — and a handful of toasted nuts add texture and richness.
Taste again after 10 minutes, once the grains have had time to absorb the dressing, and adjust seasoning. A grain salad that tastes well-seasoned immediately after dressing will taste flat after resting. Season more aggressively than feels right and it will be correct when served.
Portland Press Herald / Getty Images
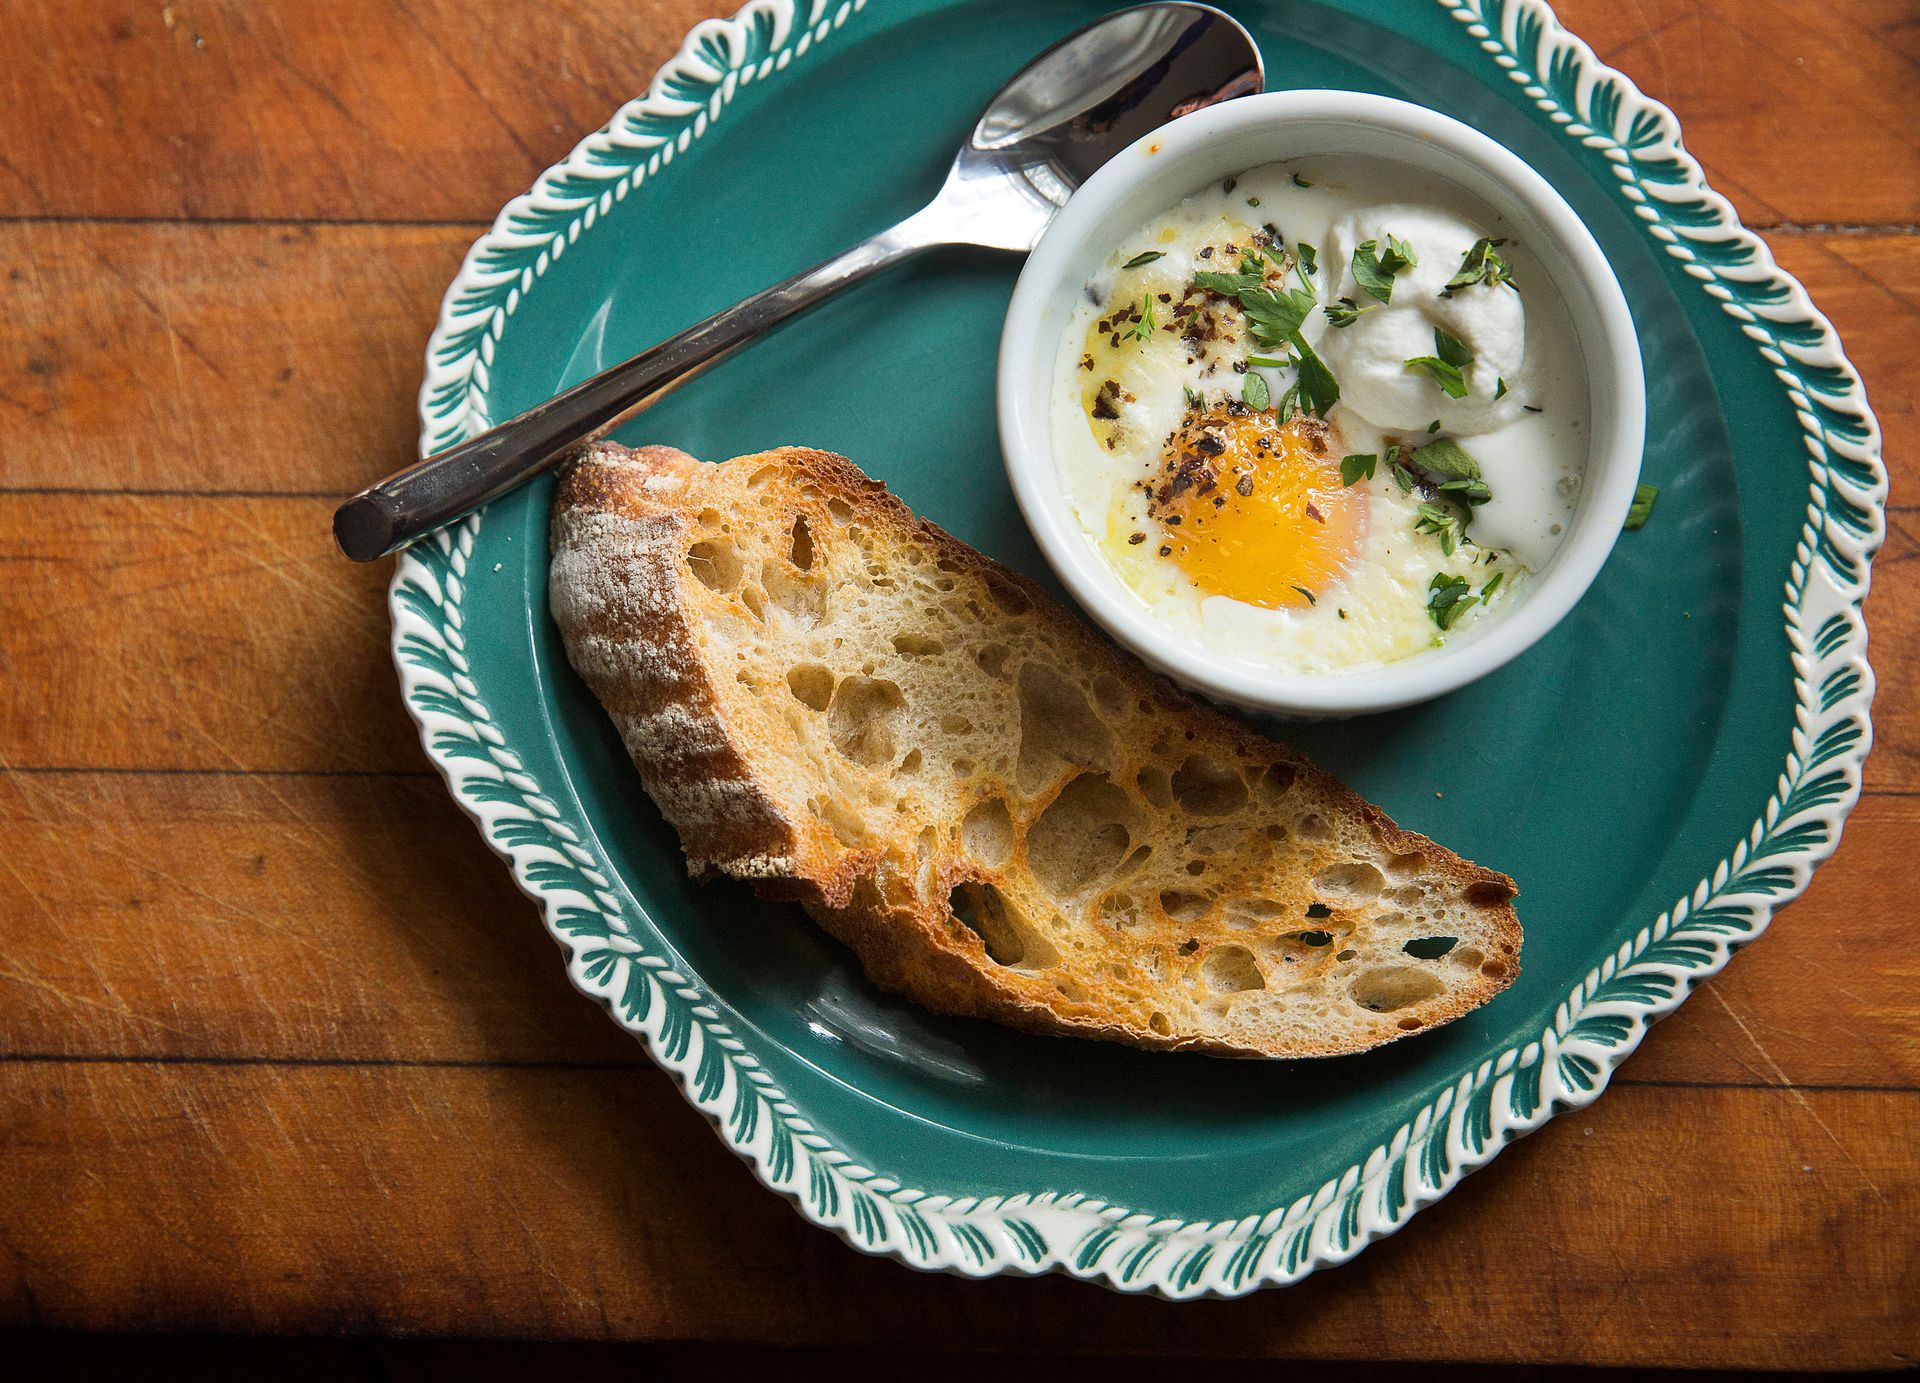
Baked eggs — eggs cracked into a dish with some form of flavorful base and cooked in the oven until just set — are one of the most effortlessly elegant things a home cook can produce, and they scale from one person to twelve with no change in technique beyond the size of the baking dish. They are also among the most forgiving dishes in this list: the base can be almost anything — a tomato sauce, wilted greens with cream, roasted peppers, spiced lentils — and the eggs will work with all of it.
The technique has two steps. First, make or warm whatever is serving as the base in an oven-proof dish or individual ramekins. The base should be saucy enough that the eggs can partially sink into it — too thick and the whites will not set evenly. Make small wells in the surface with a spoon and crack an egg into each well. Season the eggs with salt and pepper. Add a spoonful of cream or crème fraîche around each yolk if you want richness.
Bake at 180°C for 10 to 14 minutes, depending on how set you want the yolks. At 10 minutes the whites will be just set and the yolks entirely liquid. At 14 minutes the whites will be firmly set and the yolks beginning to firm at the edges. The eggs continue to cook from the residual heat of the dish for a minute or two after leaving the oven, so pull them out slightly earlier than you think necessary.
The entire dish from refrigerator to table takes 25 minutes if the base is made ahead, and it looks and tastes like more effort than it requires. A loaf of good bread alongside is the only accompaniment needed.
REDA / Getty Images
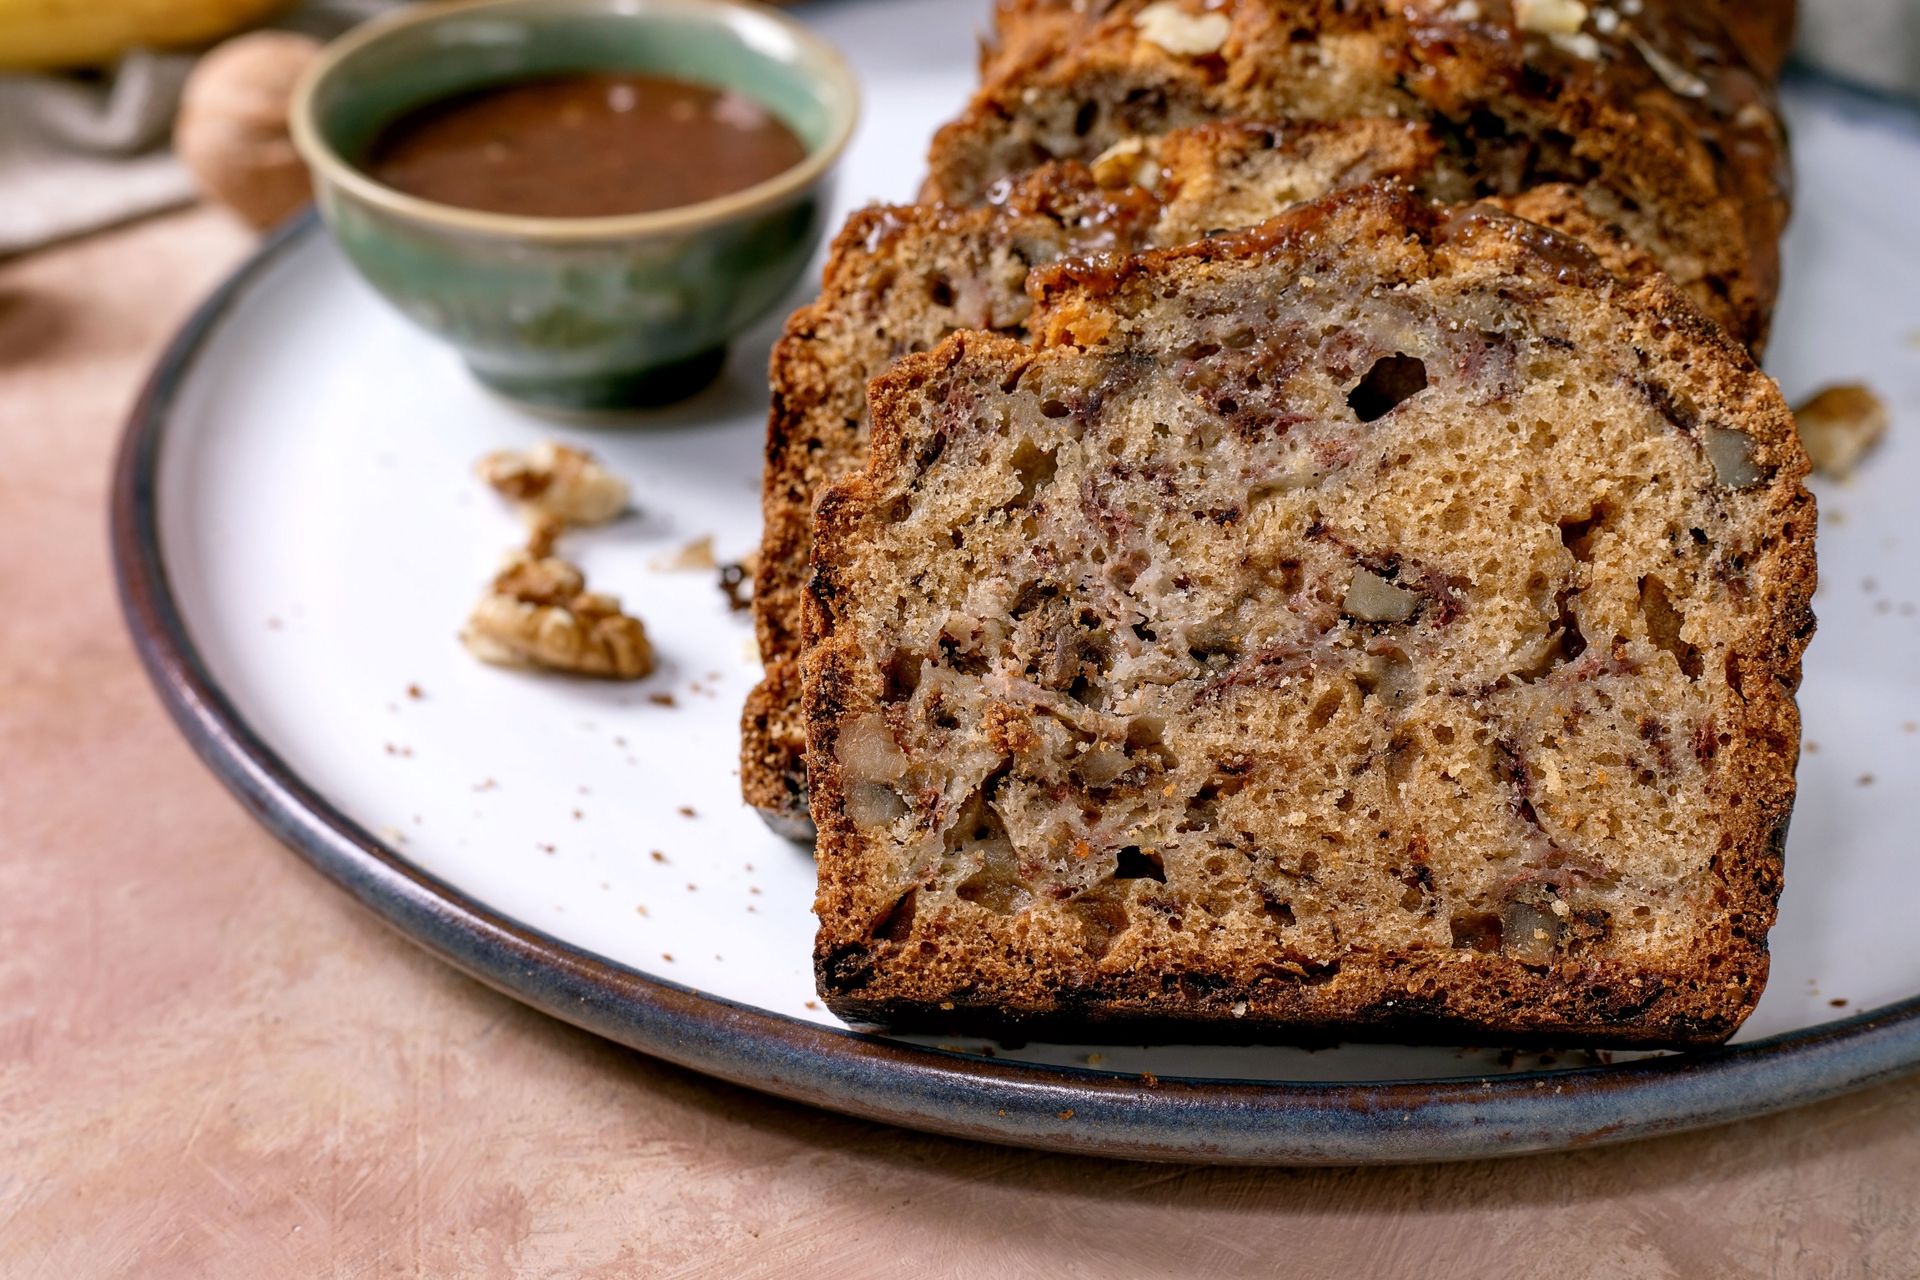
Every home cook needs at least one baked good they can make reliably without thinking — something to produce on a Sunday morning, to bring to a friend, to use up overripe fruit. Banana bread is that baked good. It is tolerant of variations in ingredient quantities, forgiving of imprecise mixing, and produces a result that is universally liked. It also requires no special equipment and no baking experience to make well.
The riper the bananas, the better. Black-skinned bananas that look too far gone to eat are, counterintuitively, at their best for banana bread — the starches have converted to sugars and the flavor is intensely banana. Mash three very ripe bananas thoroughly with a fork until nearly smooth. Beat together 115 grams of softened butter and 150 grams of caster sugar until pale and fluffy. Beat in two eggs, one at a time. Stir in the mashed banana. Fold in 190 grams of plain flour, one teaspoon of baking soda, and a pinch of salt until just combined — do not over-mix, which develops the gluten and produces a tough loaf.
Pour into a buttered and floured 900-gram loaf tin and bake at 175°C for 55 to 65 minutes until a skewer inserted in the center comes out clean. Cool in the tin for ten minutes before turning out.
The principle of not over-mixing applies to most baked goods — it is one of the most transferable lessons baking teaches. Fold until the flour just disappears and stop.
Steve Russell / Getty Images
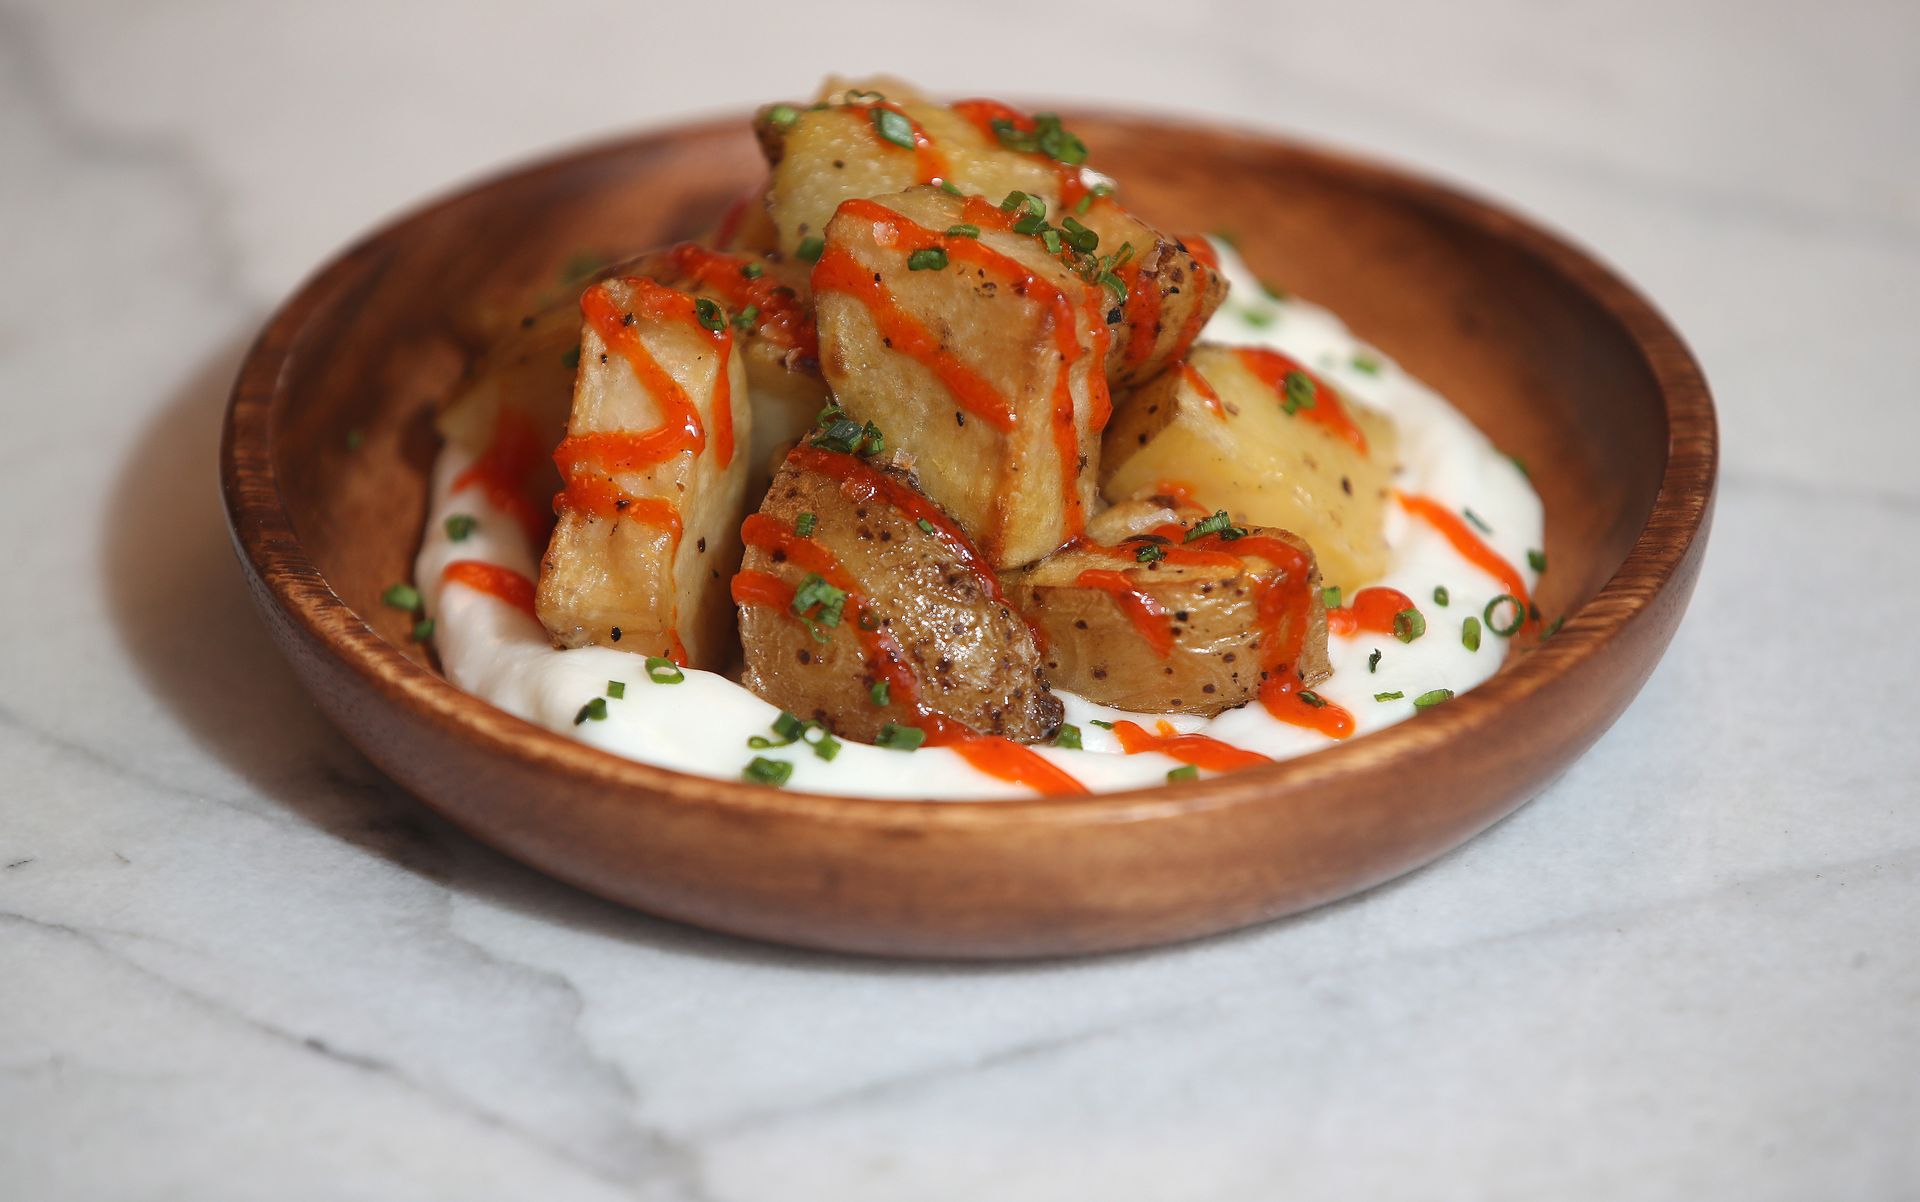
The roast potato is, arguably, the most contested dish in British domestic cooking — the subject of more strong opinions per square centimeter of crispy surface than almost any other food. What produces the perfect roast potato is not mysterious: high heat, pre-heated fat, and a potato that has been par-boiled until the outside is beginning to break down. None of these steps is negotiable.
Use a floury potato — Maris Piper, King Edward, or Russet — which breaks down more on the outside during boiling and produces more surface roughness for crisping. Peel and cut into pieces of roughly equal size. Place in cold salted water, bring to the boil, and simmer for ten minutes. The potatoes should be on the verge of falling apart at the edges — not cooked through, but clearly softened on the surface.
While the potatoes boil, heat a roasting tray with a generous depth of fat — duck fat or goose fat produce the best result, beef dripping is excellent, and a neutral oil with a high smoke point works well — in a 220°C oven until the fat is shimmering and beginning to smoke. Drain the potatoes and shake them in the colander vigorously so the edges roughen and fluff up. This rough surface is what becomes crispy.
Carefully lower the potatoes into the hot fat — it will spit, and this is unavoidable. Turn to coat, spread in a single layer without crowding, and roast for 45 to 55 minutes, turning once or twice, until deeply golden and crisp on all surfaces. Season immediately with flaky salt when they come out of the oven.
Las Vegas Review-Journal / Getty Images
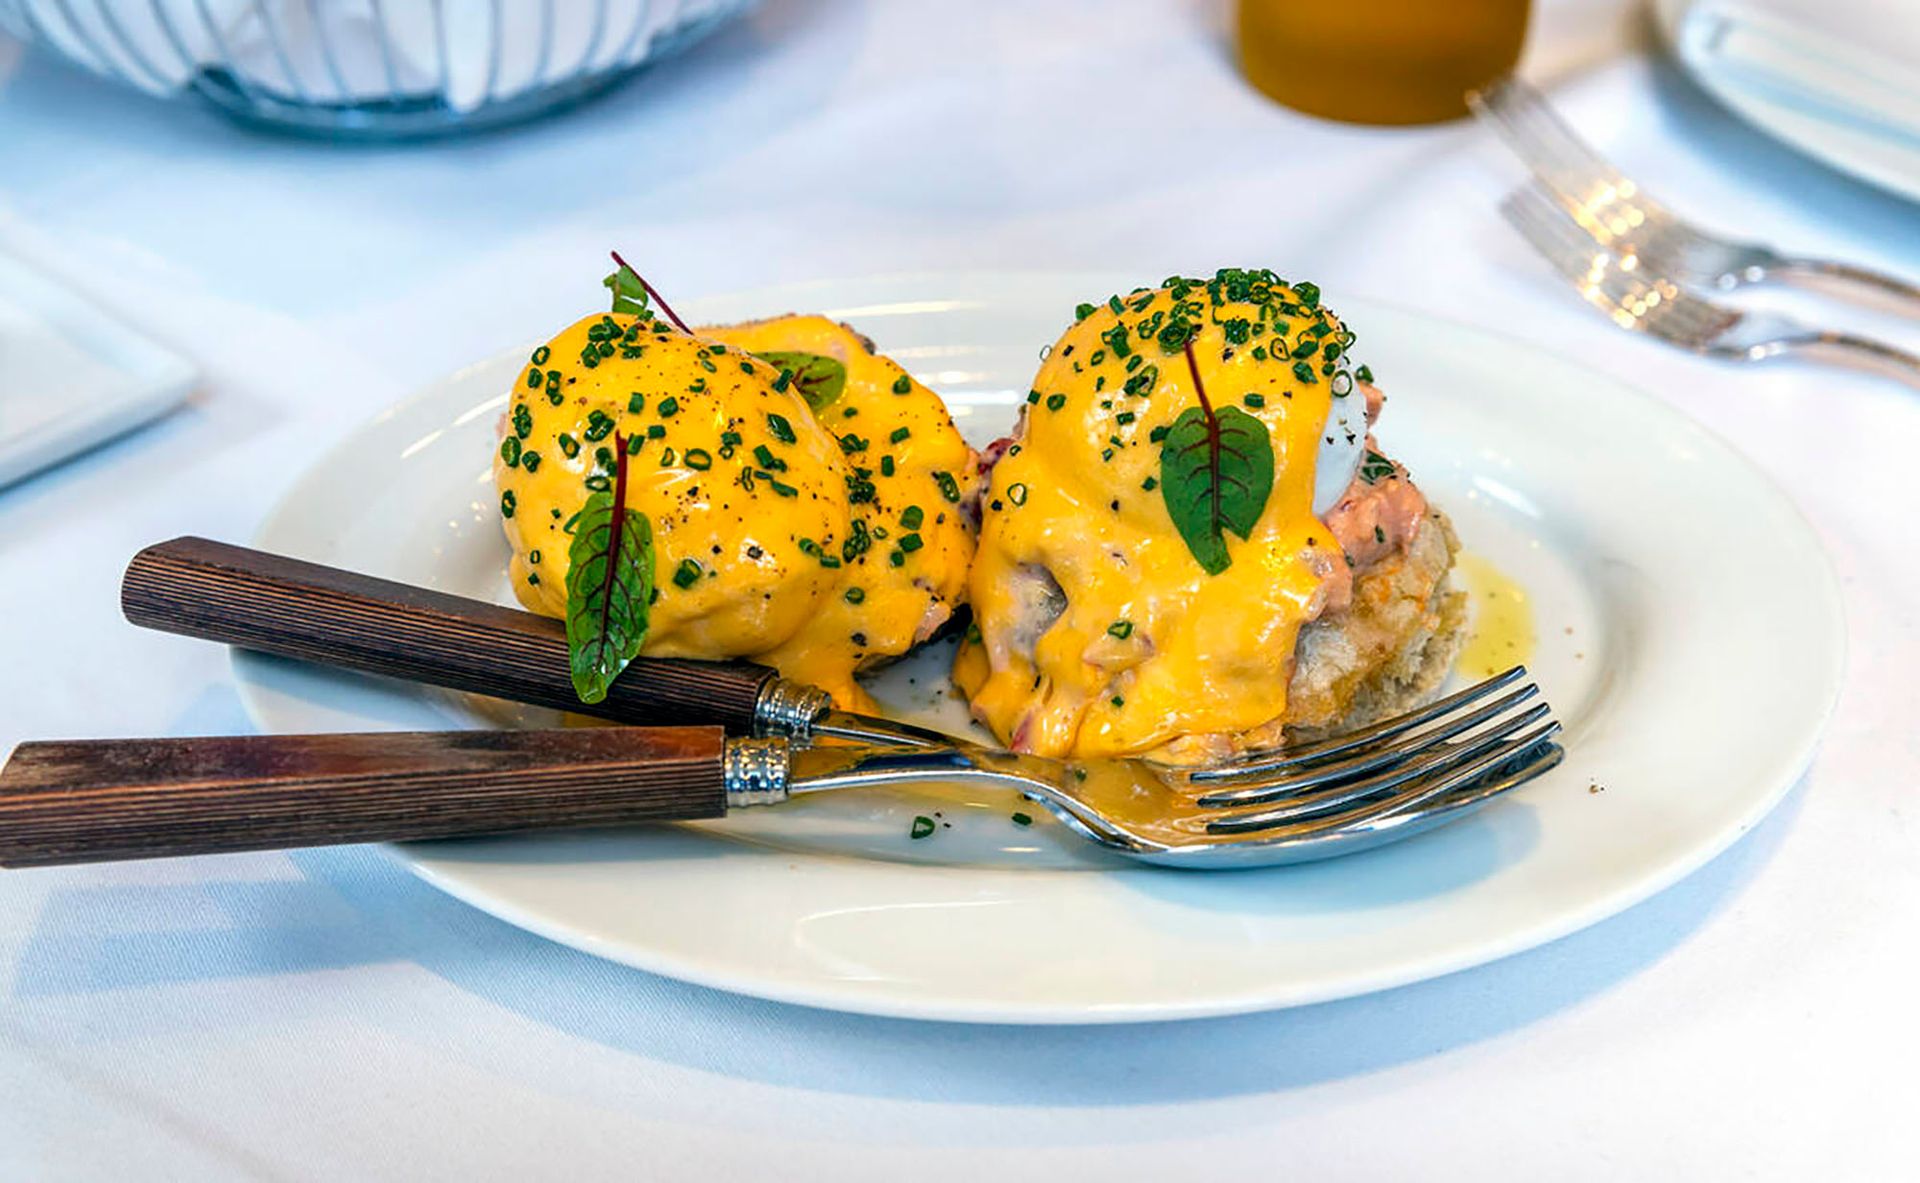
Hollandaise is the most technically demanding dish on this list and the one most people avoid because it has a reputation for breaking — separating into a greasy, curdled mess rather than the glossy, thick, lemon-bright sauce it should be. The reputation is not entirely undeserved. Hollandaise can break, and when it does it is unrecoverable. But the conditions that cause it to break — too much heat, too fast — are entirely controllable once you understand what you are doing.
Hollandaise is an emulsion of egg yolks and clarified butter, stabilized by the lecithin in the yolks and held together by gentle heat and continuous whisking. The enemy is coagulation — the proteins in the yolk setting too firmly, which happens above about 65°C. Keep the temperature below that threshold and the sauce will work.
In a bowl set over a pan of barely simmering water — the bowl should not touch the water — whisk three egg yolks with two tablespoons of water and one tablespoon of lemon juice until the mixture is pale, thick, and has increased in volume. This takes three to four minutes of continuous whisking and is the foundation of the sauce. The yolks should form a ribbon when the whisk is lifted.
Remove the bowl from the heat. Begin adding 200 grams of warm clarified butter — or unsalted butter melted and the white solids discarded — drop by drop while whisking continuously. As the emulsion establishes, you can add the butter in a thin stream. If at any point the sauce looks greasy or begins to curdle, immediately remove from heat and whisk in a tablespoon of cold water. Season with salt, lemon juice, and a pinch of cayenne.
The hollandaise teaches emulsification, heat control, and patience — three of the most transferable skills in cooking. Make it once, successfully, and the fear of it disappears entirely.
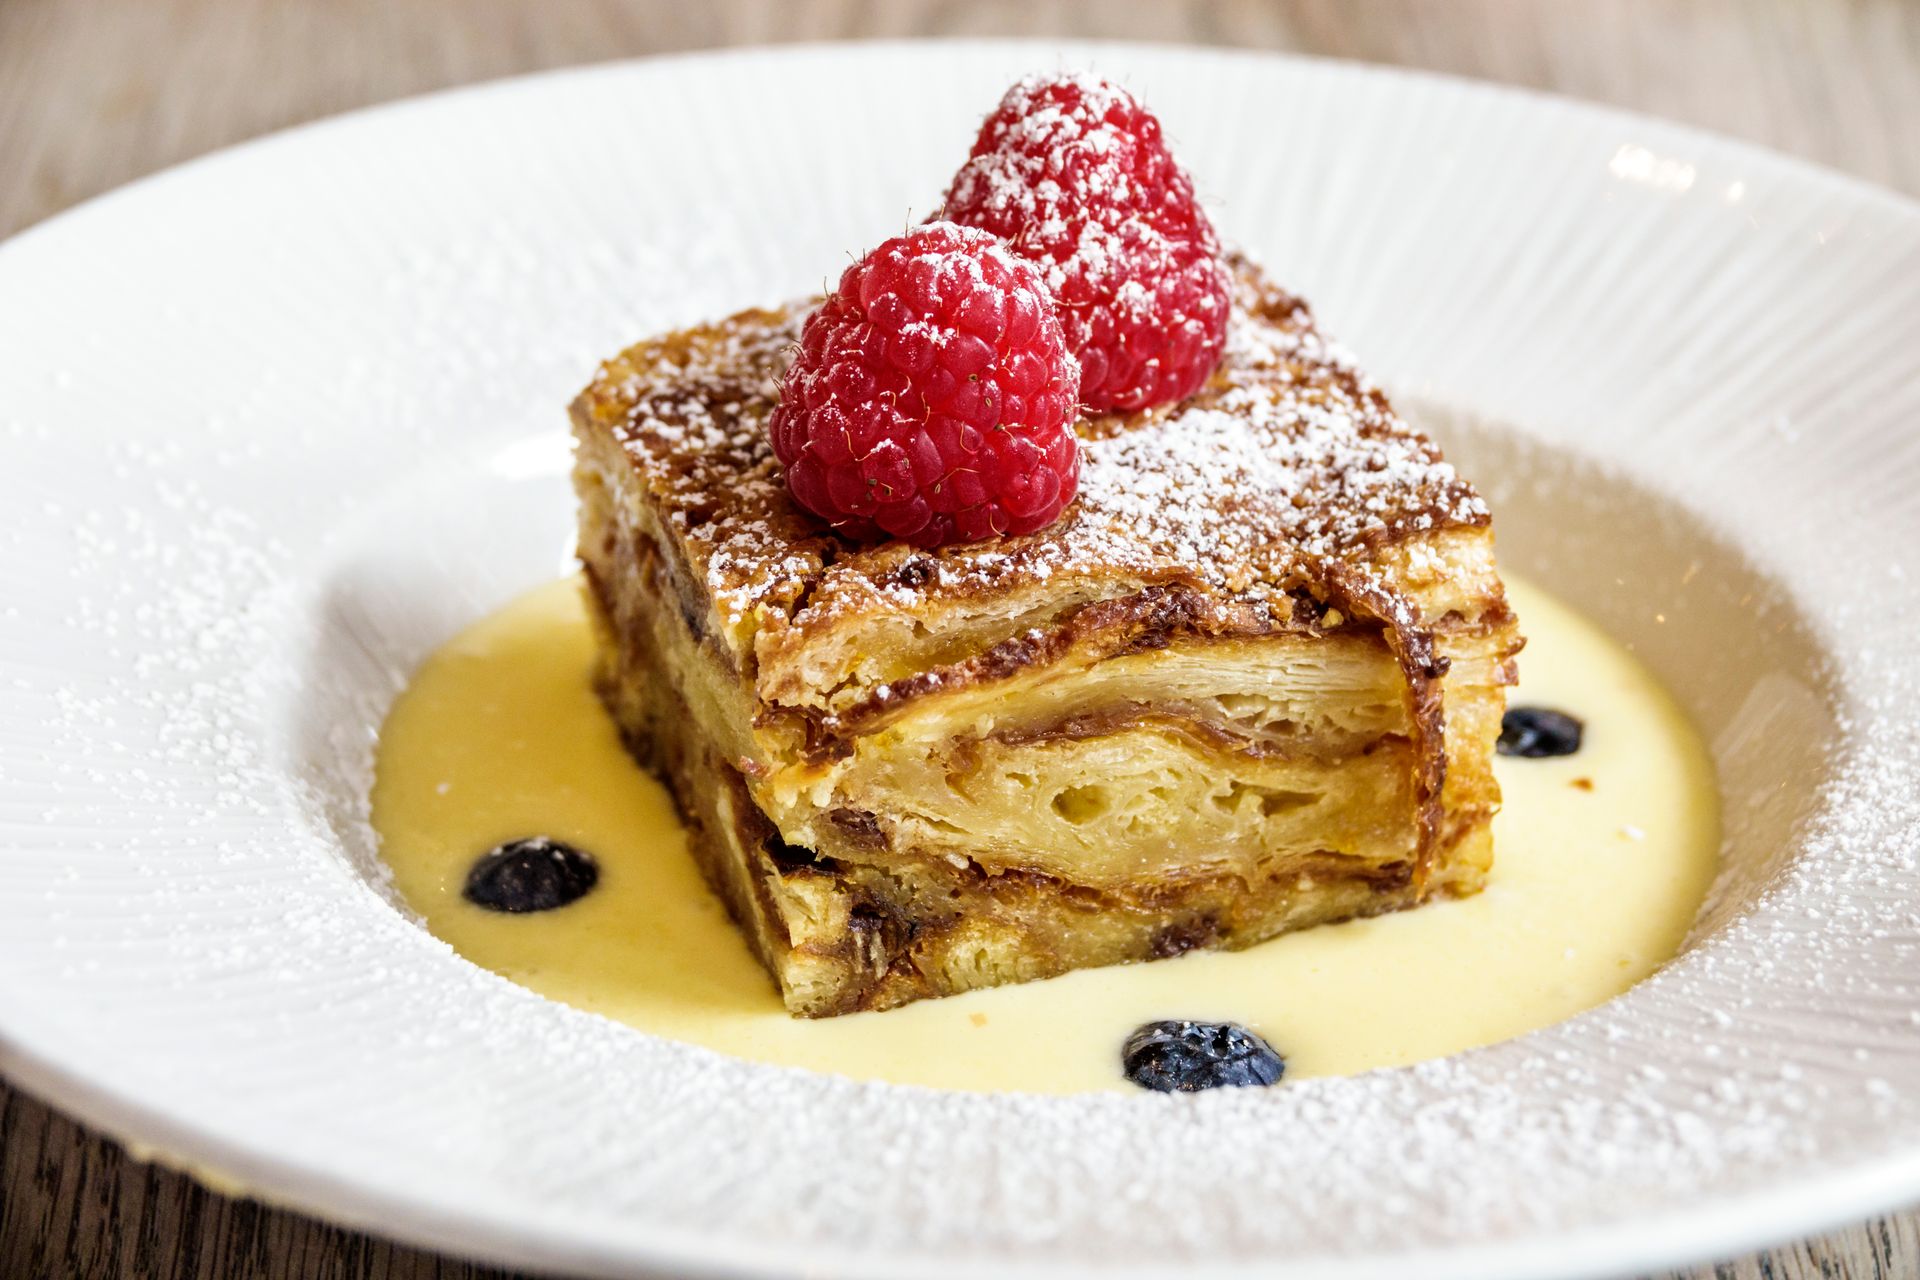
Jeff Greenberg / Getty Images
Bread and butter pudding is the definitive example of good cooking's most important principle: that the quality of what you make is determined less by the expense of the ingredients than by the technique applied to them. It is made from stale bread, eggs, milk or cream, sugar, and butter — inexpensive, often pantry staples — and produces a dessert that is warm, rich, lightly spiced, and deeply satisfying in a way that transcends its modest origins.
The method is straightforward. Butter slices of stale white bread — the staleness is a feature, not a flaw; fresh bread will not absorb the custard properly — on one side, cut into triangles, and layer them in a buttered baking dish, butter-side up, with the slices slightly overlapping. Scatter raisins or sultanas between the layers and over the top.
Make a custard by whisking three eggs and two egg yolks with 50 grams of caster sugar until combined. Heat 300ml of whole milk and 200ml of double cream together until steaming — not boiling. Pour slowly onto the egg mixture, whisking constantly. Add a teaspoon of vanilla extract and a pinch of grated nutmeg. Pour the custard evenly over the bread, pressing the slices gently so they begin to absorb the liquid. Leave to soak for at least 20 minutes — longer is better.
Bake at 180°C for 30 to 35 minutes until the custard is just set and the top is golden. The pudding should have a slight wobble in the center when you shake the dish. Dust with icing sugar and serve with cream or a vanilla custard sauce.
The bread and butter pudding teaches custard-making, the behavior of eggs under heat, and the transformative power of technique applied to humble ingredients — lessons that, once absorbed, make you a better cook of everything.
