Credit: Canva Images
Restaurant menus and cooking shows have trained home cooks to conflate two very different things: difficulty and duration. A dish that takes 12 hours reads as expert-level, even when 11 of those hours involve nothing more than a pot sitting on a stove. The reverse is also true. A perfect three-minute omelet demands more genuine technique than most braises ever will, yet nobody brags about making one.
This confusion has consequences. Home cooks skip entire categories of food — French braises, Mexican moles, Japanese broths, laminated pastries — because the finished products look like they required culinary school. In most cases, they required a calendar. The actual hands-on work often amounts to browning meat, chopping vegetables and stirring occasionally. Heat and time do the rest.
The dishes on this list share a common structure. Each one front-loads a modest amount of active work, then hands the job over to a low oven, a barely simmering pot, a refrigerator or a countertop. The chemistry happening during those idle hours is real: collagen converting to gelatin, sugars caramelizing, starches fermenting, butter layering into dough. None of it requires a cook's attention. It requires a cook's absence.
There is also a practical argument for slow cooking that has nothing to do with impressing guests. Slow dishes are forgiving. A braise that goes 20 minutes over is fine. A stew tastes better the next day, which means the work can happen when time allows rather than in a panic before dinner. Cheap, tough cuts — shanks, shoulders, bones — become the star ingredients, which keeps costs down while quality goes up.
What follows are 15 dishes with outsized reputations. Each entry explains what the dish is, why it intimidates people, what the active work actually involves and where the time really goes. None of them requires special equipment beyond a heavy pot, an oven and in one or two cases a rolling pin. What they require is a free afternoon, or in a few cases a free weekend, and the willingness to let food cook itself.
1 / 15
Credit: Canva Images
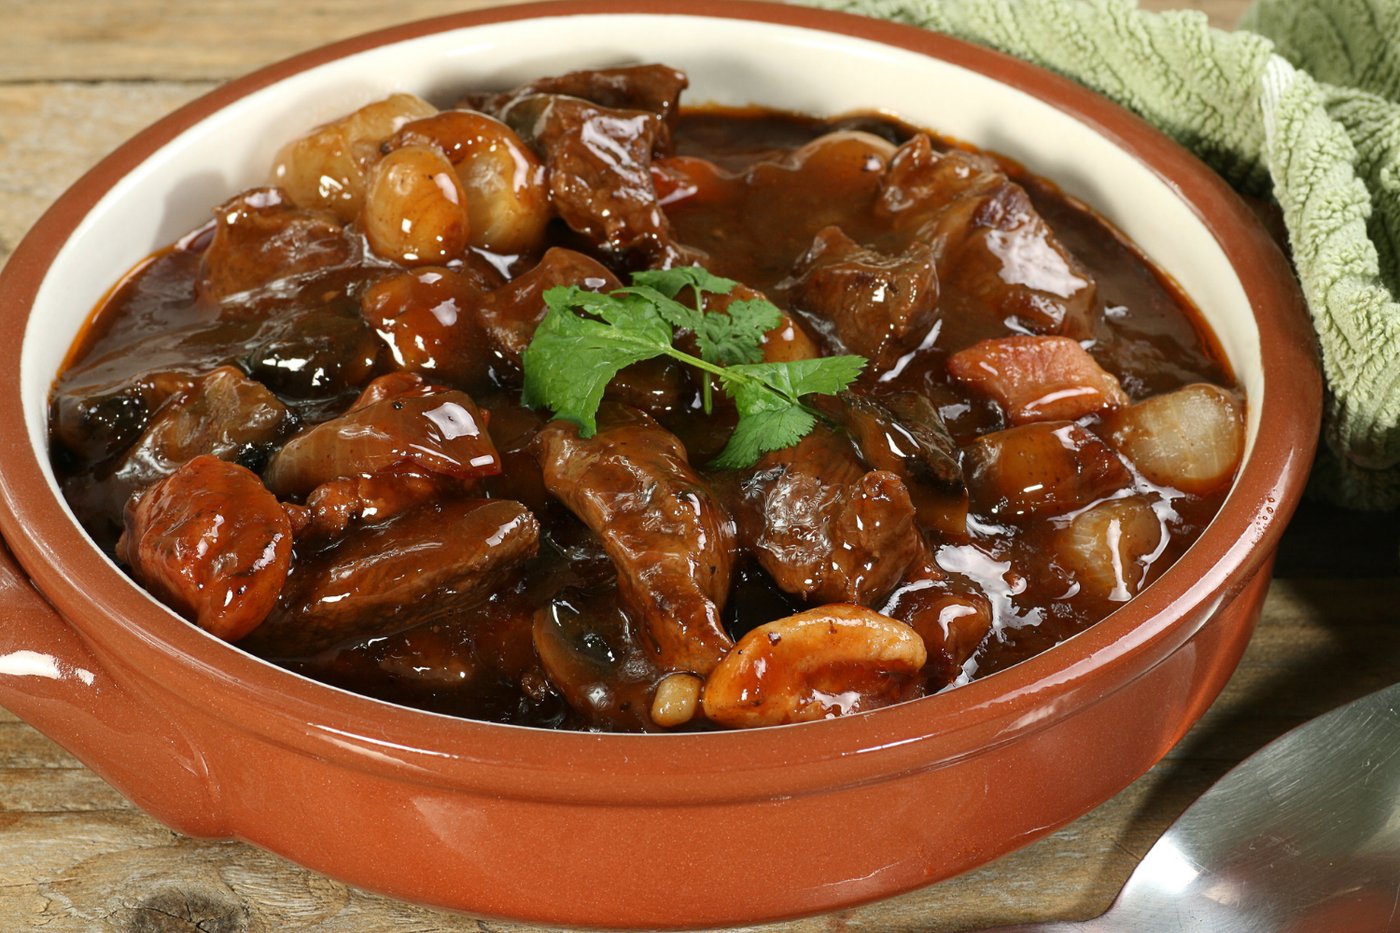
Beef bourguignon may be the single most intimidating name in home cooking, thanks largely to its association with Julia Child and classical French cuisine. Strip away the French and it is beef stew — beef braised in red wine with onions, carrots, mushrooms and bacon. The version in "Mastering the Art of French Cooking" made the dish famous in the U.S., and it also made the dish seem harder than it is.
The active work happens in the first 45 minutes. Bacon gets rendered. Beef gets patted dry and browned in batches, which is the one step that genuinely matters, because crowded meat steams instead of searing. Vegetables go into the same pot, followed by flour, wine and stock. Then the lid goes on and the pot goes into a low oven for around three hours.
Those three hours are where the transformation happens, and they demand nothing from the cook. Tough cuts like chuck are full of collagen, the connective tissue that makes cheap beef chewy. Held at a gentle simmer, collagen slowly breaks down into gelatin, which gives braises their silky body and makes the meat fork-tender. Rushing this process at a hard boil ruins it, which means the correct technique is literally to leave the pot alone.
The garnishes — sautéed mushrooms and glazed pearl onions — can be cooked during the braise or skipped entirely without anyone noticing. Frozen pearl onions work fine and eliminate the tedious peeling that puts people off.
Bourguignon also improves overnight, so the smart move is cooking it a day ahead. The flavors settle and deepen in the refrigerator, and reheating takes 20 minutes. A dish with this reputation, made almost entirely in advance, with three hours of the total time spent doing nothing, is about as low-risk as dinner-party cooking gets. The hardest part is opening the wine and not drinking all of it before the pot needs it.
2 / 15
Credit: Canva Images
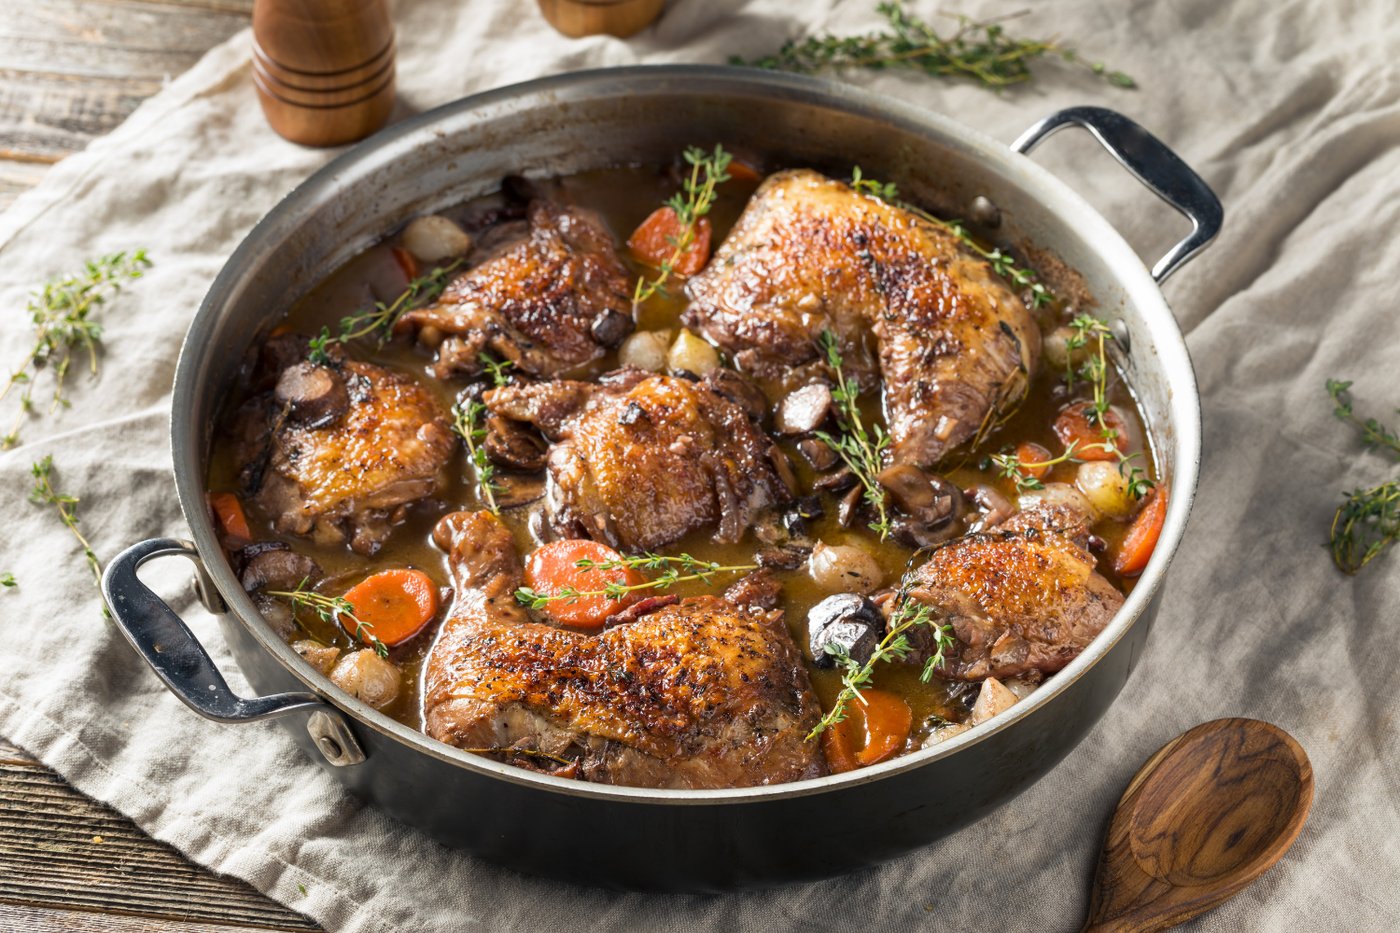
Coq au vin carries the same French mystique as bourguignon, and it works on the same principle: meat plus wine plus time. The dish originated as a way to make an old, tough rooster edible through long, slow cooking. Modern versions use ordinary chicken, which cooks faster and eliminates the original problem the recipe was designed to solve.
The technique list is short. Brown bacon or salt pork in a Dutch oven. Brown chicken pieces in the rendered fat, skin side down first, without moving them until the skin releases on its own. Soften onions and garlic, add red wine and stock, return the chicken and simmer gently until the meat is cooked through and tender. Bone-in thighs and legs are the right choice here, because dark meat stays moist through a long simmer while breast meat dries out.
Every one of those steps is a basic kitchen skill. Browning requires nothing but patience and a dry surface on the meat. The simmer requires a burner set low. The classic garnish of mushrooms and pearl onions gets sautéed separately and stirred in at the end, and as with bourguignon, frozen pearl onions save real effort at no cost to the result.
The one step that trips people up is thickening the sauce. Some recipes call for beurre manié, a paste of flour and softened butter whisked in at the end. The technique sounds cheffy. It is mashing flour into butter with a fork and stirring the paste into hot liquid, where it dissolves and thickens the sauce in a minute or two.
Coq au vin rewards advance planning even more than most braises. Many traditional recipes marinate the chicken in wine overnight before cooking, which adds a day to the schedule and roughly zero minutes to the labor. Like most wine braises, the finished dish tastes better on day two. The total active time sits around 40 minutes. The reputation suggests triple that.
3 / 15
Credit: Laura Paredis / Pexels
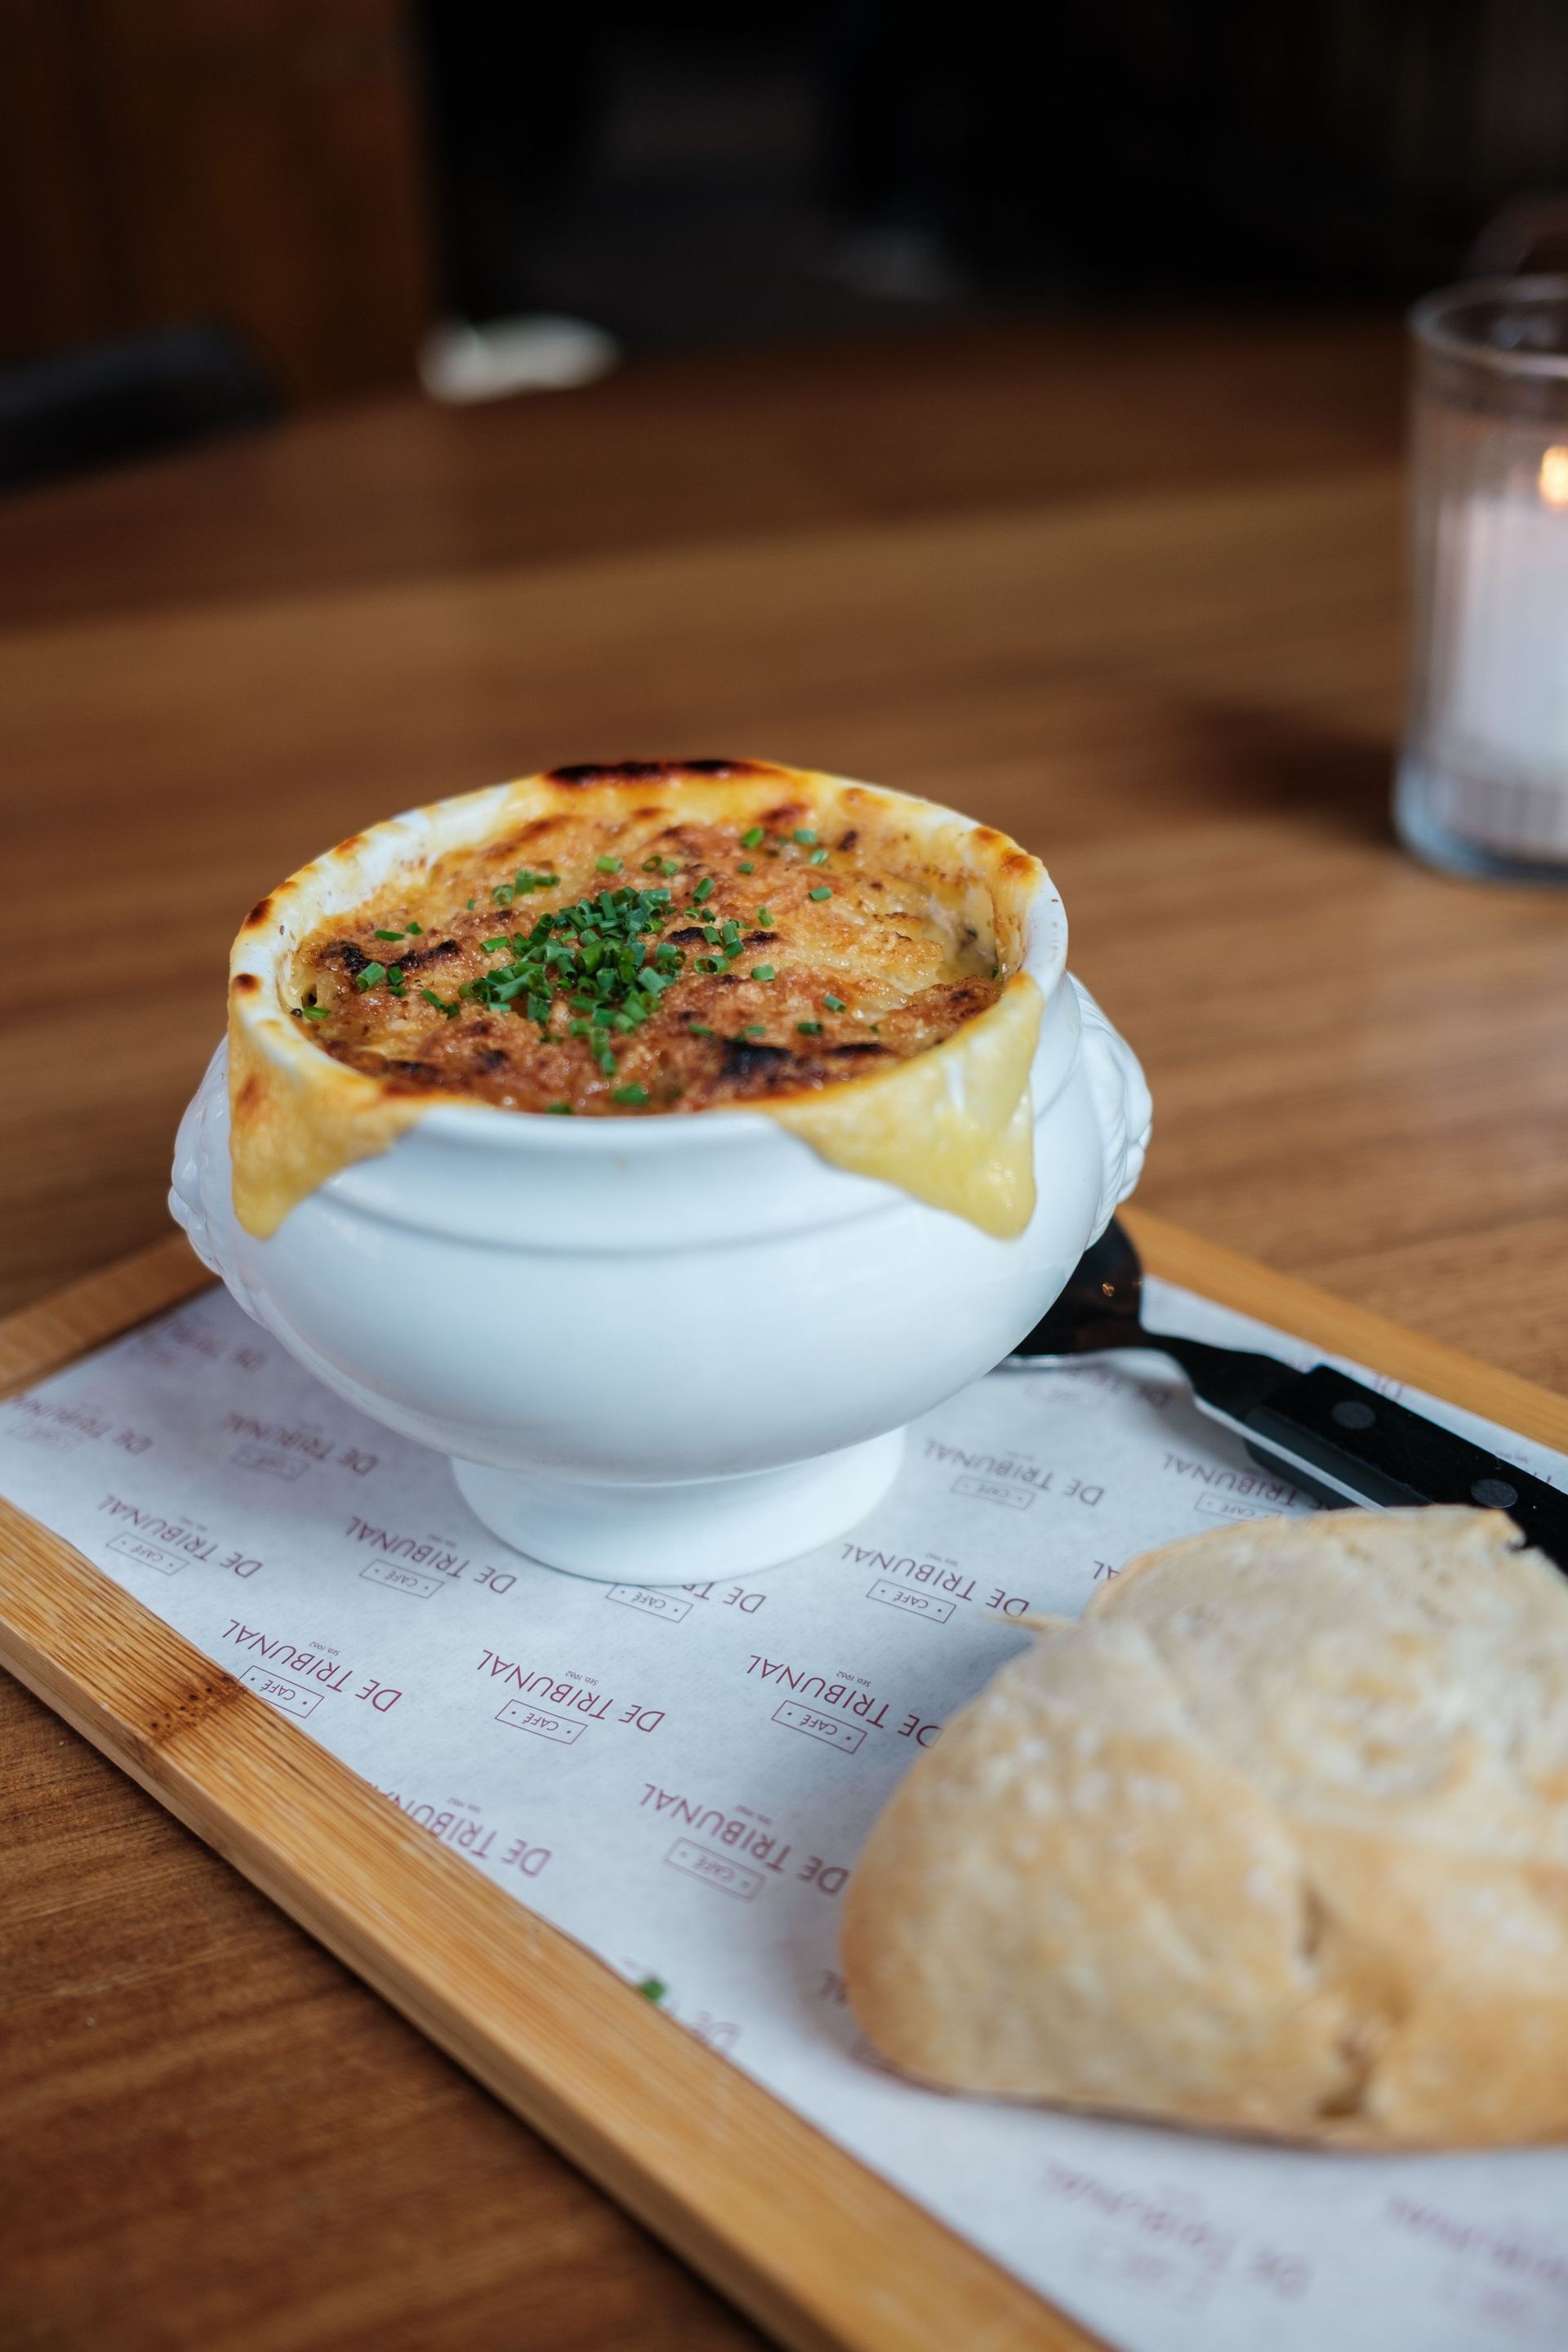
French onion soup has four main components: onions, broth, bread and cheese. Nobody is intimidated by any of them individually. The dish earns its reputation from restaurant presentations — the browned cheese cap, the crock, the depth of flavor that seems impossible to get from onions — and from the vague sense that something so good must involve a trick.
The trick is time. Proper French onion soup depends on deeply caramelized onions, and deep caramelization cannot be rushed. Sliced onions go into a wide pot with butter over medium-low heat, and they stay there for 45 minutes to an hour or more, stirred occasionally, while their water cooks off and their sugars slowly brown. Recipes that promise caramelized onions in 10 minutes produce sautéed onions, which make thin, sharp soup. The difference between mediocre and excellent versions of this dish is almost entirely a matter of whether the cook waited.
Waiting is the whole job. Once the onions reach a deep mahogany color, the remaining steps take minutes. Deglaze the pot with a splash of dry white wine or sherry, scraping up the browned bits stuck to the bottom, because those bits are concentrated flavor. Add beef broth, a bay leaf and some thyme. Simmer for 20 or 30 minutes to let the flavors merge.
The gratinéed top — the part that looks most professional — is an assembly job. Ladle soup into oven-safe bowls, float a slice of toasted baguette on each, cover with grated Gruyère and slide the bowls under the broiler until the cheese browns and bubbles. The broiler does the impressive part.
One honest warning: caramelizing onions produces a strong smell that lingers, and slicing several pounds of onions is genuinely unpleasant without a sharp knife or a food processor. Those are the real hardships of this dish. Neither one is a skill problem. The soup itself asks for an hour of patience and about 15 minutes of actual decisions.
4 / 15
Credit: Canva Images
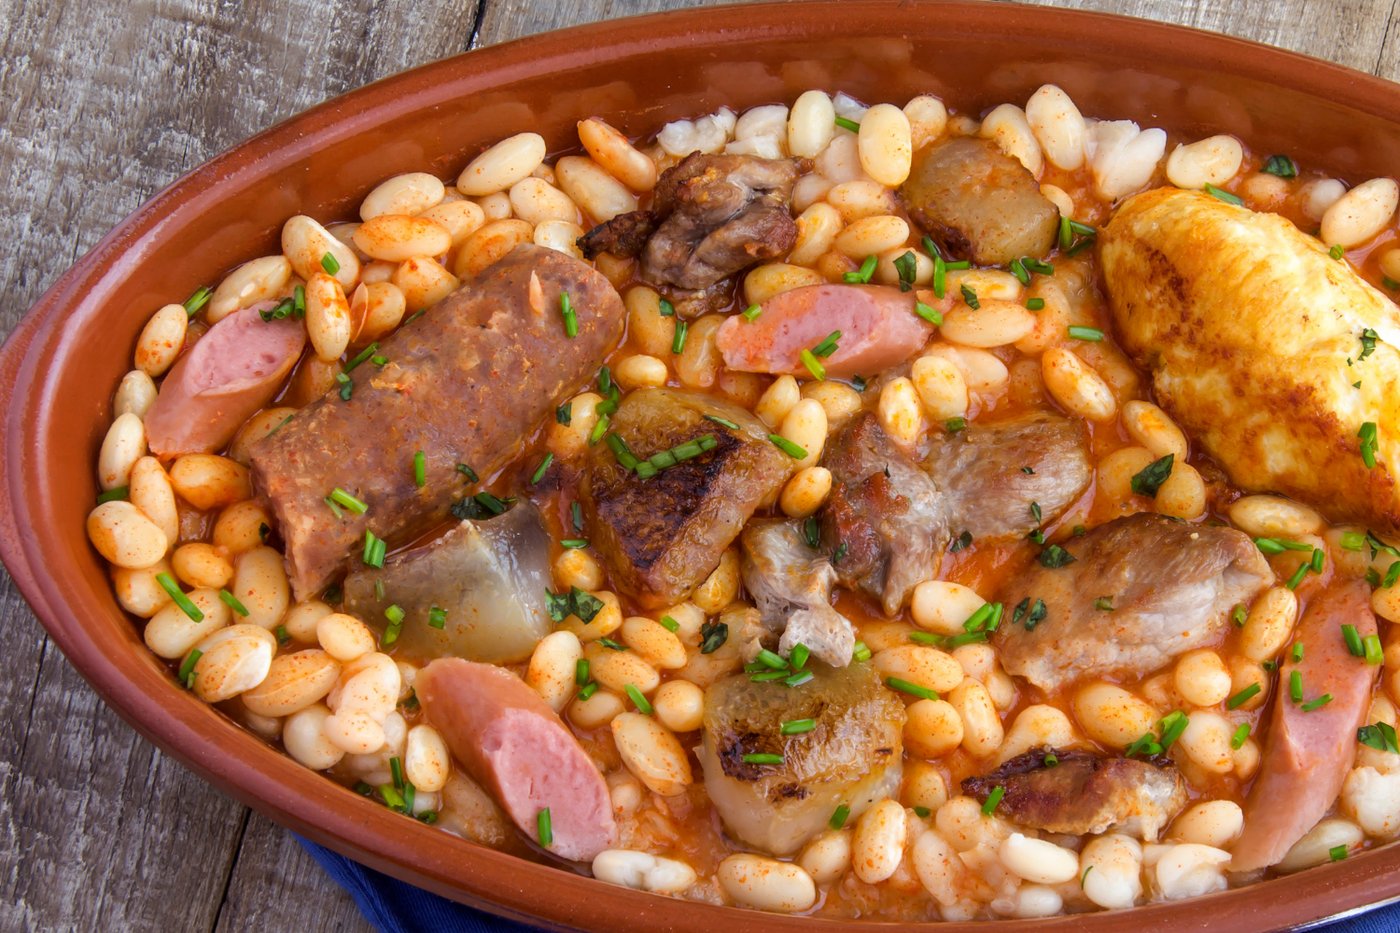
Cassoulet is a baked casserole of white beans and meat from southwest France, and it has a reputation as one of the great projects of French cooking. The traditional versions from Toulouse, Carcassonne and Castelnaudary involve duck confit, garlic sausage, pork and sometimes lamb, layered with beans and baked until a brown crust forms on top. Food writers describe it in reverent, exhausted tones. The dish can take two or three days, and that number scares people off before they learn what those days contain.
Day one is soaking dried beans in water. That is the entire task. Day two, in ambitious versions, might involve making duck confit — itself a slow, hands-off process covered elsewhere in this list — or simply buying it, which is what plenty of French home cooks do. The final day is assembly and baking: simmer the beans with aromatics and pork until tender, brown the sausages, layer everything in a deep pot, add broth and bake low and slow.
The oven time runs two to three hours or more, during which the surface forms the crust that cassoulet is famous for. Tradition holds that the crust should be broken and pushed back into the beans multiple times during baking, letting a new crust form each time. Breaking a crust with a spoon is not a technique. It is a spoon.
Nothing in the process requires precision. Beans are forgiving, braised meats are forgiving and the dish is served straight from the pot it cooked in, so presentation is a non-issue. Shortcuts abound: canned white beans compress the schedule, store-bought confit removes a day and the result still lands far from anything most people have eaten at home.
Cassoulet's real requirement is a free weekend afternoon and a pot big enough to hold it. The multi-day timeline that sounds so daunting is mostly beans sitting in water and a pot sitting in an oven, with a cook nearby doing something else entirely.
5 / 15

Credit: Canva Images
Ragù alla bolognese suffers from a translation problem. Americans know it as spaghetti bolognese, a quick meat sauce, while the traditional dish from Bologna is something else: a slow-simmered ragù of finely chopped vegetables, ground meat, wine, a little tomato and milk, cooked for hours until it barely resembles a tomato sauce at all. The Italian Academy of Cuisine registered an official version of the recipe, which adds an air of orthodoxy that makes home cooks nervous about doing it wrong.
The steps do not justify the nerves. Finely chop onion, carrot and celery — the soffritto — and cook the mixture gently in fat until soft. Add ground beef and pork, break the meat up and cook until the raw color is gone. Pour in wine and let it evaporate. Add a modest amount of tomato, then milk or broth, then reduce the heat until the surface barely moves.
From that point the ragù simmers for two to four hours, and the cook's entire responsibility is stirring occasionally and adding a splash of liquid if the pot looks dry. The long simmer is not ceremony. Over hours, the meat softens completely, the vegetables dissolve, the milk mellows the acidity and the whole thing fuses into a rich, thick sauce with a texture no 30-minute version can reach.
Chopping the soffritto finely is the most labor-intensive moment, and a food processor handles it in seconds. Everything after that is heat management, which on most stoves means finding the lowest setting and leaving it there.
Bolognese also scales and stores well, which changes its economics. Doubling the recipe adds minutes, not hours, and the sauce freezes in portions for months. One slow Sunday produces six or eight future dinners that reheat while pasta water boils. Served the traditional way over fresh tagliatelle — or over whatever pasta is in the cupboard — it delivers restaurant depth from a pot that mostly cooked itself.
6 / 15
Credit: Eduardo Krajan / Pexels
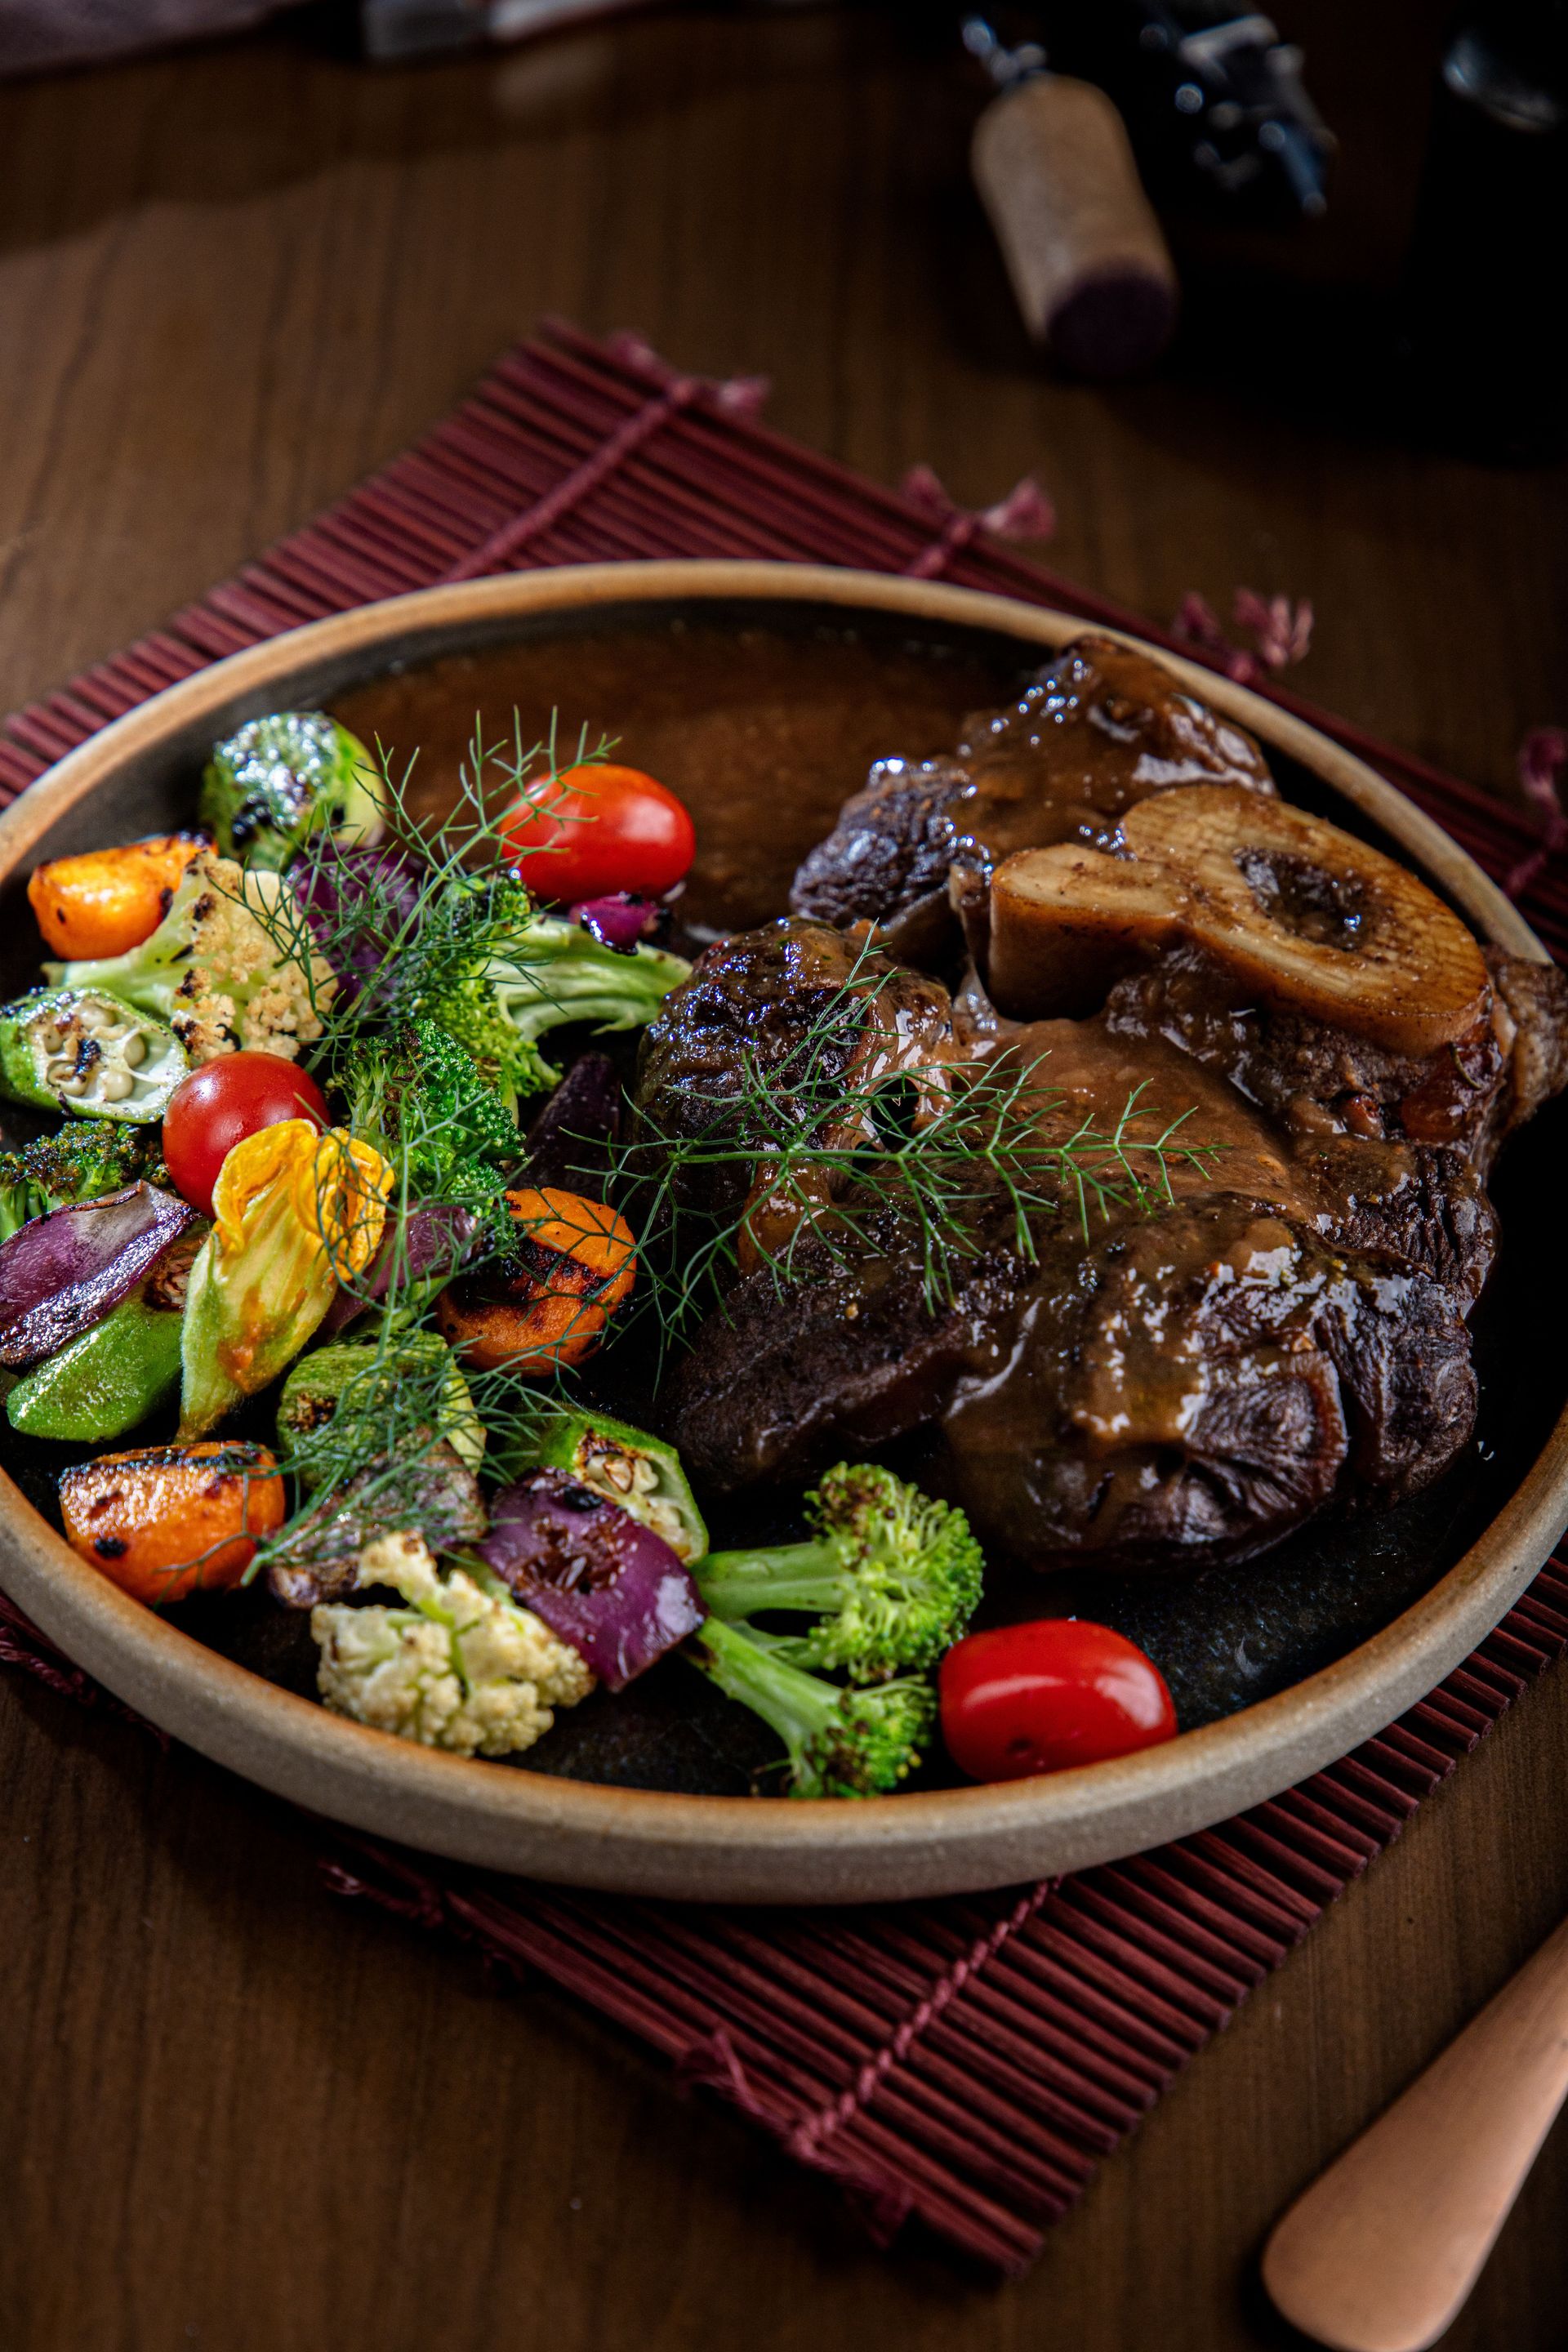
Osso buco is braised veal shank, a Milanese dish whose name means "bone with a hole." The hole in question holds marrow, which melts into the sauce during cooking and gets scooped out at the table. Cross-cut shanks look like something only a restaurant would attempt: thick medallions of meat around a ring of bone, tied with twine, served with saffron risotto. The presentation reads as expert. The cooking reads as a checklist.
Season the shanks, dust them with flour and brown them well on both sides in a heavy pot. Remove them, soften onion, carrot and celery in the same pot, add white wine and let it reduce, then add broth and tomatoes. Return the shanks, bring the liquid to a bare simmer, cover and braise — on the stovetop or in a low oven — for roughly two hours, until the meat is nearly falling off the bone.
Shanks are among the toughest cuts on the animal, dense with connective tissue, which is exactly why they braise so well. All that collagen converts to gelatin over the long, gentle cook, producing a sauce with natural body and meat with a soft, almost sticky richness. The twine that makes the dish look fussy exists only to hold the meat together as it softens, and tying a piece of string around a piece of meat is within anyone's abilities. Many butchers will do it on request.
The finishing touch is gremolata, a raw condiment of minced parsley, lemon zest and garlic sprinkled over the top. It takes five minutes and provides the sharp, fresh contrast that makes the rich braise taste balanced rather than heavy.
Veal shanks can be expensive or hard to find, and beef shanks work the same way with a longer cook and a deeper flavor. Either way, the dish is a sear, a simmer and a two-hour wait — a restaurant centerpiece built from one of the cheapest techniques in cooking.
7 / 15
Credit: Canva Images
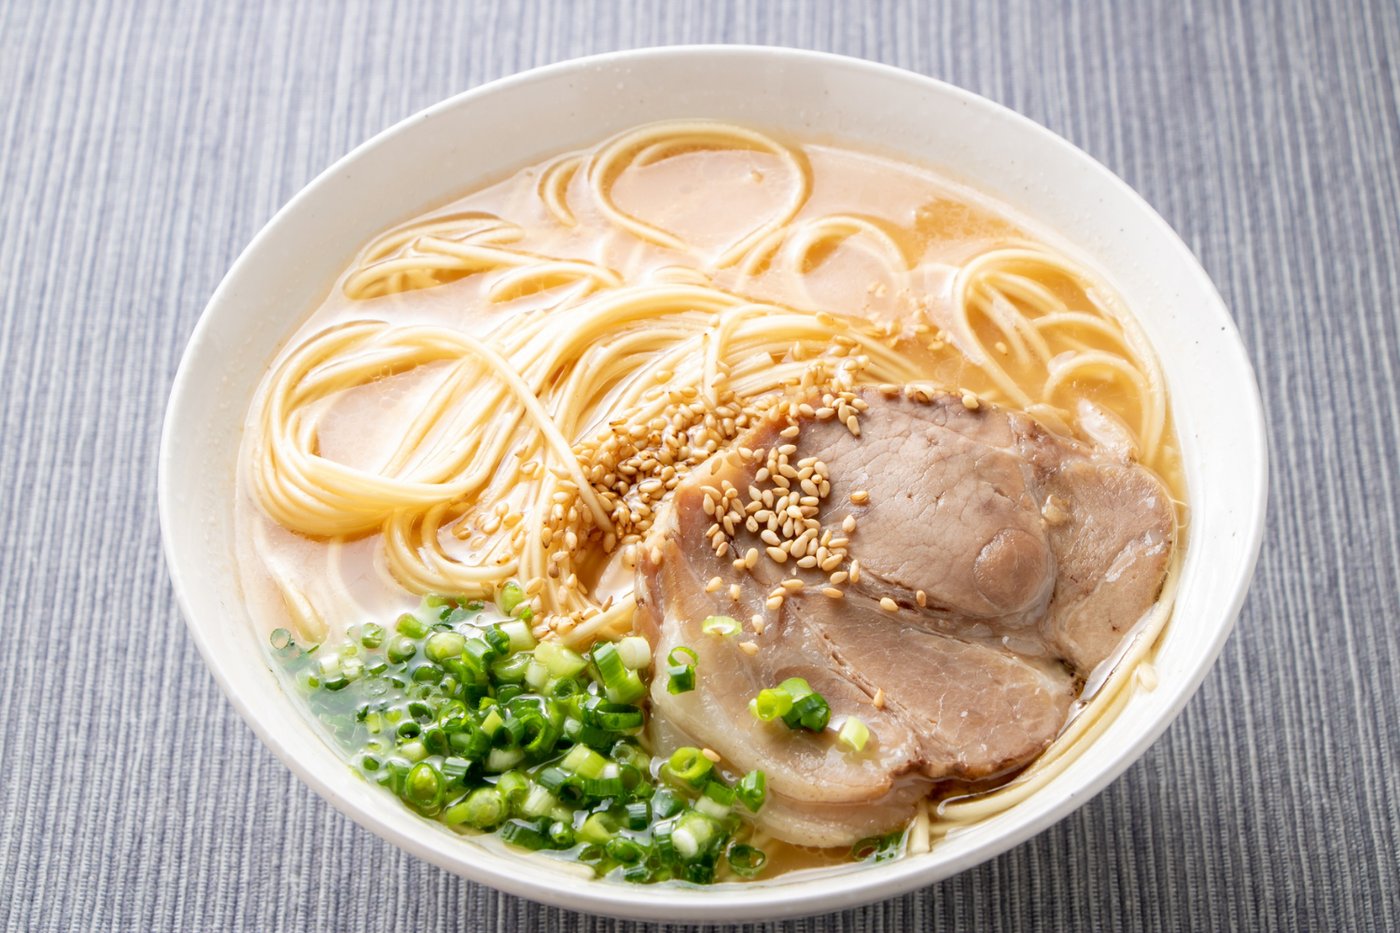
Tonkotsu broth is the opaque, creamy pork-bone soup base behind one of Japan's most celebrated ramen styles, and it may be the purest example of time masquerading as skill. Ramen shops in Japan and the U.S. treat their broth as a signature, sometimes tending pots around the clock. Home cooks reasonably conclude that the recipe must be complicated. It contains, at minimum, pork bones and water.
The defining feature of tonkotsu is its milky color and rich, silky body, and both come from one decision: boiling hard instead of simmering gently. A rolling boil, sustained for many hours — commonly 12 or more — breaks down the collagen, fat and marrow in the bones and emulsifies them into the liquid itself. That emulsification is what turns the water white. French stock technique says never boil a stock; tonkotsu says boil it violently and forever. The vigor is the recipe.
Active work is minimal and front-loaded. Pork bones, ideally including collagen-rich parts like trotters or femurs, get a brief pre-boil and a rinse to remove blood and scum that would muddy the flavor. Then they go back in a clean pot with fresh water and aromatics such as onion and garlic, and the boil begins. The cook's ongoing duties are topping up water as it evaporates and occasionally skimming. A weekend at home doing other things covers it.
The broth is also only one component of a bowl, and the others are quick. Tare — the seasoning base, often soy sauce or salt mixed with other flavorings — takes minutes. Marinated soft-boiled eggs need a day in the fridge and almost no labor. Noodles come from a package without shame; even many good ramen shops buy theirs from specialist noodle makers.
A pot that boils for 12 hours sounds like a professional undertaking. It is a utility bill and a free Saturday. The bones do the work.
8 / 15
Credit: RDNE Stock project / Pexels
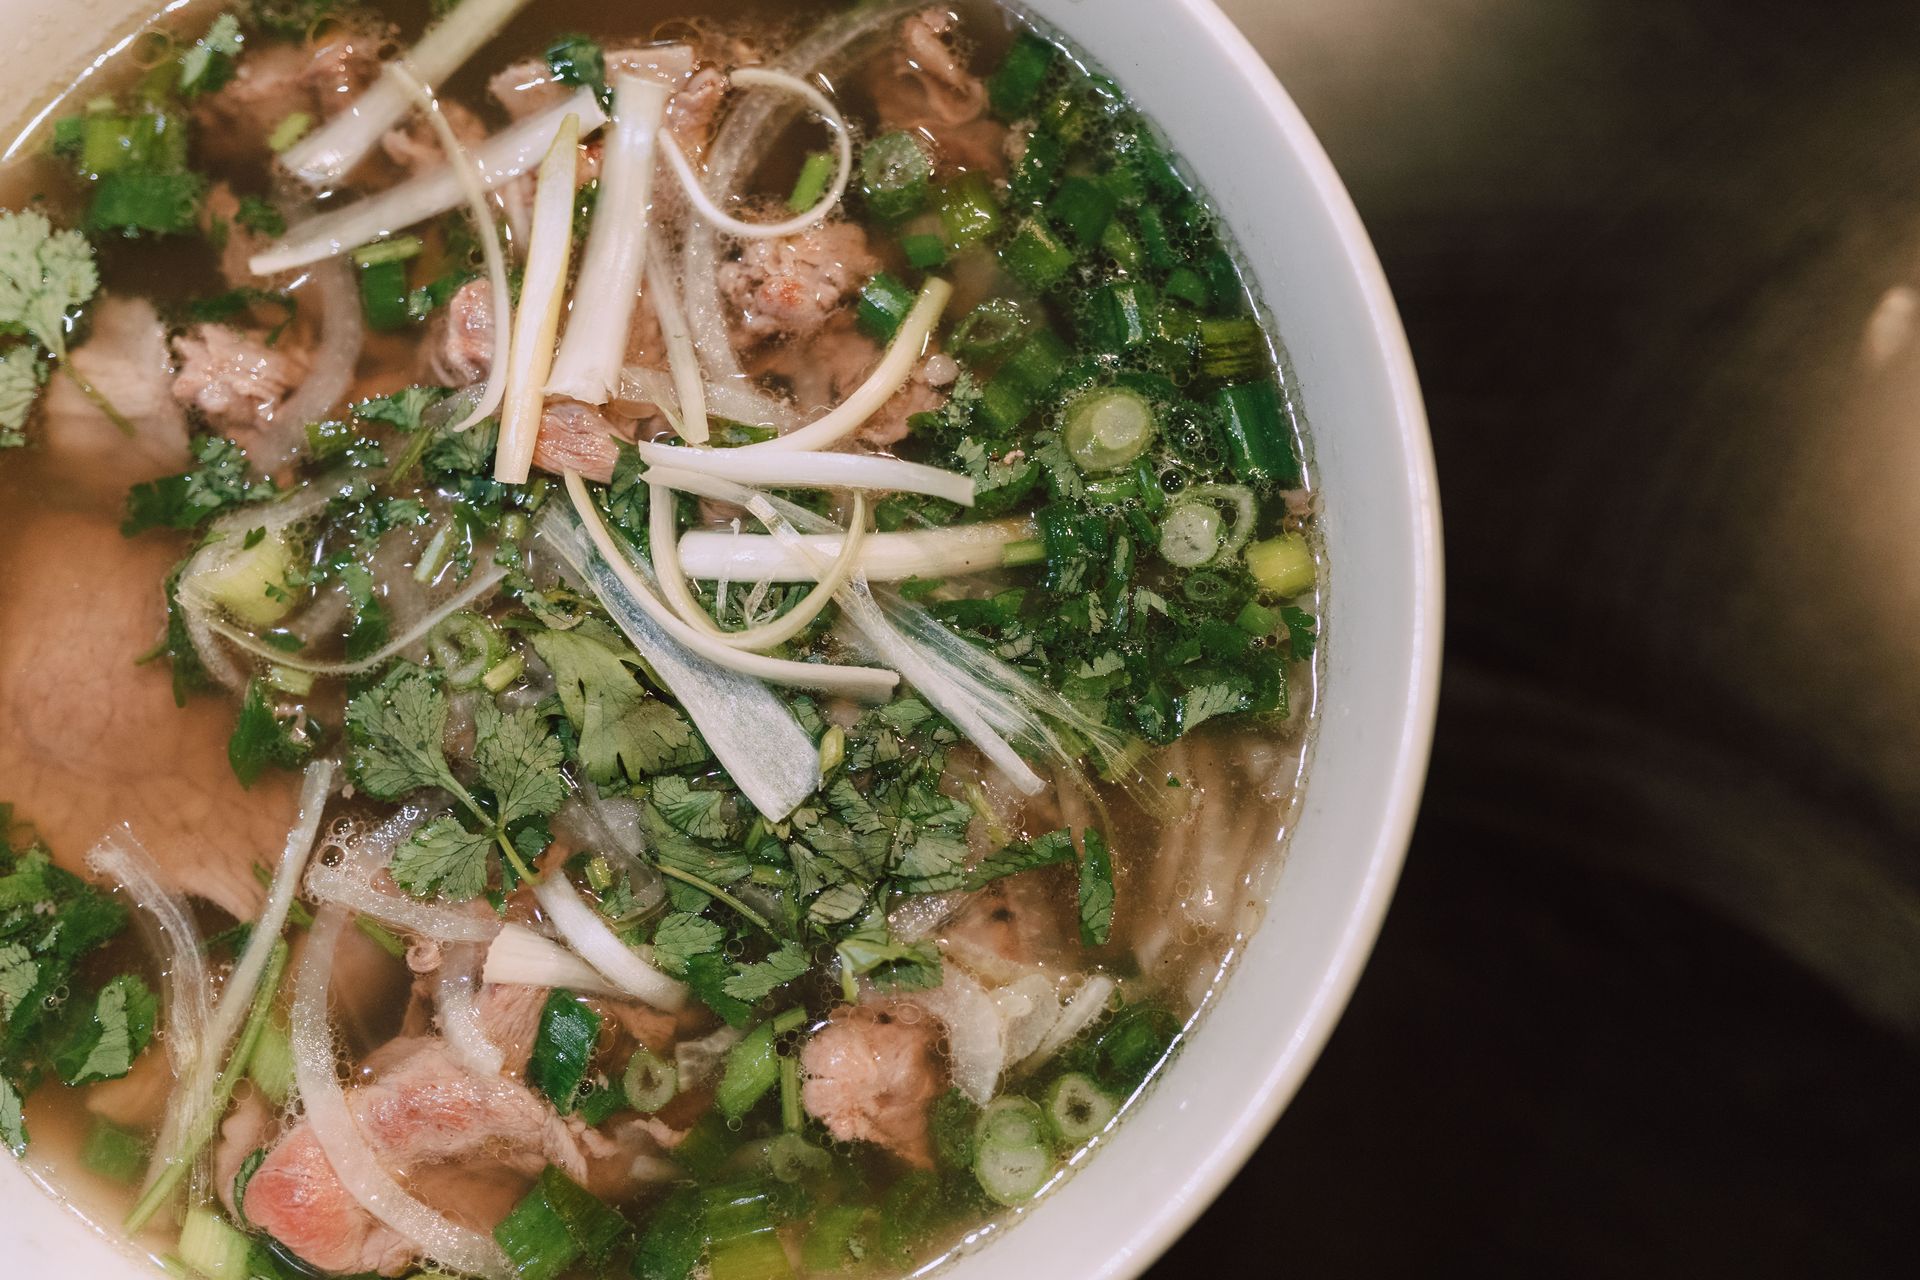
Pho, the Vietnamese noodle soup, is built on a beef broth so aromatic and clear that it seems to encode some secret. Restaurants that specialize in it often make nothing else, which reinforces the sense that the dish demands mastery. The broth has a short ingredient list — beef bones, charred onion and ginger, and a handful of whole spices such as star anise, cinnamon, cloves and coriander seed — and a long clock.
The distinctive step is charring. Halved onions and ginger go under a broiler or directly over a flame until their surfaces blacken, which adds the subtle smoky sweetness that separates pho broth from generic beef stock. Charring vegetables requires watching them, nothing more. The whole spices get a brief toast in a dry pan to wake up their oils, then go into the pot, often tied in cheesecloth or dropped in a mesh ball for easy removal.
Unlike tonkotsu, pho broth should stay clear, so the pot is kept at a gentle simmer rather than a boil, and the bones usually get a quick pre-boil and rinse first. From there the broth simmers for hours — commonly in the range of six or more for beef pho — while the cook skims occasionally. The finished broth gets seasoned with fish sauce and a little sugar, tasted and adjusted.
Assembly is fast and mostly happens in the bowl. Flat rice noodles soak or boil briefly. Thin slices of raw beef go into the bowl and cook in seconds when the near-boiling broth is ladled over them. Herbs, bean sprouts, lime and chiles arrive on a plate at the table, where each person finishes the dish to taste, which conveniently outsources the final seasoning to the eaters.
The result is a bowl that looks and tastes like specialist work. The specialist skills involved are burning an onion on purpose and keeping a pot warm all afternoon.
9 / 15

Credit: lucia photography in progress cano / Pexels
Birria is a chile-braised meat stew from the Mexican state of Jalisco, traditionally made with goat and now widely made with beef. Its profile in the U.S. rose sharply with quesabirria tacos — griddled tortillas filled with the braised meat and cheese, served with a cup of the cooking broth, or consomé, for dipping. The deep red color, the layered chile flavor and the two-part serving format all suggest a complicated production. The process is a marinade and a braise.
The chile work is what intimidates people, and it follows a fixed, simple pattern used across Mexican cooking. Dried chiles — commonly guajillo and ancho, which are widely available and mild — get stemmed, seeded and toasted briefly in a dry pan, then soaked in hot water until soft. The softened chiles go into a blender with garlic, onion, vinegar, tomatoes and spices such as cumin, oregano and cloves. The blender does the difficult-looking part. The result is a smooth red adobo that coats the meat.
Beef chuck or short ribs marinate in the adobo, ideally for a few hours or overnight, then braise in a covered pot with broth or water until the meat shreds easily — generally three hours or more at a gentle heat, whether in an oven, on a stovetop or in a slow cooker. The slow cooker option alone should end the intimidation argument.
The payoff structure is generous. The shredded meat and the consomé are the finished dish, served as a stew with tortillas or converted into tacos by dipping tortillas in the fat that rises to the top of the broth, then griddling them with meat and cheese until crisp.
Leftovers reheat well and the broth freezes. One long braise on a Sunday yields several meals that taste like they came from a taqueria with a line down the block. The line exists because of hours, not secrets.
10 / 15
Credit: Canva Images
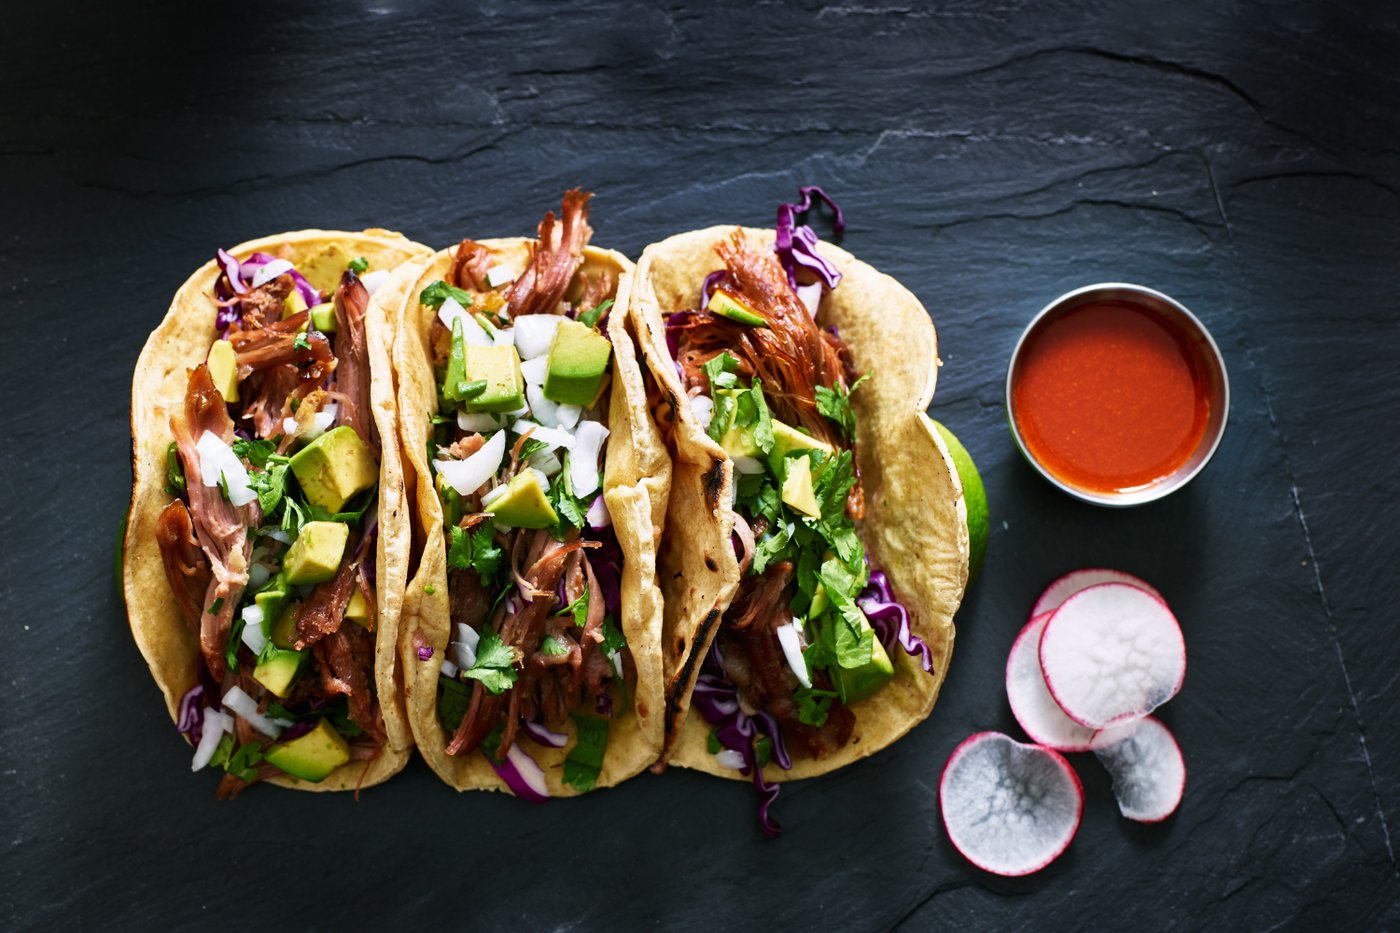
Carnitas, the crisp-edged pork of Mexican taquerias, translates as "little meats" and comes from the state of Michoacán, where the traditional method involves cooking pork slowly in large copper pots of lard. That image — vats of bubbling fat tended by specialists — convinces home cooks the dish is out of reach. The home version asks for one pot, one cheap cut and a few hours of ignoring both.
Pork shoulder is the standard cut, chosen because it is fatty, tough and inexpensive, which makes it ideal for slow cooking and hard to ruin. The meat gets cut into large chunks and seasoned simply — salt, plus common additions such as orange, garlic, bay leaves, cumin or oregano, with a can of soda or a splash of milk appearing in plenty of family recipes. It cooks low and slow, either submerged in fat the traditional way or in a covered pot or slow cooker with a modest amount of liquid, until it shreds at the touch of a fork. That takes roughly three to four hours, none of which requires supervision beyond an occasional glance.
The signature of good carnitas is the contrast between soft interior and browned, crisp edges, and the crisping stage is where home cooks assume the difficulty hides. It hides nowhere. The shredded pork gets spread on a sheet pan and run under a broiler for a few minutes, or fried briefly in a hot skillet in its own rendered fat, until the edges caramelize. Watching a broiler for five minutes is the entire skill requirement.
From there the meat goes into tortillas with onion, cilantro and salsa, or into burritos, tortas or rice bowls. A single shoulder feeds a crowd or stocks a freezer. The dish's reputation rests on patience and pig fat, two resources that require no training, and the total hands-on time fits inside half an hour.
11 / 15
Credit: Canva Images
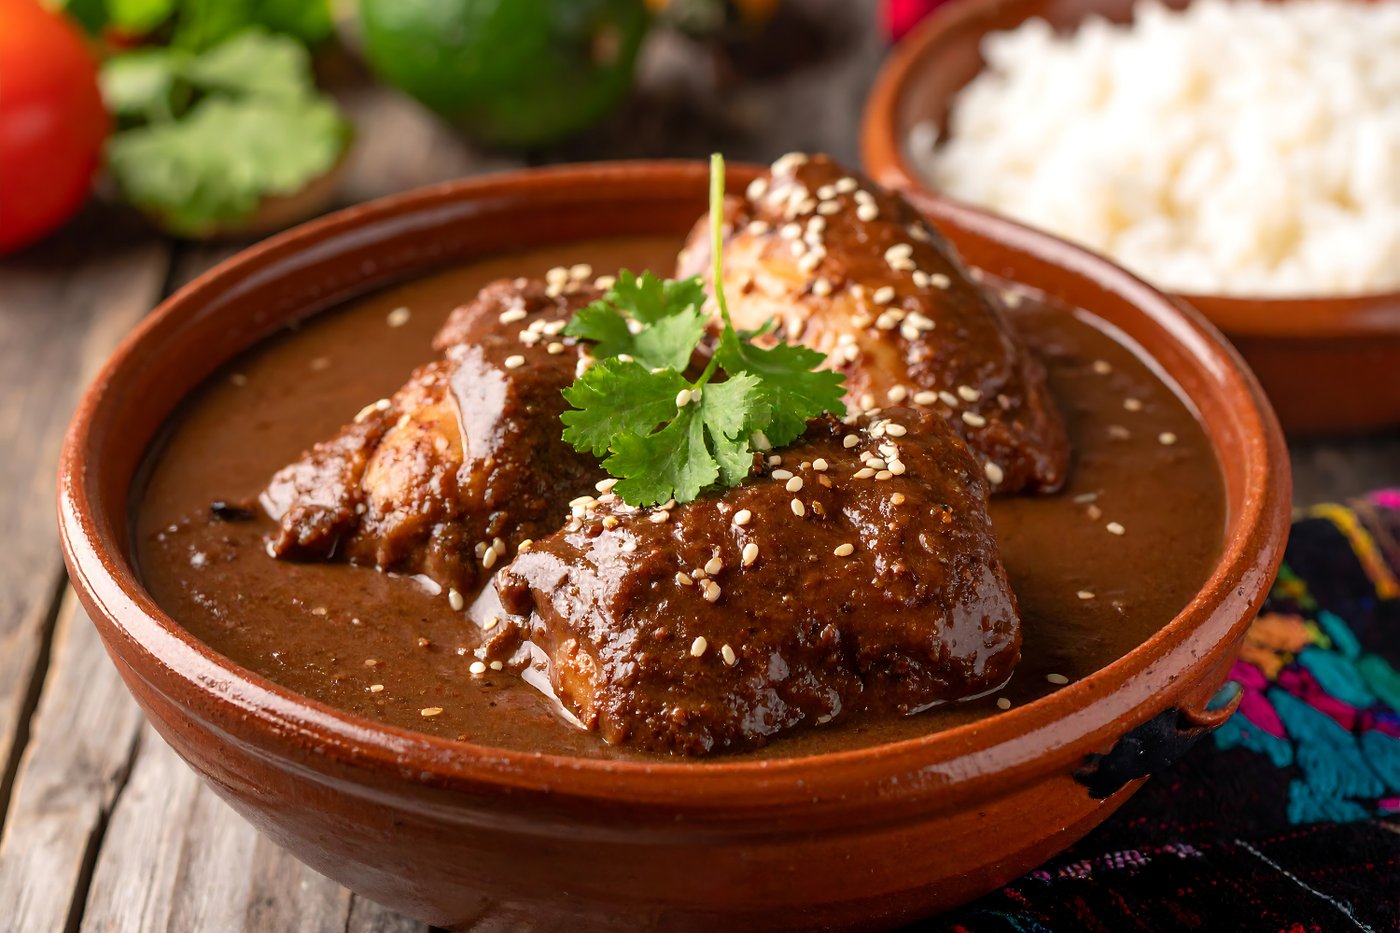
Mole, the family of complex Mexican sauces, has perhaps the most fearsome reputation on this list. A mole poblano or mole negro can involve 20 or 30 ingredients — multiple dried chiles, nuts, seeds, spices, dried fruit, tortilla or bread, and chocolate — and celebrated versions in Puebla and Oaxaca take the better part of a day. All of that is true. What the reputation omits is that the day consists of the same three easy techniques repeated over and over.
Those techniques are toasting, blending and simmering. Each category of ingredient gets toasted or fried briefly to develop flavor: the chiles in a dry pan, the nuts and seeds until fragrant, the aromatics until soft. Everything then goes into a blender in batches with soaking liquid or broth and gets puréed smooth. The purée is fried in a pot — it will spatter, so a lid or splatter screen helps — then thinned with broth and simmered gently, often for an hour or more, while it darkens and the flavors merge. Chocolate and seasoning go in near the end.
No single step in that sequence exceeds the difficulty of making toast. The challenge is logistical, not technical: keeping track of a long ingredient list and washing a blender several times. A kitchen scale, a written checklist and small bowls for pre-measured ingredients turn the process into an assembly line. The blender replaces what once required hours of grinding on a stone metate, which is the actual hard version of this dish, and the version nobody is asking home cooks to attempt.
Mole also keeps and freezes exceptionally well, and many cooks in Mexico make large batches precisely because the sauce improves over days. Served over braised chicken or turkey with rice, a homemade mole is the kind of dish guests assume took years to learn. It took an afternoon and a shopping list.
12 / 15
Credit: Canva Images
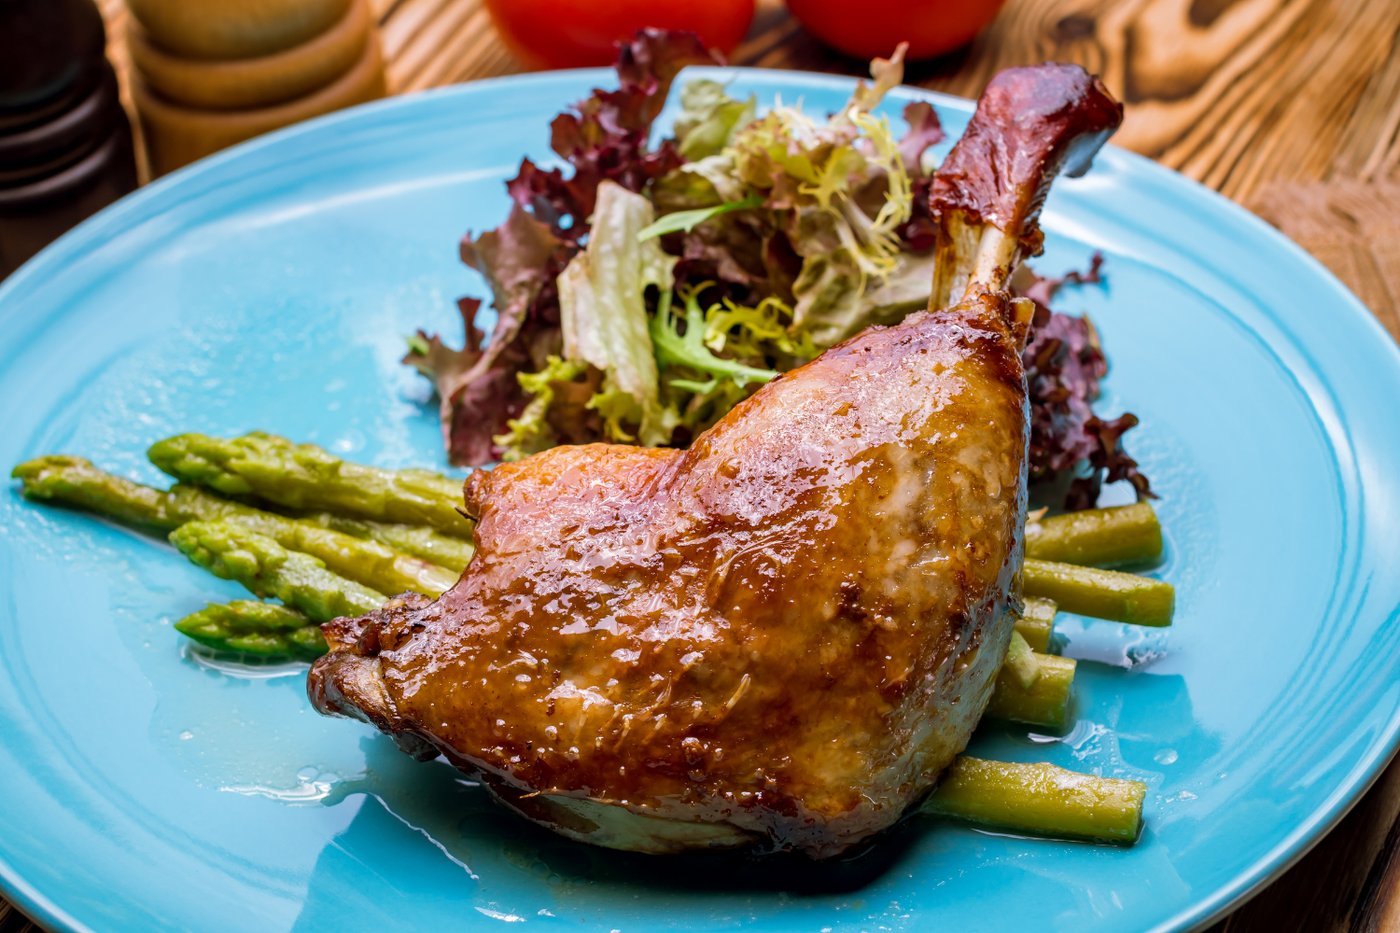
Duck confit — duck legs cured in salt, then cooked slowly while submerged in duck fat — sounds like the most cheffy item on any bistro menu. The word confit alone does a lot of intimidating. The method was developed as preservation, a way to keep meat edible for months before refrigeration, and preservation methods were designed to be foolproof. Peasant farmhouses in Gascony were not staffed by trained chefs.
The process has two stages, both nearly labor-free. First, duck legs get rubbed with salt, often with garlic, thyme and bay, and rest in the refrigerator for a day or so. The salt seasons the meat deeply and draws out moisture. Second, the legs get rinsed, patted dry, submerged in melted duck fat and cooked at a very low temperature — a barely quivering oven, around 200 to 250 degrees Fahrenheit — for several hours until the meat is completely tender.
The fat is the safety net that makes confit almost impossible to get wrong. Because the legs cook surrounded by fat at a temperature well below frying heat, they cannot dry out, burn or overcook in any meaningful way within a reasonable window. An extra hour changes little. This is the opposite of cooking a steak, where a 90-second error ruins dinner. Confit forgives everything except impatience.
Duck fat is sold in tubs at many butcher shops and specialty grocers, and it can be strained after cooking and reused several times, which spreads the cost. Cooks who balk at the price can use the same method with olive oil, or apply the salt-cure-and-slow-cook logic to chicken legs.
Serving is the best part. Confit legs keep for days in the fridge under their fat. When dinner nears, the legs go skin-side down in a hot pan or under a broiler until the skin crisps. Ten minutes of finishing produces bistro food from a project that was 95% waiting.
13 / 15
Credit: Canva Images
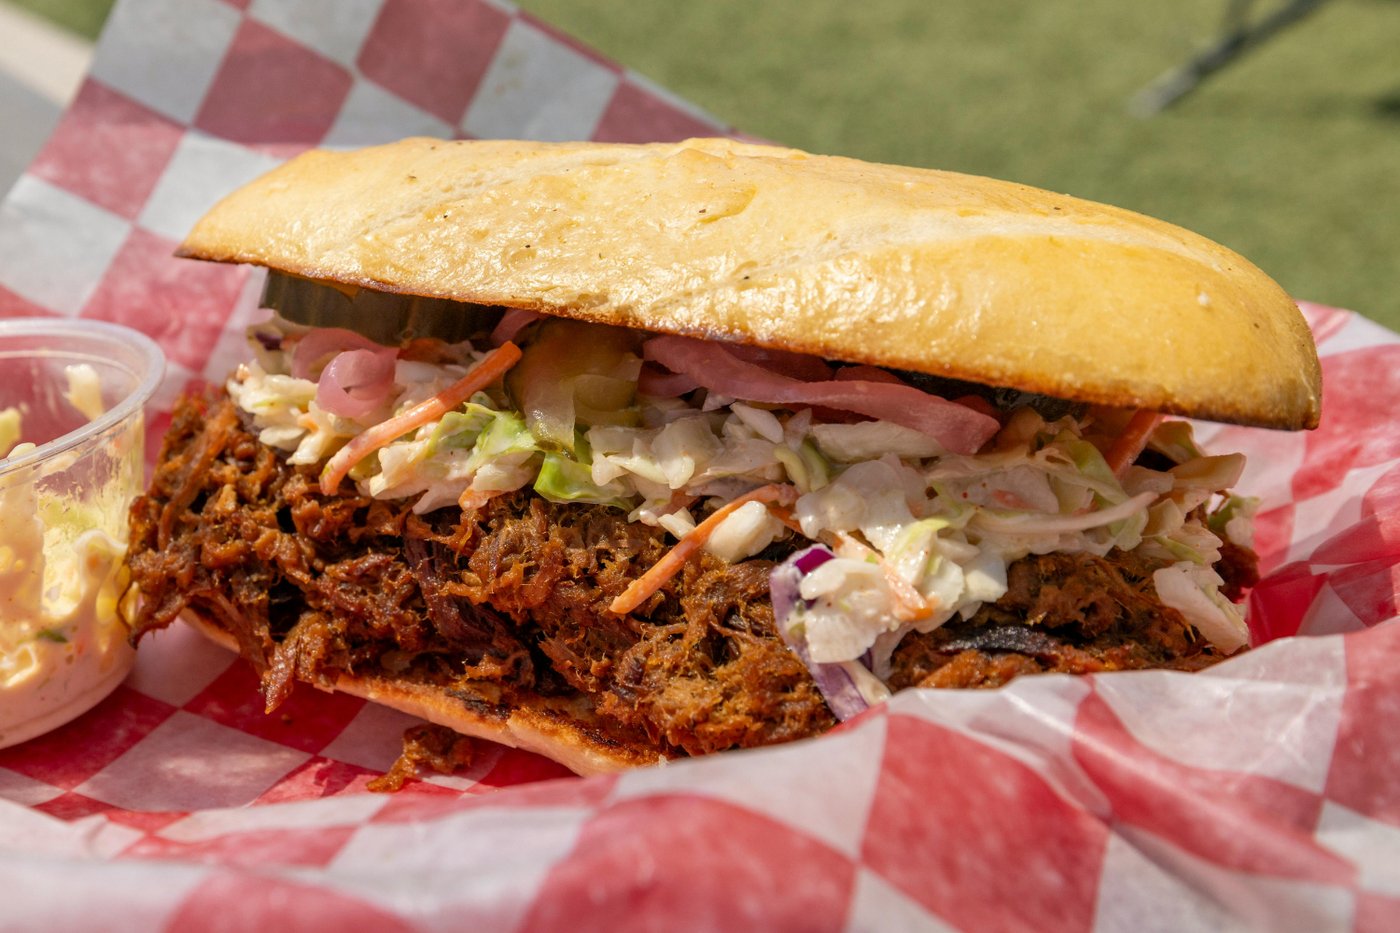
Barbecue culture has built an entire mythology around smoke rings, pitmasters and overnight cooks, and pulled pork sits near the center of it. The competition version — a whole pork shoulder smoked for 10 or 12 hours over carefully managed wood coals — genuinely is a craft. The home version, made in an oven or slow cooker, delivers most of the pleasure with almost none of the craft, because the fundamental transformation has nothing to do with smoke.
Pork shoulder, also sold as pork butt or Boston butt, is a heavily worked muscle full of fat and connective tissue. Cooked fast, it is tough. Held at low heat for many hours, its collagen dissolves into gelatin and the meat becomes soft enough to pull apart with two forks. That is the entire secret of pulled pork, and an oven set around 300 degrees Fahrenheit performs it without any tending at all.
The active steps fit in 15 minutes. Rub the shoulder generously with a spice mix — salt, brown sugar, paprika, black pepper, garlic powder and whatever else the cupboard offers. Set it in a roasting pan or Dutch oven, fat side up. Roast low and slow for six to eight hours depending on size, until a fork twists easily in the meat. Rest it, pull it apart, discarding the larger pockets of fat, and toss the meat with a little of its own juices and sauce if desired.
Smoke flavor can be approximated with smoked paprika or a bottled barbecue sauce that contains it, and no guest eating a pulled pork sandwich with slaw has ever audited the smoke ring. A shoulder is among the cheapest cuts at any meat counter, and one large one produces enough for sandwiches, tacos, and freezer bags of future meals.
The mythology is real and worth respecting. It is also optional. Time and a closed oven door do the load-bearing work.
14 / 15
Credit: Travel with Lenses / Pexels
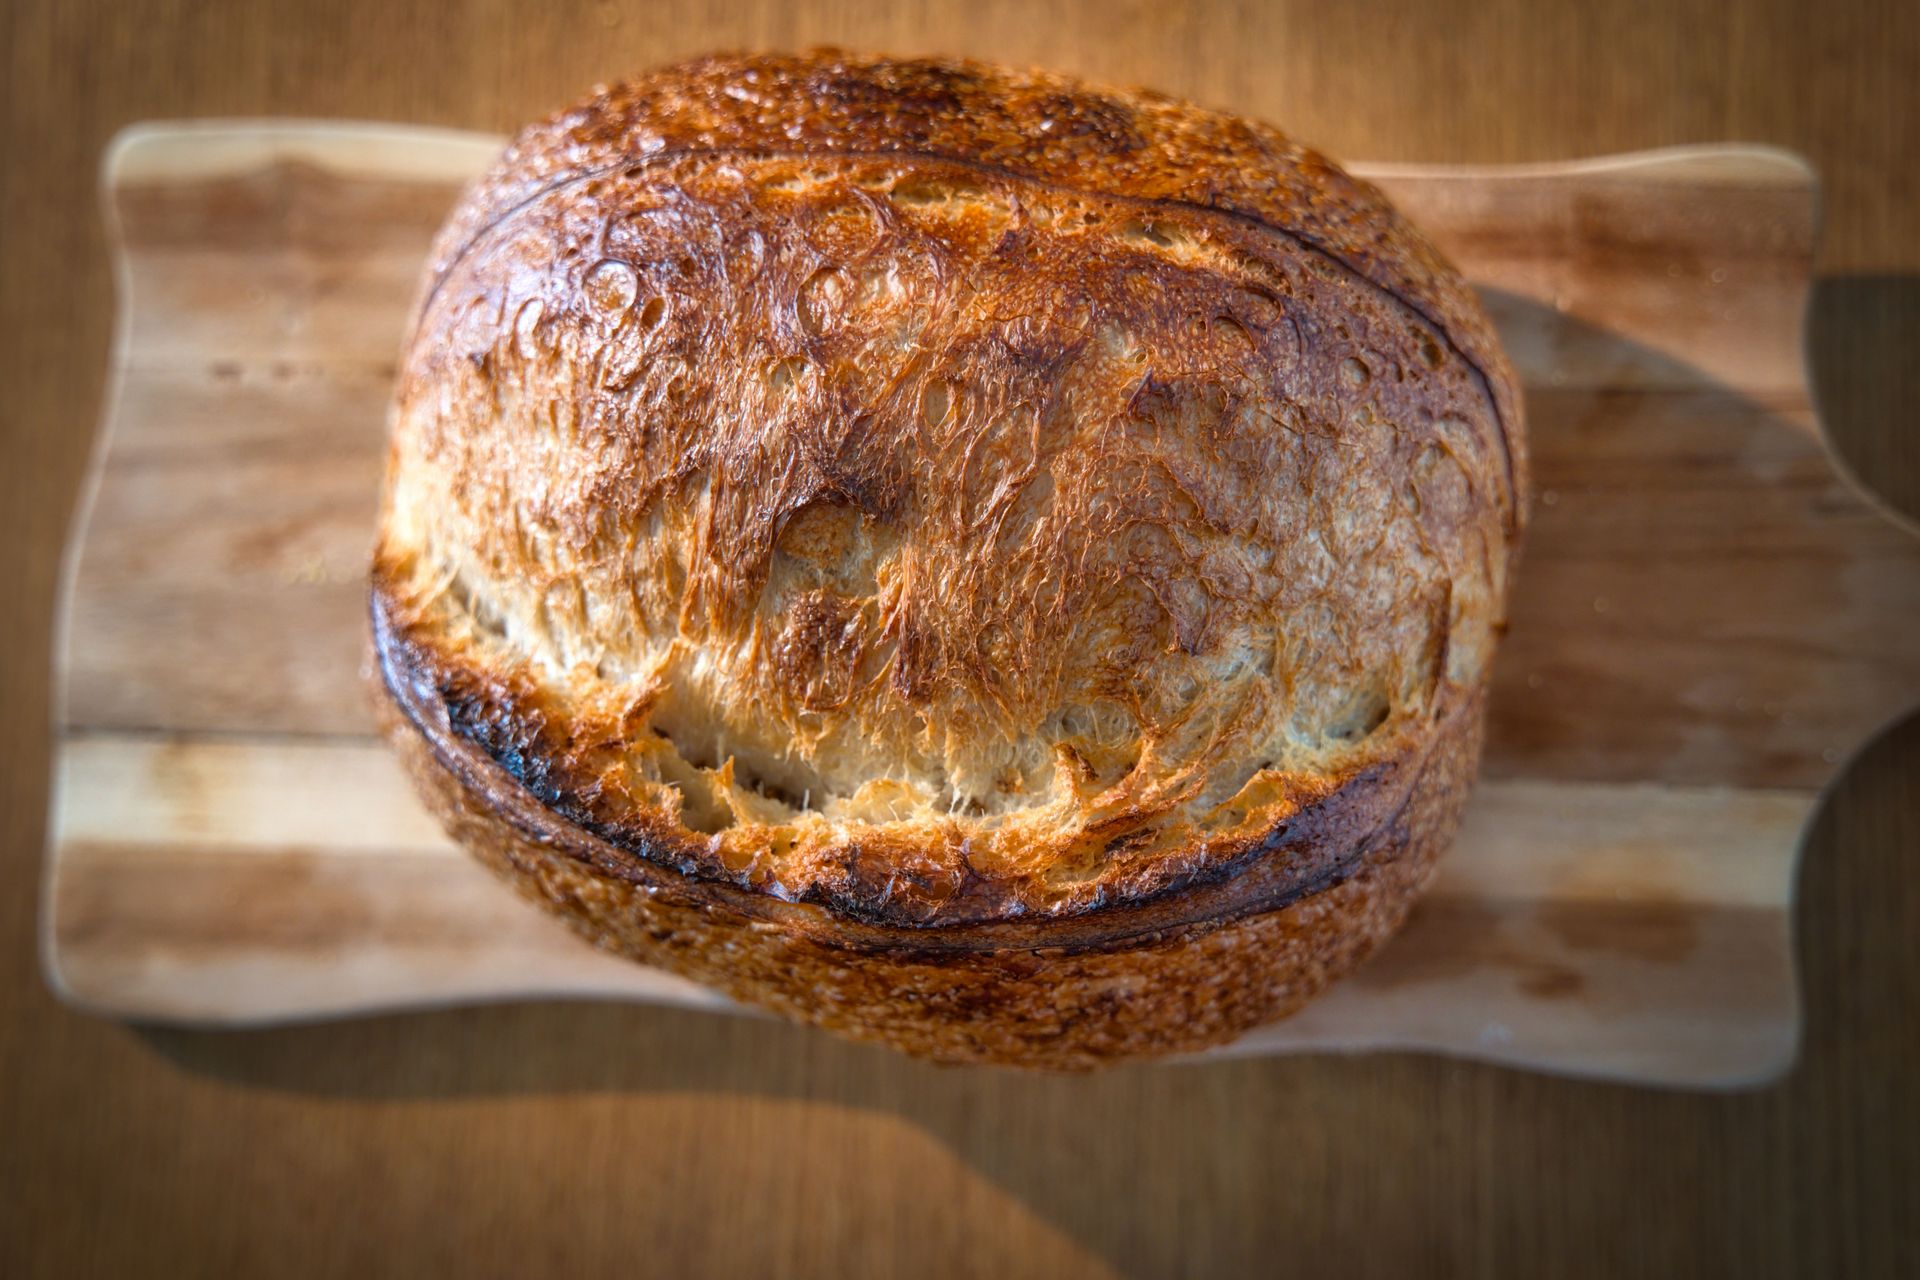
Sourdough carries the heaviest project reputation in home baking. The vocabulary alone — starter, levain, autolyse, bulk fermentation, hydration percentages — makes it sound like a laboratory discipline, and the pandemic-era boom in sourdough baking produced endless online debate that made the whole thing seem harder still. Underneath the jargon sits one of the oldest and most passive processes in food: flour, water and salt, transformed by wild yeast and time.
A starter is flour and water left out until the wild yeast and bacteria already present begin fermenting it. Building one from scratch takes about a week of feeding it fresh flour and water once a day, a task that takes two minutes. Cooks who want to skip the week can get starter from a friend or a bakery, since a spoonful of active starter is all any recipe needs.
Bread day is long on the clock and short on labor. Mix flour, water, salt and starter. Let the dough rest. Over the next several hours of bulk fermentation, give the dough a brief stretch and fold in the bowl every 30 to 60 minutes — each round takes under a minute and replaces traditional kneading. Shape the loaf, then let it rise again, commonly overnight in the refrigerator, which both fits the schedule of a person with a job and develops more flavor.
Baking happens in a covered Dutch oven, which traps steam and produces the crackling crust and open interior that make bakery loaves look unattainable. The pot is the equipment secret of home sourdough; there is no technique secret.
Early loaves may come out dense or flat, and they will still be good bread, because fresh bread with butter clears a low bar for enjoyment. The total active time across two days is well under an hour. The rest is biology proceeding on its own schedule, which is the entire point of sourdough and always has been.
15 / 15

Credit: Arda Kaykısız / Pexels
Croissants sit at the summit of intimidating home baking. Lamination — the process of folding butter into dough to create hundreds of alternating layers — is taught in pastry school, and the finished spiral crumb of a good croissant looks like proof of professional training. It is actually proof of a cold kitchen and a free weekend, because lamination is a repetitive folding task in which nearly all the elapsed time is dough resting in a refrigerator.
The dough itself is a simple enriched yeast dough: flour, milk, sugar, salt, yeast and a little butter, mixed and chilled. The butter block — a slab of cold butter pounded into a flat square — takes five minutes with a rolling pin and a sheet of parchment. Lamination then proceeds in rounds: seal the butter inside the dough, roll the package into a long rectangle, fold it in thirds like a letter, wrap it and refrigerate for 30 minutes to an hour. Repeat the roll-and-fold two more times, with a chill between each.
Each fold multiplies the layers, and three letter folds produce dozens of butter layers that will separate into flaky sheets in the oven as the butter's moisture turns to steam. The chilling between folds is not fussiness. Cold butter stays in distinct layers; warm butter smears into the dough and ruins the effect. The refrigerator is doing the skilled labor.
The remaining steps are cutting the sheet into triangles, rolling each into a crescent, letting them proof until puffy and jiggly — a couple of hours at room temperature — brushing with egg and baking. Spread across two days, no single work session exceeds about 20 minutes.
First attempts often look lopsided and taste excellent anyway, since the failure mode of croissants is buttery bread. A batch also freezes before baking, meaning one weekend of folding yields fresh croissants on demand for weeks. Pastry-case results, refrigerator-grade effort.
