
15 things everyone should know how to do in a medical emergency
Master these fundamental physical interventions to protect yourself and others before professional medical responders arrive at the scene

Medical emergencies often occur without warning, leaving bystanders as the immediate line of defense before professional responders arrive. The gap between an incident and the arrival of an ambulance can dictate the outcome of a medical crisis. During this critical window, specific interventions executed by laypeople can stabilize a patient or prevent further physical deterioration.
Many individuals assume that intervening requires extensive medical training or specialized clinical equipment. The reality is that fundamental first aid relies on quick assessment, decisive action, and a basic understanding of human physiology. Preparing for these scenarios involves internalizing standard protocols for common emergencies, ranging from severe bleeding to sudden cardiac arrest. First responders rely heavily on bystanders to initiate care, provide accurate information to dispatchers, and secure the physical scene.
A lack of preparation often leads to hesitation, which costs valuable time. Knowing how to systematically approach an unresponsive person, manage a physical trauma, or recognize the subtle signs of a neurological event shifts the dynamic from panic to managed response. Communities with high rates of basic first aid knowledge demonstrate better survival rates for out-of-hospital cardiac arrests and severe traumatic injuries.
The skills required are mechanical and observational, rooted in clear guidelines established by global health organizations. Memorizing the mechanical steps of chest compressions or the mnemonic for stroke recognition requires minimal time investment but yields substantial public health benefits. This guide outlines standard physical interventions that form the foundation of layperson emergency response. Each technique addresses a specific physiological crisis, focusing on preserving life, preventing the condition from worsening, and promoting recovery. Acquiring these foundational skills transforms an ordinary bystander into a critical component of the emergency medical system.
Assess the safety of the scene
Before touching a patient or providing care, you must evaluate the immediate environment for physical hazards. Rushing into an emergency without checking for danger often creates secondary victims, complicating the situation for professional responders. A scene size-up takes only seconds but dictates how you will proceed. You need to scan for active threats such as oncoming traffic, exposed electrical wires, aggressive animals, or chemical spills. If the environment is unsafe, you must not enter. Your priority is your own physical safety.
If the scene poses an immediate threat, your only action is to call emergency services from a secure distance. You might need to instruct the conscious victim to move toward you if they are physically capable. Moving a victim yourself is only acceptable if leaving them in their current location guarantees severe injury or death. Examples include a burning vehicle or a room rapidly filling with toxic gas. In these extreme cases, you extract the person using the quickest method possible, prioritizing speed over spinal precautions.
If the environment appears secure, you can approach the victim. You should still remain vigilant as environmental conditions can change rapidly. An initially calm scene on a roadside can become hazardous if traffic patterns shift. A stable structure might become unstable after a weather event or earthquake. You must continuously monitor your surroundings while providing care. Environmental awareness is a continuous process that lasts until professional help arrives. Keeping yourself safe guarantees that you remain capable of assisting the primary victim.
As you approach, note the mechanism of injury or the nature of the illness. Observe the position of the victim, any visible damage to the surroundings, and items like medication bottles or ladders that might indicate what happened. This environmental evidence provides crucial context for emergency dispatchers and arriving paramedics. You serve as the eyes and ears of the medical system during these initial moments. Collecting this visual data informs the subsequent steps of your response.
Call emergency services effectively

Credit: Taylor Grote / Unsplash
Activating the emergency medical system requires more than simply dialing a number. You must communicate precise information to the dispatcher to ensure the correct resources arrive quickly. The most critical piece of data you can provide is the exact location of the emergency. If the call drops prematurely, responders know exactly where to send help. You should provide the street address, cross streets, floor number, or specific physical landmarks if you are outdoors.
Once the location is established, you need to describe the nature of the emergency clearly. State whether you are dealing with a medical issue or a physical trauma. Describe the condition of the victim, specifically noting if they are conscious and if they are breathing normally. The dispatcher uses this initial assessment to categorize the call and determine the priority level of the responding medical units.
You must answer the dispatcher's questions directly and concisely. Dispatchers follow standardized clinical protocols to gather necessary information and provide pre-arrival instructions. Do not hang up until the dispatcher explicitly tells you to do so. They often guide you through life-saving procedures like chest compressions or bleeding control while the ambulance is en route to your location.
If you are not alone, direct a specific person to make the call. Point to an individual and instruct them to call the emergency number and report back to you. This eliminates the bystander effect, a psychological phenomenon where individuals in a group assume someone else will take action. Assigning the task ensures the call happens while you begin physically assessing the patient.
If you are alone and the victim requires immediate intervention, prioritize calling emergency services on a mobile phone using the speakerphone function. This allows you to communicate with the dispatcher while keeping your hands free to provide physical care. Modern mobile devices also allow dispatchers to track your approximate location, though verbal confirmation remains the most reliable method for ensuring rapid response.
Recognize the signs of cardiac arrest
Cardiac arrest occurs when the heart's electrical system malfunctions, causing it to stop beating effectively. This condition abruptly halts blood flow to the brain and other vital organs. Identifying cardiac arrest immediately is the first step in the chain of survival. The primary indicators are a complete lack of responsiveness and the absolute absence of normal breathing.
To check for responsiveness, tap the person firmly on the collarbone and shout loudly to see if they react. A person in cardiac arrest will not open their eyes, move, or make any sound in response to physical or verbal stimuli. If they do not respond to this stimulation, you must immediately evaluate their breathing.
Normal breathing is quiet, regular, and effortless. You should observe the chest for rise and fall. A person in cardiac arrest may exhibit agonal gasps, which are infrequent, noisy, and irregular breathing attempts. These gasps are a basic brainstem reflex, not effective breathing. Many bystanders mistake agonal gasps for signs of life, delaying essential physical treatment. If the person is not breathing or only gasping, you must assume they are in cardiac arrest.
You do not need to check for a pulse. Medical guidelines for lay responders emphasize recognizing unresponsiveness and abnormal breathing over pulse checks. Finding a pulse is often difficult and time-consuming for individuals without extensive clinical experience, especially in a high-stress situation. Wasting time searching for a pulse delays the initiation of chest compressions, decreasing the chances of survival.
Once you determine the person is unresponsive and not breathing normally, you must transition immediately to providing care. Every minute without intervention significantly reduces the probability of a successful resuscitation. Recognizing the clinical presentation of cardiac arrest empowers you to initiate the physical interventions required to mechanically circulate oxygenated blood until a defibrillator or paramedics arrive.
Perform hands-only chest compressions
Hands-only chest compressions serve as a manual pump for the heart during cardiac arrest. By compressing the chest cavity, you force blood out of the heart and into the vascular system, delivering residual oxygen to the brain. This mechanical action delays brain tissue death and extends the window of opportunity for a successful defibrillation later.
To perform compressions, position the person flat on their back on a firm, solid surface. A bed or couch will absorb the force of your compressions, rendering them clinically ineffective. Kneel directly beside the patient's chest. Place the heel of one hand directly in the center of the chest, on the lower half of the breastbone. Place your other hand on top of the first and interlock your fingers.
Position your shoulders directly over your hands and lock your elbows. You must use your upper body weight to push straight down. The required depth for an adult is at least two inches, but no more than two and a half inches. Compressing the human chest to this depth requires substantial physical effort and stamina.
The rate of compressions is equally critical to the depth. You must aim for a speed of 100 to 120 compressions per minute. This rapid pace ensures continuous forward flow of blood through the arteries. Allowing the chest to fully recoil between each compression is vital. Recoil allows the heart chambers to refill with blood before the next compression pushes it out. Do not lean on the chest between pushes.
Perform compressions continuously without stopping to check for a response or a pulse. Interruptions in compressions cause a rapid drop in blood pressure, depriving the brain of circulation. If another trained bystander is present, switch roles every two minutes to prevent physical fatigue. Quality compressions degrade quickly as the rescuer tires. Continue this mechanical pumping until a defibrillator is ready to use, paramedics assume control, or the person begins to move and breathe normally.
Operate an automated external defibrillator
An automated external defibrillator is a portable electronic device designed to diagnose life-threatening cardiac arrhythmias and treat them through electrical therapy. This device is the definitive treatment for a sudden cardiac arrest caused by ventricular fibrillation or pulseless ventricular tachycardia. The electrical shock stuns the heart muscle, allowing the natural pacemaker to re-establish a normal rhythm.
These devices are designed specifically for use by laypeople with no prior medical training. Once you open the case or press the power button, voice prompts will guide you through every step of the physical process. The machine will instruct you to expose the patient's bare chest. You may need to cut or remove clothing and wipe the chest dry if it is wet from sweat or water.
The device contains two adhesive electrode pads with diagrams illustrating their proper anatomical placement. One pad goes on the upper right side of the chest, just below the collarbone. The second pad belongs on the lower left side of the chest, wrapping slightly around the rib cage. These positions ensure the electrical current travels directly through the heart muscle.
Once the pads are attached, the machine will instruct you to stop touching the patient while it analyzes the heart rhythm. It is critical that no one touches the victim during this phase, as physical movement can interfere with the analysis. The device determines independently if a shock is necessary. You cannot force the machine to shock a rhythm it does not recognize as treatable.
If the device advises a shock, it will charge and instruct you to ensure everyone stands clear. You must visually verify that no one is in physical contact with the patient. Press the flashing shock button when prompted. After delivering the shock, or if the device advises no shock is needed, immediately resume manual chest compressions. The machine will track the time and prompt you to pause for another analysis every two minutes.
Control severe external bleeding
Severe hemorrhage can lead to exsanguination and death within minutes, often before professional medical help can arrive at the scene. Managing massive external bleeding is a time-critical intervention that takes precedence over other physical injuries. Blood loss reduces the body's ability to transport oxygen, leading rapidly to hemorrhagic shock. Your goal is to stop the flow of blood outward and keep it within the vascular system.
The most effective initial technique for controlling hemorrhage is applying direct, sustained pressure to the source of the bleeding. You must identify the exact location of the wound. Place a clean cloth, gauze, or piece of clothing directly over the injury. Apply firm, downward physical pressure using both hands. You must push hard enough to compress the damaged blood vessels against the underlying bone or tissue.
Do not remove the initial dressing if blood soaks through it. Removing the cloth disrupts any blood clots that have already begun to form. Instead, place additional layers of material on top of the original dressing and press harder. Maintain this continuous manual pressure until emergency responders arrive or the bleeding completely stops.
If direct pressure fails to control bleeding from an arm or leg, or if the bleeding is immediately life-threatening, you must apply a tourniquet. Place the tourniquet two to three inches above the bleeding site, ensuring it is not placed directly over a joint. Tighten the device until the bleeding stops completely. The application will cause significant pain for the patient, but you must not loosen it under any circumstances.
Once a tourniquet is applied, note the exact time of application. This information is vital for surgeons who will later treat the patient in a hospital setting. If you do not have a commercially manufactured tourniquet, you can improvise one using a sturdy piece of fabric and a rigid object like a stick or heavy pen to use as a windlass to twist and tighten the band.
Identify the symptoms of a stroke
A stroke occurs when the blood supply to a part of the brain is interrupted or reduced, preventing brain tissue from getting necessary oxygen and nutrients. Brain cells begin to die in minutes. Rapid recognition of stroke symptoms is vital because specific medical treatments, such as clot-busting drugs or surgical interventions, are only effective within a narrow time window after the onset of symptoms.
The most common metric for identifying a stroke involves evaluating facial droop, arm weakness, and speech difficulty. You must assess the person's face for physical asymmetry. Ask them to smile and observe if one side of the face droops or appears numb. A lopsided smile strongly indicates neurological impairment affecting the facial muscles.
Next, evaluate motor function in the upper extremities. Ask the individual to raise both arms in front of them. Watch to see if one arm drifts downward or if they are entirely unable to lift one arm against gravity. Unilateral weakness or complete paralysis is a hallmark sign of a stroke affecting one hemisphere of the brain.
Assess the person's speech and cognitive language processing. Ask them to repeat a simple, standard sentence. Listen for slurred speech, inappropriate word choices, or a complete inability to articulate words. A stroke can impair both the physical muscles used for speech and the brain's complex language processing centers.
If you observe any of these physical signs, even if they seem to fluctuate or disappear, you must note the exact time the symptoms first started. Medical professionals use this timeline to determine treatment eligibility. Contact emergency services immediately and state clearly that you suspect a stroke. Do not offer the person food, water, or medication, including aspirin, as a stroke can compromise swallowing reflexes or be caused by bleeding in the brain, which aspirin would worsen.
Treat a localized thermal burn
Credit: Serenity Mitchell / Unsplash
Thermal burns result from physical contact with hot liquids, heated surfaces, or open flames. The severity of a burn depends heavily on the temperature of the heat source and the total duration of physical contact. Immediate first aid aims to halt the burning process, cool the affected tissue, and protect the compromised skin from bacterial infection.
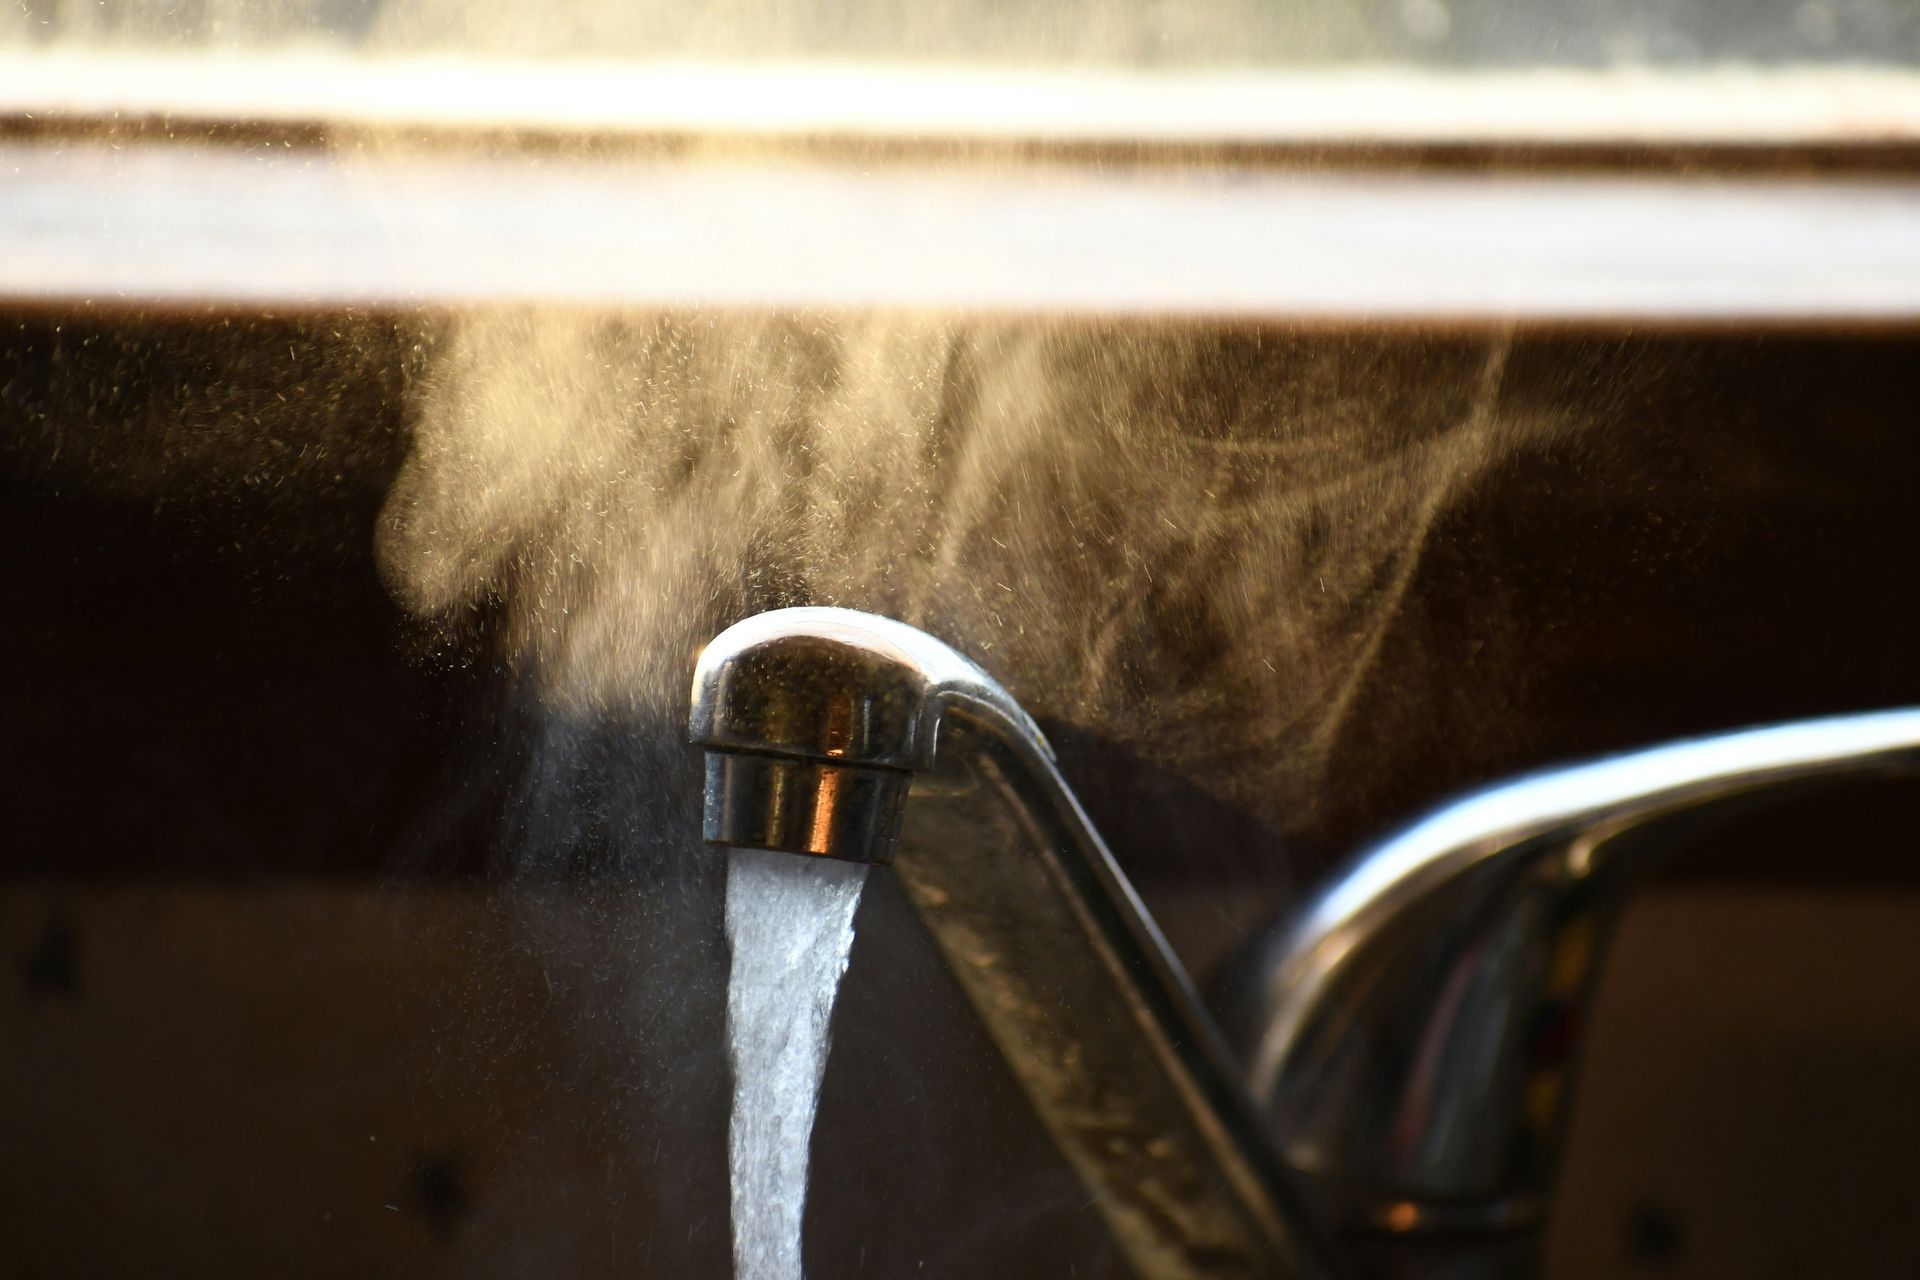
The first action is to remove the person from the heat source and eliminate any ongoing thermal threat. You must then cool the burn immediately. Hold the affected area under cool, running tap water for at least 10 to 20 minutes. The running water dissipates the heat trapped in the skin layers, preventing the burn from deepening and providing significant physical pain relief.
Do not use ice or ice water on a burn. Extreme cold causes blood vessels to constrict, reducing blood flow to the damaged tissue and potentially causing further cellular injury. Avoid applying butter, oils, or heavy ointments to a fresh burn. These substances trap heat within the skin and complicate medical evaluation later at the hospital.
While cooling the burn, remove any tight items such as rings, bracelets, or restrictive clothing near the injured area. Burns cause immediate physical swelling, and items left in place can quickly become tourniquets, cutting off circulation. If clothing is melted and adhered to the skin, do not attempt to peel it away. Cut around the stuck fabric instead.
Once the burn is adequately cooled, cover it with a sterile, non-stick dressing or a clean piece of plastic wrap. A loose covering protects the exposed nerve endings from air currents, which reduces pain, and shields the broken skin from environmental bacteria. Seek professional medical evaluation for any burn that covers a large area, involves the face, hands, or genitals, or presents with severe blistering and deep tissue damage.
Respond to a choking incident
Choking occurs when a foreign object lodges in the throat or windpipe, physically blocking the flow of air. A complete airway obstruction prevents oxygen from reaching the lungs and brain, leading to unconsciousness and cardiac arrest within minutes. Recognizing the physical difference between a partial and complete airway obstruction determines your intervention strategy.
If the person is coughing forcefully or able to speak, the airway is only partially blocked. You should encourage them to continue coughing to expel the object. Do not intervene physically at this stage. Slapping a person on the back while they are upright and coughing can inadvertently drive the object deeper into the airway, converting a partial block into a complete obstruction. Stay close and monitor them carefully.
A complete airway obstruction presents entirely differently. The person will be unable to speak, cough effectively, or draw a breath. They may clutch their throat with both hands in the universal physical sign of choking. Their face and lips may begin to turn blue from acute oxygen deprivation. This situation requires immediate physical intervention to dislodge the object.
You must stand behind the person and deliver abdominal thrusts. Wrap your arms around their waist and locate their navel. Make a fist with one hand and place the thumb side directly against the person's abdomen, just above the navel and well below the breastbone. Grasp your fist with your other hand and press inward and upward with quick, forceful physical thrusts.
Each thrust acts as an artificial cough, forcing residual air out of the lungs to push the obstruction upward. Continue delivering thrusts until the object is expelled and the person can breathe, or until the person becomes unresponsive. If the victim loses consciousness, you must lower them safely to the ground and immediately begin cardiopulmonary resuscitation, starting directly with chest compressions.
Manage a suspected spinal injury
Credit: RDNE Stock project / Pexels
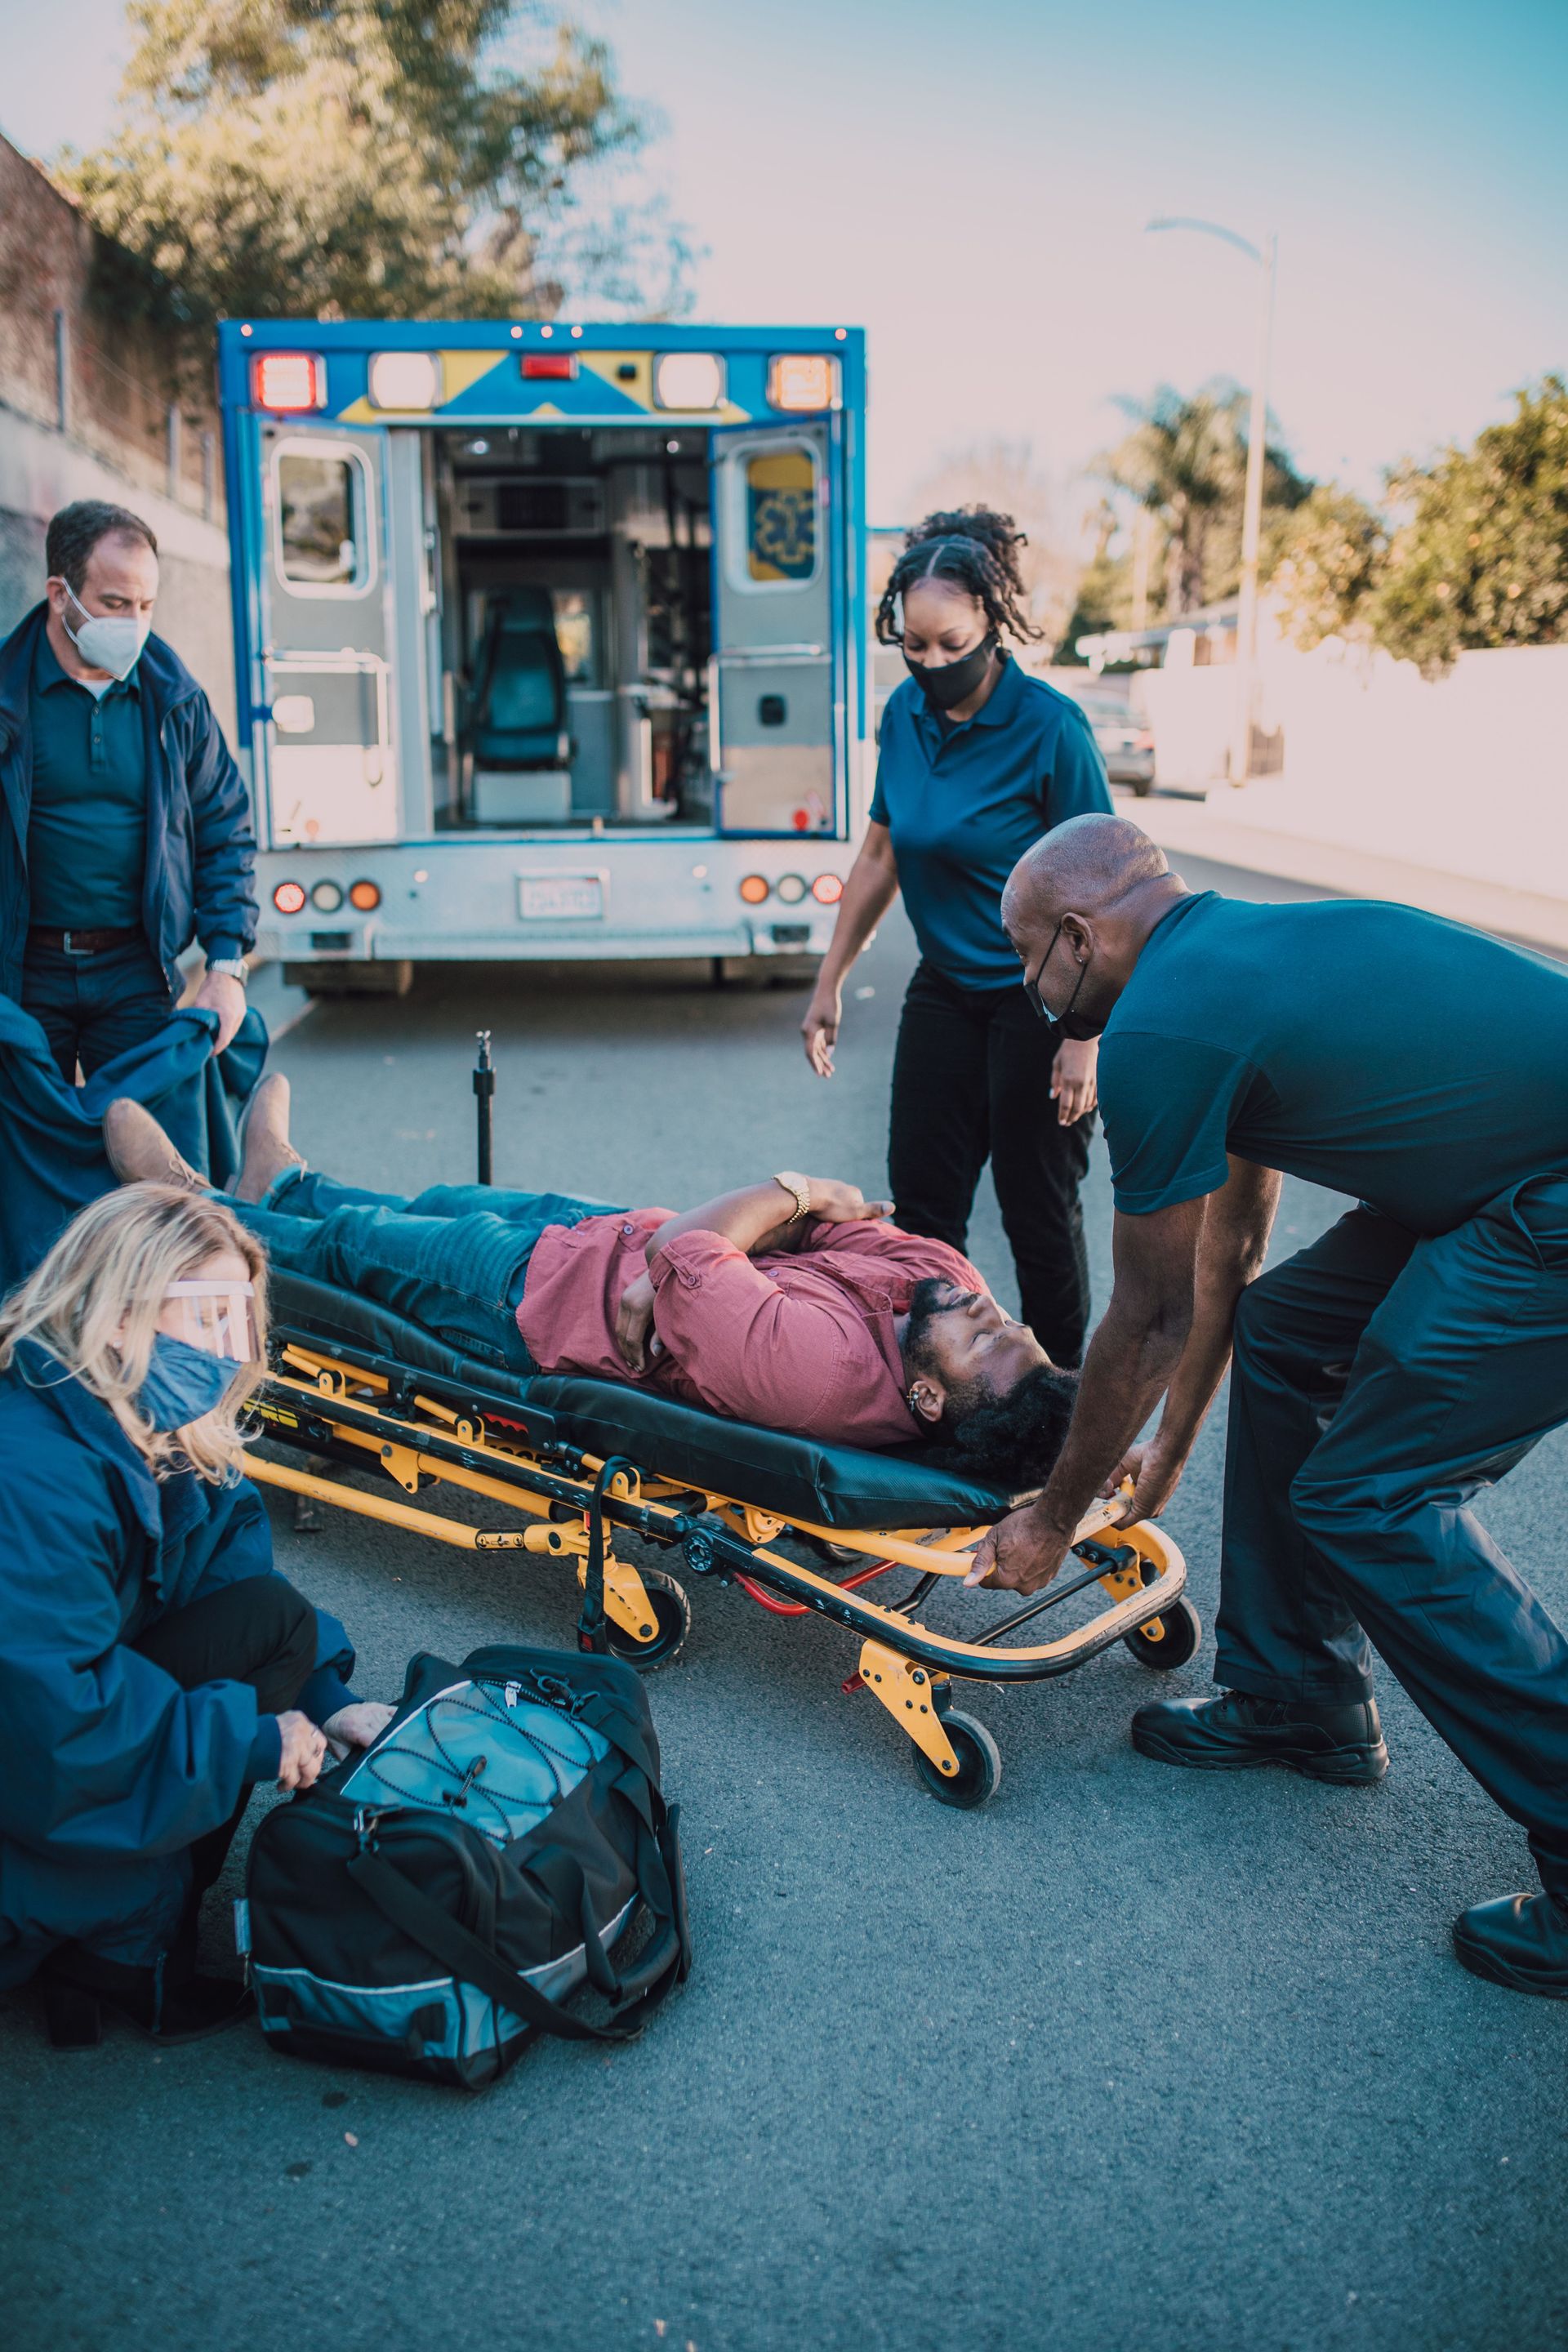
Trauma to the head, neck, or back can mechanically damage the spinal cord, potentially resulting in permanent paralysis or death. Suspect a spinal injury in cases involving high-impact vehicle collisions, falls from a significant height, diving accidents, or blunt force physical trauma to the torso. The primary objective of layperson first aid in these scenarios is to prevent any movement of the spine.
Your most crucial action is to instruct the conscious person to remain completely physically still. Verbally reassure them and explain the importance of not moving their head or neck under any circumstances. Do not attempt to move the person yourself unless they are in immediate, life-threatening danger, such as a fire or an unsafe physical location on a busy roadway.
To minimize accidental movement, you must manually stabilize the person's head and neck in the exact position you found them. Place your hands on both sides of their head to provide a rigid physical barrier to movement. Do not pull on the neck or attempt to align the head with the body. Hold the head securely to prevent side-to-side or forward-and-backward motion.
If the person is wearing a helmet, such as a motorcycle or bicycle helmet, leave it firmly in place. Removing a helmet can cause significant physical manipulation of the cervical spine. Paramedics possess the specialized training and equipment necessary to remove helmets safely while maintaining strict spinal alignment.
Maintain manual stabilization until emergency medical personnel arrive and physically take over. You must continue holding the head even if the person insists they feel perfectly fine. The physical symptoms of a spinal injury, such as numbness, tingling, or weakness in the extremities, may not appear immediately. Preventing movement protects the delicate spinal cord from secondary damage caused by shifting bone fragments or unstable vertebrae.
Assist someone experiencing a seizure
A generalized tonic-clonic seizure involves a sudden electrical disturbance in the brain, resulting in a loss of consciousness and violent muscle contractions. Witnessing a seizure can be visually distressing, but the condition usually resolves on its own within a few minutes. Your role is to protect the person from physical injury during the event and provide supportive care as they recover.
When a seizure begins, you must focus entirely on the immediate physical environment. Clear away hard or sharp objects, furniture, and any hazards that the person might strike against during the convulsions. If possible, gently guide the person to the floor to prevent a severe fall. Place something soft and flat, like a folded jacket, under their head to protect it from impacting the ground repeatedly.
Do not attempt to physically restrain the person or stop their movements. Pinning their limbs down can easily cause bone fractures or severe muscle tears. The physical convulsions are completely involuntary, and applying force will not stop the electrical activity happening in the brain. Allow the seizure to run its course without physical interference.
Never place anything in the person's mouth. The pervasive myth that someone can swallow their tongue during a seizure is anatomically impossible. Inserting fingers, spoons, or wallets into the mouth can cause severe dental damage, jaw fractures, or complete airway obstruction. The person's jaw muscles will clench tightly, and objects can break and become lethal choking hazards.
Note the exact time the seizure begins and ends. Most seizures last less than two minutes. If the active convulsing continues for more than five minutes, or if the person has consecutive seizures without waking up in between, this constitutes a medical emergency requiring immediate professional intervention. Once the physical movements stop, roll the person onto their side to help keep their airway clear of saliva or vomit.
Administer an epinephrine auto-injector
Anaphylaxis is a severe, systemic allergic reaction that can become fatal within minutes. It is often triggered by insect stings, specific foods, or certain medications. The reaction causes rapid physical swelling of the airway, a sudden drop in blood pressure, and severe breathing difficulties. The only definitive treatment for anaphylaxis is epinephrine, which counteracts the physiological effects of the allergen.
Many individuals with known severe allergies carry a prescribed epinephrine auto-injector. If someone exhibits physical signs of a severe allergic reaction, such as difficulty breathing, swelling of the face and throat, or widespread hives, ask if they have an auto-injector. If they cannot physically administer it themselves, you must assist them or administer it for them. Time is critical, and delays can lead directly to cardiac arrest.
To use the device, form a firm fist around the middle of the injector. Do not place your thumb or fingers over either end, as the needle deploys rapidly from one tip. Remove the safety cap by pulling it straight off. The device is now physically armed and ready for immediate use.
The injection site is the outer middle portion of the thigh. You do not need to remove the person's clothing. The needle is designed to penetrate denim and other thick fabrics easily. Push the tip of the injector firmly against the outer thigh until you hear or feel a loud click. Hold the device in place for a full three seconds to ensure the medication is fully delivered into the muscle.
Remove the injector and physically rub the injection site for 10 seconds to help the medication absorb into the muscle tissue. The person should experience a rapid improvement in breathing and a stabilization of blood pressure. Even if symptoms improve completely, you must still call emergency services. Anaphylaxis can have a biphasic reaction, where severe symptoms return hours later, requiring professional medical monitoring in a hospital setting.
Treat a suspected bone fracture
Bone fractures range from minor hairline cracks to severe breaks where the bone physically protrudes through the skin. The primary objective when treating a suspected fracture is to immobilize the injured area to prevent further tissue damage, reduce physical pain, and minimize the risk of severe internal bleeding. You must treat any severe pain, visual deformity, or inability to use a limb as a fracture until an x-ray proves otherwise.
Do not attempt to realign or physically straighten a visibly deformed bone. Moving the broken bone ends can sever nearby nerves and major blood vessels, turning a simple fracture into a limb-threatening emergency. Your goal is to secure the limb in the exact physical position you found it.
If the person must be moved, or if emergency medical services will be delayed significantly, you need to apply a rigid splint. A splint can be improvised from any solid object, such as a rolled-up magazine, a sturdy branch, or a stiff piece of cardboard. Place the rigid object alongside the injured limb. You must secure the splint above and below the suspected fracture site using strips of cloth, belts, or medical tape.
Ensure the splint is tight enough to restrict physical movement but loose enough to maintain adequate blood circulation. Check the fingers or toes of the splinted limb for color, temperature, and sensation. If the extremity becomes pale, cold, or completely numb, the splint is too tight and must be loosened immediately to restore vital blood flow.
If the fracture is open, meaning the bone has physically broken through the skin, do not try to push the bone back inside. Cover the wound with a sterile dressing or clean cloth to prevent bacterial contamination. Apply manual pressure around the exposed bone to control any bleeding, but avoid pressing directly on the bone itself. Keep the patient calm and stationary while awaiting professional transport.
Recognize and respond to hypothermia
Hypothermia occurs when the body loses physical heat faster than it can produce it, causing the core body temperature to drop below normal operating levels. This condition severely affects the brain, making the victim confused, physically clumsy, and highly lethargic. Because cognitive function declines rapidly, the person may not realize they are in immediate physical danger.
The early physical signs of hypothermia include intense shivering, slurred speech, and a distinct lack of physical coordination. As the core temperature drops further, shivering may stop entirely. This cessation of shivering is a critical physiological danger sign indicating severe hypothermia. The person will become increasingly drowsy and may rapidly lose consciousness.
Your first priority is to prevent further physical heat loss. Move the person out of the cold environment and into a sheltered, warm area. If the individual is wearing wet clothing, you must remove it immediately. Water conducts heat away from the body much faster than air, making wet clothing a massive physical liability. Replace the wet items with dry clothing or wrap the person in heavy, dry blankets.
Focus on physically warming the core of the body first — specifically the chest, neck, head, and groin. Use layered dry blankets or your own physical body heat to facilitate warming. Do not attempt to warm the extremities first. Warming the arms and legs forces cold blood back toward the heart, which can cause a fatal cardiac arrhythmia.
Do not apply direct heat sources like hot water bottles or electric heating pads directly to the skin, as this can cause severe thermal burns to cold, insensitive tissue. Avoid giving the person alcohol, which dilates blood vessels and accelerates physical heat loss, or caffeine, which acts as a diuretic. If the person is fully conscious and able to swallow normally, you can provide warm, sweet, non-alcoholic beverages to help increase their internal temperature from the inside out.
Manage a severe asthma attack
Asthma is a chronic respiratory condition characterized by the physical inflammation and narrowing of the airways. During a severe asthma attack, the smooth muscles around the airways tighten, and the mucous membranes swell, drastically reducing the amount of air that can physically reach the lungs. This creates a terrifying sensation of suffocation for the patient and requires prompt intervention to reverse the airway constriction.
A person experiencing a severe asthma attack will exhibit visible physical signs of extreme respiratory distress. They may breathe rapidly, wheeze audibly, and struggle to complete a full sentence without pausing for breath. You might observe their chest muscles pulling in tightly around their ribs and collarbones as they fight mechanically to draw in air.
Your immediate physical action is to assist the person with their prescribed rescue medication. Most individuals with asthma carry a fast-acting bronchodilator inhaler, typically containing albuterol. Ask the person if they have their inhaler and retrieve it for them. Shake the inhaler well and remove the protective cap.
If they have a spacer — a plastic tube that attaches directly to the inhaler — attach it. The spacer ensures the medication reaches the lungs rather than hitting the back of the throat. Instruct the person to exhale completely, place the mouthpiece between their lips, and press the canister once. They must inhale the medication slowly and deeply, then hold their breath for up to 10 seconds before exhaling.
Help the person sit upright in a comfortable physical position, slightly leaning forward. This posture maximizes mechanical lung expansion and eases the physical work of breathing. Do not force them to lie down, as this increases airway resistance. If the person does not have an inhaler, if the inhaler provides no physical relief within a few minutes, or if their lips begin to turn blue, contact emergency services immediately.