
15 fermented foods that are easier to make than you think
Fermentation is one of the oldest food techniques in the world and one of the easiest to do at home — these 15 foods prove that the homemade version is almost always the best one
Robert Alexander / Getty Images
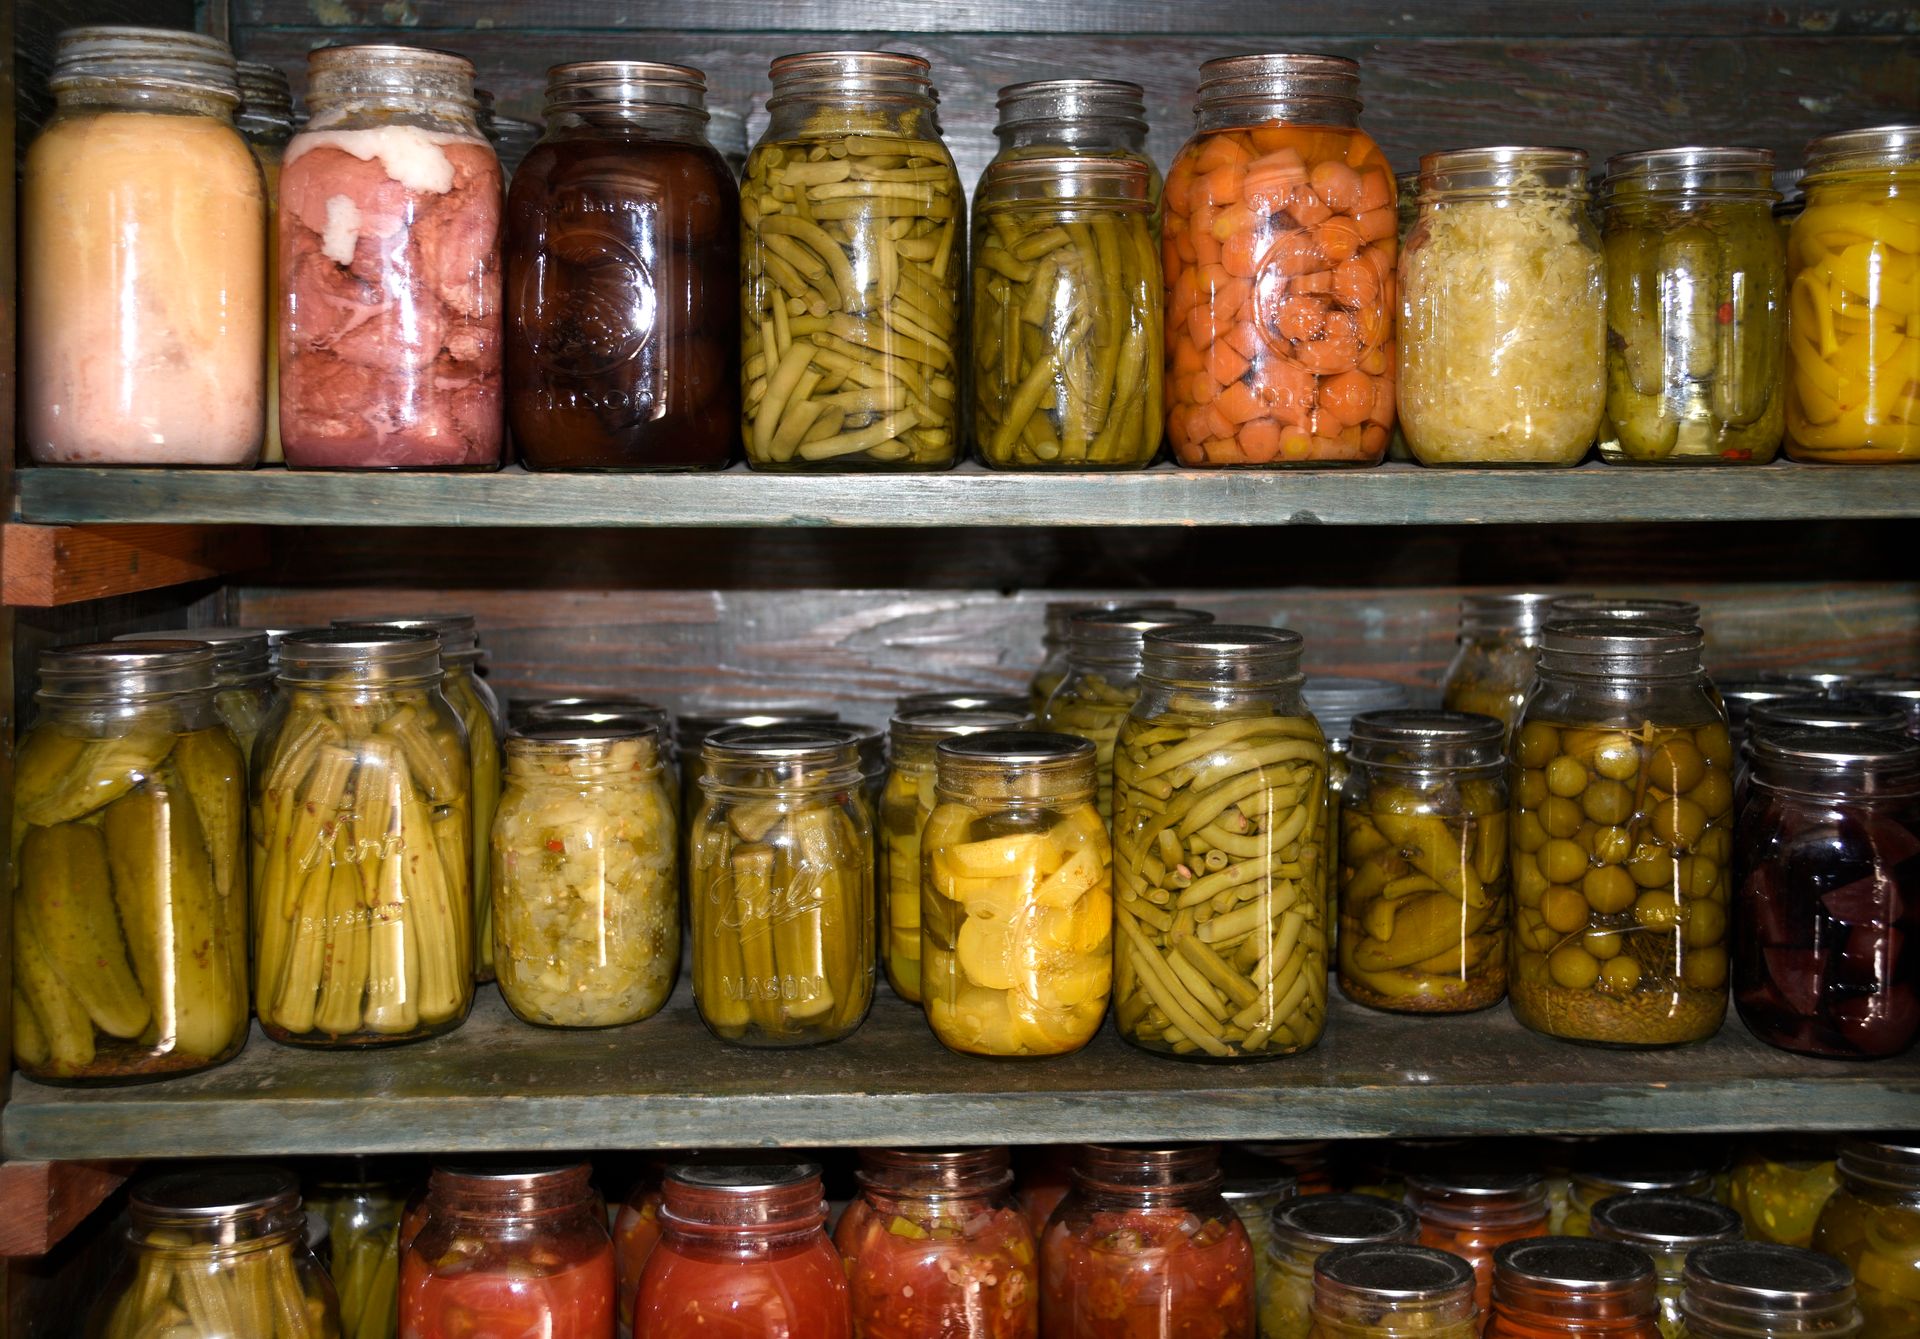
Fermentation has a reputation it does not entirely deserve. The word conjures images of laboratory equipment, precise temperature control, and the kind of specialist knowledge that takes years to acquire. The reality is considerably more accessible. Humans have been fermenting food since before recorded history — since long before anyone understood what fermentation was — using nothing more than salt, water, time, and the microorganisms that exist naturally on vegetables, in milk, and in the air. The technique is not a modern wellness trend. It is the oldest form of food preservation in the world, and it is substantially easier than most people who have not tried it assume.
What fermentation does, at the most basic level, is allow microorganisms — bacteria, yeasts, or molds — to transform the sugars and starches in a food into something else: acids, alcohols, gases, or new flavor compounds. The transformation preserves the food, in many cases improves its flavor significantly, and in others produces nutritional changes — increased bioavailability of certain nutrients, the development of beneficial bacterial cultures — that make fermented versions of foods meaningfully different from their raw equivalents. A fermented cabbage is not simply a preserved cabbage. It is a different food, with different flavors, different chemistry, and a different relationship to your digestive system.
The 15 fermented foods on this list were chosen for a specific combination of qualities: they are genuinely worth making, the homemade version is noticeably better than or different from what is available commercially, and the process is accessible enough that a first-time fermenter can succeed on the first attempt with standard kitchen equipment. None of them require specialist cultures that must be ordered online, though several are improved by them. None require temperature-controlled chambers, specialized crocks, or equipment beyond what most kitchens already contain.
Each slide covers what the food is, why it is worth making, and how to make it — with enough process detail to actually do it rather than simply understand it conceptually. The methods given are the simplest reliable versions of each preparation. Fermentation rewards curiosity and experimentation, and each of these foods has a universe of variation beyond the basic method — different vegetables, different salt levels, different fermentation times, different microbial cultures — that rewards continued exploration.
One note on safety: lacto-fermented vegetables, dairy ferments, and grain ferments are among the safest food preservation methods available. The acidic environment created by fermentation is inhospitable to the pathogens responsible for food poisoning. Trust your senses — a ferment that smells genuinely bad rather than pleasantly sour has failed and should be discarded — and the process is remarkably forgiving.
Sauerkraut
REDA / Getty Images
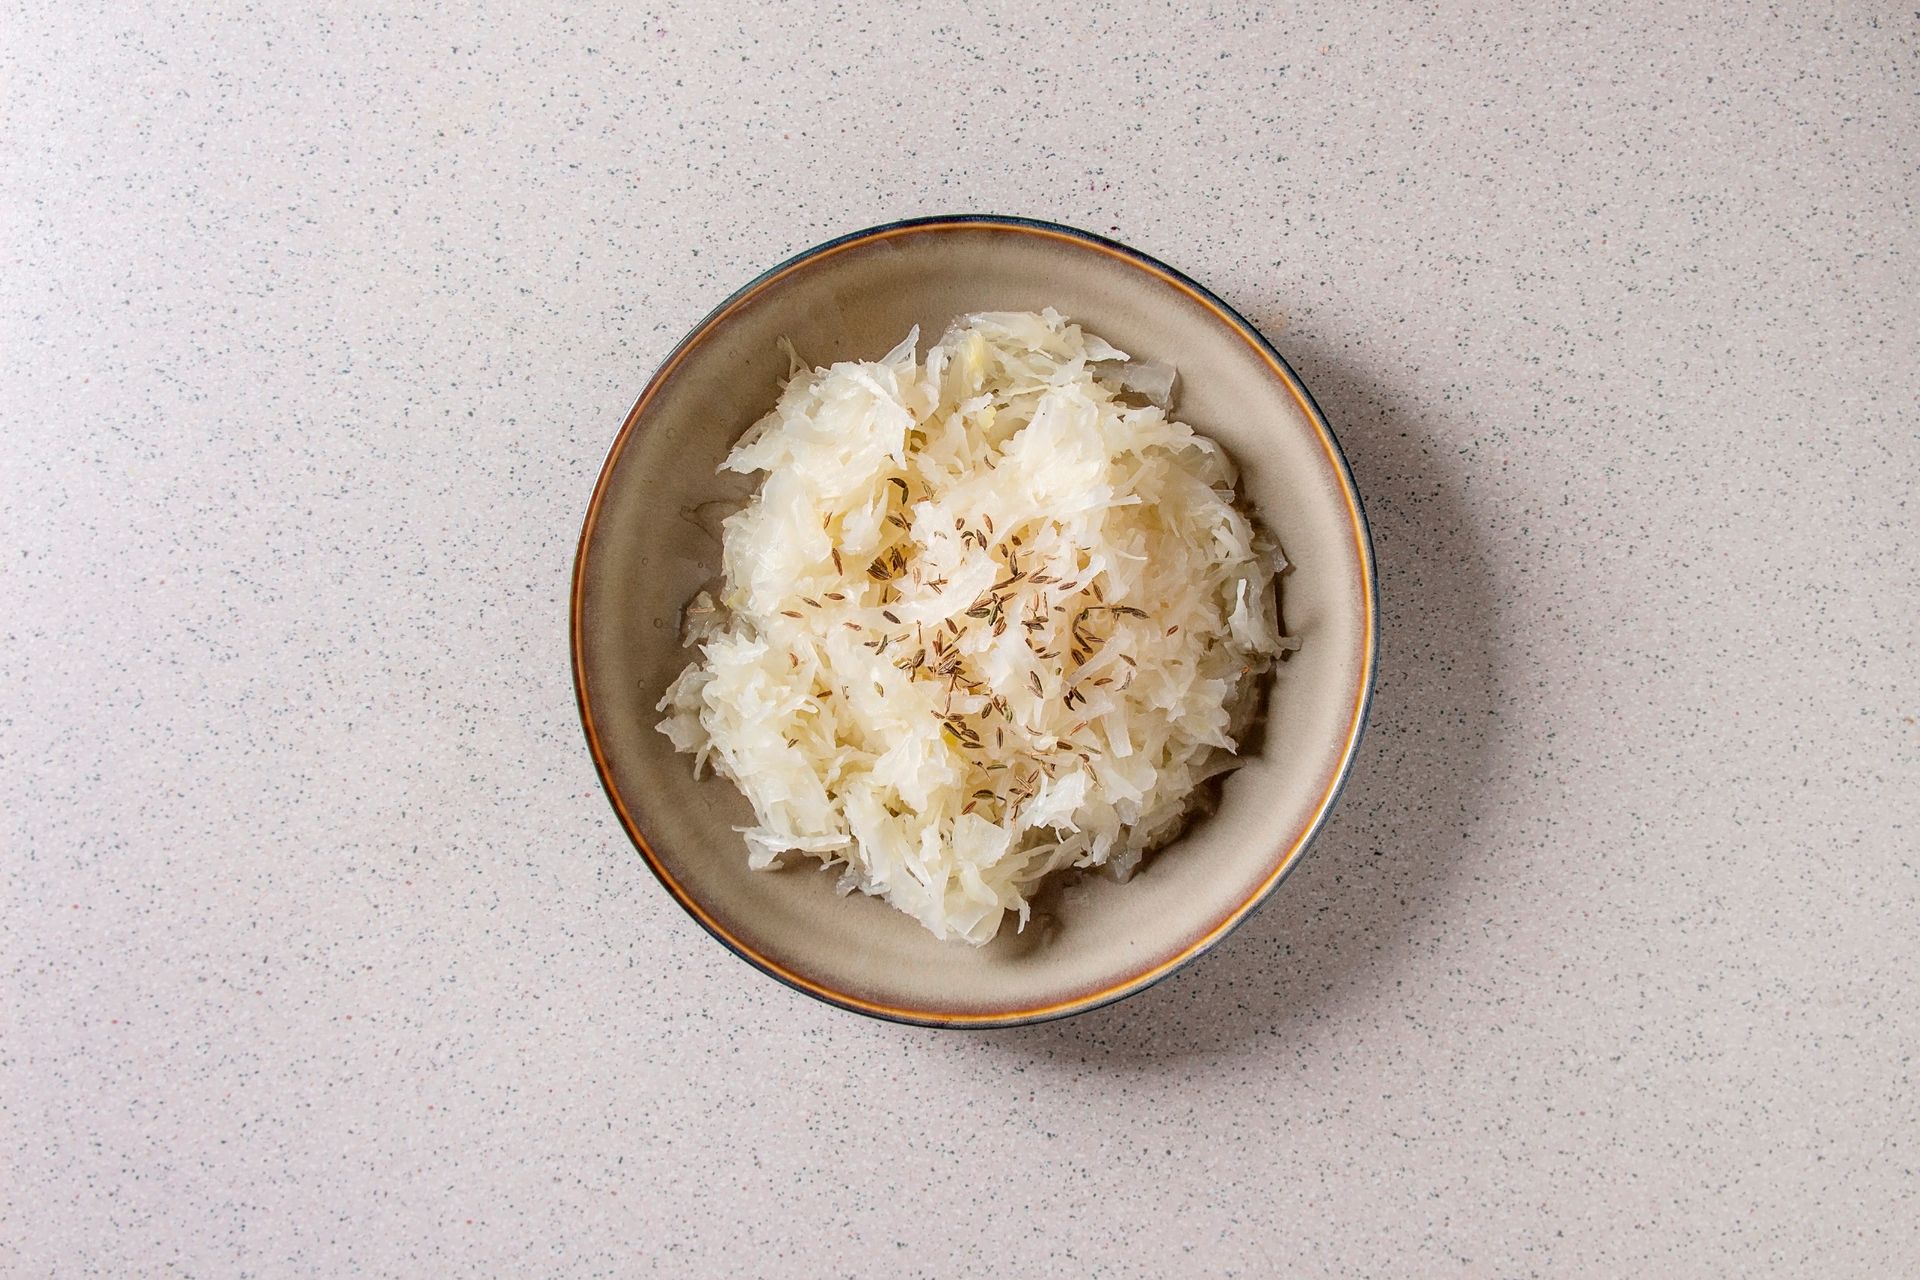
Sauerkraut is the entry point to fermentation for most beginners, and it earns that position by being almost impossible to fail at and by producing a result — tangy, complex, deeply savory fermented cabbage — that is so far superior to the pasteurized commercial product that the two barely merit comparison. The commercial version, heated to stop fermentation for shelf stability, has lost the living bacterial cultures and much of the nuanced flavor that make fresh sauerkraut worth eating. The homemade version, made with two ingredients and no equipment beyond a jar, is a different food entirely.
The method is the simplest in fermentation: salt and cabbage, massaged together until the cabbage releases enough liquid to submerge itself. Shred one medium head of white cabbage — about one kilogram — as finely as you can manage, discarding the outer leaves but reserving one large leaf. Weigh the shredded cabbage and add 2% of its weight in non-iodized salt — roughly two teaspoons per 500 grams. The iodized salt in standard table salt inhibits the bacteria responsible for fermentation; use sea salt, kosher salt, or pickling salt.
Massage the salt into the cabbage vigorously for five to ten minutes, squeezing and pressing until the cabbage has wilted significantly and released a substantial amount of liquid — brine that will submerge the cabbage during fermentation. Pack the cabbage tightly into a clean glass jar, pressing down firmly after each addition so the brine rises above the cabbage. Place the reserved cabbage leaf on top to hold the shreds below the brine. Leave at least five centimeters of headspace at the top — the ferment will bubble and expand.
Cover loosely — a cloth secured with a rubber band, or a lid left slightly ajar — and leave at room temperature, out of direct sunlight, for five to seven days. Check daily, pressing the cabbage down if it rises above the brine. Taste from day three onward — the sourness develops gradually, and when it tastes right to you, it is ready. Transfer to the refrigerator, where fermentation slows dramatically and the sauerkraut will keep for months.
Kimchi

Woohae Cho / Getty Images
Kimchi is to Korean cooking what sauerkraut is to central European cooking — not an accompaniment but a foundational element, present at almost every meal, made in such variety that entire books have been written on its variations. The most familiar version — baechu kimchi, made from napa cabbage — is the correct starting point for a home fermenter, and the process is more forgiving than its reputation suggests.
The key ingredients are napa cabbage, Korean chili flakes (gochugaru), fish sauce or salted shrimp paste, garlic, ginger, and green onions. The gochugaru — a coarsely ground, moderately spiced chili with a distinctive fruity flavor — cannot be substituted with standard chili flakes without significantly altering the result. It is available from Korean grocery stores and increasingly from well-stocked Asian supermarkets.
Quarter one large napa cabbage lengthwise and cut into rough pieces. Dissolve four tablespoons of salt in a liter of water and submerge the cabbage, weighting it down to keep it submerged, for two to four hours until the leaves have wilted and become pliable. Rinse thoroughly and squeeze out as much water as possible.
Make the paste: combine three tablespoons of gochugaru, four cloves of garlic grated or minced to a paste, a thumb of fresh ginger grated, two tablespoons of fish sauce, one tablespoon of sugar, and four sliced green onions. Wear gloves — the chili stains and irritates skin. Combine the paste with the cabbage, working it thoroughly into every layer. Pack into a clean jar, pressing down firmly to eliminate air pockets. Leave at room temperature for one to two days, pressing the kimchi down twice daily as it bubbles and expands. Transfer to the refrigerator — the kimchi is ready to eat immediately but improves significantly over the following two weeks as the flavors develop.
Yogurt
REDA / Getty Images
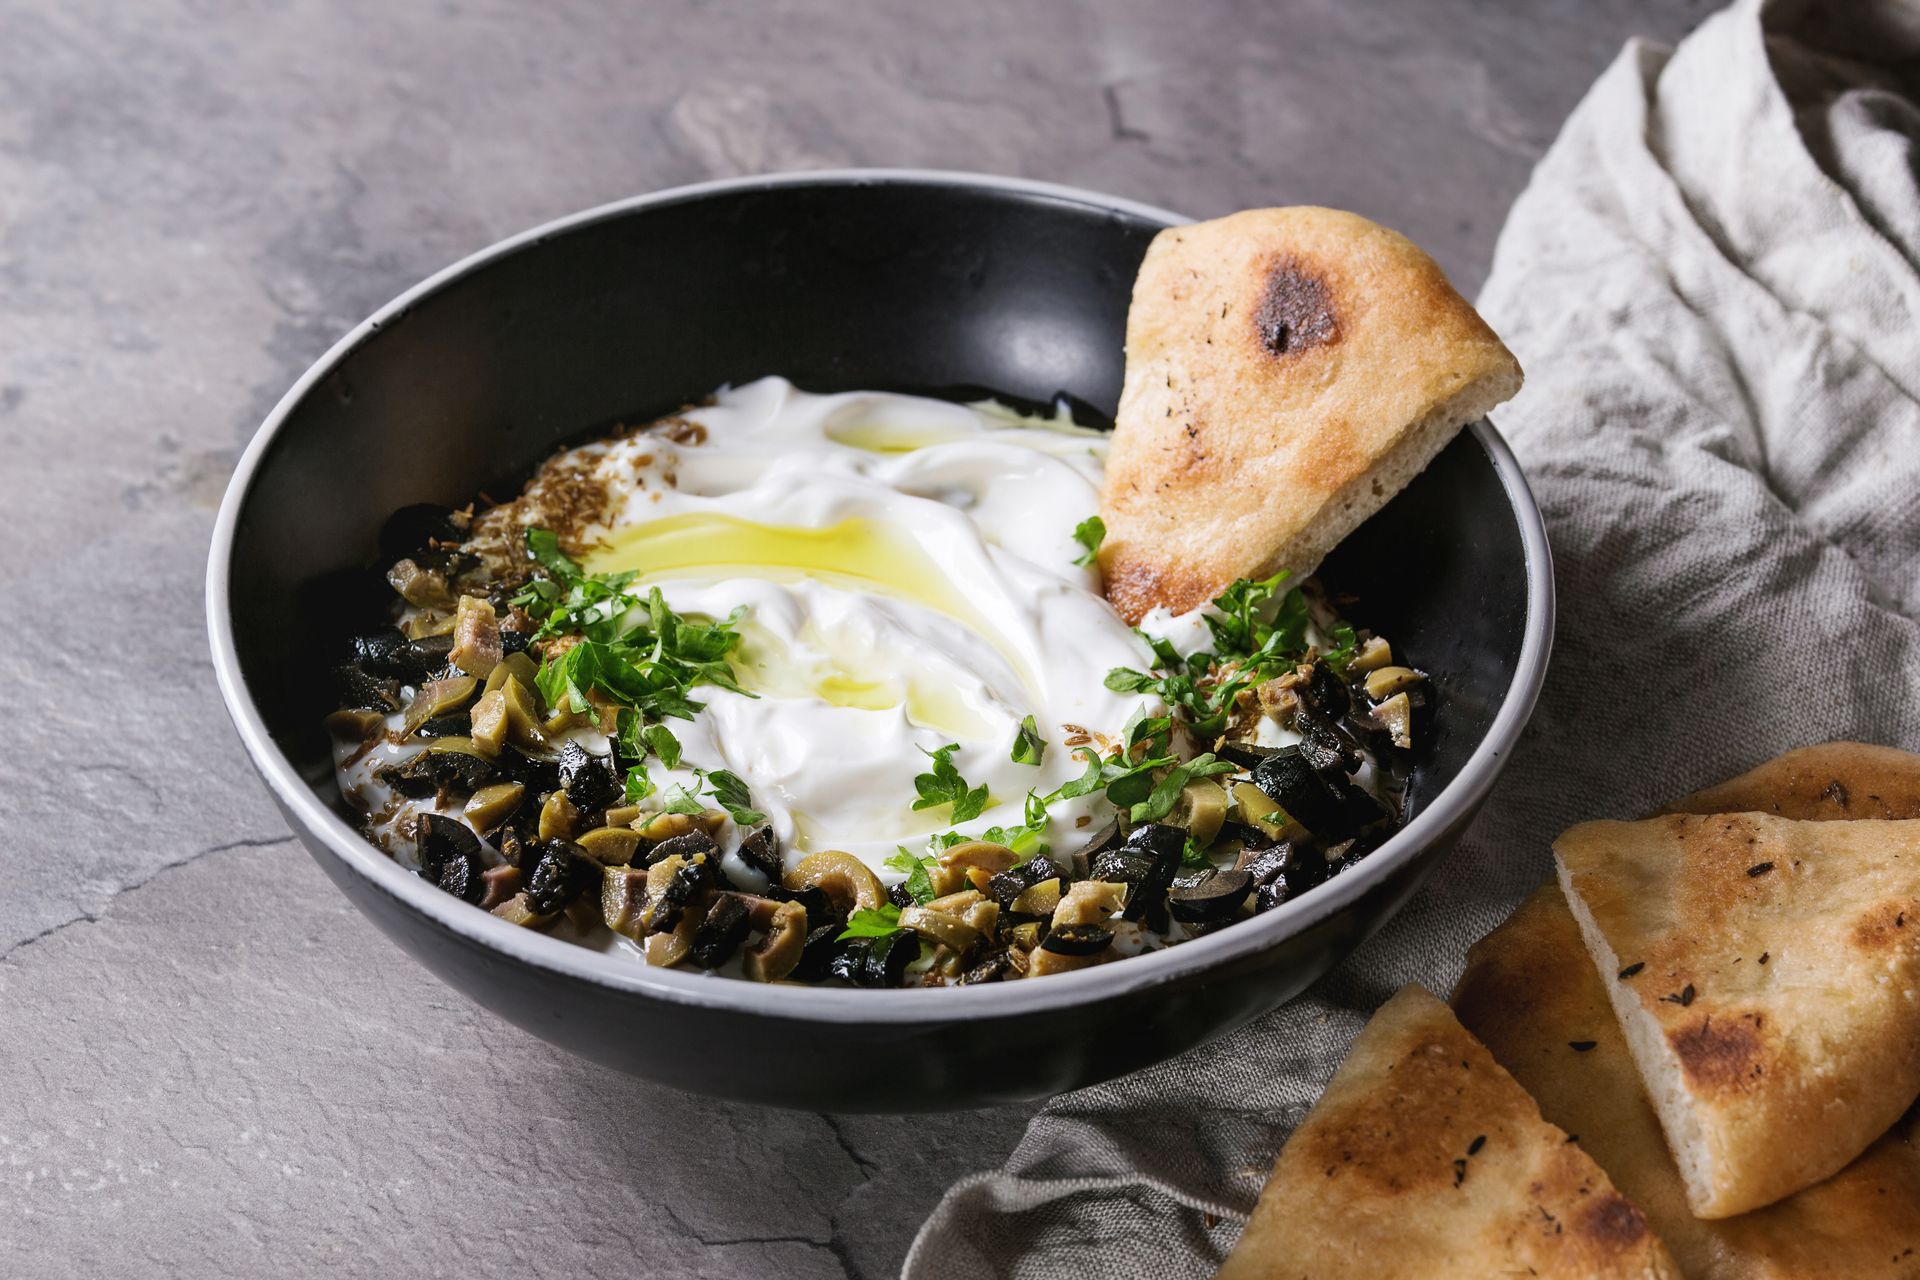
Yogurt is the most accessible dairy ferment and requires the least specialist knowledge to produce successfully. The method has been used in some form for at least 8,000 years across the Middle East, Central Asia, and South Asia, and it produces a result — thick, tangy, complex in flavor — that most commercial yogurts, stabilized with thickeners and sweetened to mass-market palatability, do not approximate.
The process requires milk and a small amount of existing yogurt containing live cultures, which serves as the starter. The live cultures in commercial yogurt — specifically Lactobacillus bulgaricus and Streptococcus thermophilus — will work as a starter provided the yogurt has not been heat-treated after fermentation. Check the label for the phrase "live active cultures."
Heat one liter of whole milk in a saucepan to 82°C — the point at which the proteins denature and the final yogurt will be thicker. Remove from heat and allow to cool to 43°C — the temperature at which the cultures work efficiently. Stir two tablespoons of live yogurt into a small amount of the cooled milk, then stir that back into the main batch. Pour into a clean container, cover, and maintain at 40 to 45°C for six to eight hours. The most reliable method for maintaining that temperature in a domestic kitchen is to wrap the container in a thick towel and place it in a turned-off oven with only the light on, or in a cool box with a jar of hot water beside it.
After six to eight hours, the milk will have set to a soft gel. Refrigerate for several hours before eating — the yogurt firms up as it cools. Strain through a fine-mesh cloth overnight for a thicker, Greek-style result. Reserve a few tablespoons of the finished yogurt as the starter for the next batch.
Kefir
Kefir is a fermented milk drink — tangy, slightly fizzy, thinner than yogurt — made using kefir grains, a specific symbiotic culture of bacteria and yeasts that looks like small, irregular pieces of cauliflower. Unlike yogurt, which is fermented at a controlled warm temperature, kefir ferments at room temperature over 24 hours, making it logistically simpler. The microbial diversity in kefir grains is greater than in yogurt cultures, which produces a more complex flavor and a broader range of fermentation byproducts.
Kefir grains are the one item on this list that cannot be made from scratch at home — they must be acquired. They are available from fermentation supply stores online, from communities of fermenters who share cultures freely, and increasingly from health food shops. Once acquired and maintained properly, kefir grains are effectively immortal — they grow continuously and can be used indefinitely, with the surplus shared or composted.
The method is simple: place one to two tablespoons of kefir grains in a clean jar with 500ml of whole milk. Cover loosely — a cloth or a lid left slightly ajar — and leave at room temperature for 18 to 24 hours. The milk will have thickened slightly and developed a tangy, yeasty flavor. Strain out the grains, which go straight into the next batch of milk. The finished kefir goes into the refrigerator, where it keeps for about a week.
The ratio of grains to milk, the temperature of the room, and the fermentation time all affect the final flavor. Warmer rooms and longer times produce a more acidic, more fully fermented kefir. A shorter fermentation at cooler temperatures produces a milder result. Experimentation quickly teaches you what the grains are doing and how to adjust for your preference.
Kombucha
Amy Brothers / Getty Images
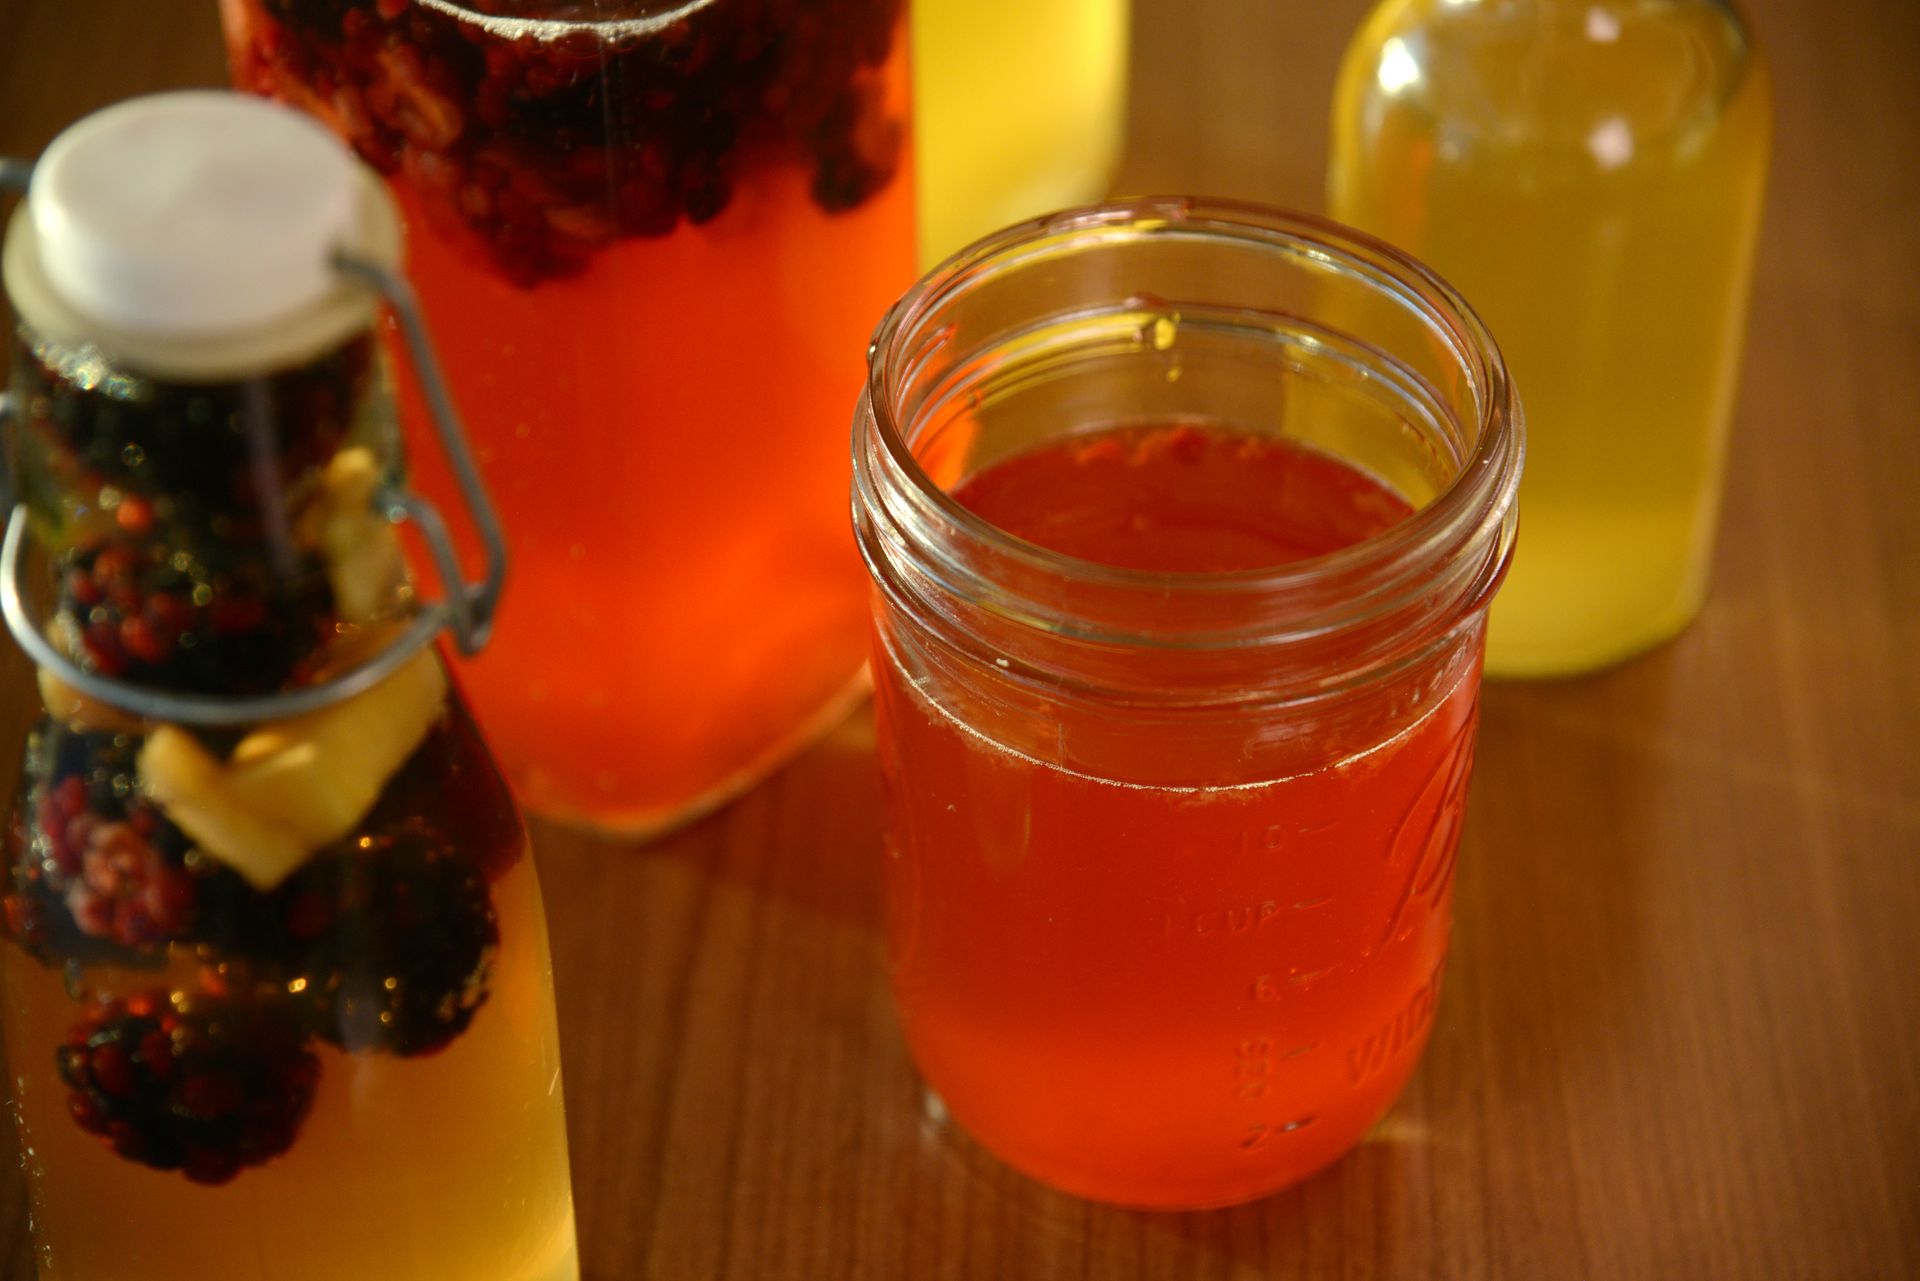
Kombucha is a fermented tea drink — slightly sweet, noticeably acidic, gently fizzy — made using a SCOBY: a Symbiotic Culture of Bacteria and Yeast, a rubbery, disc-shaped culture that floats on top of the fermenting tea and drives a two-stage fermentation process. It has existed in some form for at least several centuries, originating in northeastern China or Manchuria, and its popularity in the contemporary wellness market has made it widely available commercially. The commercial version is typically more expensive and considerably sweeter than a well-made homemade kombucha, and the process, while taking more time than most ferments on this list, is not technically demanding.
A SCOBY and starter liquid — the already-fermented kombucha that provides the acidic environment for the next batch — can be obtained from fermentation supply stores, from other kombucha brewers, or grown from a bottle of unflavored commercial kombucha with live cultures.
For the first ferment, brew two liters of strong black or green tea — four to six tea bags or the equivalent loose leaf. Dissolve 150 grams of white sugar in the hot tea and allow to cool completely to room temperature. Pour into a clean wide-mouthed glass jar with the SCOBY and at least 200ml of starter liquid. Cover with a breathable cloth secured with a rubber band and leave at room temperature, out of direct sunlight, for seven to fourteen days. The longer the ferment, the more acidic and less sweet the result. Taste from day seven onward with a clean straw.
When the flavor is right, remove the SCOBY and reserve 200ml of the finished kombucha as starter for the next batch. The remaining kombucha can be drunk as is or transferred to bottles with fruit juice or flavorings for a second ferment — sealed in bottles at room temperature for two to three days — which develops carbonation. Refrigerate before opening.
Miso
South China Morning Post / Getty Images
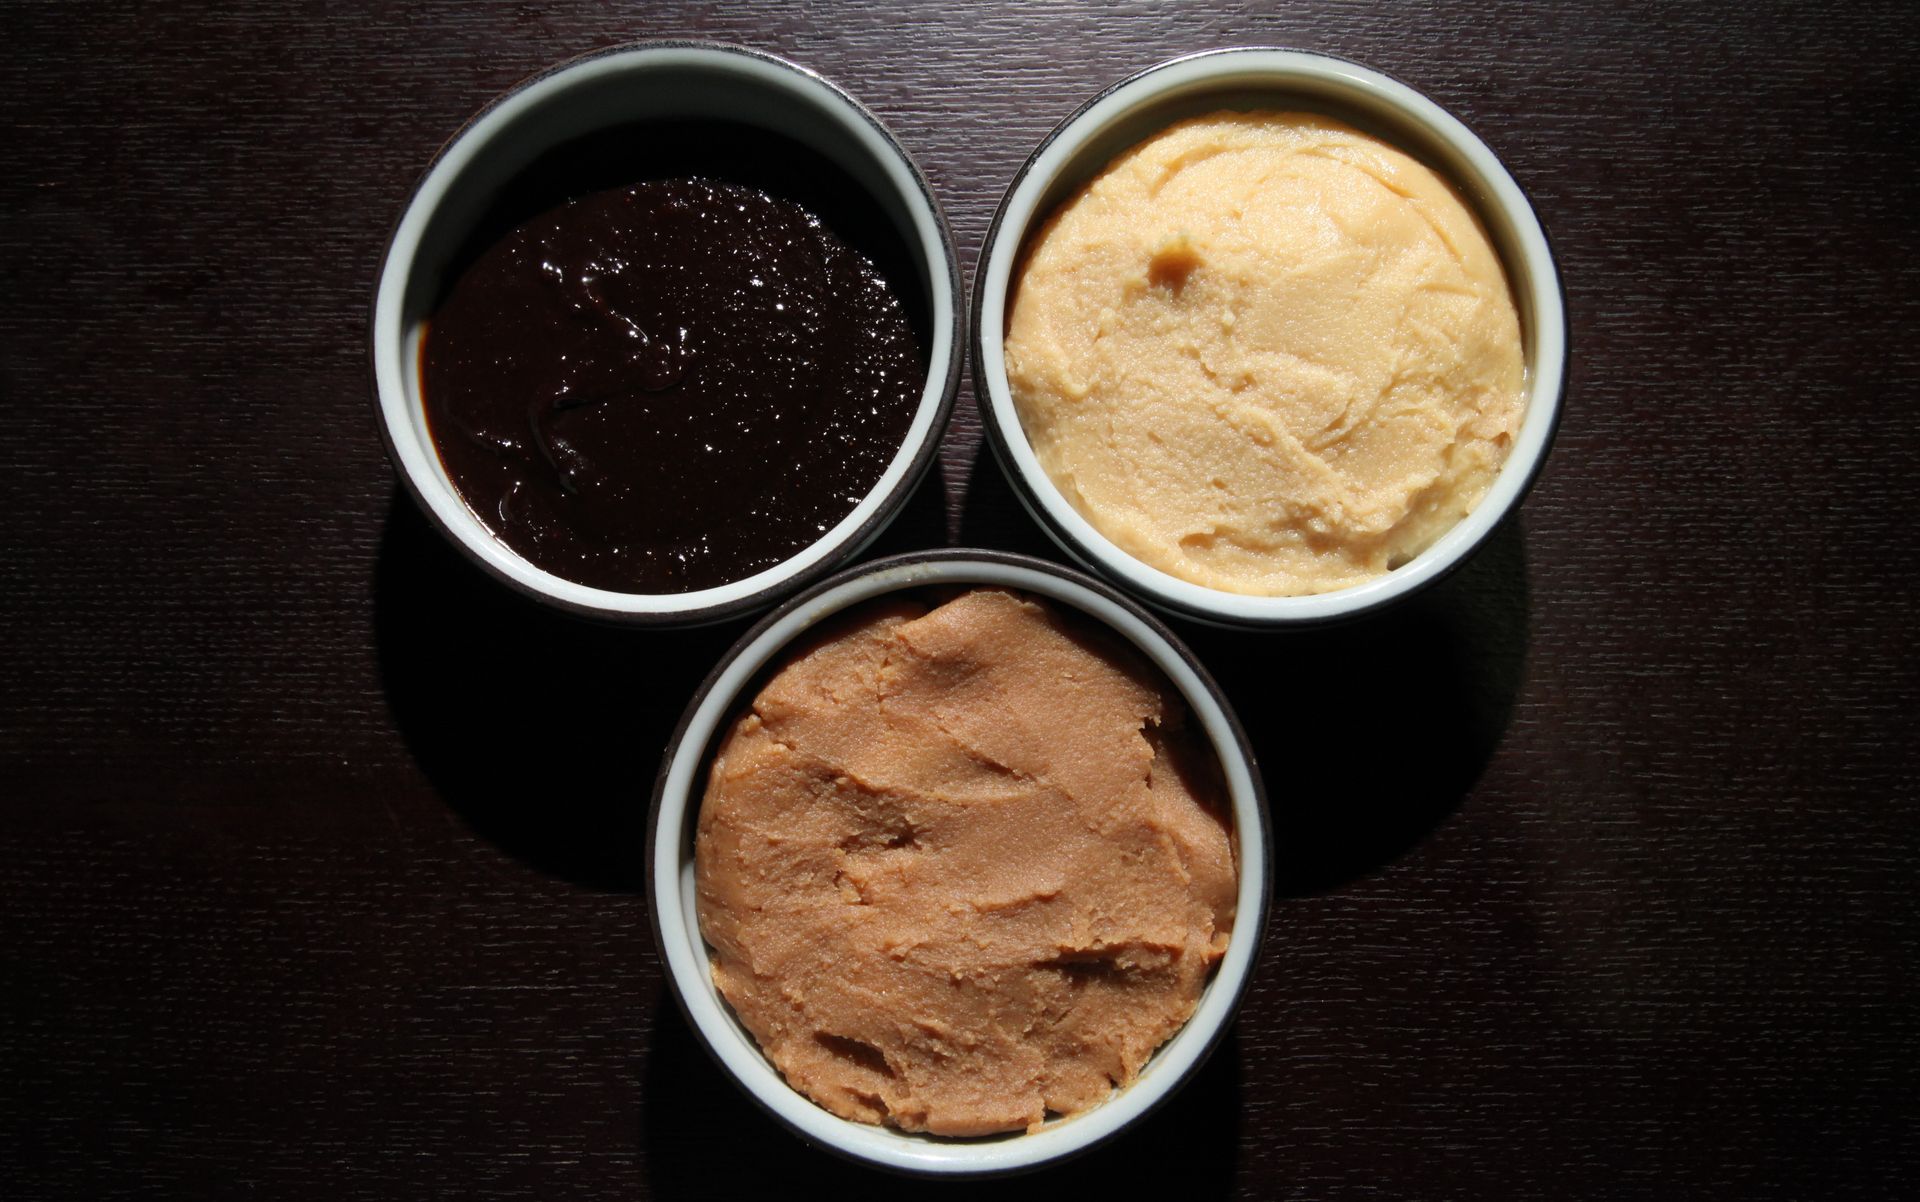
Miso is a fermented paste made from soybeans, salt, and koji — Aspergillus oryzae, a mold grown on rice or barley that produces enzymes breaking down the proteins and starches into amino acids and sugars. It is the foundation of Japanese savory cooking, used in soups, marinades, glazes, dressings, and as a seasoning in its own right. The commercial version is excellent and widely available, but making miso at home produces a paste with a complexity and a personal character — shaped by the specific microorganisms in your environment — that no commercial product replicates.
Home miso requires koji, which can be purchased ready-made from Japanese grocery stores or online suppliers in the form of rice koji — cooked rice that has been inoculated with Aspergillus oryzae spores and dried. It is the one specialist ingredient on this list that cannot be improvised, but it is increasingly available and not expensive.
Soak 500 grams of dried soybeans overnight, then cook until very tender — three to four hours in a saucepan or 45 minutes in a pressure cooker. Reserve the cooking liquid. While the beans are still warm, mash them thoroughly — a potato masher, food processor, or your hands all work — until smooth or slightly chunky depending on your preference. Cool to room temperature.
Combine the mashed beans with 250 grams of rice koji and 120 grams of non-iodized salt, mixing thoroughly. The mixture should hold together when pressed. Roll into balls and pack firmly into a sterilized crock or glass jar, pressing down to eliminate air pockets. Smooth the surface, cover with a thin layer of salt, place a piece of plastic wrap directly on the surface, and weight it down. Cover the crock and store in a cool, dark place for three to six months for a mild white miso, or up to twelve months for a darker, more intense result.
Lacto-fermented pickles
The Washington Post / Getty Images
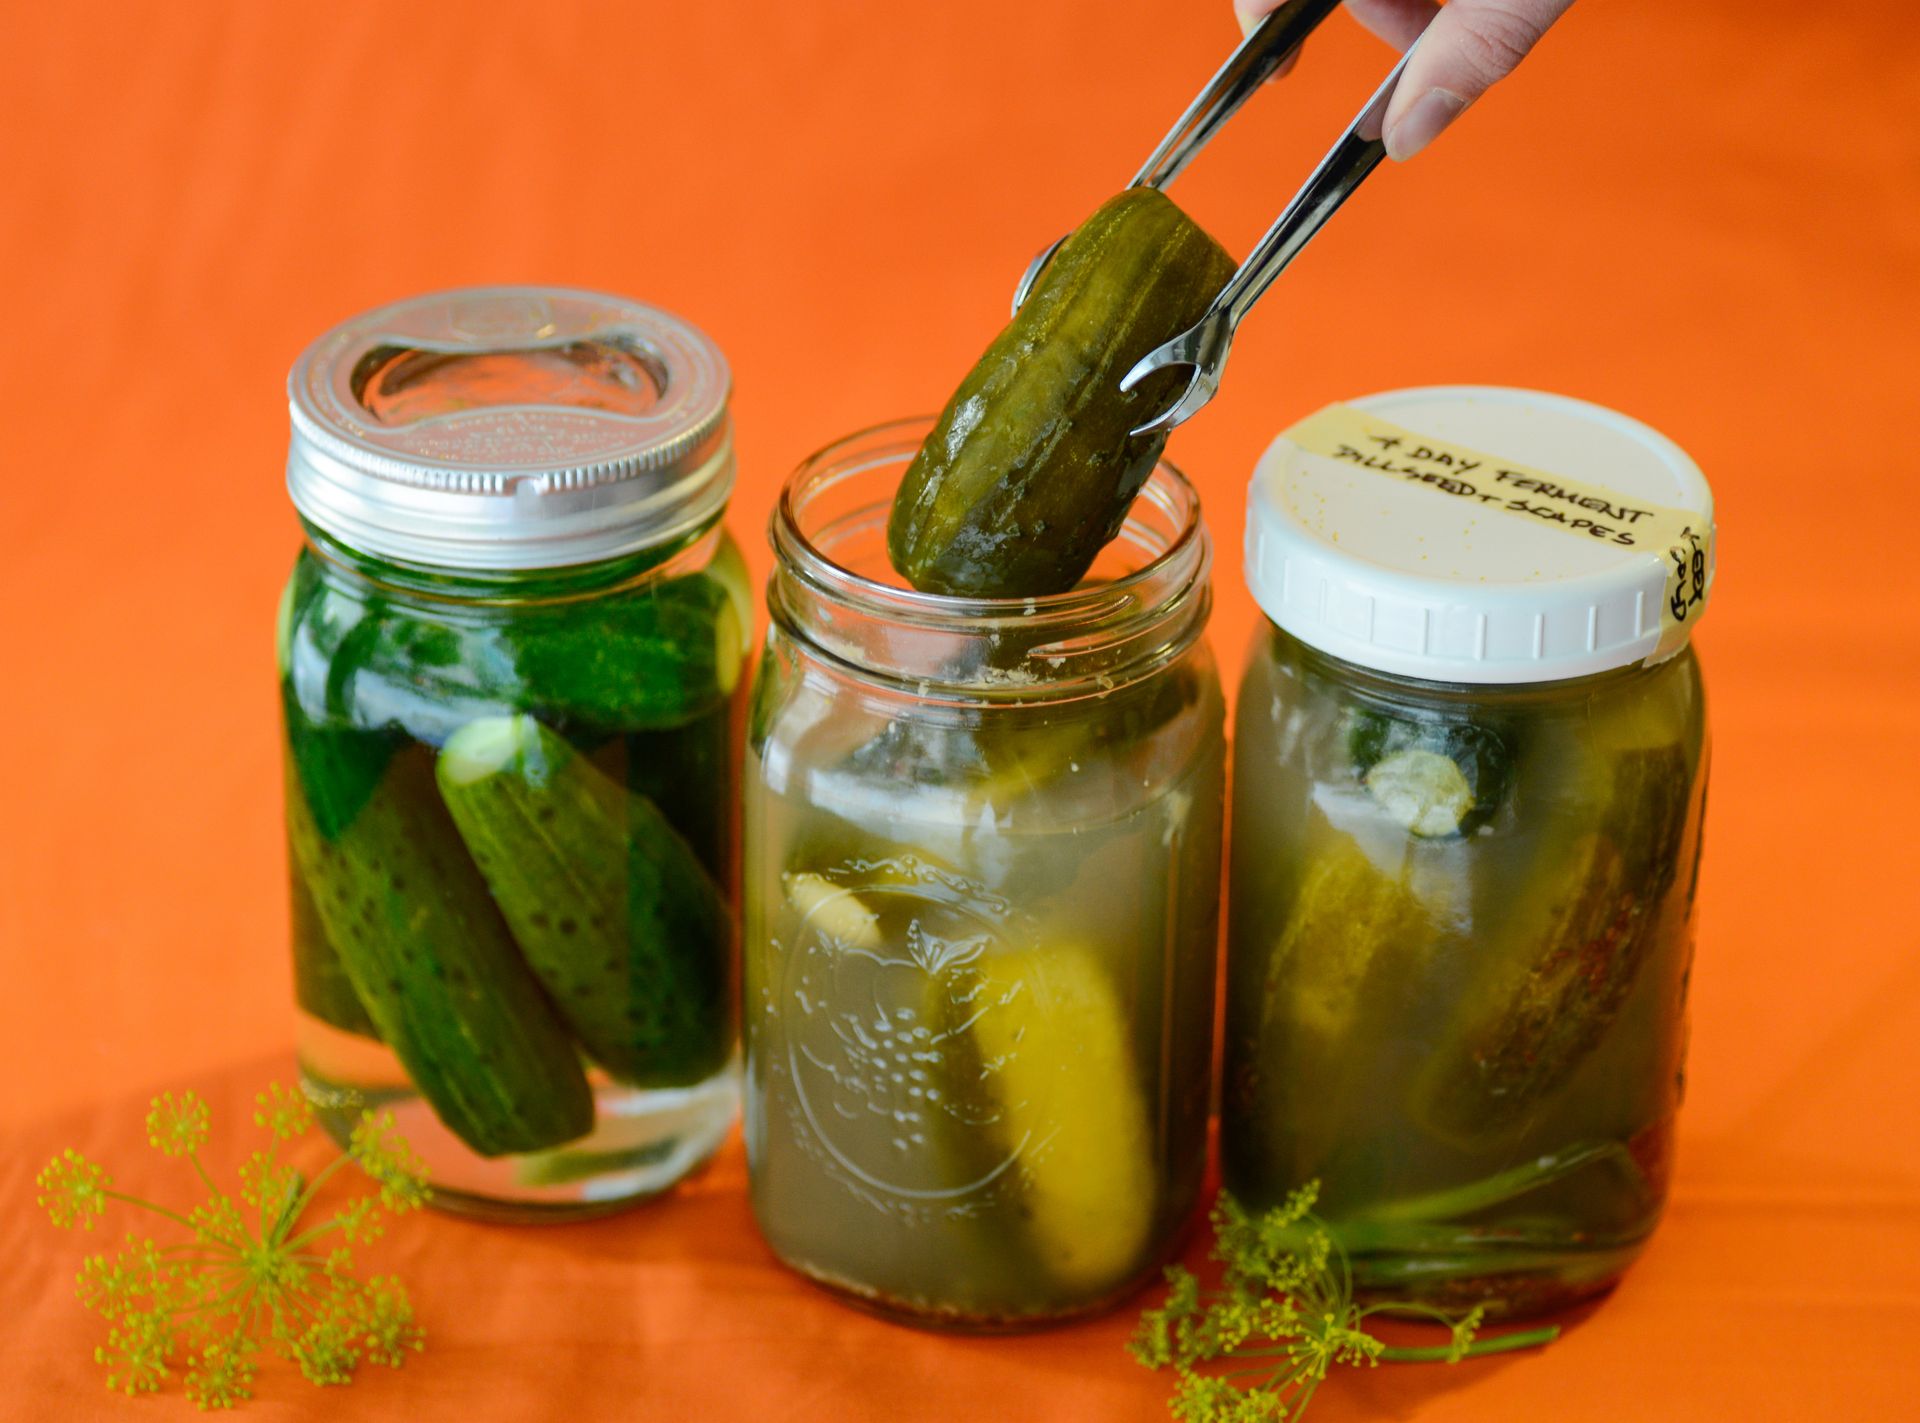
Lacto-fermented pickles — cucumbers fermented in brine rather than vinegar, in the tradition of the Jewish deli pickle and the Eastern European ogórek — are a revelation for anyone who has only ever eaten vinegar-pickled cucumbers. The fermented version is alive in a sense the vinegar pickle is not: it continues to develop flavor over time, it has a complexity that vinegar pickling cannot produce, and its sourness is rounder and more integrated than the sharp acidity of acetic acid. The process requires cucumbers, salt, water, and a few days.
The salt concentration is the critical variable. A brine of 2 to 3% salt by weight — roughly one tablespoon of non-iodized salt per liter of water — creates an environment that inhibits harmful bacteria while allowing the lactobacillus bacteria present on the cucumber skin to flourish. Too little salt and the cucumbers will soften and potentially spoil. Too much and the fermentation will be inhibited.
Use small, firm cucumbers with thin skins — the cucumbers sold specifically for pickling rather than slicing. Wash them thoroughly and trim a thin slice from the blossom end, which contains enzymes that can soften the pickle. Place in a clean jar with several cloves of garlic, a few sprigs of fresh dill, a teaspoon of black peppercorns, and if available, a fresh grape leaf, horseradish leaf, or oak leaf — the tannins in these leaves help maintain crispness. Pour brine over the cucumbers to cover completely, weight them down to keep them submerged, and cover loosely.
Leave at room temperature for three to five days, tasting from day two onward. The pickles will go from briny to pleasantly sour as the fermentation progresses. When the sourness is right, move to the refrigerator. They will keep for several months and continue to develop slowly.
Fermented hot sauce
Fermented hot sauce — chili peppers lacto-fermented in brine, then blended into a sauce — is the method behind Tabasco and many other commercial hot sauces, and it produces a depth of flavor that fresh or vinegar-based hot sauces cannot achieve. The fermentation softens the raw edge of fresh chilies, develops a complex, slightly funky undertone, and produces a sauce whose heat and acidity are more integrated than anything that has not been fermented.
The method is a direct application of the lacto-fermentation principle: chilies submerged in a 2% brine, left to ferment at room temperature until pleasantly sour, then blended. The choice of chili determines the heat level and flavor — a blend of red Fresno chilies and a few habaneros produces a medium-hot sauce with excellent flavor; pure Scotch bonnets produce something for dedicated heat-seekers.
Remove the stems from 500 grams of fresh chilies. For a milder sauce, remove the seeds and white pith. For maximum heat, leave everything intact. Place in a clean jar with four cloves of garlic and one teaspoon of dried oregano if you like. Pour a 2% brine — one teaspoon of non-iodized salt dissolved in 500ml of water — over the chilies to cover. Weight down to keep submerged, cover loosely, and ferment at room temperature for five to seven days until pleasantly sour and bubbling.
Drain the chilies, reserving the brine. Blend the chilies with enough brine to achieve a pourable consistency, adding two tablespoons of apple cider vinegar to stabilize the sauce and extend shelf life. Strain for a smooth sauce or leave it with texture. Bottle and refrigerate. The sauce improves over the following two weeks and will keep for several months.
Water kefir
Water kefir is the non-dairy equivalent of milk kefir — a lightly fizzy, mildly sweet fermented drink made using water kefir grains, a different symbiotic culture from milk kefir grains, in sugar water rather than milk. It is accessible to dairy-free and vegan fermenters, ferments quickly, and produces a drink that can be flavored in the second ferment with fruit juice, ginger, or herbs to produce a genuinely delicious non-alcoholic sparkling drink at a fraction of the cost of commercial alternatives.
Water kefir grains, like milk kefir grains, must be obtained rather than made from scratch. They are available from fermentation suppliers and fermentation communities, and they grow continuously with each batch, producing surplus that can be shared. They are more fragile than milk kefir grains and benefit from mineral-rich water — hard tap water, filtered water with a pinch of mineral-rich sea salt, or the addition of a small piece of clean eggshell provides the calcium the grains need.
Dissolve four tablespoons of white sugar in one liter of water and allow to cool to room temperature. Add two to four tablespoons of water kefir grains and a slice of lemon. Cover loosely and ferment for 24 to 48 hours at room temperature. Strain out the grains, which go straight into the next batch. The finished water kefir — mildly sweet, slightly fizzy, gently tangy — can be drunk immediately or transferred to sealed bottles with a few tablespoons of fruit juice for a second ferment of 24 to 48 hours, which develops significant carbonation. Refrigerate before opening to avoid overflow.
Tepache
Tepache is a Mexican fermented drink made from pineapple rinds and cores — the parts of the fruit that would otherwise be discarded — fermented with brown sugar, cinnamon, and cloves into a lightly alcoholic, gently spiced, refreshing drink that is sold from street carts in Mexico and barely known outside it. It ferments in two to three days, requires no specialist cultures — the wild yeasts on the pineapple skin drive the fermentation — and produces an exceptionally good result from ingredients that cost almost nothing.
The use of the rinds and cores rather than the flesh is not a compromise — the rinds contain more of the wild yeast population that drives the fermentation, and their slight bitterness balances the sweetness in a way that pineapple flesh alone does not. Use an organic pineapple if possible, or wash a conventional one very thoroughly — pesticide residues on the skin can inhibit the wild yeasts.
Rinse the pineapple, then cut away the rind and core, reserving both. The flesh can be eaten separately. Place the rind and core in a large jar or jug. Dissolve 200 grams of piloncillo — Mexican unrefined brown sugar, available from Latin grocery stores — or dark brown sugar in one liter of warm water and add one cinnamon stick and three cloves. Pour over the pineapple pieces. Cover with a cloth and leave at room temperature for two to three days. A foam will develop on the surface as fermentation progresses — this is normal and healthy. Taste from day two onward. When pleasantly sweet-sour and gently fizzy, strain and refrigerate. Drink within a few days. The fermentation continues slowly in the refrigerator, becoming progressively more sour and eventually alcoholic.
Kvass
Credit: Wikipedia
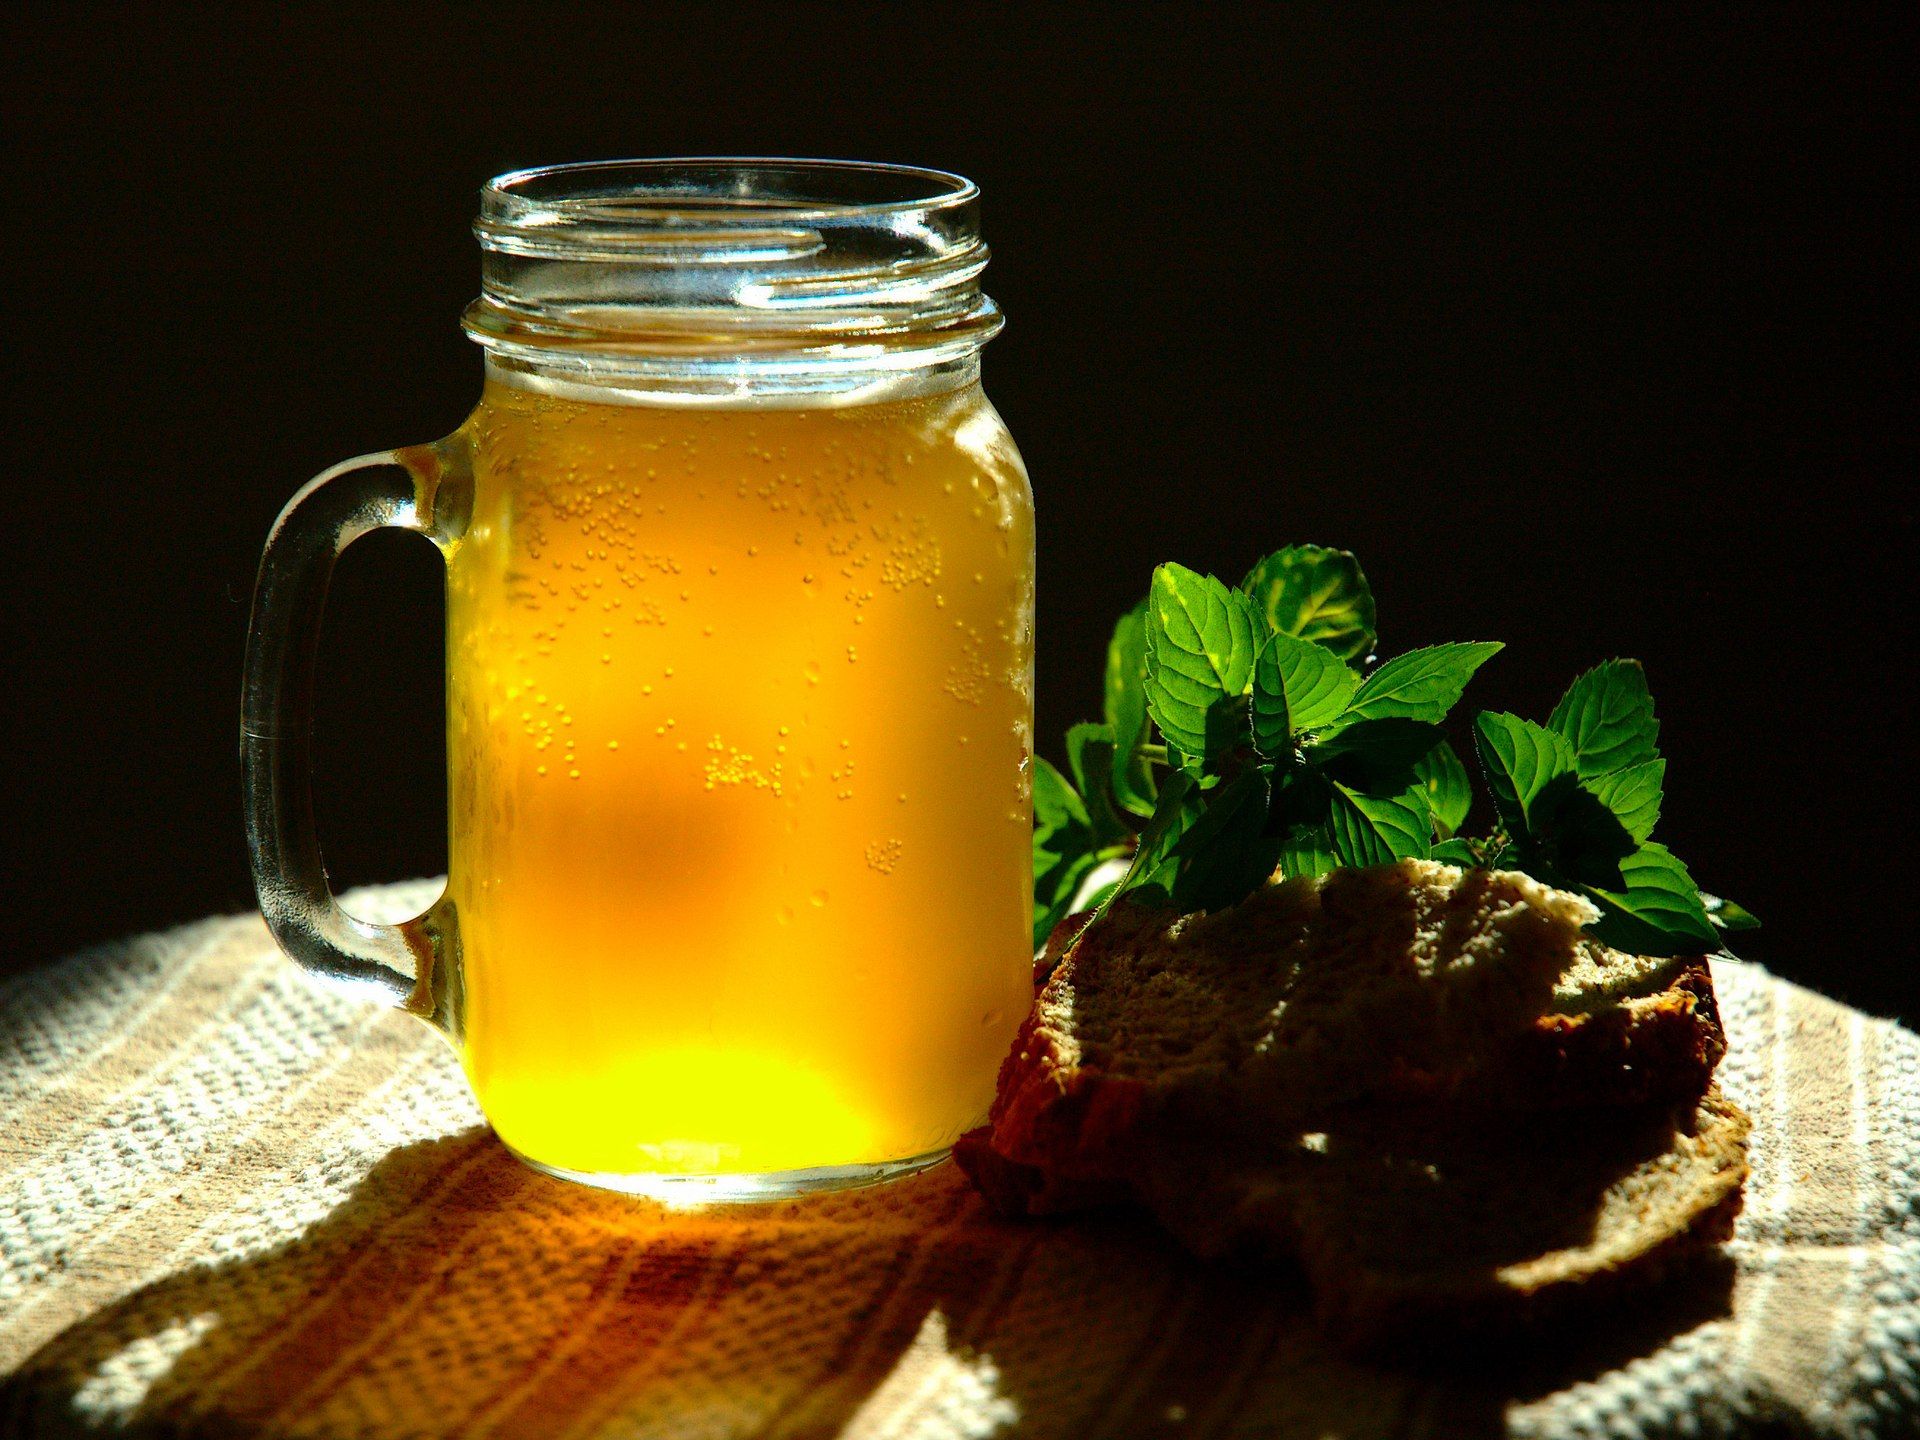
Kvass is a traditional Eastern European and Russian fermented drink made from stale rye bread — dark, earthy, slightly sour, very mildly alcoholic, and refreshing in a way that is specific to fermented grain drinks and unlike anything else. It is the default everyday drink of rural Russia and much of Eastern Europe, made in every household from bread that would otherwise be stale, and one of the most efficient fermented foods on this list: it requires almost nothing, takes two to three days, and produces several liters of drink from a few slices of old bread.
The method is simplicity itself. Toast several slices of dark rye bread — about 300 grams — in a low oven until very dry and dark, almost burnt at the edges. The toasting produces the Maillard compounds that give kvass its characteristic color and flavor. Place in a large heatproof jar or jug and cover with two liters of boiling water. Add three tablespoons of sugar and stir to dissolve. Allow to cool to room temperature, then add a pinch of dried yeast or a tablespoon of sourdough starter if you have one. Cover loosely and leave at room temperature for one to two days until gently fizzy and pleasantly sour.
Strain through a fine-mesh cloth, pressing the bread solids to extract all the liquid. Add a handful of raisins if you like — they provide additional yeast and a subtle sweetness. Refrigerate and drink cold. The kvass will continue to ferment slowly in the refrigerator; drink within a week. It is a drink that improves with familiarity — the first glass sometimes surprises, the third convinces entirely.
Fermented oat milk
picture alliance / Getty Images
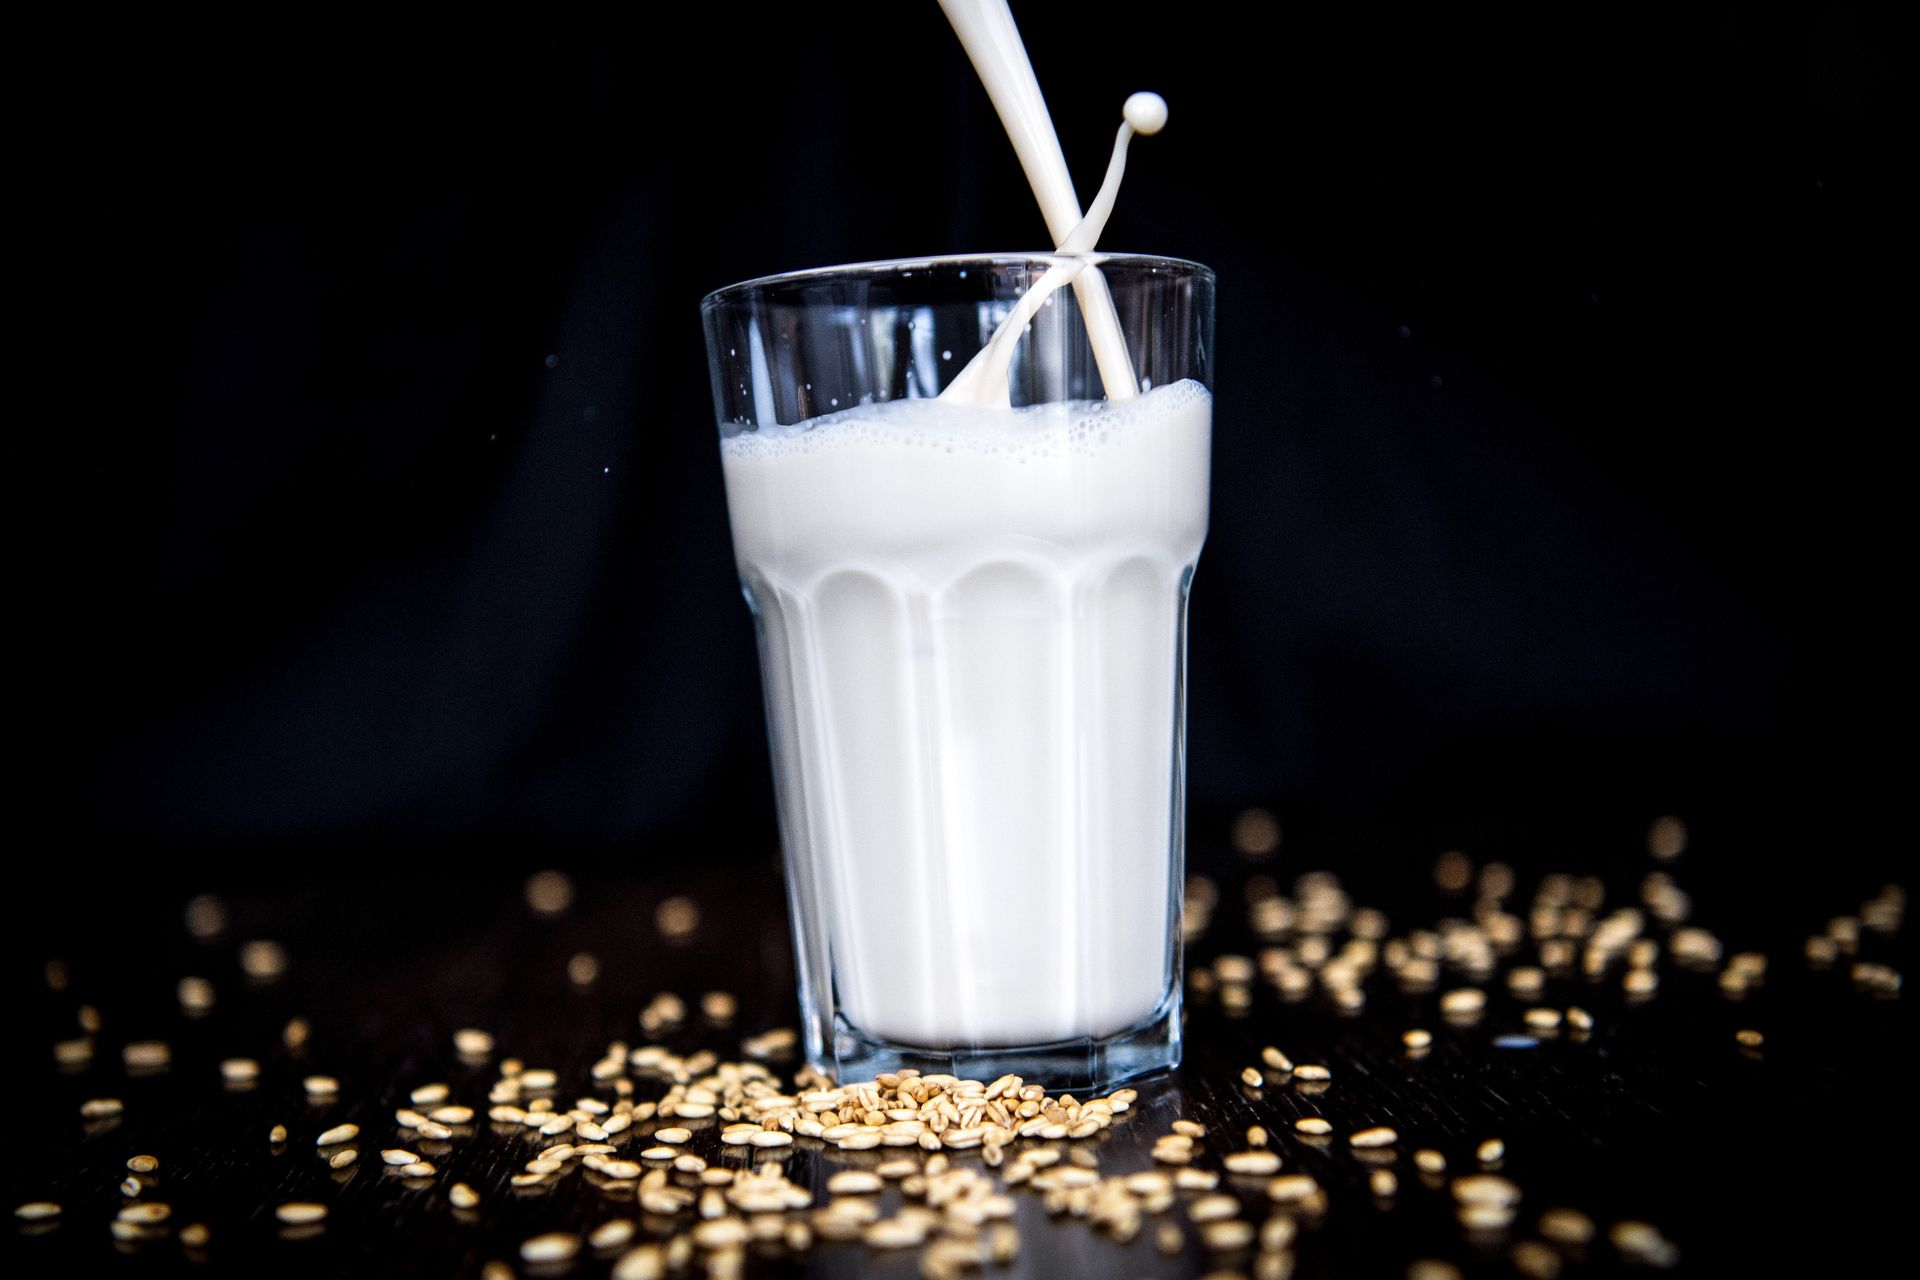
Fermented oat milk is one of the more recent additions to the home fermentation repertoire — a plant-based milk that has been allowed to ferment briefly, producing a tangy, complex flavor that plain oat milk lacks and that works particularly well as a base for smoothies, in baking, and as a substitute for buttermilk. The fermentation process also reduces the natural sweetness that can make commercial oat milk cloying in savory applications.
Make a standard oat milk first: blend 100 grams of rolled oats with one liter of cold water for 30 seconds — no longer, or the starch becomes slimy. Strain through a fine-mesh cloth, pressing to extract the liquid. Do not squeeze the solids too vigorously or the milk becomes starchy. The plain oat milk can be used immediately, or fermented by adding a tablespoon of live yogurt or a tablespoon of water kefir as a starter culture, covering loosely, and leaving at room temperature for 12 to 24 hours.
The fermented oat milk develops a pleasant tanginess that improves its versatility. Used in pancake batter — where it approximates the tenderizing effect of buttermilk — it produces noticeably better pancakes than plain oat milk. Used in overnight oats, the fermentation continues gently overnight, developing flavor further. The flavor is mild enough that it functions as a direct buttermilk substitute in any baked good where tanginess is an asset.
The fermented oat milk keeps in the refrigerator for four to five days. It will continue to sour slowly — use it at whatever stage of tanginess suits the application.
Preserved lemons
Smith Collection/Gado / Getty Images
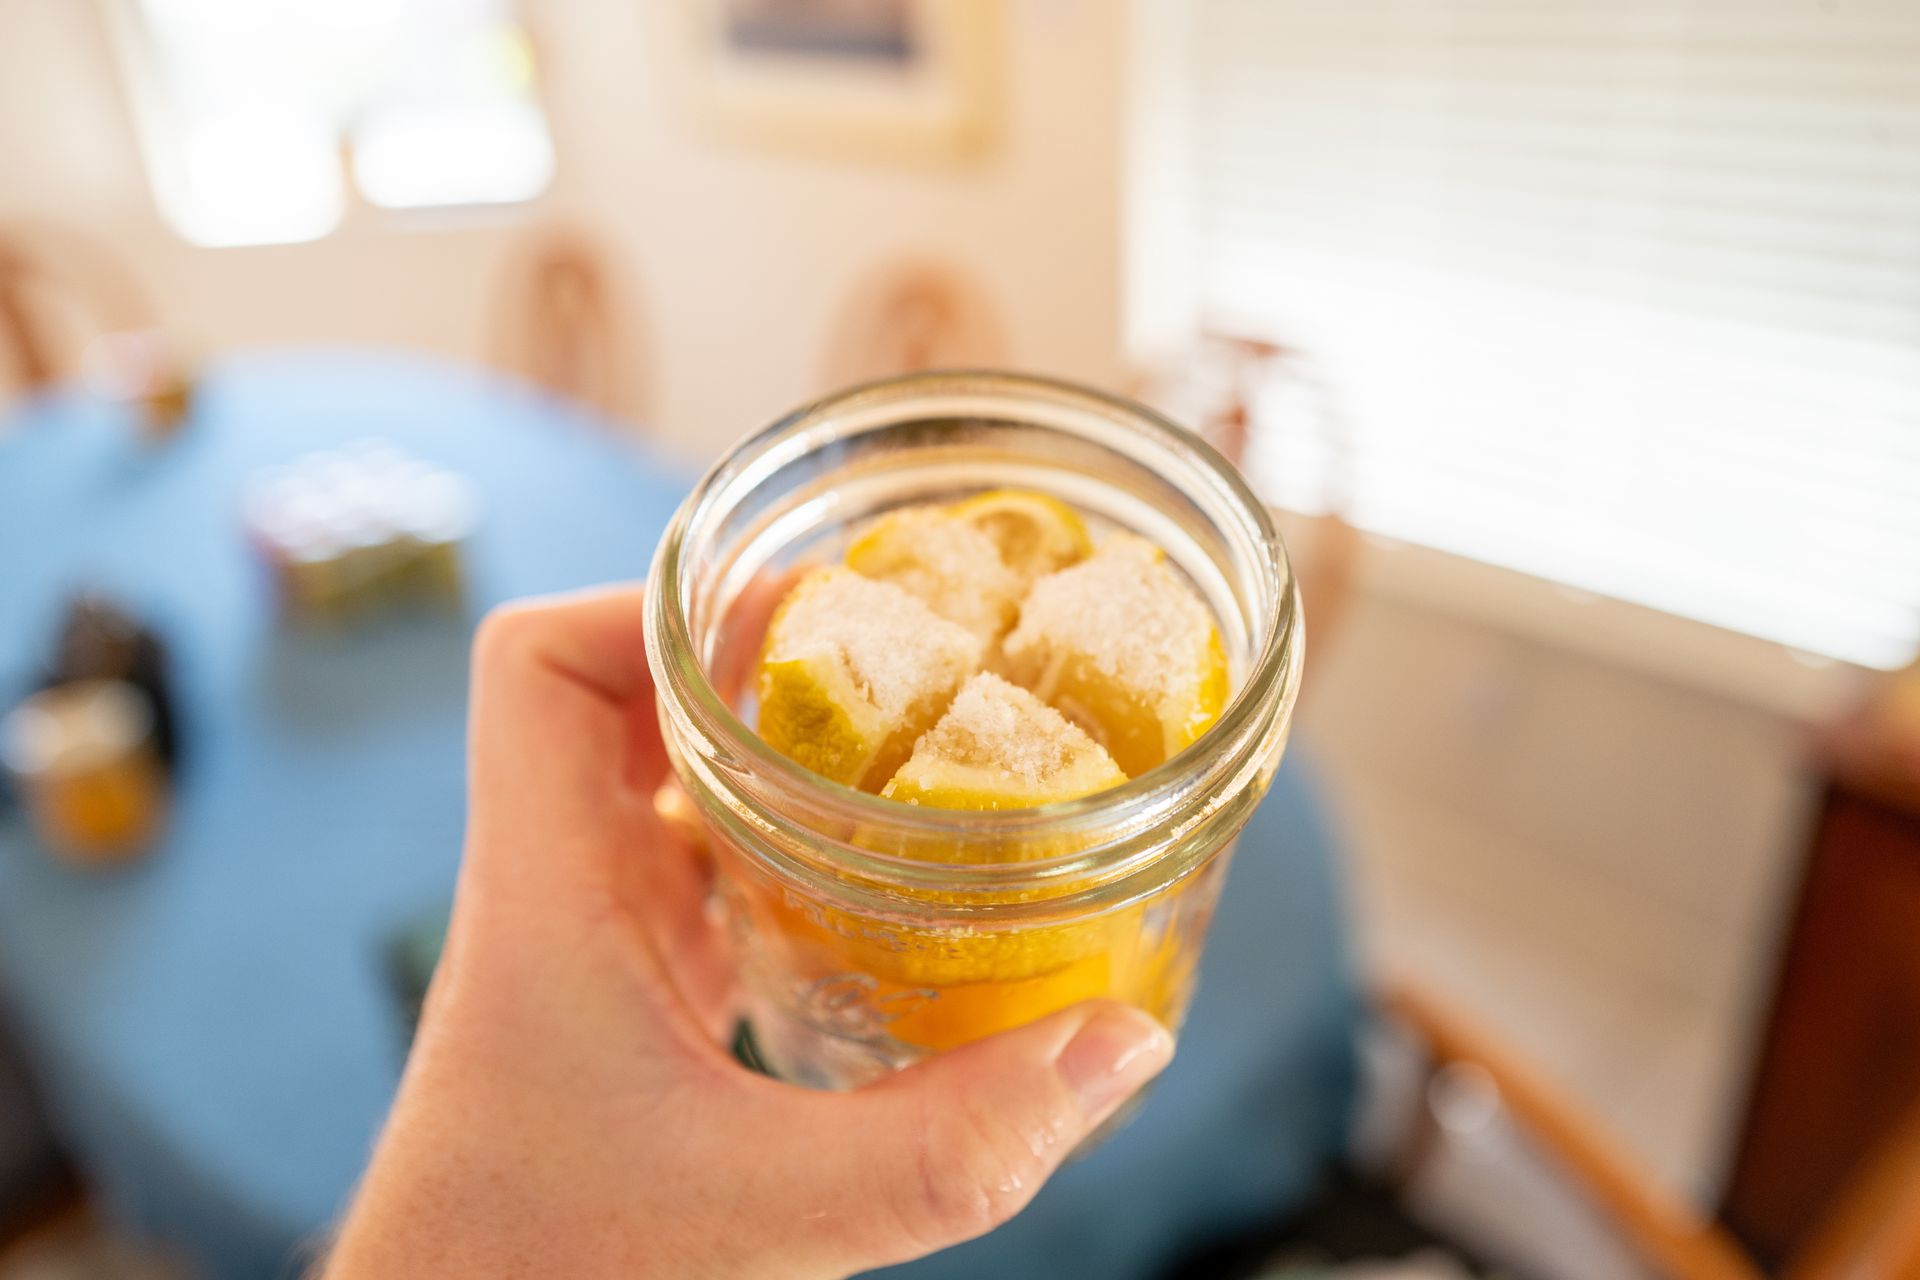
Preserved lemons — whole or quartered lemons fermented in salt and their own juice until the rind becomes soft, translucent, and deeply flavored — are a staple of North African cooking and one of the most useful fermented condiments a home cook can have. They are used primarily for their rind, which has a complex, intensely lemony, funky, and savory flavor that fresh lemon zest does not approach. A small amount of preserved lemon rind — rinsed, with the pulp scraped away, then finely chopped — transforms a lamb tagine, a grain salad, a fish dish, or a yogurt-based sauce in a way that is immediately recognizable and difficult to achieve through any other means.
The method is one of the simplest ferments on this list. Wash six unwaxed lemons thoroughly. Cut each lemon into quarters, leaving the quarters attached at the base so the lemon opens like a flower. Pack a generous tablespoon of coarse non-iodized salt into the cuts of each lemon, pressing the lemon closed around the salt. Pack the salted lemons tightly into a sterilized jar, pressing down firmly so the lemons begin to release their juice. Add the juice of three additional lemons — enough to ensure the lemons are submerged in liquid.
Add a cinnamon stick, a bay leaf, and a few peppercorns if you like, though the plain version is equally useful. Press a piece of plastic wrap directly onto the surface to keep the lemons submerged. Close the jar and leave at room temperature for four weeks, turning the jar upside down and back every few days to redistribute the salt and juice. The lemons are ready when the rinds have softened and become translucent. Refrigerate after opening. They keep for at least a year and improve with age.
Fermented butter (cultured butter)
Chicago Tribune / Getty Images
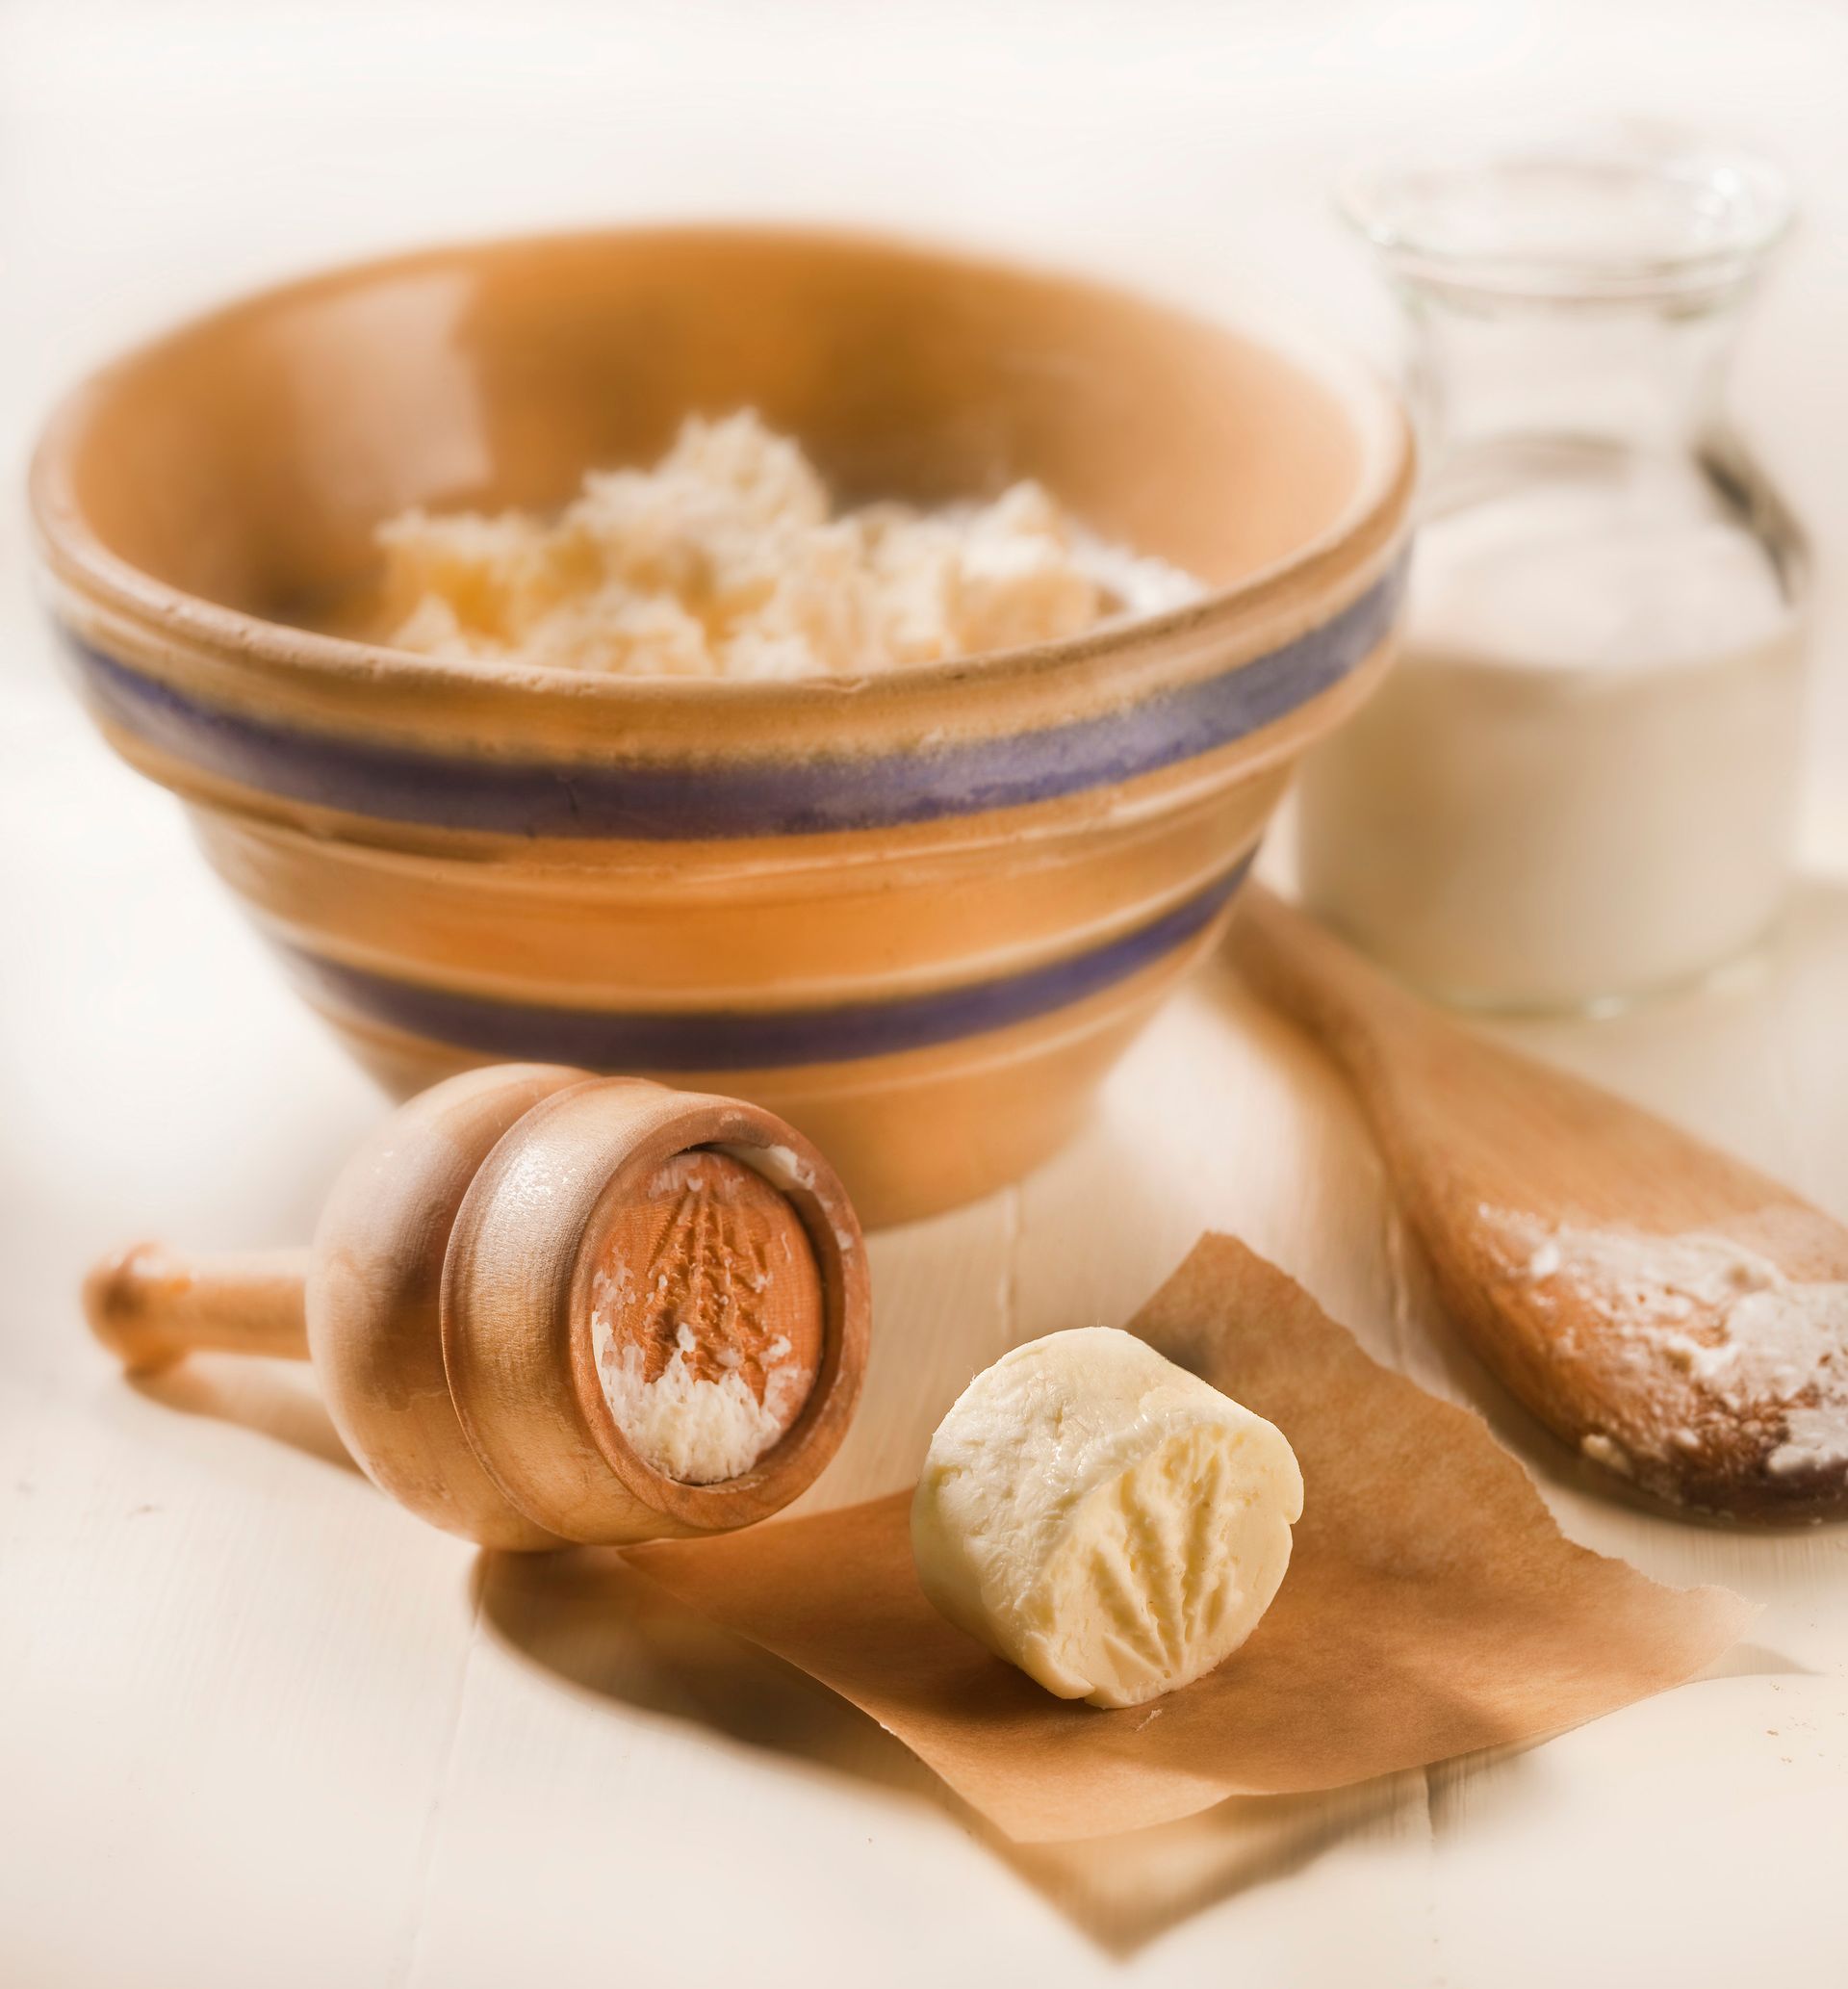
Cultured butter — made from cream that has been fermented before churning — is the standard butter of France and much of continental Europe, and it is so far superior in flavor to the sweet cream butter that dominates British and American markets that making it at home is one of the most immediately rewarding fermentation projects available. The fermentation develops diacetyl, the compound responsible for the characteristic tangy, nutty, complex flavor of good European butter, and the process takes less than 24 hours of active work.
Warm 500ml of heavy cream to room temperature — about 20°C. Add two tablespoons of live yogurt, buttermilk, or crème fraîche as the starter culture. Stir gently, cover loosely, and leave at room temperature for 12 to 18 hours until the cream has thickened slightly and developed a pleasant tangy smell — it should smell like good crème fraîche, complex and slightly sour. This is the cultured cream, which is excellent used directly in cooking or as a base for the butter.
To make butter, pour the cultured cream into a stand mixer fitted with the whisk attachment and whip on high speed. The cream will pass through whipped cream and continue to break — roughly five to eight minutes — until the fat solids separate from the liquid. The liquid is cultured buttermilk, which should be saved for pancakes or baking. Drain the butter solids and rinse under cold water, kneading and squeezing until the water runs clear — this removes the remaining buttermilk that would cause the butter to spoil quickly.
Add flaky salt to taste, knead it through, and press into a dish or roll in parchment. The cultured butter will keep in the refrigerator for two weeks and in the freezer for several months. Used on good bread or melted over vegetables, the difference from standard sweet cream butter is immediately apparent.
Ginger beer
ullstein bild Dtl. / Getty Images
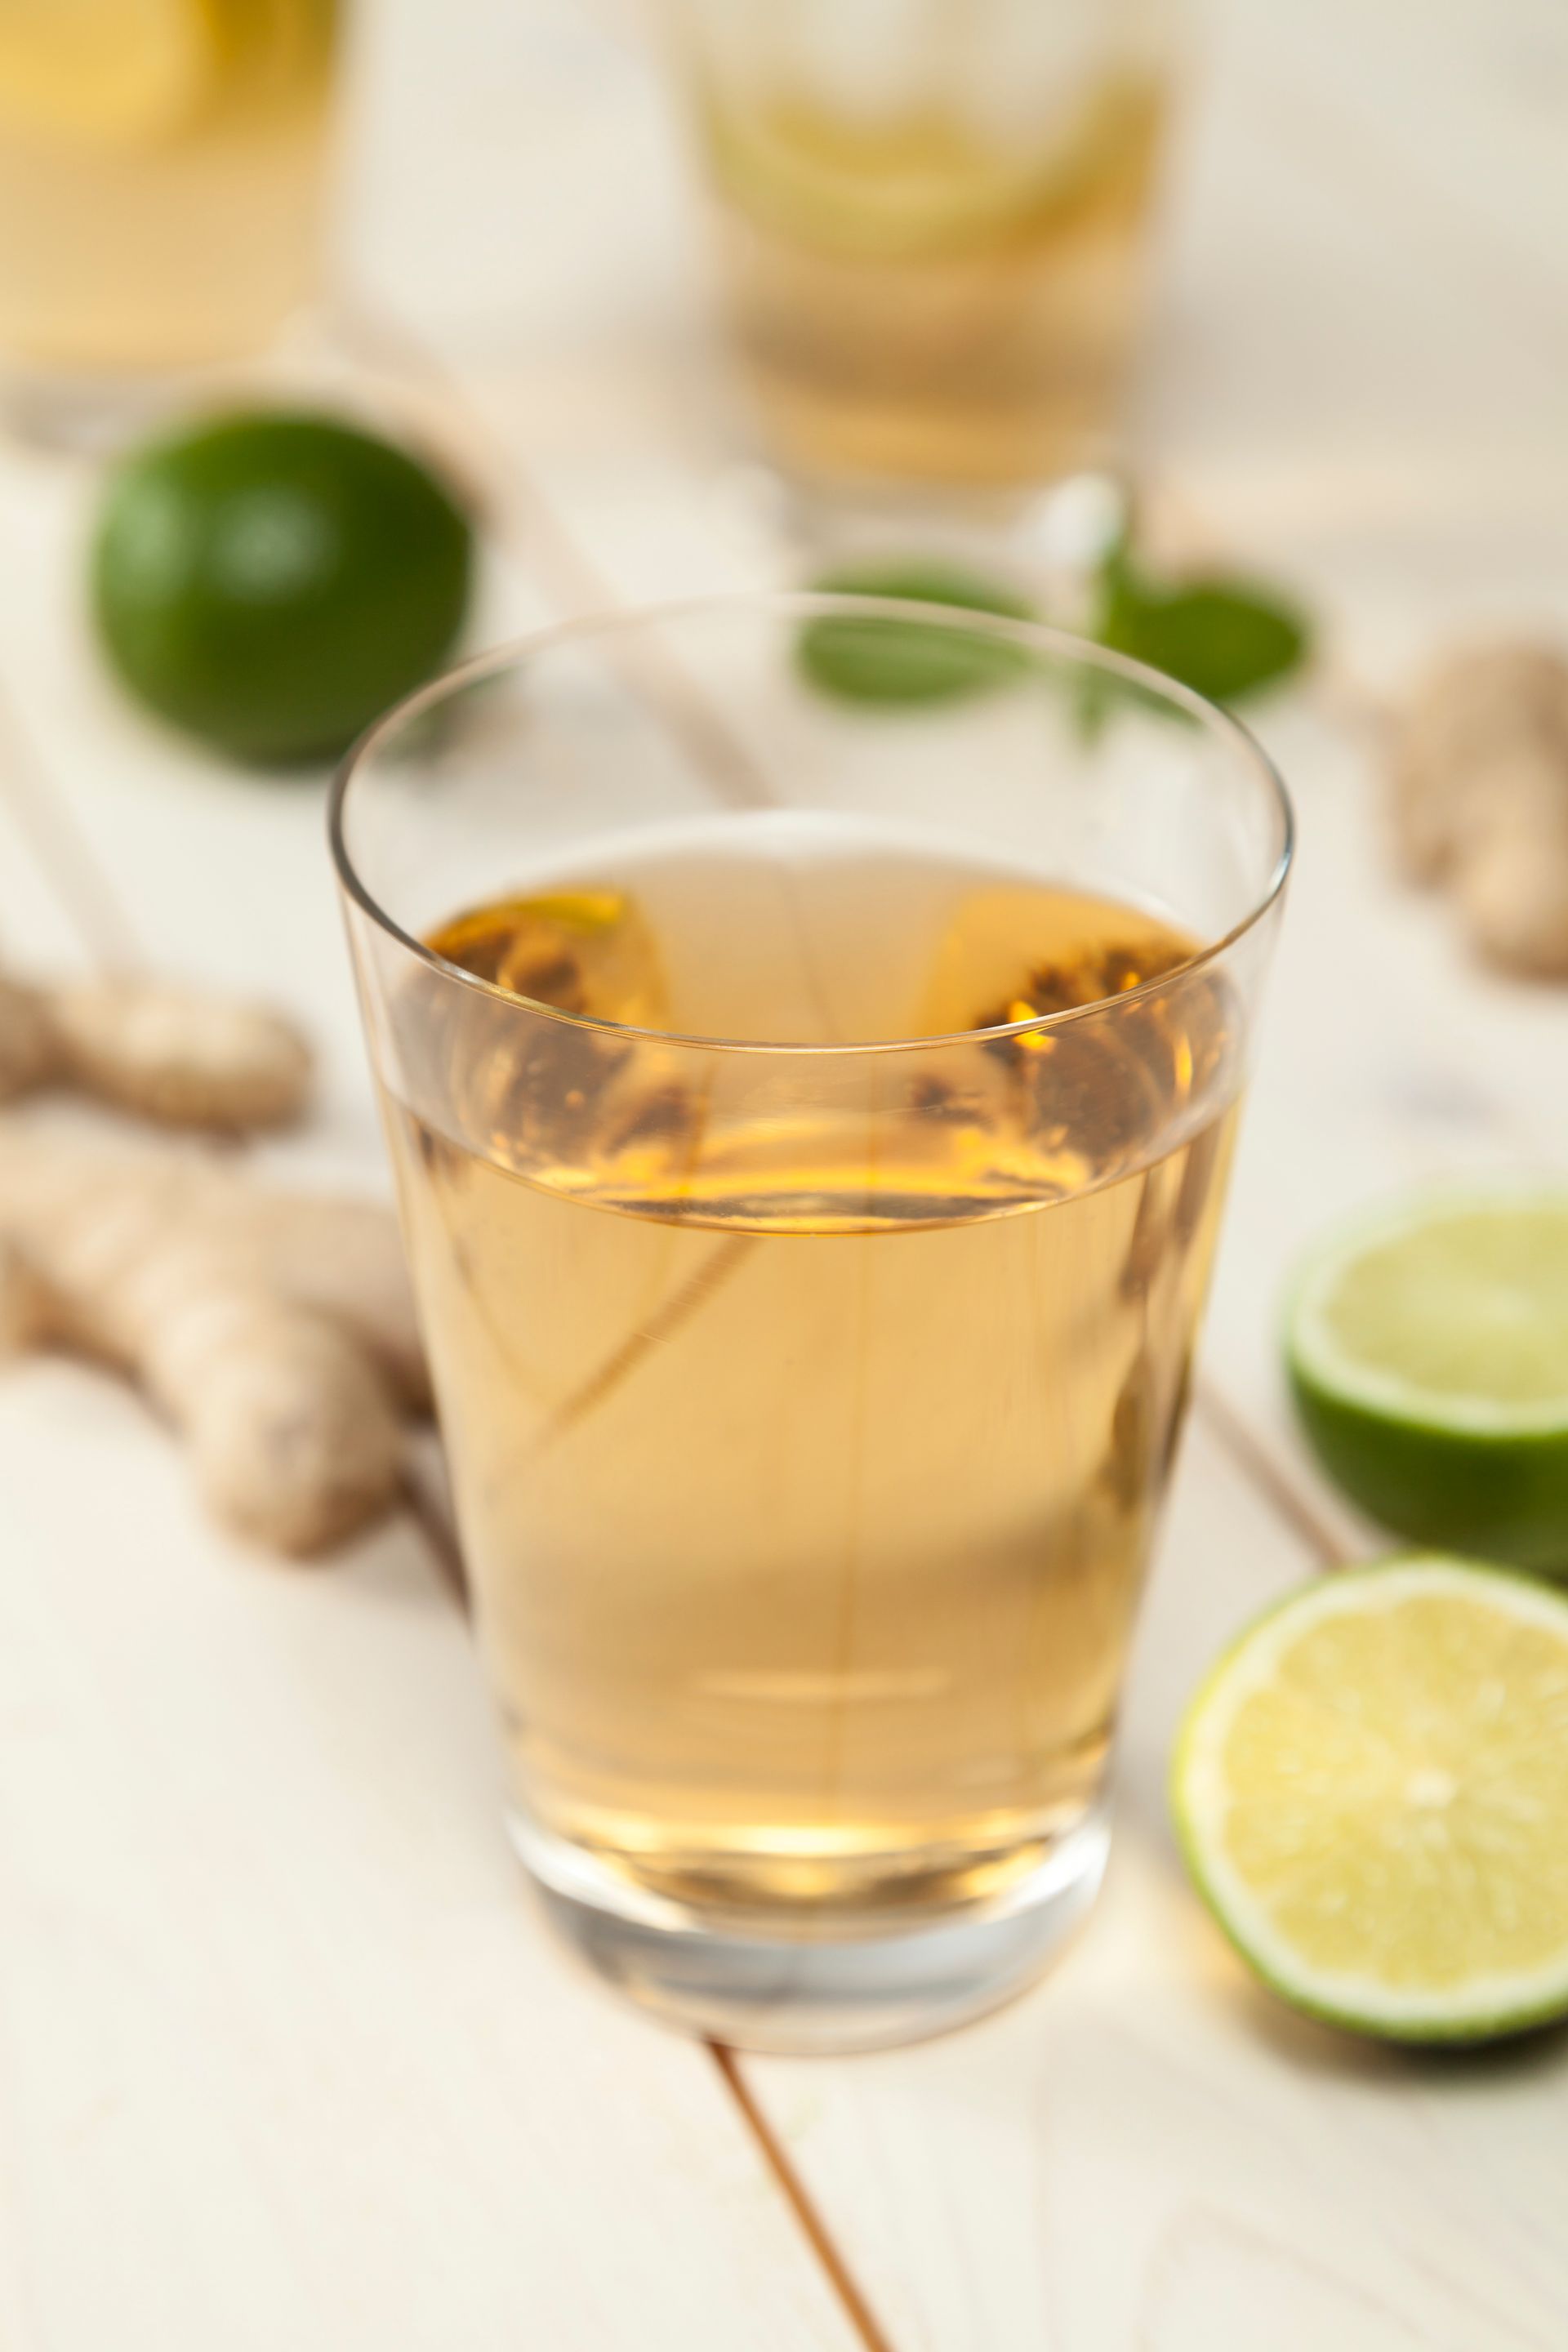
Ginger beer is a fermented soft drink — fiery with fresh ginger, pleasantly sweet, well-carbonated — that is made using a ginger bug: a wild fermentation starter cultivated from fresh ginger and sugar over several days. The ginger bug captures the wild yeasts and lactobacillus bacteria present on fresh ginger skin and concentrates them into an active starter that can drive the fermentation of a full batch of ginger beer within one to two days. It is one of the most satisfying fermentation projects on this list, both because the process of feeding and watching the bug come alive is instructive and because the finished product is genuinely better than any commercial ginger beer.
Start the ginger bug three to five days before you want to make ginger beer. Combine two teaspoons of freshly grated ginger — unpeeled, since the wild yeasts are on the skin — with two teaspoons of sugar in a clean jar with 250ml of unchlorinated water. Stir well, cover loosely, and leave at room temperature. Feed daily with the same quantities of ginger and sugar. Within two to four days, the bug should be actively bubbling when stirred — this is the signal that it is ready to use.
For the ginger beer, bring one liter of water to the boil with 150 grams of sugar, 50 grams of freshly grated ginger, and the juice of two lemons. Simmer for five minutes, then cool to room temperature. Combine with a further liter of cold water and 60ml of strained ginger bug. Bottle in flip-top bottles or recycled plastic bottles — plastic bottles allow you to gauge carbonation by feel, squeezing to test firmness. Leave at room temperature for 24 to 48 hours until the bottles are firm and the drink is well carbonated, then refrigerate. Open carefully over a sink — a well-carbonated ginger beer has considerable pressure.