
Before your first international trip, learn the twenty practical skills seasoned travelers rely on, from passport rules to currency exchange and jet lag

Credit: Ashim D’Silva / Unsplash
The hardest part of a first international trip is rarely the flight or the destination. It is everything nobody explains until it becomes a problem: a customs line without the right form, an outlet with the wrong plug, an airport currency kiosk with no alternative. Domestic travel builds habits that mostly carry over. International travel adds a layer of paperwork, timing, and etiquette that shifts by country. Most of it never gets spelled out until a traveler is already relying on it.
None of this requires special training. It requires knowing what to check, when to check it, and how the systems behind passports, visas, money, and health coverage actually work. A missed passport renewal window can derail a trip before it starts. So can a medical emergency with no coverage abroad, or a phone with no signal in a place where the traveler does not speak the language.
This list covers 20 things worth knowing how to do before a first international trip. It focuses on the practical, procedural side of travel rather than packing lists or destination picks. It walks through passport and visa timing, and how to protect money and banking access while abroad. It covers how health coverage and vaccination rules change once a traveler leaves home. And it covers smaller habits, from tipping norms to emergency numbers, that separate a traveler who looks lost from one who does not.
Every item here applies no matter where the trip goes, whether the first stop is London, Lagos, Tokyo, or Toronto. Learn these once and they carry over to every trip that follows, not just the first one. Some specifics, like entry requirements and screening rules, shift over time. The last step before booking anything is always the same: confirm the current rule directly with the destination's official government or embassy site.
Credit: Kit (formerly ConvertKit) / Unsplash
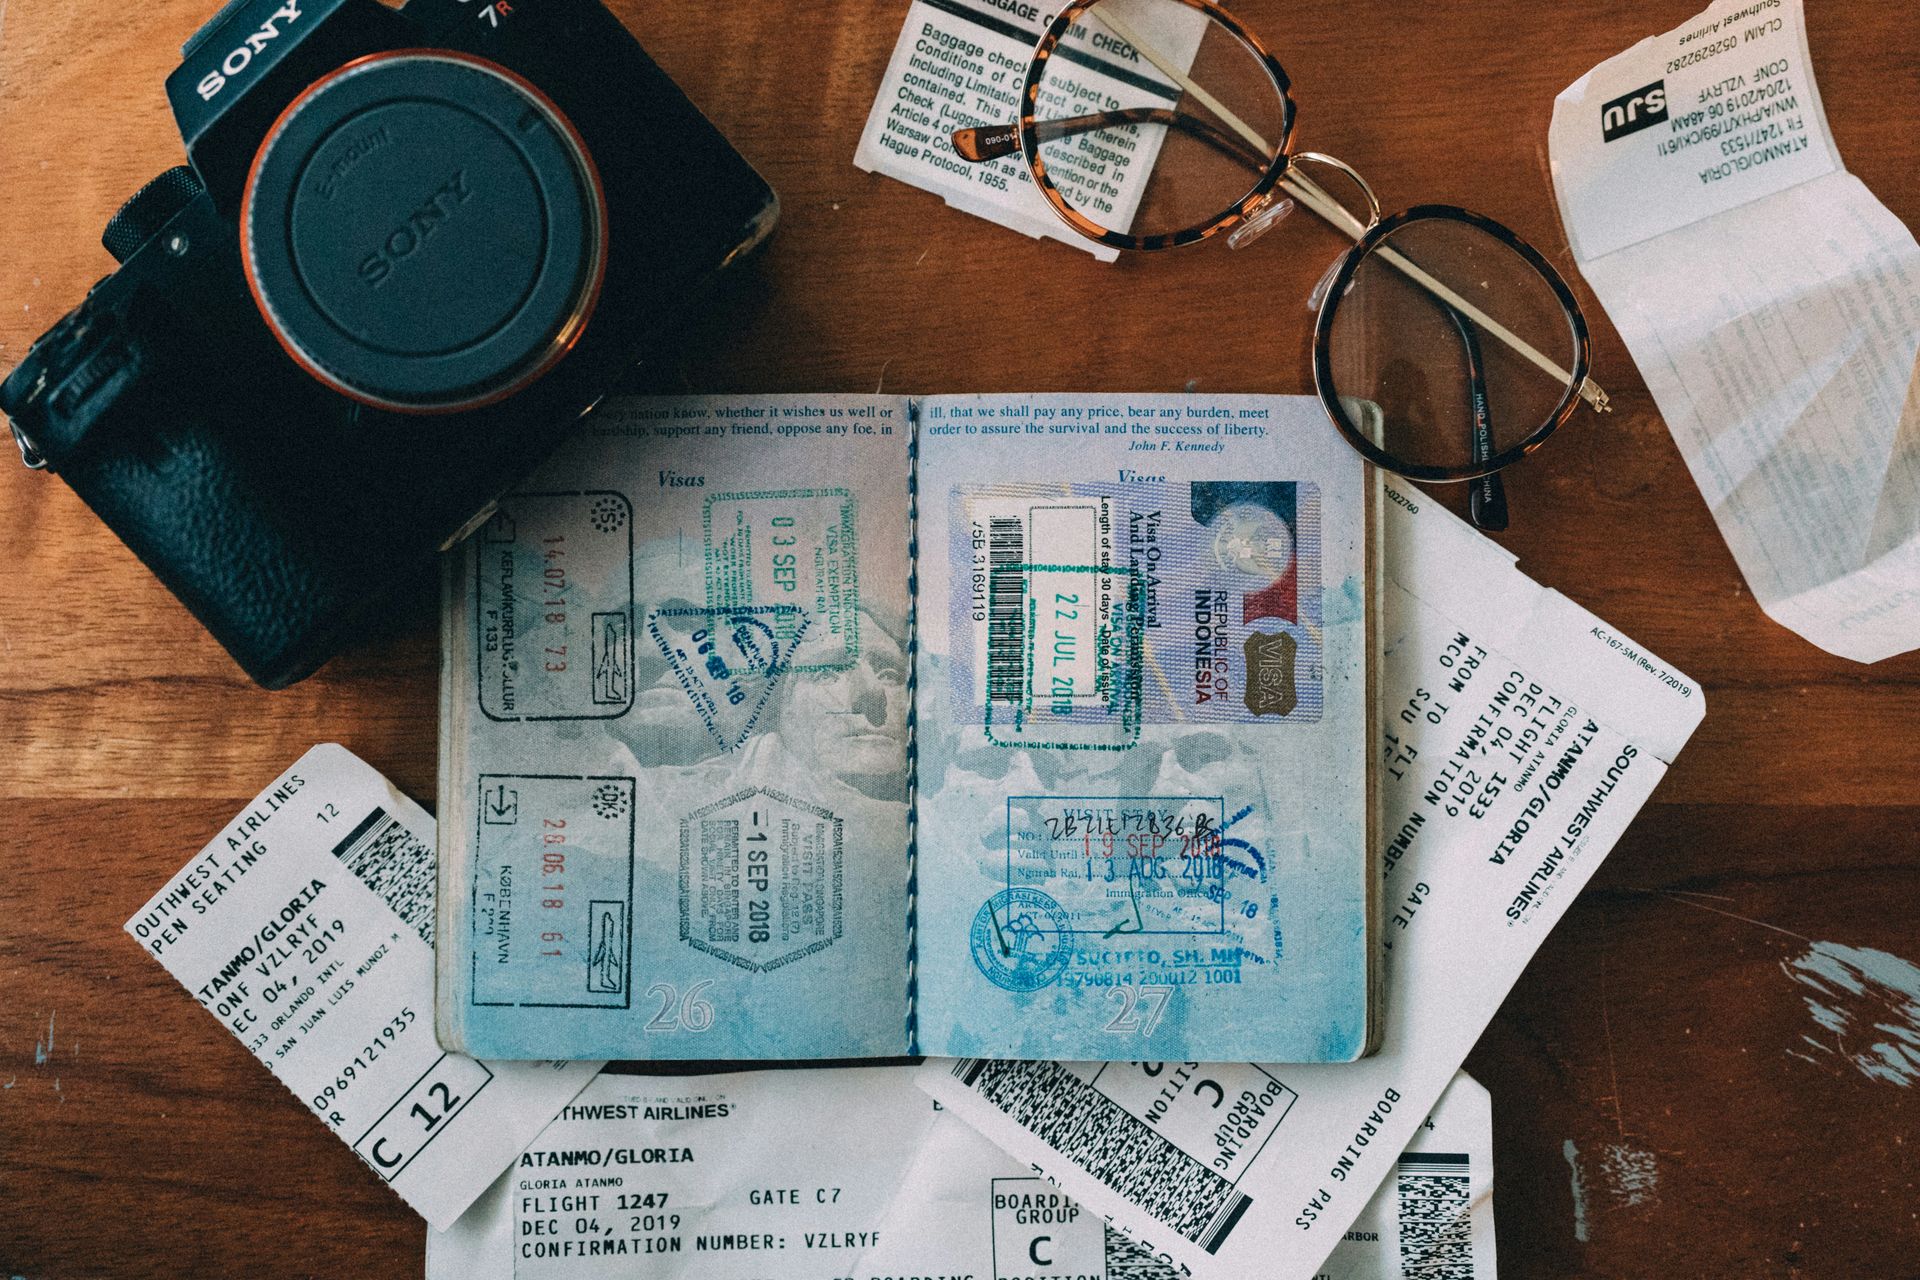
Many countries deny entry to travelers whose passport has less than six months of validity left beyond the arrival date. This applies even for a trip lasting only a few days. The rule is informally called the six-month rule. It is not universal, but it is common enough across Africa, the Middle East, and much of Asia that airlines check it at check-in. Airlines will deny boarding rather than risk a traveler being turned away at the destination.
The Schengen Area, covering most of continental Europe, technically only requires three months of validity beyond the planned departure date. The passport also needs to be less than 10 years old. In practice, airline staff and immigration officers do not always apply the shorter rule correctly. Travelers $TRV who show up with exactly three months and one week of validity sometimes face confusion or delay anyway. Treating six months as the baseline avoids that entire category of problem.
Passport renewal timing matters more than most first-time travelers expect. Routine processing can take weeks. That window stretches during high-demand periods, including the months right after major holidays, when a large share of the population renews at once. Expedited service exists for a fee and cuts the wait meaningfully, but it still is not instant. A passport that expires within a year of a planned trip should get renewed before booking flights, not after.
Some destinations also require a minimum number of blank visa pages, separate from the expiration date. Immigration officers stamp entries and exits directly into the booklet. A passport that is technically valid but nearly full of stamps can still cause a problem at the border. Travelers who travel frequently, or who are near the last few pages of their current passport, should check the blank page count specifically, not just the expiration date.
The safest habit is checking passport validity and blank pages the moment a trip becomes a real possibility, months before booking, rather than after tickets are purchased. Passport rules are set by the destination country, not the traveler's home country. The only reliable source is that destination's official immigration or embassy website, checked directly rather than assumed from a general rule of thumb.
Credit: Connor Scott McManus / Pexels
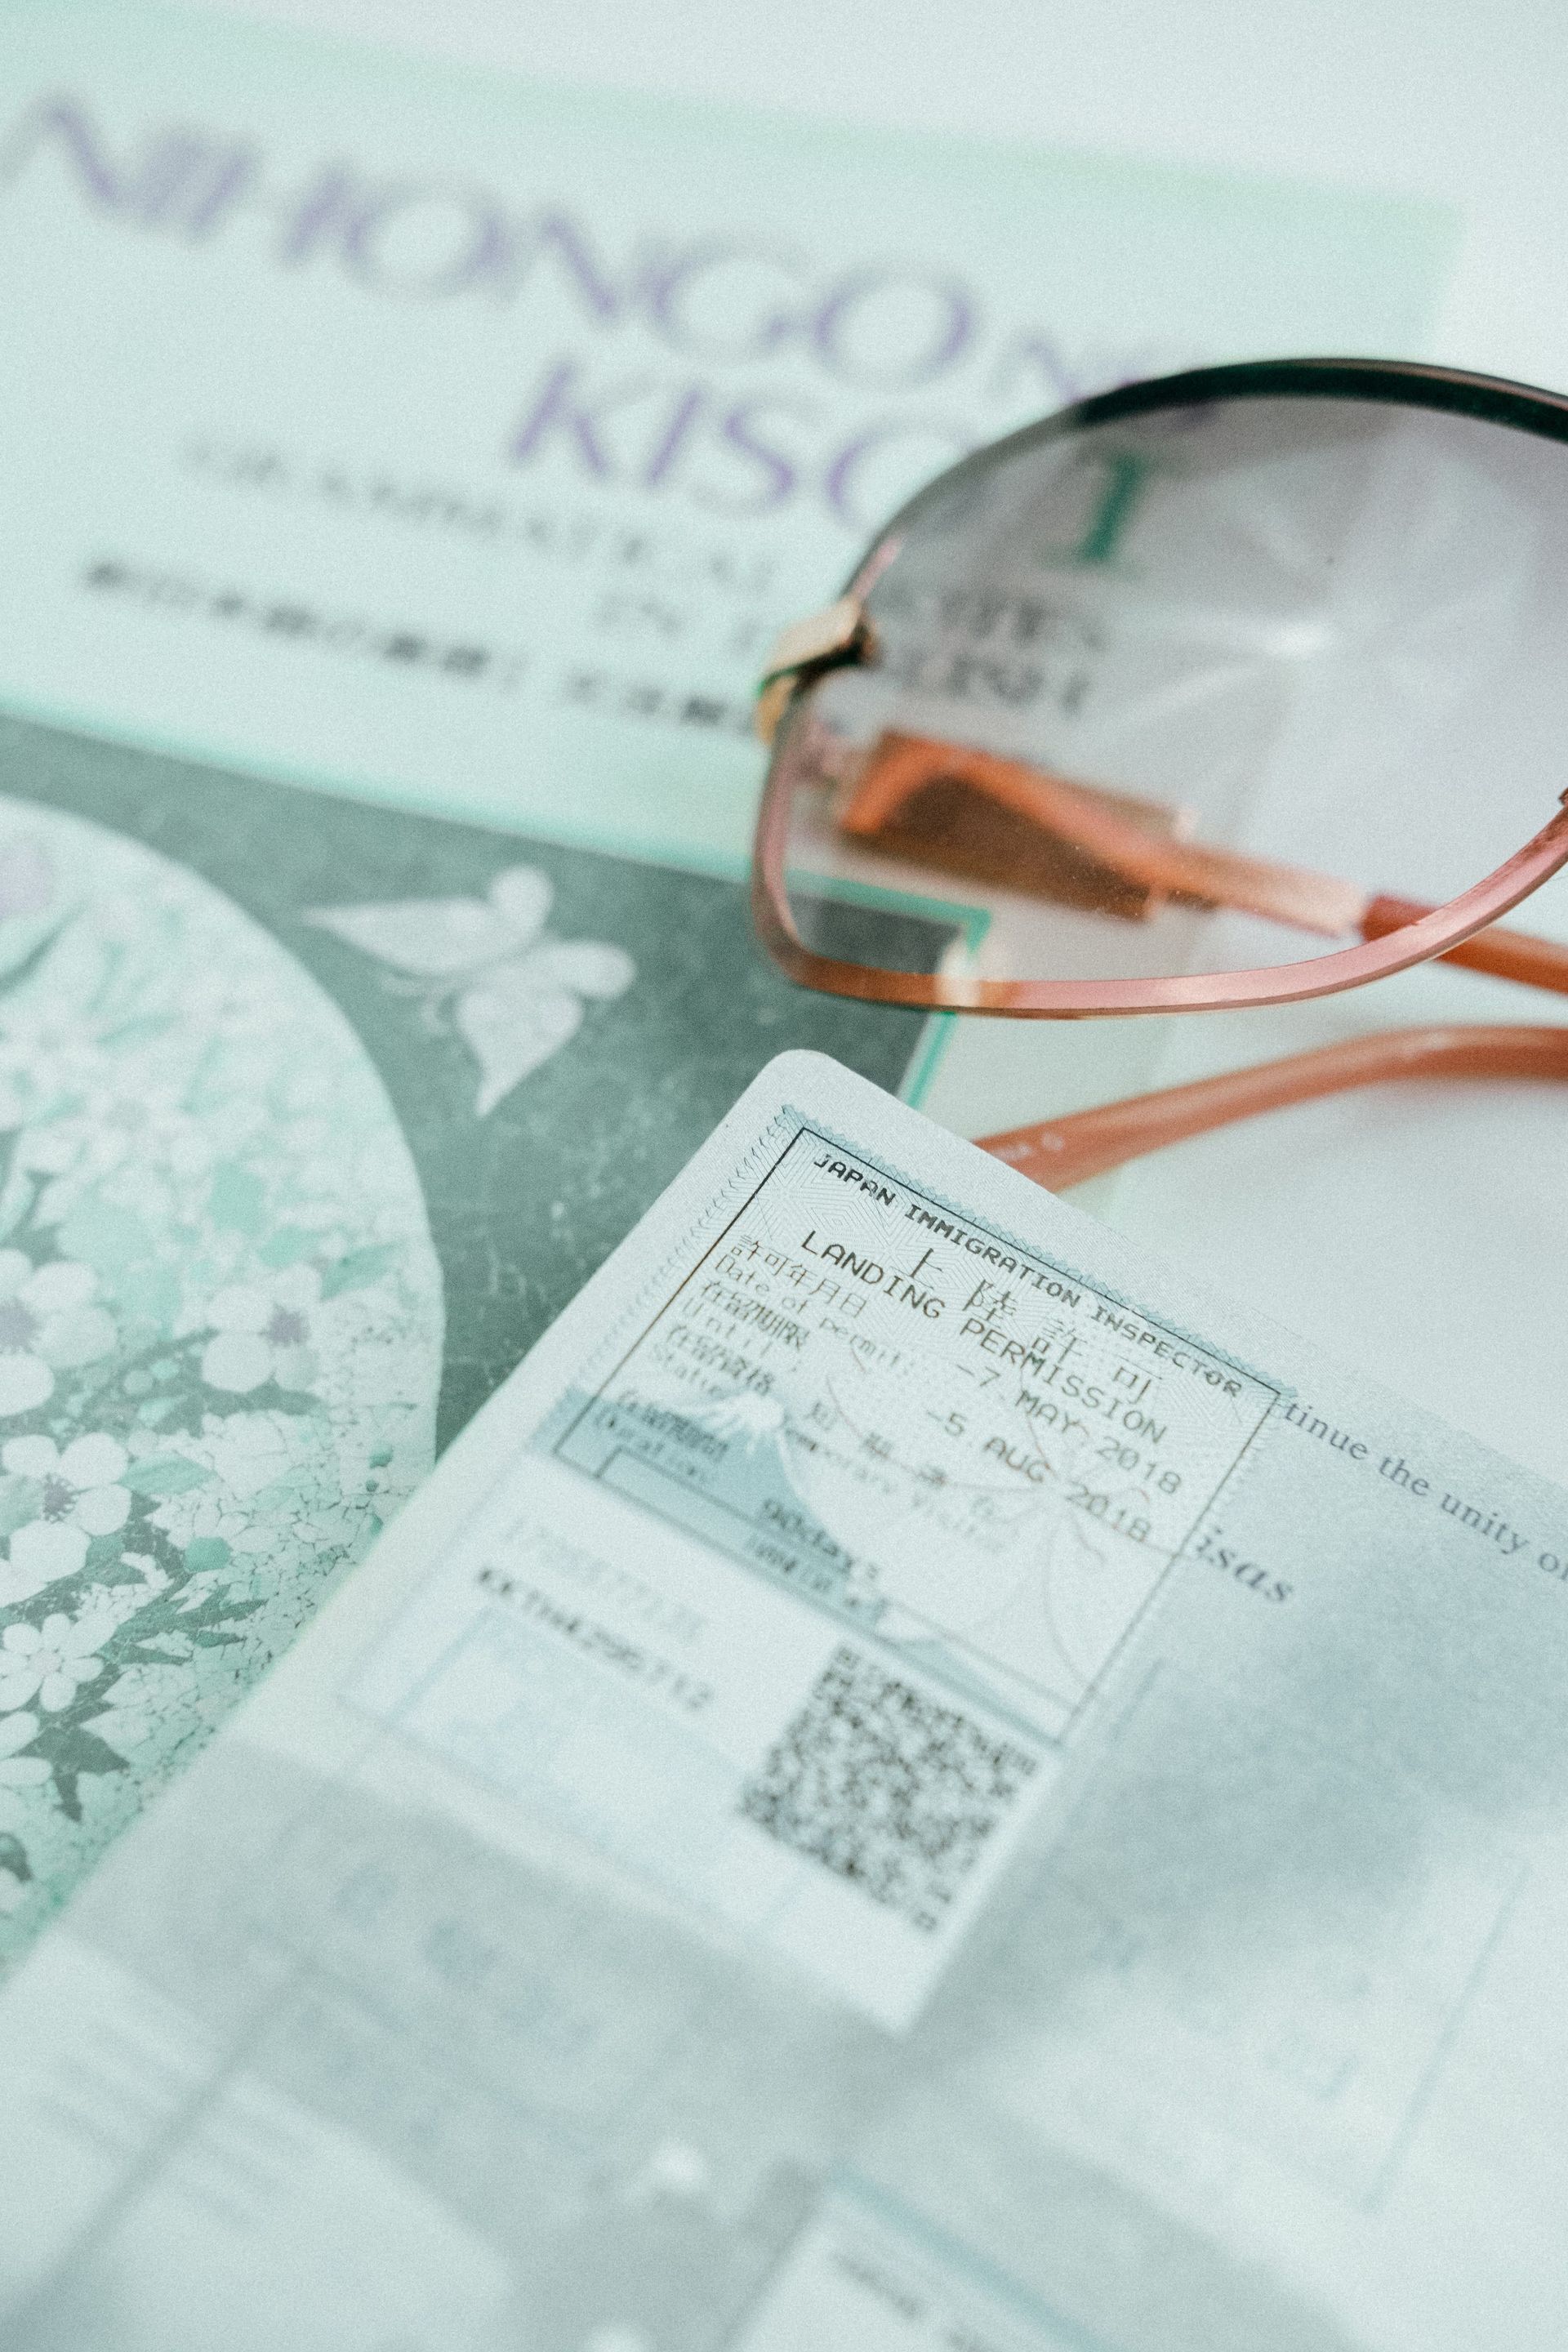
Not every international trip requires a traditional visa. But nearly every destination requires some form of advance entry permission, even if it is only a quick online authorization. Confirming which category a destination falls into is one of the first things to sort out after picking a destination. The timeline for getting it ready varies enormously.
The U.S. uses ESTA, the Electronic System for Travel Authorization, for citizens of Visa $V Waiver Program countries flying in for short tourism or business stays. It is applied for online before departure and tied to the passport. It is typically valid for two years or until the passport expires, whichever comes first. Canada runs a similar system called an eTA for visa-exempt foreign nationals arriving by air. Both are meant to be fast, but airlines will not allow boarding without one already approved.
The European Union has spent several years developing its own pre-travel authorization system for visa-exempt visitors entering the Schengen Area. Its launch date has been pushed back repeatedly. Travelers $TRV should not assume a specific start date without checking the European Union's official travel information page close to departure. The requirement will apply to a large share of visitors from outside the bloc once it takes effect.
Countries that require a traditional visa vary widely in how long the process takes. Many popular destinations, including India, Turkey, and Vietnam, now offer e-visa systems completed in days rather than weeks through official government portals. Others still require an in-person appointment at an embassy or consulate. That process can take weeks depending on demand and time of year.
The practical habit is checking entry requirements based on citizenship and destination together. The same country can have different rules for different passport holders. Do this as soon as a destination is chosen, not a few weeks before departure.
Credit: Atlantic Ambience / Pexels
Registering an upcoming trip with a home government's traveler assistance program is free and takes a few minutes. It gives an embassy a way to reach a traveler during an emergency. For U.S. citizens and nationals, that program is called STEP, the Smart Traveler Enrollment Program, run by the State Department.
Enrolling in STEP sends security alerts specific to the destination directly by email. These cover things like political unrest, natural disasters, or localized safety warnings that might not make national news back home. More importantly, it gives the nearest U.S. embassy or consulate a way to locate and contact a traveler. That matters if a family emergency arises, a natural disaster hits the region, or the embassy needs to coordinate an evacuation.
Other countries run comparable services. Australian citizens can register travel plans through Smartraveller, the government's official travel advisory service, which offers similar destination-specific alerts. Canada offers a Registration of Canadians Abroad service through Global Affairs Canada with much the same purpose. Travelers $TRV from countries without a formal registration system should still check their foreign ministry's travel advisory page before departure. Even without a registry, most governments publish country-specific warnings worth reading in advance.
This step gets skipped constantly because it feels unnecessary until it is not. Most trips do not involve a natural disaster, a coup, or a medical evacuation. Registering can feel like paperwork for a scenario that will not happen. But the value of the service shows up only in the small percentage of trips where something does go wrong. At that point there is no way to register after the fact. The entire point is that the embassy already knows a traveler is in the country before anything happens.
Registration takes only basic details: passport number, destination, dates of travel, and an emergency contact. It does not commit a traveler to a fixed itinerary or restrict travel plans in any way. It can be updated or canceled at any point before or during the trip.

Credit: Mikhail Nilov / Pexels
Notifying a bank and credit card issuer before international travel used to be considered mandatory advice. It is still worth doing, even though fraud detection has changed how strictly it matters. Most major banks and card networks now use algorithms that recognize a legitimate travel pattern, like a card being used at an airport followed by a purchase abroad. Advance notice is often no longer required.
That said, algorithms are not perfect. A declined card in an unfamiliar country with no backup payment method is a far worse problem than a five-minute call or app notification before departure. Most banks let travelers set a travel notice directly in their mobile app now. That takes less effort than calling and still gives the fraud system useful context.
International PIN requirements are a separate issue worth checking at the same time. Many countries outside the U.S. rely on chip-and-PIN rather than chip-and-signature for card payments. That means a card needs a four-digit PIN set up in advance to work at unattended machines like train ticket kiosks or gas pumps. A card without a PIN can still usually be used at staffed registers, but automated machines will often reject it outright.
It is also worth confirming daily ATM withdrawal limits and whether the bank charges a flat fee per international withdrawal. These vary by institution and can add up quickly on a longer trip. Some banks reimburse ATM fees for customers with certain account types, which is worth checking before relying on cash withdrawals as the primary way to access money abroad.
Carrying a backup card from a different bank or network, kept separate from a primary wallet, protects against a single point of failure. A card that gets frozen, lost, or skimmed should not leave a traveler with no way to pay for anything until the issue is resolved from a foreign country.

Credit: Rann Vijay / Pexels
A foreign transaction fee is a surcharge that some credit cards add automatically to any transaction processed outside the cardholder's home country. It typically runs one to three percent of the purchase amount. On a trip involving thousands of dollars in hotels, meals, and purchases, that fee adds up. It becomes a meaningful amount of money for something that provides no benefit to the traveler.
Many cards marketed specifically toward travelers waive this fee entirely. The difference is disclosed clearly in the card's terms, usually in a section labeled foreign transaction fees or international fees. Checking this before departure, rather than discovering it on a statement afterward, is a simple way to avoid an unnecessary cost on every purchase made abroad.
A related trap is dynamic currency conversion. This is a practice where a foreign merchant or ATM offers to charge a purchase in the traveler's home currency instead of the local one, framed as a convenience. The exchange rate used for that conversion is set by the merchant or ATM operator, not a traveler's bank. It is almost always worse than the rate the card network would apply automatically. The correct choice at the payment terminal, when given the option, is almost always to be charged in the local currency.
This choice appears as a screen prompt at many card terminals and ATMs abroad. It is phrased as a question about which currency to charge, sometimes with the home currency option highlighted or listed first, specifically because most travelers pick it without thinking. Declining that option and selecting the local currency instead is a small habit that saves money on every transaction of the trip.
Setting up a no-fee card and understanding this prompt before departure means neither issue needs solving for the first time at a counter abroad. That is not the moment to be holding up a line, trying to read unfamiliar terminal language.

Credit: Artem Podrez / Pexels
Standard U.S. health insurance plans, including Medicare, generally do not cover medical care received outside the U.S., with only narrow exceptions. That gap means a broken bone, a hospital stay, or any serious medical event abroad can become a direct out-of-pocket cost running into tens of thousands of dollars.
Travel insurance policies are not all the same. The difference between a cheap policy and a useful one usually comes down to what happens in a true emergency, not a canceled flight. Trip cancellation and lost luggage coverage are the features most policies advertise first. The coverage that actually matters for a first international trip is medical coverage and medical evacuation, sometimes listed separately as medevac coverage.
Medical evacuation is the cost of transporting a traveler to a hospital capable of treating a serious condition, or back to their home country entirely. It can itself cost tens of thousands of dollars depending on distance and the type of transport required. A policy without an explicit medical evacuation benefit leaves a traveler exposed. So does a policy with a very low coverage limit on that line item, exactly the kind of cost a serious accident abroad would create.
Reading a policy's exclusions matters as much as reading its coverage. Common exclusions include pre-existing medical conditions not disclosed at purchase and injuries from adventure activities like scuba diving or motorcycle riding. Care received in a country under an active government travel advisory is another frequent exclusion. A traveler planning anything beyond ordinary sightseeing should check whether that specific activity is covered before assuming it is.
Buy a policy that explicitly names a medical evacuation limit. Check that limit against the cost of care in the destination region. Read the exclusion list before purchase. That turns travel insurance from a box to check into protection that actually holds up if something goes wrong.

Credit: Tara Winstead / Pexels
Health requirements for international travel fall into two categories: what a destination legally requires for entry, and what is medically recommended regardless of any requirement. Confusing the two is common. It leaves travelers under-prepared for a health risk that was never technically mandatory but was still worth addressing.
The U.S. Centers for Disease Control and Prevention maintains destination-specific travel health notices. These cover everything from routine vaccine recommendations to active disease outbreaks in a given region at a given time. Checking this resource for the specific destination catches requirements that shift year to year based on current outbreaks or changing local conditions. General knowledge about a region is not a reliable substitute.
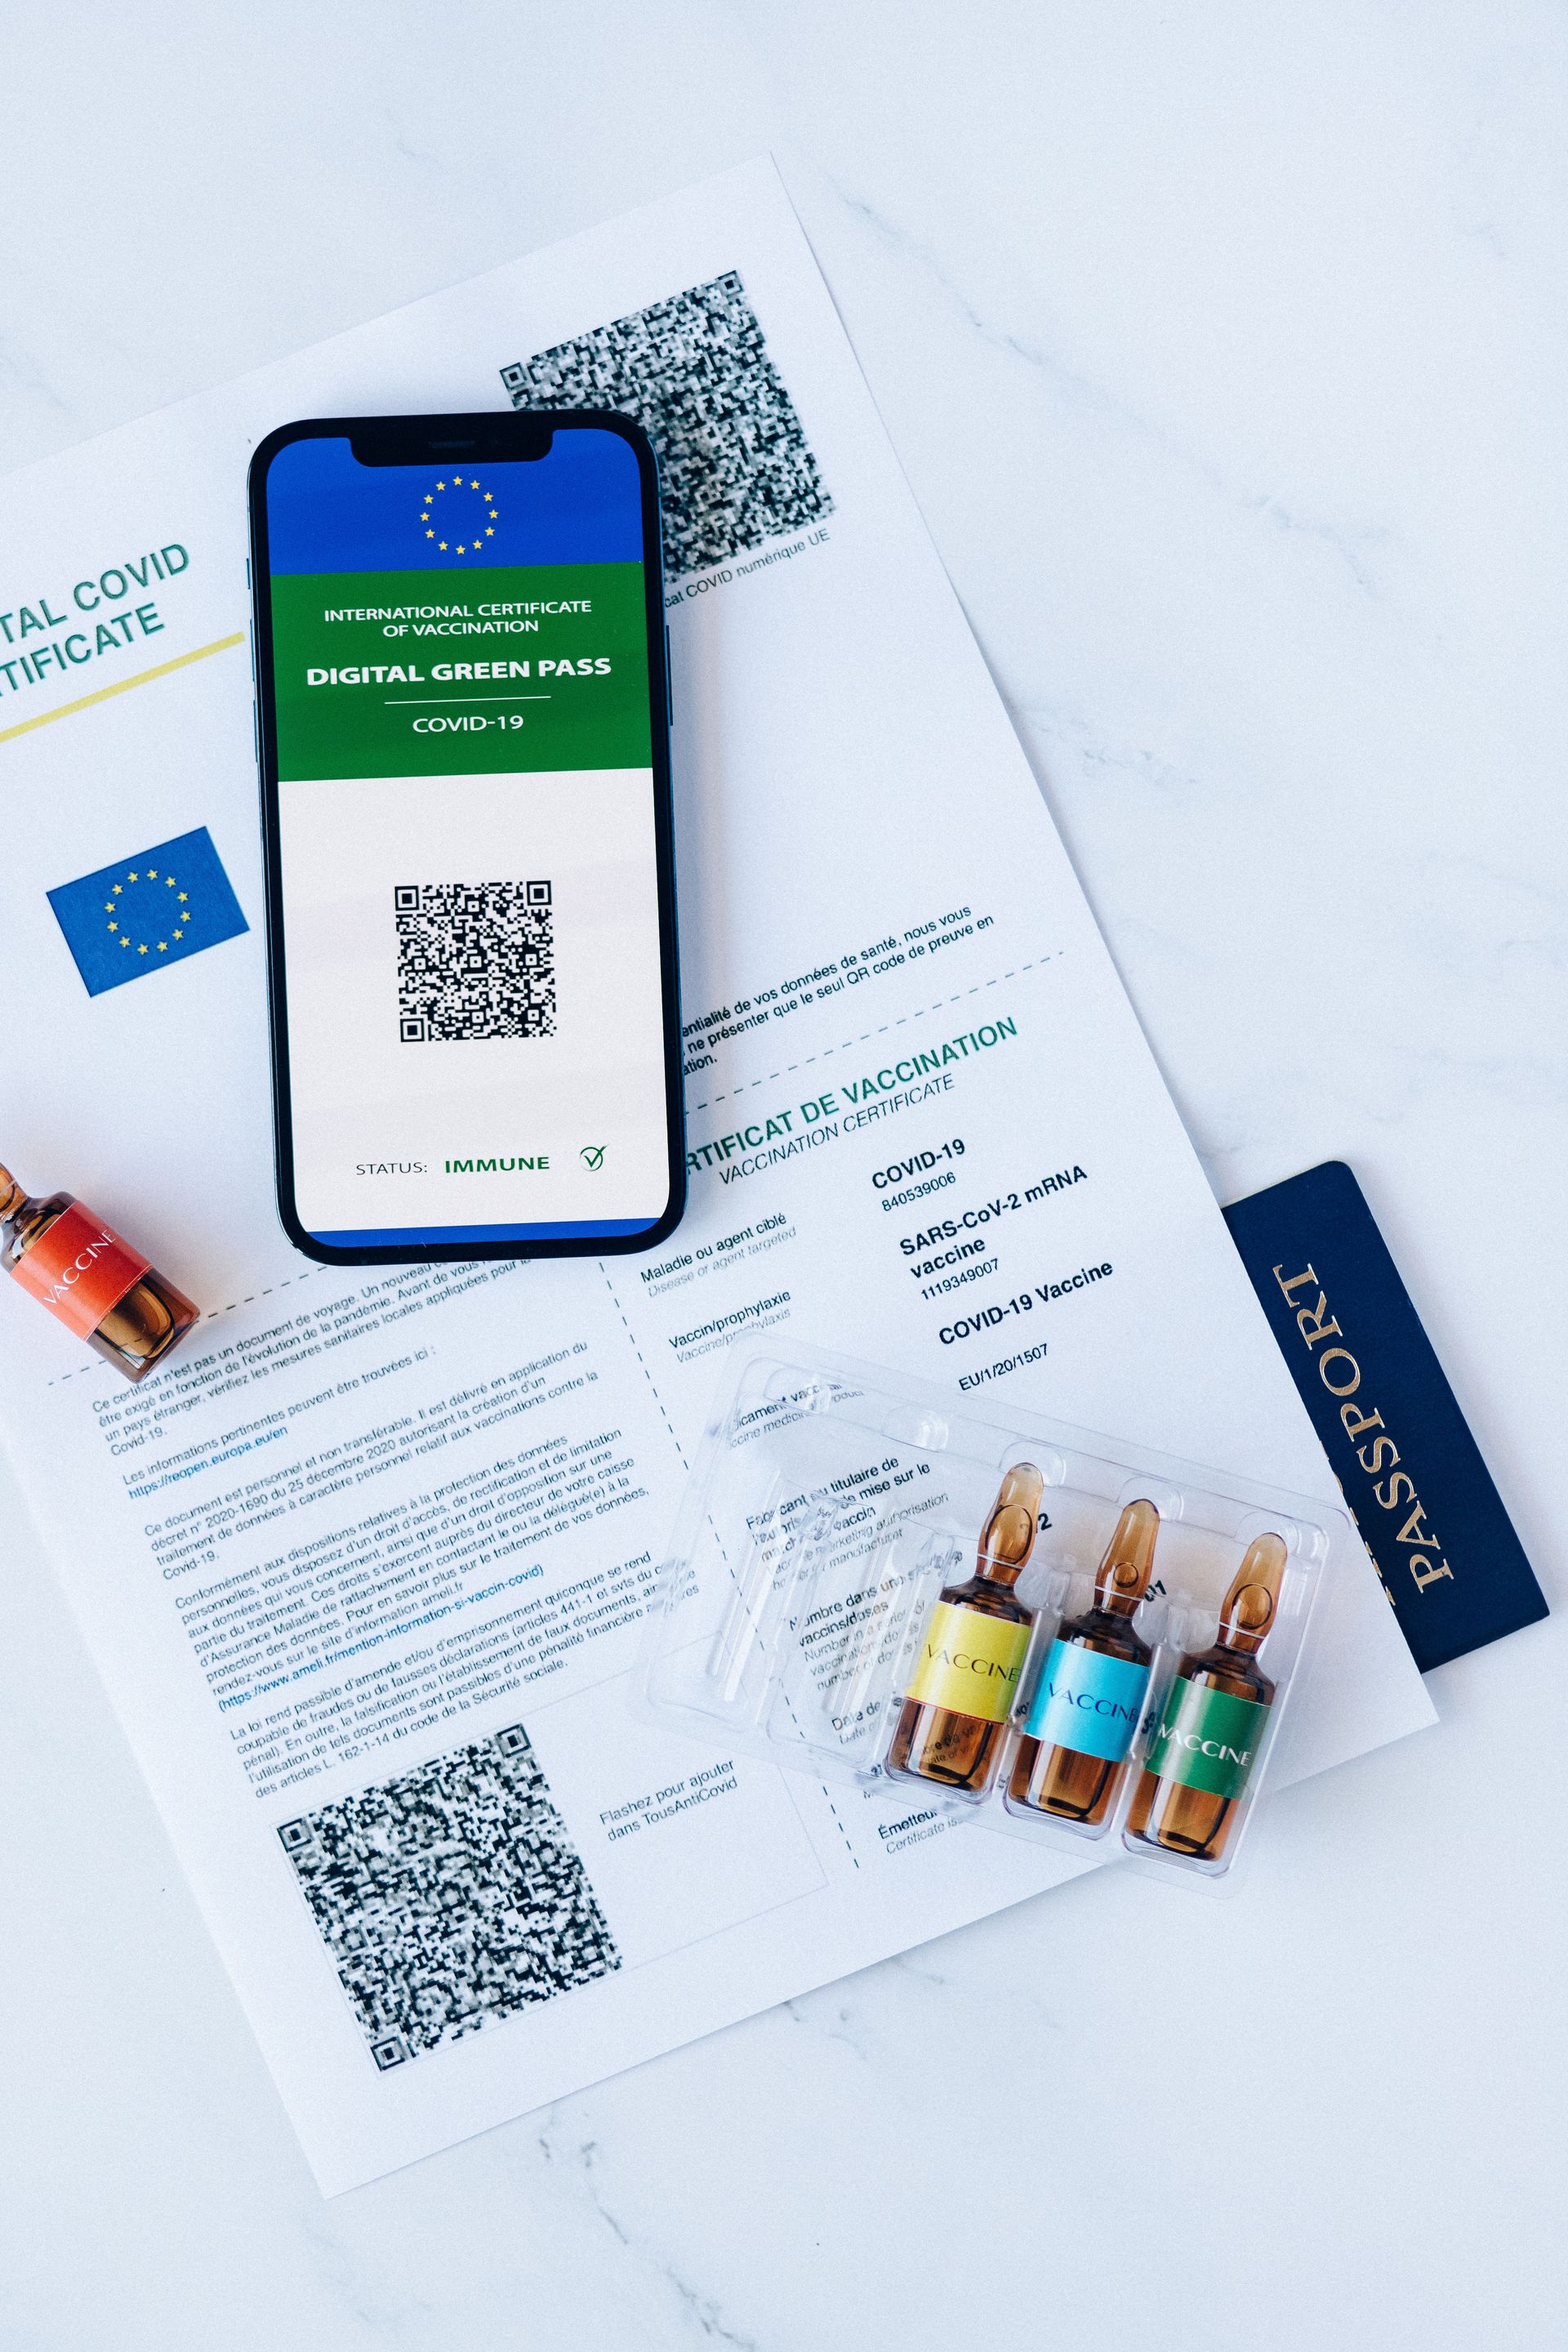
Yellow fever is the clearest example of a legally enforced requirement rather than a suggestion. A number of countries in Africa and South America require proof of yellow fever vaccination for entry, documented on an International Certificate of Vaccination. Some countries extend that requirement to travelers merely transiting through an airport where yellow fever is present, even without leaving the airport. Arriving without that documentation can mean vaccination on the spot at the border, or being denied entry outright.
Many adults have not updated routine vaccinations like tetanus and measles-mumps-rubella in years. These matter more when traveling to a region where those diseases circulate more actively than they do at home. Beyond routine coverage, destinations in parts of Asia, Africa, and Latin America commonly bring up recommendations for hepatitis A, hepatitis B, and typhoid. Which ones apply depends on the region, food and water conditions, and length of stay.
The right time to check all of this is four to six weeks before departure. Some vaccines require multiple doses spaced weeks apart, or need time to become fully effective. A travel medicine clinic or a primary care doctor can review a specific itinerary and flag what actually applies. This works far better than relying on generic packing-list advice not tailored to the destination.
Credit: Jacob / Pexels
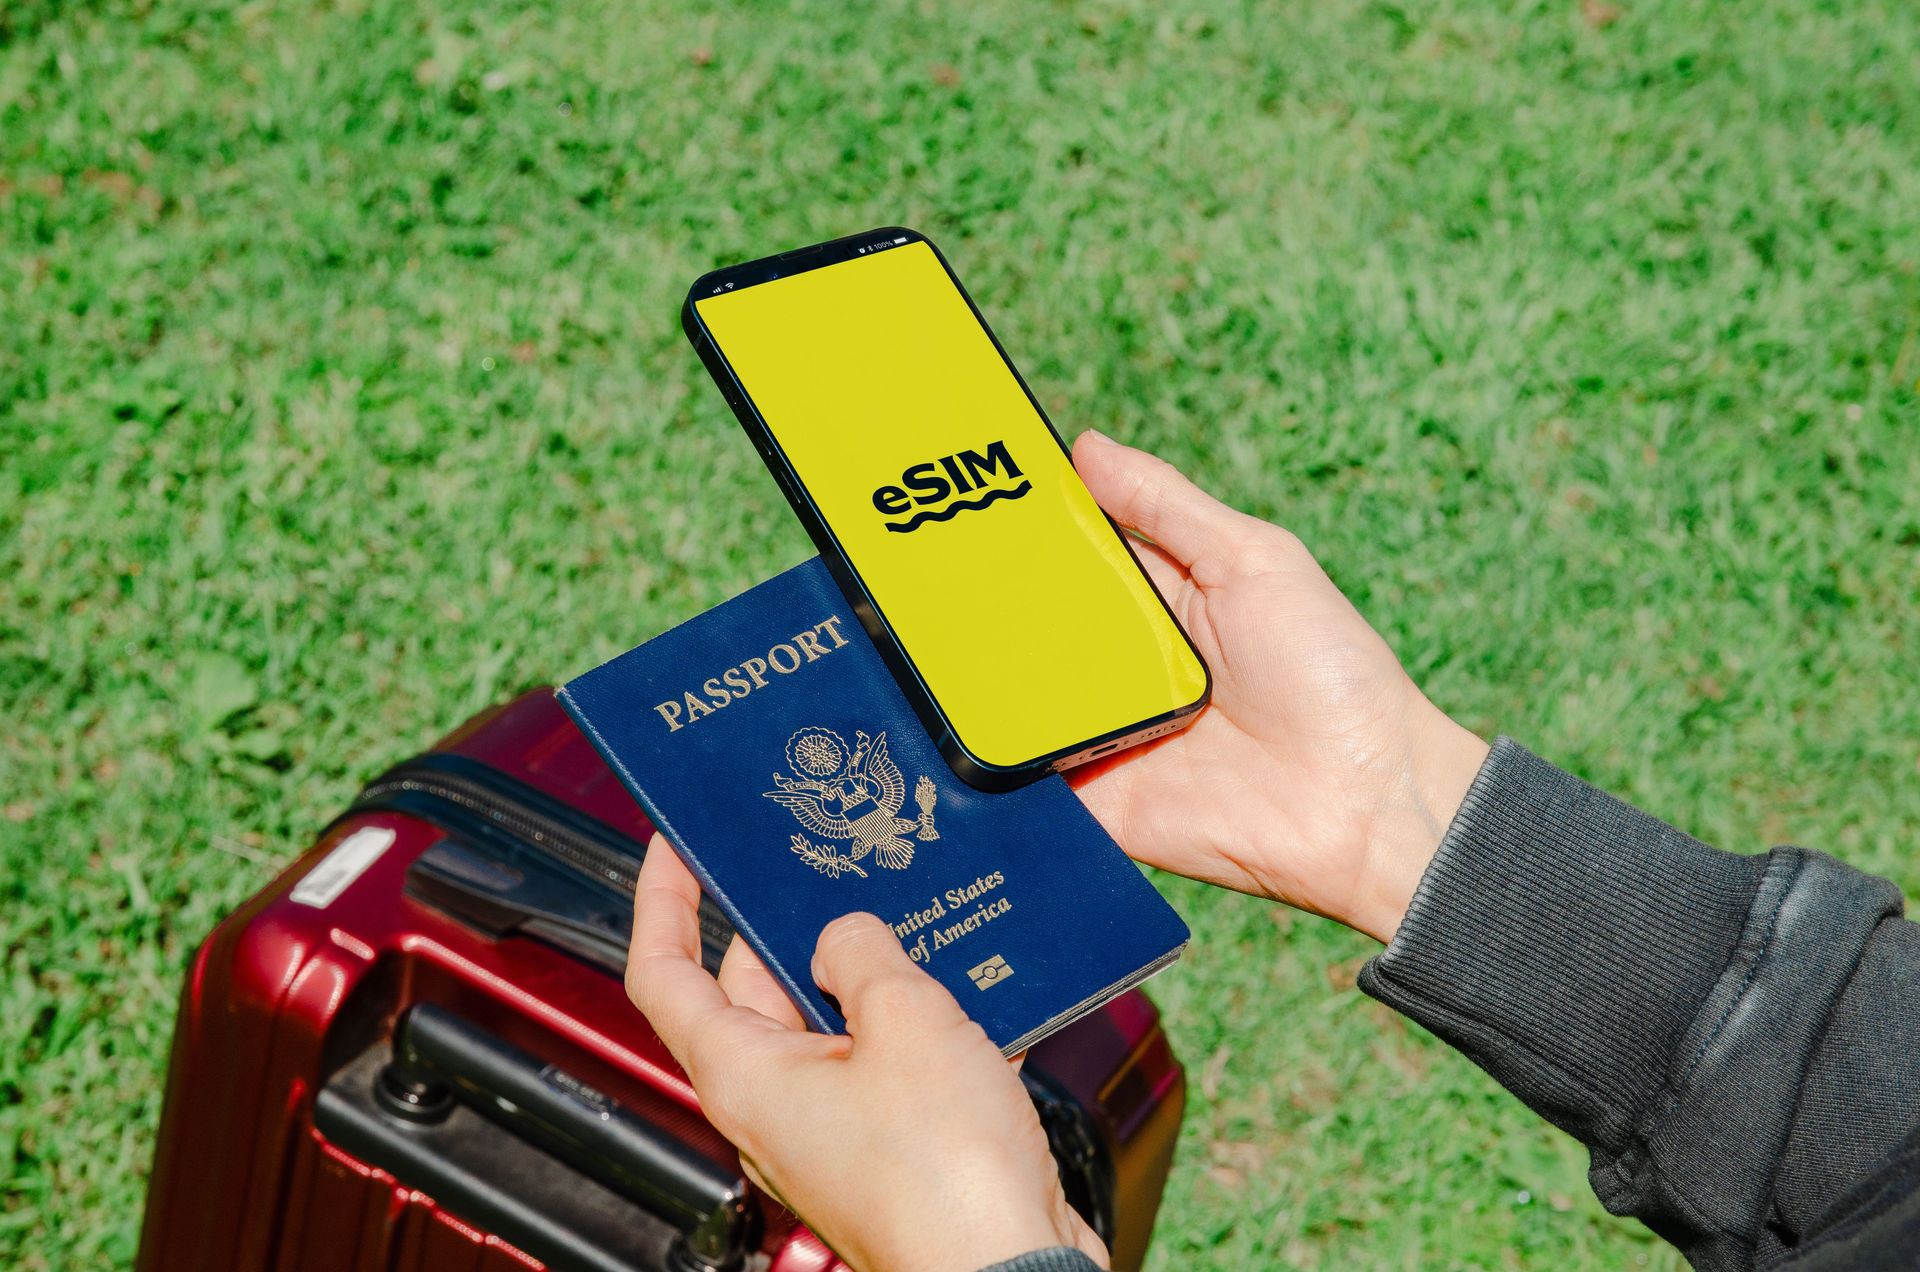
An eSIM lets a phone download a data plan for a destination digitally, without removing or replacing the physical SIM card already in the phone. Most smartphones from the last several years support it, including iPhones from the XS generation onward and a wide range of newer Android models. It is worth confirming a specific phone model supports eSIM before relying on it for a trip.
The practical advantage over a physical SIM swap is speed and simplicity. A destination or regional eSIM data plan can be purchased through a provider before departure and installed on the phone at home. It then activates automatically once the phone connects to a local network at the destination, often right after landing. There is no need to hunt down a phone shop in an unfamiliar city or juggle a tiny physical SIM card.
Providers such as Airalo and Holafly sell eSIM data plans covering a single country or a broader region, priced by data allowance and trip length, purchased entirely online in advance. Coverage and pricing vary by provider and destination. Comparing a couple of options for the specific country is worth the 10 minutes it takes, rather than defaulting to whichever one shows up first in a search.
Before buying a separate eSIM, check what a home carrier already offers. Some U.S. plans, including certain T-Mobile $TMUS and Google $GOOGL Fi plans, include international data and texting in dozens of countries as part of the existing plan. A traveler already paying for one of these plans may not need to buy anything additional at all.
Having working data from the moment of arrival changes the first few hours of a trip meaningfully. Navigation, translation, and ride-hailing apps all depend on it, and none of them work reliably on unfamiliar airport Wi-Fi alone.
A multi-country trip can use more than one eSIM at a time. Most modern phones support several installed profiles even if only one is active for data at any given moment. Switching between them in the phone's settings takes a minute, which matters when crossing a border partway through a longer itinerary.
Credit: Sergei Starostin / Pexels
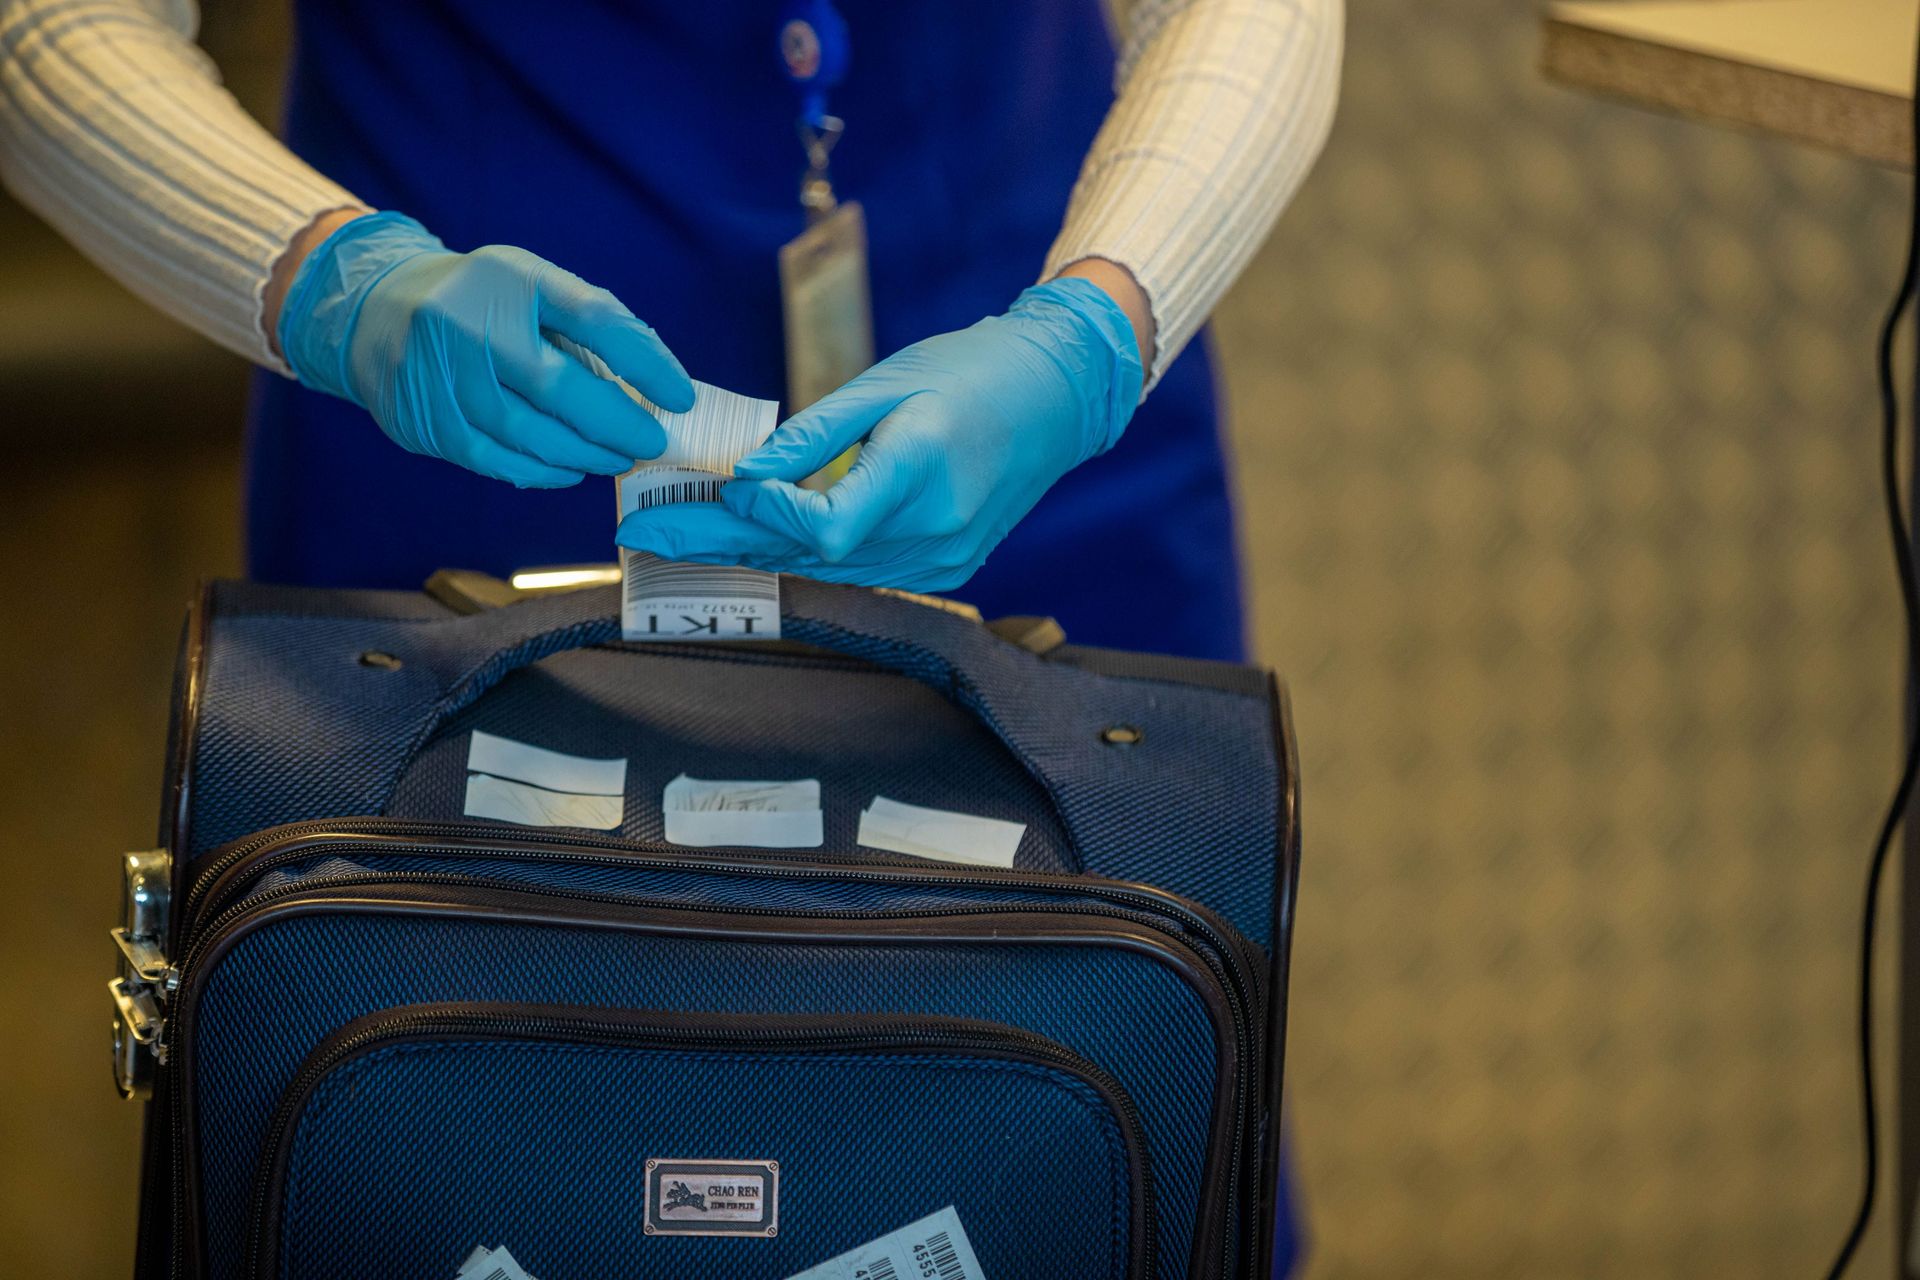
The TSA's 3-1-1 rule governs how liquids, gels, and aerosols pass through carry-on security screening on flights departing U.S. airports. Each container must hold three point four ounces, or 100 milliliters, or less. All containers must fit into a single one-quart clear plastic bag, and each passenger gets one bag. Anything larger needs to go in checked luggage or get left behind.
Most countries follow a similar 100-milliliter limit on liquids in carry-on bags, based on international aviation security standards. The exact bag size, number of bags allowed, and enforcement can vary by airport. A traveler connecting through a foreign airport for the first time should not assume the exact U.S. rule applies identically. A stricter or slightly different local version can catch travelers off guard at a second security checkpoint.
Duty-free liquids purchased after security, such as alcohol or perfume, are usually packed by the retailer in a sealed, tamper-evident bag along with the receipt. That allows them through security on a direct flight without counting against the 3-1-1 limit. The complication comes with connecting flights. If a traveler has to clear security again at a connecting airport, that sealed bag can still get flagged or confiscated during a recheck. This happens most often when changing between international terminals or airlines.
Electronics rules add a second layer, separate from liquids. Laptops and larger electronics typically need to come out of a bag and go through screening separately. Several airports globally now use CT scanners that allow laptops to stay packed instead. Battery rules also matter. Spare lithium batteries and battery packs generally must travel in carry-on luggage rather than checked bags, due to fire risk, a rule enforced by most airlines regardless of destination.
Check the specific security rules for both the departure airport and any connecting airport. Do not assume one rule applies everywhere. That avoids the surprise of losing an expensive skincare purchase or a battery pack at a checkpoint that was not expecting it.
Credit: Nataliya Vaitkevich / Pexels
Keeping copies of key travel documents, separate from the originals, turns a lost or stolen passport from a trip-ending crisis into a manageable delay. The copies that matter most are the passport's photo page, any visa or entry authorization, and the flight itinerary. Add the accommodation confirmation and the travel insurance policy number and emergency contact line.
Physical copies should be packed in a separate bag from the original documents, not folded into the same passport wallet. A stolen bag or wallet often takes both the original and any copy stored alongside it. A second copy left with a trusted contact at home adds another layer, useful if every copy carried on the trip is lost at once.
Digital copies close the gap a physical copy cannot: access from anywhere with an internet connection, even if every physical item carried on the trip is gone. Emailing scanned copies to an account accessible without needing the original device, or storing them in an encrypted cloud folder, makes this possible. A traveler can pull up a passport photo page from a library computer or a borrowed phone.
A lost or stolen passport abroad requires visiting the nearest embassy or consulate for an emergency replacement or a limited-validity document to get home. Having a copy of the passport's information page speeds up that process considerably. It gives embassy staff the passport number, issue date, and photo needed to begin verifying identity without waiting on records requests back home.
This step costs almost nothing in advance, just a few scans or photos taken before the airport. It pays off disproportionately in the one scenario where a trip could otherwise be derailed entirely: losing the one document everything else on an international trip depends on.

Credit: ready made / Pexels
Electrical outlets are not standardized worldwide, and neither is voltage. A device that works perfectly at home can be unusable, or even damaged, without the right adapter and the right understanding of what that adapter does. A plug adapter changes the physical shape of the prongs so they fit a foreign outlet. It does not change the voltage running through that outlet.
Most of the world runs on 220 to 240 volts, while the U.S., Canada, parts of the Caribbean, and Japan run on 100 to 127 volts. Modern phone chargers, laptop chargers, and most camera battery chargers are dual voltage, meaning they accept both ranges automatically. The label near the power input will say something like 100 to 240 volts if that is the case. A device with that label only needs a plug adapter to work anywhere.
Devices without that dual voltage label are the ones that cause problems. Hair dryers, flat irons, curling irons, and electric razors are frequently single voltage, built only for the country they were sold in. Plugging a single voltage 120-volt hair dryer into a 230-volt outlet with only a plug adapter, and no voltage converter, can destroy the device immediately. In worse cases, it can create a fire hazard. A voltage converter, a separate and bulkier device from a simple adapter, is required for single voltage appliances used outside their home voltage range.
Plug shapes are grouped into internationally recognized types labeled with letters. Type A is used in North America. Type C and Type F are common across continental Europe. Type G is used in the U.K., and Type I is used in Australia, among others. A single trip through multiple countries can require more than one plug type, so check the specific type for every country on the itinerary, not just the first destination.
A universal travel adapter that covers multiple plug types, paired with confirming voltage compatibility for any single-voltage device being packed, solves both problems before departure. That beats arriving somewhere with the wrong adapter packed and no outlet that will accept anything in the bag.

Credit: Audy of Course / Pexels
Airport currency exchange kiosks consistently offer worse exchange rates and higher fees than ATMs or banks. This gap exists because kiosks are catering to a captive audience with no other option in the moment. The rate posted at an airport kiosk is often several percentage points worse than the actual market exchange rate. On top of that, a separate service fee usually applies to the transaction itself.
Withdrawing local currency from an ATM after arrival generally provides a rate much closer to the real market rate. Choose one affiliated with a well-known national or international bank, rather than an independent or currency-exchange-branded machine. Independent ATMs, often found in tourist-heavy areas or directly inside terminals, tend to charge higher withdrawal fees and sometimes worse conversion rates than ATMs attached to an actual bank branch.
The dynamic currency conversion trap described earlier applies directly at these ATMs too. When a machine asks whether to be charged in the home currency or the local currency, choosing the local currency lets the card network apply its own conversion rate. That rate is almost always better than the one the ATM operator sets for the home-currency option.
Carrying a small amount of local cash acquired before departure removes the pressure to use a currency kiosk out of necessity right after a long flight. This amount only needs to cover a taxi, a meal, or an emergency in the first couple of hours after landing, not the whole trip.
Notifying a bank of travel dates in advance matters here too. A blocked card at an airport ATM leaves a traveler with exactly the currency kiosk problem this habit is meant to avoid. Planning the money side of a trip before departure, rather than solving it reactively at the airport, consistently produces a better exchange rate and fewer fees across the entire trip.

Credit: Amine İspir / Pexels
Learning a small set of phrases in the local language before departure changes how interactions with locals go, even in cities where English is widely spoken in tourist areas. Hello, please, thank you, excuse me, do you speak English, and how much does this cost cover a large share of daily interactions. That includes ordering food and asking for directions.
This is not about fluency or even conversational ability. It is a small signal of effort that locals in nearly every country notice and respond to, often shifting a transaction from purely functional to noticeably warmer. Attempting the local language first, even badly, and switching to English only when needed, tends to land better than opening every interaction in English by default.
Offline translation tools remove the excuse of not having time to memorize much before a trip. Google $GOOGL Translate and similar apps allow entire language packs to be downloaded in advance. That lets a phone translate text or speech without needing a data connection or Wi-Fi. This matters most in the exact moments connectivity is least reliable, like inside a train station or a rural area between cities.
Camera-based translation is built into most major translation apps now. It can point a phone camera at a menu, a street sign, or a printed notice and overlay a translation directly on the screen in real time. This has become one of the more genuinely useful pieces of travel technology. It is good for reading things that were never going to be spoken aloud, like a restaurant menu with no English translation or a transit sign.
None of this replaces a phrasebook or a language course for a longer stay. A first international trip is usually measured in days rather than months. For that, a handful of memorized phrases combined with an offline translation app covers the vast majority of situations a traveler will run into.

Credit: Fausto Ferreira / Pexels
Tipping customs vary enough between countries that behavior considered generous in one place reads as confusing, unnecessary, or even mildly insulting in another. Researching the specific norm for a destination before arrival avoids both under-tipping out of ignorance and over-tipping in a way that can make service staff uncomfortable.
In the U.S., tipping around 15 to 20 percent at sit-down restaurants is standard practice and often expected. It is factored into how service industry wages are structured in the first place. Travelers $TRV arriving from countries without a strong tipping culture are sometimes caught off guard by this expectation. They under-tip without realizing it is considered a normal part of the bill rather than an optional bonus.
Japan and South Korea sit at the opposite end. Tipping is not customary in either country. In some situations, leaving money on a table or trying to hand cash directly to a server can create confusion. Staff may even chase down a customer to return it, since good service is considered already included in the price.
Much of continental Europe falls somewhere in between. A service charge is frequently already included in a restaurant bill. Additional tipping tends to mean rounding up the bill or leaving a small amount, rather than calculating a percentage the way U.S. custom expects. Check a bill for a line labeled service charge or service compris before adding anything extra, to avoid paying for the same service twice.
Parts of the Middle East and North Africa extend small cash tips well beyond restaurants, covering porters, parking attendants, and even someone who points out a restroom. These small tips are often expected rather than optional. Carrying a stock of small local bills for exactly this purpose avoids the awkwardness of only having large notes on hand.
The reliable habit, regardless of destination, is checking the specific local norm rather than defaulting to a home-country instinct. The same generous gesture that reads as normal in one country can read as either stingy or excessive in the next. The reasons have nothing to do with the quality of service received.

Credit: Robert Forever Ago / Pexels
Religious and culturally conservative sites frequently enforce a dress code that many first-time international travelers only discover after being turned away at the entrance. Covering the shoulders and knees is the most common baseline requirement across mosques, temples, and many churches. Some sites extend this to covering the head, particularly for women entering certain temples, mosques, and Sikh gurdwaras.
Shoe removal before entering is standard at most mosques, many Buddhist and Hindu temples, and some churches in specific regions. This practice is tied to keeping the space clean rather than any judgment about the visitor. Sites that expect this typically provide a place to leave shoes near the entrance. A traveler wearing shoes that are hard to remove will find the process more of a hassle than it needs to be.
Some destinations extend modest dress expectations well beyond religious buildings and into everyday public life. This shows up most in conservative regions of the Middle East, South Asia, and parts of North Africa. Full coverage is not always legally mandated. But clothing considered completely ordinary in a traveler's home country can still draw unwanted attention or make daily interactions noticeably more difficult in these regions.
Carrying a lightweight scarf or a layer that can be thrown on quickly solves the problem of an unplanned visit to a religious site. Most major religious buildings around the world attract sightseers regardless of faith. Arriving unprepared at a site not originally on the day's plan is common enough that packing this one item in advance avoids the entire issue.
Researching the specific expectations of a destination before packing matters more than assuming a single global standard applies. The range runs wide. A beach destination in Southeast Asia and a religious city in the Middle East can call for almost entirely different wardrobes, despite being reached on the same round-the-world itinerary.

Credit: Sergei Bezborodov / Pexels
Every country sets its own duty-free allowance. This is a specific value or quantity of goods like alcohol, tobacco, and gifts that a traveler can bring in without declaring them or paying import duty. Exceeding that allowance does not automatically mean trouble. It does mean the traveler is required to declare the goods and may owe tax on the amount over the limit.
Agricultural products are the category most likely to cause a genuine problem rather than a simple tax bill. Fresh fruit, meat, plants, seeds, and even soil on hiking boots are commonly restricted or banned outright by customs authorities worldwide. This is due to biosecurity concerns about introducing pests or diseases that do not exist in the destination country. Countries with strong agricultural sectors, including the U.S., Australia, and New Zealand, enforce this particularly strictly. Failing to declare a banned item, even accidentally, can carry a real fine rather than just confiscation.
Declaring something uncertain is almost always the safer choice compared with guessing wrong and staying silent. Customs officers generally treat an honest declaration of an item a traveler was unsure about far more leniently than discovering an undeclared item during a search. A search can trigger a broader look at the traveler's belongings and a more serious penalty.
Keeping receipts for expensive purchases made abroad, particularly electronics, jewelry, or anything that might look notably new, helps prove the item's value if a customs officer asks about it. That matters whether the goal is confirming the item falls under the duty-free allowance or assessing duty owed on the excess.
The specific list of restricted and banned items, along with the duty-free value threshold, is published by each country's customs authority and varies enough between countries. Checking it for the specific destination, rather than relying on a general sense of what customs usually restricts, avoids the most common and avoidable customs problems.
Credit: Global Residence Index / Unsplash
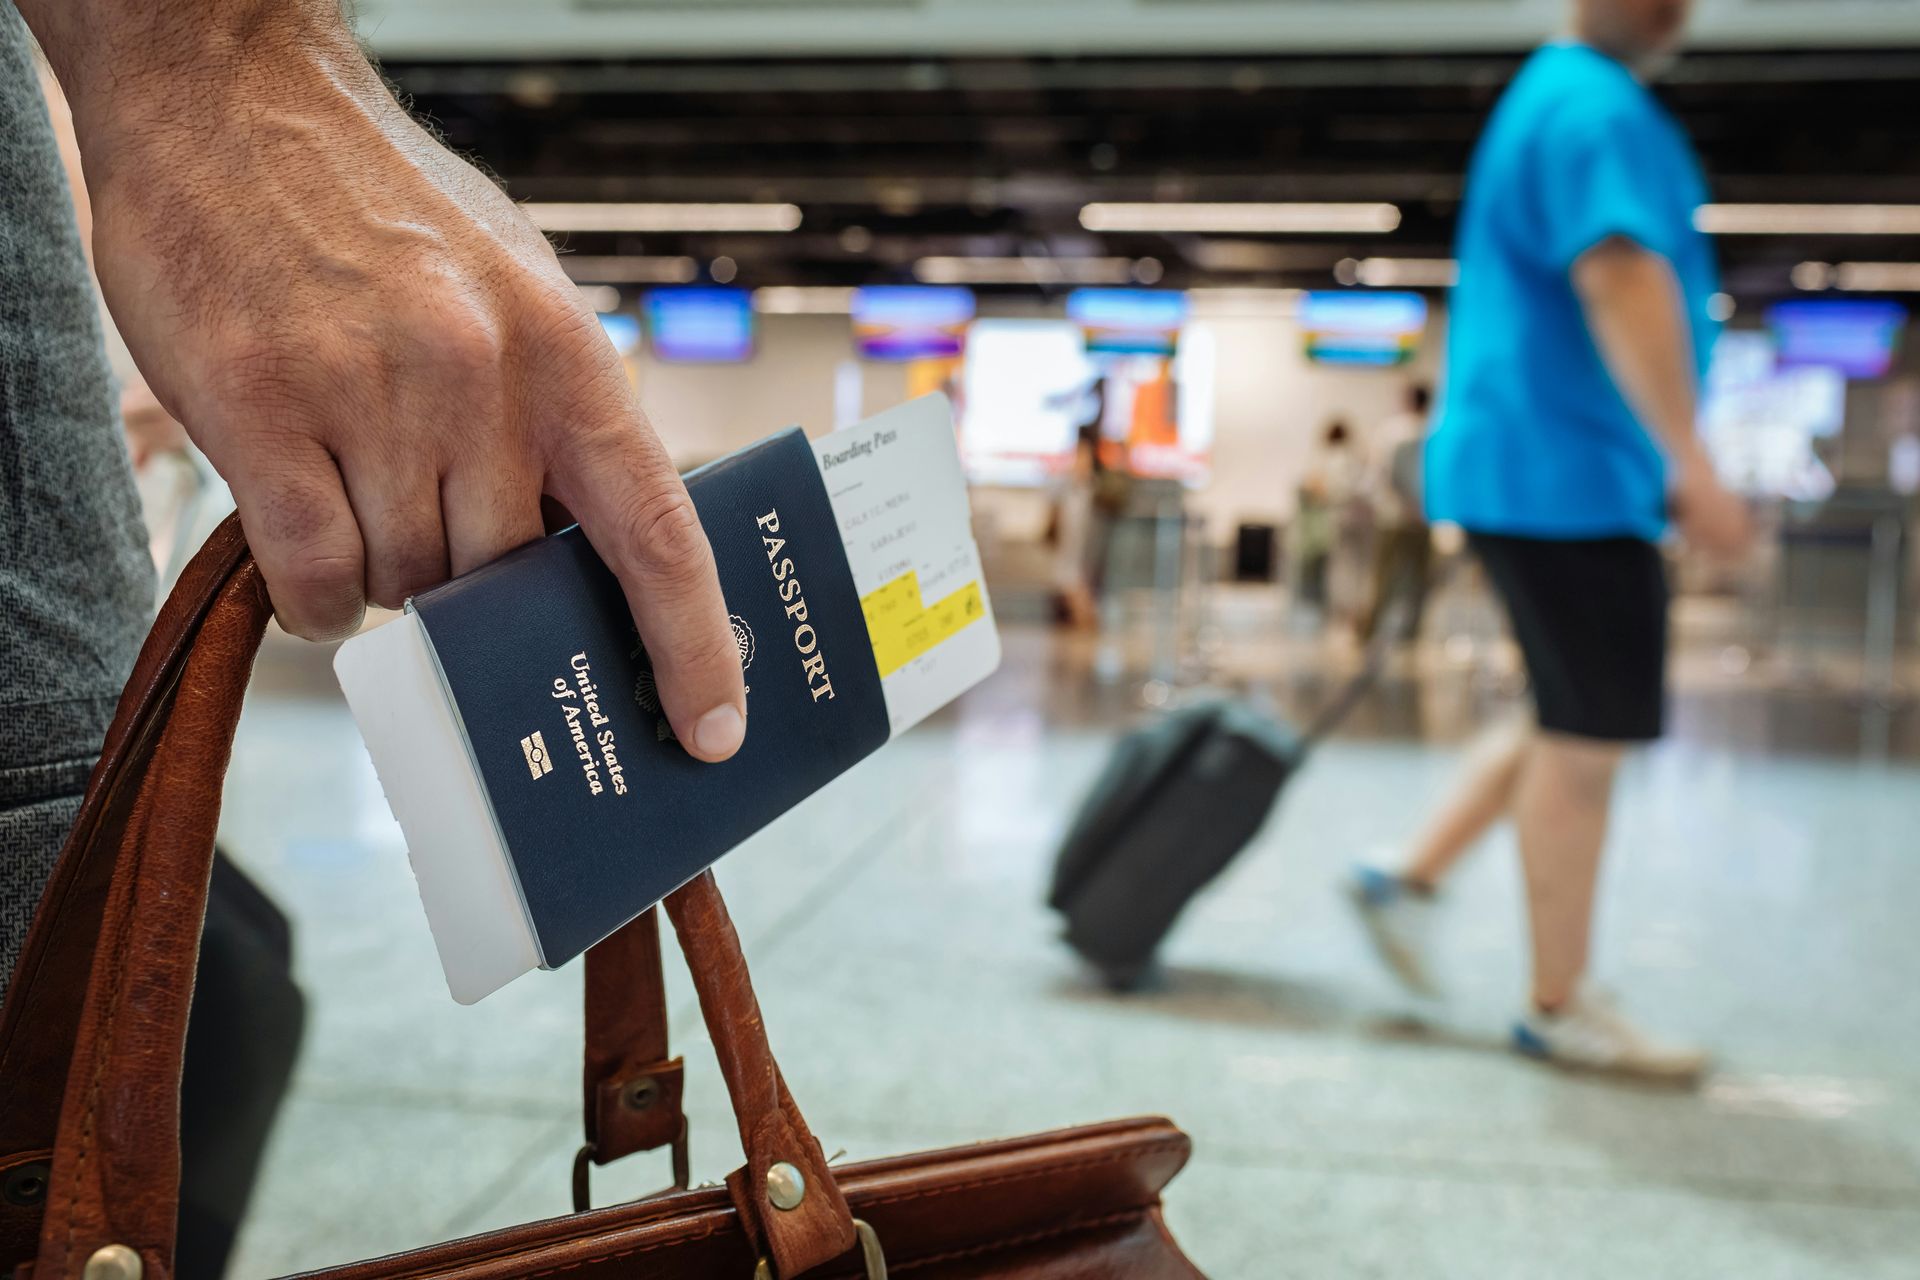
Passport control is the checkpoint where an arriving traveler's documents get reviewed before officially entering a country. It typically involves being asked the purpose of the trip, its length, and where the traveler is staying, even for travelers arriving on an approved visa or electronic travel authorization. Answers given here should match whatever was declared on any visa or entry authorization application, since inconsistency is exactly what these questions are designed to catch.
Digital arrival cards have replaced paper landing cards in a growing number of countries. They often require travelers to submit basic trip details online in the days before arrival, rather than filling out a form on the plane. Some countries still use paper forms, some use both depending on the traveler's nationality, and a few have moved to app-based systems entirely. Check the current process for the specific destination shortly before departure, since arriving without something now required in advance is an easy mistake to make.
Automated passport gates use facial recognition or a passport's embedded chip to verify identity without a face-to-face officer interaction. They are available in a growing list of airports for eligible passport holders, often based on nationality, age, or membership in a trusted traveler program. These gates can cut passport control time significantly compared with a staffed line. But eligibility rules vary by country and are worth checking rather than assuming.
Proof of onward travel, meaning a return or connecting flight booked out of the country, gets requested at some borders even when not officially listed as a requirement. This is especially common for travelers on a one-way ticket or a tourist visa with a fixed maximum stay. A screenshot or printed confirmation of a return flight, kept accessible without needing to search an email inbox under pressure, avoids an awkward exchange at the counter.
Arrival procedures shift as countries adopt new technology and update requirements. The reliable habit is confirming the current process on the destination's official immigration or government website in the weeks before departure. Do not rely on how the process worked on a previous trip.

Credit:Ricardo Oliveira / Pexels
Jet lag comes from the body's internal clock being out of sync with the destination's actual time. It responds best to preparation that starts before departure, not treatment that starts after landing. Start shifting bedtime and wake time a few days before the flight, by 30 minutes to an hour per day, moving toward the destination's time zone. This gives the body a head start on the adjustment.
Light exposure is one of the strongest tools for resetting the body's internal clock. The direction that helps depends on which way a traveler is flying. Arriving somewhere east of home benefits from seeking bright light in the destination's morning and avoiding it in the evening. Flying west generally requires the opposite pattern, since the adjustment needed runs the other direction.
During the flight itself, avoiding alcohol and heavy meals reduces the disruption to sleep quality. Both interfere with the kind of deep sleep that actually helps reset the body's clock, rather than just passing time in a seat. Staying hydrated matters for the same reason: cabin air is already dry, and dehydration on top of disrupted sleep compounds how rough the adjustment period feels on arrival.
Once landed, the best single habit is aligning sleep with the destination's actual nighttime as quickly as possible. That can mean staying awake through a difficult afternoon or going to bed earlier than feels natural on the first night. Napping for more than about 20 to 30 minutes during the destination's daytime tends to work against this adjustment. A longer nap can reset the body's sense of what counts as nighttime all over again.
None of this eliminates jet lag entirely, particularly on trips crossing more than six or so time zones. But starting the adjustment before departure, rather than after arrival, consistently shortens how many days it takes to feel normal.
Credit:Samson Katt / Pexels
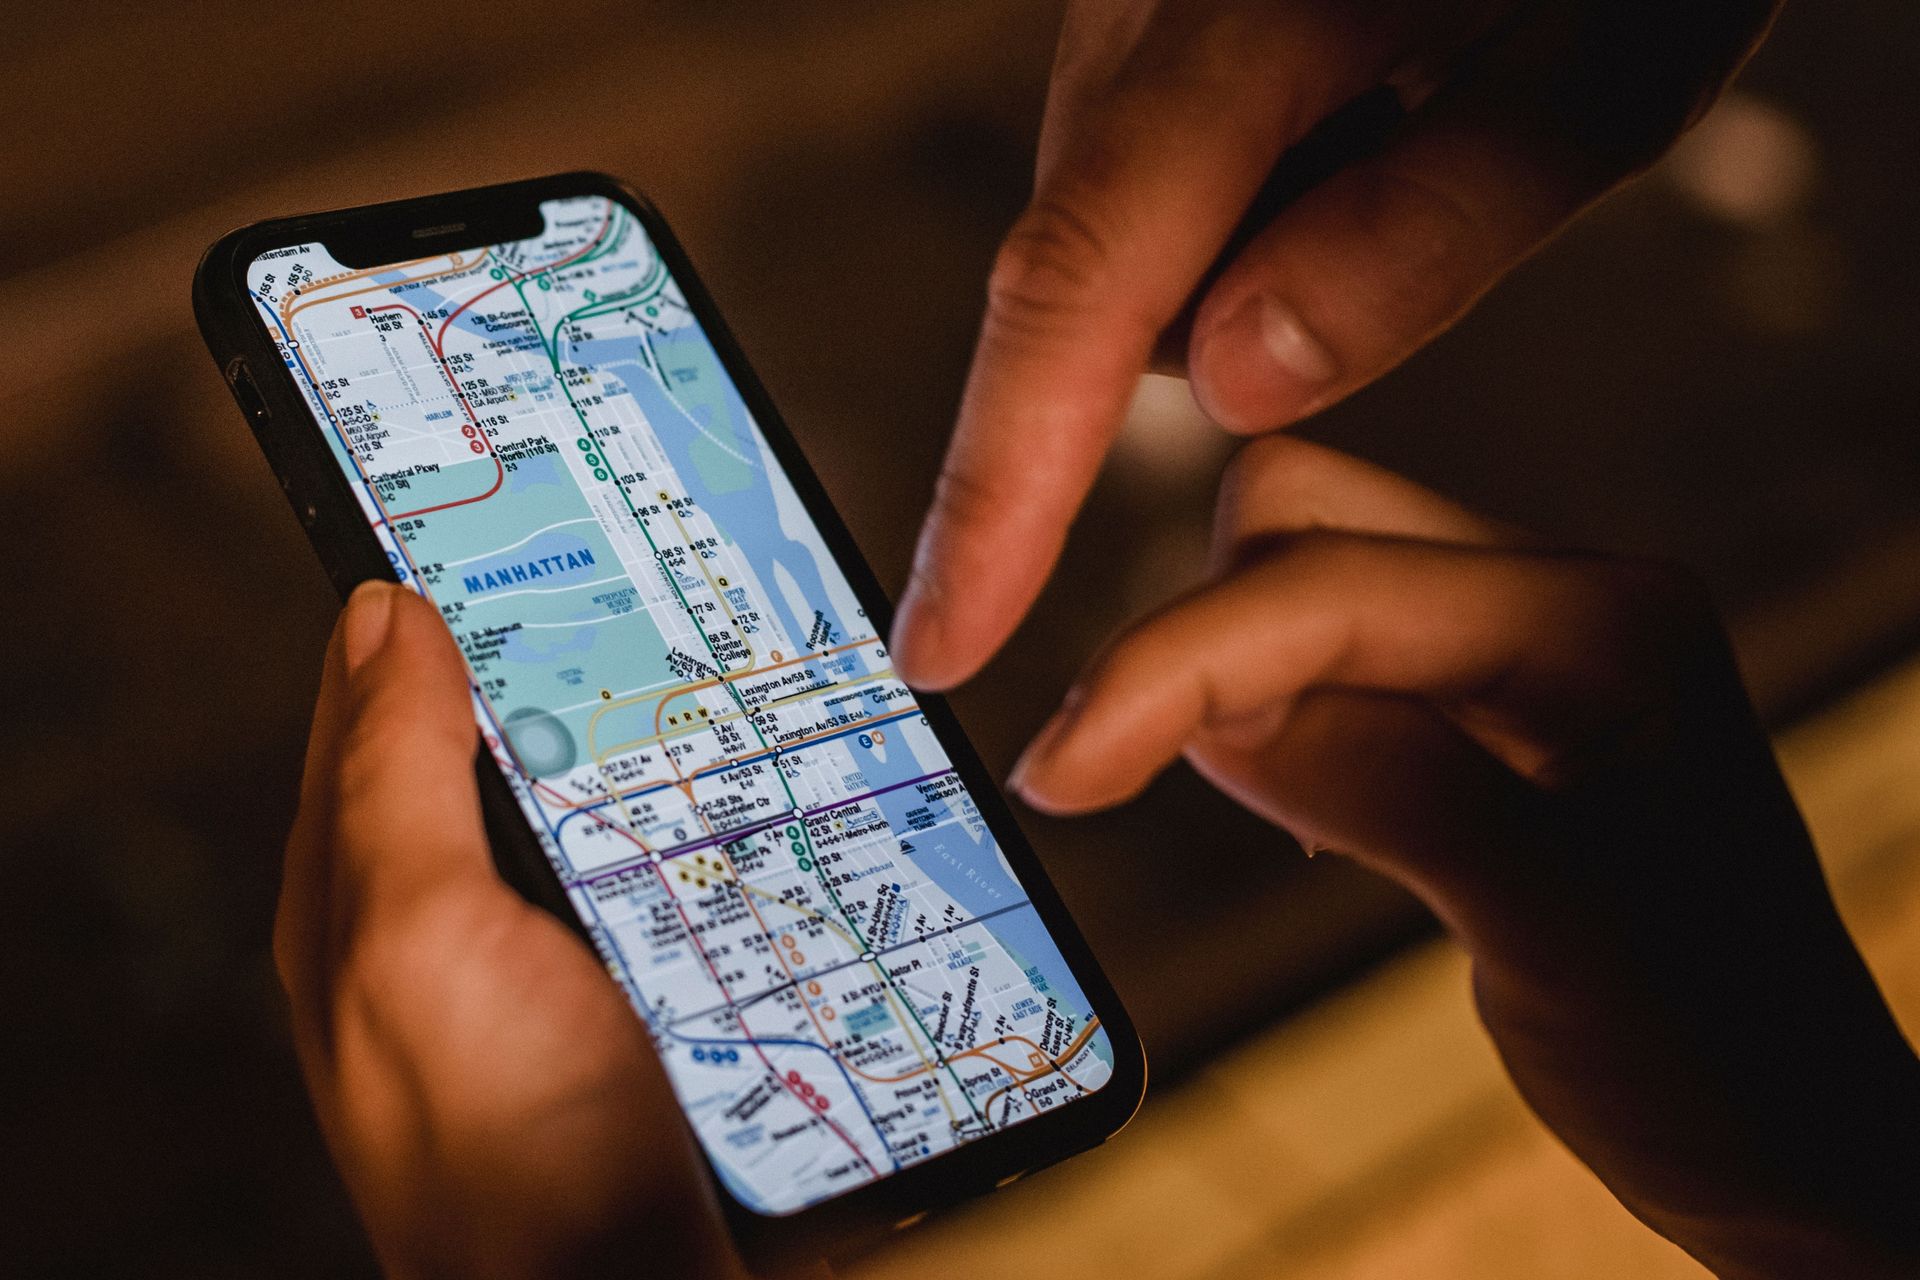
Offline maps solve the single most common connectivity failure of a first international trip: needing navigation exactly when Wi-Fi or cell data is unavailable. Google $GOOGL Maps allows a specific geographic area to be downloaded in advance for offline use, covering driving and walking directions, business locations, and addresses without needing an active data connection. It will not provide live traffic conditions or public transit routing while offline.
Dedicated offline mapping apps, including Maps.me, take this further by offering more complete offline functionality by design rather than as an add-on feature. This matters most in regions with less reliable cell coverage, or in countries where a traveler's phone plan or eSIM does not include full data access. Download the relevant map area the night before departure, while still connected to home Wi-Fi, to avoid discovering a connectivity gap after landing.
Translation apps deserve the same advance preparation. Downloading a destination's language pack for offline use means translation still works without a data connection. That covers a subway tunnel, a rural area between cities, or any spot signal has not reached yet.
Ride-hailing apps do not transfer neatly across borders the way maps and translation tools do. Uber $UBER operates in a large number of countries but not all of them. Several regions rely on entirely different platforms instead, including Bolt across parts of Europe and Africa, and Grab across much of Southeast Asia. Download and register for the app that actually operates in the destination, rather than assuming a home-country app will work. That avoids standing outside an airport with a phone full of apps that show no available rides.
Check which apps actually function in a specific destination, and download whatever offline content each of them supports, before losing access to reliable Wi-Fi. That removes one of the more common sources of stress in the first few disorienting hours after landing somewhere new.
Credit: cottonbro studio / Pexels
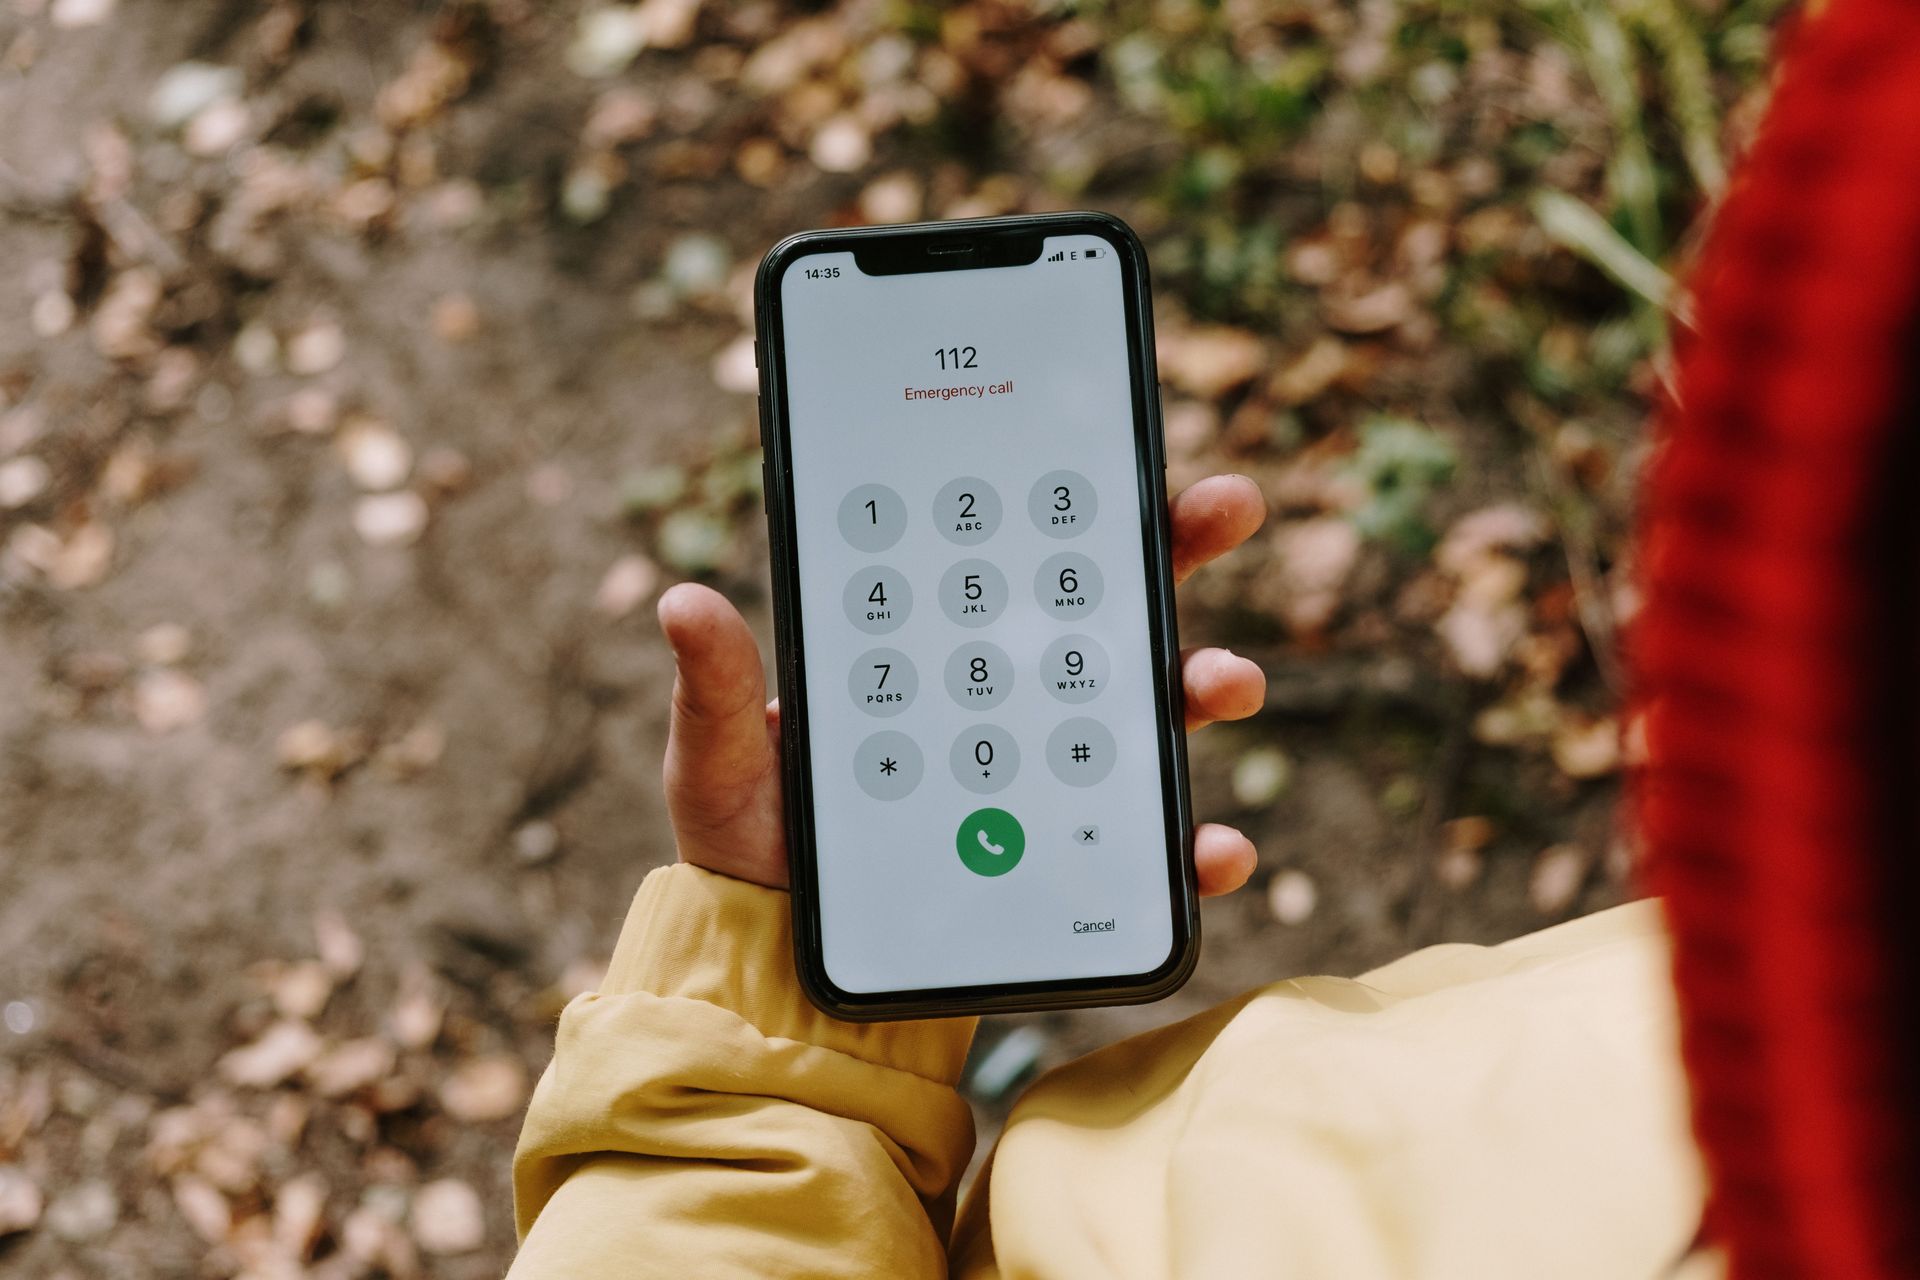
Emergency numbers are not universal, and assuming a home country's number works everywhere is a mistake worth correcting before it matters. The U.S. and Canada use 911, the U.K. uses 999, and Australia uses 000. Much of Europe uses 112, a number that also functions as a backup in many countries that officially use a different primary number.
Knowing the correct number for a specific destination before an emergency happens beats trying to look it up during one. It is a small piece of preparation that matters disproportionately in the rare moment it gets used. This information is typically listed on a destination's tourism board website or a home country's travel advisory page for that country, alongside other safety information worth reading before departure.
Locating the home country's embassy or consulate in the destination city matters too. This covers situations less urgent than a medical emergency but still serious: a lost or stolen passport, an arrest, or the need to reach family during a crisis back home. Save its address and phone number directly in a phone's contacts, rather than just bookmarking a webpage. An embassy can offer only limited help in most situations, since it cannot get someone out of jail or pay for a hotel bill. But it can issue an emergency passport, provide a list of local lawyers or doctors, and contact family on a traveler's behalf.
Saving this information directly in a phone's contacts, rather than relying on finding it online during the emergency itself, matters for a simple reason. The exact moment this information becomes necessary is often the same moment that internet access, phone battery, or a clear head are all in short supply.
This is the last item on the list for a reason. Everything above it is about preventing a problem. This is what remains for the rare case where prevention was not enough. Knowing it before departure costs nothing and takes only a few minutes to look up.