
20 things nobody tells you when you start gardening for the first time
Gardening has a steep learning curve only if nobody explains the fundamentals — these 20 skills cover everything you need to know before putting anything in the ground
Gustavo Fring / Pexels
Most people who try gardening for the first time and give up do so not because they lack ability or patience but because nobody told them the right things at the right moment. They planted too early and lost seedlings to a late frost. They watered every day and drowned their plants. They bought soil from the wrong bag and wondered why nothing grew. They did not know that a garden center employee in May is the most useful person they could talk to, or that a ten-dollar soil test would tell them more about their garden than any book. They made the specific, predictable mistakes that first-time gardeners make because gardening knowledge is largely transmitted by people who have been doing it so long that the fundamentals feel too obvious to mention.
They are not obvious. The fundamentals of gardening — how soil actually works, why drainage matters more than watering schedule, how to read a plant label, when to sow and when to transplant, what frost dates mean, how to identify what is going wrong before the plant dies — are the things this list covers. They are not complex, but they are specific, and the specificity is what makes the difference between a garden that works and one that doesn't.
This list is organized to follow the arc of a first growing season — from understanding the space and the soil, through planning and planting, to maintaining, troubleshooting, and preparing for the following year. Some of the skills are purely practical. Some are mindset shifts that change how you approach the whole enterprise. All of them are things that experienced gardeners know and wish someone had told them earlier.
A note on scale: these skills apply whether you are working with a large outdoor plot, a small raised bed, a collection of containers on a balcony, or a single window box. The principles of soil, water, light, and timing are the same at any scale. Start at whatever scale your space and your confidence allow. The skills transfer in every direction.
1 / 20
Reading your light
Aira Evard / Pexels
Before buying a single plant or seed, spend a few days observing how light moves across your growing space. This is the single most important piece of information a new gardener can have, and it is the one most commonly skipped in the enthusiasm to get started. A plant described on its label as requiring full sun will fail in a spot that gets four hours of morning light and is shaded for the rest of the day. A shade-tolerant plant placed in full afternoon sun in a south-facing garden will scorch and die within days of planting.
Full sun means at least six hours of direct sunlight per day. Part sun or part shade means three to six hours. Full shade means fewer than three hours. These categories matter because they determine which plants will thrive, which will survive but underperform, and which will die regardless of how well everything else is managed.
The practical approach is to observe your space at different times of day over several days — ideally at two-hour intervals from morning to evening — and note where the sun falls and for how long. Photograph the space at each interval if helpful. Draw a rough map if the space is large or complex. South-facing areas receive the most sun in the Northern Hemisphere; north-facing areas the least. East-facing areas get morning sun, which is gentler; west-facing areas get afternoon sun, which is more intense. Buildings, fences, and trees cast shadows that shift with the season as the sun's angle changes.
The light assessment will save significant money and frustration. Plants placed in the right light conditions grow faster, need less water, suffer fewer pest and disease problems, and require less intervention generally. Light is the variable you cannot compensate for — unlike water or nutrients, you cannot add more of it.
2 / 20
Understanding soil
Anna Shvets / Pexels
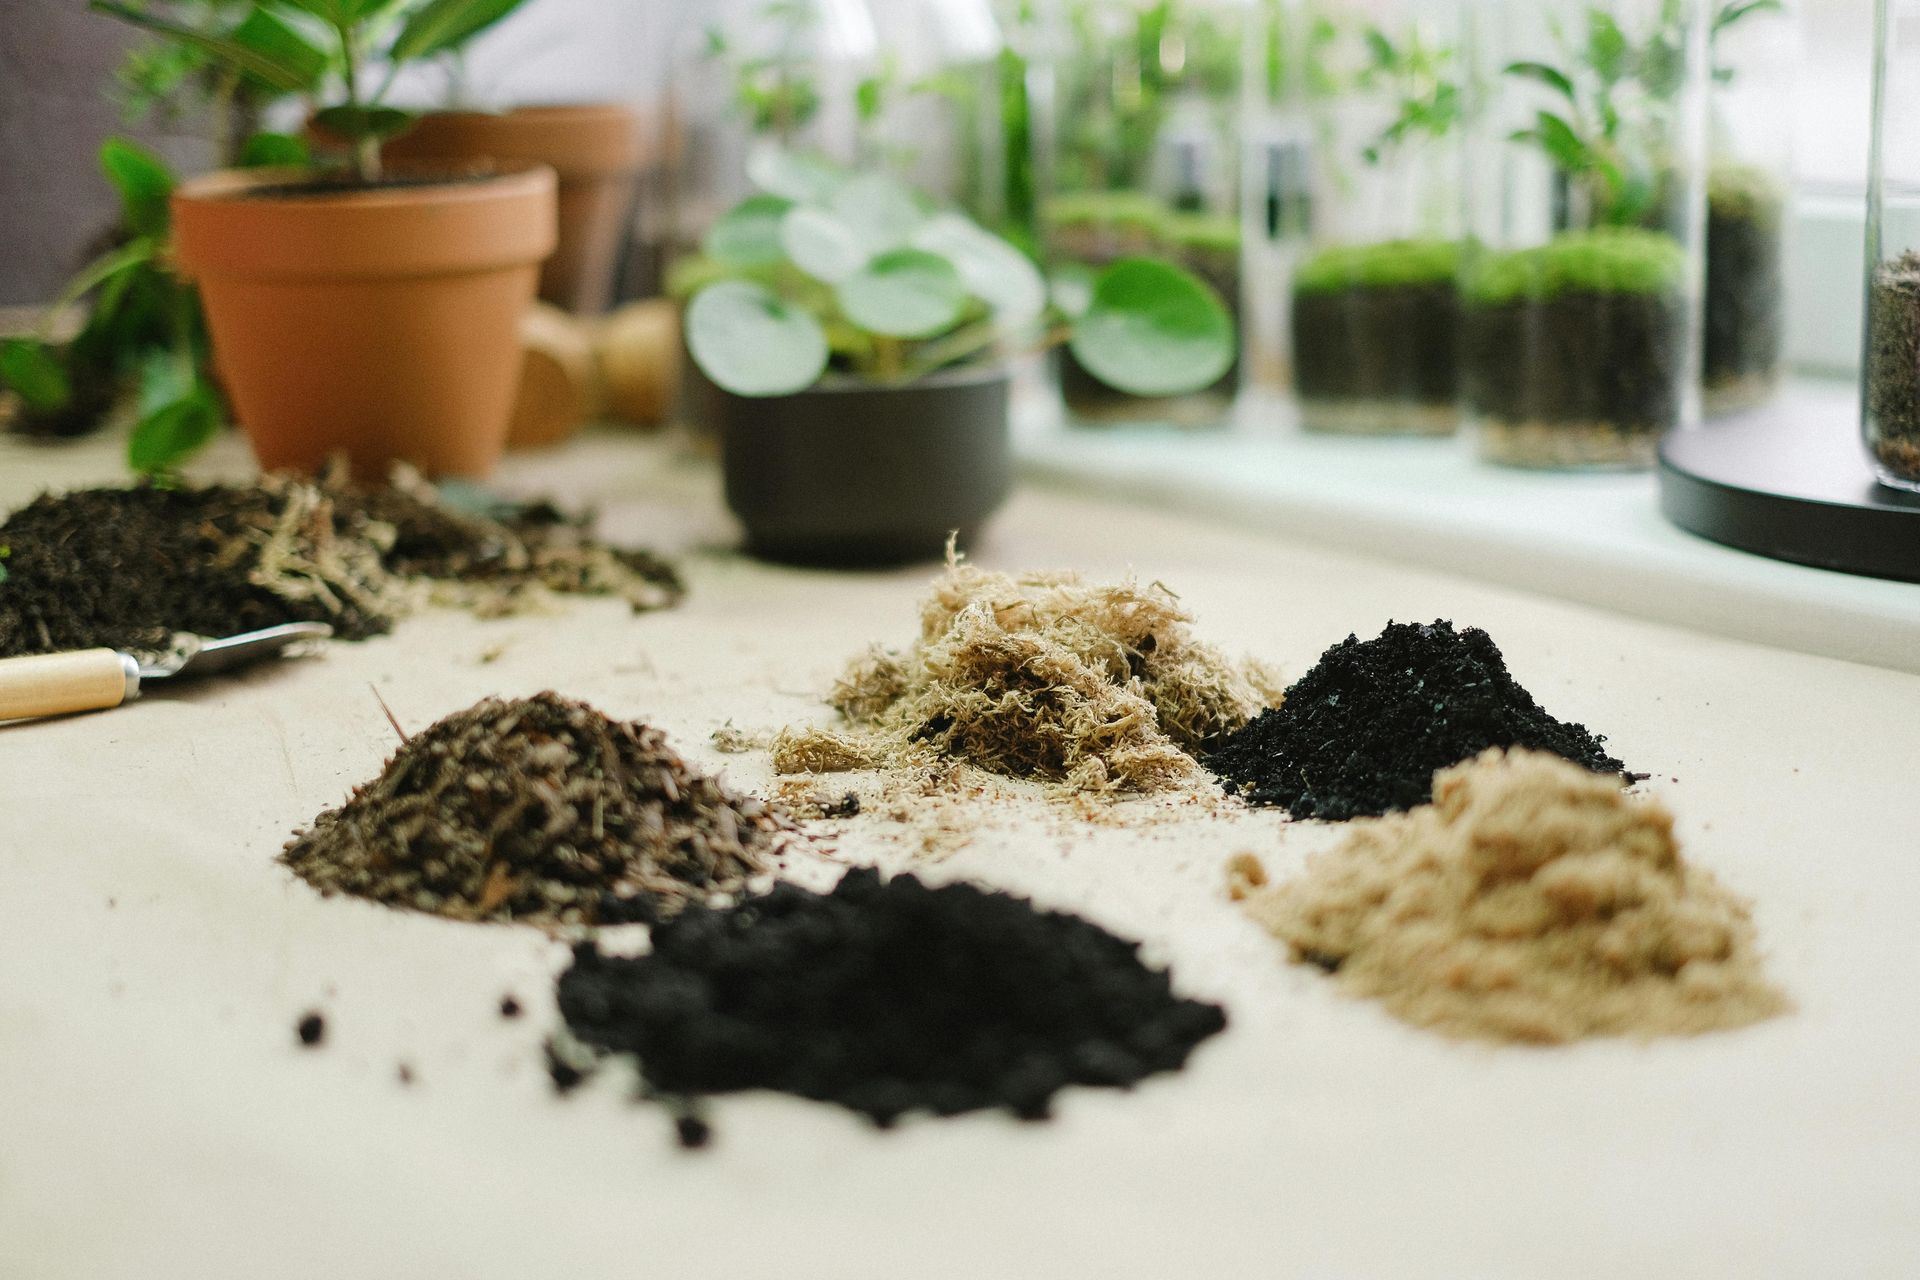
Soil is not dirt. Dirt is what comes off shoes. Soil is a living ecosystem — a complex mixture of mineral particles, organic matter, water, air, and billions of microorganisms per teaspoon — and the quality of that ecosystem determines whether plants thrive or struggle regardless of what you do above ground. Most gardening problems that appear to be about water, nutrients, or pests are actually about soil. Getting the soil right is the highest-return investment a new gardener can make.
The mineral component of soil is classified by particle size into sand, silt, and clay. Sandy soil drains quickly, warms early in spring, and does not hold nutrients well. Clay soil retains water and nutrients but drains poorly, compacts easily, and is slow to warm. Silty soil is intermediate. Loam — a balanced mixture of all three — is the ideal growing medium, but most gardens have soil that leans toward one type or another.
The organic component — humus, the dark, spongy material produced by the decomposition of plant and animal material — is what makes soil fertile, supports the microbial life that drives nutrient cycling, and improves the structure of both sandy and clay soils. Adding organic matter is the most universally beneficial thing you can do for garden soil, regardless of its starting composition. Compost, well-rotted manure, and leaf mold are the three most accessible forms.
Soil pH — its acidity or alkalinity, measured on a scale of one to fourteen — affects the availability of nutrients to plants. Most vegetables and ornamental plants prefer a pH between 6.0 and 7.0 — slightly acidic to neutral. Blueberries need significantly more acidic soil, pH 4.5 to 5.5. Lavender and other Mediterranean plants prefer slightly alkaline conditions. An inexpensive soil pH test kit, available at garden centers, tells you your starting point and guides any amendments.
3 / 20
Knowing your frost dates
Christina & Peter / Pexels
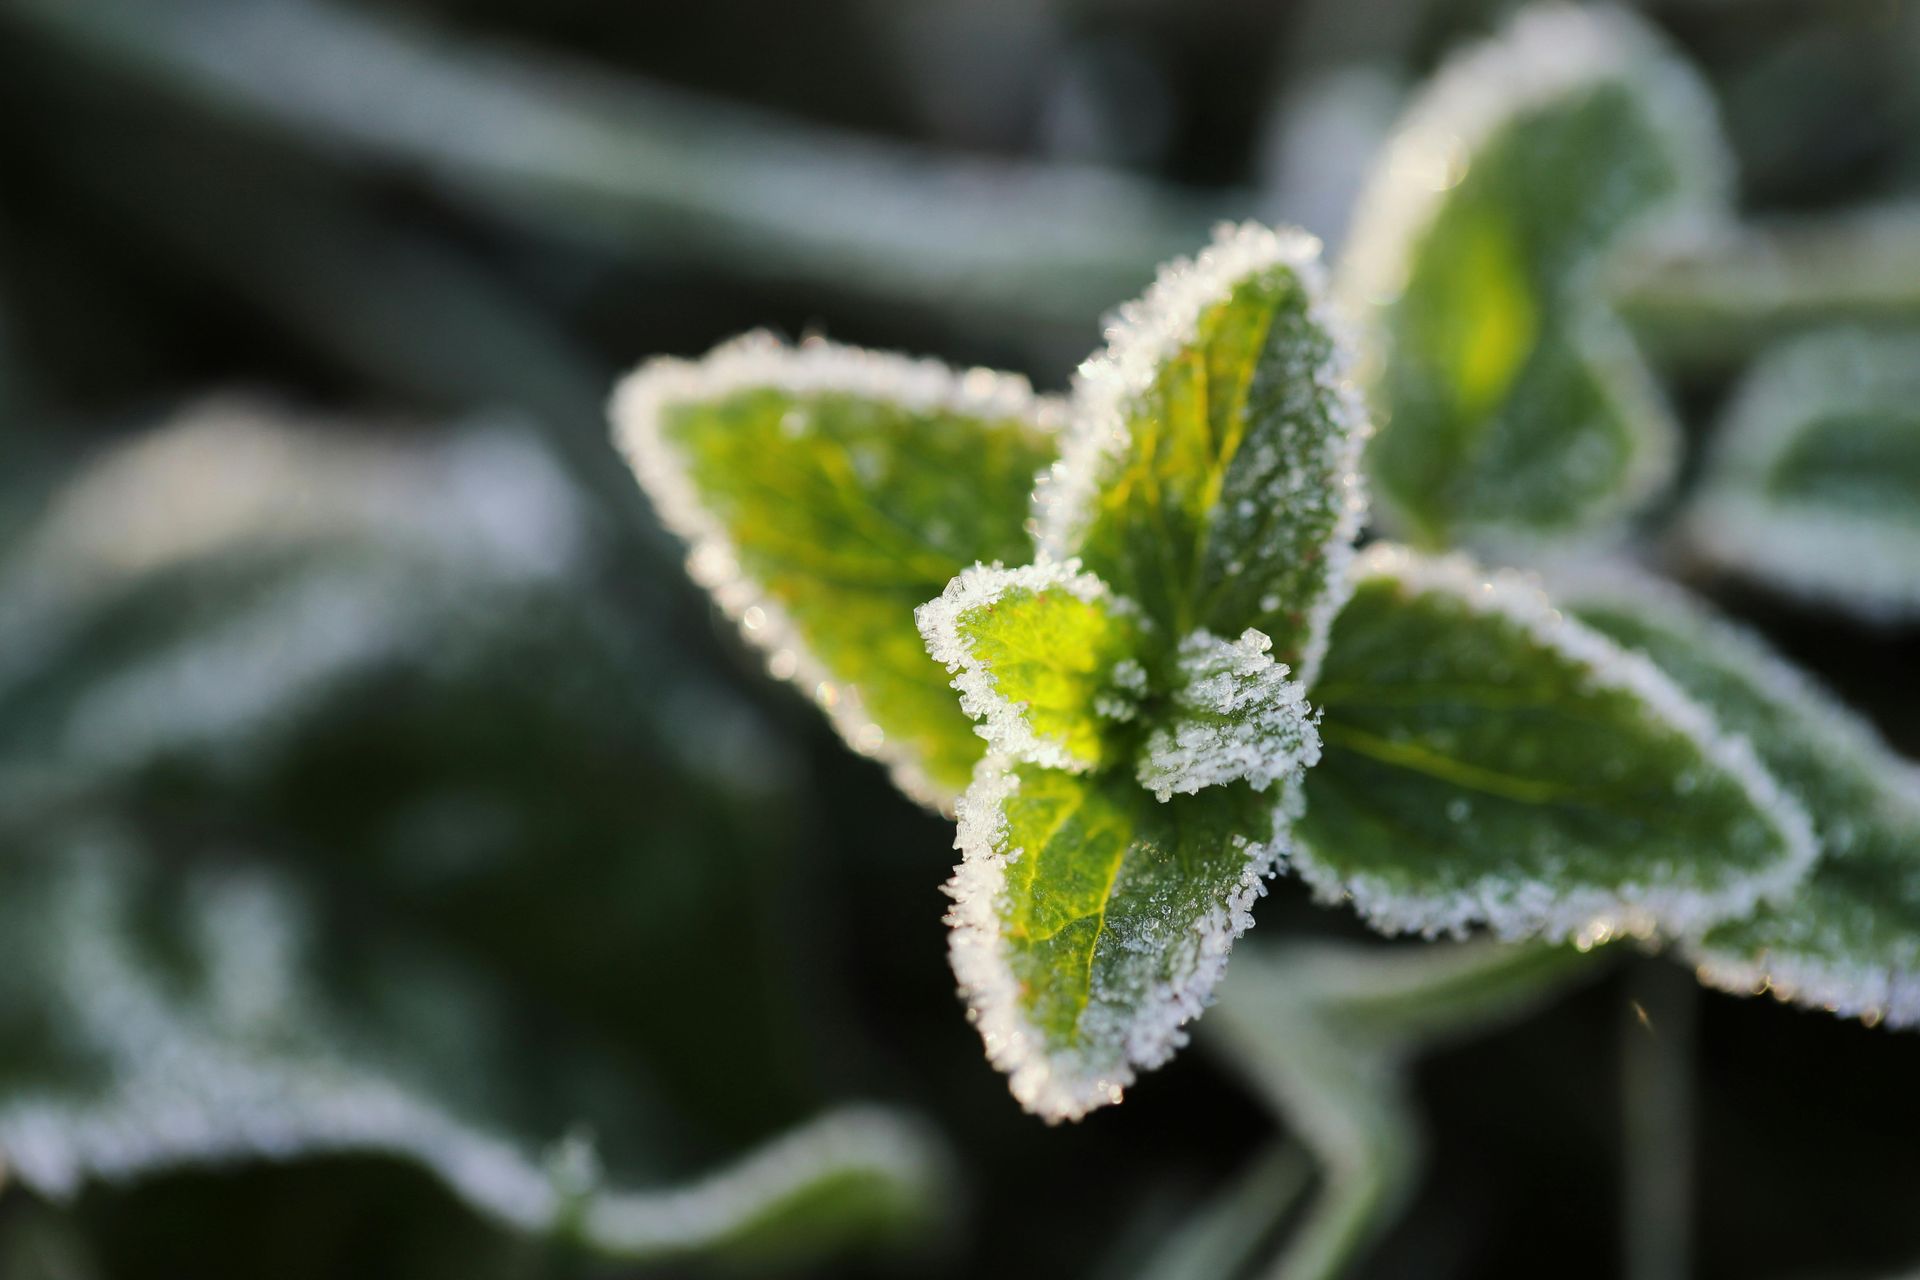
Frost dates are the two most important pieces of information for any gardener in a temperate climate: the average date of the last frost in spring and the average date of the first frost in autumn. Everything about when to plant, when to sow seed indoors, and when to harvest is organized around these dates, and not knowing them is the most common cause of losing plants to cold in the first growing season.
The last frost date in spring is the date before which tender plants — frost-sensitive vegetables like tomatoes, peppers, courgettes, and beans — should not be placed outside without protection. Planting tender crops before the last frost date risks losing them overnight to a temperature drop that will kill or severely damage them. The first frost date in autumn is the deadline for harvesting frost-sensitive crops before they are killed.
Frost dates are averages, not guarantees. In any given year, the last frost may come two weeks earlier or later than the average. Experienced gardeners know their last frost date and watch the weather in the weeks around it, ready to cover vulnerable plants if a late frost threatens.
In the United Kingdom, the last frost date varies from mid-April in the south to late May in Scotland and upland areas. In the United States, the USDA Plant Hardiness Zone map and the Old Farmer's Almanac provide last and first frost dates by zip code. Entering your location into either resource takes five minutes and provides the fundamental temporal framework for your growing year.
The corollary skill is understanding hardiness zones — the rating system that tells you which perennial plants can survive your winter. A plant rated as hardy to USDA Zone 7 will not survive winter in Zone 5. Checking a perennial plant's hardiness zone before purchasing saves the disappointment of losing it in its first winter.
4 / 20
Reading plant labels
RDNE Stock project / Pexels
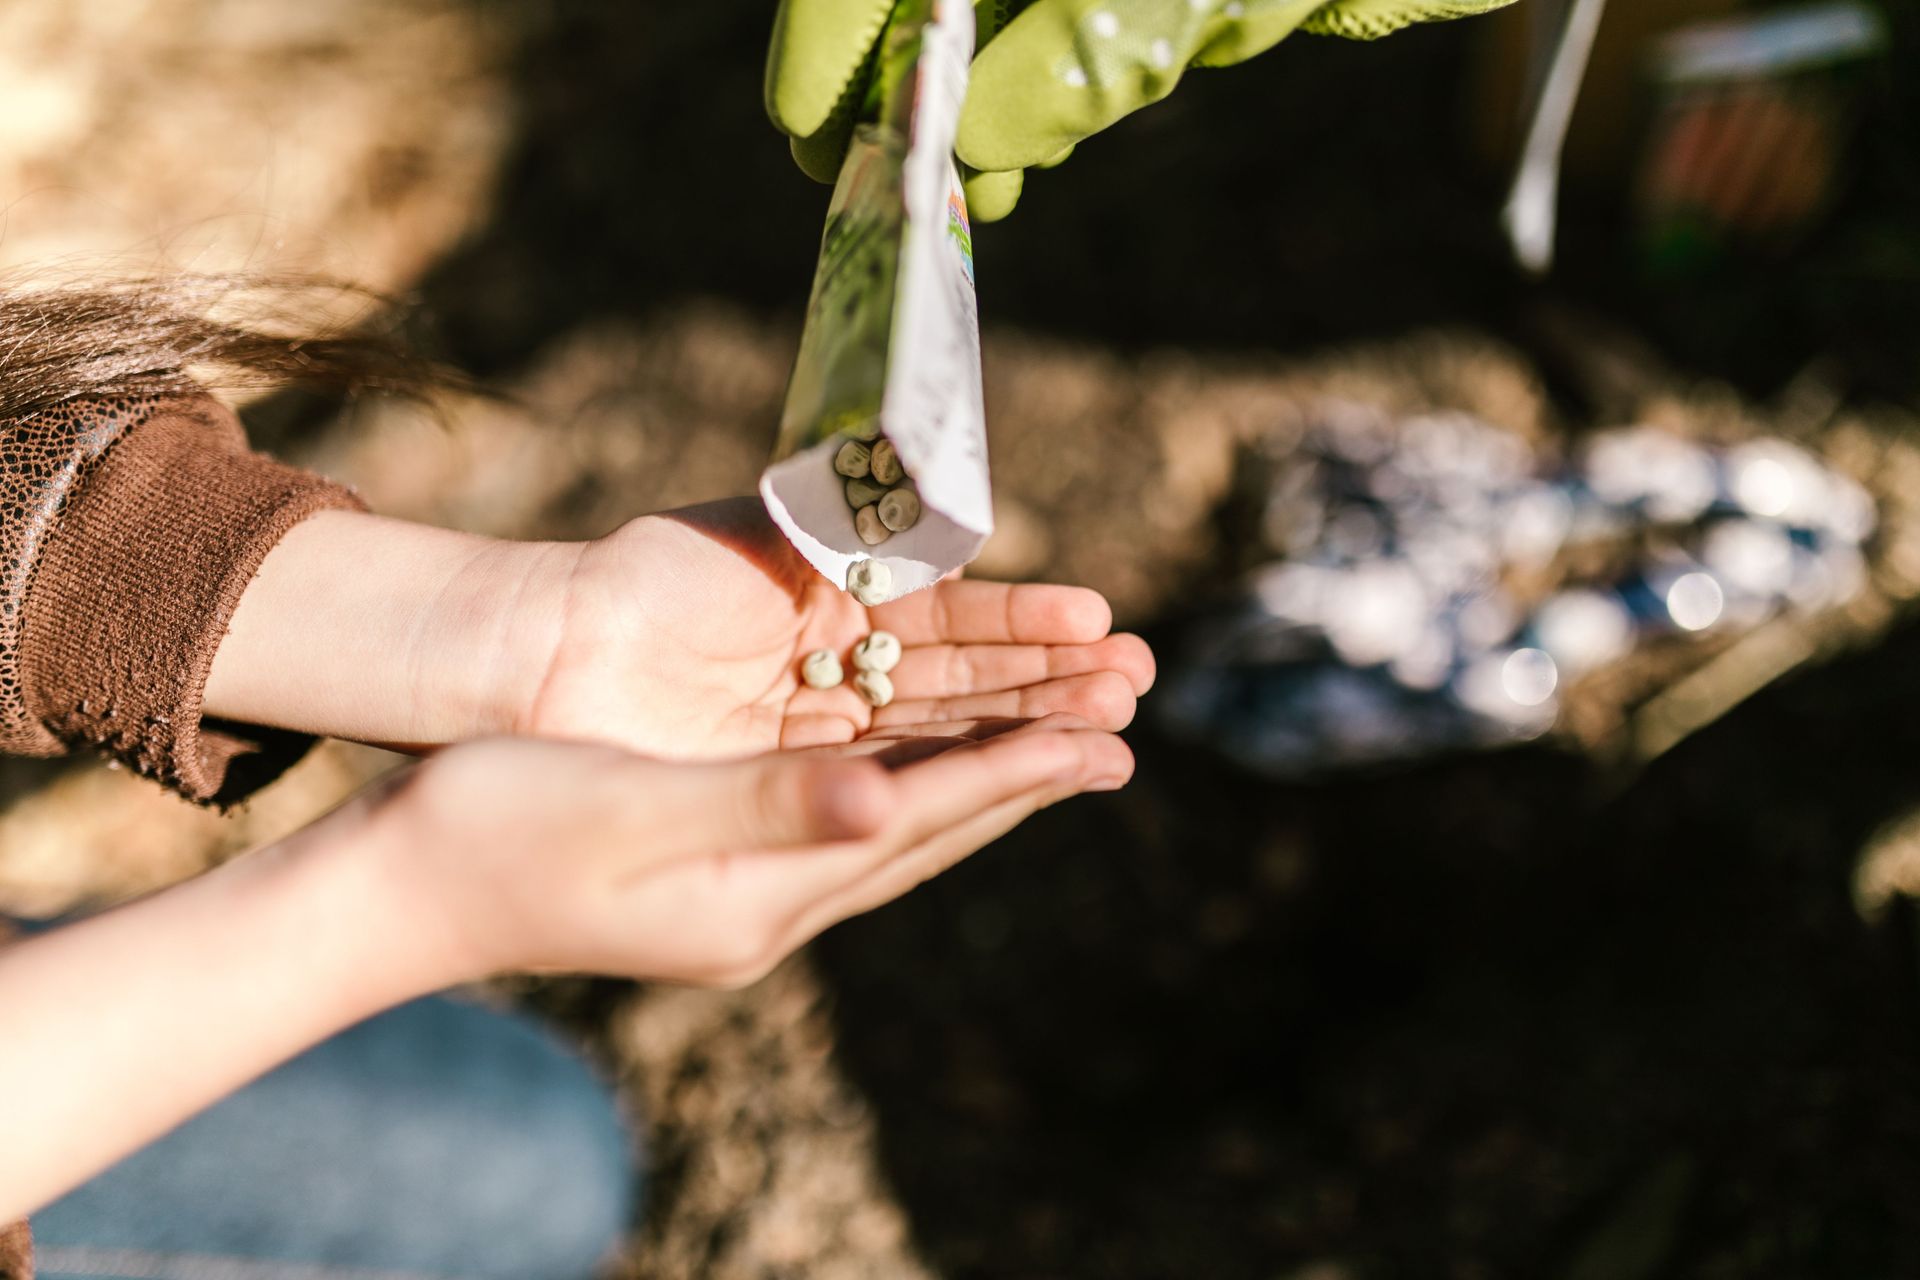
Plant labels are the most information-dense small objects in a garden center, and most first-time gardeners read them without extracting what they need. A plant label typically tells you the plant's name (both common and botanical), its eventual height and spread, its light requirements, its hardiness zone or temperature tolerance, its watering needs, and its flowering or cropping season. All of this information is relevant to whether the plant will work in your specific space.
The botanical name — the italicized Latin binomial — is more reliable than the common name for identifying exactly what you are buying. Common names vary by region: what one area calls a bluebell is a different plant from what another area calls a bluebell. The botanical name Hyacinthoides non-scripta refers to exactly one species, wherever you are. When researching a plant's requirements online or in a reference book, the botanical name ensures you are finding information about the correct species.
The eventual height and spread are the figures most consistently ignored by new gardeners. A plant described as reaching one meter tall and one meter wide is a large plant, and placing it 30 centimeters from its neighbors will produce a congested, airless planting that promotes disease and suppresses growth within two or three seasons. Spacing plants according to their eventual size — which means the planting looks sparse in its first year — is a discipline that pays off by the second.
The soil requirements on the label — "well-drained," "moist but well-drained," "moisture-retentive" — are not decorative. They describe the drainage conditions the plant evolved in and in which it will thrive. Placing a Mediterranean herb that requires well-drained soil in a pot without drainage holes, or in a corner of the garden where water sits after rain, will kill it by root rot regardless of any other care provided.
5 / 20
Starting with good compost
Denise Nys / Pexels
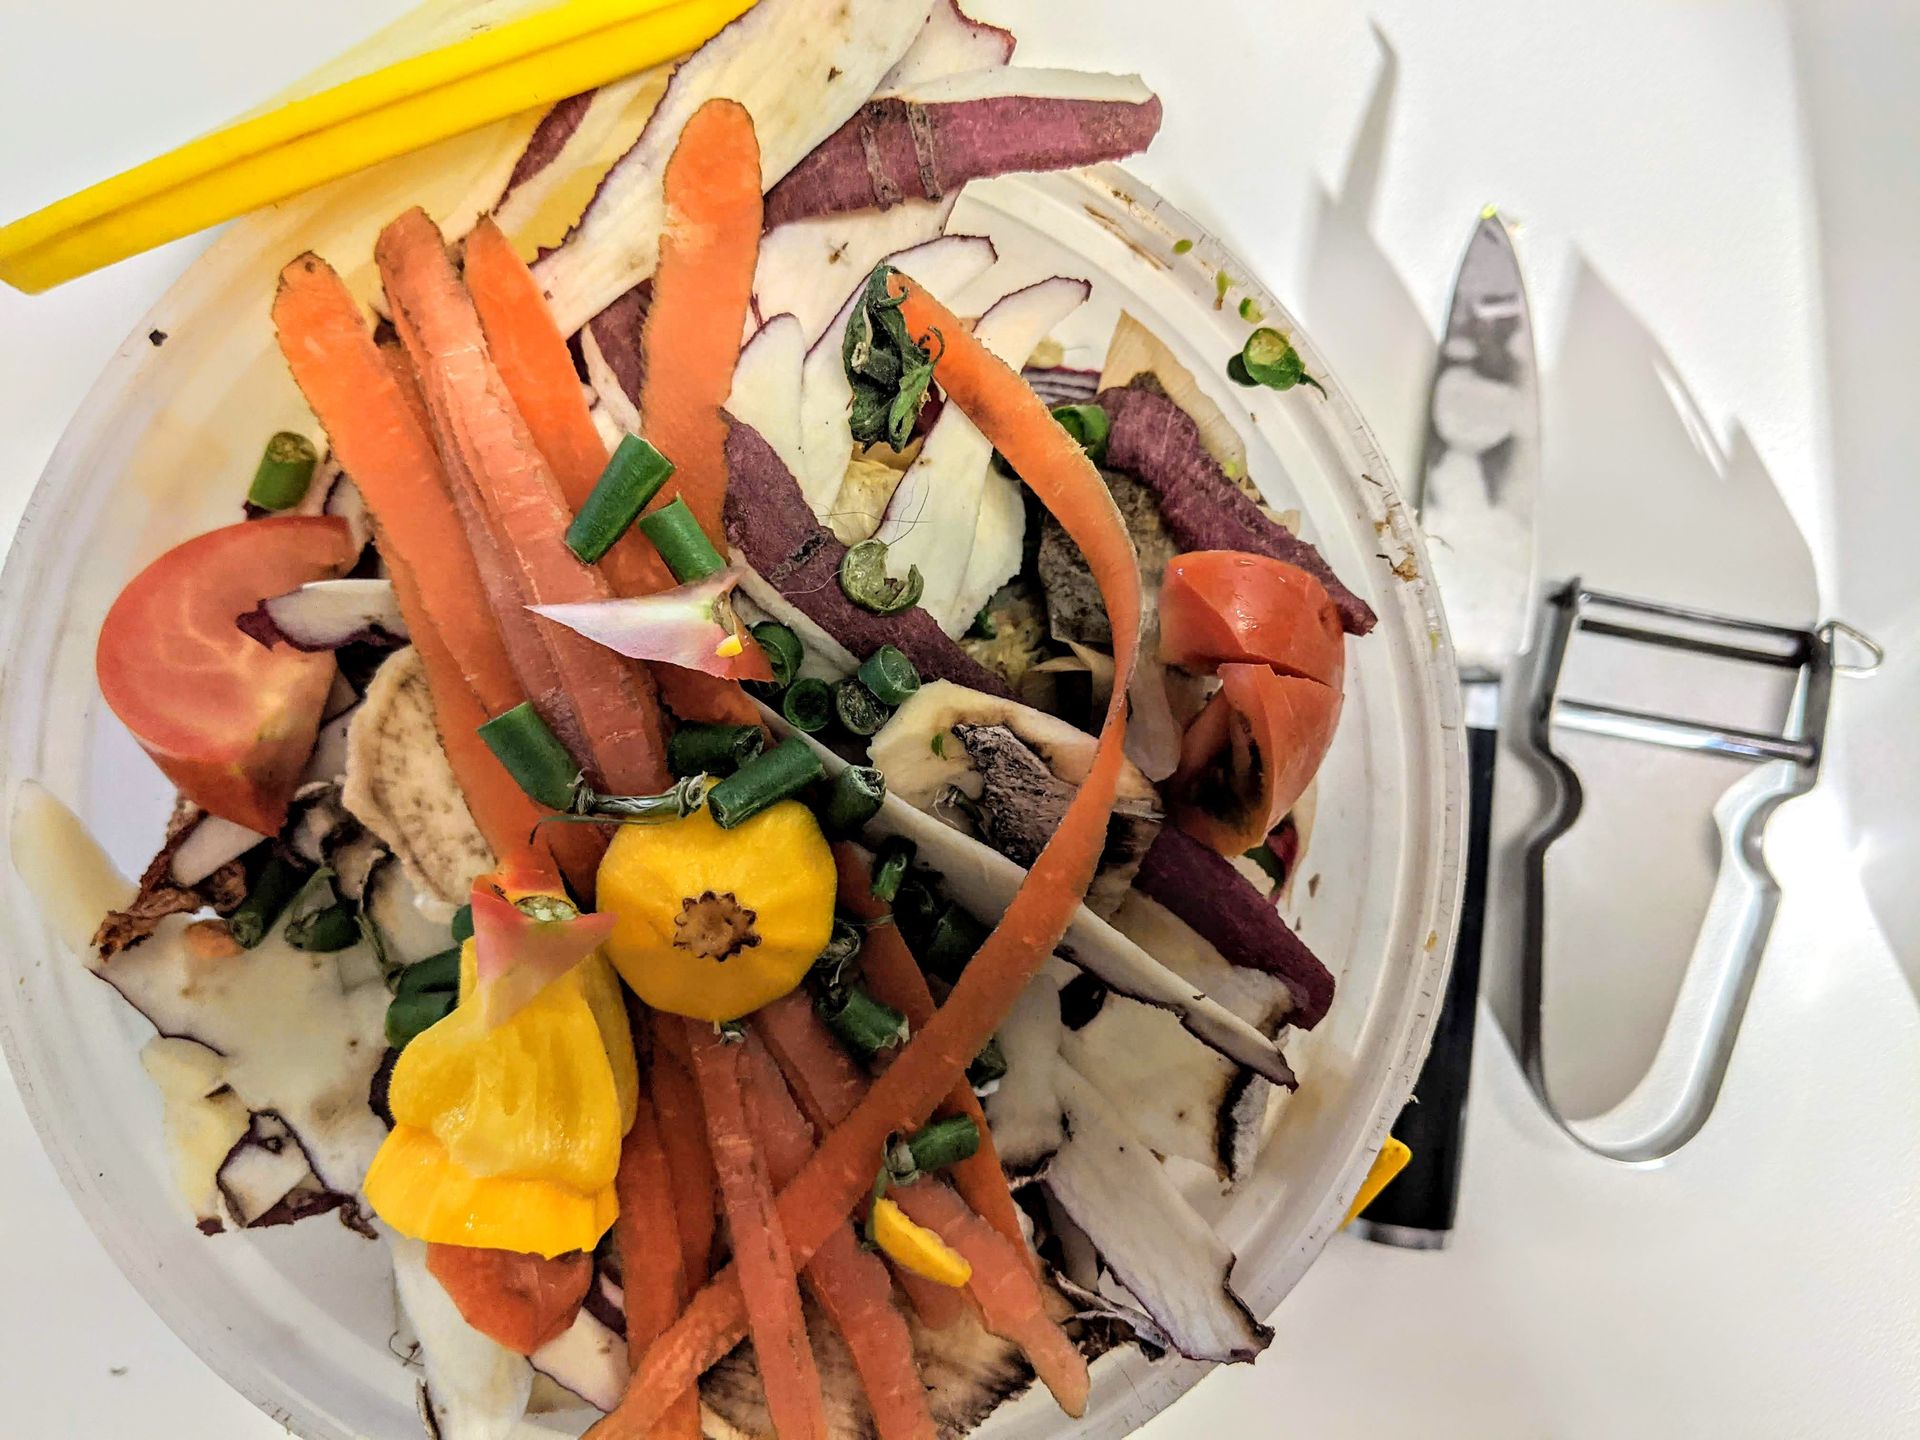
The single most common gardening mistake that new gardeners make — more common than overwatering, more common than planting in the wrong light — is using the wrong growing medium. Reaching for a bag labeled "topsoil" from a garden center or builder's merchant for container growing, or filling a raised bed with subsoil excavated from a building project, produces disappointing results that beginners attribute to their own incompetence rather than to the growing medium.
Containers and raised beds require a different growing medium from the ground. Containers need a free-draining, lightweight compost specifically formulated for container growing — usually peat-free multipurpose compost or a mixture of multipurpose compost and perlite for drainage. Ground-based garden soil in a container compacts under repeated watering, becomes anaerobic, and produces root rot. Topsoil in a container does the same.
For raised beds, the best filling is a mixture of topsoil (approximately 60%) and well-rotted compost (approximately 40%). For seed sowing, a fine-textured seed compost — lower in nutrients than multipurpose compost, which can burn delicate seedling roots — gives the best germination results.
Understanding what type of compost to use for what purpose is not intuitive. The labels in garden centers are not consistently helpful. The practical shorthand: multipurpose compost for containers and for planting into beds; seed compost for sowing seeds; well-rotted compost or soil improver for digging into garden beds to improve soil structure; topsoil for filling large raised beds and mixing with compost.
The quality difference between cheap and good compost is also real. Cheap multipurpose compost sometimes contains uncommitted material — partially decomposed wood chip or bark — that ties up nitrogen as it continues to decompose, starving seedlings. The slightly more expensive compost from reputable brands produces noticeably better results.
6 / 20
Watering correctly
Sarah Dietz / Pexels
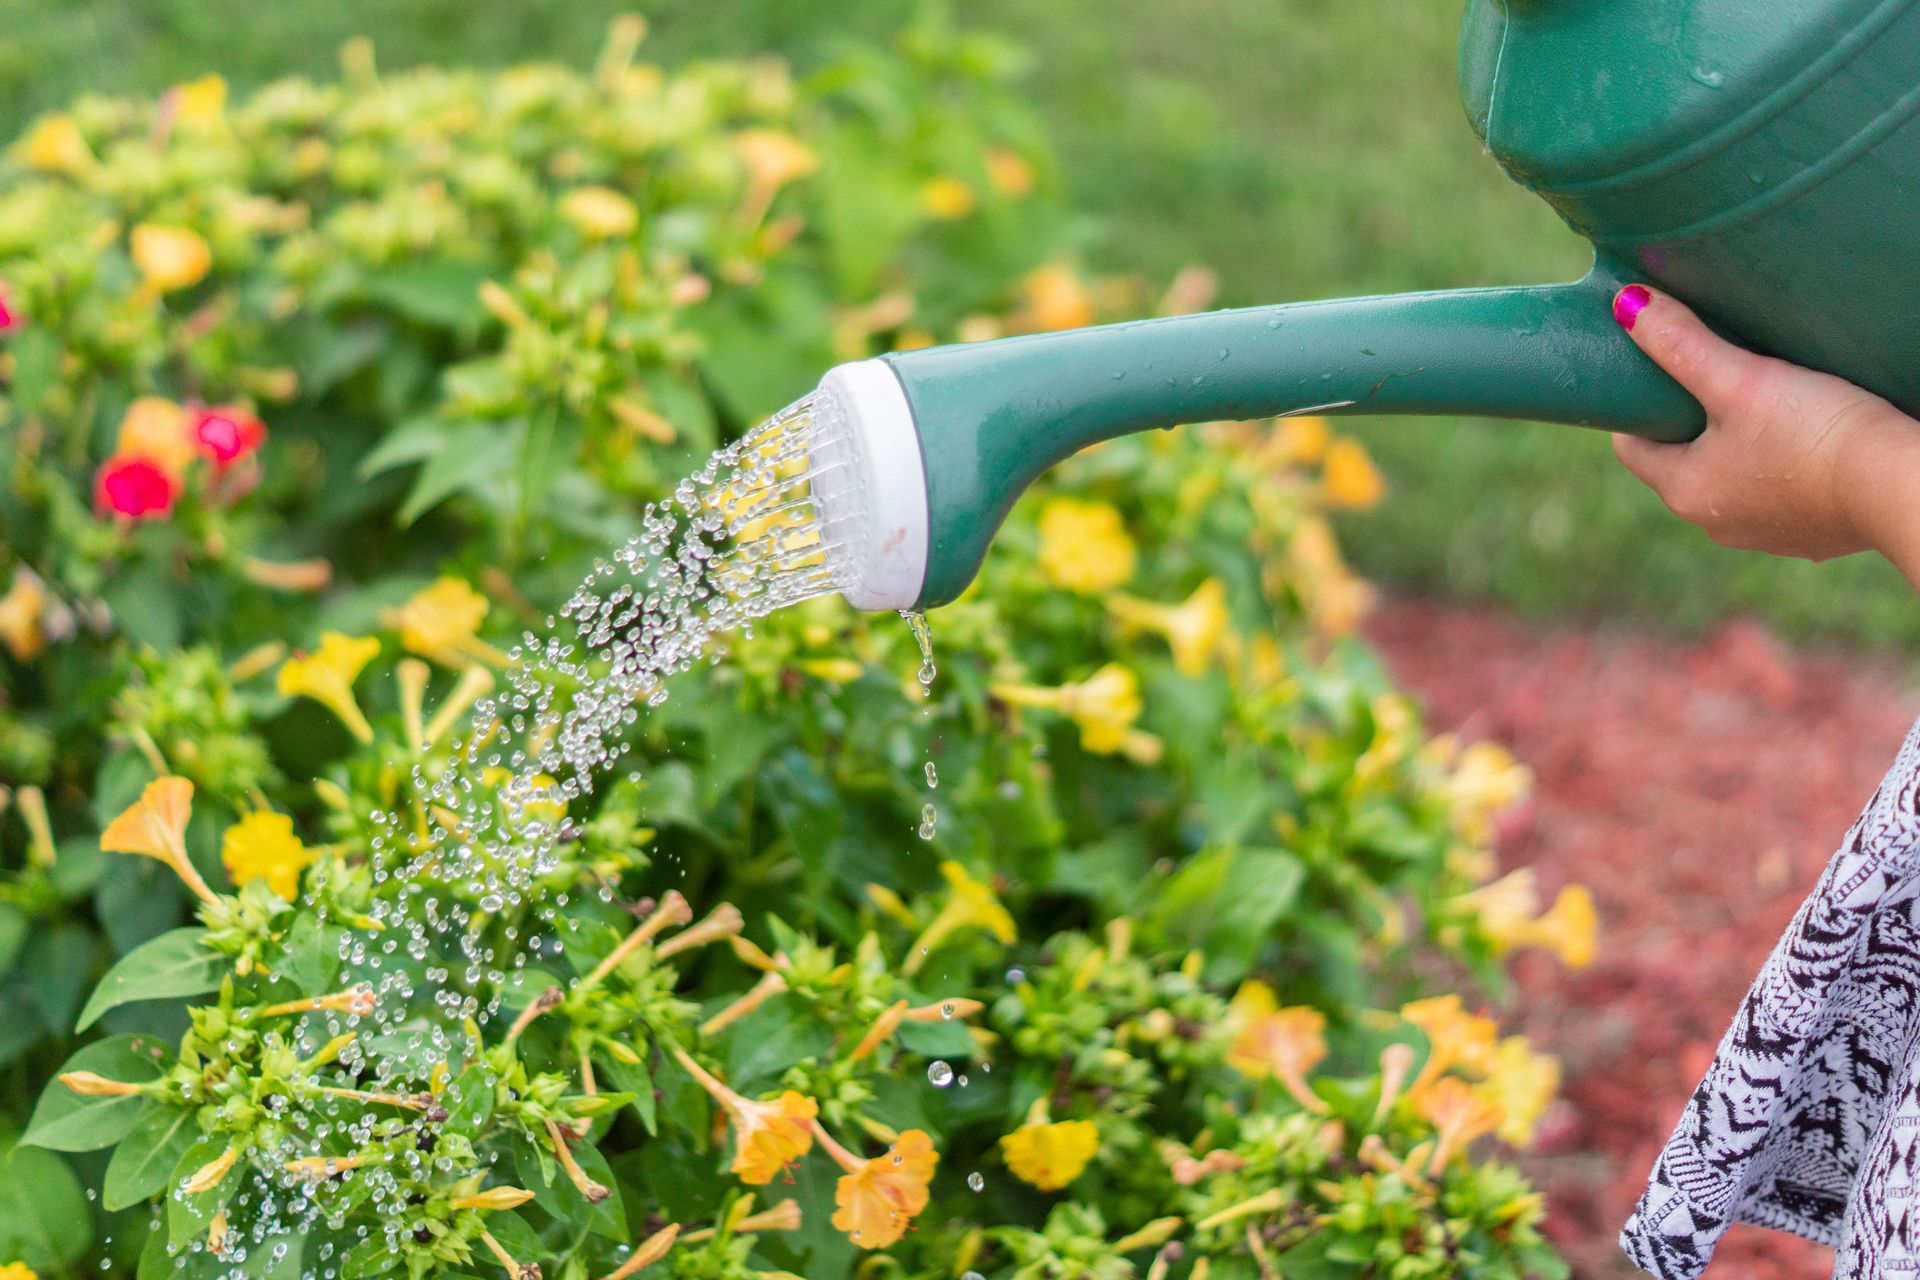
Watering is the skill that most new gardeners get most consistently wrong, in both directions — overwatering is more common than underwatering with container plants, while underwatering is more common with newly planted shrubs and trees whose root systems have not yet established. Understanding the difference between what different plants need, and how to tell whether the soil needs water, is more useful than any watering schedule.
The finger test is the most reliable and most underused tool in gardening. Before watering any container, push a finger an inch into the compost. If it feels moist, do not water. If it feels dry, water thoroughly — until water runs freely from the drainage holes. The frequency of watering that this test produces varies with the plant, the container size, the weather, and the season, and it cannot be replaced by a fixed schedule.
Overwatering kills more container plants than any other single cause. The symptoms of overwatering — yellowing leaves, wilting despite moist soil, soft stems at the base — are often misread as underwatering, leading to even more water being applied. The distinction: if the soil is moist and the plant is wilting, the problem is almost certainly overwatering and root rot, not drought.
Newly planted trees, shrubs, and perennials require more water in their first season than established plants because their root systems have not yet extended beyond the root ball into the surrounding soil. The standard guidance — water thoroughly twice a week for the first season in the absence of rain, directing water to the root zone rather than the foliage — applies to most newly planted woody plants regardless of their long-term drought tolerance. Once established, most trees and shrubs require little supplemental watering in temperate climates.
For vegetable growing, the critical watering periods are germination and establishment for seedlings, and fruit set and development for crops like tomatoes, courgettes, and beans. Irregular watering during fruit development — wet, then dry, then wet — causes blossom end rot in tomatoes and splitting in many fruits.
7 / 20
Sowing seeds at the right time
Tima Miroshnichenko / Pexels
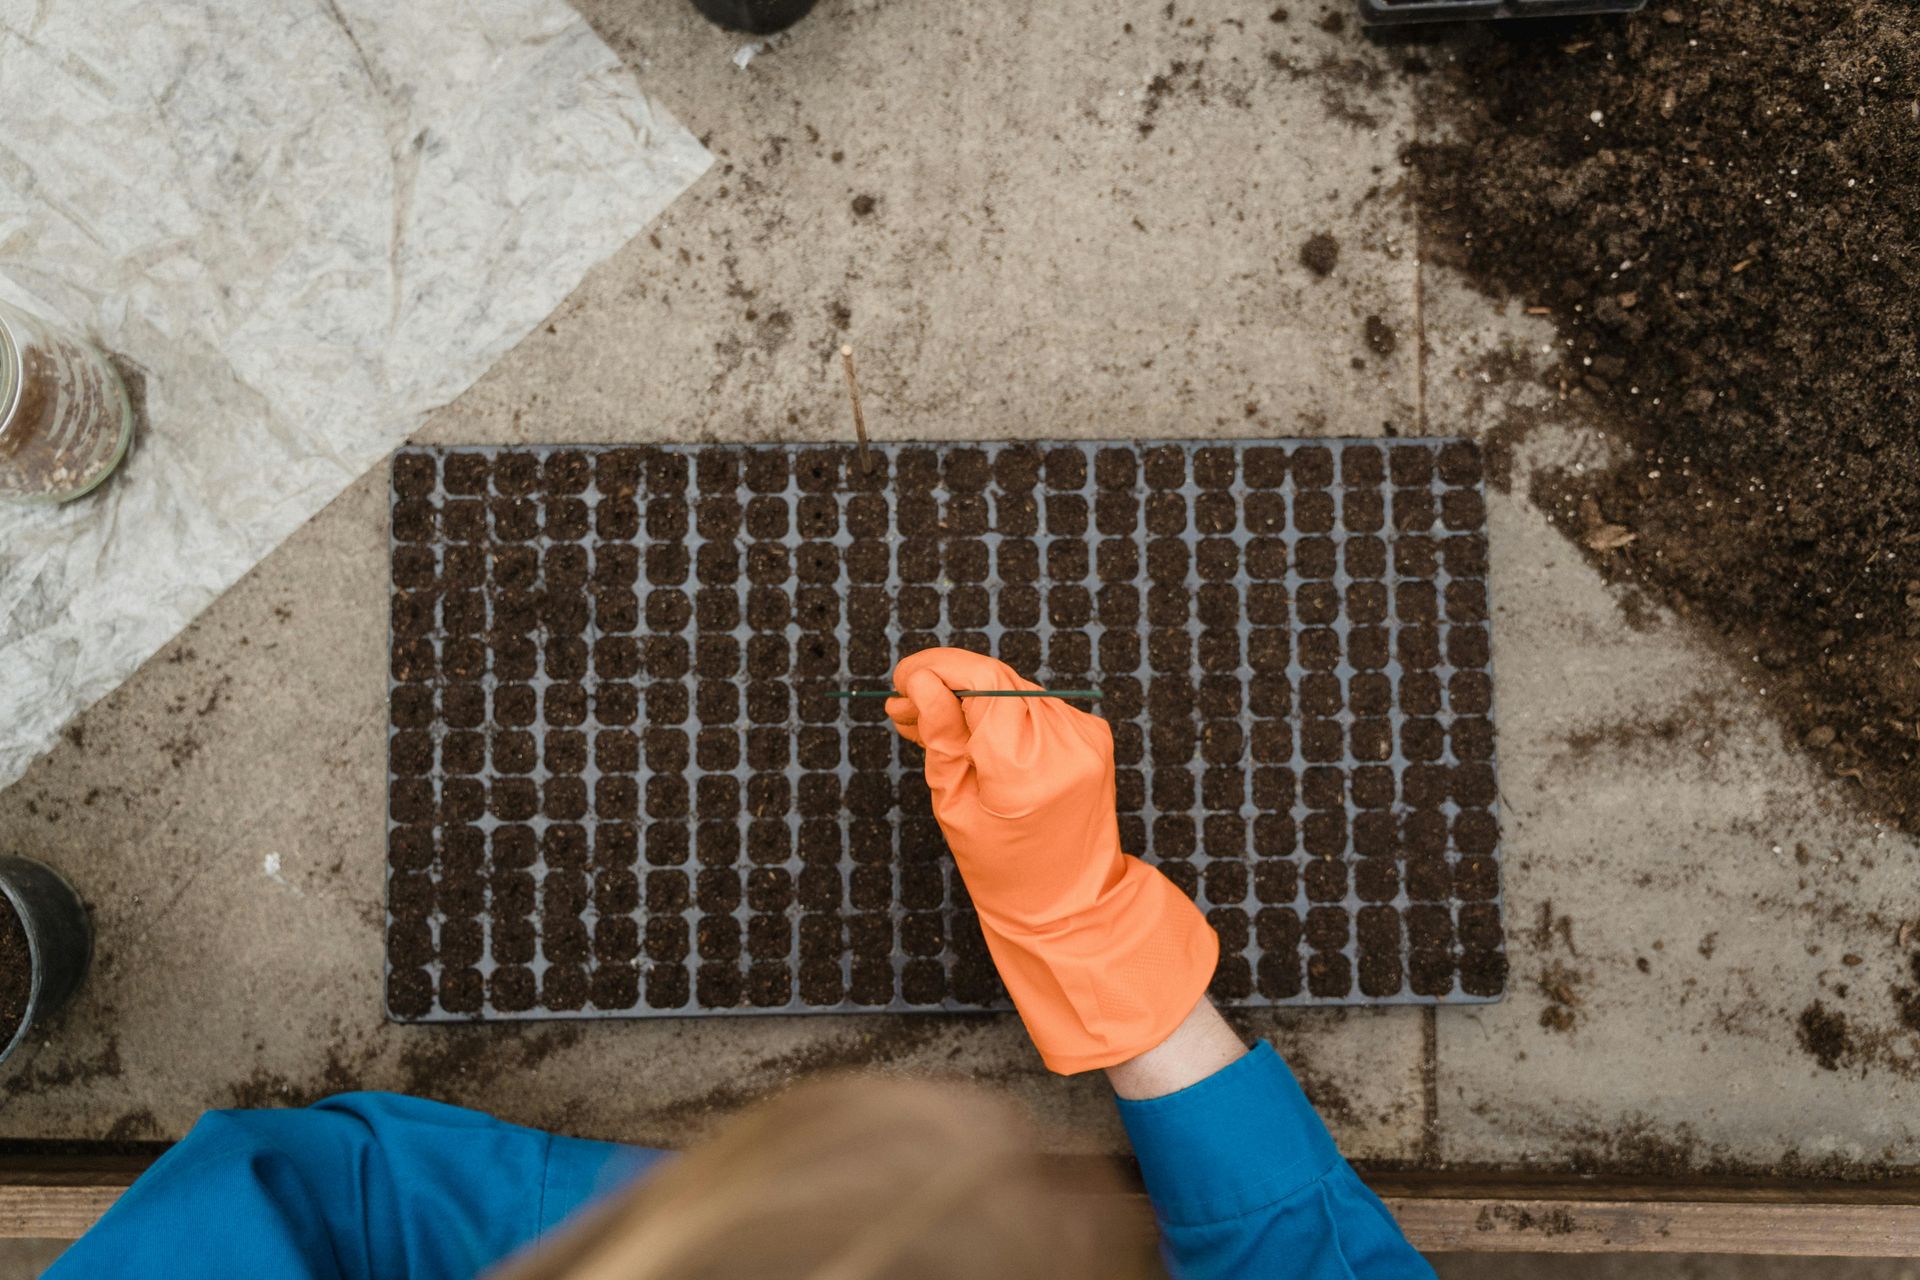
Seed sowing has two failure modes that account for most first-time gardener disappointments: sowing too early and sowing too late. Sowing seeds indoors too early in the year produces leggy, weak seedlings that have outgrown their space before the outdoor temperatures allow them to be planted out. Sowing direct into cold soil in early spring produces poor germination because most vegetable seeds require soil temperatures of at least 10°C to germinate reliably.
Every seed packet carries sowing and planting information that is the most reliable guide to timing for that specific variety. The information is calibrated to the assumptions of the region in which the seed was sold, and it should be followed before any other advice. In the UK, most hardy vegetables — peas, broad beans, lettuce, spinach, carrots, beetroot — can be sown direct into the soil from March to May. Tender crops — tomatoes, peppers, aubergines, cucumbers, courgettes — should be started indoors in February or March and hardened off before transplanting outside after the last frost.
Hardening off — the process of gradually acclimatizing indoor-raised seedlings to outdoor conditions before planting — is the step most often skipped and most often regretted. Seedlings raised in a warm indoor environment moved directly outdoors into sun, wind, and cooler temperatures suffer transplant shock that can set them back by weeks or kill them. The correct method is to place seedlings outside in a sheltered spot for a few hours on the first day, increasing the exposure over seven to ten days until they are outside overnight before final planting.
Succession sowing — making small sowings of the same crop every two to three weeks rather than one large sowing — produces a continuous harvest of salad leaves, radishes, and other fast-growing crops instead of a glut followed by a gap.
8 / 20
Knowing when to transplant
Mark Stebnicki / Pexels
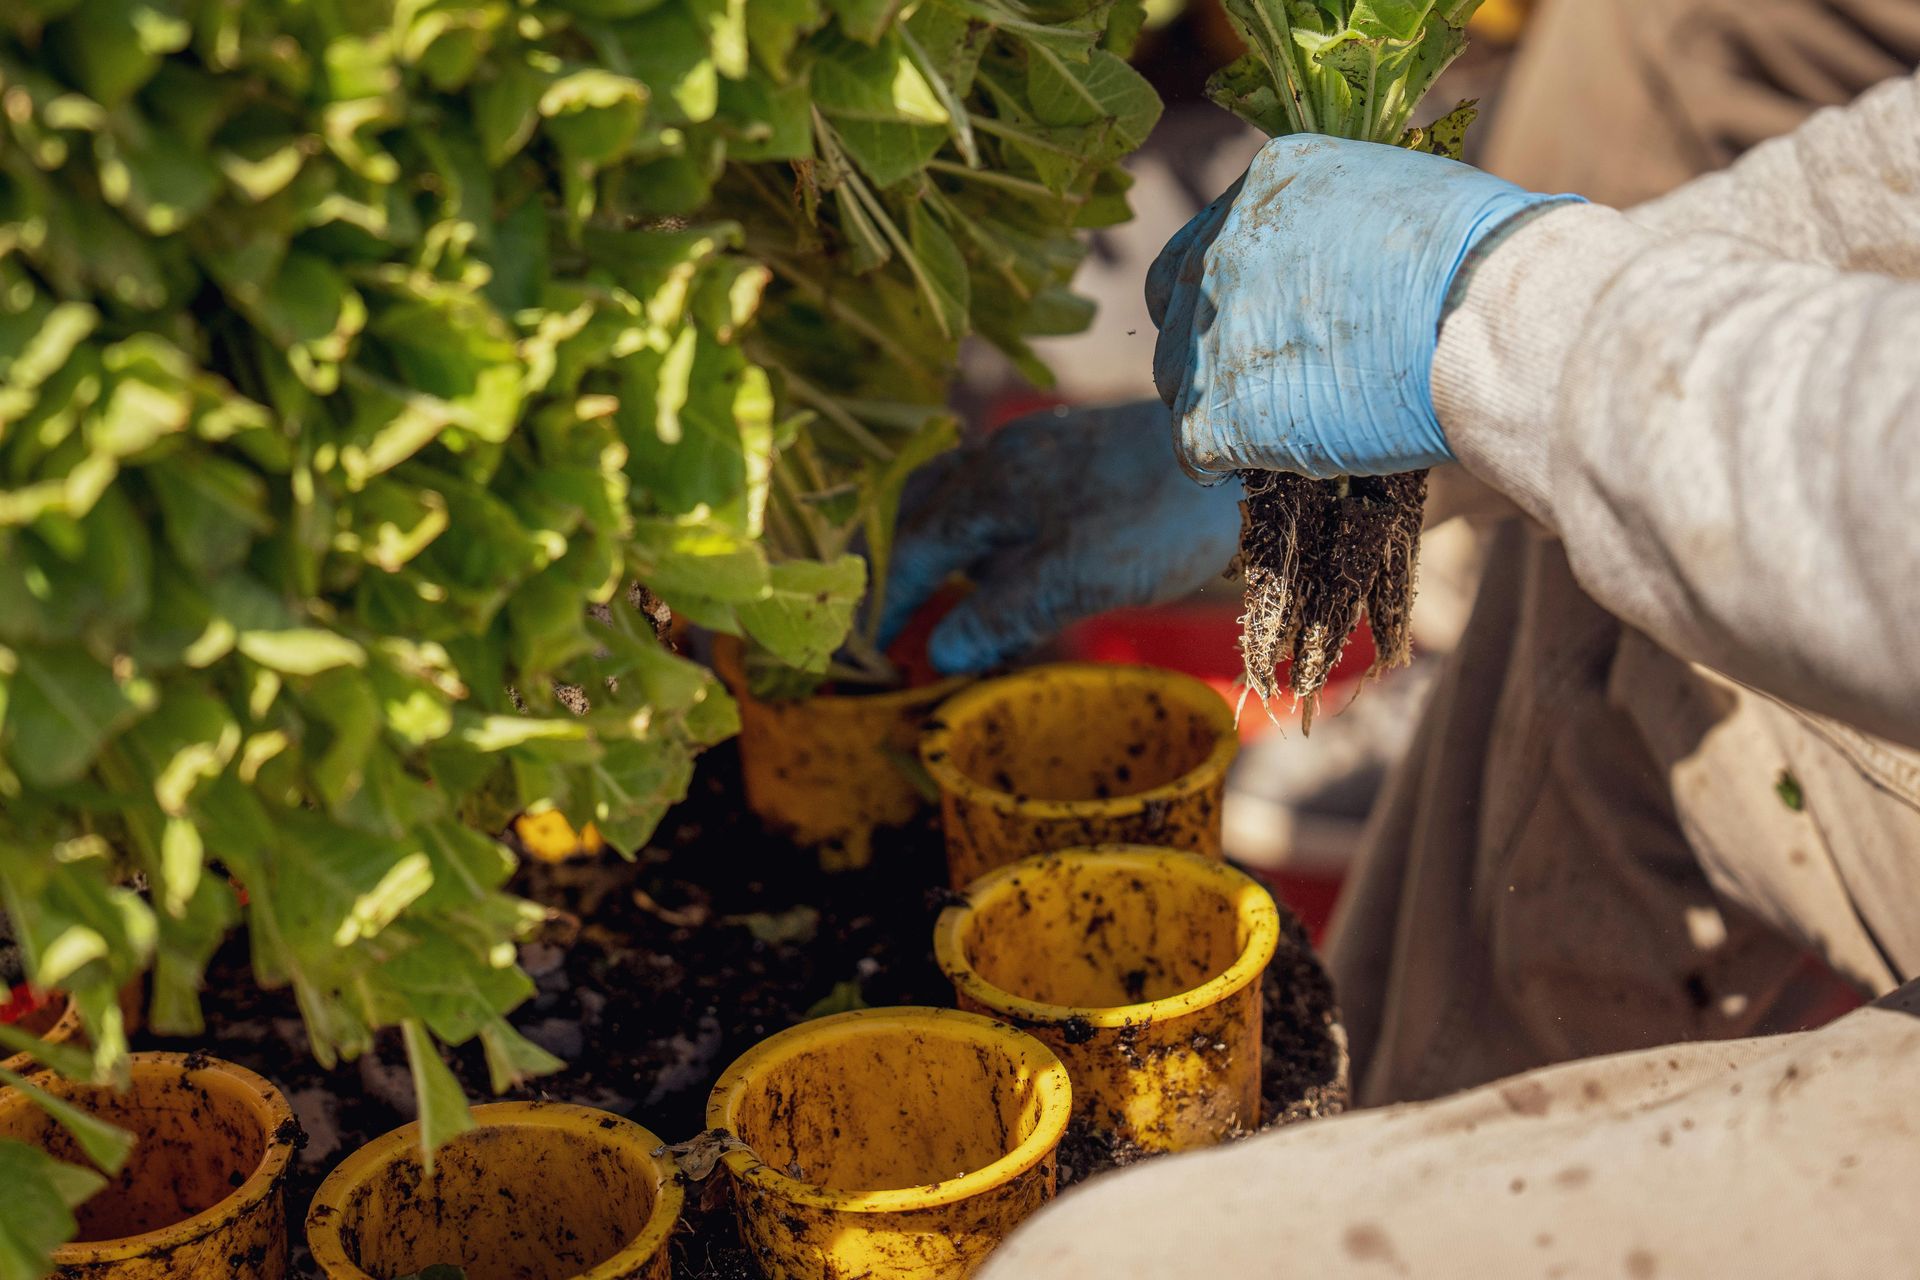
Transplanting — moving a seedling from its germination container into a larger pot or into the ground — is one of the points at which plants are most vulnerable, and doing it at the right time and in the right way significantly affects how quickly a plant establishes and begins to grow productively.
The correct time to transplant is when a seedling has developed its first set of true leaves — the leaves that follow the seed leaves, or cotyledons, that emerge first. The seed leaves provide initial energy from the seed's reserves; the true leaves are the plant's first photosynthesizing organs and indicate that the seedling is established enough to handle the disturbance of transplanting.
Transplanting too early — when the seedling has only its seed leaves — risks damaging a root system that is not yet developed enough to establish quickly. Transplanting too late — when the seedling has become pot-bound, its roots circling the bottom of the container — produces a plant that takes longer to establish because the root system must uncurl and redirect before it can explore its new medium.
Watering transplants immediately after planting, and shading them from strong direct sun for the first few days, reduces transplant shock. Planting in the evening rather than the heat of the day gives transplants their first night to recover before facing sun and heat. The soil around newly transplanted seedlings should be firmed gently to remove air pockets around the roots, then watered to settle the soil further.
9 / 20
Learning to weed early
Anthony Wade / Unsplash
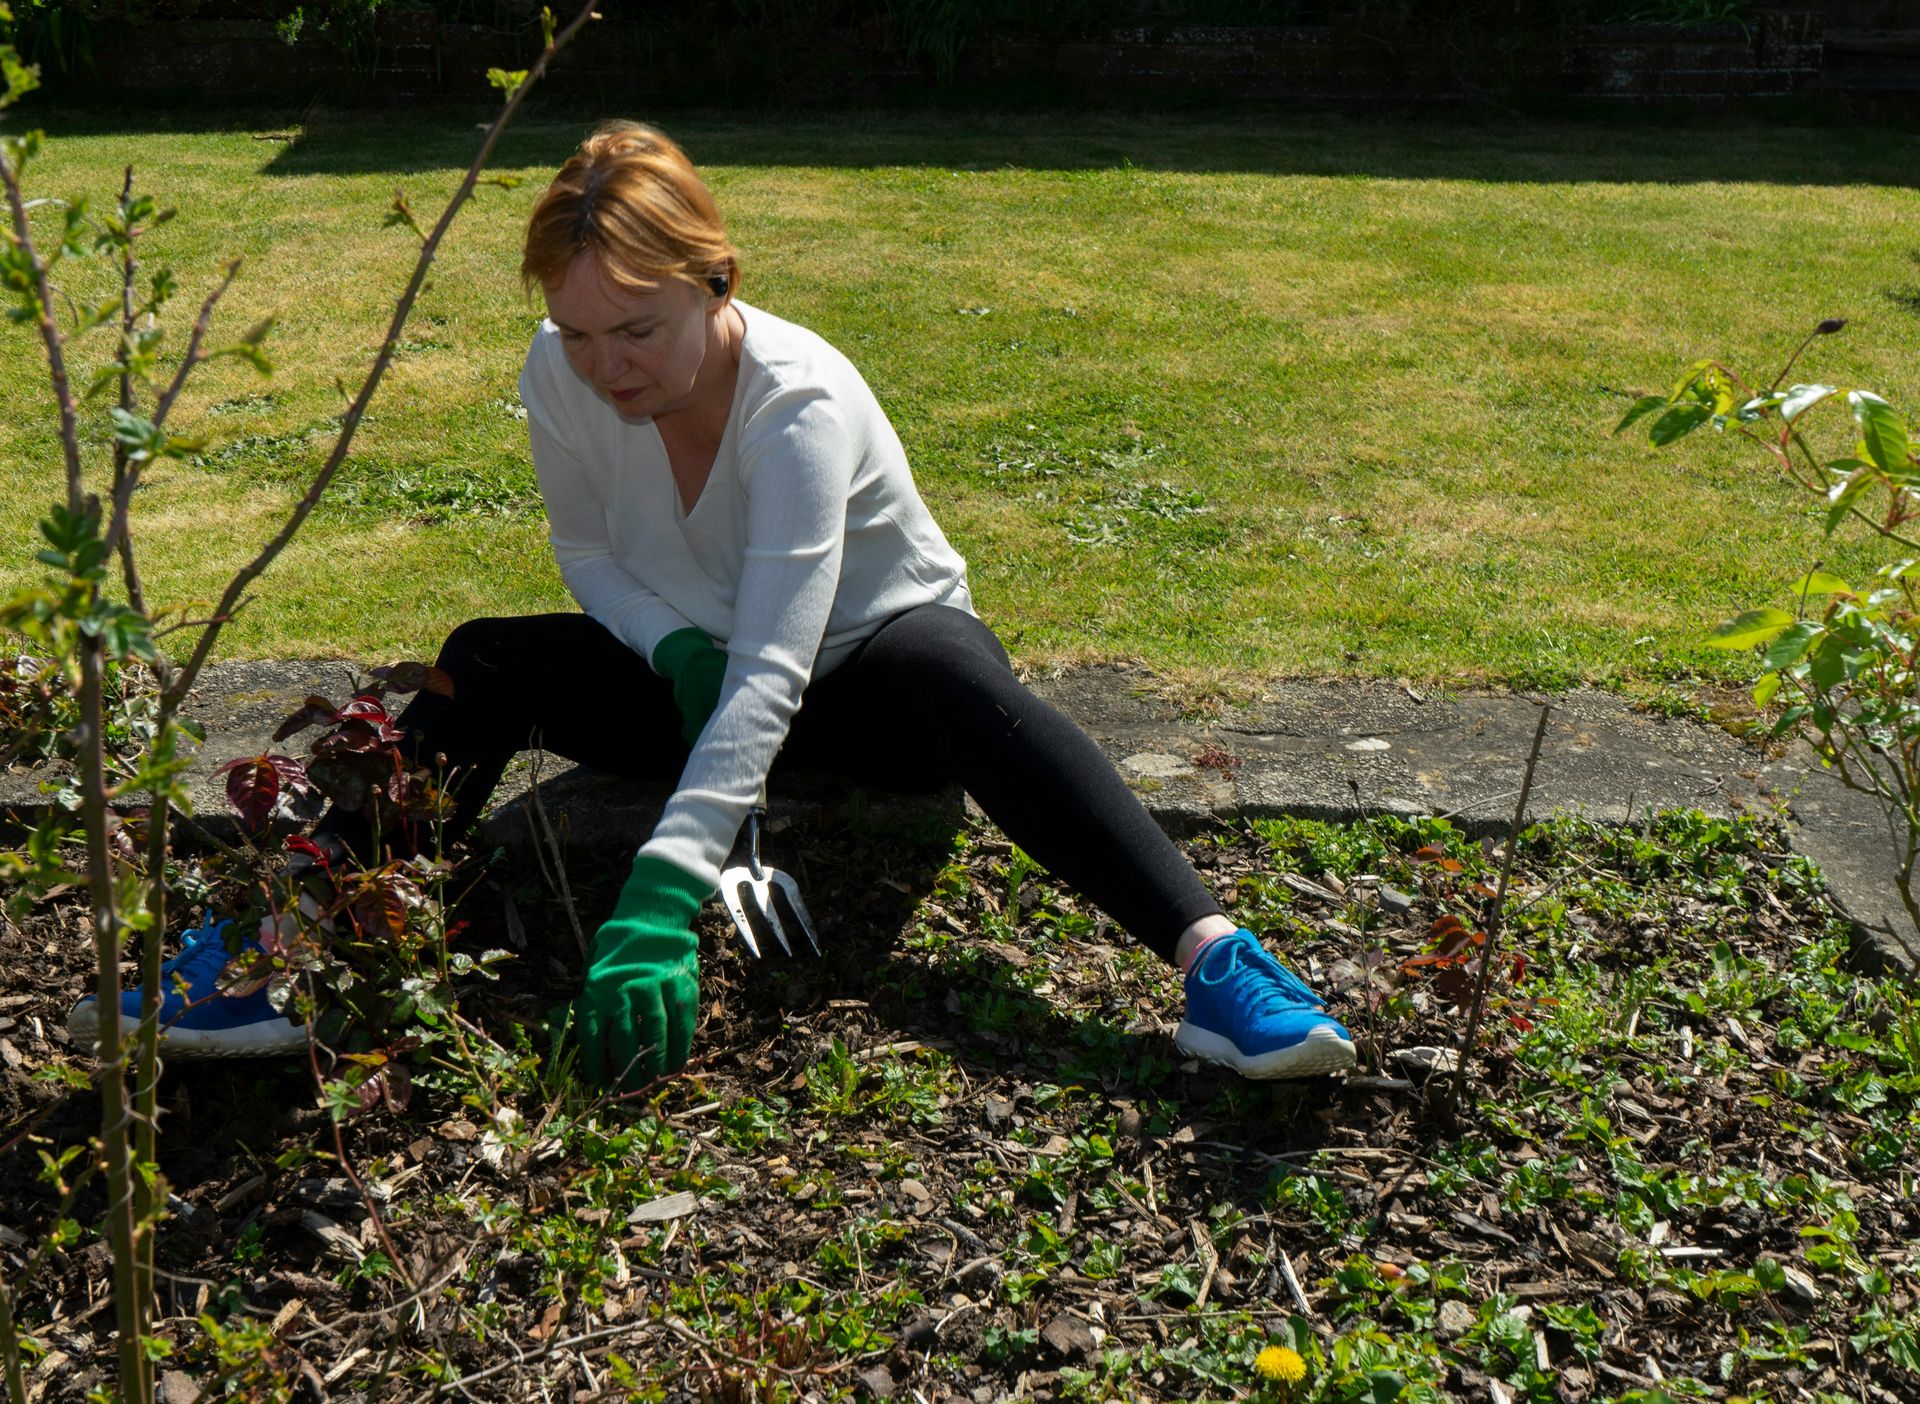
Weeding is the task most new gardeners find most discouraging, primarily because they discover the scale of it only after it has become overwhelming. The principle that makes weeding manageable — annual weeds are easiest to remove when they are seedlings, before they set seed and exponentially multiply the problem — is the principle that, once understood, changes the entire relationship with weeding from reactive to preventive.
Annual weeds — hairy bittercress, chickweed, groundsel, annual meadow grass — complete their life cycle from seed to seed in a single growing season. A single plant of hairy bittercress, if left to flower and set seed, can produce several thousand seeds that persist in the soil for years and germinate in waves throughout subsequent growing seasons. Removing hairy bittercress as seedlings — a ten-second operation — prevents those seeds from being produced.
Perennial weeds — bindweed, ground elder, couch grass, dock, dandelion — reproduce not only by seed but by underground roots or rhizomes that regrow from fragments. They require different management: pulling the whole root system rather than just the above-ground growth, which regrows from any root fragment left in the soil. Repeated cutting of perennial weed foliage without removing the root weakens the plant over time but rarely kills it.
The most efficient weeding habit is a light, regular pass — ten to fifteen minutes every few days in the active growing season — rather than waiting until weeds are large and established and then spending hours removing them. A small hand hoe worked through the surface of dry soil on a dry day in early spring, when weed seedlings are just emerging, removes hundreds of seedlings in minutes with minimal effort.
10 / 20
Feeding plants at the right time
Kashif Shah / Pexels
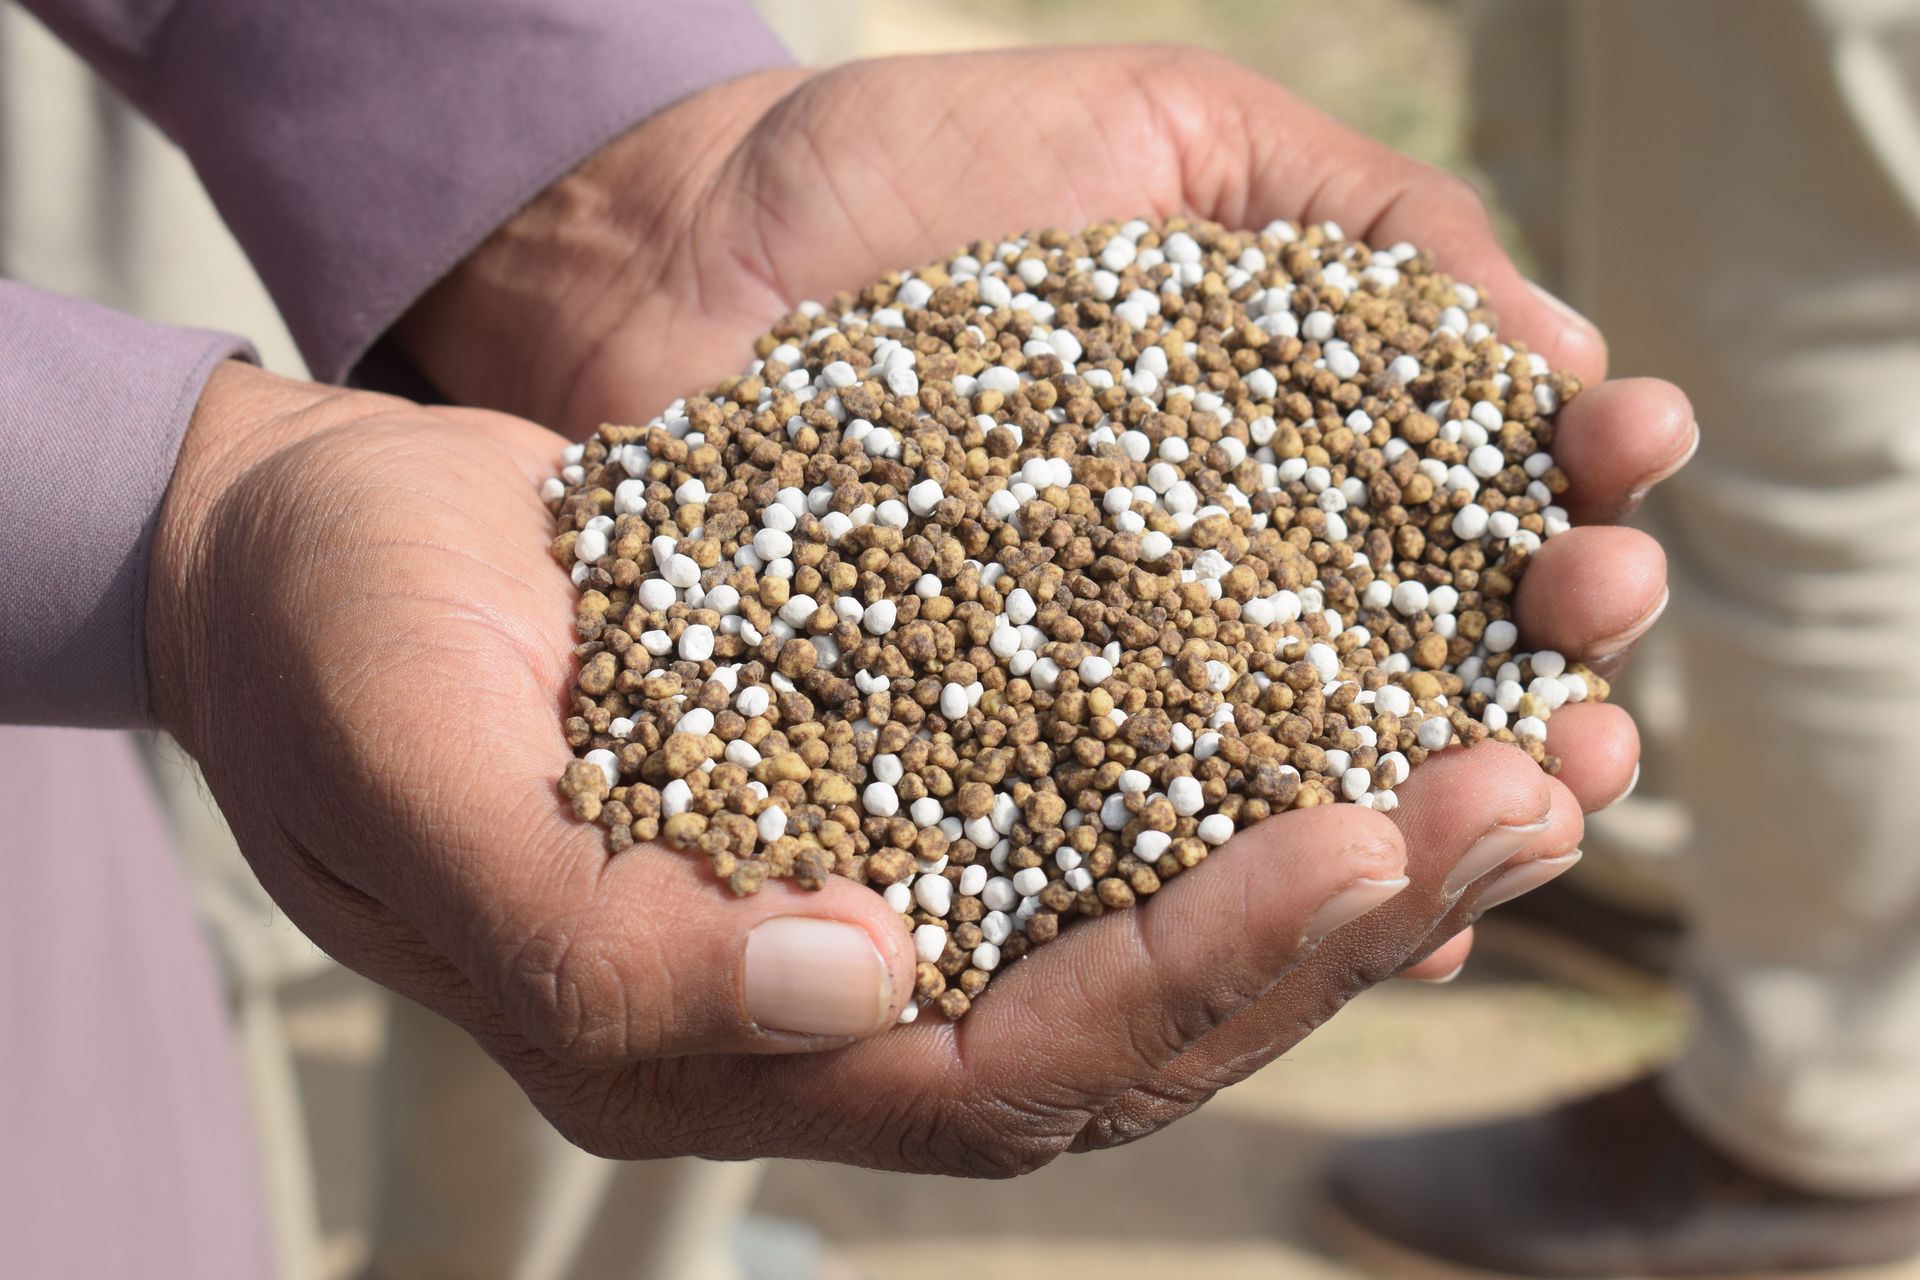
Plants need nutrients to grow, and in a container or in soil that has been cropped repeatedly, those nutrients become depleted and need to be replaced. Understanding the basic vocabulary of plant nutrition — what nitrogen, phosphorus, and potassium do, and when plants need more of each — is the foundation of a feeding program that improves plant performance without waste or harm.
Nitrogen drives leafy, vegetative growth. Plants growing vigorously and producing healthy green foliage need adequate nitrogen. Phosphorus supports root development and fruit and seed production. Potassium improves general plant health, disease resistance, and fruit quality. Fertilizer labels display the ratio of these three nutrients as N:P:K — a 20:10:10 fertilizer is high in nitrogen and lower in phosphorus and potassium, suited to leafy crops and grass. A 5:10:10 fertilizer, lower in nitrogen and higher in phosphorus and potassium, suits fruiting crops.
The timing of feeding is as important as the type of feed. Feeding a plant in the wrong growth phase — applying high-nitrogen fertilizer to a tomato plant that is trying to ripen fruit — produces lush green growth at the expense of fruit development. Tomatoes want high-nitrogen feed from planting until the first flowers appear, then high-potassium feed from flowering onward to support fruit development.
Container plants need regular feeding during the growing season because watering leaches nutrients from the compost. A balanced liquid feed applied weekly from May to August covers most container plants adequately. Slow-release fertilizer granules mixed into the compost at planting provide a background level of nutrition that reduces but does not eliminate the need for liquid feeding.
11 / 20
Recognizing common pests and diseases
Erik Karits / Pexels
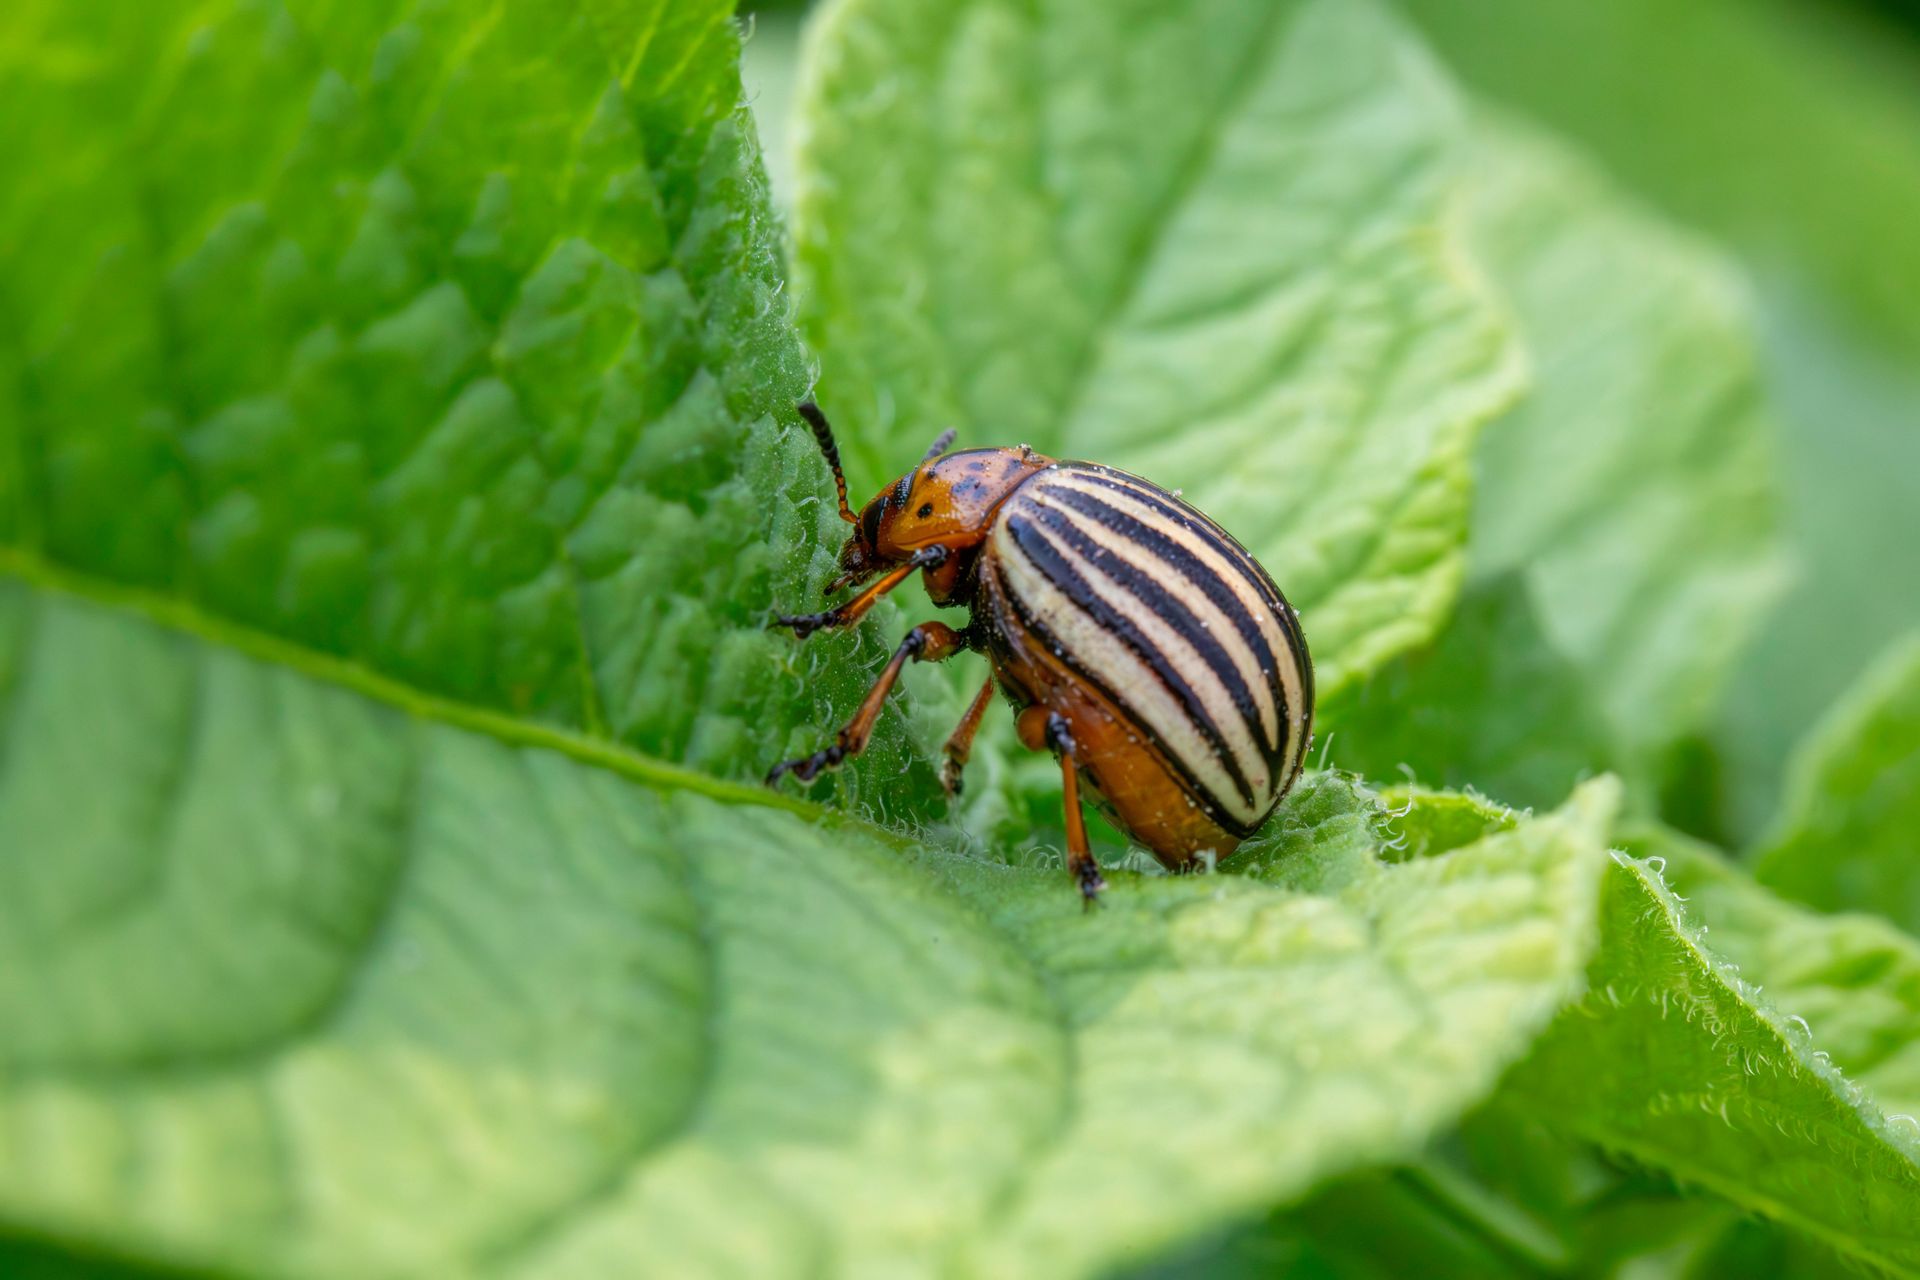
The ability to identify what is going wrong with a plant before it progresses beyond recovery is one of the most practically valuable skills in gardening, and it is acquired primarily through the specific discipline of checking plants regularly and knowing what to look for. Most plant problems are manageable if caught early and serious if left until they are visually dramatic.
Aphids — greenfly and blackfly — are the most common garden pests. They cluster on soft new growth, particularly on roses, nasturtiums, beans, and brassicas, sucking sap and producing a sticky honeydew on which sooty mould develops. They reproduce rapidly in warm weather. Small infestations can be removed by hand or with a strong jet of water. Larger infestations on valuable plants may require an insecticidal soap spray. Encouraging predators — ladybirds, lacewings, parasitic wasps — by reducing pesticide use and providing habitat is the most sustainable long-term management.
Slugs and snails cause the most damage to seedlings and soft-leaved plants, particularly in wet conditions. Their damage — irregular holes in leaves, seedlings disappearing overnight — is most effectively addressed by physical barriers around vulnerable plants (copper tape, gritty surfaces), evening handpicking, and trap crops that concentrate slugs away from valued plants.
Fungal diseases — powdery mildew, grey mould (Botrytis), blight — are often favored by poor air circulation, high humidity, and overhead watering. Spacing plants adequately, removing diseased material promptly, and watering at the base rather than the foliage reduces disease incidence. Blight on tomatoes and potatoes — caused by the oomycete Phytophthora infestans — appears as brown patches on leaves with a white border in humid weather. Affected material must be removed immediately and not composted.
12 / 20
Mulching properly
Alfo Medeiros / Pexels
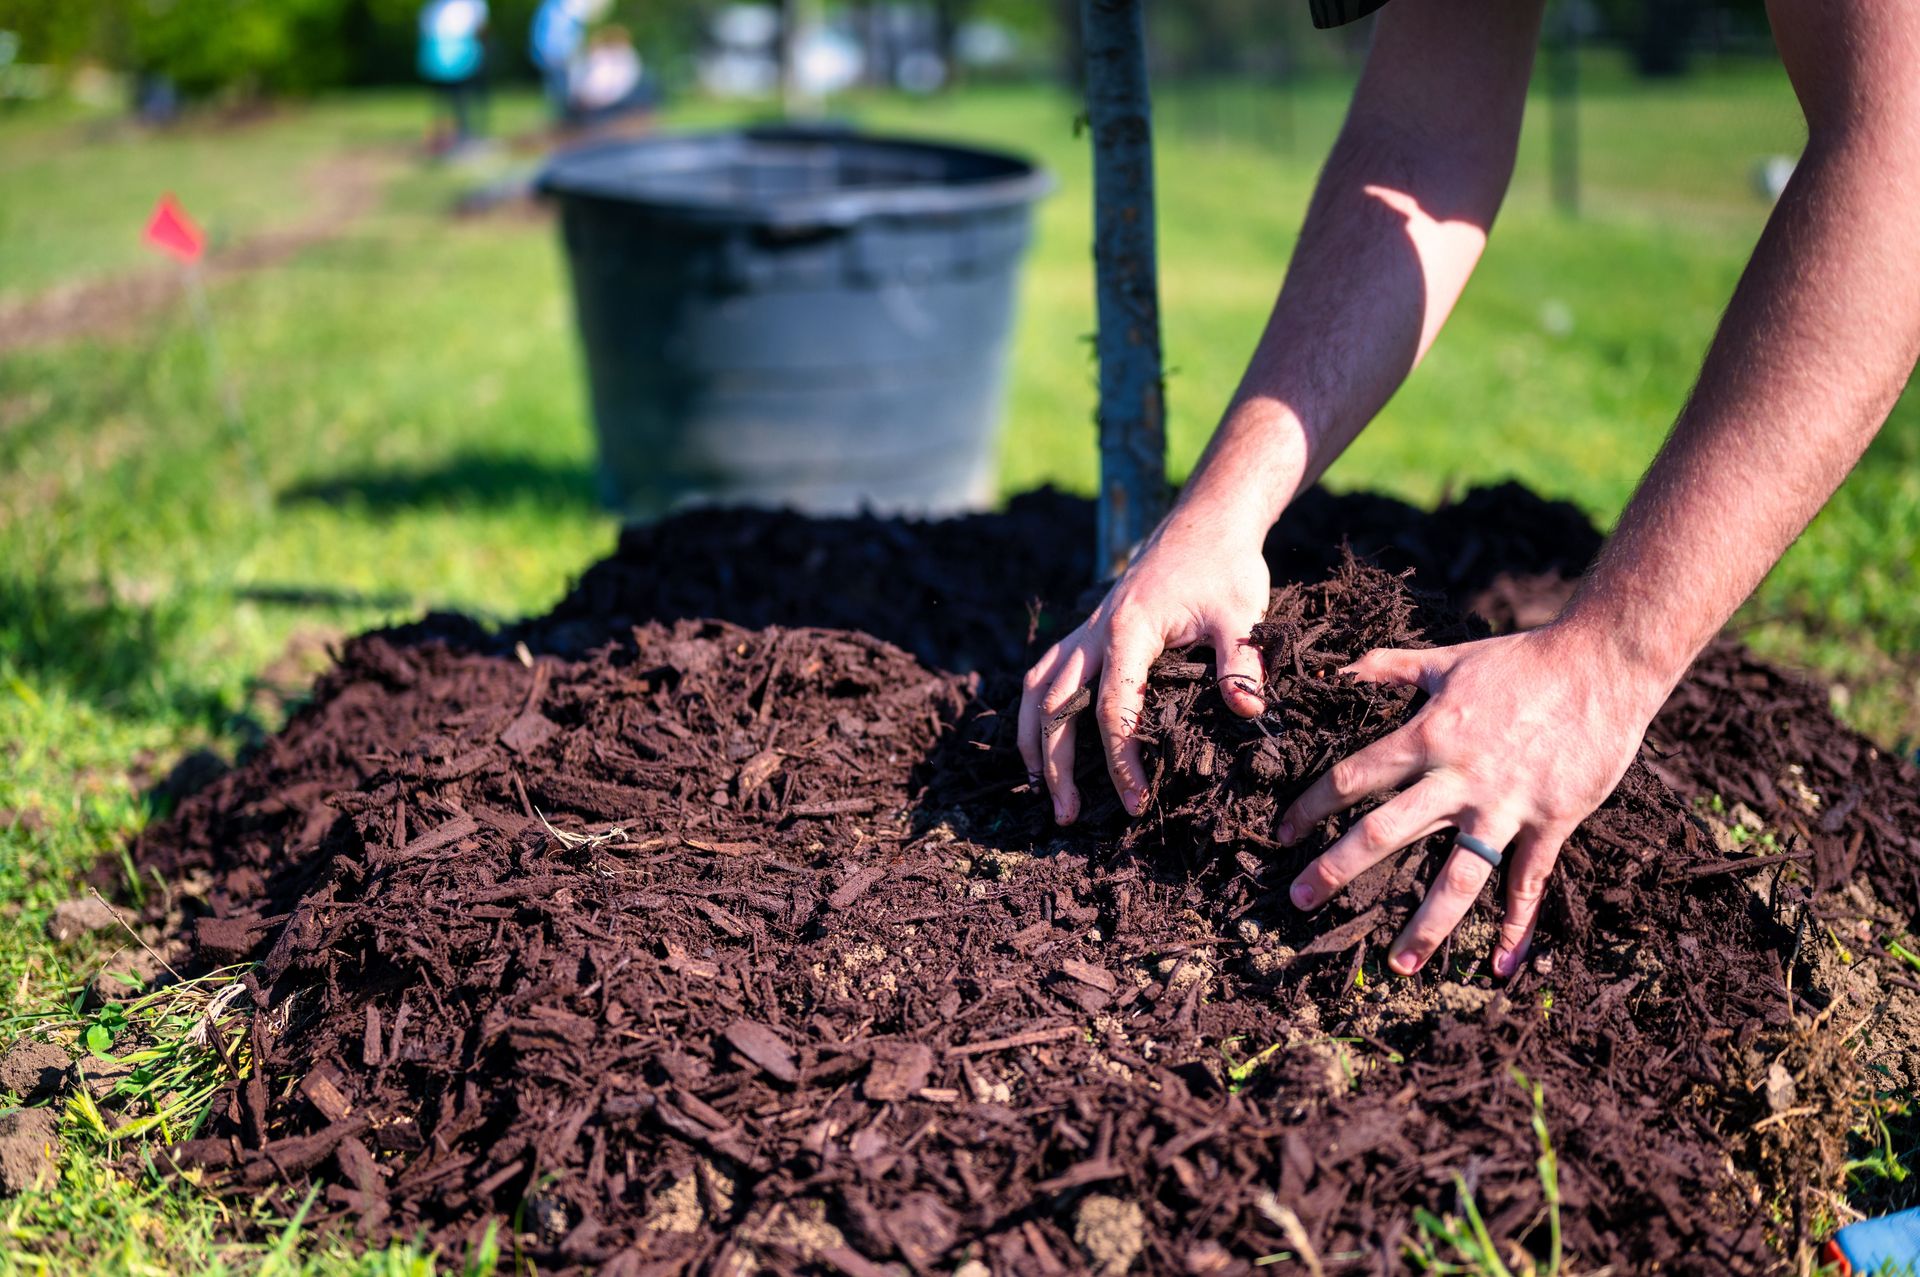
Mulching — covering the soil surface around plants with a layer of material — is one of the highest-return low-effort practices in gardening, and it is consistently underused by beginners who regard it as optional tidying rather than a functional technique. A proper mulch applied at the right time and depth suppresses weeds, retains soil moisture, regulates soil temperature, and — when organic — improves soil structure as it decomposes.
Organic mulches — bark chips, wood chip, compost, straw, leaf mold — decompose over time and need to be replenished annually. They are the most beneficial long-term because they feed the soil as they break down. Inorganic mulches — gravel, slate, pebble — do not feed the soil but last much longer and are more appropriate for Mediterranean-style planting schemes where drainage and heat retention are priorities.
The depth of mulch determines its effectiveness. A layer less than five centimeters thick allows weed seeds to germinate and dry out before they are suppressed. A layer of 7.5 to 10 centimeters provides reliable weed suppression and meaningful moisture retention. The most common mulching error is applying a thin, inadequate layer that looks finished but provides no functional benefit.
Timing matters. Spring mulching — applied after the soil has warmed but before summer heat arrives — locks in the warmth and moisture of the spring soil. Autumn mulching protects plant roots from winter cold and feeds the soil over winter. Mulching onto cold, waterlogged winter soil traps the cold and slows spring warming, which is why autumn and spring are the two most beneficial mulching windows.
Leave a gap between the mulch and the base of woody plant stems. Mulch piled against stems creates a moist environment that promotes rot and slug damage at the most vulnerable point of the plant.
13 / 20
Deadheading and pruning basics
Kampus Production / Pexels
Deadheading — the removal of spent flowers before they set seed — and basic pruning are the maintenance skills that most directly affect how long plants flower, how vigorously they grow, and how they look throughout the season. Both are simple techniques whose underlying principles are straightforward once understood.
Deadheading works because most flowering plants are reproducing: their goal is to set seed, and once they have done so, they direct energy into seed development rather than continued flowering. Removing spent flowers before seed sets fools the plant into continuing to produce flowers in pursuit of its reproductive goal. Annuals that are deadheaded — petunias, marigolds, cosmos — flower dramatically longer than those that are left. Repeat-flowering roses deadheaded after each flush produce a second, third, and sometimes fourth flush of bloom. Plants allowed to set seed stop flowering and direct energy into seed maturation.
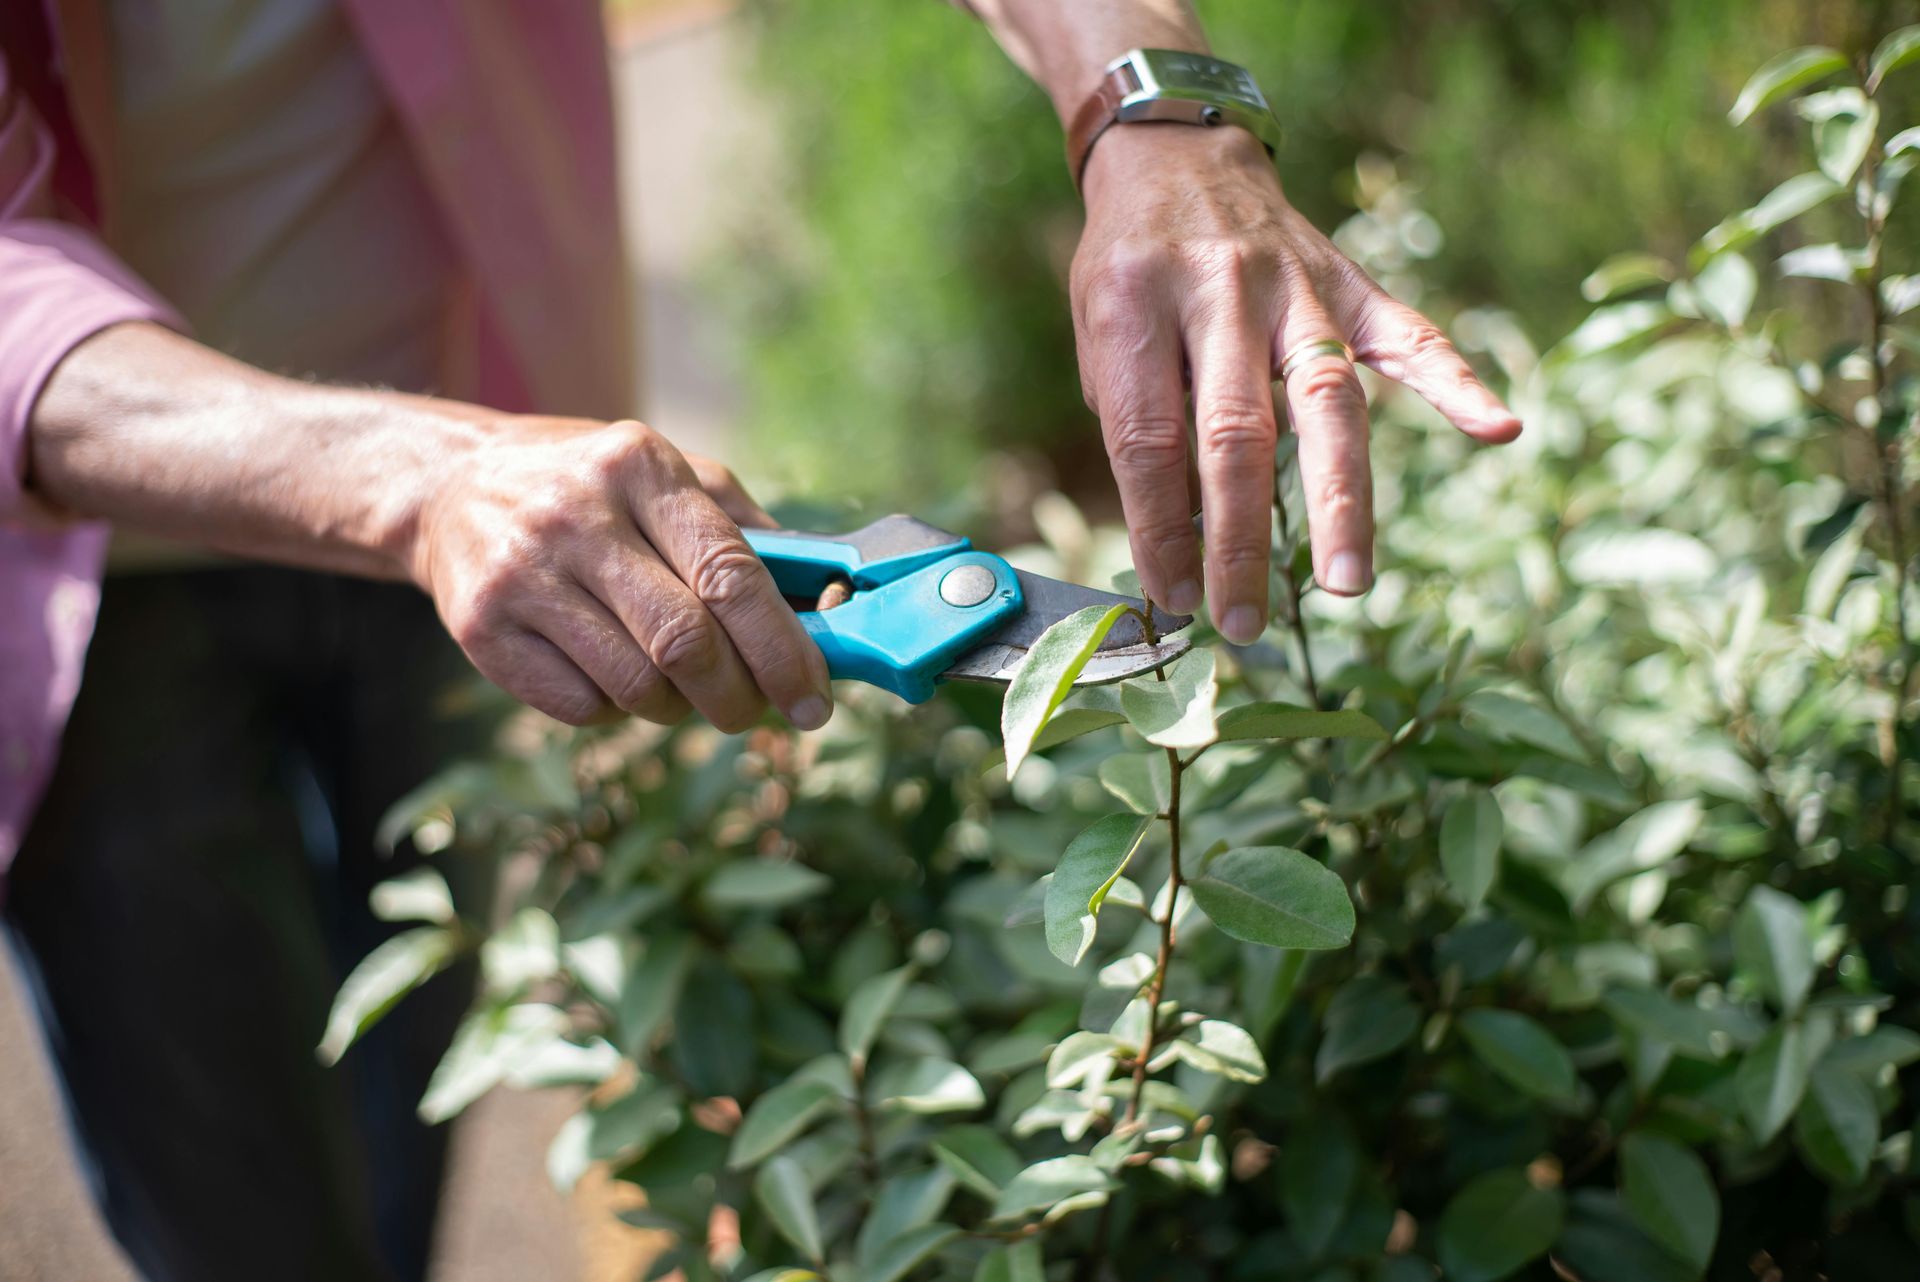
Basic pruning for most garden shrubs follows two principles. The first is to remove the three Ds — dead, diseased, and damaged wood — at any time of year, as these provide entry points for disease and divert energy from healthy growth. The second is to understand when a plant flowers, which determines when to prune for best effect: shrubs that flower on the current year's growth — buddleja, lavatera, late-flowering clematis — are pruned hard in late winter or early spring. Shrubs that flower on the previous year's growth — forsythia, early-flowering clematis, flowering currant — are pruned immediately after flowering.
Cutting to just above a bud, at a slight angle that sheds water away from the bud, is the correct pruning cut for most woody plants. Cutting into bare wood without a bud nearby produces a stub that dies back and can introduce disease.
14 / 20
Improving soil over time
Andres Alaniz / Pexels
Soil improvement is a long-term project rather than a one-time fix, and understanding it as such changes how beginners approach the first growing season. The expectation that good results will come immediately from new, unimproved soil is one of the most significant causes of gardening discouragement. Most garden soils, particularly in newly built housing developments, have been compacted, mixed with subsoil during construction, and stripped of the organic matter that accumulated over decades. Improving them to a productive state takes at least two to three seasons of consistent organic matter addition.
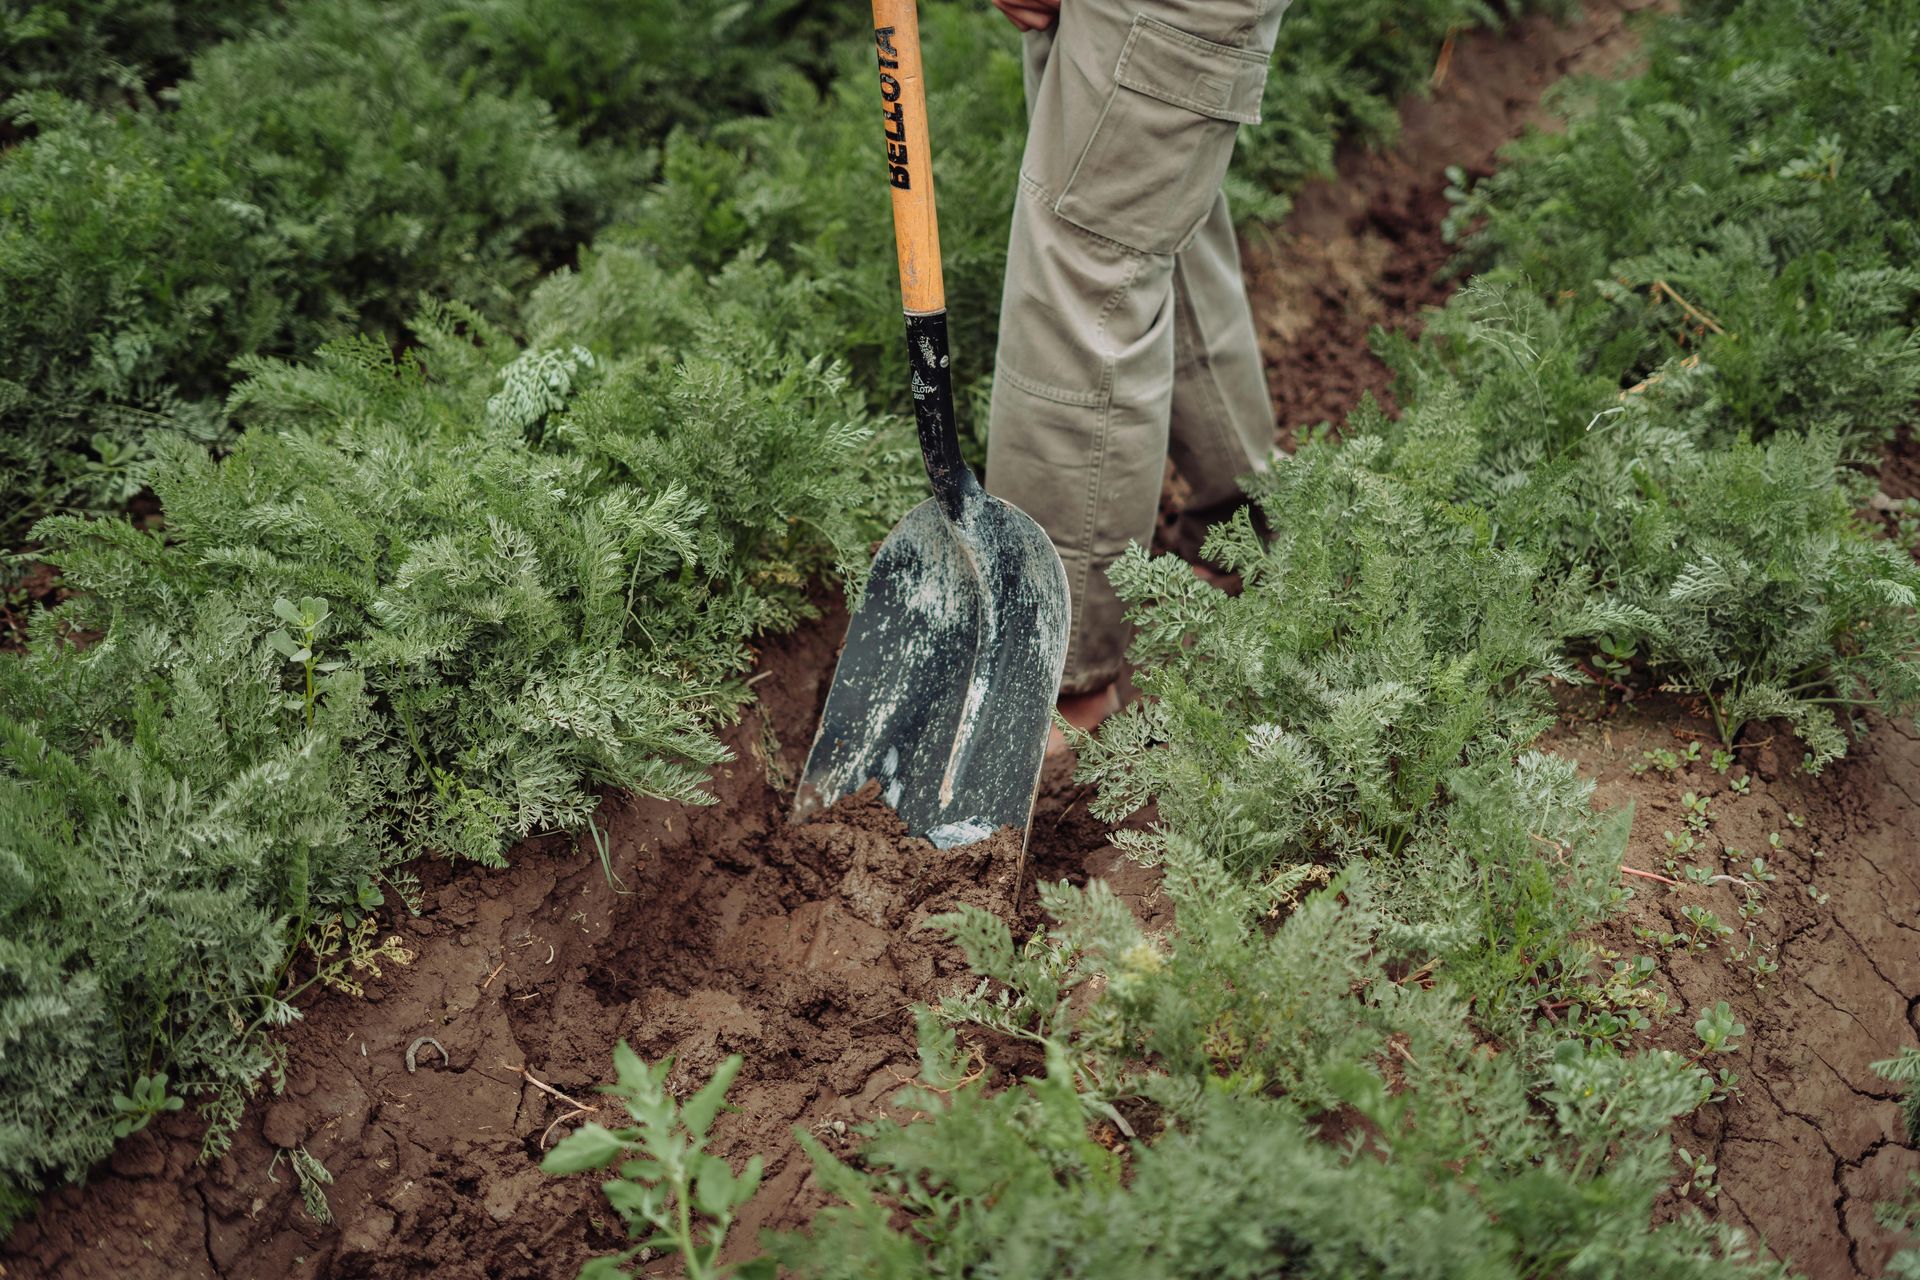
The most effective soil improvement practice is annual mulching or digging in of organic matter — compost, well-rotted manure, or green manures grown over winter and incorporated in spring. Every season that this is done, the soil's organic matter content increases incrementally, its structure improves, its water-holding capacity increases, and its microbial life becomes richer. The difference between a garden's first-year soil and its fifth-year soil is profound.
No-dig gardening — the practice of adding organic matter to the surface rather than incorporating it by digging, allowing worms and soil organisms to draw it down — has strong evidence behind it and avoids the disruption of the soil structure and the weed seed germination that digging encourages. It is particularly suited to beds that are already reasonably structured and have a good worm population. In compacted clay soils or soils with poor structure, an initial incorporation of organic matter by digging can accelerate improvement, followed by no-dig management thereafter.
Green manures — fast-growing crops sown in autumn to cover bare soil over winter, then cut down and incorporated in spring — add organic matter, fix nitrogen (in the case of leguminous green manures like clover and vetch), and prevent nutrient leaching from bare soil over winter. They are the most productive use of garden space during the seasons when nothing is being cropped.
15 / 20
Choosing the right tools
Gary Barnes / Pexels
The correct tools make every gardening task easier, and the beginner's instinct to buy cheap tools or to buy a large number of tools at once produces equipment that is either poorly made enough to make tasks harder or redundant enough to create clutter and confusion. A small set of well-made tools that cover the essential operations is more useful than a large set of compromised quality.
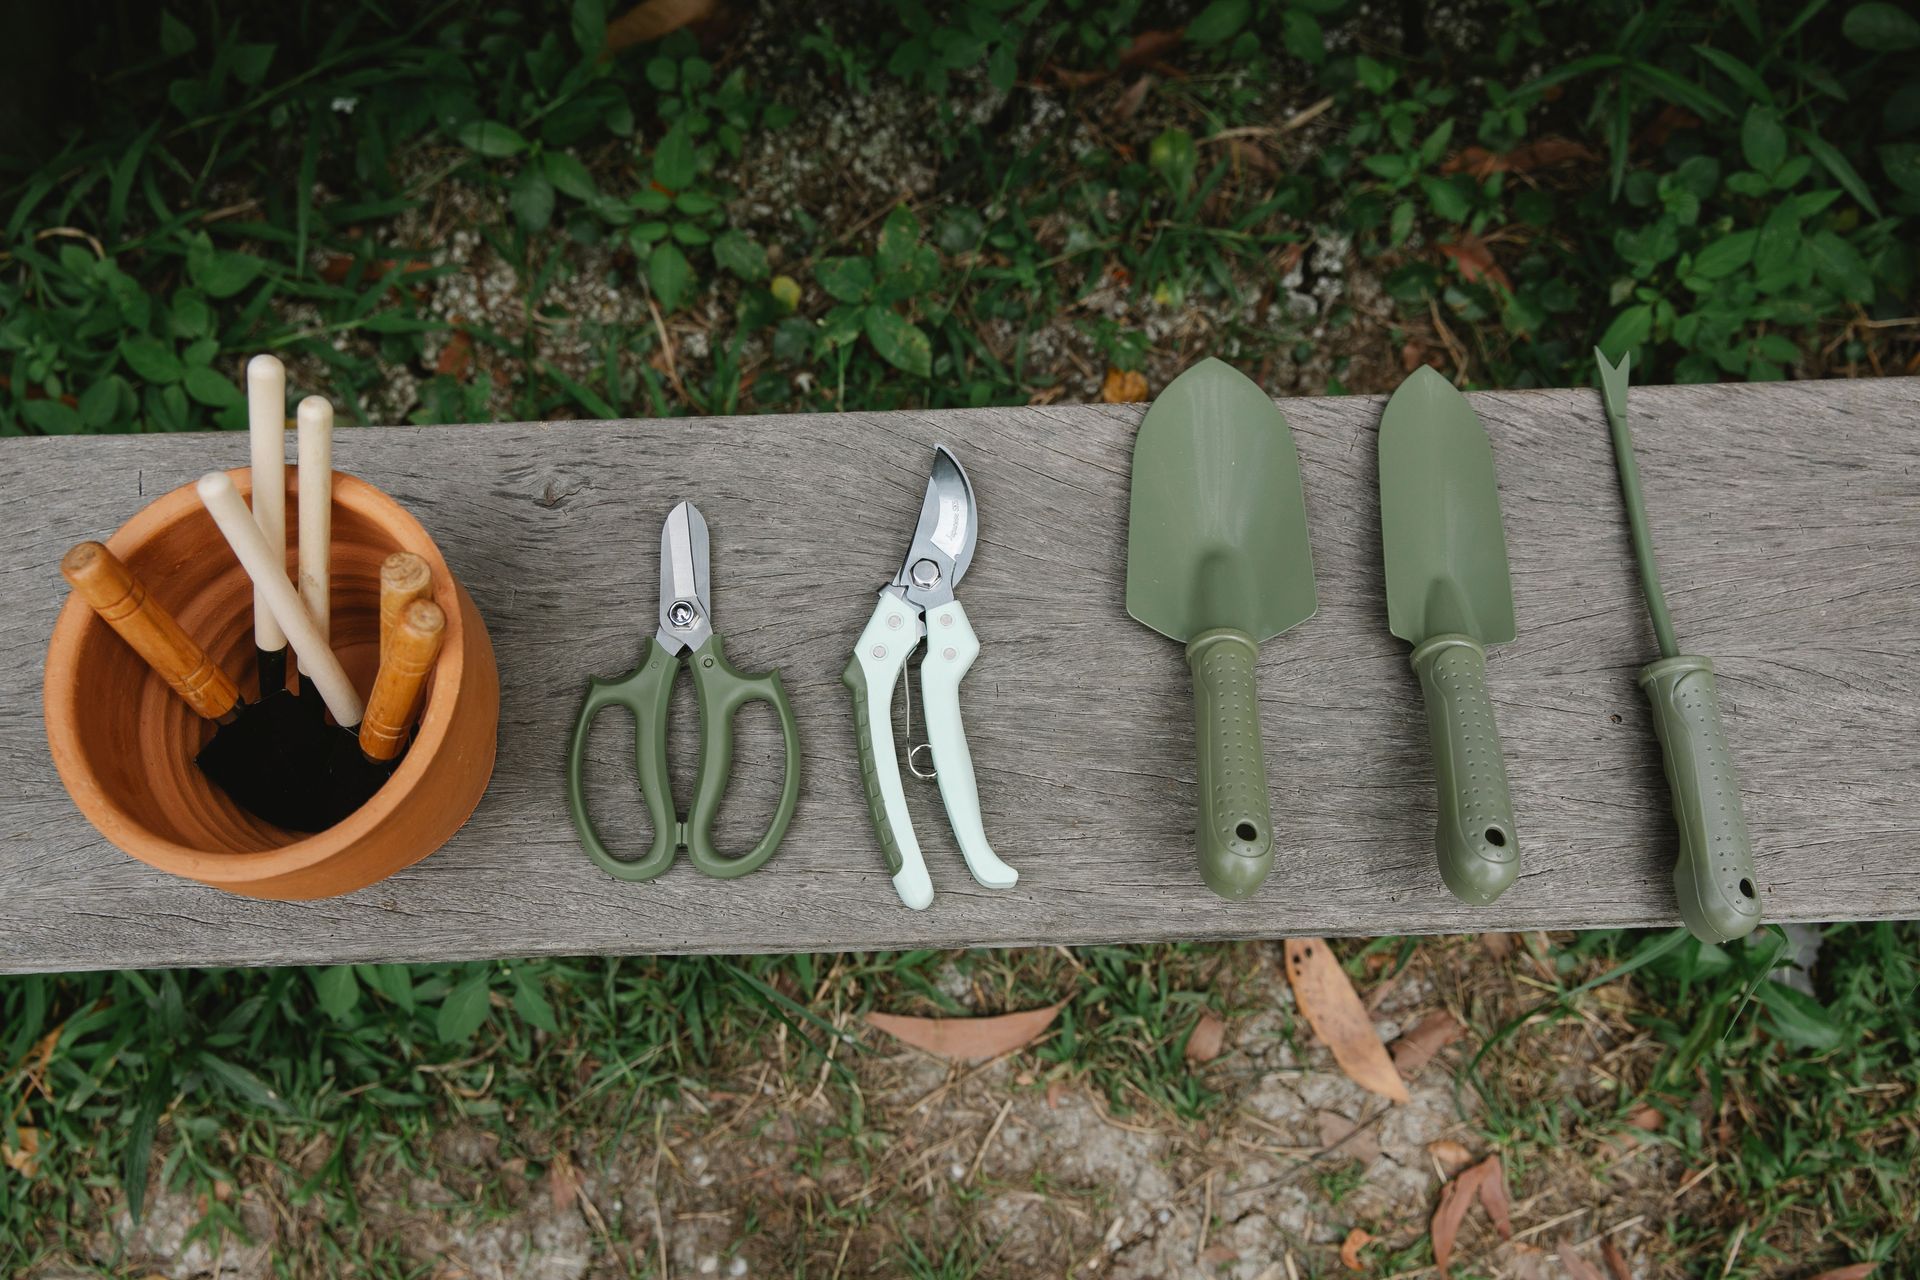
The five tools that cover the majority of garden operations are: a spade, for digging and moving soil; a fork, for loosening soil, incorporating compost, and lifting root vegetables; a hand trowel, for planting small plants and seedlings; a hoe, for surface weeding between plants; and a good pair of bypass secateurs, for cutting stems up to pencil thickness. Everything else is an addition to these five rather than a substitute for any of them.
The quality distinction that matters most in tools is the steel. Good quality tools use hardened, forged steel for the business end — the blade, the tines — which holds an edge or a shape under the mechanical stress of garden use. Cheap tools use thinner, softer steel that bends, blunts, or breaks under the same conditions, requiring replacement within a season.
Maintaining tools at the end of each use — removing soil with a brush or stick, oiling metal surfaces lightly with any mineral oil, storing them out of the weather — extends their life dramatically. A wooden-handled tool left outdoors through winter will need its handle replaced within two or three years. The same tool stored inside and oiled annually can last decades.
16 / 20
Growing from cuttings
Teona Swift / Pexels
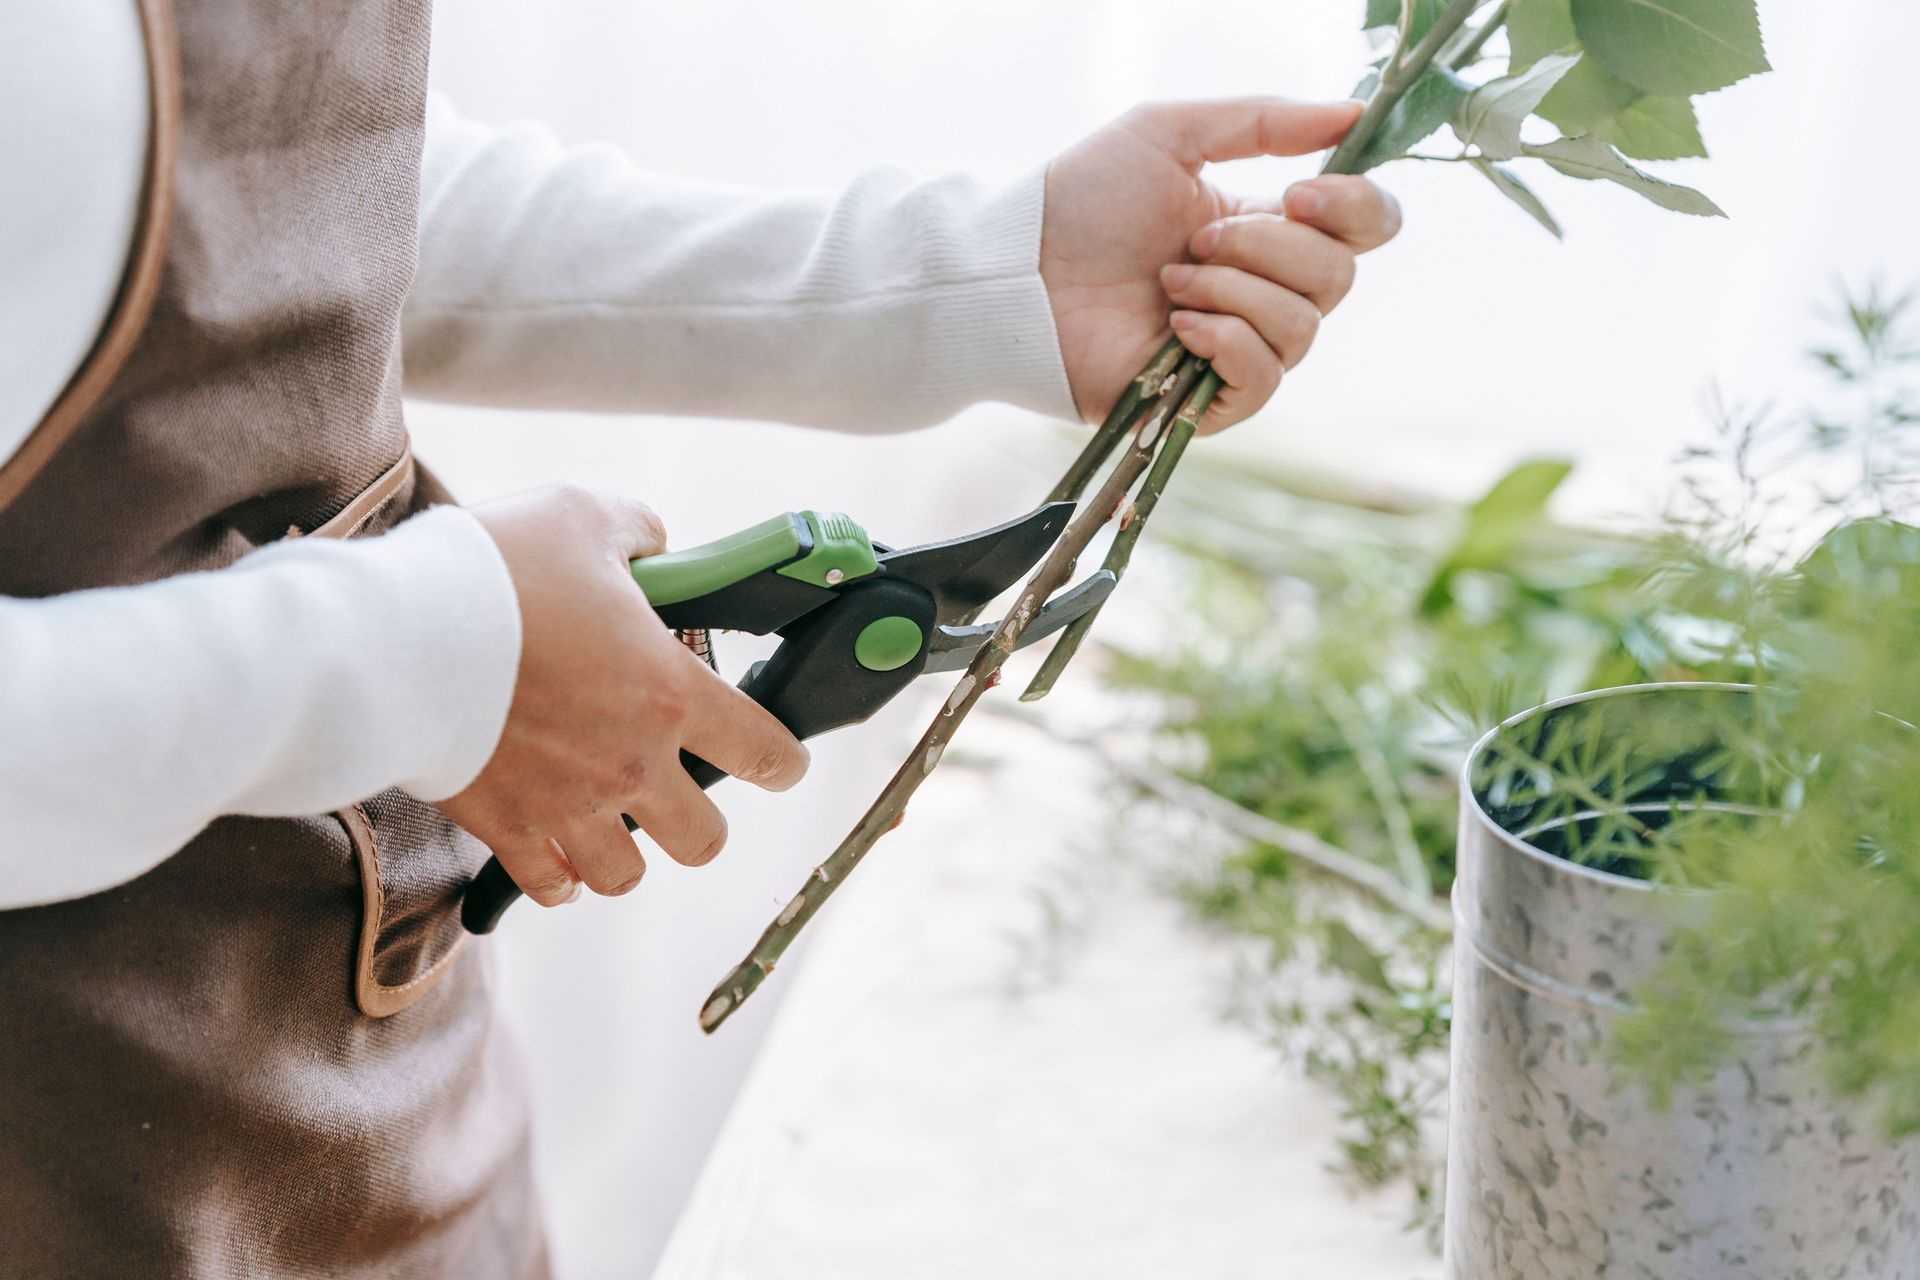
Propagation from cuttings — taking a section of stem, leaf, or root from an existing plant and encouraging it to develop its own root system — is the skill that most dramatically reduces the cost of establishing a garden, and it is considerably simpler than most beginners assume. The ability to produce new plants from cuttings makes it possible to multiply a single purchased plant into dozens, to share plants between gardeners, and to maintain a collection of tender plants that would otherwise need to be replaced each year.
Softwood cuttings — taken from the soft, actively growing tip of a stem in spring and summer — root most easily and most quickly. They are the correct approach for most perennials, tender plants like pelargoniums and fuchsias, and many shrubs. Take a cutting of seven to ten centimeters, cutting just below a leaf node with a clean, sharp blade. Remove the lower leaves, leaving two or three at the tip. Dip the cut end in rooting hormone powder or gel, tap off the excess, and insert the cutting into moist cutting compost — a 50:50 mixture of multipurpose compost and perlite, or commercial cutting compost.
Cover the cutting with a clear plastic bag or a propagator lid to maintain humidity, and place in bright indirect light at around 18 to 20°C. Rooting takes two to six weeks depending on the species. The cutting has rooted when it resists a gentle upward tug and shows new leaf growth.
Hardwood cuttings — taken from woody stems in autumn and winter when the plant is dormant — are even simpler: cut sections of stem 15 to 20 centimeters long, push them almost their full length into a trench of gritty soil, and leave them through winter. By spring, most will have produced roots and can be lifted and transplanted.
17 / 20
Companion planting basics
Aleksandr Gorlov / Pexels
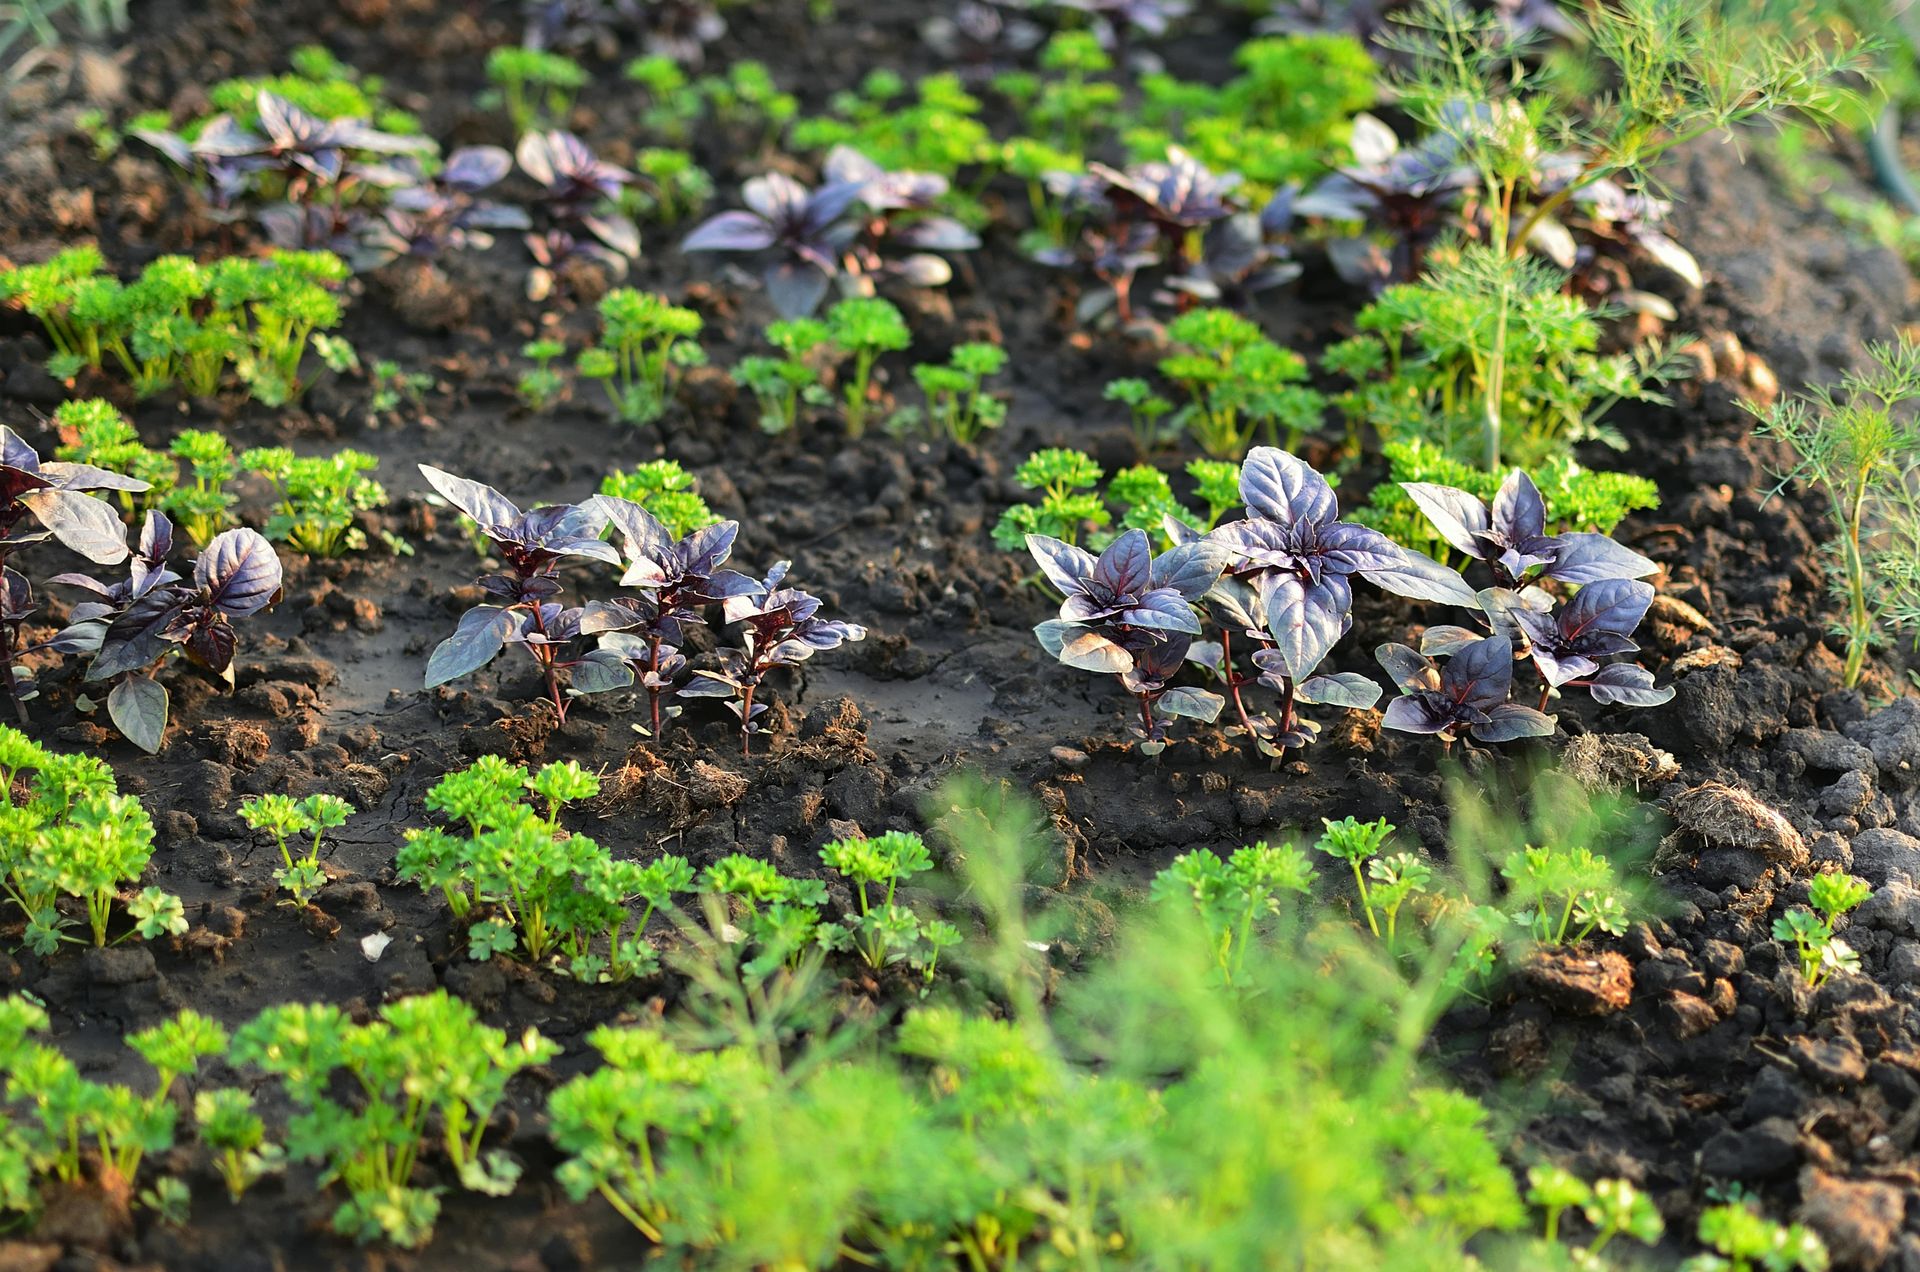
Companion planting — the practice of positioning specific plants near each other to mutual benefit — ranges from well-evidenced practical technique to folklore, and a beginning gardener benefits from knowing which is which. The well-evidenced examples are specific and actionable; the folklore is entertaining but unreliable.
The most evidence-supported companion planting combination is the intercropping of aromatic herbs — particularly basil, dill, coriander, and French marigold (Tagetes) — with vegetable crops to reduce pest pressure. French marigolds produce compounds from their roots that suppress root-knot nematodes in the surrounding soil, a benefit documented in controlled trials. Their volatile compounds also deter some flying pests. Nasturtiums planted near brassicas act as trap crops, attracting aphids and caterpillars away from the main crop. Tall plants like sweetcorn provide shade for smaller, shade-tolerant crops like squash.
The traditional Three Sisters combination — sweetcorn, climbing beans, and squash grown together — represents practical companion planting from Mesoamerican agriculture: the sweetcorn provides a climbing structure for the beans, the beans fix nitrogen from the air and add it to the soil, and the squash spreads across the ground suppressing weeds and retaining moisture. The combination works as described and has been cultivated together for thousands of years.
The less evidence-based companion planting claims — that planting roses near garlic prevents aphids, that basil grown near tomatoes improves their flavor — are plausible in principle but not supported by controlled evidence. They are worth trying in a small area but not worth organizing an entire planting scheme around.
18 / 20
Planning for succession
Rachel S / Pexels
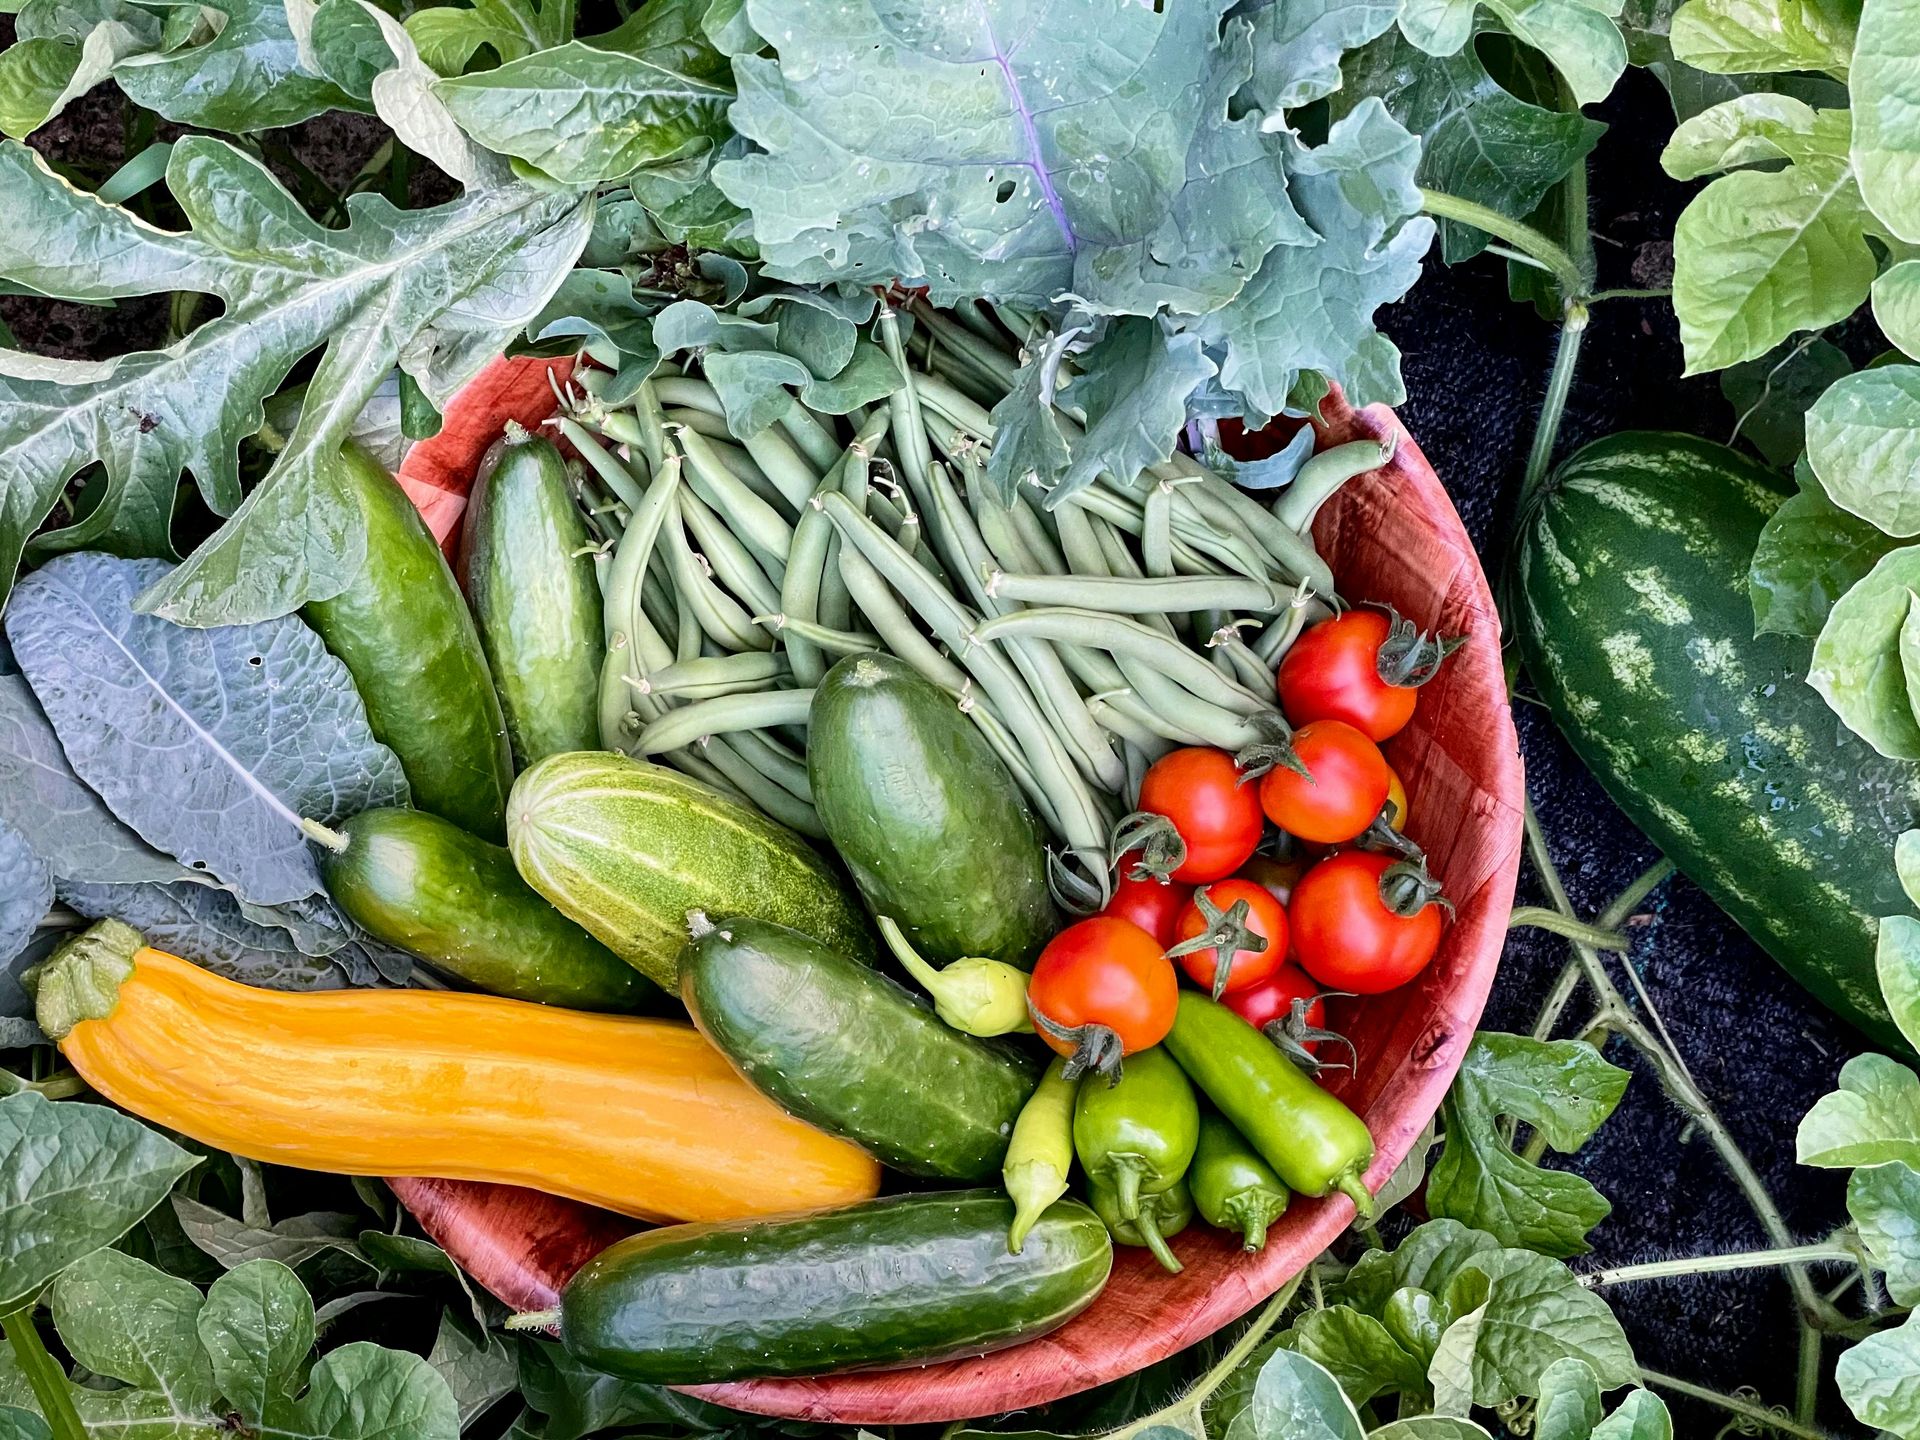
A garden that produces everything at once and then nothing is a garden without a plan. Succession planting — timing sowings and plantings to produce a continuous supply rather than a single glut — is the planning skill that separates a productive garden from a frustrating one, and it is a skill developed in the planning stage rather than the growing stage.
The practical tools of succession planning are a garden diary and a sowing calendar. The garden diary records what was planted when, what produced well, and what was eaten or harvested on specific dates in previous seasons. The sowing calendar distributes sowings of the same crop across the season in two-to-three-week intervals — three small sowings of lettuce a fortnight apart produces fresh lettuce over six weeks; one large sowing produces more lettuce than can be eaten in a week, followed by nothing.
Gap $GPS analysis — identifying the weeks in the growing calendar when nothing is ready to harvest — is the most productive planning exercise. Most beginner gardens have a glut of courgettes in July and August and nothing to harvest in May, June, or September. Filling the gaps requires identifying what crops are suited to the shoulder seasons and planning sowings accordingly. Broad beans, peas, and salad leaves in April and May; hardy winter salads, kale, and leeks for September onwards; overwintered garlic and onions that produce early in the following spring.
The practice of clearing and immediately replanting empty spaces — rather than leaving them bare or weedy between crops — maximizes the productive use of space and time. A bed cleared of early potatoes in July can produce a catch crop of fast-maturing salad leaves or baby beets before the end of the season.
19 / 20
Saving seeds
-1920x1278.jpg)
David Morris / Pexels
Seed saving — collecting, cleaning, and storing seeds from plants in your garden to sow in the following season — is one of the most economical and most satisfying skills a gardener can develop. It closes the circle of the growing year, reduces seed costs, and over successive seasons produces locally adapted populations of plants that perform better in your specific conditions than commercially produced seed grown in optimal conditions elsewhere.
The simplest seeds to save are from open-pollinated annual vegetables and flowers: tomatoes, beans, peas, lettuce, calendula, nasturtium, and cosmos are all straightforward. Hybrid varieties — designated F1 on seed packets — do not produce true offspring and are not worth saving. Open-pollinated and heritage varieties breed true and improve with selection over successive seasons.
The seed-saving process is specific to the crop but follows a general pattern: allow some plants of the chosen variety to complete their full reproductive cycle — flowering, setting seed, and maturing — without harvesting. For tomatoes, allow a fruit to become overripe and soft before scooping out the seeds, washing them free of gel, and drying them on paper. For beans and peas, leave pods on the plant until they are dry and rattle when shaken. For lettuce and annual flowers, allow seed heads to develop fully and cut them just before they shatter and scatter.
Dry seeds thoroughly before storing — damp seeds mold during storage. Store in paper envelopes or glass jars in a cool, dry, dark place. Most vegetable seeds remain viable for two to four years when stored properly.
20 / 20
Preparing for the next season
Greta Hoffman / Pexels
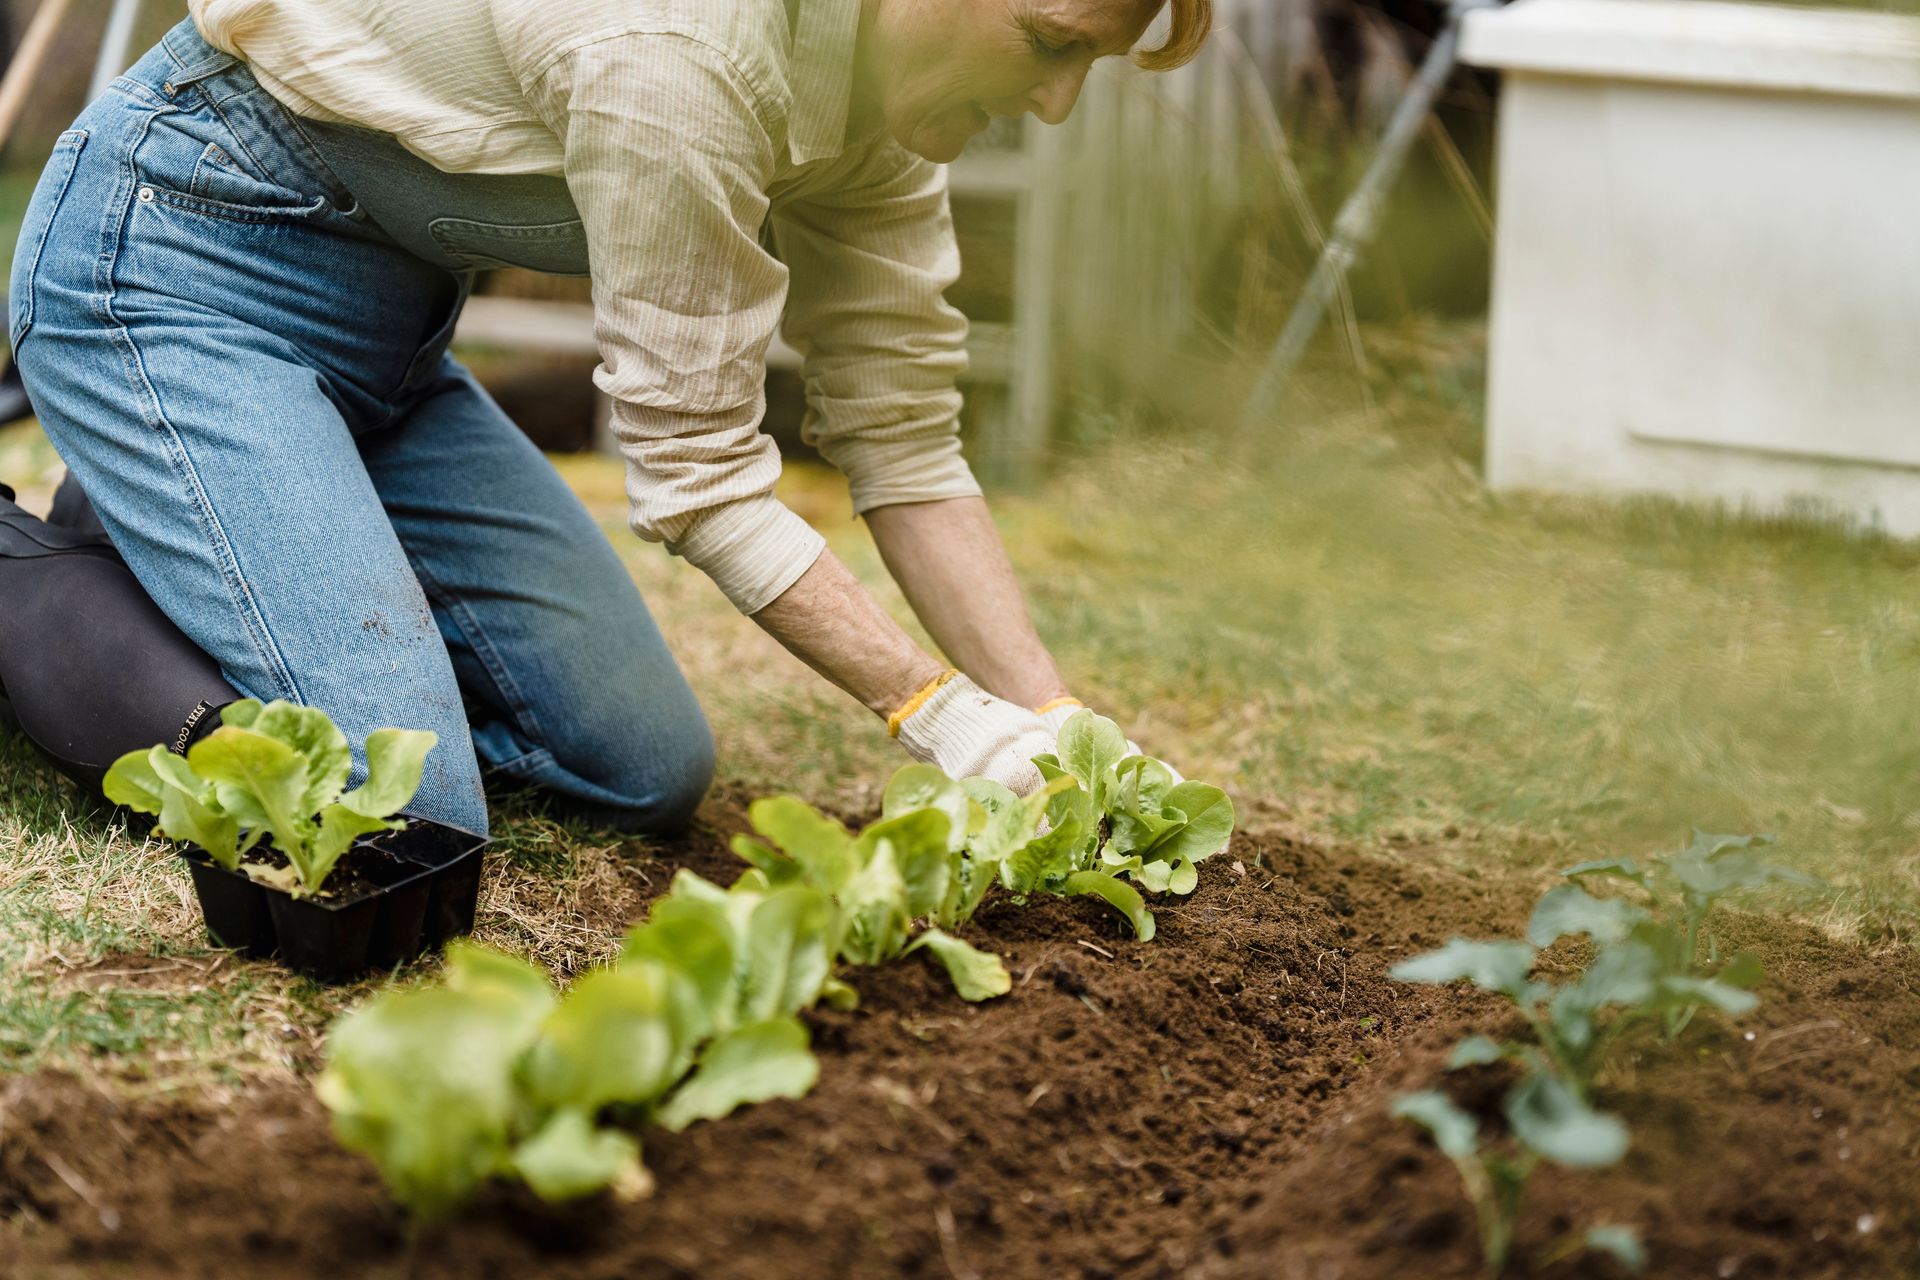
The end of the growing season — autumn — is when the work that determines the quality of the next season gets done, and most first-year gardeners, exhausted by their first summer, skip it. Clearing spent crops, cutting back perennials, applying autumn compost, and planting spring bulbs are the tasks that make the difference between a garden that starts well in the following spring and one that starts from the same difficult position as the first year.
Clearing spent annuals and vegetable crops from beds in autumn removes the habitat in which pests and diseases overwinter. Slugs lay eggs in soil and under plant debris. Fungal spores from this year's blight or mildew wait in plant debris to reinfect next year's crops. Clearing and composting healthy plant material (diseased material should go in the bin rather than the compost heap) breaks these cycles before they begin.
Cutting back perennials in autumn versus spring is a judgment call that varies by plant and by the garden's winter. Many perennials provide valuable winter structure — seed heads that feed birds, hollow stems that shelter insects, frost-bleached foliage that catches morning light — and are better left until late winter or early spring. Others, particularly those prone to fungal disease, are better cut back in autumn to reduce overwintering pathogen habitat.
Planting spring bulbs — tulips, daffodils, crocus, alliums — in autumn is one of the most reliable and most rewarding investments in gardening. Spring bulbs require almost no skill to plant successfully and produce a return in late winter and spring when the garden most needs color and interest. The only mistakes are planting too shallow — the general rule is three times the bulb's depth — and planting in waterlogged soil, where most bulbs will rot.