Credit: Klaus Nielsen / Pexels
Most people learn to cook the same way — by watching someone else do it, then muddling through on their own. You pick up the things your family made. You figure out a few reliable weeknight dinners. And for a long time, that's enough. But there comes a point when improvising stops working, when your pasta turns to mush or your roast comes out dry, when you follow a recipe exactly and still can't understand why it doesn't taste right. The gap between competent and capable is almost always technical, not creative. The home cooks who seem effortlessly good in the kitchen aren't guessing their way through — they've internalized a set of skills that make everything else easier.
Cooking is not an art before it is a craft. The creativity that professional chefs talk about is built on years of drilling down the fundamentals: how heat transfers, why salt matters at every stage, how to read a pan, when to leave something alone. These are not obscure techniques reserved for culinary school students. They are practical, learnable, repeatable things that anyone with access to a stove and a decent knife can practice.
The 25 skills in this list are not ranked. None of them requires special equipment or exotic ingredients. What they share is a certain leverage — master any one of them, and you'll immediately notice the improvement across a wide range of dishes. Master several, and cooking stops feeling like a series of gambles and starts feeling like something you actually control.
Some of these skills are physical: learning how to hold a knife, how to tell when oil is hot enough, how to fold rather than stir. Others are conceptual: understanding the Maillard reaction, grasping how emulsification works, knowing what "resting meat" actually does. Both types are essential. The physical skills make you faster and safer. The conceptual ones help you understand why something works, which means you can fix it when it doesn't.
This list covers the full kitchen — stovetop, oven, knife work, flavor building, and the small habits that separate a tidy, efficient cook from a frantic one. Some of it will be familiar. Some of it may reframe something you thought you already understood. Either way, these are the skills worth practicing deliberately.
1 / 25
Credit: Canva Images
A chef's knife is the most-used tool in any kitchen, and the way most people hold one is making their work slower, less safe, and more tiring than it needs to be. The grip that looks natural — wrapping all four fingers around the handle — gives you poor control and puts your knuckles dangerously close to the blade. The grip that actually works is called the pinch grip, and once you've practiced it for a week, it will feel obvious.
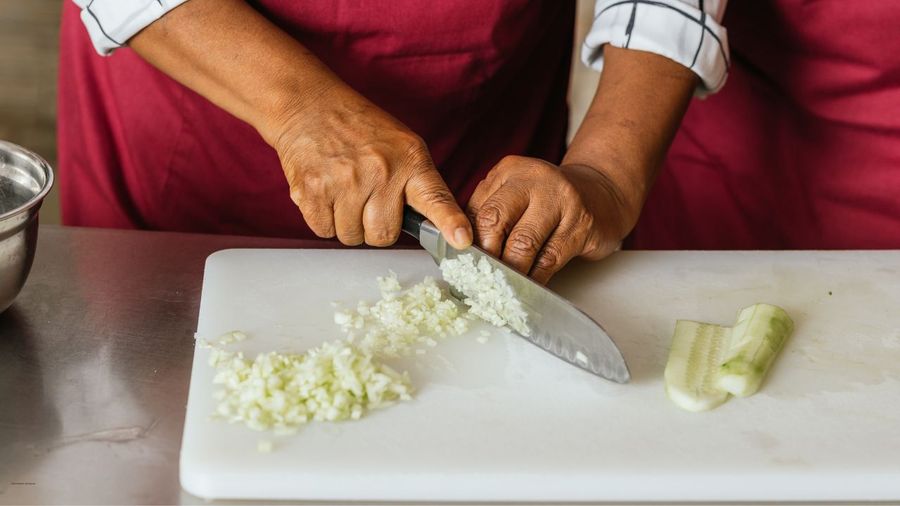
In the pinch grip, your thumb and the side of your index finger pinch the blade itself, just above where the blade meets the handle. Your remaining three fingers curl around the handle for support. This shifts control to the front of the knife, where the cutting happens, rather than to the back, where you're just holding on. The result is a more stable, more precise cut with significantly less wrist fatigue on long prep sessions.
Your other hand — the one holding the food — is equally important. The "claw" grip is the technique taught in every professional kitchen: curl your fingertips inward so that your knuckles are the part of the hand that faces the blade. The flat side of the blade rides against your knuckles as you cut, which guides the knife and protects your fingertips simultaneously. Most home cooks never learn this, and they cut more slowly as a result because they're afraid of the blade.
Beyond grip, the motion matters. A chef's knife is not an axe. It is not meant to be lifted and dropped straight down. The correct motion for most cuts is a rocking or forward-slicing motion — the tip of the blade stays in contact with the cutting board while the heel lifts and falls, or the knife moves forward through the food as it descends. This creates a shearing action that cuts more cleanly and requires less force than pressing straight down.
Sharpness is a separate but related issue. A dull knife is more dangerous than a sharp one because it requires more pressure, which means more chance of slipping. If your knife can't slice cleanly through a ripe tomato without pressing, it needs sharpening. A honing steel, used regularly, realigns the blade's edge and prolongs the time between sharpenings. Actual sharpening — on a whetstone or by a professional — should happen a few times a year depending on how often you cook.
The other common mistake is using the wrong knife for the job. A chef's knife handles most tasks: chopping vegetables, slicing meat, mincing garlic and herbs. A serrated knife is for bread and other foods with a hard crust and soft interior. A paring knife is for small, precise work — peeling, trimming, cutting fruit. Using a chef's knife to saw through bread, or a paring knife to break down a cabbage, creates unnecessary strain and imprecision.
2 / 25
Credit: RDNE Stock project / Pexels
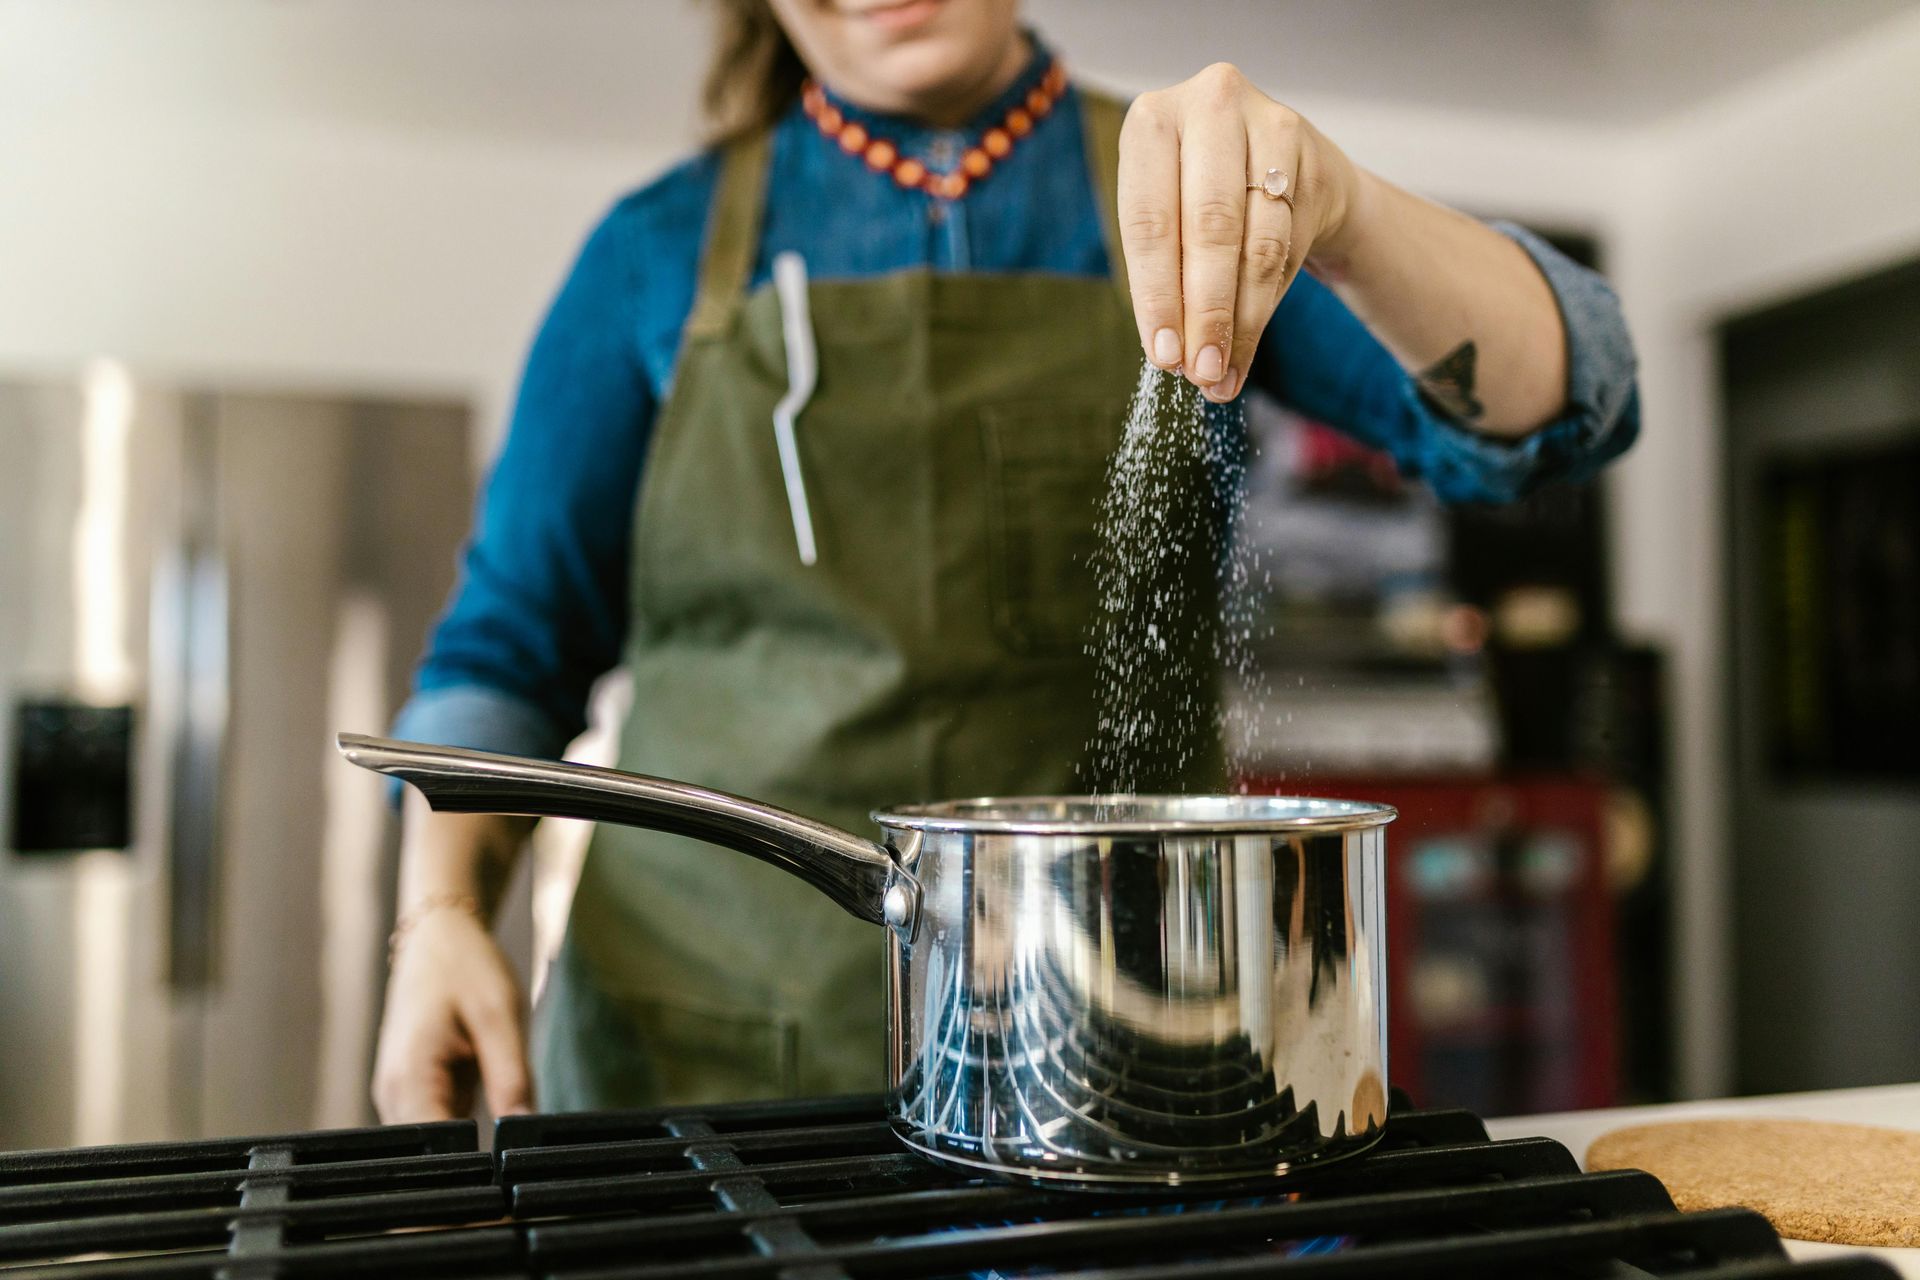
Salt is the most important ingredient in any kitchen, and using it well is less about quantity than timing and technique. Most home cooks either undersalt out of health caution, or add salt only at the end of cooking — which produces food that tastes like salt was added at the end of cooking. The difference in a dish between professional restaurant food and home cooking often comes down to salt, specifically when and how it was applied throughout the process.
Salt does two things at a molecular level. First, it suppresses bitterness, which allows other flavors — sweetness, acidity, savoriness — to come forward. This is why a pinch of salt in baked goods, even sweet ones, is not optional: it's doing structural flavor work, not just adding saltiness. Second, salt draws moisture out of food through osmosis, then, given time, allows that moisture to be reabsorbed along with dissolved salt. This is the mechanism behind brining and dry-brining, and it's why salting meat well in advance produces better results than salting right before cooking.
For pasta water, the instruction "salt it like the sea" is an exaggeration, but it's trying to correct for a real tendency to undersalt. Pasta absorbs water as it cooks, and the only opportunity to season the pasta itself — not just the sauce on top — is when it's in the water. Properly salted pasta water should taste pleasantly salty, not oceanic.
Vegetables benefit from being salted early in the cooking process. Salting onions at the start of sweating them draws out moisture and accelerates softening. Salting eggplant or zucchini before roasting extracts surface moisture, which means the vegetables brown rather than steam. Salting a tomato salad 10 to 15 minutes before serving draws out juice that becomes part of the dressing.
Meat is the area where timing matters most dramatically. A steak salted 45 minutes or more before cooking will produce a noticeably different result than one salted just before it hits the pan. The extended salting period allows the drawn-out moisture to be reabsorbed, seasoning the meat throughout and altering the proteins in a way that helps retain moisture during cooking. If you don't have 45 minutes, salt the steak immediately before cooking — the few minutes in between are the worst of both worlds, when the surface moisture has been drawn out but not yet reabsorbed.
Different salts have different uses. Kosher salt — specifically Diamond Crystal or Morton — is the standard for cooking because its larger crystals are easy to grab and distribute, and because it's relatively consistent in saltiness by volume. Fine table salt is much saltier by volume and harder to control. Flaky sea salt, like Maldon, is a finishing salt — it's sprinkled on food just before serving for texture and a burst of salinity, not used in cooking.
3 / 25

Credit: Utamalas Hadawg / Pexels
The deep, savory crust that forms on a well-seared steak, chop, or chicken thigh is not just cosmetic. It is the product of the Maillard reaction, a chemical process that occurs when proteins and sugars in food are exposed to high heat. The result is hundreds of new flavor compounds that don't exist in the raw or gently cooked meat. Getting a proper sear is one of the highest-leverage skills in cooking because it transforms the flavor profile of the entire dish, not just the surface.
Most home cooks fail to achieve a proper sear for the same reason: the pan or the oil is not hot enough. A proper sear requires high, sustained heat. The pan should be preheated over medium-high to high heat for several minutes before any oil or food goes in. When you add oil, it should shimmer immediately and move easily. When you add the meat, it should make a loud, aggressive sizzle. If it doesn't, the pan is not hot enough and the meat will steam rather than sear.
The second most common mistake is moving the food too soon. When meat first hits a hot pan, it sticks. This is not a sign that something is wrong — it is the sear in progress. As the crust forms and releases from the pan, the meat will naturally detach. If you try to move it before that release happens, you tear the forming crust. The right approach is to place the meat in the pan and leave it alone. When it releases freely, it is ready to be turned.
Moisture is the enemy of browning. Wet meat will steam before it sears because the surface temperature has to first burn off that moisture before it can exceed 212°F (100°C) — and browning reactions require temperatures well above that, typically around 280–330°F (138–165°C). Pat meat thoroughly dry with paper towels before searing. If you've salted in advance and surface moisture has appeared, pat it dry again just before cooking.
Crowding the pan is another error that prevents browning. When too many pieces of meat are added at once, they release collective moisture that drops the pan temperature and turns the cooking environment steamy rather than dry. The meat ends up grey and braised rather than browned. Cook in batches if needed, giving each piece enough space that it isn't touching its neighbor.
The type of fat matters. Butter burns at relatively low temperatures because of its milk solids, which makes it a poor choice for high-heat searing on its own. Neutral oils with high smoke points — grapeseed, avocado, refined vegetable oil — are better suited. A common technique is to sear in neutral oil and then add butter at the end of cooking, basting the meat as it finishes.
4 / 25
Credit: Benjamin Jauregui / Unsplash
A pan sauce is what you make immediately after searing or roasting meat in a skillet, using the browned bits left on the bottom of the pan — called fond — as the flavor base. It's a technique that turns what would otherwise be clean-up into one of the most flavorful elements of the meal. A pan sauce can be made in under five minutes and requires no special ingredients beyond what's already in the kitchen.
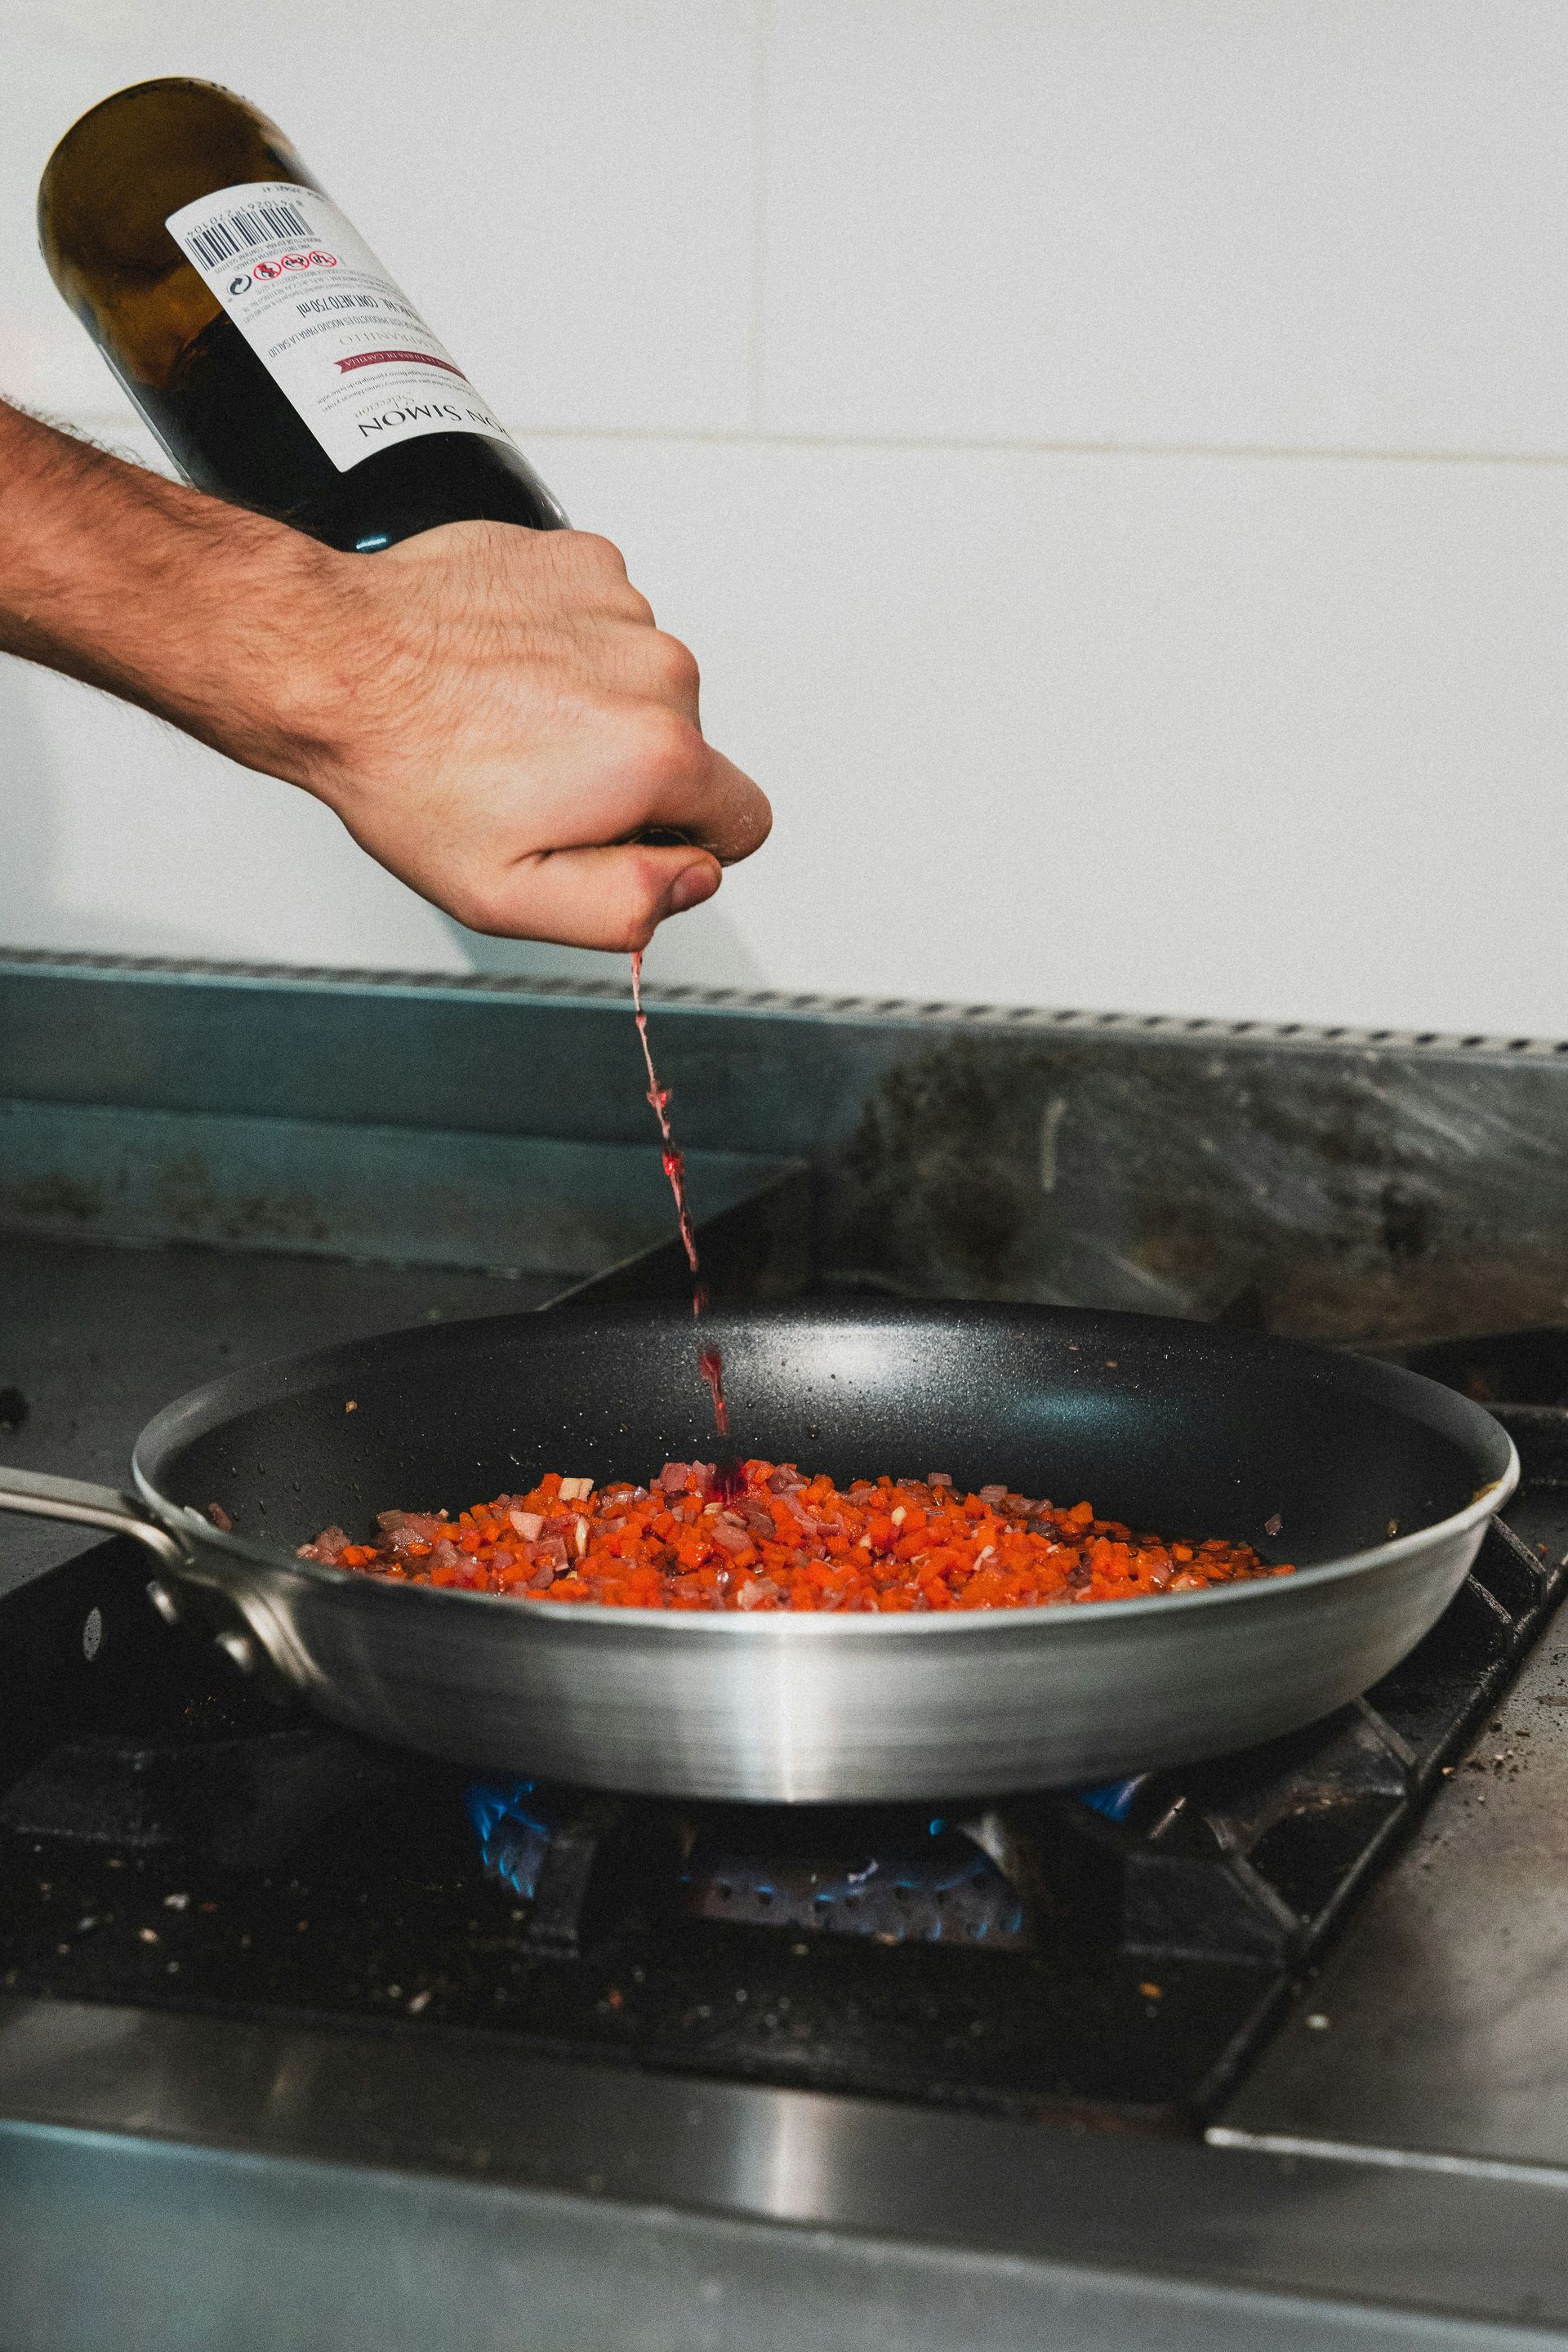
The process begins with deglazing: adding liquid to a hot pan after the protein has been removed, then using a wooden spoon or spatula to scrape up all the browned bits from the bottom. The liquid can be wine, stock, beer, cider, or even water in a pinch. The fond dissolves into the liquid and becomes the flavor backbone of the sauce.
After deglazing, reduce the liquid by roughly half. This concentrates the flavors and creates a more intense base. If you're using wine, let it reduce significantly before adding stock — this cooks off the harsh alcoholic edge and leaves the fruit and acid behind. The amount of reduction you want depends on how thick and intense you like the sauce, but starting with about a cup of liquid and reducing to half a cup is a reasonable starting point for a pan sauce serving two to four people.
Once the liquid is reduced, enrich the sauce by swirling in cold butter cut into small pieces. This technique is called mounting with butter, and it does two things: it adds richness and a glossy, slightly thickened consistency. The key is to use cold butter and to swirl or whisk it in over low heat, which creates an emulsion. If the pan is too hot when you add butter, it will break and you'll have greasy liquid rather than a smooth sauce.
Taste and adjust at this stage. Does it need more salt? A squeeze of lemon for brightness? A teaspoon of Dijon for texture and bite? These final adjustments — adding acid or a secondary flavor element — separate a competent pan sauce from a memorable one. The last step is straining the sauce through a fine-mesh sieve if you want a smooth, restaurant-style presentation, or leaving it unstrained if you don't mind a more rustic texture.
The technique scales to different proteins and different flavor profiles. A pan sauce for chicken might use white wine, chicken stock, shallots, and thyme. One for pork might use apple cider, sage, and a touch of cream. One for steak might use red wine, beef stock, and shallots alone. The framework is the same; the variables change.
5 / 25
Credit: Klaus Nielsen / Pexels
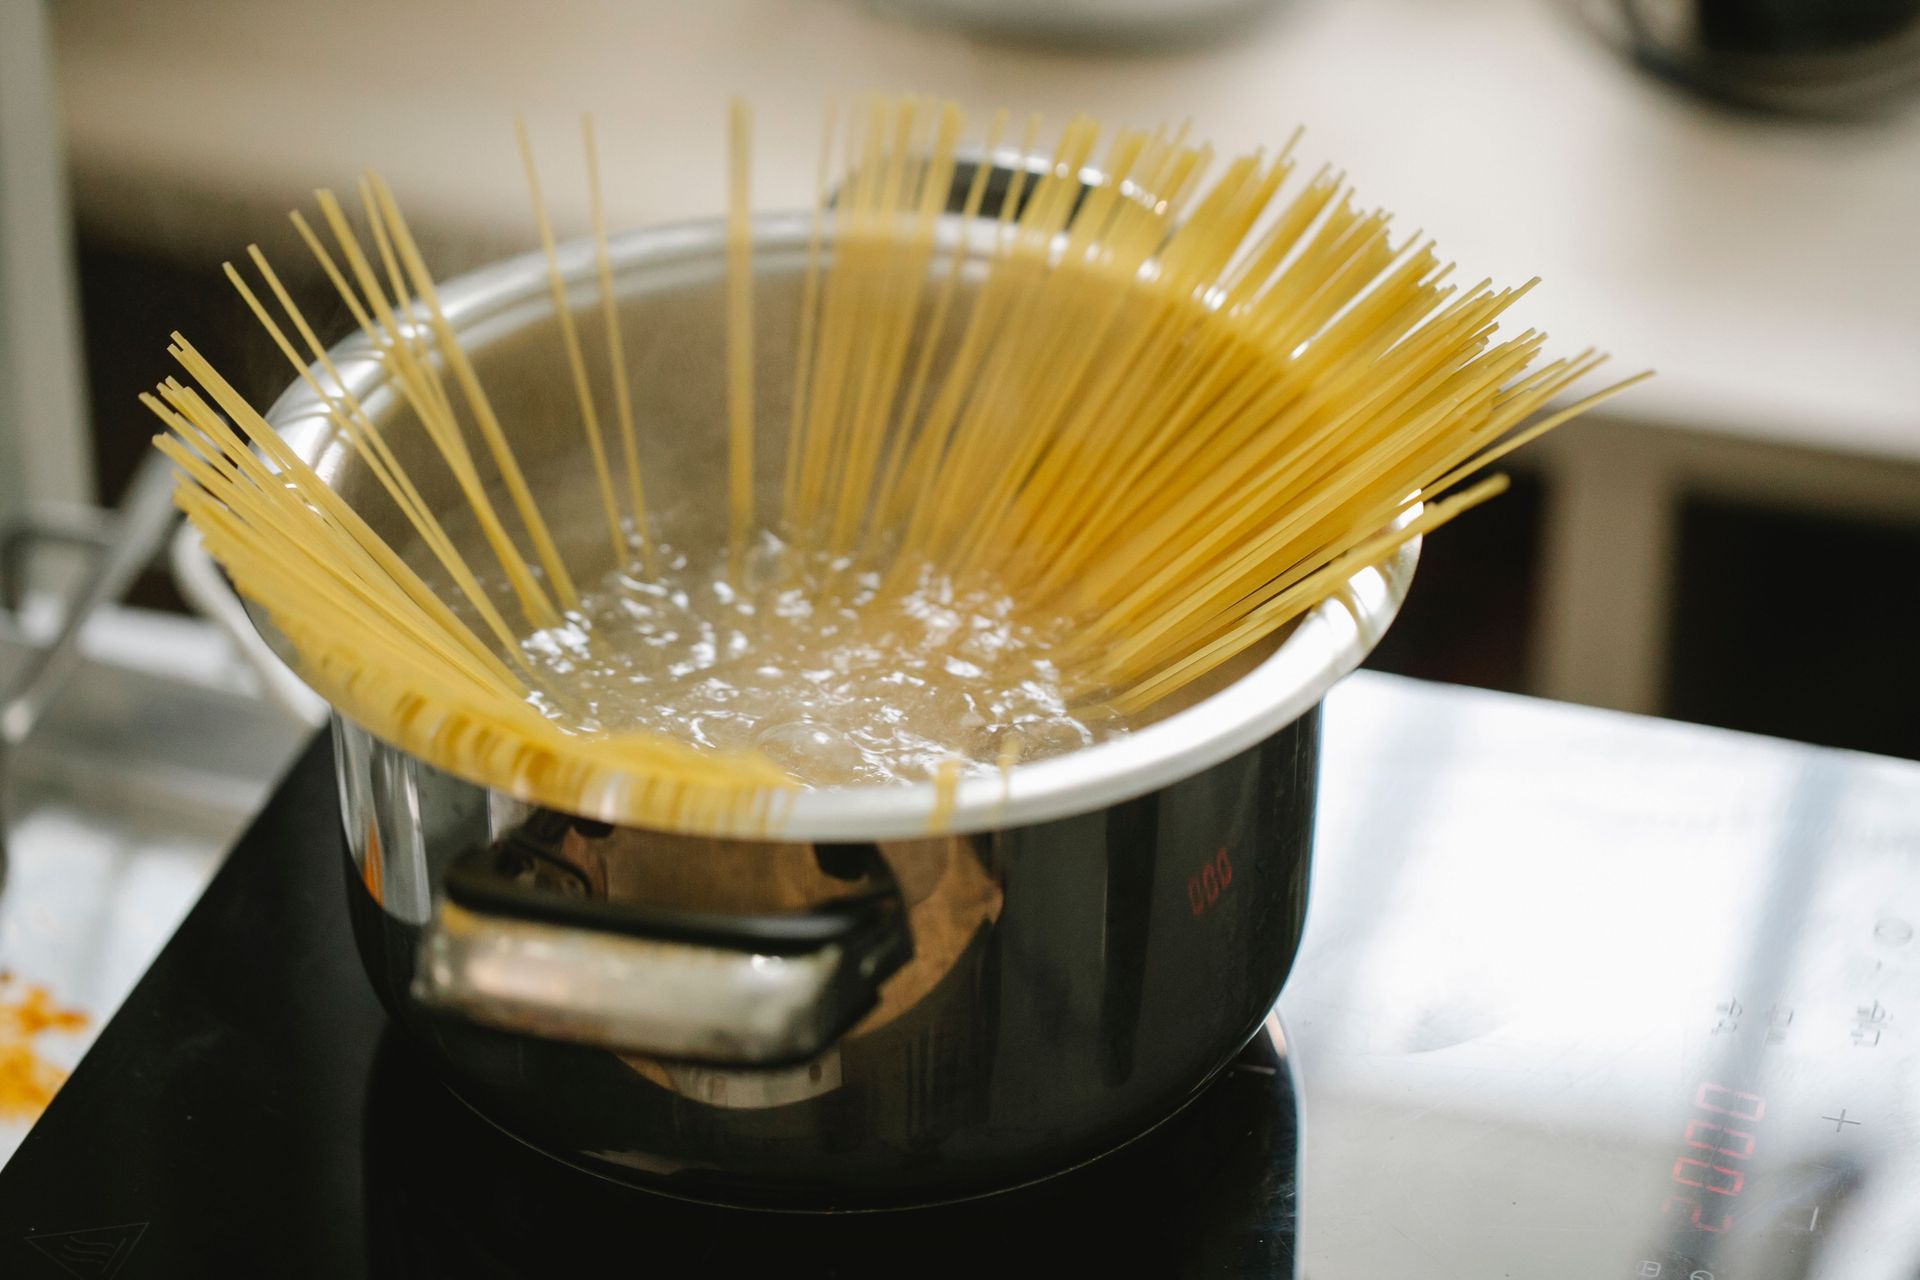
Pasta is simple enough that most people assume they already know how to do it. They mostly don't. The mistakes are small and consistent: not enough water, not enough salt, pulling the pasta too early, not using the starchy cooking water, and rinsing finished pasta under cold water. Any one of these errors produces a noticeably worse result. Correcting all of them is the difference between pasta that tastes like a restaurant dish and pasta that tastes like a home shortcut.
The pot should be large — at least four to six quarts for a standard pound of pasta. Pasta needs room to move while it cooks, and a small pot concentrates starch and causes sticking. The water should be at a rolling boil before the pasta goes in, not a lazy simmer. A rolling boil keeps the pasta in motion, which prevents clumping and promotes even cooking.
The cooking water should be generously salted, as covered in the salt section. But the water has another function beyond flavor: starch. As pasta cooks, it releases starch into the water, which turns it cloudy and slightly thick. This starchy water is an emulsifier — it binds fat and water together when added to a sauce, creating a cohesive coating that clings to the pasta rather than pooling at the bottom of the bowl. Before draining, always reserve at least a cup of pasta water. It's one of the most useful things in the kitchen, and most of it goes down the drain.
Pull the pasta slightly before it's done — when it's just barely shy of the texture you want, still with a slight bite at the center. This is called cooking it two-thirds of the way. The pasta will finish cooking in the sauce, absorbing flavor and reaching the right final texture. If you cook pasta fully before adding it to sauce, it will overcook during the final toss and become soft.
Never rinse pasta after draining unless you're making a cold pasta salad. Rinsing washes away the starch that helps sauce adhere, and it cools the pasta, which slows down the final sauce absorption.
Finish pasta in the pan with the sauce, not on the plate with sauce ladled over top. Add the drained pasta to the sauce pan over medium heat, add a splash of pasta water, and toss vigorously for a minute or two. The pasta drinks in the sauce, the starchy water emulsifies the fat, and the final dish is cohesive rather than separated.
6 / 25

Credit: Kristina Snowasp / Pexels
Aromatics — onions, garlic, shallots, leeks, celery, carrots — are the foundation of most savory cooking, and treating them as a formality rather than a deliberate step produces flat, one-dimensional dishes. How you prepare and cook aromatics in the first minutes of a recipe determines the flavor potential of everything that follows.
The most important distinction is between sweating and browning. Sweating aromatics means cooking them gently over medium to medium-low heat with some fat until they soften and turn translucent, without letting them color. This process softens their structure, mellows their sharpness, and releases their sweetness. Browning aromatics — caramelizing onions being the most extreme example — goes further, developing deeper, more complex flavors through the Maillard reaction. Both approaches are correct depending on what you want. A delicate fish dish or cream sauce benefits from sweated, mild aromatics. A braise or a tomato sauce benefits from deeper browning.
Onions are the most important aromatic in most cuisines, and they require patience. A recipe that tells you to cook diced onion for three minutes is often undershooting. Onions properly sweated over medium heat take eight to 12 minutes to become fully soft, sweet, and translucent. Rushing this stage — turning up the heat to speed things along — risks burning the outside while the inside is still raw and sharp. The result is a harsh, acrid flavor that dominates the finished dish.
Garlic needs careful attention because it burns quickly and becomes bitter when it does. Garlic added to a dry pan over high heat will be scorched before the dish is fully developed. The standard approach is to add garlic to fat that's already been heated, then watch it closely — 30 to 60 seconds over medium heat is usually enough to bloom its flavor before other ingredients are added. If the recipe calls for long, slow cooking, add the garlic later to avoid burning it.
Herbs and spices are also aromatics, and they behave differently depending on how they're treated. Dry spices bloomed in fat at the beginning of cooking — a technique used extensively in Indian, Middle Eastern, and West African cooking — become dramatically more flavorful than the same spices sprinkled in at the end. Toasting whole spices in a dry pan before grinding them releases volatile oils and intensifies their aroma. Fresh herbs added at the beginning of long cooking lose their brightness; added at the end, they retain it.
7 / 25
Credit: Vlada Karpovich / Pexels
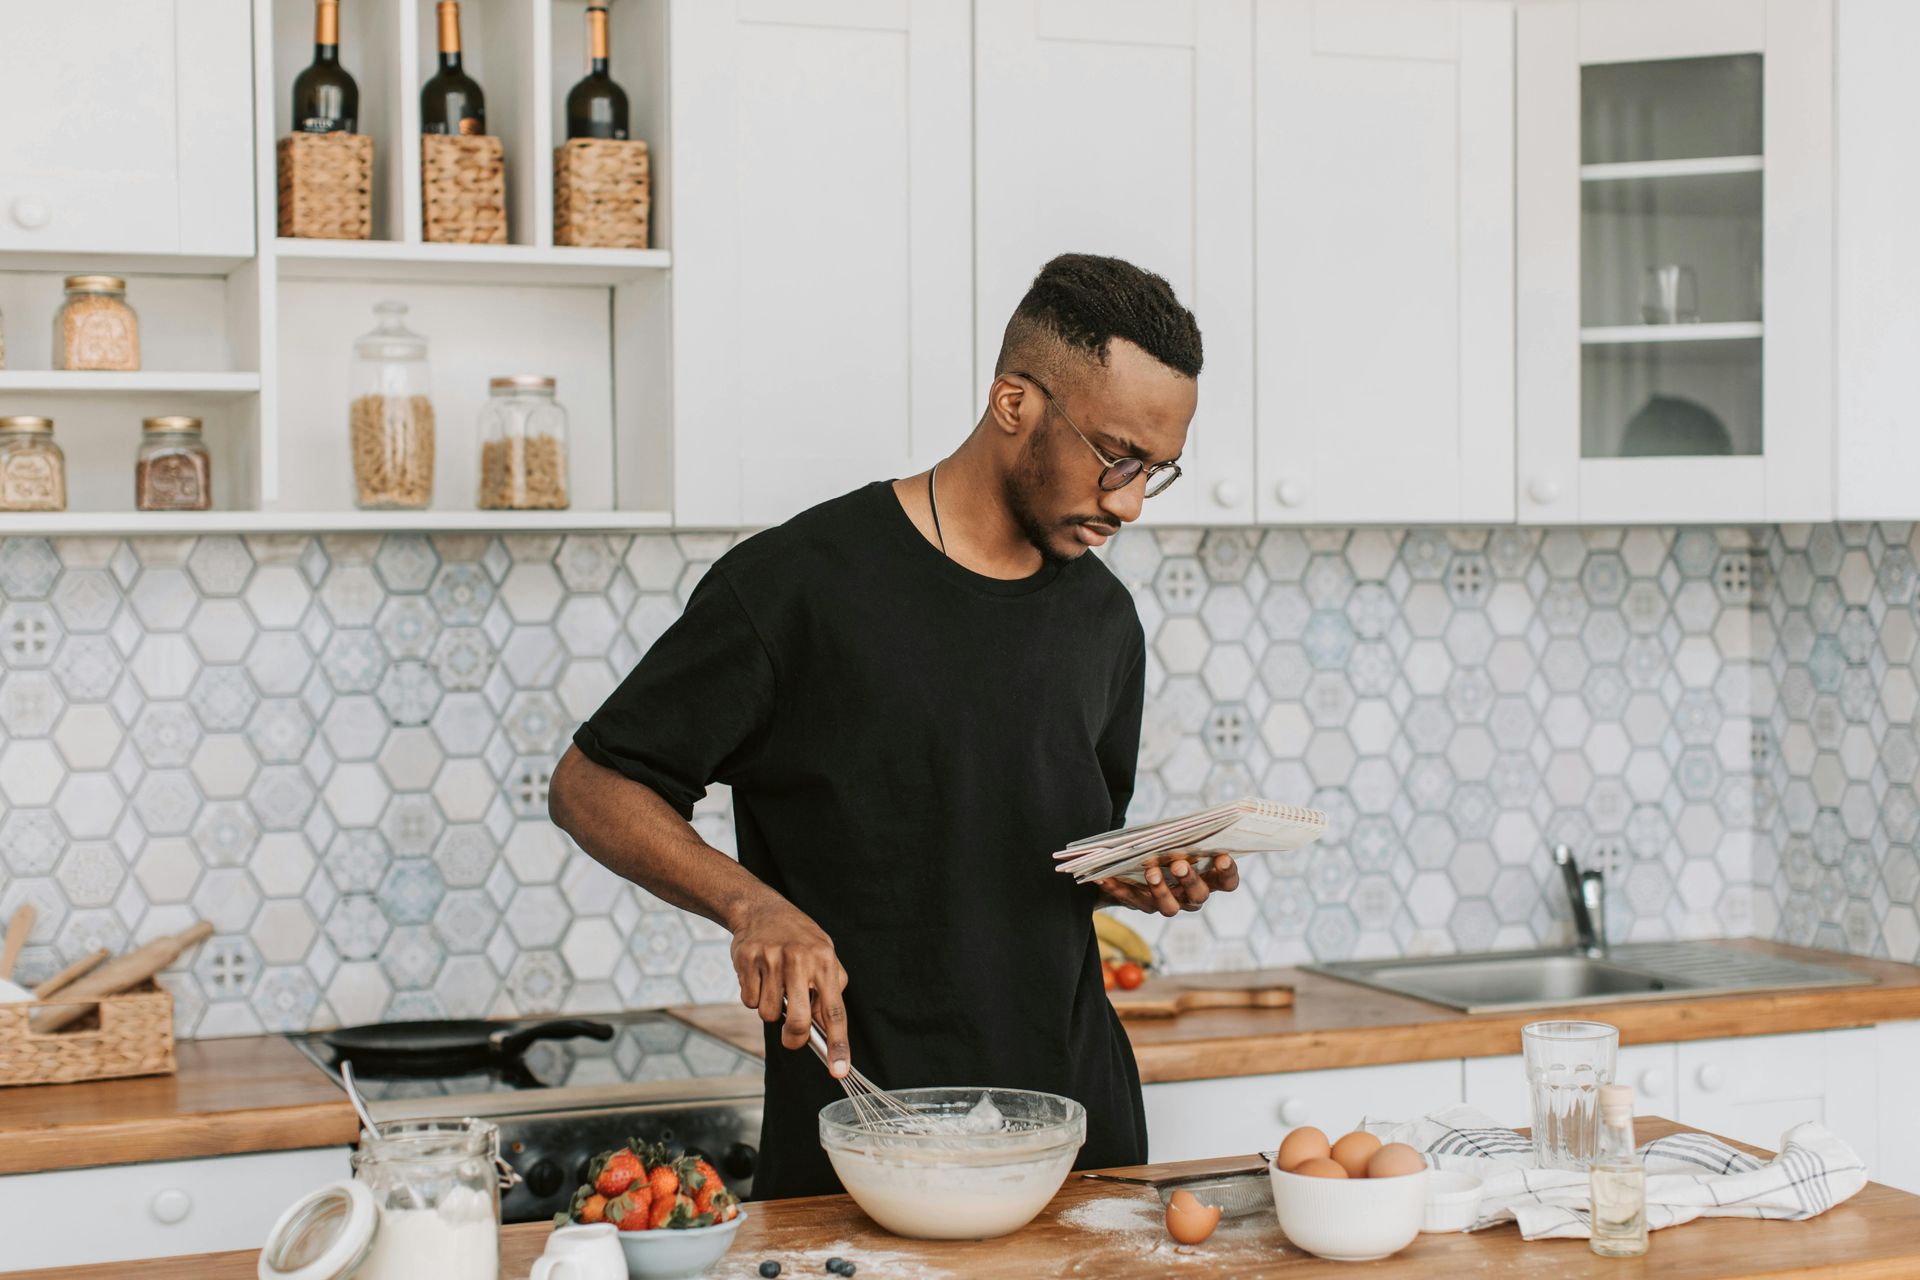
Reading a recipe while you're cooking is like reading driving directions while you're already in motion: you're always a step behind, and you're far more likely to miss something important. The single most effective habit professional cooks have that most home cooks don't is reading the entire recipe before touching anything. It takes three minutes and prevents most of the common failures.
When you read a recipe through in advance, you catch several types of problems before they become crises. You notice that the dough needs to rest for an hour — which, if you didn't read ahead, means dinner is an hour later than you planned. You see that the recipe requires a zested lemon before you've already cut it in half for juice. You realize the pan needs to be oven-safe, and you own only one that qualifies. None of these are difficult problems to solve before cooking starts. All of them are disruptive mid-recipe.
Reading ahead also allows you to prep ingredients in sequence and in parallel. Most recipes are written in a way that front-loads a lot of prep: dice the onion, mince the garlic, quarter the tomatoes, measure the spices. If you're doing this as you go, you're cooking in a panic. If you've done it in advance — a practice called mise en place — you're cooking calmly, adding things from small bowls as the recipe calls for them.
Understanding a recipe before starting also helps you make better substitution decisions. If you see that a recipe calls for white wine to deglaze a pan, and you know the wine is there to provide acid and complexity, you might substitute vermouth, dry sherry, or a splash of white wine vinegar in stock. If you're just following directions without understanding purpose, you'll either skip a step or make an arbitrary substitution that doesn't work.
Finally, reading a recipe thoroughly helps you calibrate your timeline. A recipe that takes 30 minutes of active work but includes 45 minutes of roasting time has a very different shape than one that takes 30 minutes start to finish. Knowing this in advance means you can plan side dishes, set the table, or simply not rush through a process that doesn't need rushing.
8 / 25

Credit: Canva Images
Caramelized onions are one of the most versatile flavor-building ingredients in the kitchen — deeply sweet, savory, and complex. They are also widely misunderstood and undercooked. The internet is full of recipes claiming that onions can be properly caramelized in 10 to 15 minutes. They cannot. The process takes at least 45 minutes on low to medium heat, often longer, and rushing it by turning up the heat produces burned, bitter onions rather than caramelized ones.
The process begins with slicing. Onions for caramelizing should be sliced thinly and uniformly — about a quarter-inch thick — so that they cook at the same rate. Thicker slices take longer and can be uneven; thinner slices break down too quickly and don't develop the same body. Half-moon slices, cut from pole to pole, hold up well through the long cooking time.
Start the onions in a wide, heavy pan — a cast iron skillet or a heavy-bottomed stainless pan — with butter, olive oil, or a combination of both. Season with salt immediately. The salt draws out moisture and accelerates the initial softening stage. Over the first 10 to 15 minutes, the onions will release a significant amount of liquid and wilt down dramatically in volume, often to less than a quarter of their original bulk.
After the initial liquid releases and evaporates, the real caramelization begins. The onions will start to brown at the edges and bottom of the pan. This is the moment to stir more frequently and to watch the heat carefully. The goal is controlled browning — color developing gradually and evenly, not scorching at the bottom while the rest is still pale. If the pan looks dry and the onions are sticking, add a splash of water or stock to deglaze and continue cooking.
The finished product should be deeply golden to medium brown, glossy, almost jam-like in texture, and intensely sweet. They can be used immediately or stored in the refrigerator for up to a week. Caramelized onions are the base of French onion soup, a standard pizza topping, an ingredient in savory tarts and galettes, and a condiment for burgers, sandwiches, and grain bowls.
9 / 25

Credit: Canva Images
Stock is the difference between a flat dish and a layered one. Water can function as a cooking liquid, but it brings nothing to the pot. Stock — made from simmered bones, vegetables, and aromatics — adds body, depth, and a savory complexity that water simply cannot provide. Making stock at home requires almost no active effort; the challenge is mostly time and remembering to do it.
The most accessible stock for most home cooks is chicken stock, made from a chicken carcass. Save the leftover bones and skin from any roast chicken in the freezer until you have enough to fill a pot. Add roughly chopped onion, carrot, and celery, a few whole peppercorns, a bay leaf, and a few parsley stems if you have them. Cover with cold water, bring slowly to a bare simmer — not a boil — and cook for three to four hours, skimming the foam that rises in the early stages.
The low, gentle simmer is important. Boiling stock vigorously produces a cloudy, greasy result because the agitation emulsifies the fat into the liquid. A gentle simmer keeps the stock relatively clear and clean-tasting. This matters more for delicate dishes — a clear consommé or a light risotto — than for robust braises where cloudiness is irrelevant.
Vegetable stock is faster and lighter, ready in about an hour. It benefits from including leek tops, celery leaves, garlic, and mushroom stems if available — the more intense and varied the vegetable matter, the more depth the stock will have. Avoid cruciferous vegetables like cabbage, broccoli, or cauliflower, which turn the stock bitter.
Strained, cooled stock will last five to seven days in the refrigerator, or up to six months in the freezer. Frozen in ice cube trays and transferred to a bag, stock is available in small amounts for pan sauces, deglazing, and finishing risotto without needing to thaw a large quantity. Homemade stock has a different character from commercial broth — more gelatinous when cold, richer when reduced, and cleaner-tasting because it lacks the salt and preservatives added to boxed products.
10 / 25
Credit: cottonbro studio / Pexels
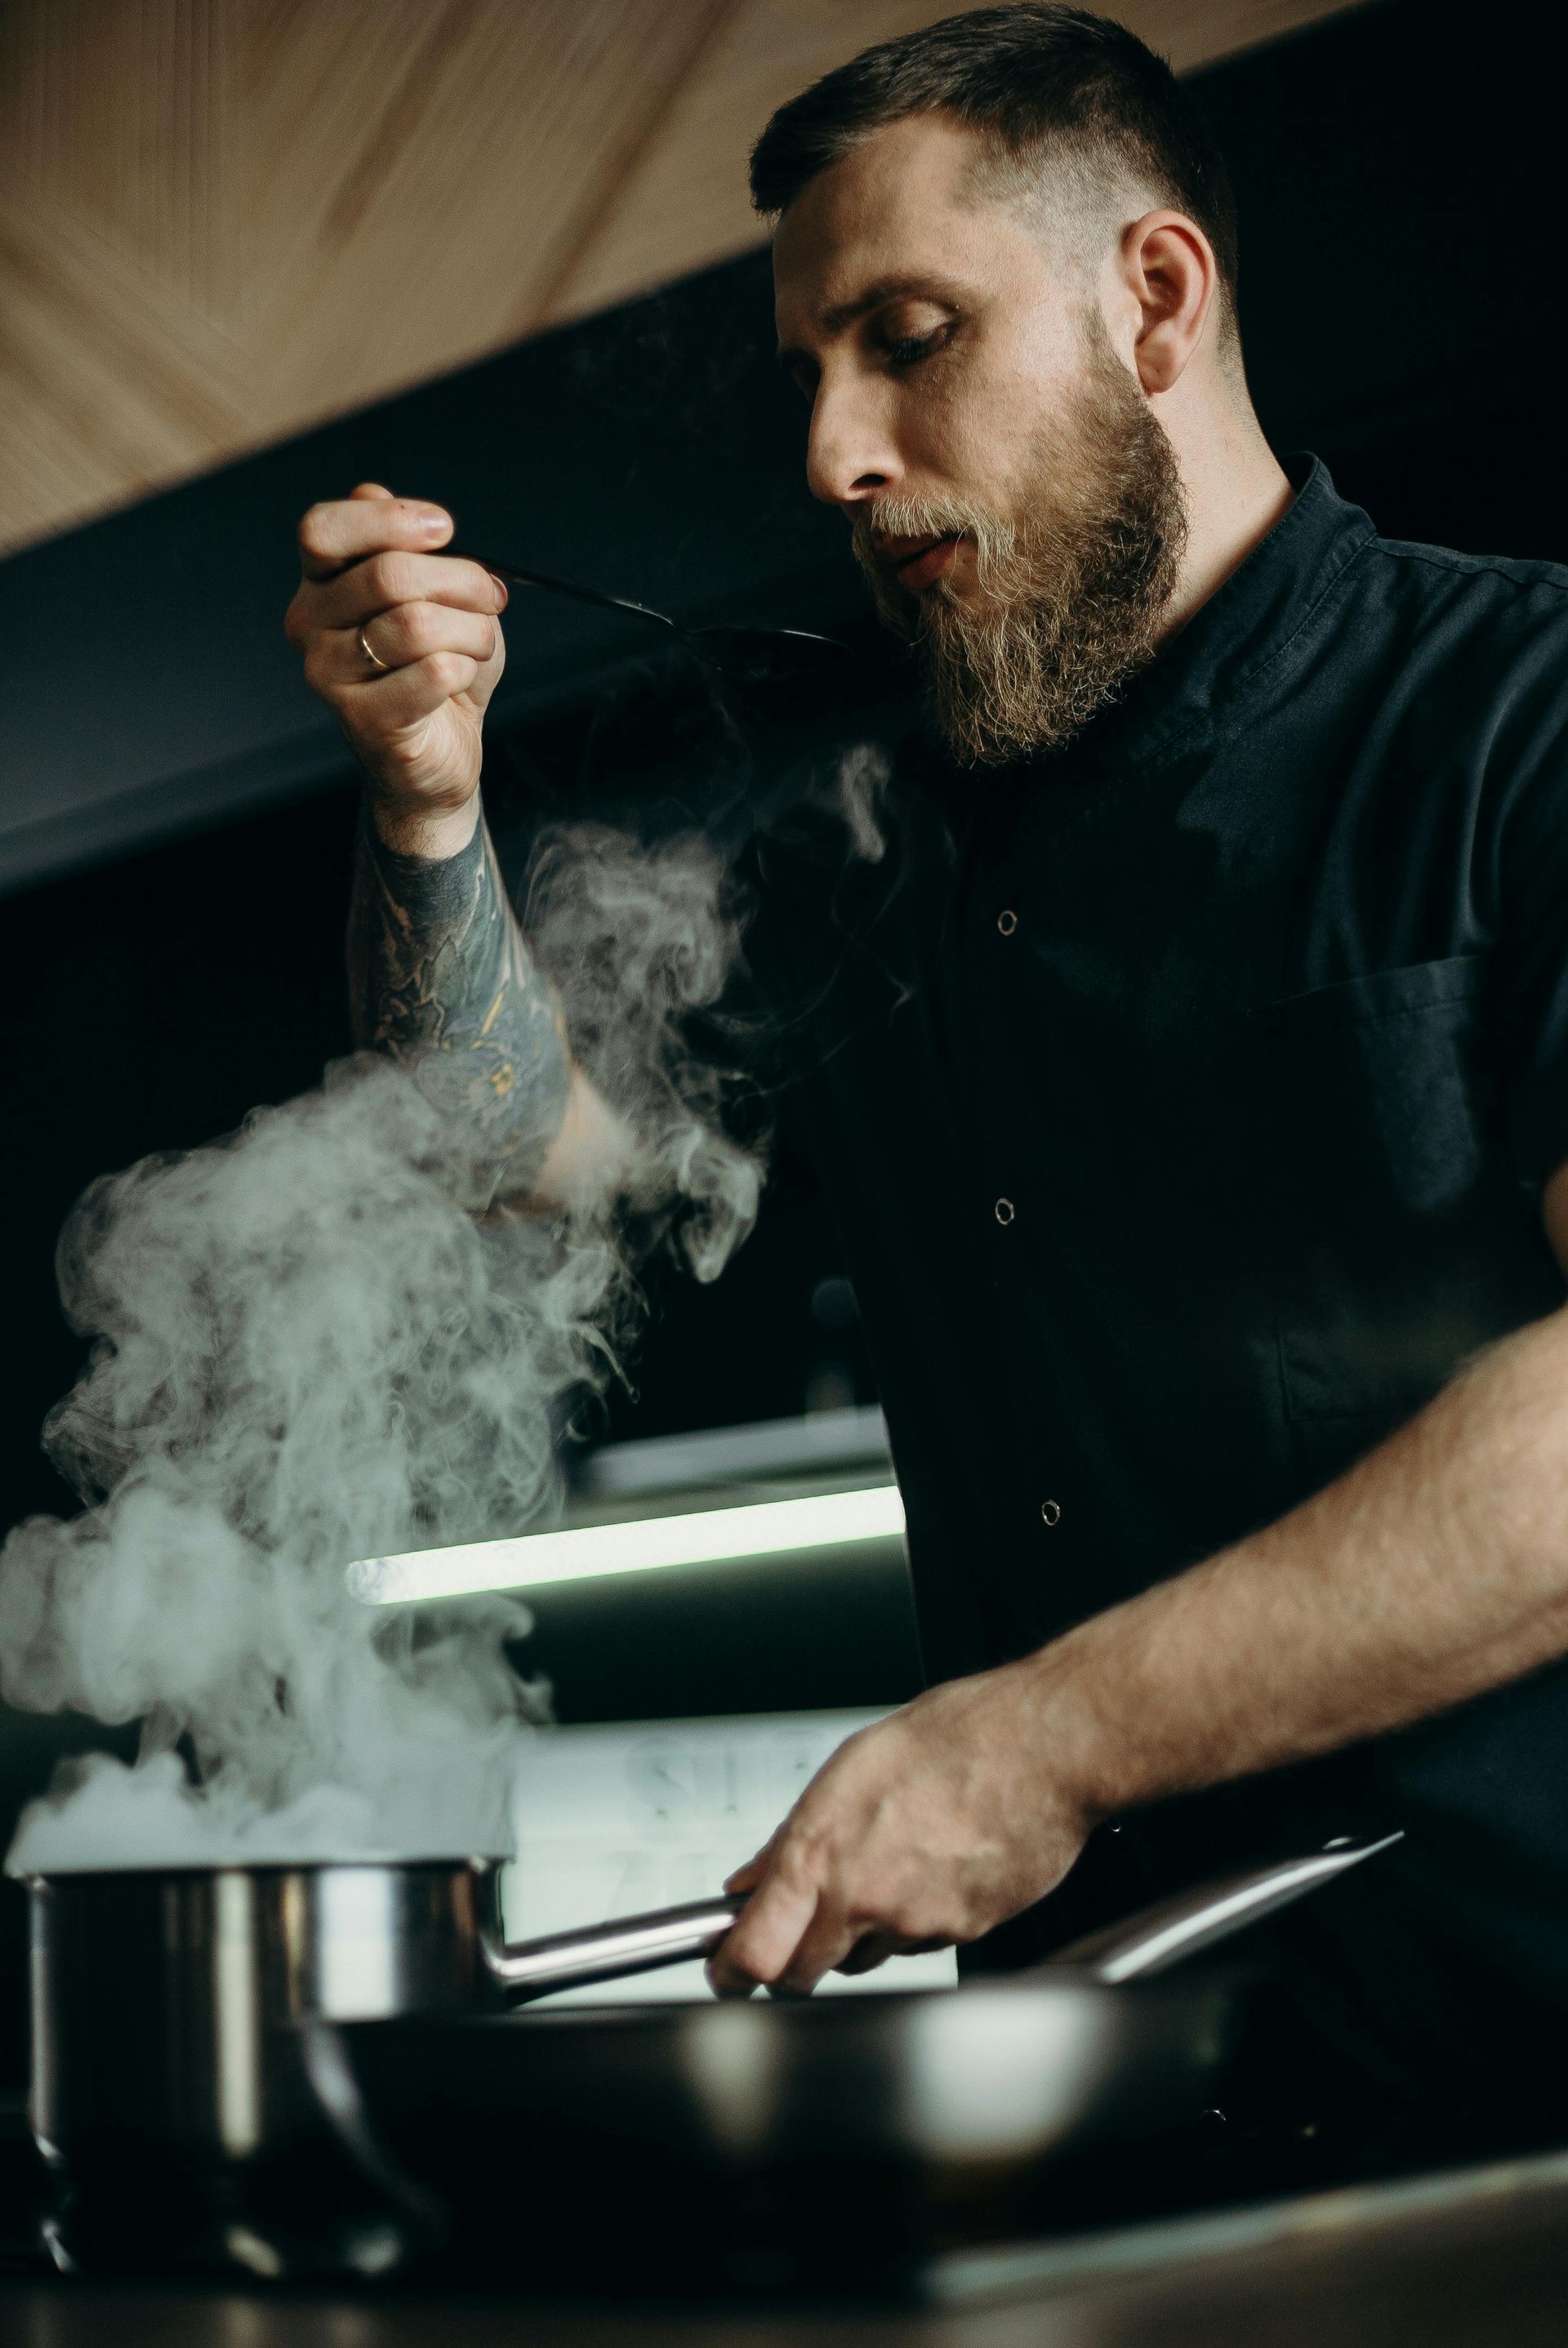
The most important habit in cooking is tasting — not at the end, but throughout, and with a clear understanding of what you're tasting for. A dish that tastes dull at the end of cooking needed attention 20 minutes earlier, and there's only so much you can do at the plate. The ability to diagnose what a dish is missing and correct it mid-cook is what separates an adaptable cook from someone who follows recipes but rarely nails them.
There are four primary dimensions to taste: salt, acid, fat, and heat (in the sense of spice). Most dishes that taste flat or one-dimensional are missing one of these. A soup that tastes muddled often needs more salt to clarify the existing flavors. A tomato sauce that tastes heavy and dull might need a splash of red wine vinegar to lift it. A risotto that tastes good but feels thin might need another knob of butter. A curry that tastes complete but lacks energy might want more chili or a squeeze of lime.
Salt, as discussed, functions as a flavor enhancer rather than just a flavor in its own right. Adding a small amount of salt to a dish that tastes dull will often make it taste more like itself — the existing flavors become more distinct rather than more salty. This is the mechanism at work when professional cooks season aggressively and the dish doesn't taste oversalted.
Acid is the most underused corrective tool in home cooking. A squeeze of lemon juice or a splash of vinegar at the end of cooking brightens a dish, cuts through richness, and gives the palate something to follow on the finish. Think of it as the culinary equivalent of turning up the contrast on a photograph — it doesn't change what's there, but makes it clearer.
Fat carries flavor and provides the sense of richness and satisfaction in a finished dish. A sauce that tastes thin or harsh can often be improved by adding olive oil, butter, or cream. This is less about calories than about how fat softens and rounds out other flavors.
Adjusting for heat means understanding that spice builds gradually on the palate. A dish that tastes mildly spicy when first tasted will taste significantly hotter to a guest who's eaten several bites. Taste carefully and with a cold palate when assessing heat level.
11 / 25
Credit: locrifa / Pexels
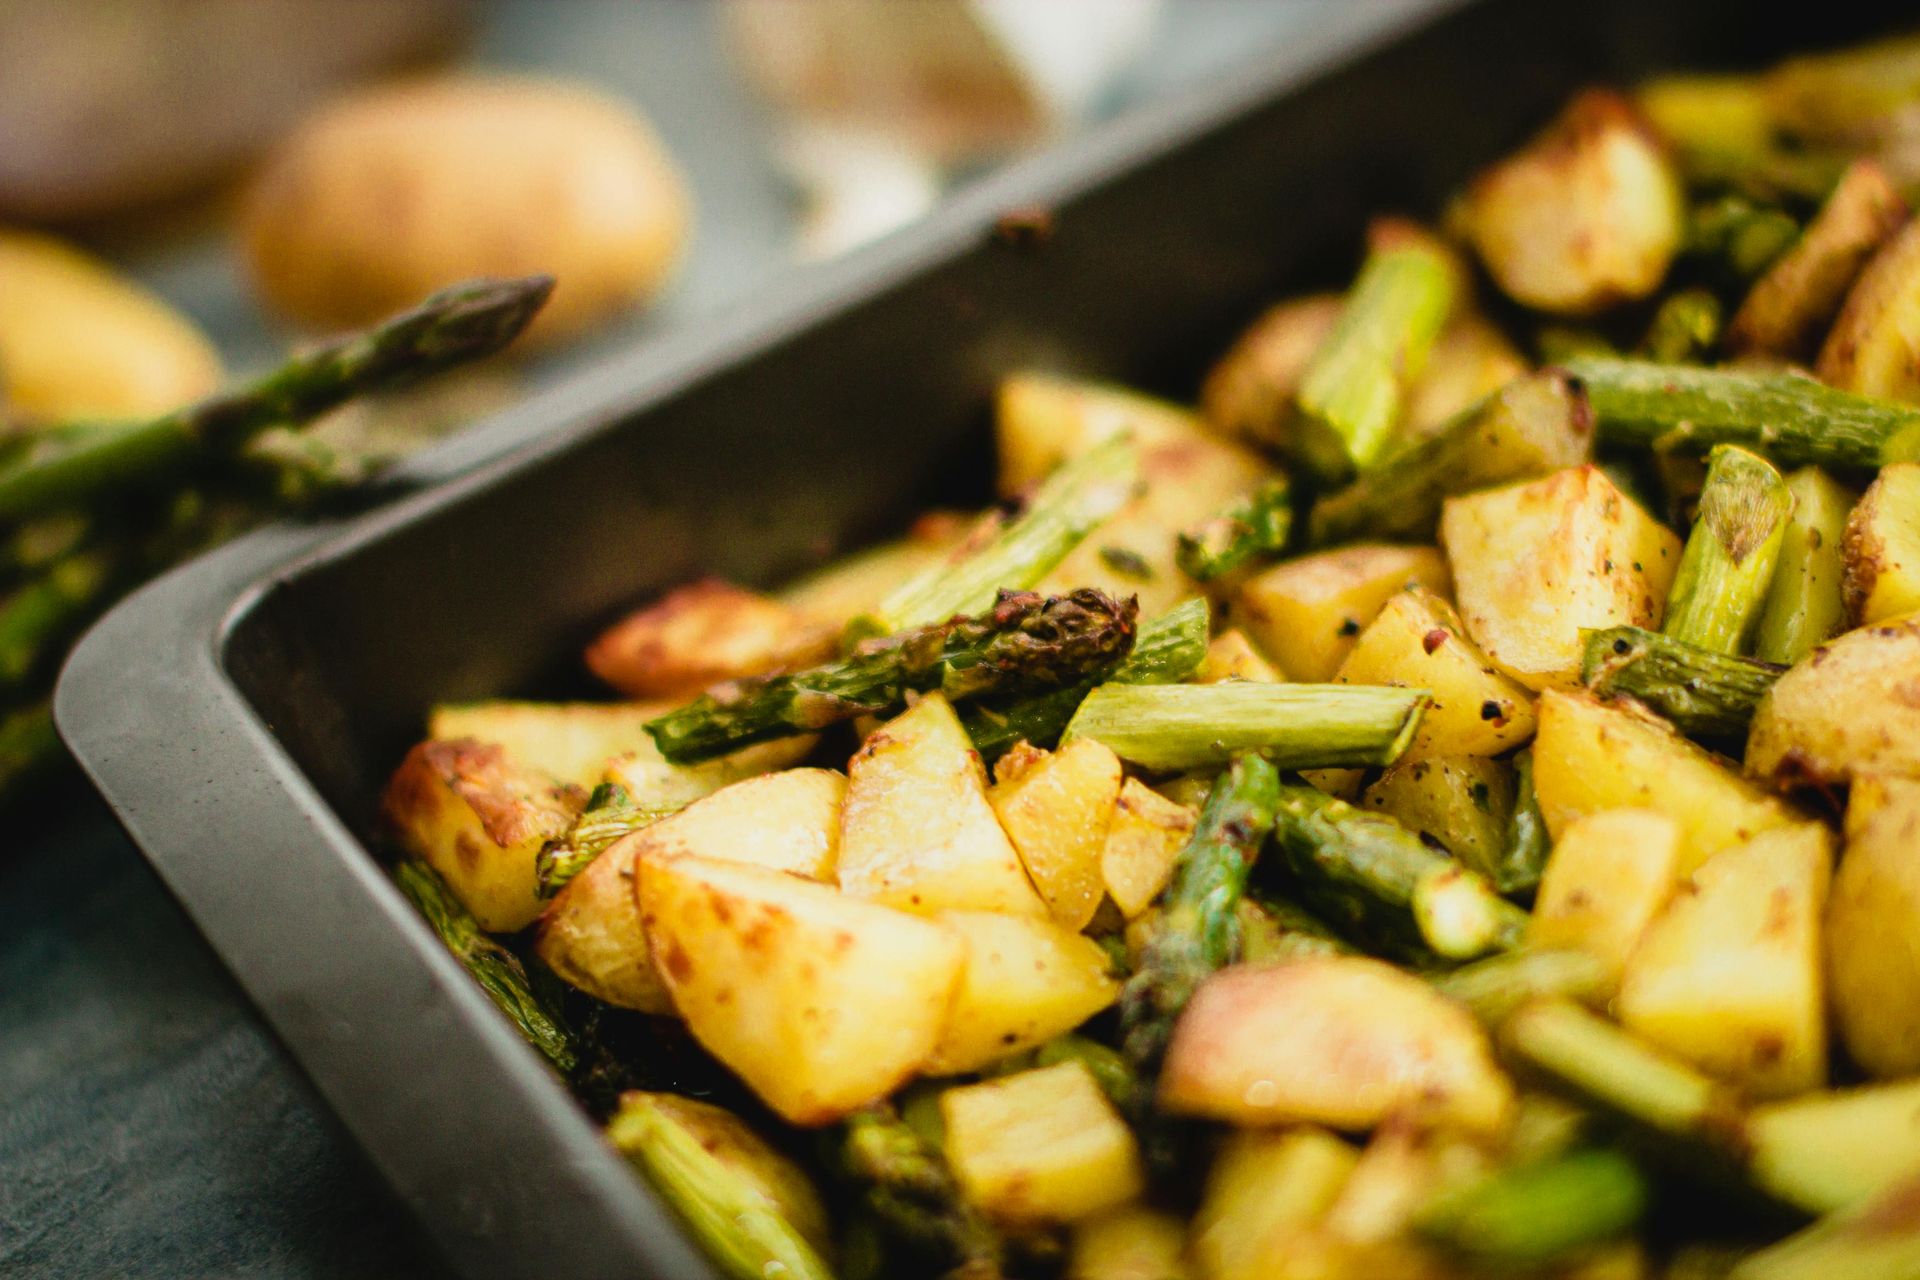
Roasted vegetables are one of the easiest ways to produce deep, complex flavor with minimal effort, and they are commonly undermined by three mistakes: too little oil, too low heat, and too crowded a pan. Fixing these three things produces vegetables that are caramelized and tender rather than steamed and limp.
The first principle is heat. Roasting vegetables requires a hot oven — 400 to 450°F (200 to 230°C) — not the 350°F (175°C) setting that many home cooks default to for everything. High heat drives off surface moisture quickly and creates the browning reactions that produce complex flavor. At lower temperatures, vegetables cook through before browning, which means you get soft vegetables with no development.
The second principle is space. Vegetables crowded onto a sheet pan steam each other. As they cook, they release moisture, and if they're packed tightly, that moisture has nowhere to go and the vegetables sit in their own steam rather than browning. Use two pans if needed, or cook in batches. The vegetables should be in a single layer with space between pieces.
Oil is the vehicle for browning and the source of richness in the final dish. Home cooks tend to use too little, producing dry, rough-textured vegetables. The vegetables should be thoroughly coated — each piece glistening with oil on all sides before it goes into the oven. Toss them in a large bowl with oil, salt, and whatever seasonings you're using before spreading onto the pan.
Different vegetables have different roasting times and temperatures, which is worth knowing for mixed-vegetable situations. Dense, starchy vegetables — potatoes, beets, carrots, parsnips, winter squash — take 35 to 50 minutes at 400°F. Brassicas like broccoli and cauliflower take 20 to 25 minutes and benefit from the highest heat because their surface chars attractively. Quick-roasting vegetables like asparagus, cherry tomatoes, and thin-sliced zucchini take 10 to 15 minutes at high heat and become unpleasant if left too long.
Finishing touches after roasting make a significant difference. A squeeze of lemon, a scatter of fresh herbs, a drizzle of good olive oil, or a handful of toasted nuts added after the vegetables come out of the oven layers in freshness and texture that the roasting process itself cannot provide.
12 / 25

Credit: The Lazy Artist Gallery / Pexels
A vinaigrette is a simple emulsion of oil and acid — typically three parts oil to one part vinegar or citrus juice — seasoned with salt, pepper, and whatever else you want to add. It is also one of the most commonly botched preparations in home cooking, not because of the technique but because of the ratios and the ingredients.
The standard ratio of three parts oil to one part acid produces a balanced dressing where neither element dominates. More vinegar than this and the dressing tastes sharp and harsh; less, and it tastes oily and flat. The ratio can be adjusted for specific uses — a dressing for bitter greens like arugula or radicchio benefits from slightly more acid, around two to one, because the greens themselves provide sweetness and body. A dressing for delicate lettuces like butterhead wants closer to four to one.
The quality of the oil and the vinegar determines the flavor ceiling of the dressing. A vinaigrette made with good extra-virgin olive oil and aged sherry vinegar is a different product from one made with neutral vegetable oil and distilled white vinegar. Both are vinaigrettes by definition; only one tastes like something you'd want to eat. Red wine vinegar is the most versatile choice for everyday cooking. Balsamic vinegar produces a sweeter, thicker dressing appropriate for specific uses. Lemon juice provides brightness and makes dressings that pair well with fish and delicate greens.
To help the emulsion hold longer, add a small amount of mustard — specifically Dijon. Mustard contains lecithin, an emulsifier that helps oil and water molecules bond. Half a teaspoon of Dijon whisked into a basic vinaigrette keeps it cohesive for longer and adds a mild background flavor. Honey or a small amount of sugar does similar work while also balancing acidity.
The emulsification technique matters. Oil added all at once to vinegar produces a broken, separated dressing. Oil added slowly in a thin stream while whisking creates an emulsion. Even a broken vinaigrette tastes fine on a salad — you just need to shake or whisk it again before using. But a properly emulsified vinaigrette coats greens more evenly and clings to them rather than pooling at the bottom of the bowl.
13 / 25

Credit: Josh Olalde / Unsplash
Cooking to temperature rather than to time is one of the most reliable upgrades any home cook can make. Time-based instructions — "cook the chicken for 20 minutes" — are approximations that depend on the thickness of the piece, the accuracy of the oven, the starting temperature of the meat, and a dozen other variables. An instant-read thermometer removes all of those variables and tells you what you actually need to know: whether the food is done.
A good instant-read thermometer — one that gives a reading in two to three seconds — costs between $15 and $35 and will improve the quality of every piece of meat you cook. There is no meaningful substitute. Not color, not texture, not timing, not the poke test. All of those methods require significant experience to execute reliably and are still less accurate than a direct temperature reading.
Knowing the correct internal temperatures is part of the skill. Chicken breasts are done at 160°F (71°C) measured at the thickest part; chicken thighs are better at 165 to 170°F (74 to 77°C). Pork is safe to eat at 145°F (63°C), which is notably lower than the old recommendation of 160°F and produces a much juicier result. Ground beef should be cooked to 160°F; whole beef can be eaten at much lower temperatures because the interior of a whole muscle cut is sterile.
For steak, the temperatures are: rare 120 to 125°F (49 to 52°C), medium-rare 130 to 135°F (54 to 57°C), medium 140 to 145°F (60 to 63°C), and well done above 155°F (68°C). These are internal temperatures measured in the thickest part of the steak, away from the bone.
One critical detail: meat continues cooking after it's removed from heat, a process called carryover cooking. For a thick steak, the internal temperature can rise five to 10°F after it comes off the pan. Pull the meat five to 10°F below your target temperature and let it rest to reach the right final point.
Thermometers are also useful for bread (the internal temperature of a fully baked loaf should reach 190 to 200°F/88 to 93°C), candy and caramel work, and deep frying (where oil temperature directly determines the quality of the crust).
14 / 25

Credit: Maor Attias / Pexels
Resting meat after cooking is one of the most skipped steps in home cooking and one of the most consequential. Cut into a steak immediately after it comes off the grill and a significant amount of juice will pool on the cutting board — juice that could have been in the meat. Wait five to 10 minutes, and the same steak will be noticeably juicier when sliced. The mechanism behind this is real and measurable.
When meat is exposed to high heat, the muscle fibers contract and push moisture toward the center of the cut. The proteins in the meat are also in a state of tension from the rapid heat application. As the meat rests, the fibers relax and the moisture redistributes throughout the cut, rather than being concentrated in the core. When you slice into rested meat, the relaxed fibers hold onto their moisture rather than releasing it all at once.
The amount of resting time depends on the size and thickness of the cut. A thin chicken breast needs only three to five minutes. A ribeye steak benefits from seven to 10 minutes. A large roast — a leg of lamb, a prime rib, a whole turkey — should rest for 20 to 30 minutes. Larger cuts take longer because the temperature differential between the hot exterior and the cooler interior is greater, and equalization takes more time.
A common worry is that meat will become cold during resting. For most cuts, this concern is misplaced. A steak resting on a warm plate, loosely tented with aluminum foil, will lose very little heat over 10 minutes. A large roast will stay comfortably warm for 20 to 30 minutes. The foil tent traps some steam and slows heat loss; it should be loose rather than tightly wrapped to avoid steaming the crust you've worked to develop.
Slicing direction also matters and is related to resting. Meat should be sliced against the grain — perpendicular to the long muscle fibers. Look at a piece of cooked meat and you'll see the lines of the fibers running in one direction. Cutting across those lines shortens them, which means each bite requires less chewing to break them down. Cutting along the fibers leaves them long, and the meat is noticeably tougher.
15 / 25
Credit: Klaus Nielsen / Pexels
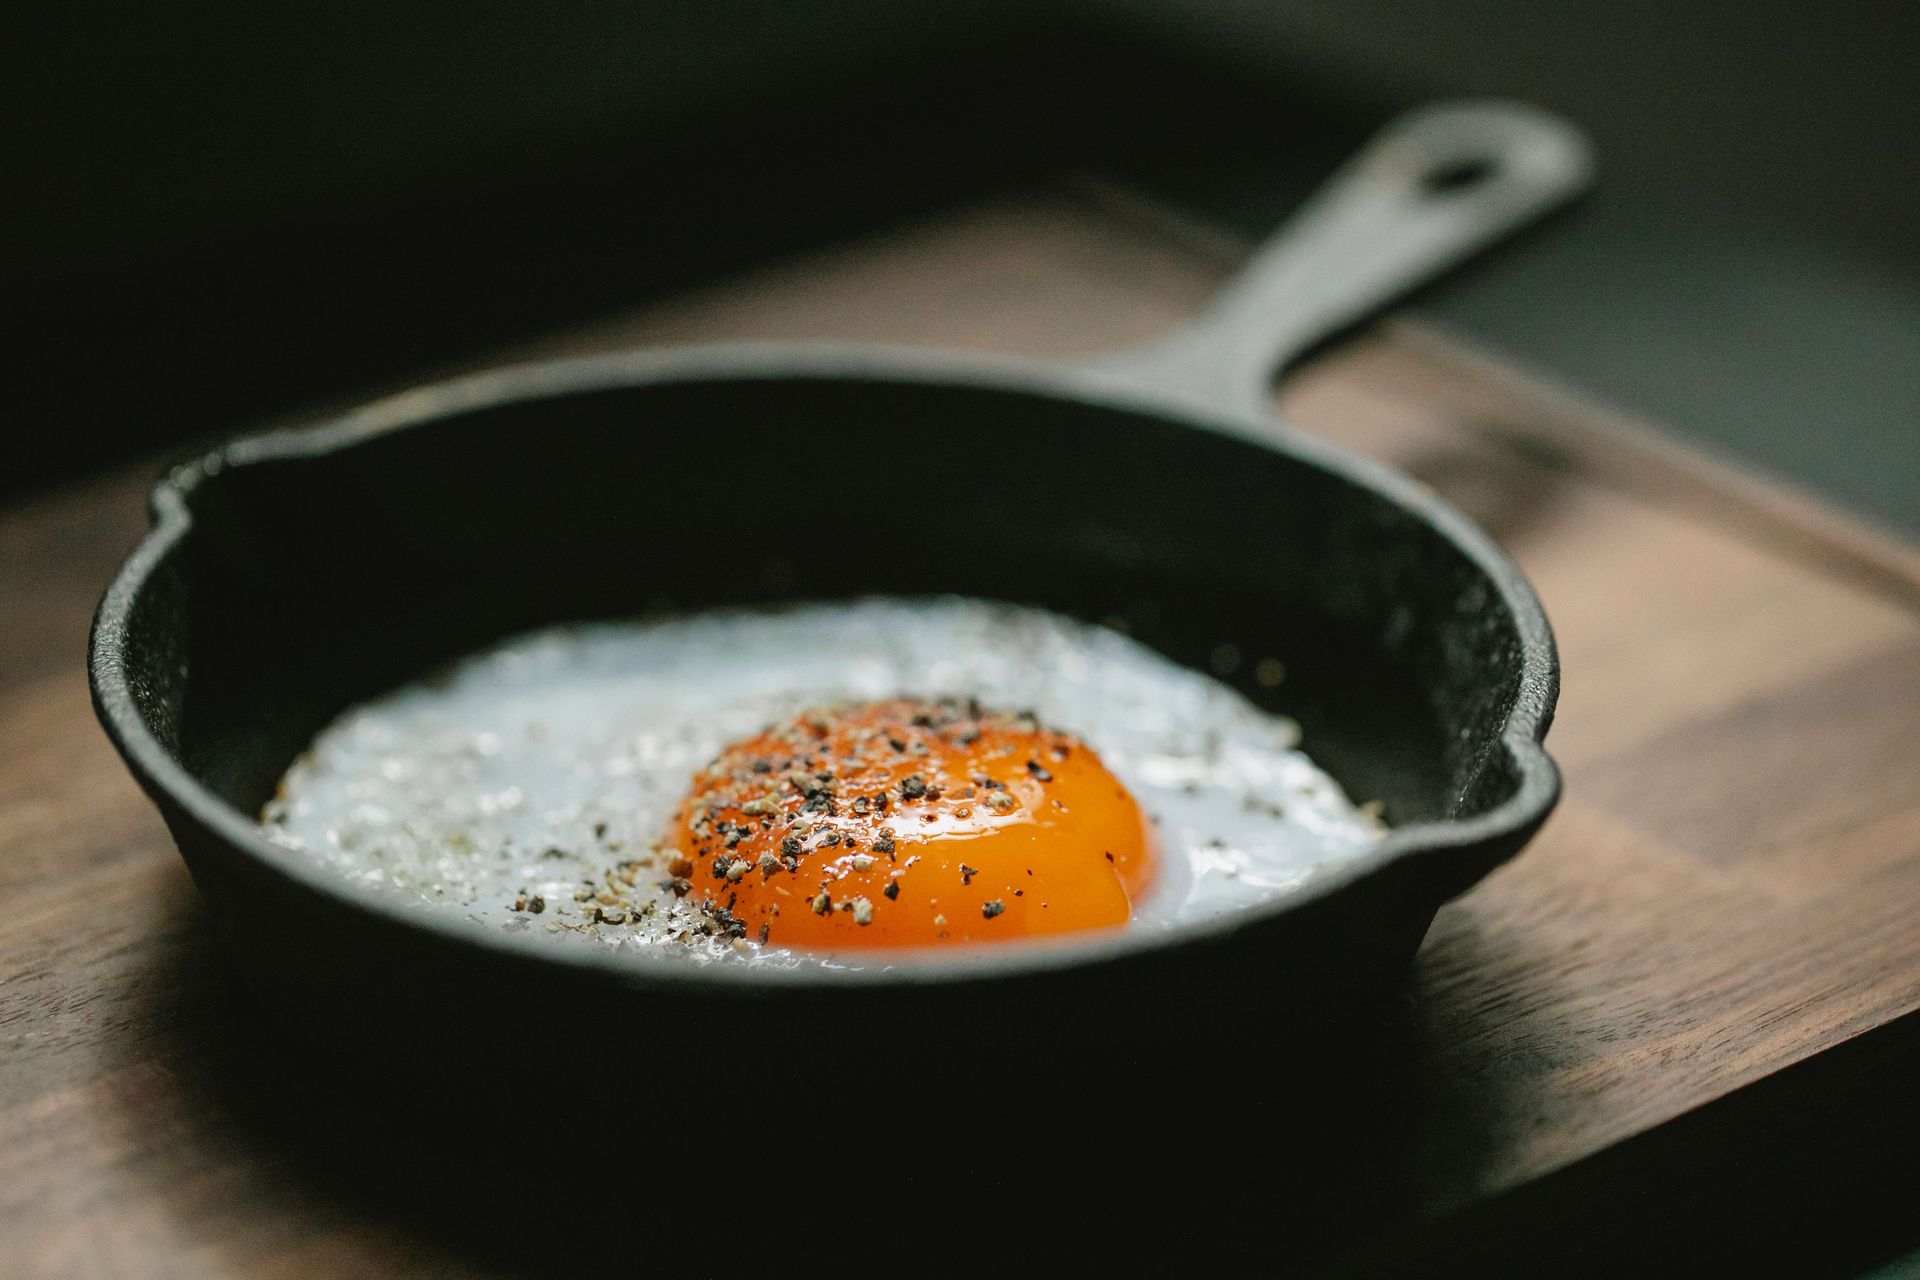
Eggs are the most versatile protein in the kitchen, capable of producing dozens of different textures and flavors depending on how they're cooked. Most home cooks have one or two reliable methods and an inconsistent relationship with the others. Mastering the full range of egg preparations — from perfectly scrambled to properly poached to a correctly fried egg with a crispy edge and runny yolk — is worth the time because eggs appear in almost every context: breakfast, appetizers, salads, pastas, and composed dishes.
Scrambled eggs are the preparation most subject to debate, but the key principle is heat: gentler produces creamier. Over very low heat, stirring constantly and pulling the pan off the heat repeatedly, scrambled eggs become soft, almost custardy, with small, silky curds. This is a slow process — five to eight minutes for two eggs — and it requires patience. High-heat scrambled eggs cook in 60 seconds but become rubbery and weep liquid. Which approach you prefer is a matter of taste, but understanding the difference lets you cook to intention.
A fried egg done well has a set white with no browning — or a set white with crispy, lacy edges, depending on preference. The first style requires lower heat and a covered pan toward the end to gently steam the top of the yolk. The second requires high heat, a generous amount of butter or oil, and constant basting. Both are legitimate; neither happens by accident.
Poached eggs require water that's barely simmering, not boiling. A rolling boil tears the egg apart before the white can set. Add a small amount of white vinegar to the water — it helps the white coagulate more quickly and stay together. Create a gentle whirlpool in the water with a spoon and slide the egg into the center; the motion wraps the white around the yolk. Cook for three to four minutes for a runny yolk.
A soft-boiled egg — set white, runny yolk, still in the shell — takes six minutes in gently boiling water, followed by an immediate transfer to ice water to stop the cooking. A hard-boiled egg that doesn't have that grey-green ring around the yolk needs to be cooked for exactly 10 to 12 minutes and also immediately cooled.
16 / 25
Credit: cottonbro studio / Pexels
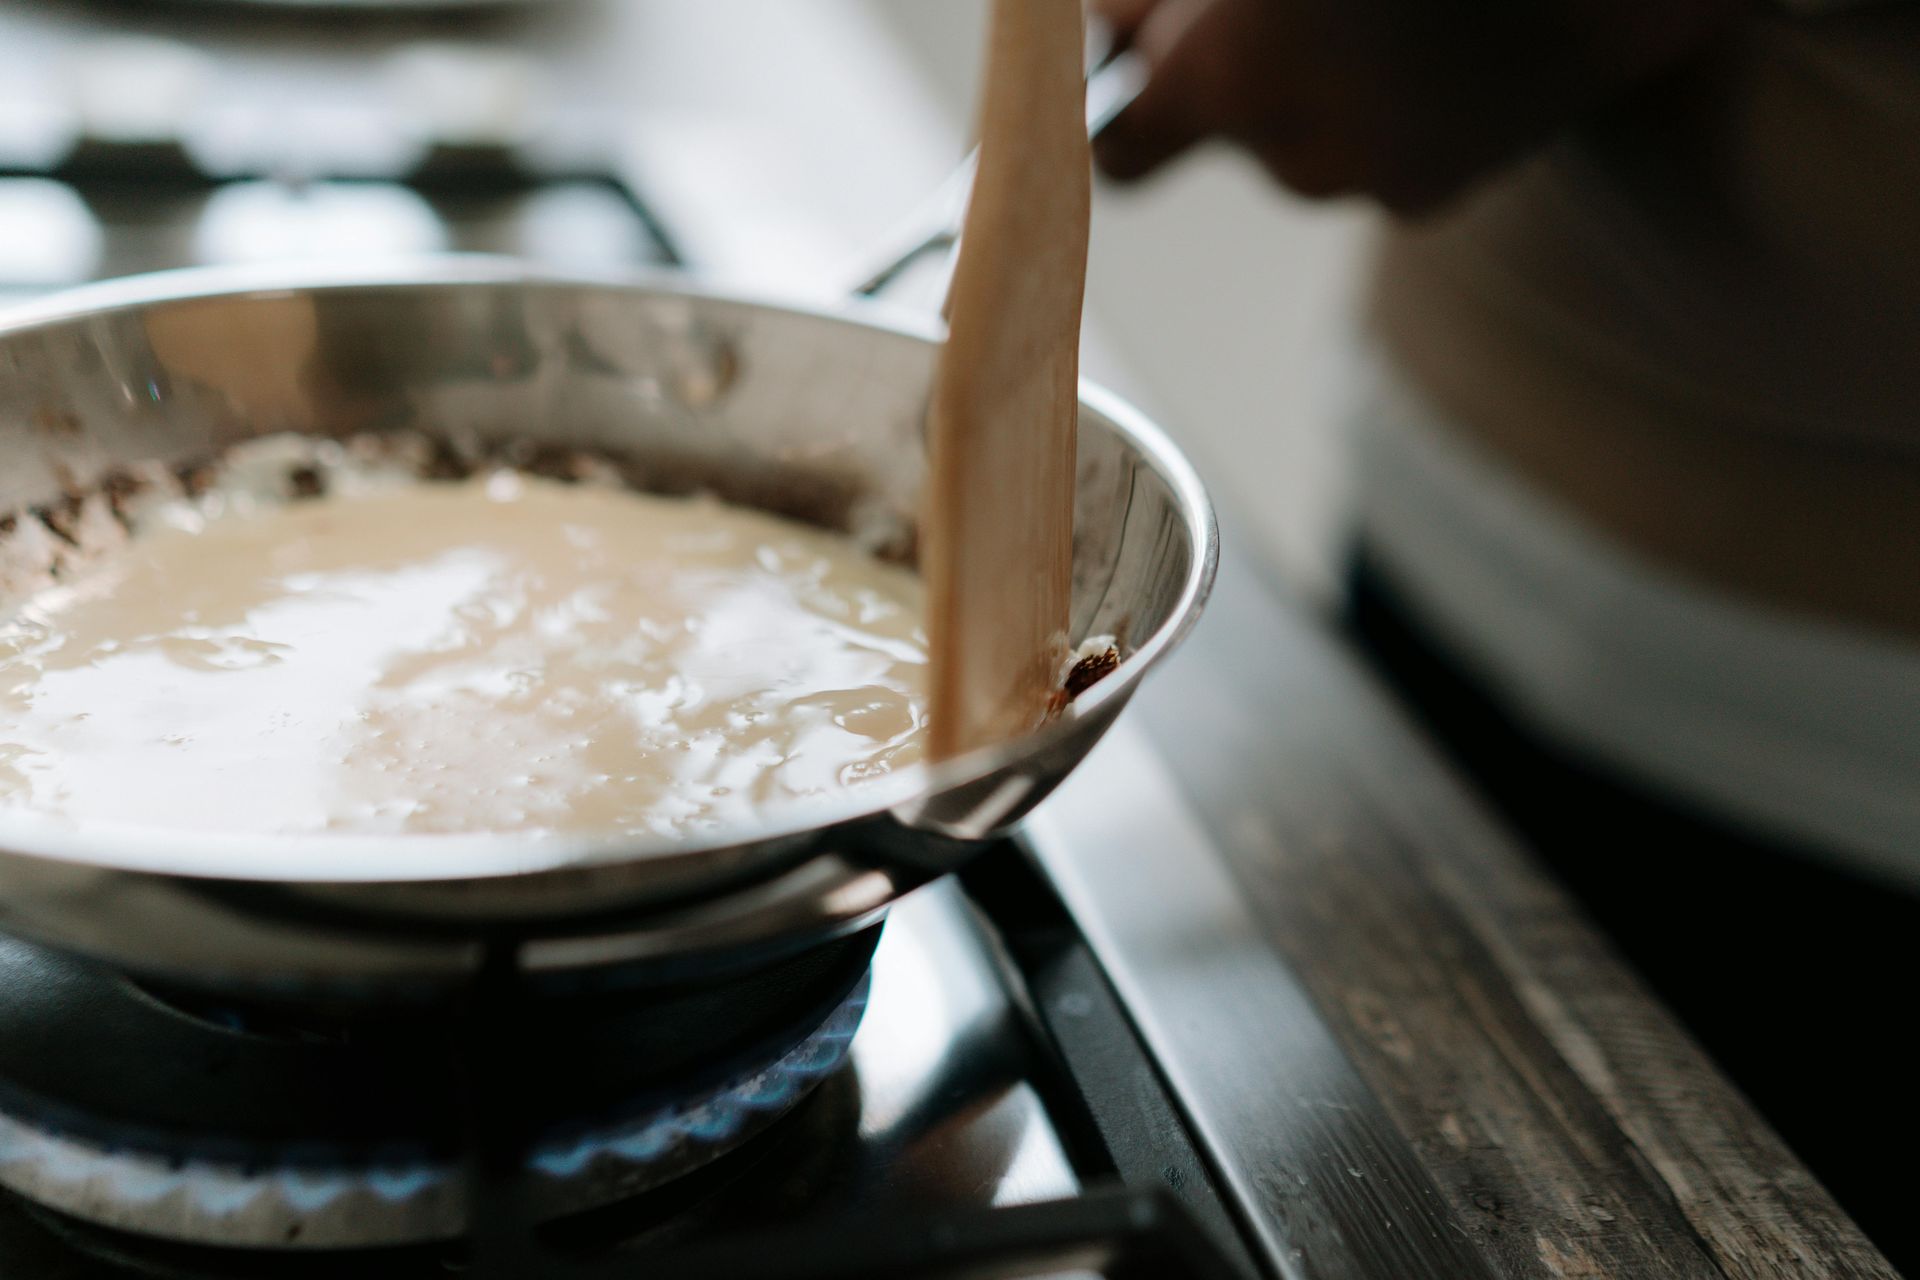
Deglazing is the technique of adding liquid to a hot pan to dissolve the browned, stuck-on residue left by searing, roasting, or sautéing. It's the mechanism behind pan sauces, and it's also a useful cleaning technique that happens to produce flavor. Understanding it as a distinct step — rather than just "adding liquid" — makes it a usable tool.
The key to deglazing is starting with a hot pan. If the pan has cooled down after cooking, the fond (the browned bits) won't release properly. Add liquid to a pan that's still hot enough to sizzle, and you'll hear that immediate, aggressive bubble. That's the contact of liquid with a hot surface, and it begins the dissolution of the fond almost immediately.
The choice of liquid shapes the sauce. Wine is the classic deglazing liquid because its acidity and alcohol together dissolve the fond efficiently and add complexity. Red wine suits red meats; white wine suits poultry, pork, and fish. Beer — particularly a light lager or a dark ale — works well for braises and stovetop braises. Stock deepens the sauce with its own flavor compounds. Cider, both alcoholic and non-alcoholic, pairs naturally with pork and chicken.
After adding the liquid, scrape the bottom of the pan actively with a wooden spoon or spatula to release all the fond. Some bits will dissolve on their own; others need mechanical help. The goal is to incorporate all of that flavor into the liquid, not leave it on the pan to burn.
The technique works for oven cooking as well. After roasting a chicken or a tray of vegetables, place the roasting pan on the stovetop over medium heat, add a cup of stock or wine, and scrape up the drippings and caramelized bits. The result is the base of a gravy or a quick pan sauce that contains all the flavor that would otherwise be scrubbed away.
Deglazing also works with acidic liquids like lemon juice or vinegar, which are often used in small amounts alongside wine or stock rather than as the primary deglazing liquid. A teaspoon of sherry vinegar added after a wine deglaze brightens the sauce without dominating it.
17 / 25

Credit: KamranAydinov / Magnific
Cooking rice well on the stovetop is a skill that many home cooks find elusive, even though the process is not complicated. The variables — water ratio, heat level, resting time — need to be understood and controlled, and the most common mistake is lifting the lid to check on the rice while it's cooking.
The standard water-to-rice ratio for most long-grain white rice is one and a half to two cups of water per cup of rice. Jasmine rice is often cooked at a one-to-one and a half ratio and benefits from a shorter cooking time. Brown rice requires more water — about two and a quarter cups per cup of rice — and significantly longer cooking time, typically 40 to 45 minutes. Short-grain and sushi rice have their own ratios and are washed multiple times before cooking to remove surface starch.
Rinsing white rice before cooking removes excess surface starch, which reduces clumping and produces fluffier grains. Place the rice in a bowl, cover with cold water, swirl, and drain. Repeat two to three times until the water runs mostly clear. This step is optional but makes a noticeable difference, particularly for jasmine and basmati rice.
The cooking process: combine the rinsed rice and water in a heavy-bottomed pot with a lid. Add a pinch of salt and, optionally, a small piece of butter or a teaspoon of oil. Bring to a boil over medium-high heat, then immediately reduce to the lowest possible simmer, cover tightly, and cook for 15 to 18 minutes for white rice. Do not lift the lid during this time. The steam trapped inside is doing the work; releasing it disrupts the cooking.
After the cooking time is up, turn off the heat and leave the pot, still covered, for 10 minutes. This resting period allows the steam to finish cooking the top layer of rice and allows the individual grains to dry out slightly. Fluff with a fork before serving, not a spoon — a fork keeps the grains separate rather than crushing them together.
18 / 25

Credit: Andres Carrera / Pexels
A whole roast chicken is one of the most satisfying things to cook, and it's also one of the most teachable: the techniques that make a great roast chicken apply to almost all roasting. Getting the skin crispy, cooking the breast and leg to the right temperature simultaneously, and developing fond for a pan sauce are all transferable skills.
The first and most critical step is drying the chicken. A wet chicken will not develop a crispy skin. Pat it thoroughly dry with paper towels, inside and out. For an even better result, leave the chicken uncovered in the refrigerator for one to two days before roasting. The cold, dry air of the refrigerator acts as a low-speed dehydrator on the surface, producing skin that crisps dramatically in the oven.
Season generously with salt, both on the skin and inside the cavity. If possible, salt the chicken 24 to 48 hours in advance and refrigerate uncovered — the salt has time to penetrate the flesh and the skin dries further. Season with pepper and any other aromatics you want just before roasting.
The oven temperature question has two valid answers. A high-heat roast — 425 to 450°F (218 to 232°C) for the entire cooking time — produces crispier skin and a faster cook but requires careful monitoring to avoid burning. A two-stage roast — 450°F for the first 20 minutes, then reduced to 375°F (190°C) for the remainder — starts browning aggressively and then slows down for gentler cooking. Both work.
The chicken should be placed on a rack inside the roasting pan so hot air circulates underneath, which prevents the bottom of the bird from steaming on the pan surface. Cook to an internal temperature of 165°F (74°C) measured in the thickest part of the thigh, not touching bone.
Rest the chicken for at least 15 minutes before carving. Use the drippings and browned bits in the pan to build a quick pan sauce or gravy while the bird rests.
19 / 25

Credit: Paolo Botio / Pexels
Butter and lemon is one of the most effective and versatile finishing sauces in cooking — a combination used across French, Italian, and Mediterranean cuisines for fish, chicken, pasta, and vegetables. It's made in minutes in the same pan you've just cooked in, and it requires understanding one technique: beurre blanc, or more simply, how to keep butter from breaking when you heat it.
Butter is an emulsion — fat, water, and milk solids held together. When you heat it directly in a pan, the emulsion breaks: the fat separates and you end up with clarified butter surrounded by browned milk solids. This is great for some applications but not for a light, glossy pan sauce. Keeping the emulsion intact requires two things: acid and cold temperature management.
Start by cooking your shallot or garlic in the empty pan over medium heat. Add a splash of white wine or dry vermouth and let it reduce to nearly nothing — just a few tablespoons of syrupy liquid. This provides the acidic base that helps the emulsion form. Remove the pan from direct heat or lower it to the lowest possible setting. Add cold butter cut into small cubes — four to six tablespoons for a standard portion — a few cubes at a time, swirling the pan constantly. The cold butter cools the pan as it melts, keeping the temperature in the range where the emulsion holds.
Add lemon juice — half a lemon is usually enough for four servings — after the butter is incorporated, not before. Lemon added too early can break the sauce because its high acid level interferes with emulsification. Taste and adjust with salt and more lemon as needed.
The result should be glossy, slightly thick, and taste of butter with a clean, bright edge from the lemon. Flat-leaf parsley, capers, or tarragon are natural additions that complement the base flavors. The sauce should be served immediately — it doesn't hold well, and attempting to reheat it will break the emulsion.
20 / 25

Credit: Eduardo Krajan / Pexels
Braising is the technique of cooking tough cuts of meat in a small amount of liquid at low temperature for an extended period, transforming collagen and connective tissue into gelatin. It is the method behind short rib, boeuf bourguignon, carnitas, osso buco, and most slow-cooked preparations that produce fork-tender meat. The technique is also relatively forgiving — the long cooking time gives you a wide window of correctness that other methods don't.
The choice of cut matters. Braising works specifically on cuts that contain significant collagen: beef chuck, brisket, and short rib; pork shoulder and cheeks; lamb shoulder and shanks; chicken thighs. These cuts are tough when cooked quickly because their collagen is still intact, but at sustained temperatures around 180 to 200°F (82 to 93°C) over two to four hours, that collagen converts to gelatin, which both tenderizes the meat and gives the braising liquid a rich, silky texture.
Lean cuts — chicken breast, pork loin, beef tenderloin — are not suited to braising and will become dry and stringy under the same conditions that make collagen-rich cuts tender.
Before braising, brown the meat thoroughly in a heavy pot over high heat. This is not optional. The Maillard reaction produces flavors that will permeate the braising liquid and the finished dish. A properly browned braise has a complexity that a pale, unbrowned one lacks entirely.
After browning, sauté aromatics in the same pot, deglaze with wine or stock, and nestle the browned meat back in. Add enough liquid to come one-third to halfway up the sides of the meat — not fully submerged. Braising is not boiling; the meat cooks in steam and gentle liquid contact, not submerged in liquid.
Cook covered at a low oven temperature — 300 to 325°F (149 to 163°C) — or on the stovetop at the lowest possible simmer. Check periodically to make sure the liquid hasn't cooked off entirely; add small amounts as needed.
21 / 25

Credit: pedro furtado / Pexels
Béchamel is one of the five classical French mother sauces and the most practically useful for a home cook. It is the white sauce that forms the base of lasagne, moussaka, mac and cheese, croque monsieur, soufflé, and dozens of other preparations. It is also the easiest of the mother sauces to make, requiring only butter, flour, milk, and salt. Mastering it unlocks a category of dishes that many home cooks avoid.
The technique begins with a roux: equal parts butter and flour, cooked together in a saucepan over medium heat until the raw flour smell disappears, about two minutes. The roux should be a pale, paste-like consistency — not yet browned. Cooking out the raw flour smell is essential; skipping this step produces a sauce that tastes of uncooked starch.
Hot milk is added to the roux gradually, whisking constantly. The gradual addition is what prevents lumps: add milk too quickly and the starch in the flour can't hydrate evenly, creating clumps that are difficult to remove. Start with a small amount — about a quarter of the total volume — and whisk until smooth and thickened before adding more. As more milk is incorporated, the sauce becomes thinner and more fluid, eventually settling into a cream-sauce consistency as the full amount of milk is added and the sauce comes to a gentle simmer.
The ratio determines the thickness. For a thin béchamel — suitable for soups and gratins — use one tablespoon each of butter and flour per cup of milk. For a medium sauce — suitable for mac and cheese and pasta dishes — use two tablespoons each per cup. For a thick sauce — used in croquettes and soufflé bases — use three tablespoons each per cup.
Season with salt, white pepper, and a grating of fresh nutmeg. The nutmeg is traditional and subtle; it doesn't assert itself, but its absence is noticeable in a classic béchamel.
22 / 25

Credit: Diana ✨ / Pexels
Mise en place is the French term for "everything in its place" and refers to the practice of prepping and organizing all ingredients before cooking begins. It is the foundational habit of every professional kitchen and the thing that most distinguishes an experienced home cook from a harried one. Mise en place is not a single technique — it is a way of relating to cooking that changes the experience from reactive to controlled.
In practical terms, mise en place means reading the recipe in full, then preparing everything called for in advance: dicing the vegetables, measuring the spices into small bowls, mincing the garlic, bringing the meat to room temperature, grating the cheese. When cooking starts, you add from this prepared array rather than stopping to chop mid-sauce or realizing you forgot to measure the wine.
The benefits are multiple. Cooking becomes faster because there's no downtime between steps for prep. You're less likely to burn something because you're not distracted by chopping while something is on the heat. You're more likely to catch recipe errors — a doubled salt measurement, a missing ingredient — before they matter.
A secondary aspect of mise en place is station management: keeping your workspace clean and organized as you cook. A messy counter creates cognitive load — you spend mental energy navigating clutter rather than focusing on cooking decisions. Professional cooks clean as they go, wiping the cutting board between tasks, returning ingredients to storage when they're no longer needed, and keeping a bowl or bag nearby for scraps. This habit doesn't require a large kitchen; it requires discipline.
The physical setup also includes having the right equipment accessible and ready. Starting to sear something only to realize your tongs are in a drawer requires stopping, touching a grimy handle, and returning to the pan — small inefficiencies that accumulate into a frantic cooking session. A few minutes of organizing before cooking starts saves time and stress throughout.
23 / 25
Credit: RDNE Stock project / Pexels
Heat management is the most fundamental technical skill in cooking and the hardest to teach through a recipe, because it depends on variables specific to your equipment: your burner, your pans, the altitude you cook at, and the specific ingredients in front of you. The best home cooks are not the ones who follow instructions the most carefully — they are the ones who can read what's happening in the pan and adjust accordingly.
Every recipe that tells you to cook "over medium heat" is giving you an approximation. What medium heat actually means on your stove may produce a completely different result than on someone else's stove. This is why learning to read visual and auditory cues from the pan is more useful than relying on a dial setting.
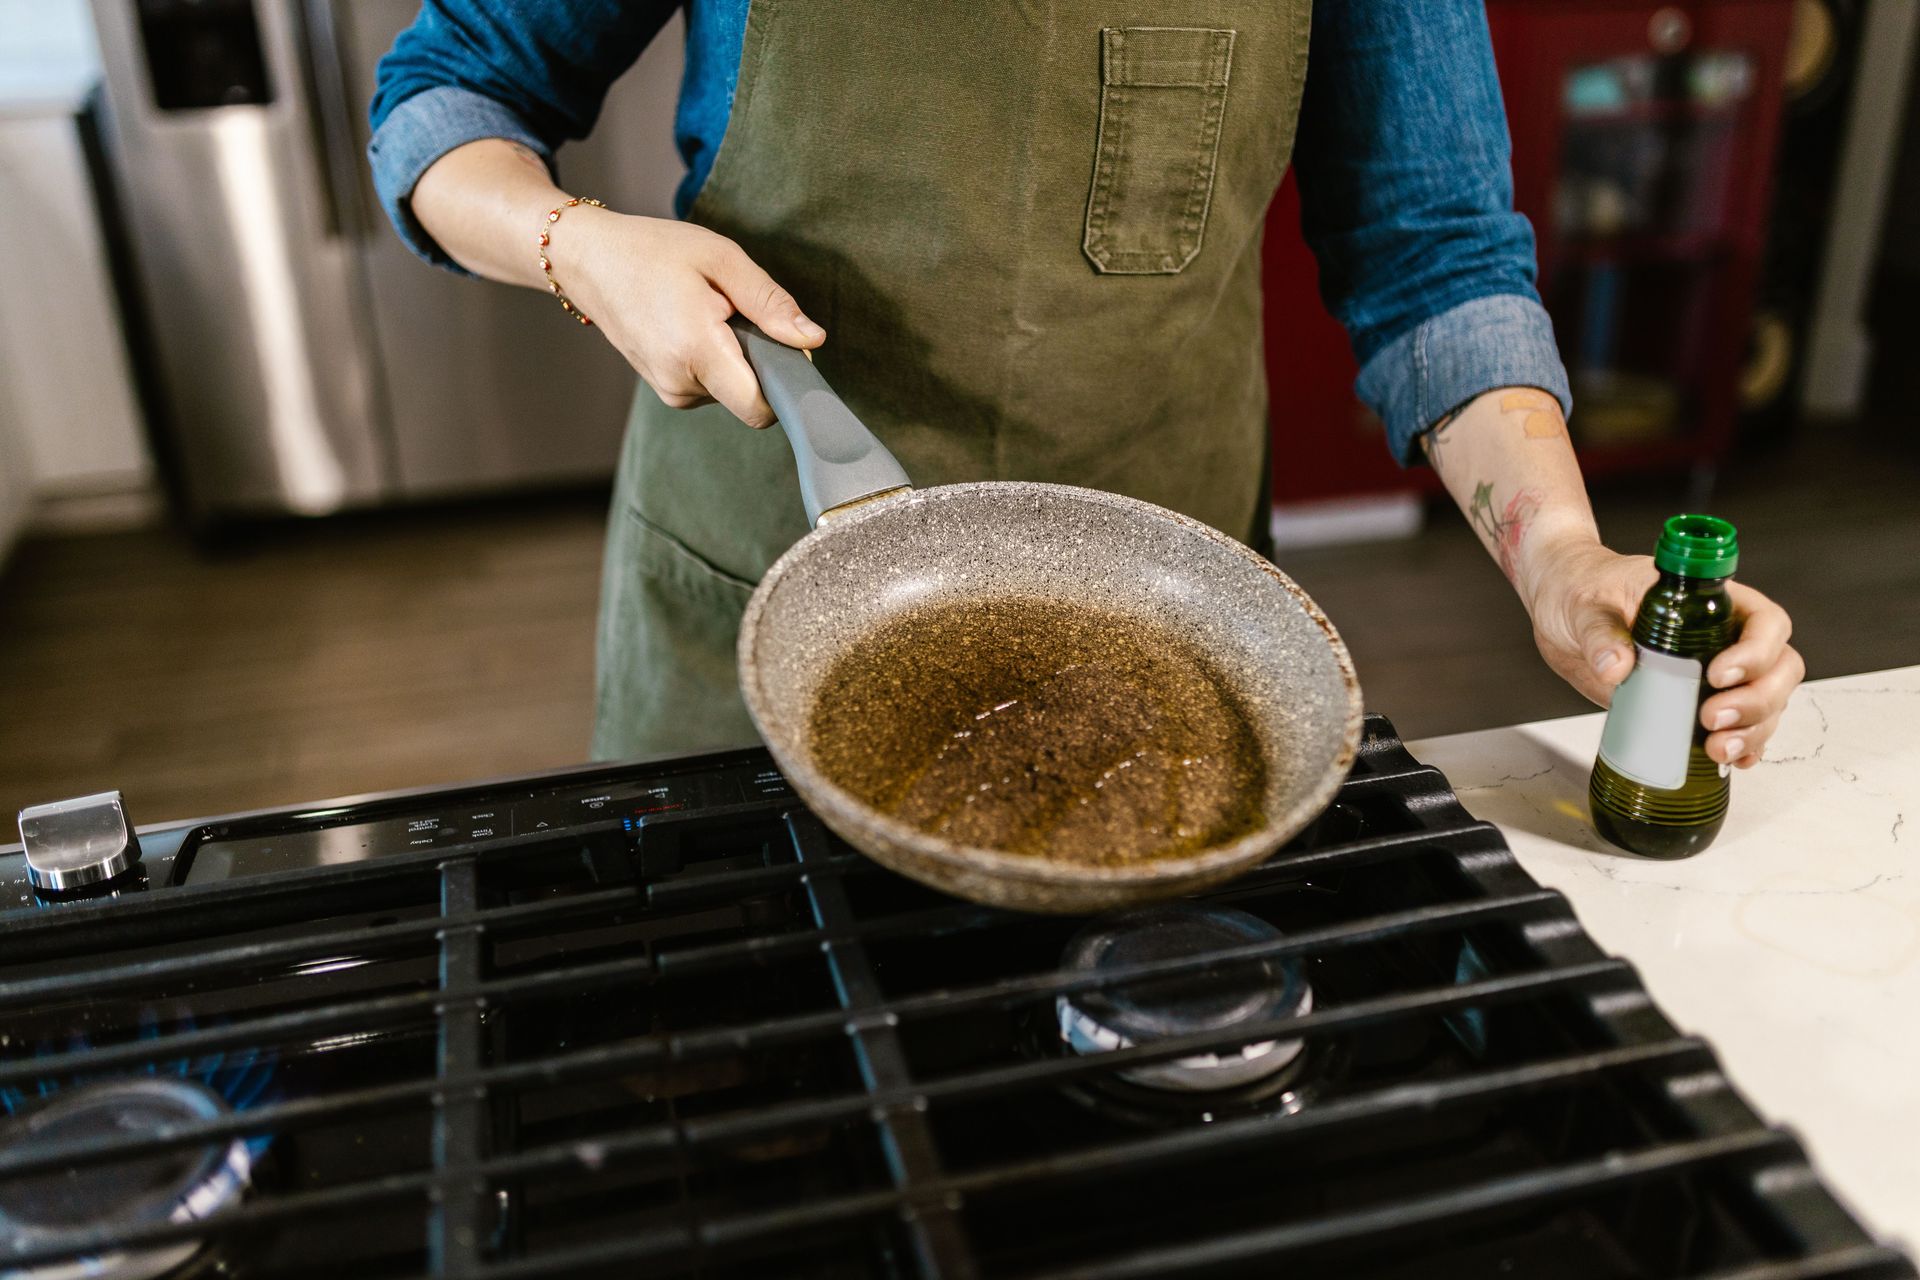
Oil in a pan tells you its temperature. Oil that shimmers and flows easily when you tilt the pan is hot enough for sautéing. Oil that smokes is too hot for most purposes and the fat is beginning to break down. Oil that doesn't move or respond when the pan is tilted is not yet hot enough. Butter follows a similar progression: foam, then the foam subsides as moisture evaporates, then the butter begins to color. Brown butter — nutty, aromatic, with toasted milk solids — sits between melted butter and burned butter, a narrow window of about 30 seconds.
The sound of cooking tells you about moisture and temperature. A loud, aggressive sizzle indicates high heat with moisture evaporating quickly — appropriate for searing. A gentle sizzle indicates moderate moisture and heat — appropriate for sautéing vegetables. No sound at all, or a very quiet sound, often means the pan is not hot enough or the food has released moisture and is now simmering in its own liquid rather than browning.
Flare-ups from fat spattering or direct contact with flames don't require panic — moving the pan off the burner momentarily allows the excess heat to dissipate. The instinct to turn the heat down when things seem intense is often correct, but it should be deliberate rather than reflexive.
24 / 25
Credit: Airam Dato-on / Pexels
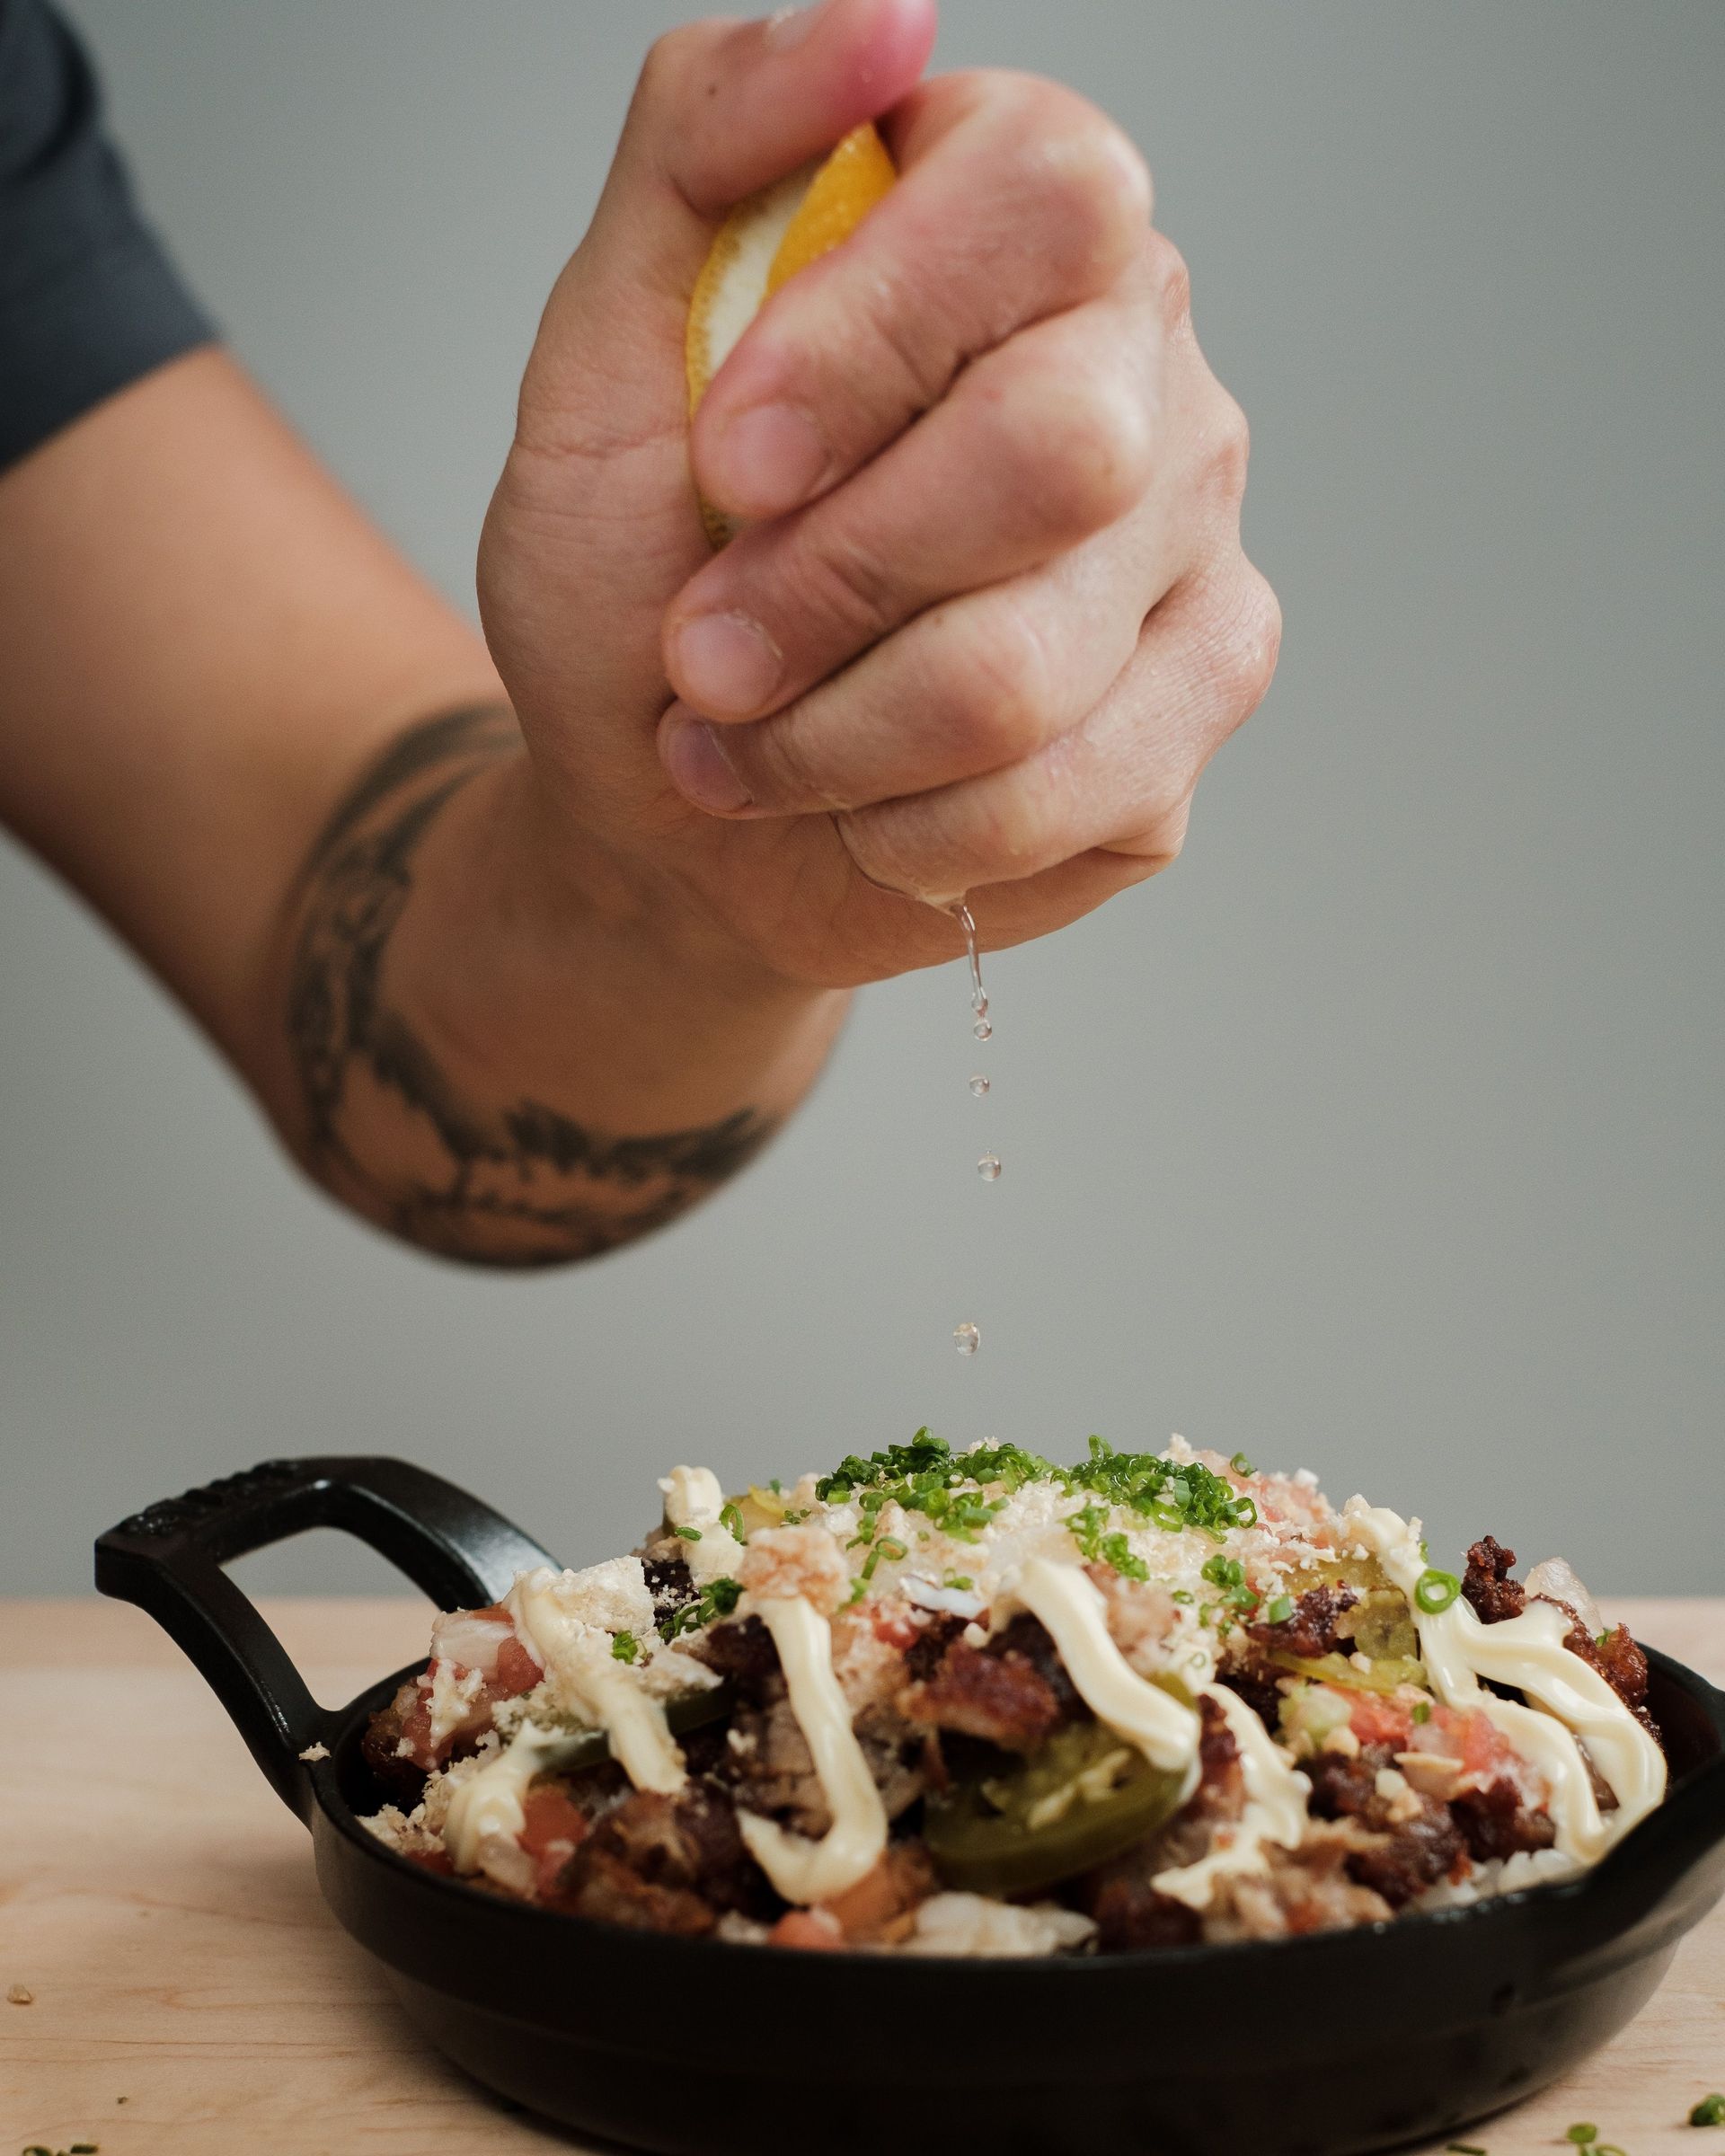
Acid — in the form of lemon juice, lime juice, vinegars, wine, yogurt, buttermilk, or tomatoes — is the most underused corrective and flavor-building tool in home cooking. Professional cooks reach for acid constantly, not to make food taste sour but to make it taste more fully like itself. A dish that tastes dull, heavy, muddy, or one-dimensional frequently needs acid more than it needs any other adjustment.
The mechanism is sensory. Acid stimulates the production of saliva and activates taste receptors in a way that enhances the perception of other flavors. It cuts through fat, which is why a squeeze of lemon over a pan of roasted chicken or fish makes it taste less heavy. It brightens sugar-forward flavors, which is why vinegar appears in many preparations that include sweetness — a sweet and sour glaze, a gastrique, a reduction of balsamic.
Different acids have different flavor profiles and appropriate contexts. Lemon juice is versatile, clean-tasting, and fresh — it's the most common finishing acid in European and Mediterranean cooking. Lime juice has a more floral, bitter edge and is characteristic of Mexican, Southeast Asian, and Caribbean cuisines. Red wine vinegar is assertive and savory; it works well in vinaigrettes and in deglazing for braises. Sherry vinegar is more complex and nutty, used as a finishing touch in Spanish and French cooking. White wine vinegar is mild and good for delicate applications. Apple $AAPL cider vinegar has a mild fruitiness that works in dressings and some sauces.
Adding acid early in cooking vs. adding it at the end produces different results. Acid added at the start of cooking — tomatoes, wine, citrus zest — integrates deeply into the dish and loses its sharp edge. Acid added at the end — a squeeze of lemon over finished fish, a splash of sherry vinegar into a braise before serving — is bright and present, adding a sharp, fresh note.
25 / 25

Credit: Kampus Production / Pexels
Leafy greens require proper washing and drying before they're usable, and the condition of the greens — whether they're perky or wilted, dry or wet — affects both the final texture of the dish and how dressing adheres. The process takes only a few minutes but is skipped often enough that it's worth treating as a distinct skill.
Most greens, from delicate butter lettuce to robust kale, carry dirt, sand, and occasionally insects between their leaves. Rinsing them under a running tap doesn't clean them adequately because the water pushes dirt further into the crevices rather than floating it out. Submerging them in a large bowl or clean sink full of cold water, swishing gently, and lifting them out — leaving the dirt behind in the water — is more thorough. For particularly sandy greens like spinach, do this twice.
Drying is as important as washing. Wet greens dilute dressing and prevent it from adhering properly. Wet greens also break down faster after preparation because surface moisture accelerates oxidation. A salad spinner is the most efficient way to remove water; two to three rounds of spinning will get most greens adequately dry. If you don't have a spinner, layering the washed greens between clean kitchen towels and gently pressing works nearly as well.
For kale, chard, and other large-leaved greens used in cooked preparations, the stem is often tougher and more fibrous than the leaf and benefits from a longer cooking time. Remove the stem by holding the leaf face-down and pulling the stem out from the base of the leaf toward the tip. Chop the stems separately and add them to the pan a few minutes before the leaves.
Delicate greens like arugula, watercress, and mâche should be dressed immediately before serving — they wilt within minutes of contact with dressing. Sturdier greens like romaine, radicchio, and iceberg can be dressed up to 30 minutes ahead without significant deterioration.
