Learning these quick tips will make navigating your iPad much easier
If you’re a new iPad owner, you’re probably curious about some basic things you’re too shy to ask about. We’ve compiled a guide of basic everyday actions you should know as a new iPad owner. Each of these is incredibly useful in enhancing productivity and saving time.
One of the first things you should do to make sure all your Apple $AAPL devices are talking to each other is to sync your iPhone and iPad. This can be done quickly via iCloud. To begin, head over to the Settings app on any of the two devices and click on your name at the top to open the Apple ID menu. Tap iCloud and turn on toggle switches for everything you want to be synced between your iPhone and your iPad. Then, repeat the same process with your other device.
Note that this process can only work if 1) you’ve enabled the same toggle switches on both devices and 2) logged into the same Apple ID on both devices.
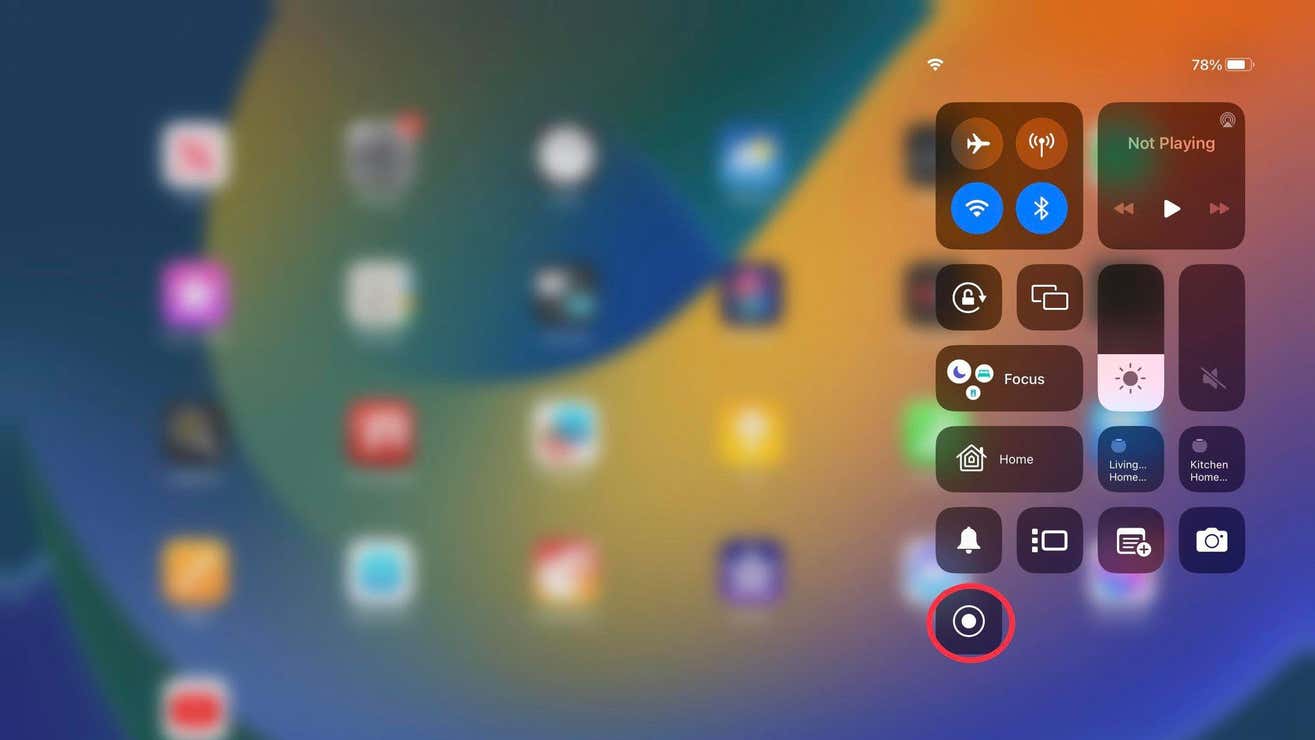
To screen record on your iPad, you must first add the feature to your Control Center. Navigate to Settings > Control Center > click on the green plus icon next to Screen Recording. This will add the feature to your Control Center.
To access it, swipe down on your display and tap the icon with two circles on it. There will be a three-second countdown, and your screen recording will start.
When you’re done, swipe to your Control Center and hit the icon again. Or you can tap on the red screen recording icon at the top of your screen and hit ‘Stop.’
You will get a notification informing you that your recording has been saved. To view it, head to your Photos app.
For a more detailed explanofion on how to screen record on an iPad, check this guide out.
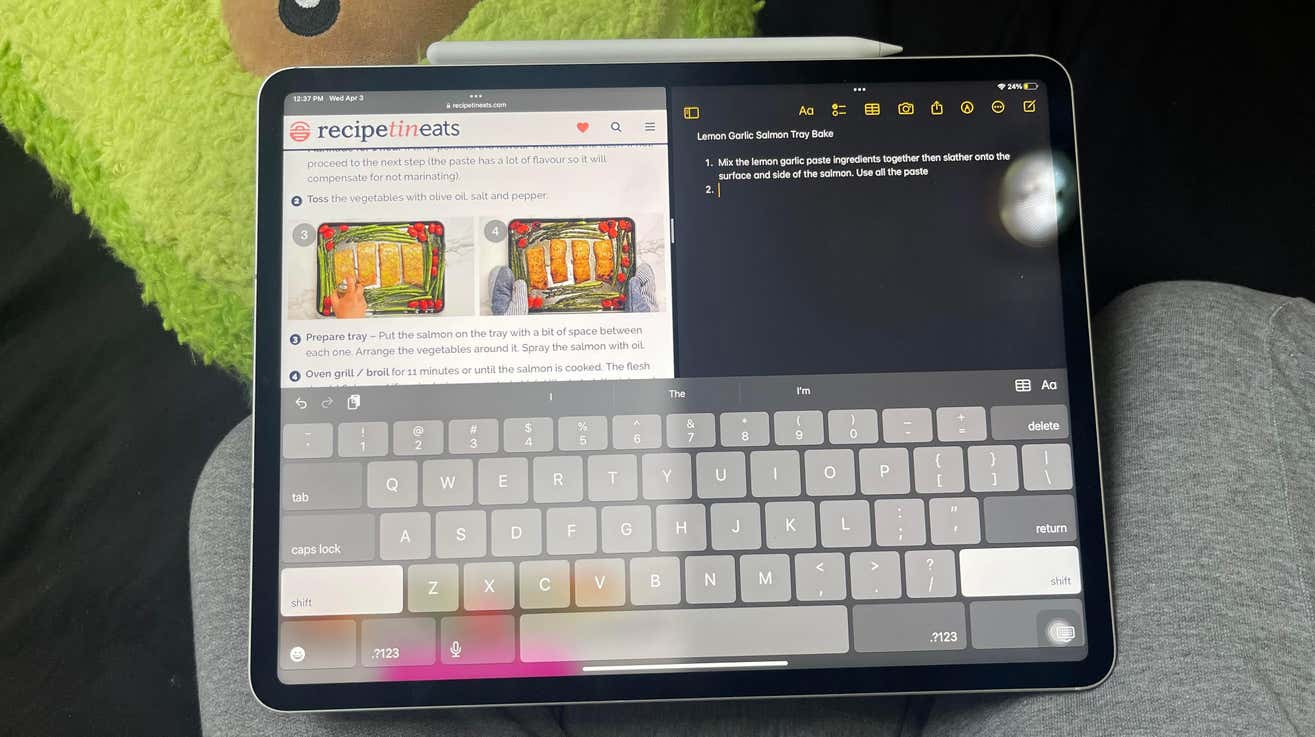
Open any app and tap the three horizontal dots at the top of your screen. Click on the view of your choice (Split View or Slide Over). As soon as you do that, the app will move to one side of the screen to allow you to pick your second app. Feel free to swipe on your home screen pages to select any app you want. You can also choose an app from the dock at the bottom of your screen. Tap on your second app, and it will show up on your screen according to the view you picked.
If you picked Split View, it will appear side-by-side with your first app. Picking Slide Over will make the second app appear in a smaller window that you can place on any side of the screen.
You can split your iPad screen into two apps: the multitasking menu, the dock, or Spotlight. We just went over the multitasking menu. To learn about the other two ways, head over to this guide.
If your iPad has a home button, press the top and home buttons simultaneously and then quickly release both. Your iPad will take a screenshot, and you’ll see a thumbnail at the bottom left of your screen.
You can tap the thumbnail to open your screenshot or swipe left to view it later.
If your iPad does not have a home button, press the top button and any of the two volume buttons simultaneously and quickly release both. If you’re successful, you’ll see a little thumbnail of your screenshot in the lower-left part of your screen. You can tap on it to open it or swipe left to dismiss it.
For a detailed explanation on screenshotting on an iPad and to learn how to screenshot with an Apple $AAPL Pencil, check this guide out.
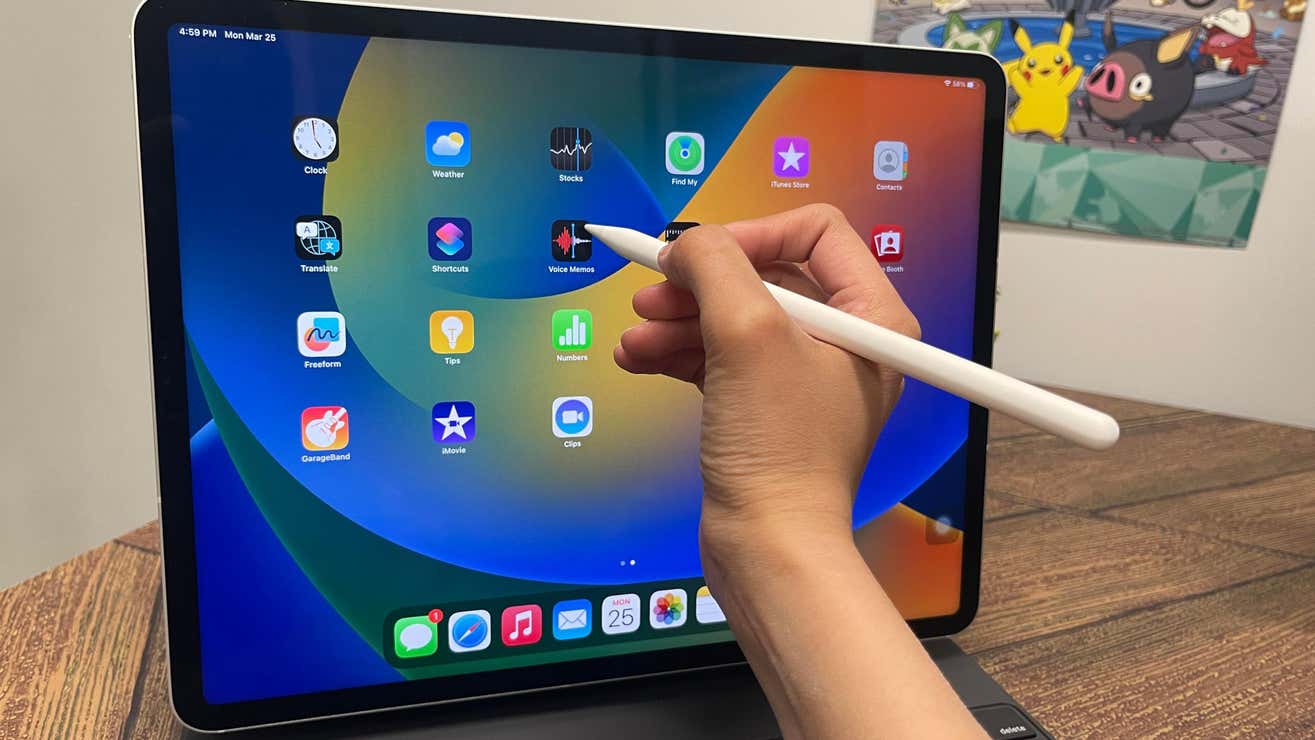
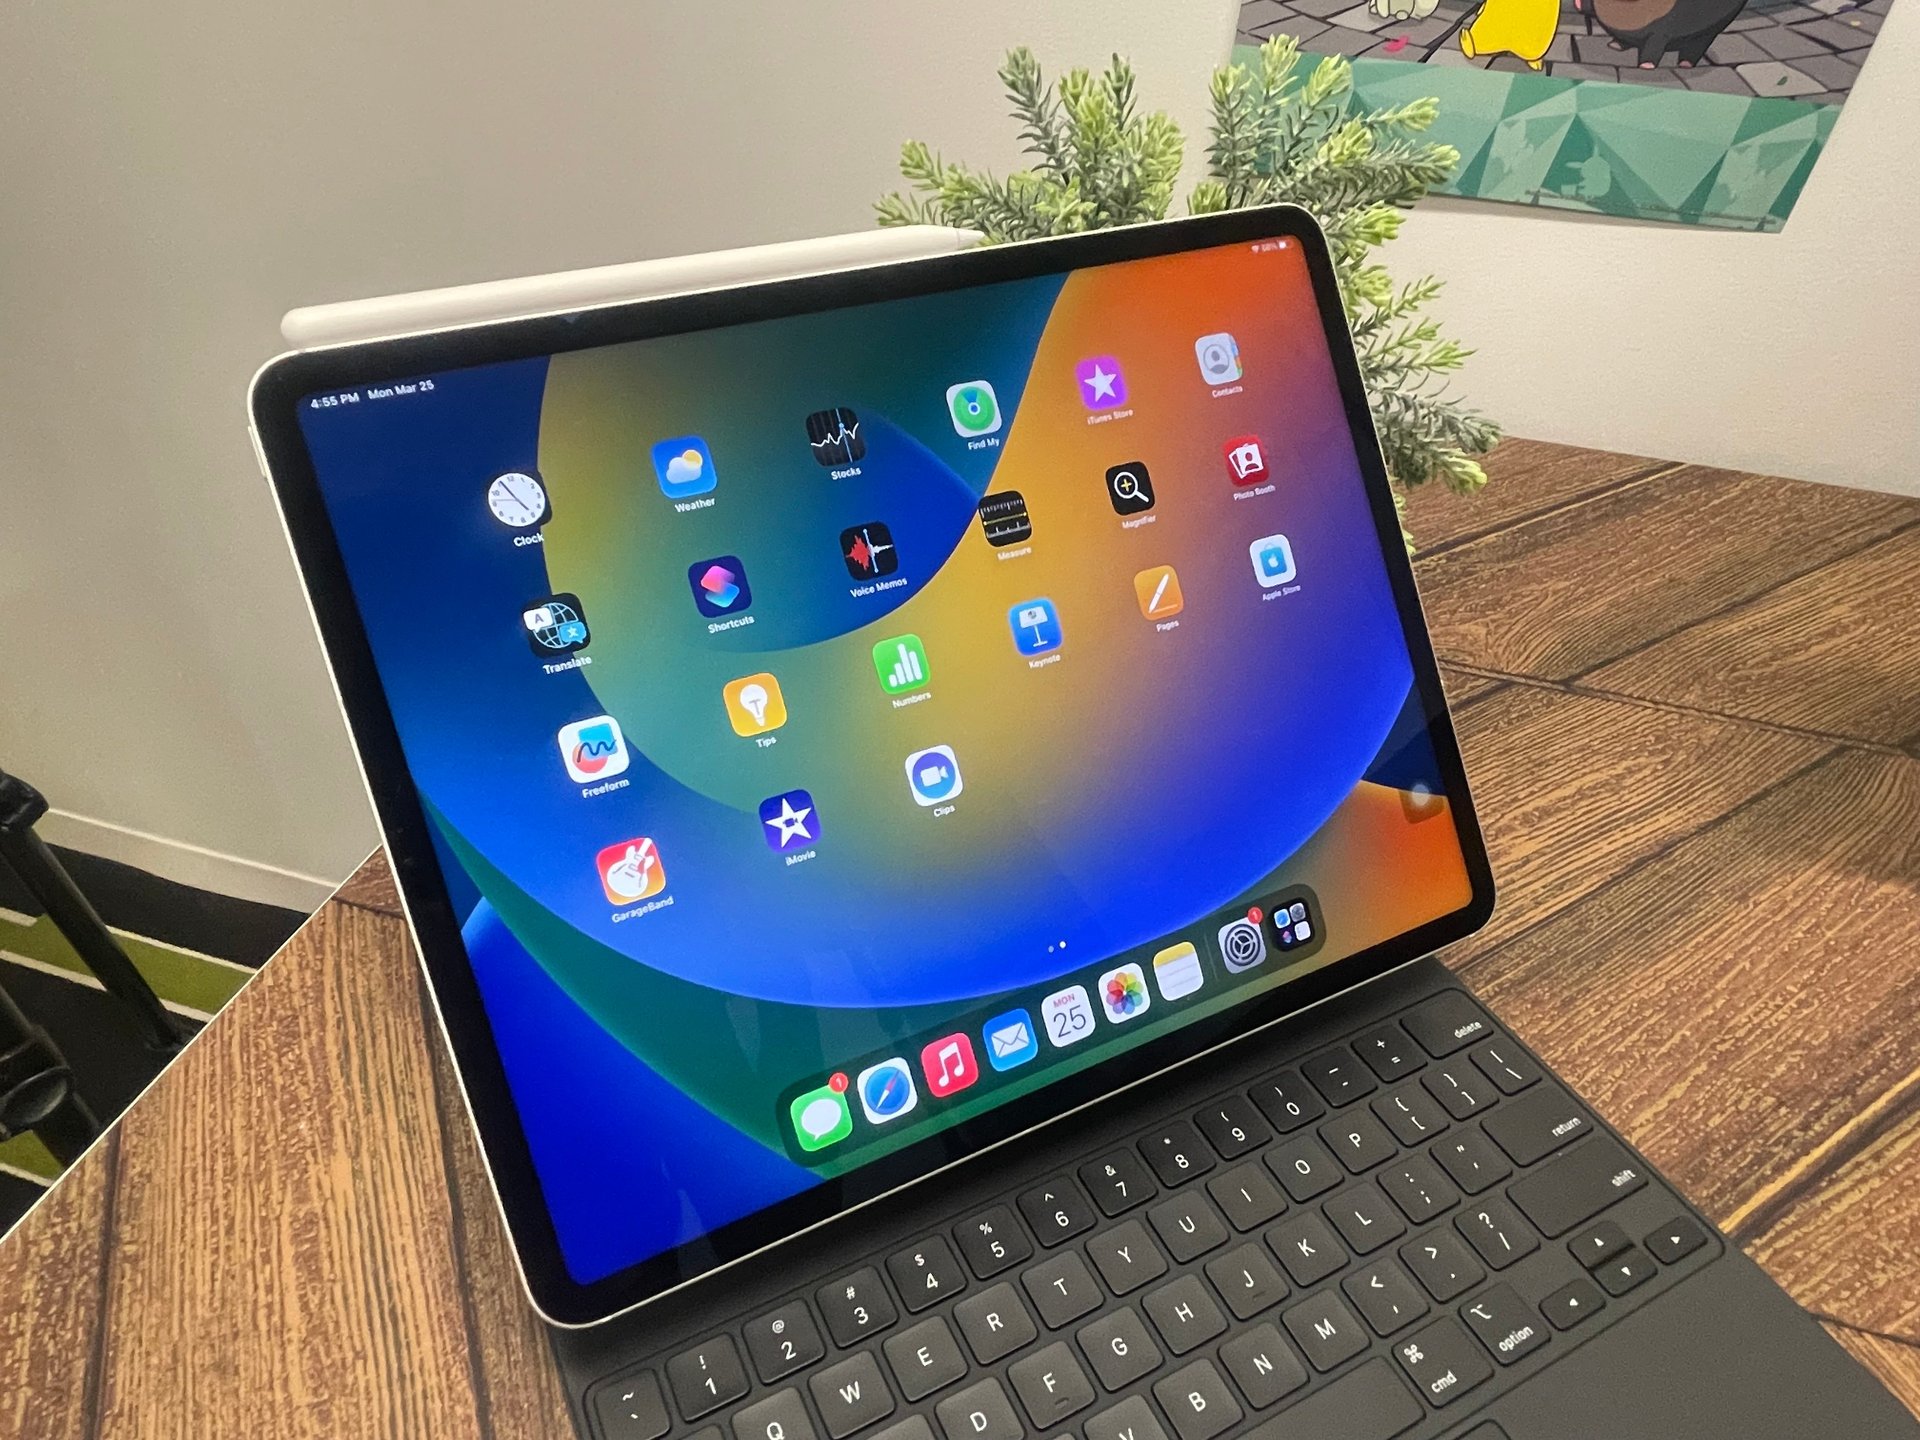
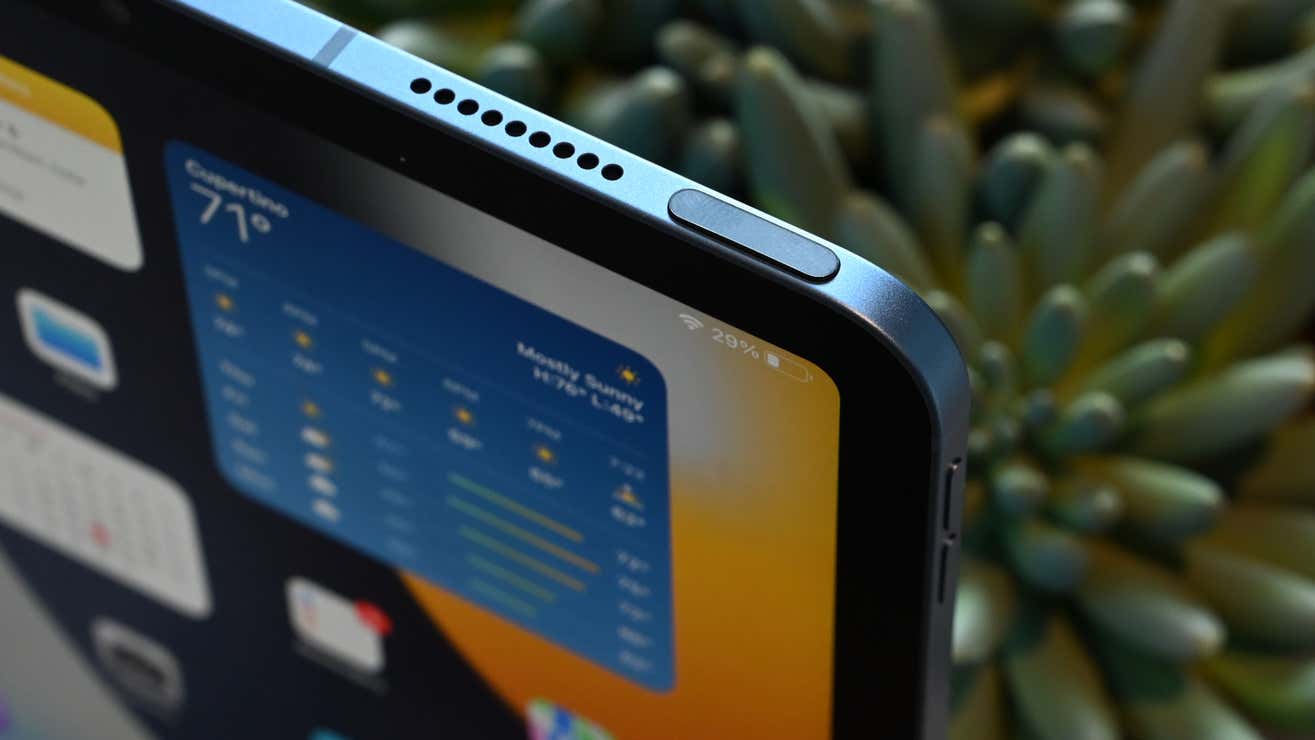
Just place your Pencil where you have the volume controls on your iPad. It’ll automatically attach to a magnetic connector right in the middle on that side. You’ll hear a satisfying click when that happens. A pop-up on your iPad will notify you that your Pencil has been paired. You’re ready to pull it back out and start using it.