
20 ways to cook chicken thighs so they're never dry
From brining to smoking, these 20 cooking techniques guarantee moist, tender chicken thighs every time — no matter the method or equipment you're working with
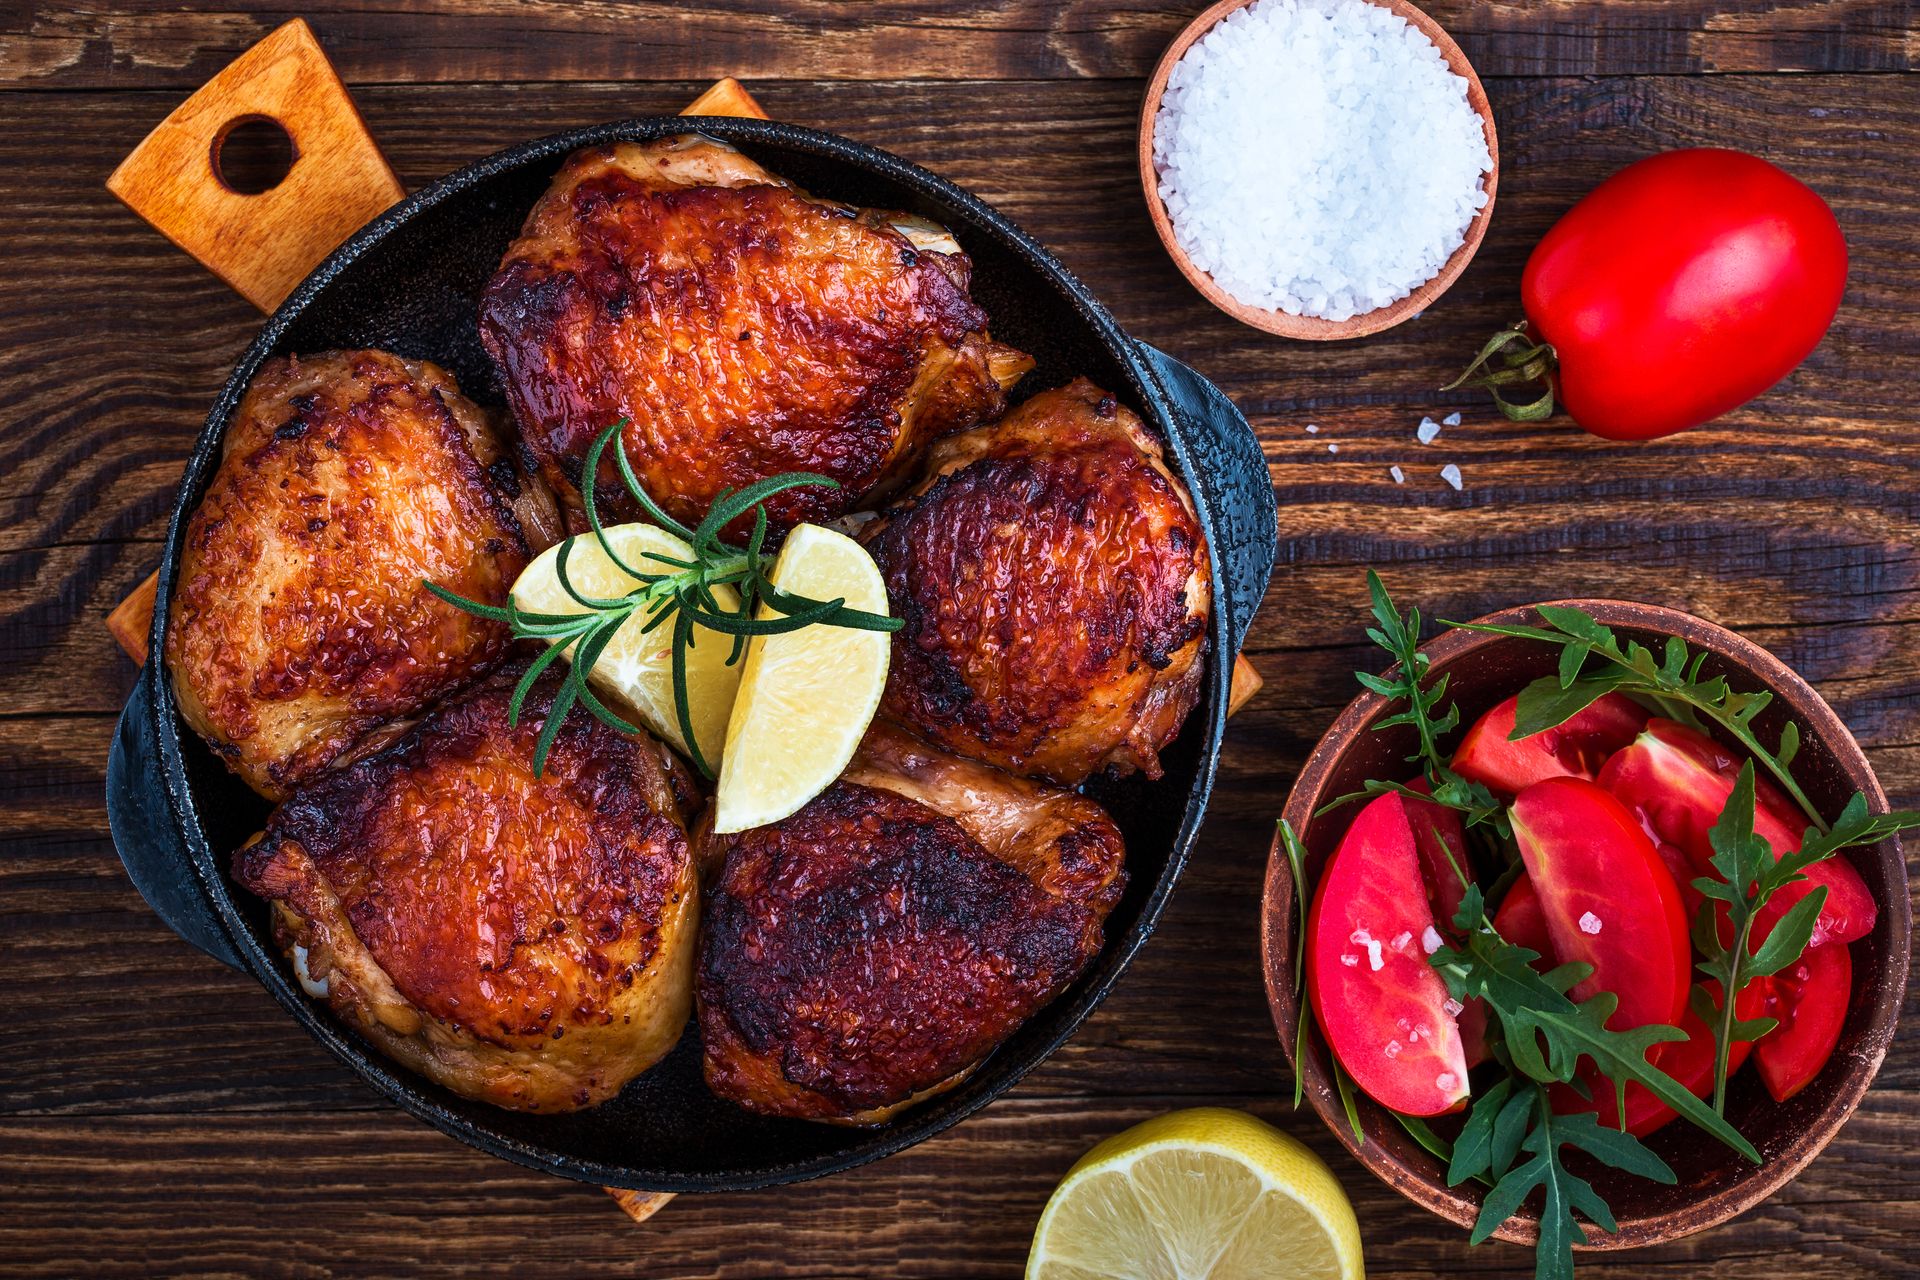
istetiana / Getty Images
Chicken thighs have a well-earned reputation as the forgiving cut — the one that stays moist when a breast would turn chalky and dry. That reputation is mostly deserved, but it isn't unconditional. Cooked carelessly, even a thigh can turn tough, stringy, or rubbery, especially when it's boneless and skinless and subjected to aggressive, unmanaged heat.
The difference between a dry chicken thigh and a genuinely succulent one comes down to technique, not luck. Fat content helps — thighs have more intramuscular fat than breasts, which gives them a margin against overcooking — but fat alone won't save a thigh blasted in a 450°F oven without resting, or one poached at a rolling boil instead of a gentle simmer. The cook's choices, from how the meat is prepared before it ever hits heat to how it's treated in the minutes after cooking, determine the outcome.
This guide covers 20 distinct methods for cooking chicken thighs, each designed to produce meat that is fully cooked, safe to eat, and genuinely juicy. Some methods are fast; some take hours. Some use equipment you may not already own; most work with a basic pan and a home oven. What they share is a practical understanding of how heat interacts with poultry — how moisture escapes, how collagen breaks down, how fat renders, and why resting matters.
Chicken thighs are cut from the upper leg of the bird. Bone-in, skin-on thighs retain a femur and a layer of skin that, when rendered well, contributes flavor and self-basting fat. Boneless, skinless thighs are leaner, cook faster, and work better in stir-fries, tacos, or salads, but they require more attention because they lack the built-in protection of bone and skin.
The internal temperature target for chicken is 165°F for food safety. For chicken thighs specifically, many cooks find that cooking to 175°F or even 185°F produces better texture, because at that range the collagen and connective tissue in the thigh break down into gelatin — which gives braised and slow-cooked thighs their characteristic silkiness. Understanding that distinction runs through nearly every method in this list.
Brine the thighs before you cook them
Chicago Tribune / Getty Images
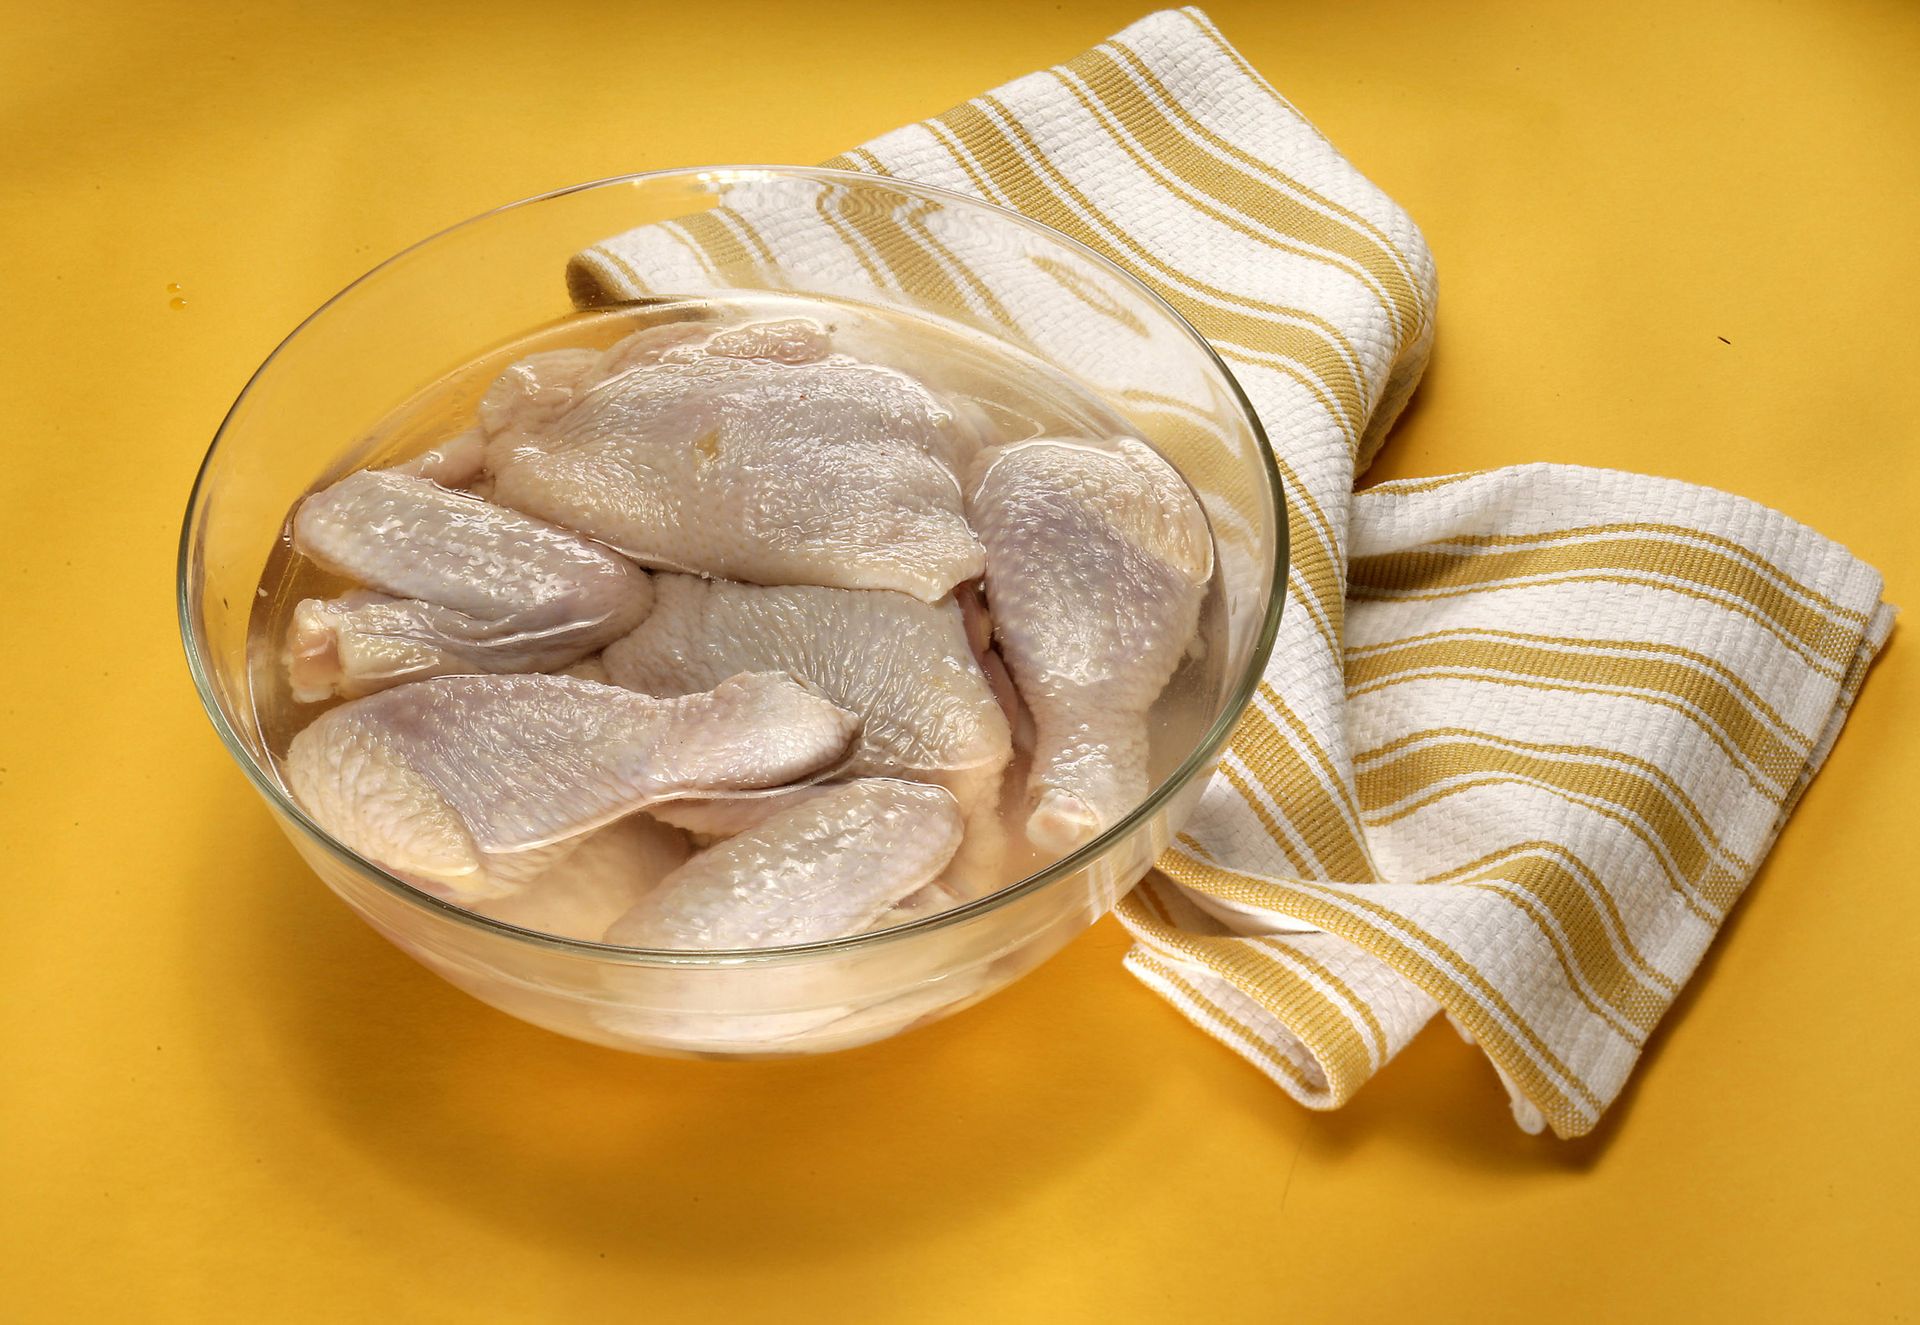
Brining is the practice of soaking meat in a saltwater solution before cooking, and it is one of the most reliable ways to keep chicken thighs moist regardless of which cooking method follows. The process works through osmosis: salt in the brine draws moisture into the muscle fibers, and the dissolved salt also partially denatures the proteins, causing them to contract less aggressively during cooking and release less liquid as a result. A brined thigh retains more of its natural juices from the moment it hits heat.
A basic brine needs only two ingredients: 1/4 cup of kosher salt dissolved in four cups of cold water. Submerge the thighs completely, cover, and refrigerate for at least one hour. Bone-in thighs can brine for up to 12 hours. Do not brine longer than 24 hours — the texture will become unpleasantly spongy as the salt begins to break down the proteins too aggressively.
You can build on that base with aromatics. Adding crushed garlic cloves, black peppercorns, fresh thyme, bay leaves, or strips of lemon zest doesn't dramatically change the moisture outcome, but it contributes background flavor that carries through cooking. A tablespoon of sugar per quart of water promotes better browning and adds a faint, barely perceptible sweetness.
Dry brining skips the water entirely. Coat the thighs generously with salt and let them rest uncovered on a wire rack in the refrigerator for at least two hours, ideally overnight. Salt initially draws moisture out of the meat, but that moisture then dissolves the salt and gets reabsorbed back into the muscle. The process seasons the meat from within and simultaneously dries out the skin surface — which is a significant advantage if you plan to roast or sear the thighs, because drier skin crisps more readily and renders fat more efficiently.
Wet brining suits boneless, skinless thighs that will be cooked quickly, since there is no skin to worry about and the added moisture is the main goal. Dry brining is especially well-suited to bone-in, skin-on thighs headed for the oven, where crispy skin is part of the desired outcome.
After either type of brine, rinse the thighs briefly under cold water and pat them thoroughly dry with paper towels before cooking. Excess surface moisture creates steam rather than browning, which works against any crust you're trying to develop.
Choose bone-in, skin-on thighs when you can
SimpleImages / Getty Images
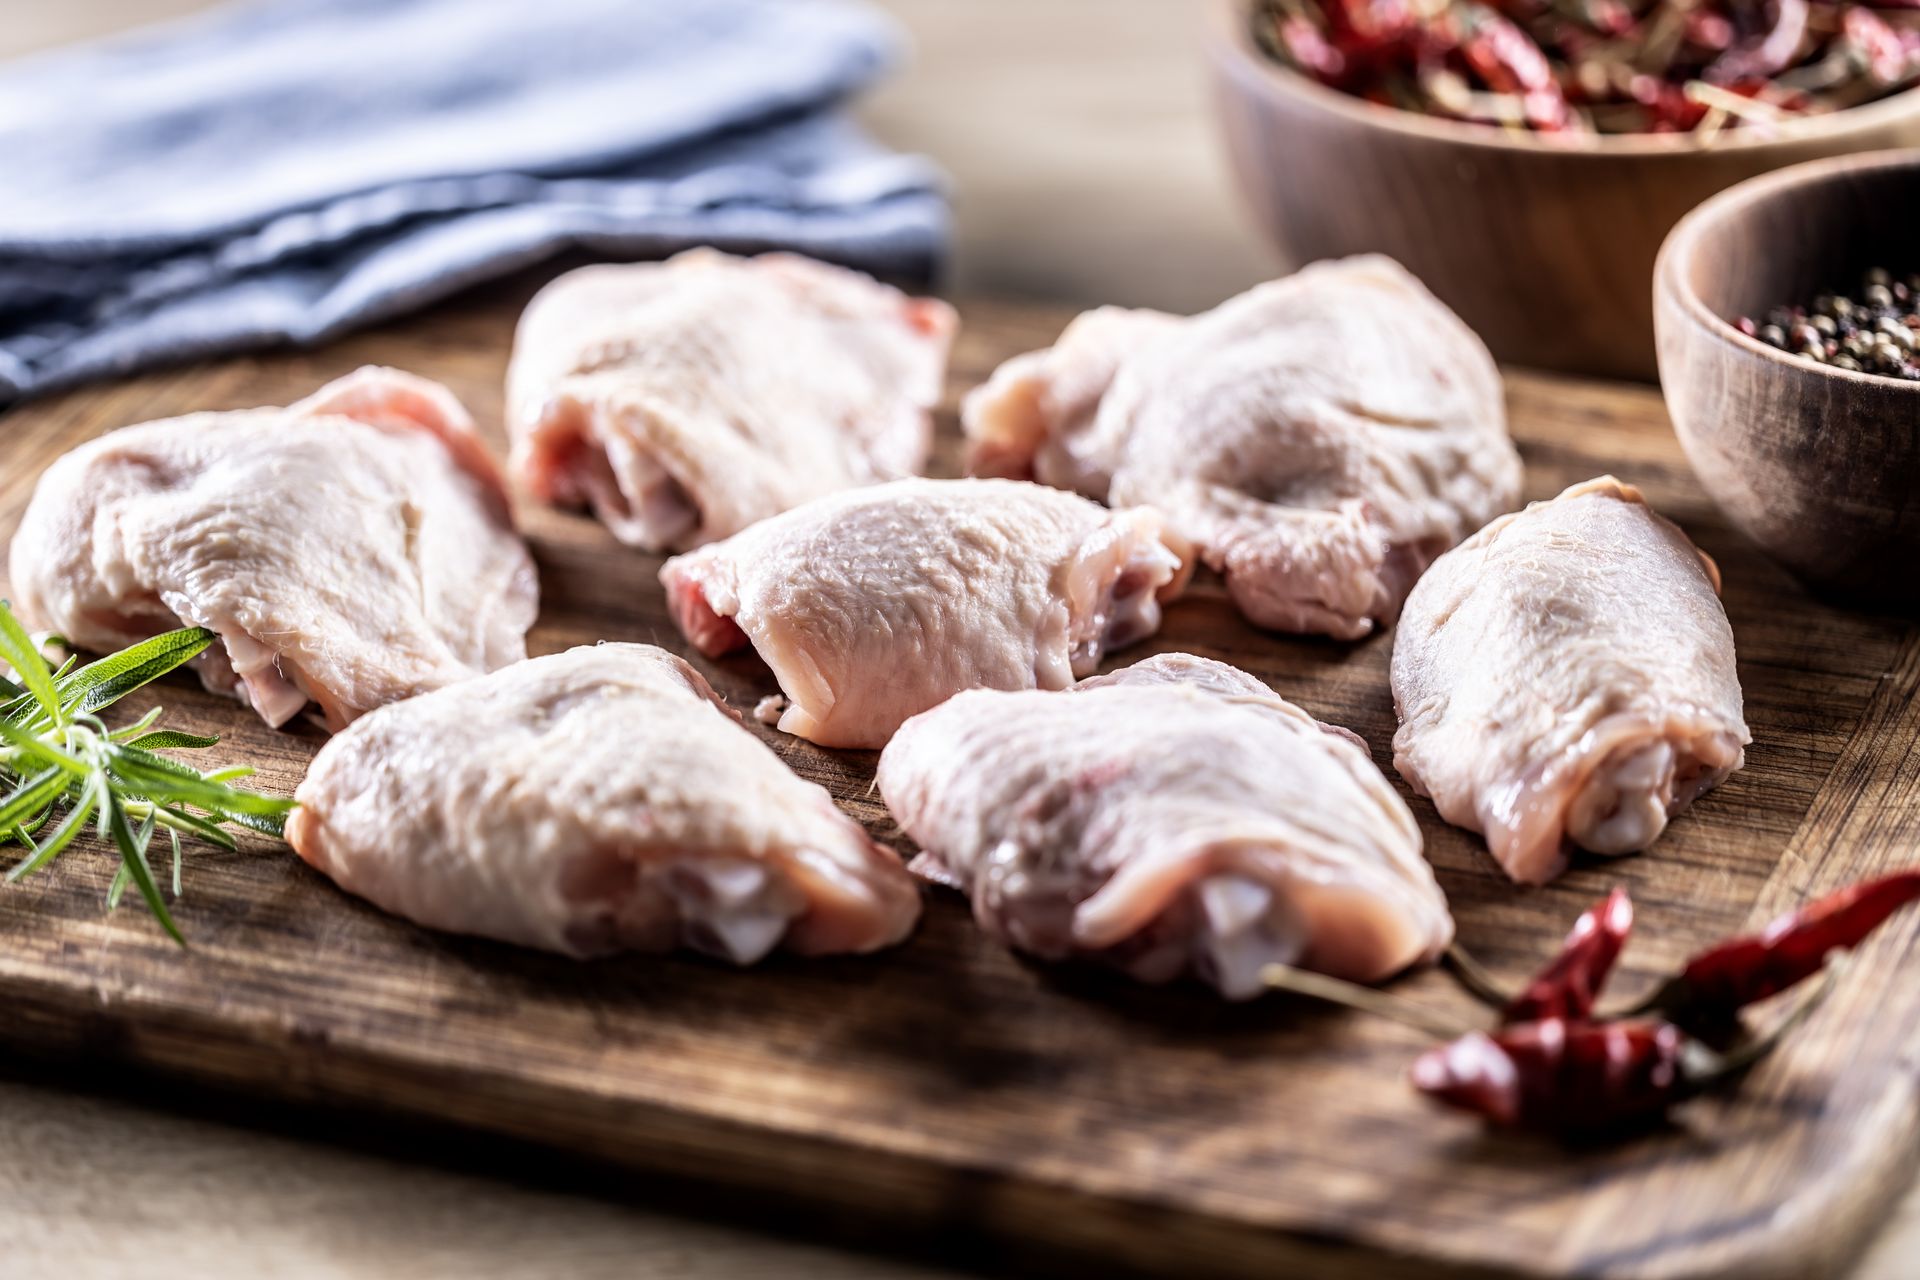
The cut itself makes a measurable difference. Bone-in, skin-on chicken thighs are structurally harder to dry out than boneless, skinless ones, for reasons that are worth understanding.
The bone acts as a heat conductor that moderates the cooking process in the meat immediately surrounding it. Bone conducts heat differently than muscle tissue — it heats more slowly — so the area of meat nearest the bone reaches temperature later than the outer portions. This graduated heat transfer means the exterior of the thigh is less likely to be significantly overcooked by the time the meat nearest the bone is done.
The skin provides both insulation and a fat reservoir. As chicken skin heats, the fat within it liquefies and runs down around the thigh, basting the meat from the outside. This is a passive, continuous moisture mechanism that boneless, skinless thighs simply don't have. If you cook a bone-in, skin-on thigh skin side down in a pan, the rendered fat keeps coating the meat even as other surface moisture evaporates.
Bone-in, skin-on thighs also require a longer cooking time than boneless ones — and in this context, that is an advantage, not a limitation. Chicken thigh meat contains collagen and connective tissue that breaks down into gelatin above roughly 160°F. The longer cook that bone-in thighs require gives this conversion time to complete, resulting in meat that feels noticeably silkier and richer than thighs cooked quickly.
That said, bone-in thighs are impractical for many preparations: tacos, stir-fries, meal-prep bowls, grain salads. For those applications, the other techniques in this guide matter more, because boneless, skinless thighs have no built-in protection against dryness. Understanding which cut you are working with before you start determines which additional steps will have the most impact.
When shopping, look for thighs with skin that is pulled taut over the surface and evenly colored. Loose or torn skin tends to steam rather than render, producing a flabby result rather than a crisp one.
Pat the chicken dry before it hits the pan
Lazy_Bear / Getty Images
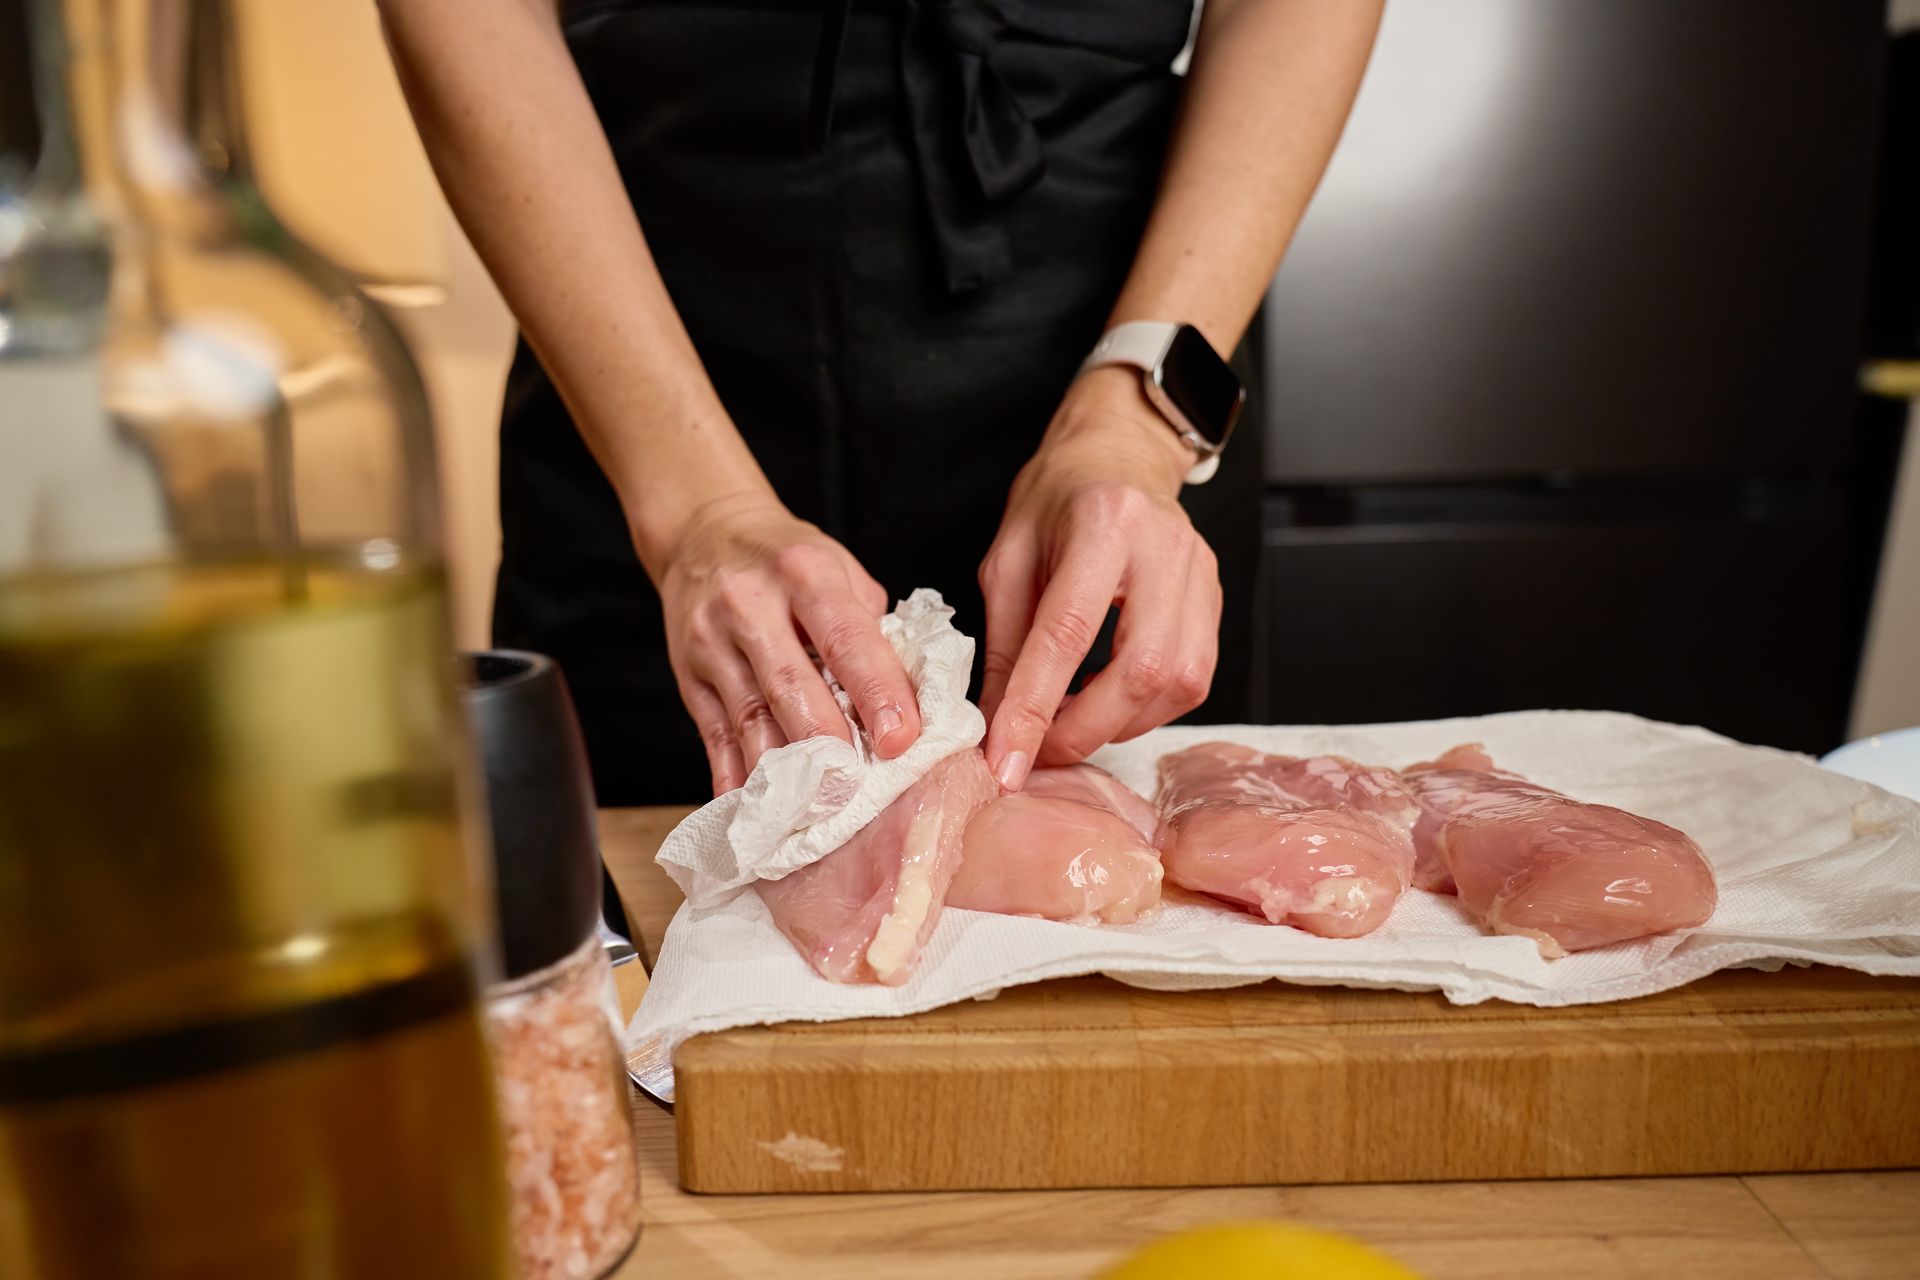
This step takes about ten seconds and makes a measurable difference in how chicken thighs cook, particularly when searing or roasting. Raw thighs — even ones that have never been near a sink — carry surface moisture from packaging, refrigeration, and handling. That moisture must evaporate before any browning can begin.
The reason comes down to chemistry. The Maillard reaction — the process that produces browned, flavorful surface crust — requires surface temperatures above roughly 300°F. While surface moisture is present, the temperature at that surface is capped at 212°F, the boiling point of water. No matter how hot the pan, the meat surface cannot brown until all that water has evaporated.
The practical consequence: wet chicken dropped into a hot pan causes a sharp temperature drop, and for the first minute or more of cooking, the thigh steams rather than sears. By the time the moisture has evaporated and browning can begin, the outer layer of meat has already been cooking — with heat but without crust development. The result is less color, more grey, and meat that often overcooks in the exterior before the interior is done.
Patting dry removes this obstacle. Use paper towels and press firmly on all sides of each thigh, including under any folds of skin. The goal is to remove free surface water, not all moisture from the meat itself.
If you have additional time, extend the drying step: place the patted-dry thighs on a wire rack over a sheet pan and leave them uncovered in the refrigerator for an hour, or overnight. The cold, dry air pulls additional moisture from the surface, especially from the skin. When the thighs go into the oven or pan, they begin browning almost immediately. This technique is compatible with either brining method — brine first, then pat dry thoroughly before proceeding.
Marinate in something acidic
Dorin Puha / Getty Images
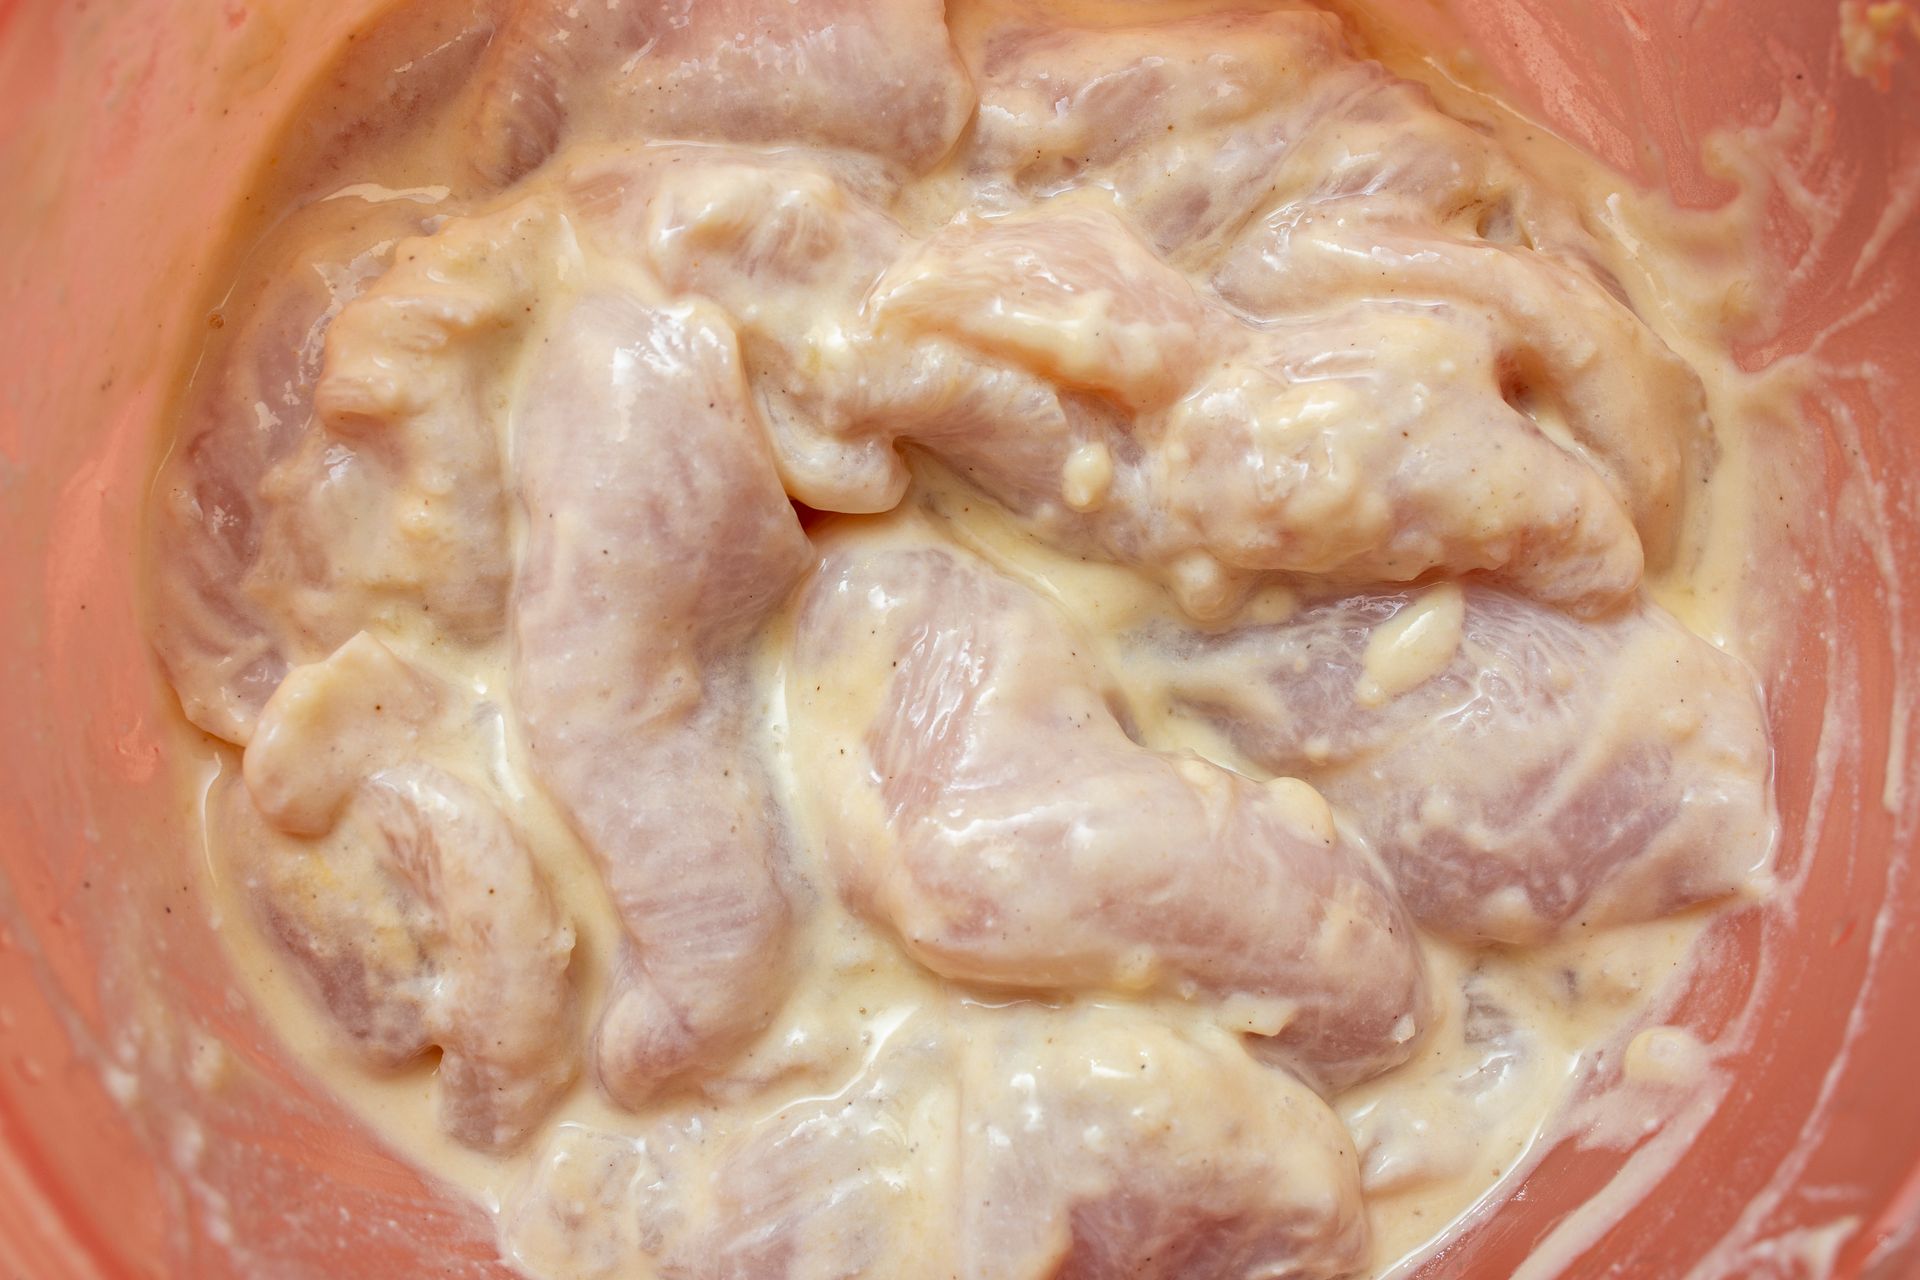
An acid-based marinade changes the texture of chicken thigh meat before cooking, making it more tender and helping it hold moisture during the application of heat. Acids — vinegar, citrus juice, yogurt, buttermilk, wine — begin denaturing surface proteins on contact with raw meat. The proteins partially unwind and relax, making the meat more tender and also more receptive to absorbed flavors.
The critical qualifier is "surface." Acids work on the outermost millimeter or two of meat. They do not penetrate deep into a thick thigh regardless of marinating time. This is why over-marinating in concentrated citrus or straight vinegar actually damages texture: the surface proteins denature so completely that the meat becomes mealy or mushy, like ceviche left too long. For boneless thighs, two to four hours is generally enough. For bone-in thighs, up to 24 hours works because the acid has more distance to travel before reaching the center of the meat.
Buttermilk and yogurt are among the most effective marinating liquids for chicken thighs. They are mildly acidic — far less aggressive than fresh lemon juice — and the dairy proteins and fats cling to the meat's surface, creating a thin coating that adds moisture and acts as a buffer during cooking, reducing the amount of juice that escapes from the exterior.
A functional marinade includes four elements: an acid, an oil, salt, and aromatics. The oil carries fat-soluble flavor compounds from garlic, herbs, and spices and helps them adhere to the surface. The salt seasons the meat and, as in brining, helps it retain moisture during cooking.
One important step: remove the chicken from a wet marinade and pat it relatively dry before searing or roasting. Excess marinade pooled on the surface will steam and char before browning, producing bitter notes rather than a clean crust.
Sear on high heat before finishing in the oven
MediaNews Group / Reading Eagle / Getty Images
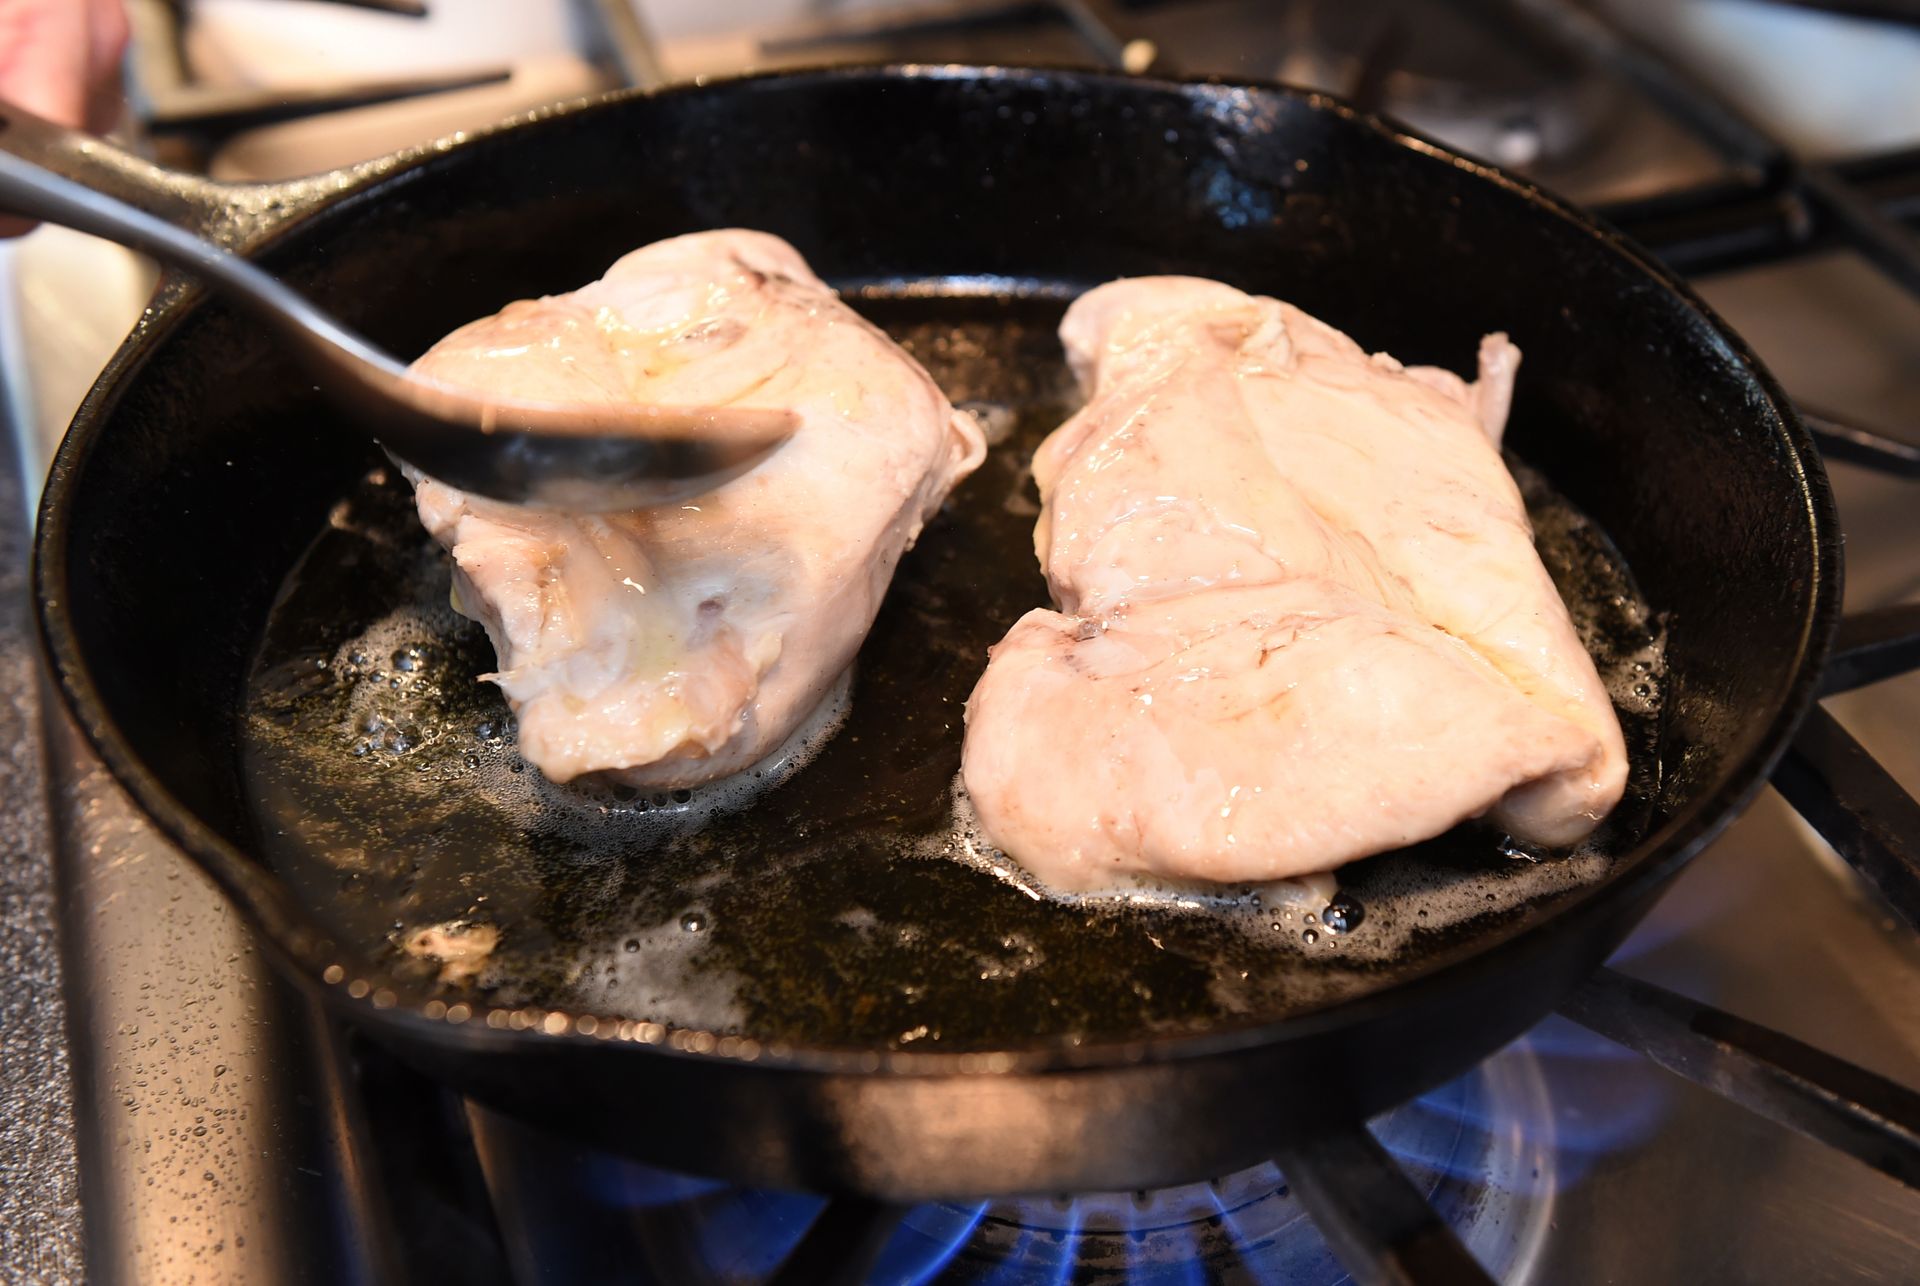
Starting chicken thighs in a hot pan and finishing them in the oven is one of the most reliable techniques for producing restaurant-quality results at home. It solves two problems simultaneously: it creates a properly browned, flavorful crust on the exterior, and it finishes the interior gently without the risk of burning the outside before the inside is done.
Start with a heavy pan — cast iron or stainless steel — heated over medium-high until a drop of water disappears immediately on contact. Add a thin layer of oil with a high smoke point: avocado oil, grapeseed oil, or refined sunflower oil work well. Reduce the heat slightly, then add the thighs skin side down, pressing them flat against the pan with a spatula. Do not move them. Let them cook undisturbed for five to seven minutes, until the skin turns deep golden brown and releases from the surface on its own.
Flip once, then transfer the entire pan to a 400°F oven. Bone-in, skin-on thighs typically need 15 to 20 additional minutes to reach 165°F internally. Boneless thighs need considerably less — often eight to 12 minutes.
The reason this method preserves moisture is that the oven provides even, ambient heat from all directions rather than the direct, intense heat of the stovetop burner. Once browned, the surface is no longer receiving heat only from one side. The meat heats more evenly and more gently, which means the interior comes to temperature without the outer layer continuing to overcook.
A probe thermometer is essential here. Insert it into the thickest part of the thigh, positioned away from the bone. When the reading hits 165°F, remove the pan from the oven and rest the chicken on a board for at least five minutes before cutting. The carry-over cooking during resting will bring the temperature up another two to three degrees.
Braise in a flavorful liquid
SimpleImages / Getty Images
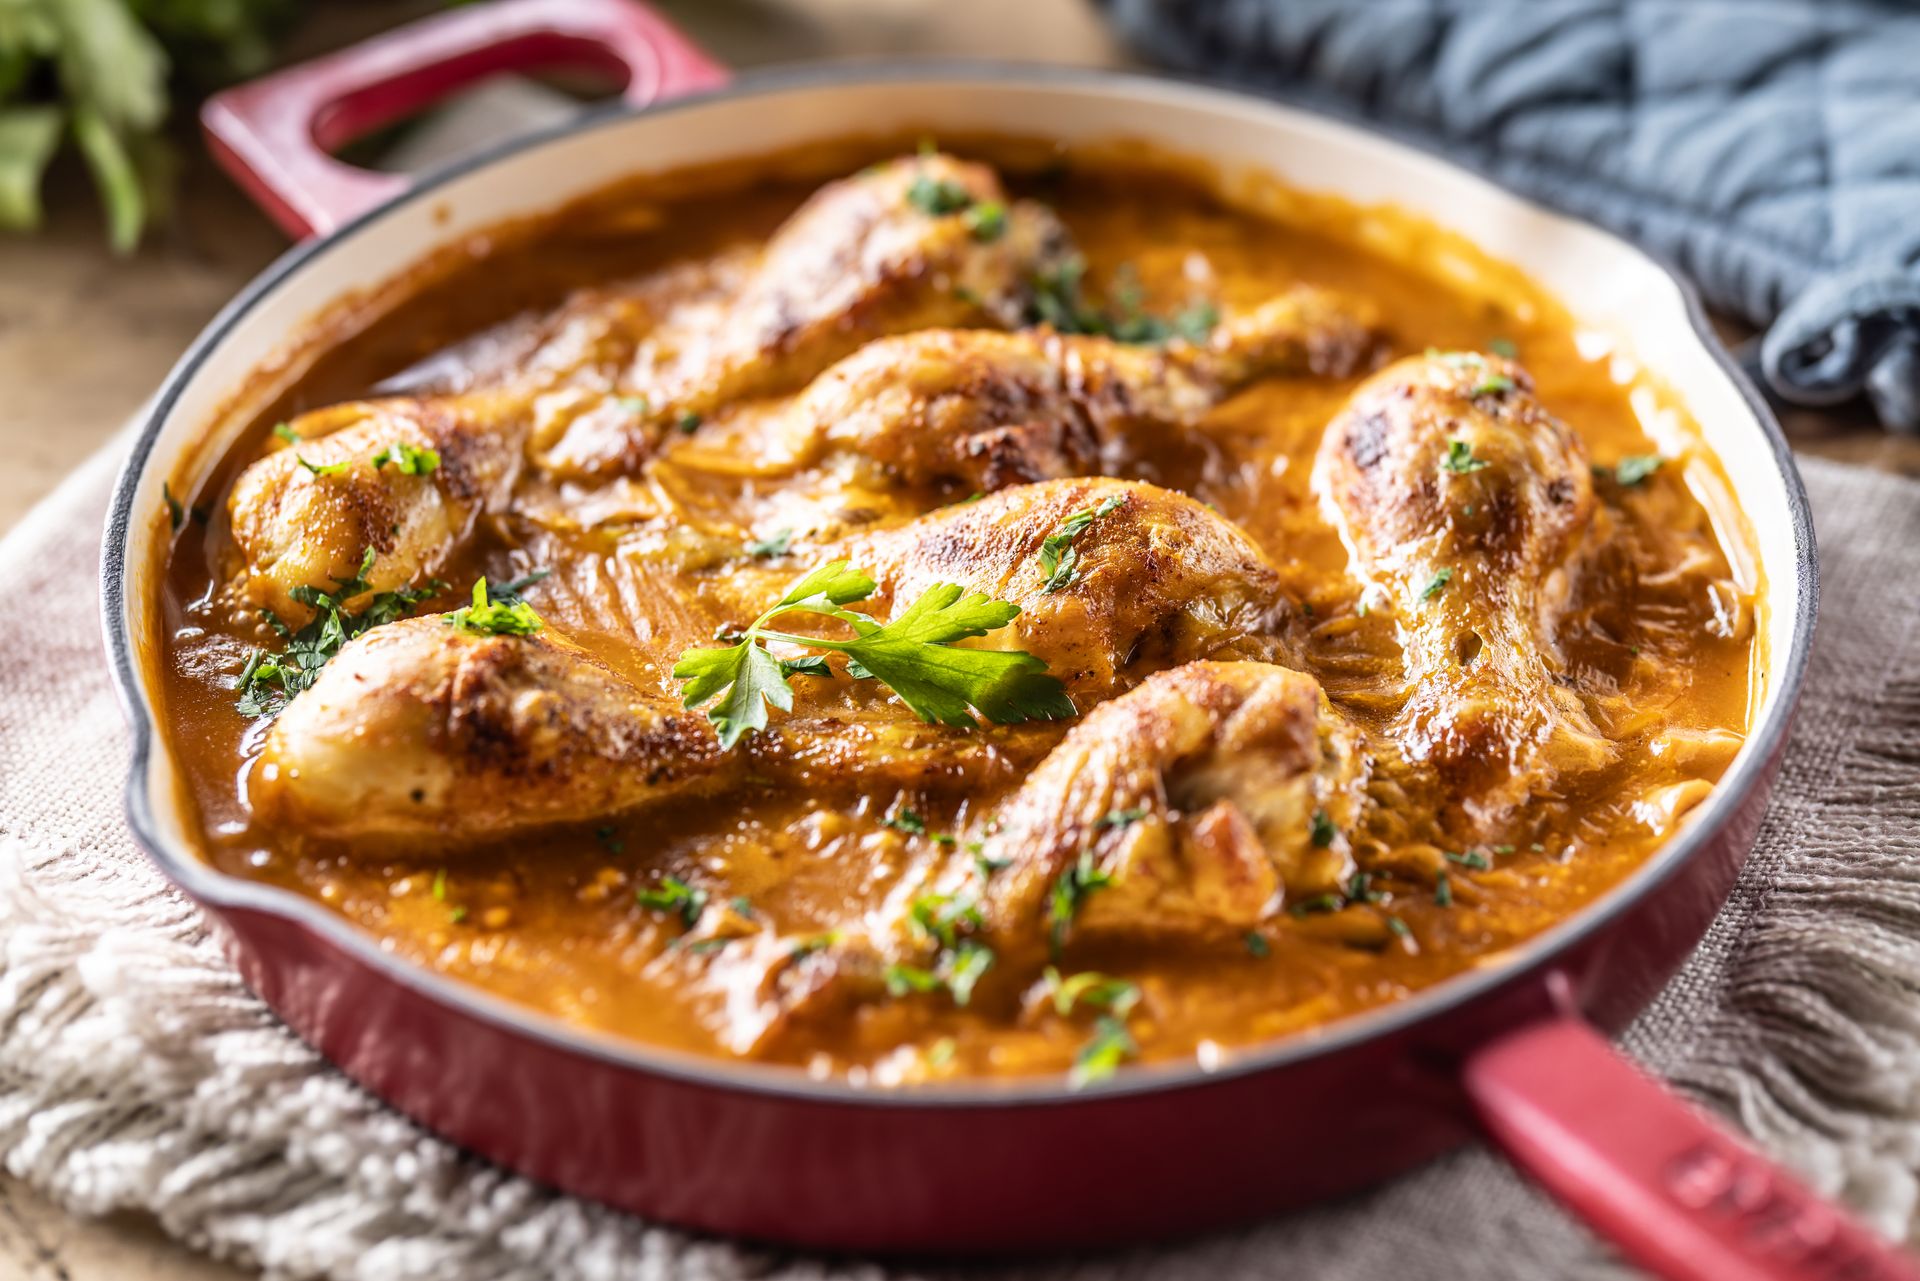
Braising is the method best suited to transforming chicken thighs into something deeply tender. In braising, the thighs are partially submerged in liquid — stock, wine, crushed tomatoes, coconut milk, or a combination — and cooked at a low, steady temperature for an extended time. The liquid keeps the surrounding environment moist, and the heat is never aggressive enough to force large quantities of juice out of the meat.
The collagen and connective tissue in chicken thighs respond particularly well to braising. At temperatures between 160°F and 185°F maintained over 45 minutes to an hour, collagen breaks down into gelatin — the substance that gives braised dishes their characteristic silky texture and slightly viscous, glossy sauce. A braised thigh has a completely different mouthfeel from one that has been roasted: it pulls apart gently, feels rich on the tongue, and seems to retain moisture in a way that faster methods don't quite replicate.
Before braising, sear the thighs on both sides in a Dutch oven or heavy braising pan over medium-high heat. This step is not about cooking the interior — it's about developing the Maillard reaction on the surface, which adds color, complexity, and browned flavor compounds to the finished dish and to the sauce. Remove the thighs after searing, build the braising liquid in the same pan (sautéed aromatics, wine, stock), return the thighs, and bring the liquid to a low simmer. The liquid should come about halfway up the sides of the thighs — not cover them entirely. A fully submerged thigh is being boiled, not braised.
Cover the pan and cook on the stovetop over low heat, or in a 325°F oven, for 45 minutes to one hour. Check periodically to ensure the liquid is maintaining a gentle simmer rather than a vigorous boil. Boiling will toughen the meat despite the presence of liquid.
Use a slow cooker
The Washington Post / Getty Images
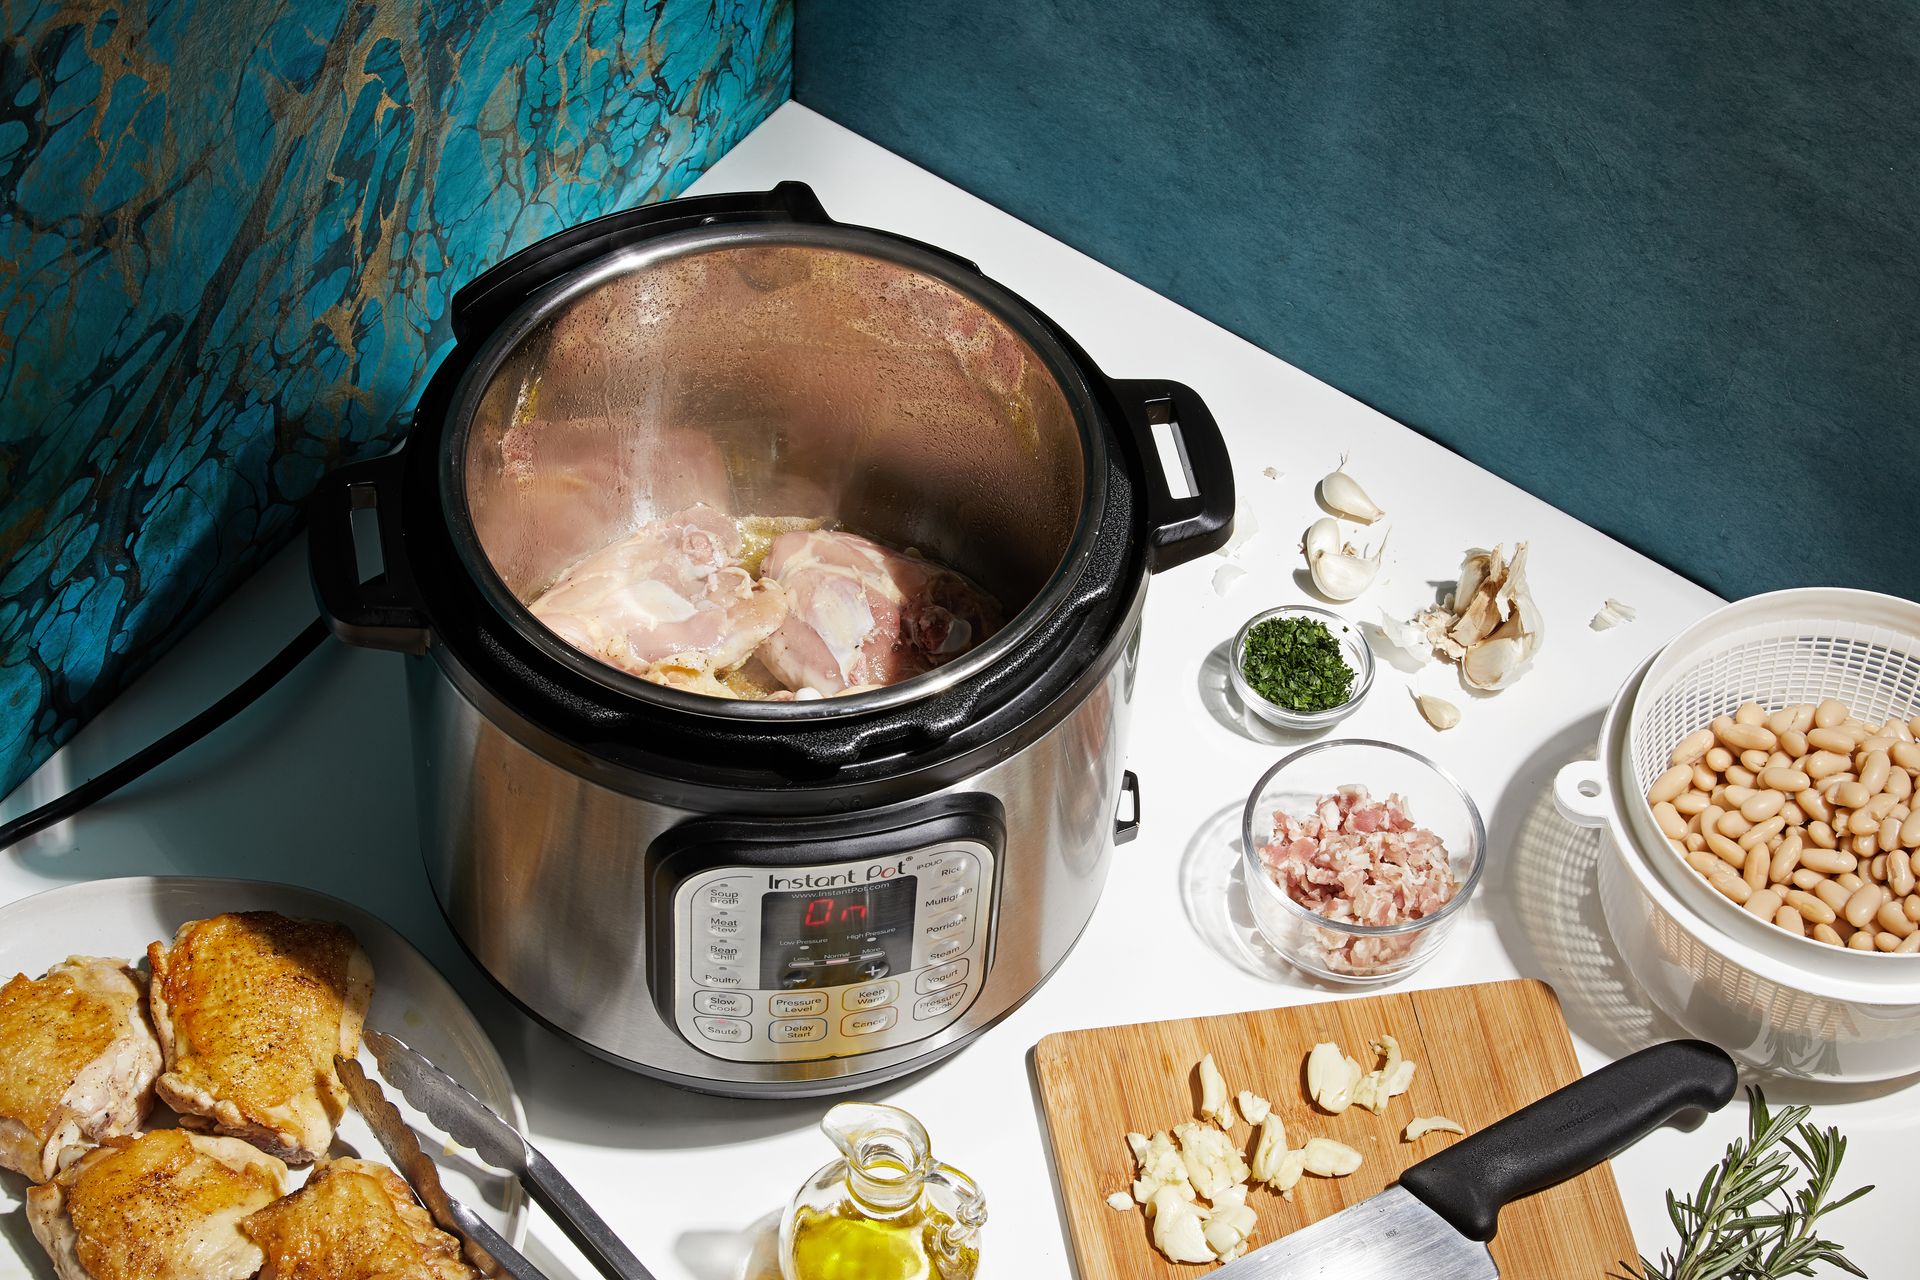
The slow cooker is a controlled braising environment. It holds a steady low temperature — usually between 190°F and 210°F on the low setting — over several hours, giving the collagen in chicken thighs time to break down without any monitoring required. The sealed lid traps steam and prevents any of the evaporative drying that occurs in an open pan or conventional oven.
The main advantage for chicken thighs is time flexibility combined with consistent results. Once the thighs are in and the lid is on, there is nothing to adjust or watch. The retained moisture creates a self-basting environment: steam condenses on the lid and drips back down onto the chicken continuously throughout cooking.
Add at least half a cup of liquid per pound of thighs to generate the steam needed and to create a sauce. Chicken stock is a reliable base. Diced tomatoes, coconut milk, a jar of salsa, beer, white wine — any liquid that suits the recipe works. The liquid will thin out as the thighs release their own juices during cooking, so starting with less than you think you need is usually the right instinct.
The question of whether to sear the thighs before they go into the slow cooker is a genuine one. Searing creates browning and flavor complexity that the slow cooker's moist, low-heat environment cannot produce on its own. If five extra minutes are available, sear the thighs in a hot pan first. If they're not, the dish will still be fully flavored — just less complex at the surface.
Bone-in thighs perform especially well in the slow cooker. After four to five hours on low, they are typically at a safe temperature and well past the collagen-breakdown threshold, producing meat that is tender enough to pull from the bone with minimal resistance.
Roast at high heat with the skin side up
The Washington Post / Getty Images
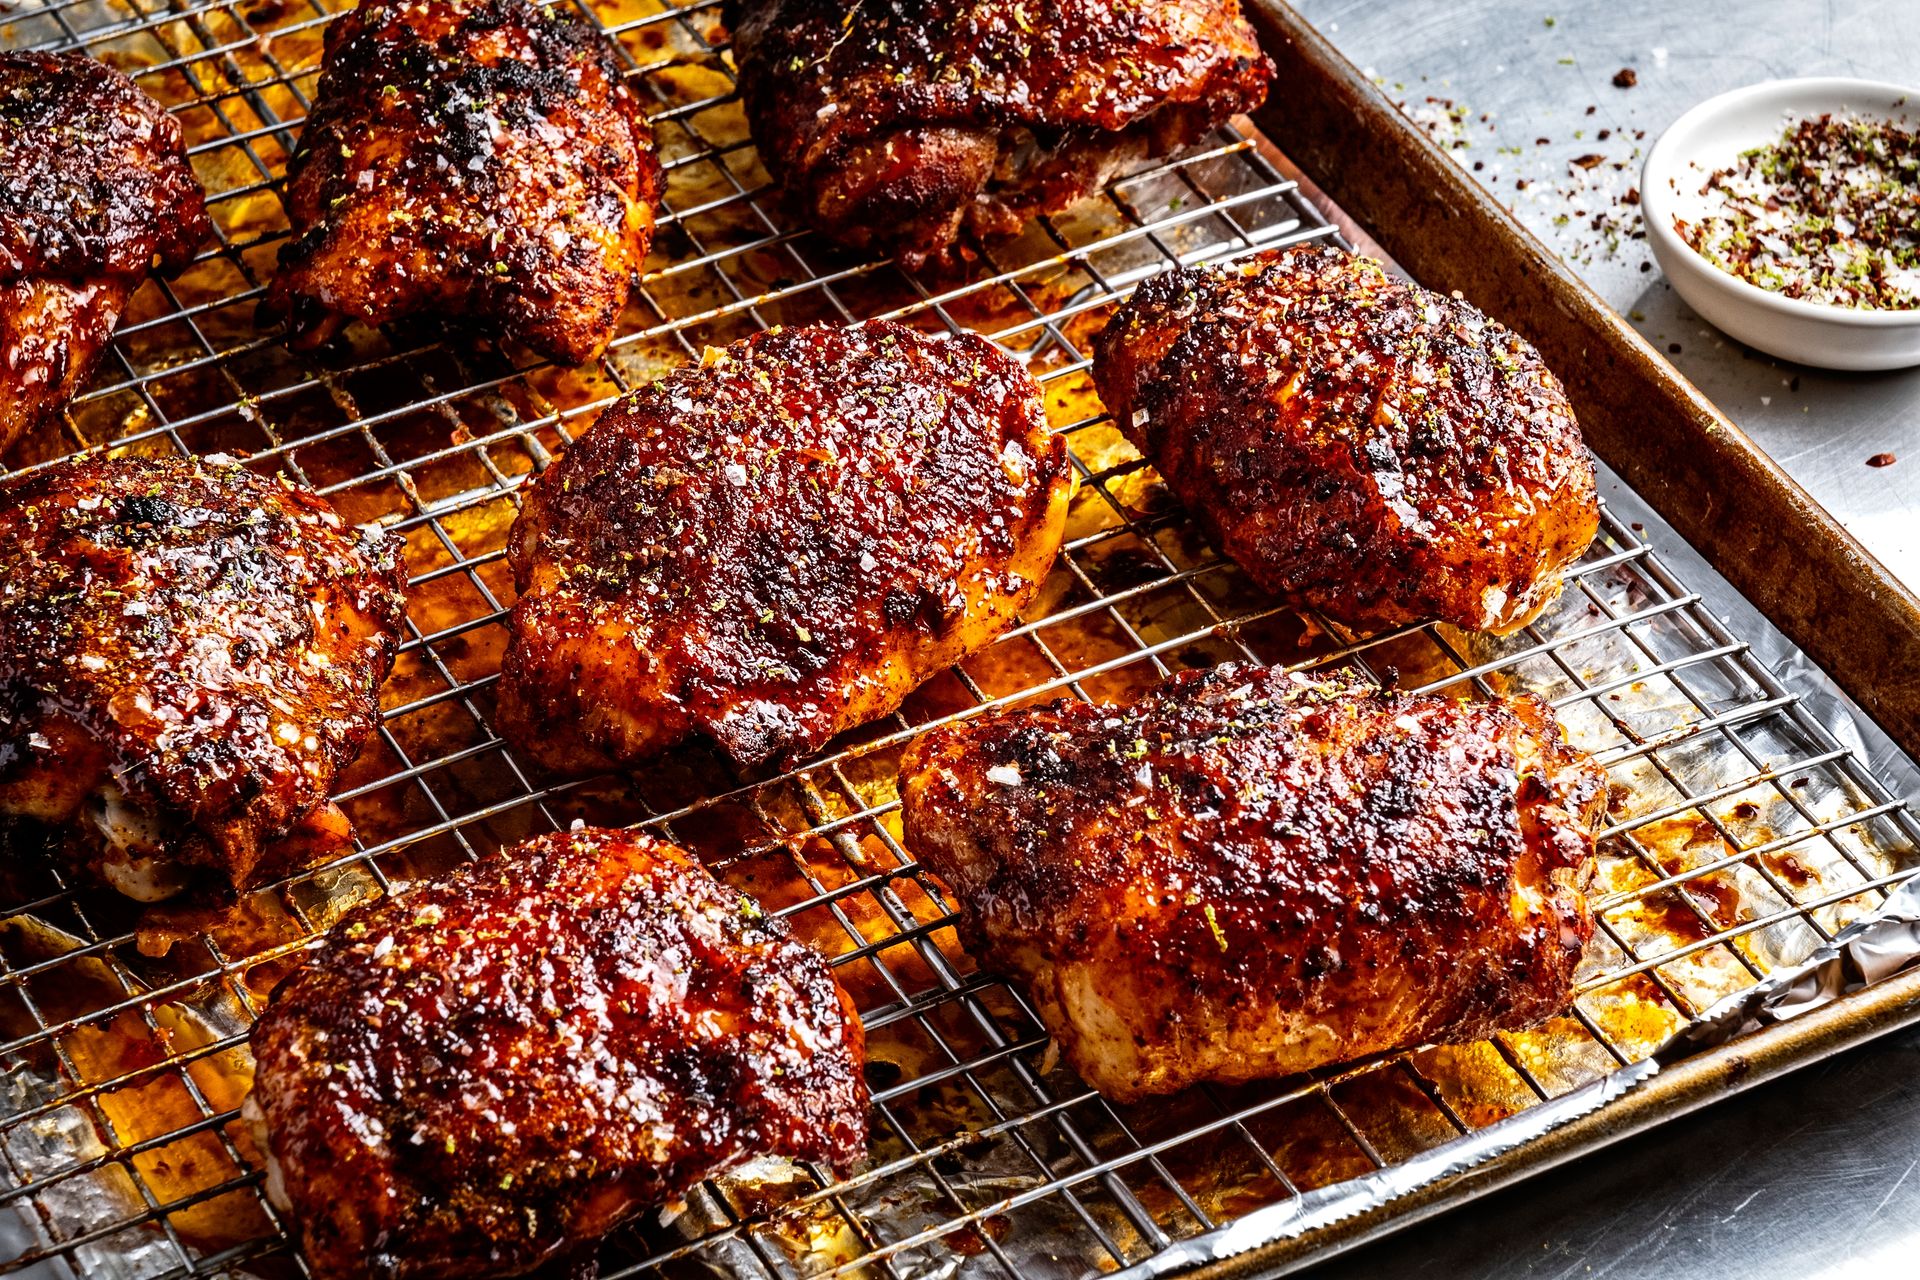
High-heat roasting — 425°F to 450°F — produces chicken thighs with crispy rendered skin and moist interior meat when the thighs are positioned correctly and not crowded in the pan. The high temperature drives rapid surface browning, renders the fat in the skin quickly, and shortens the overall cooking time — which reduces the total window during which moisture can escape from the meat.
The key variables are pan choice and spacing. Use a rimmed sheet pan, cast iron skillet, or roasting pan. Place the thighs skin side up with at least an inch of space between each piece. If thighs are packed tightly together, steam accumulates between them, the skin steams rather than crisps, and the cooking time extends — which works directly against moisture retention.
The skin, once its fat has rendered, protects the meat beneath it during roasting. Rendered fat runs down and around the thigh, basting it from the outside. The skin itself becomes a physical barrier between the dry oven air and the surface of the meat — a self-contained insulation layer that boneless, skinless thighs lack entirely.
At 425°F, bone-in, skin-on thighs typically take 35 to 45 minutes to reach 165°F internally. Boneless, skinless thighs cook much faster — often 20 to 25 minutes at the same temperature. For boneless thighs roasted without skin, the margin for error is narrower because there is no protective fat layer. A thermometer is especially important for these.
Season generously before roasting. Salt, pepper, and whatever herbs or spices suit the dish should be applied directly to the skin and pressed under it where possible. Seasonings applied under the skin are protected from the direct heat of the oven and infuse the meat from the inside during cooking.
Cook them in a sheet pan dinner
iStock / Getty Images
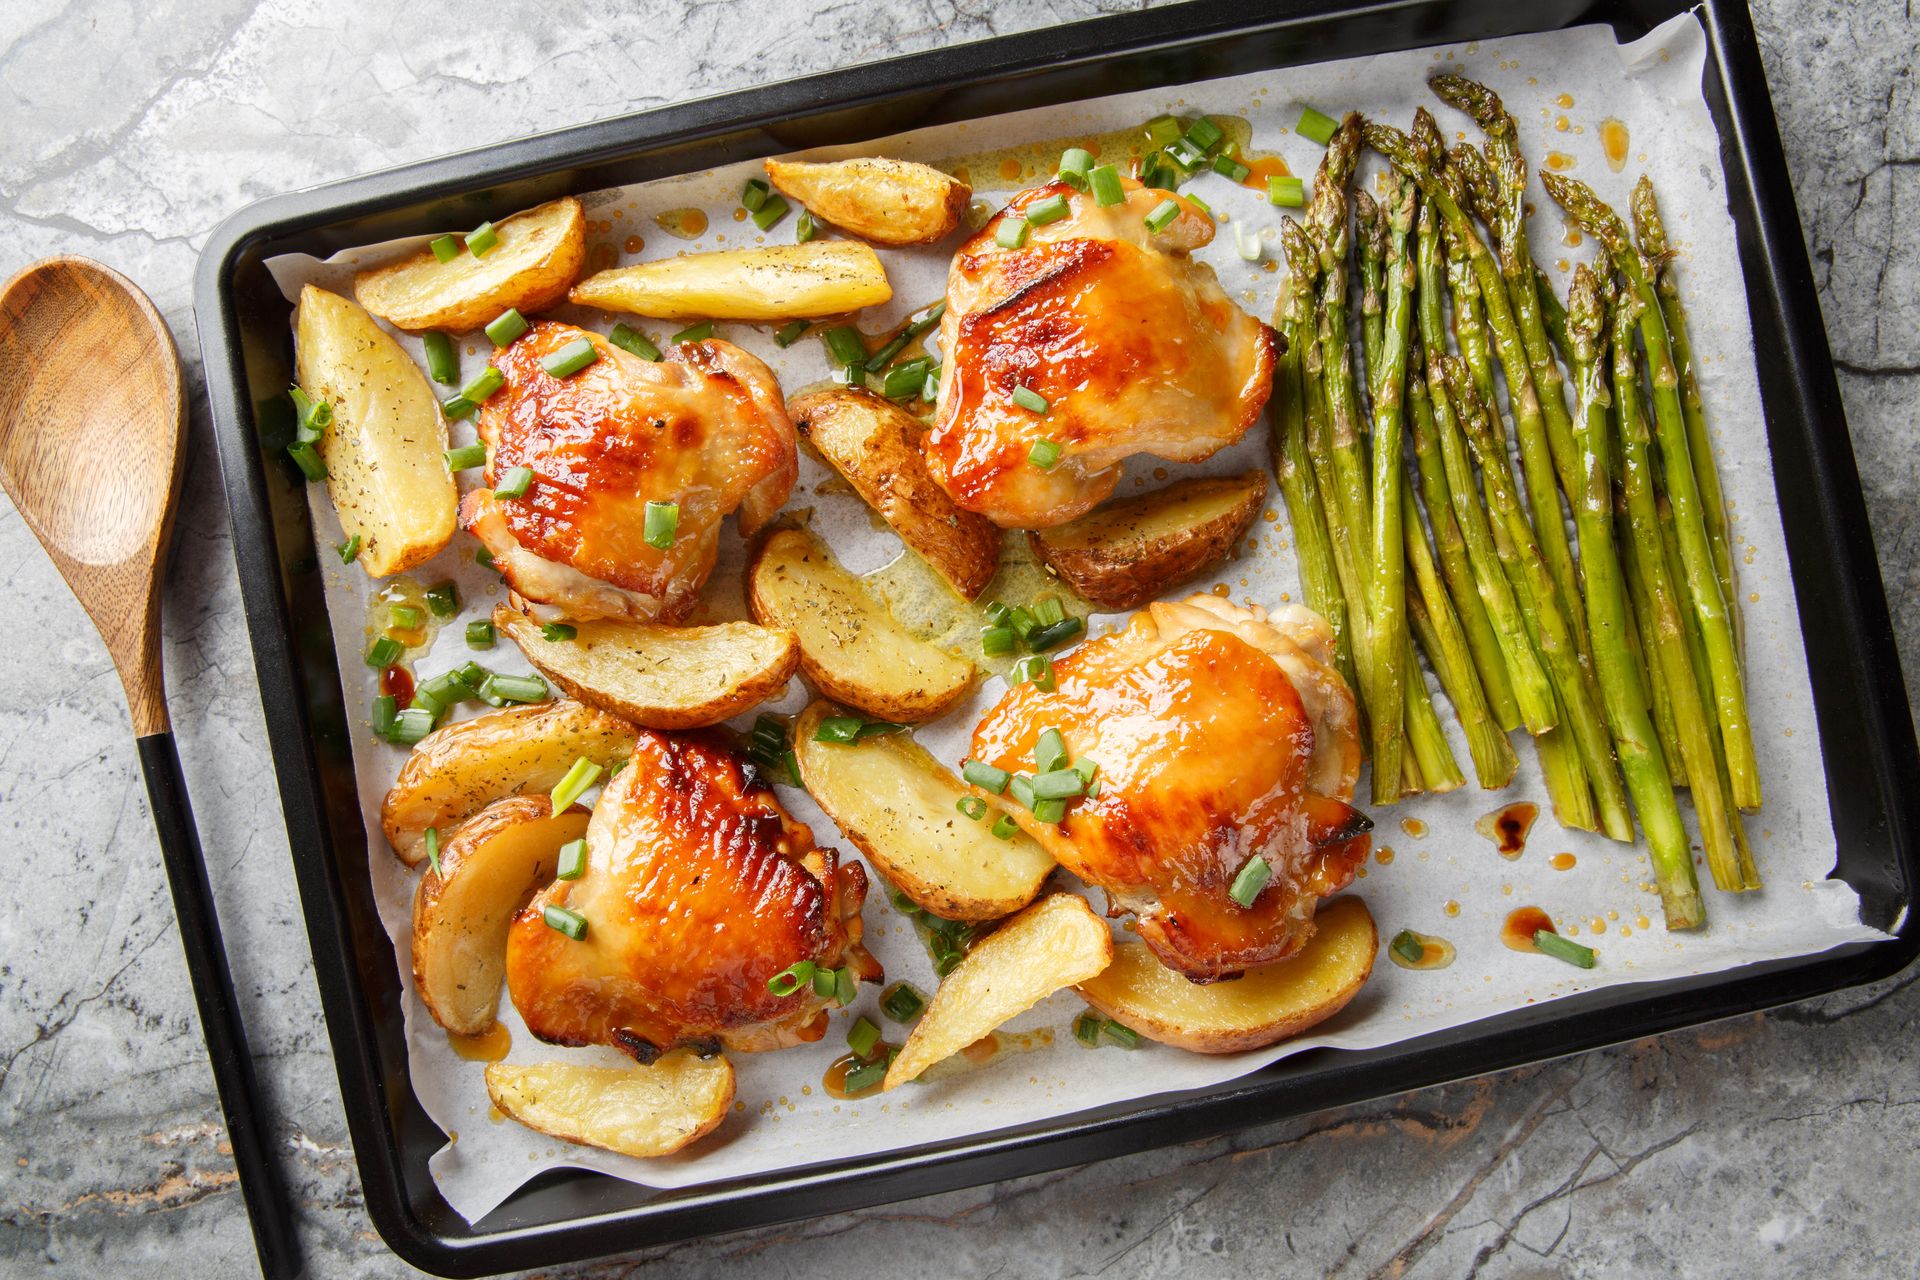
A sheet pan dinner — thighs roasted alongside vegetables on a single rimmed baking sheet — creates a cooking environment that is kinder to the chicken than an otherwise empty pan, because the vegetables release water vapor as they cook. That vapor keeps the oven's local humidity marginally higher, which slows the rate at which the surface of the chicken dries out while the interior comes up to temperature.
Vegetables with high water content — cherry tomatoes, zucchini, bell peppers, onions — release the most steam as they cook. Root vegetables like potatoes and carrots release less but contribute to the thermal mass of the pan, stabilizing cooking temperature. A combination of both types gives you moisture management and even heat distribution simultaneously.
Arrangement determines outcome. Place the chicken thighs skin side up and surround them with vegetables rather than placing vegetables on top of or touching the thighs. Vegetables resting against the chicken trap moisture at the point of contact, preventing the skin from crisping. They also add weight that can compress the meat and push juices out prematurely.
Toss the vegetables in oil before adding them to the pan. Oil-coated vegetables brown rather than steam, which concentrates their flavor and contributes to the overall dish. It also prevents them from releasing as much raw steam, which balances the humidity environment and keeps things from becoming a braise.
For even cooking, cut vegetables so they finish at roughly the same time as the chicken. Dense vegetables — potatoes, sweet potatoes, carrots — should be cut small, about 3/4 inch, and placed in the pan before the chicken, or given a ten-minute head start in the oven. Tender vegetables like asparagus or cherry tomatoes can go in during the final ten minutes.
Cook sous vide
Greenie Sim / 500px / Getty Images
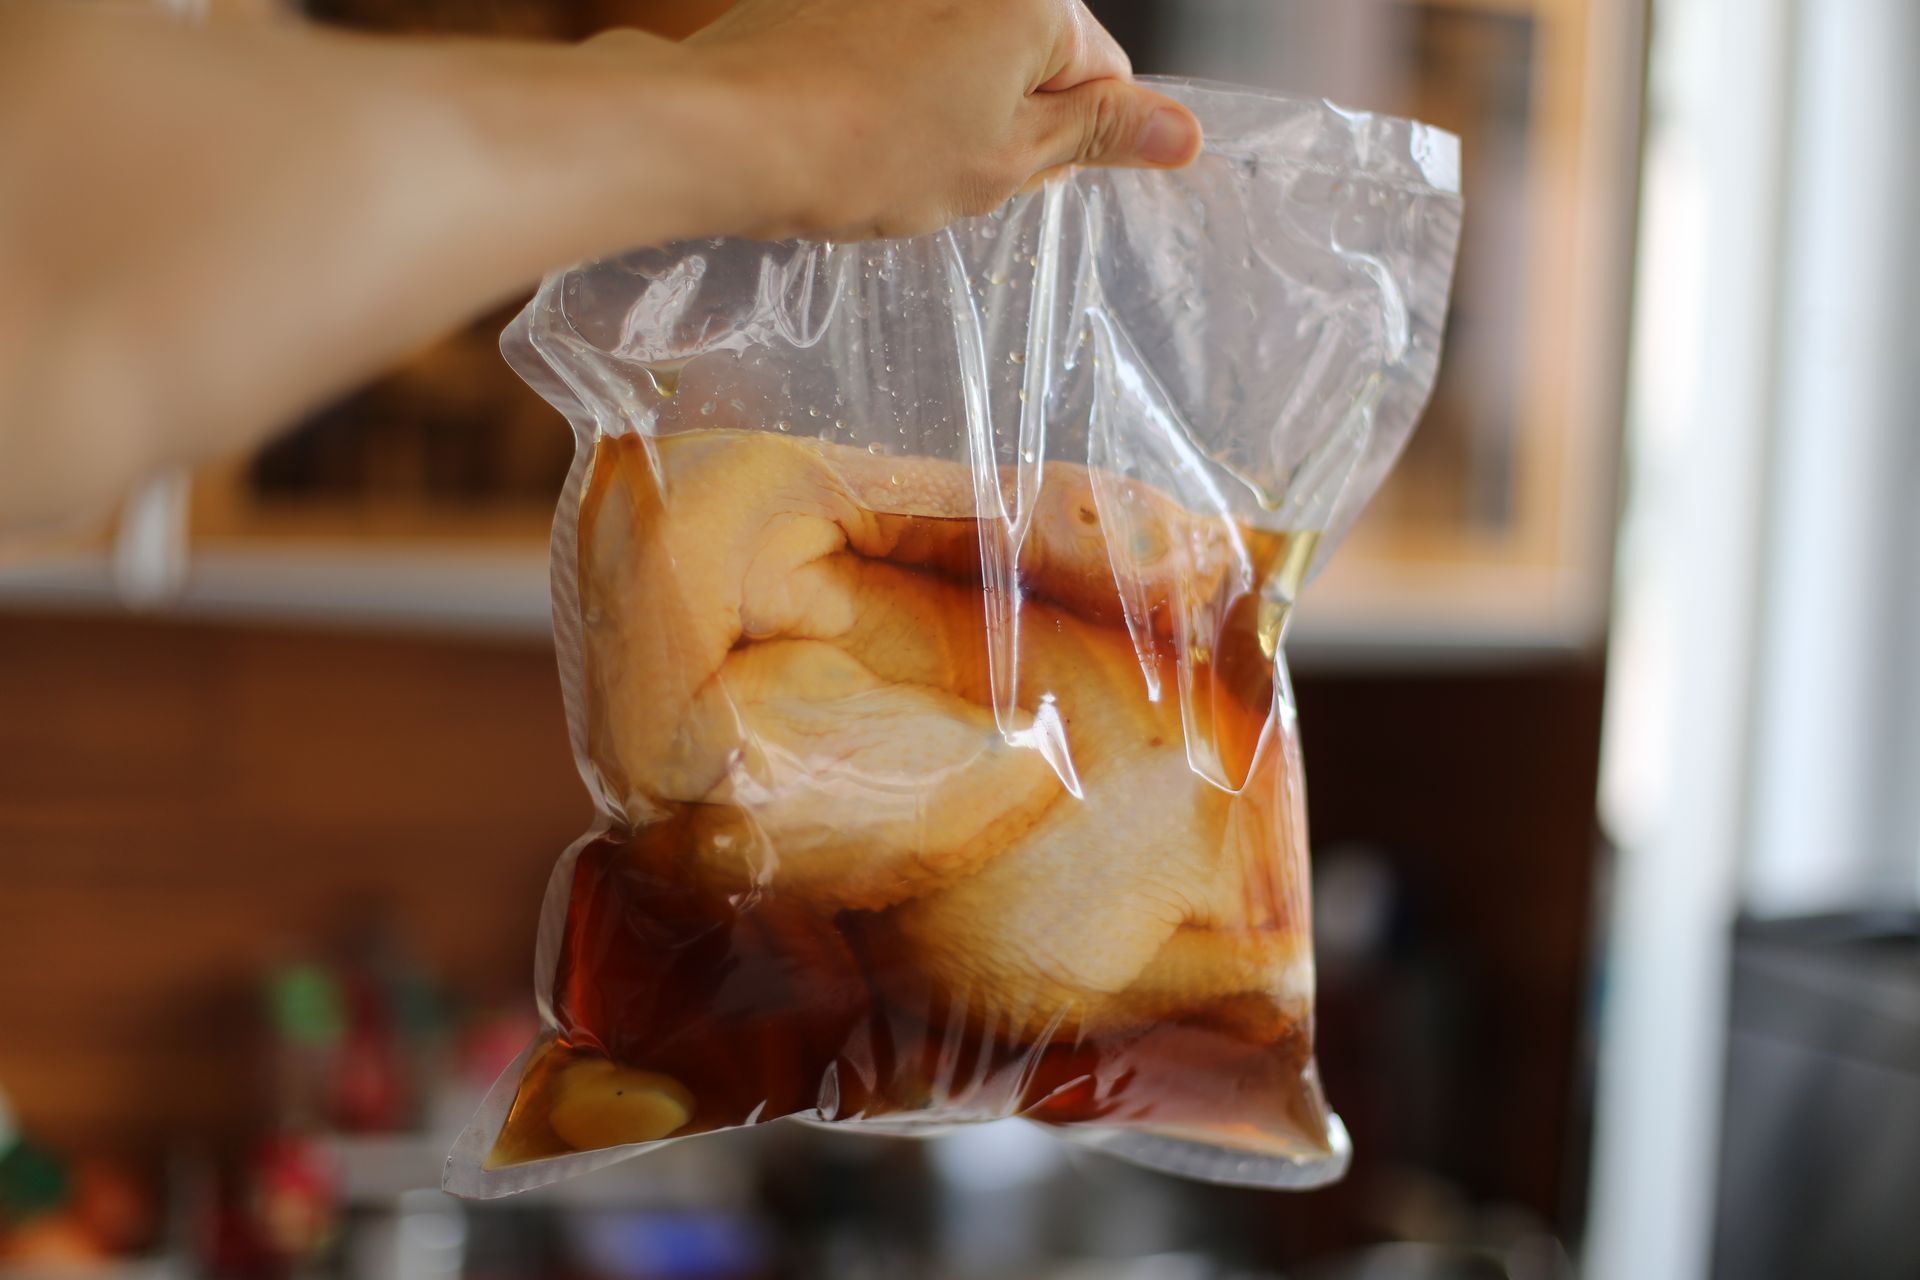
Sous vide — French for "under vacuum" — involves sealing food in a bag and cooking it in a water bath held at a precise, stable temperature. For chicken thighs, this method produces reliably moist results because the water bath temperature never exceeds the target internal temperature of the meat. The primary cause of dryness — the meat sitting at temperature higher than its target — is physically impossible.
In conventional high-heat cooking, heat is applied at a temperature far above the chicken's target internal temperature. The cook must remove the meat from heat before it reaches the final temperature and allow it to coast up during resting. The margin between done and overdone is narrow, and it shrinks under distraction or misjudgment.
In sous vide, the bath is set exactly to the desired final temperature of the meat. A chicken thigh in a 165°F bath will eventually reach 165°F and stabilize there — it cannot exceed that temperature because the surrounding water is also at 165°F. This is why sous vide is particularly effective: the physics of the method eliminate the most common cause of dryness.
Chicken thighs cooked sous vide at 165°F for one to four hours are safe, moist, and noticeably tender. Many cooks prefer a lower temperature — 150°F held for at least an hour — because the texture at that range is exceptionally juicy, though the collagen won't have fully broken down. Cooking at 165°F for three to four hours gives you both food safety compliance and full collagen conversion.
After the water bath, the thighs need a brief sear in a very hot pan to develop surface color. Sous vide produces perfectly cooked meat but no crust. The sear should take no more than 90 seconds to two minutes per side — just long enough to brown the surface without meaningfully raising the internal temperature of the already-cooked meat.
Poach in a seasoned broth
SimpleImages / Getty Images
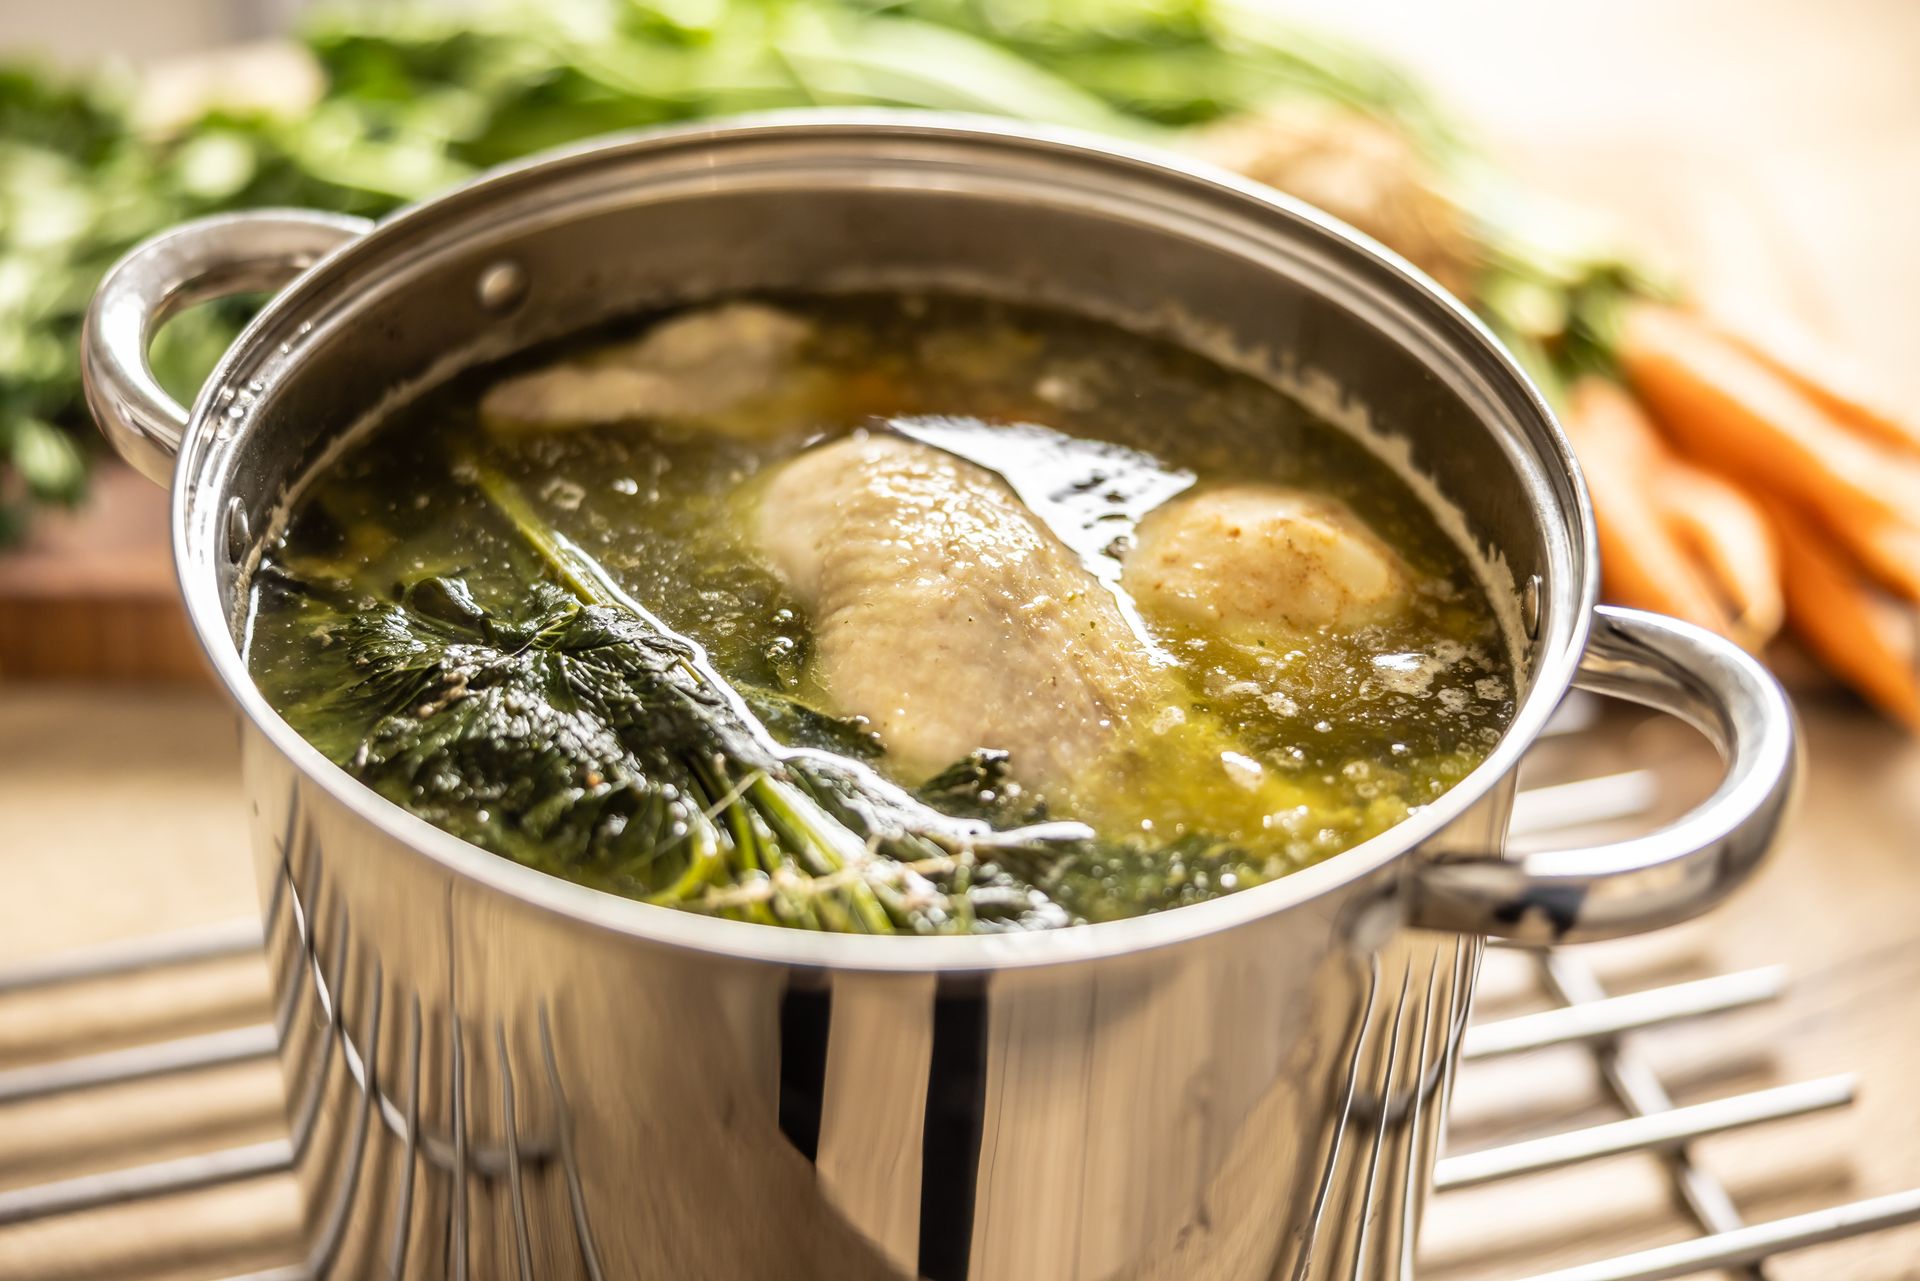
Poaching is among the gentler cooking methods available for chicken thighs, and when done correctly it produces meat that is moist, evenly cooked throughout, and ready to be shredded, sliced, or incorporated into any dish that calls for cooked chicken. The method involves fully submerging the thighs in liquid and cooking them at a temperature well below boiling — around 160°F to 175°F.
The distinction between poaching and boiling is not a matter of degree — it determines the texture of the finished meat. Boiling water holds at 212°F, and at that temperature the proteins in chicken seize and contract aggressively, forcing moisture out of the muscle fibers. The result is tough, stringy, flavorless chicken that seems to have given up everything it had to the water. Poaching maintains the liquid at a gentle simmer — barely moving, with occasional small bubbles — which allows the thighs to cook through without that violent protein contraction.
Start with cold liquid and cold chicken placed in the pot together. This matters: lowering thighs into already-boiling water causes immediate protein seizing on the outer surface from the thermal shock. Starting in cold liquid means the exterior and interior heat up together, gradually and evenly.
Use a flavorful liquid. Plain water produces serviceable but flat-tasting chicken. A simple poaching broth can include a halved onion, a carrot, a few celery stalks, a bay leaf, whole black peppercorns, fresh parsley stems, and a generous amount of kosher salt. These aromatics infuse the chicken throughout the cooking time, so the entire piece takes on flavor rather than just the surface.
Bring the pot gradually to a bare simmer over medium heat, then reduce to low. Boneless thighs are typically done in about 20 minutes. Bone-in thighs take 25 to 30 minutes. A probe thermometer confirms doneness.
Grill over two-zone heat
Catherine McQueen / Getty Images
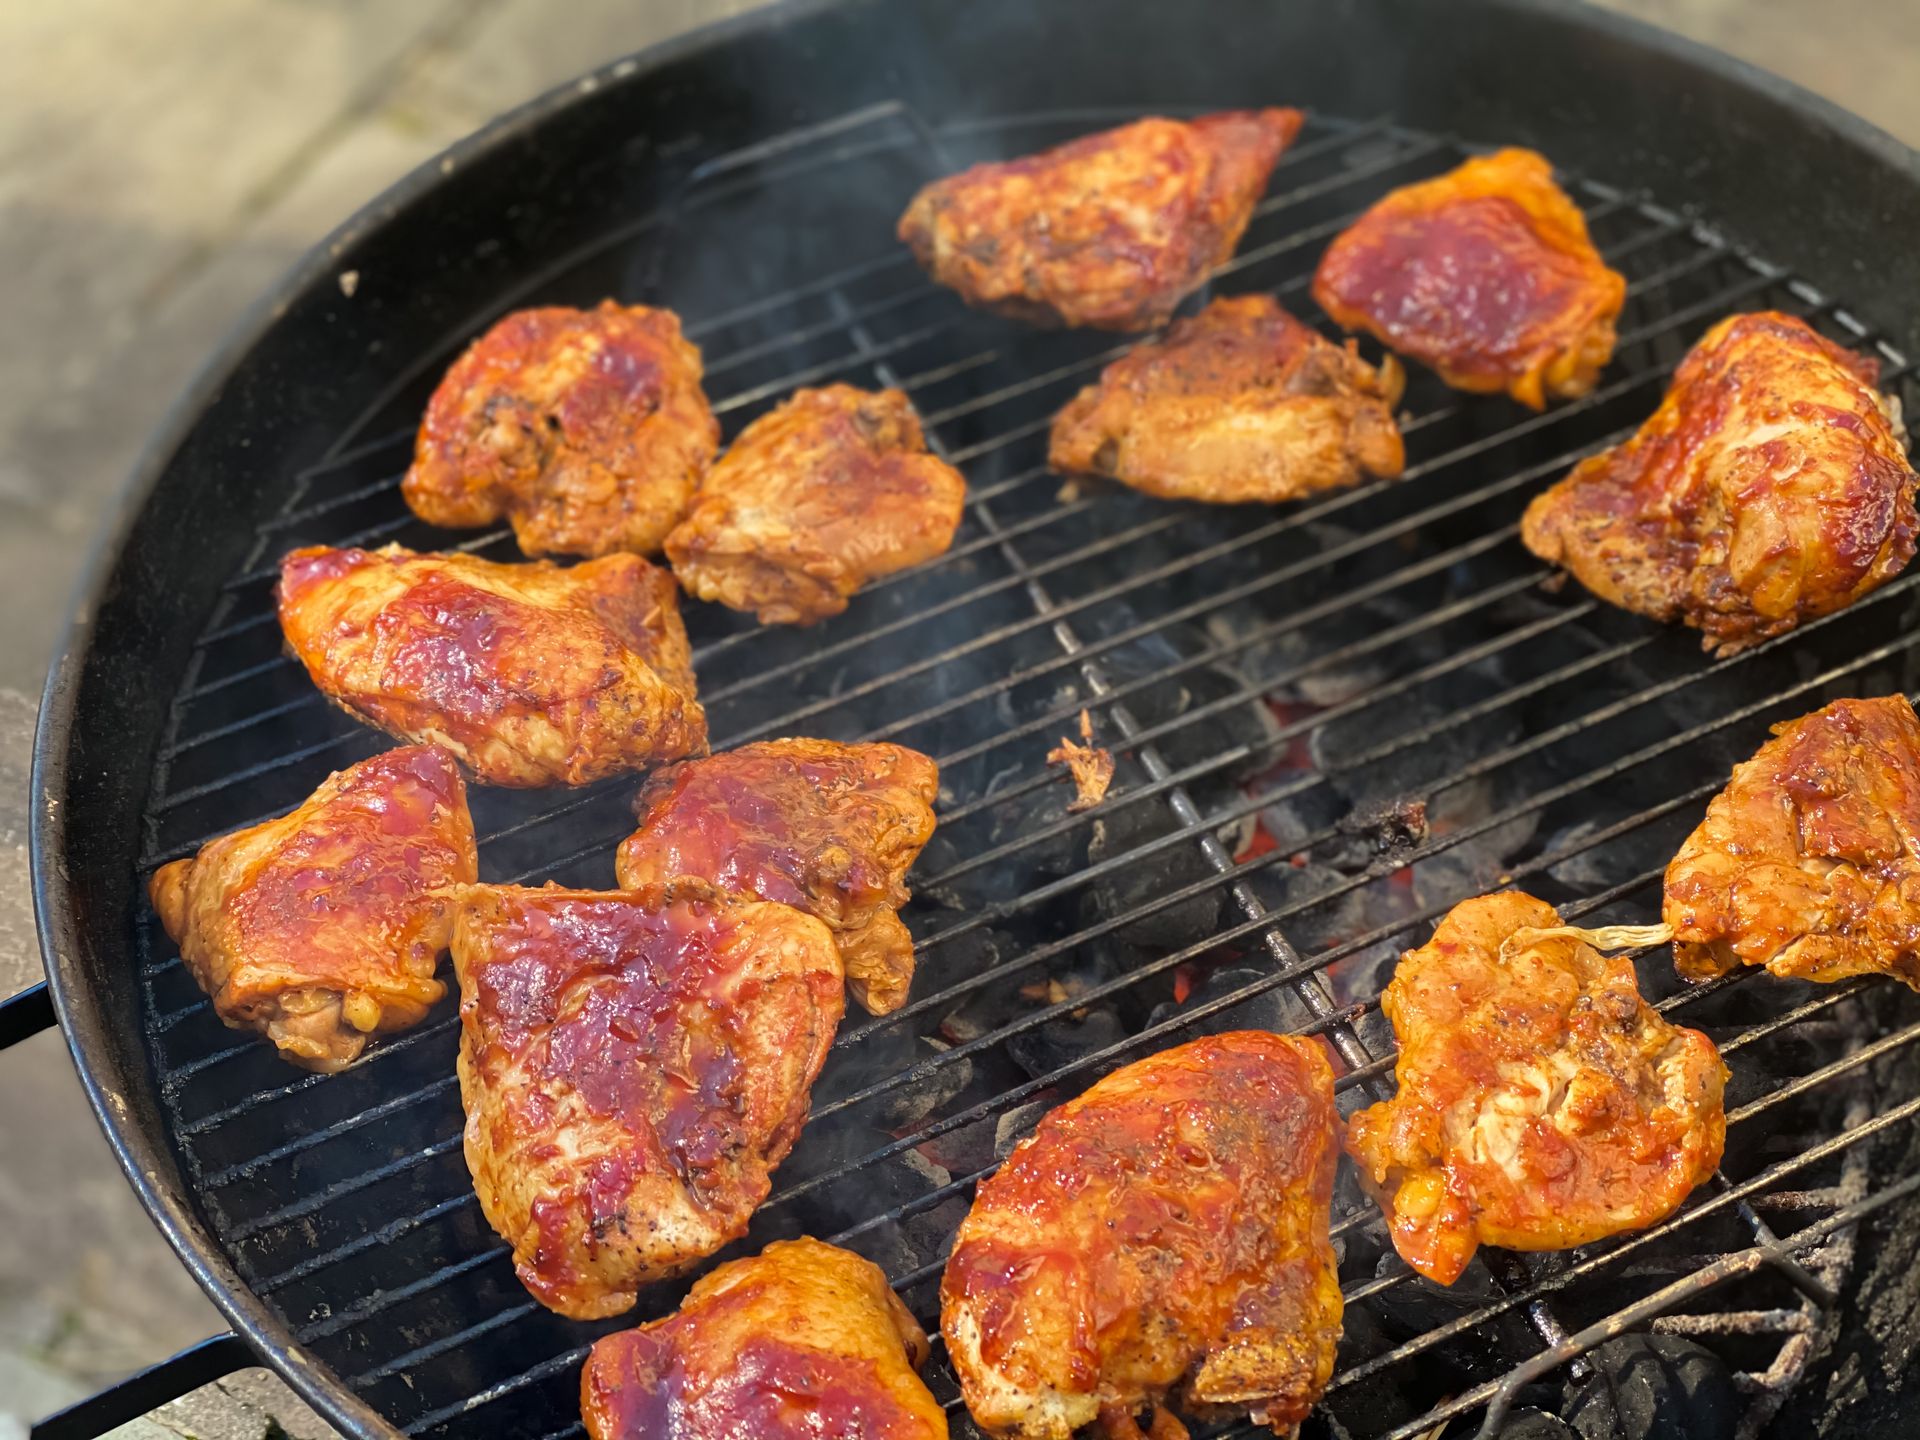
Grilling chicken thighs directly over high heat from start to finish — flipping repeatedly to avoid burning — is a reliable path to dry, tough meat. The two-zone method solves this by dividing the grill into a hot side and a cooler indirect side, giving the cook precise control over when and how much intense heat the thighs receive.
Set up a two-zone fire on a charcoal grill by banking all the coals to one side. On a gas grill, turn on only half the burners. The hot zone reaches 400°F to 500°F; the indirect zone, with the lid on, holds around 325°F to 375°F depending on the grill's insulation.
Start the thighs on the indirect side, skin side up, with the lid closed. The ambient, circulating heat of the covered grill cooks the thighs through gently, without any direct flame contact. This phase takes approximately 25 to 30 minutes for bone-in thighs and develops the internal temperature steadily and evenly.
Once the thighs reach about 155°F internally, move them to the direct heat zone for the final few minutes. This finishing phase produces char, grill marks, and caramelized surface flavor — but because the meat is already nearly cooked through at this point, it spends very little time over the intense direct heat that would otherwise drive moisture out.
Moving thighs from indirect to direct, rather than the reverse, is the central technique. Dryness on the grill nearly always comes from extended time over direct flame. By limiting that exposure to the last few minutes, you get the flavor benefit of charring without the moisture cost.
For boneless, skinless thighs, marinating beforehand and watching the thermometer closely is especially important, since there is no rendered fat or bone to buffer the heat.
Use an air fryer
The Washington Post / Getty Images
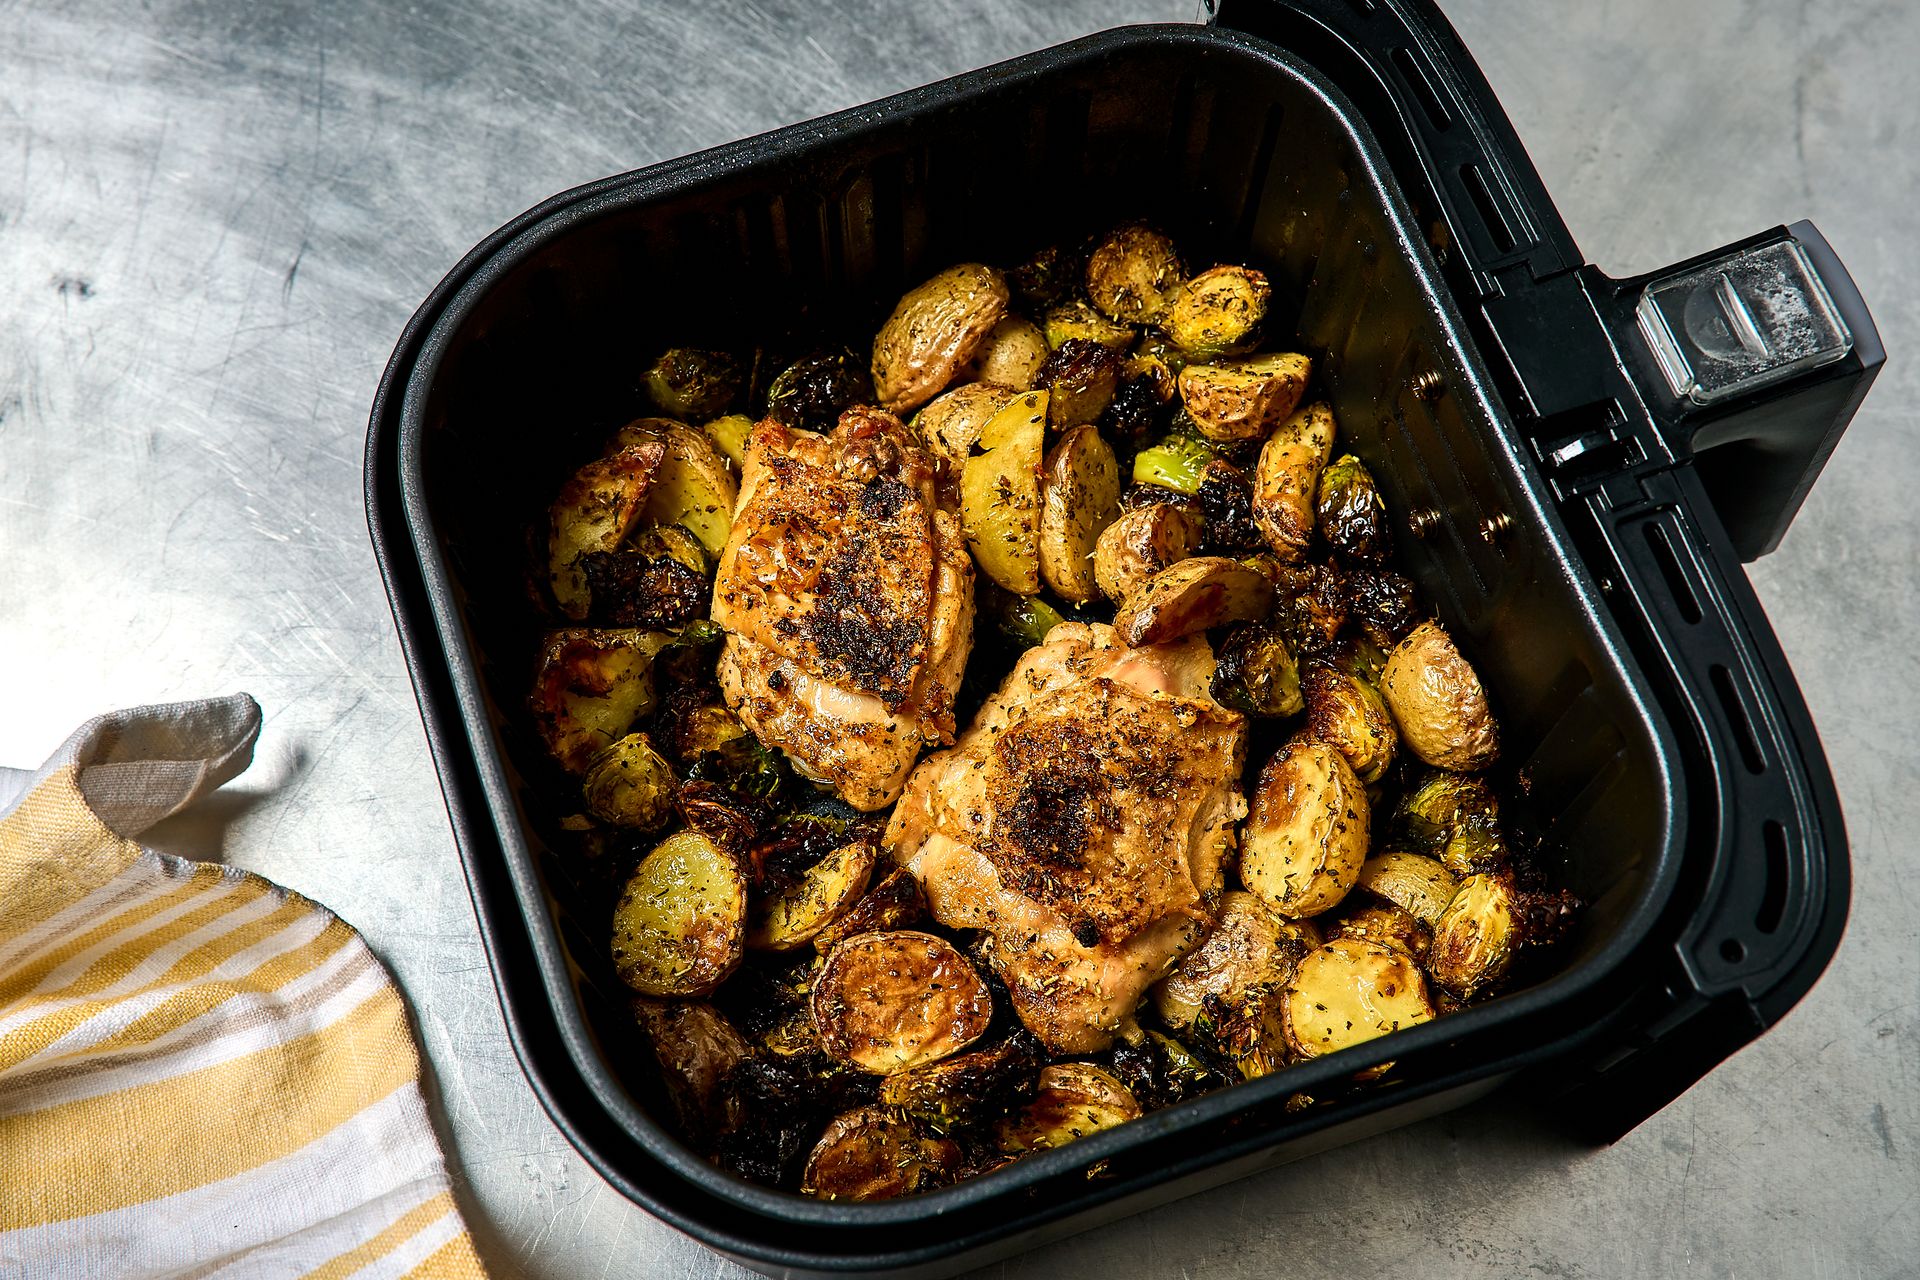
The air fryer produces chicken thighs with a genuinely crispy skin and a moist interior in a fraction of the time required by a conventional oven, and it does so consistently when a few conditions are met. The appliance circulates hot air at high speed around the food, rapidly removing surface moisture and driving browning — functioning like a convection oven, but faster and in a more contained space.
For bone-in, skin-on thighs, place them in the basket skin side down first at 380°F for approximately 12 minutes. Flip them skin side up and continue for another ten to 14 minutes, until the skin is golden-brown and the internal temperature reads 165°F. The exact timing varies slightly by the size of the thighs and the model of the air fryer.
Part of why air frying keeps chicken thighs moist is speed. Because cooking time is shorter than conventional oven roasting, the window for total moisture loss is smaller. The circulating hot air also creates a crisped, dried surface layer quickly, which acts as a partial barrier to internal moisture escaping. The same principle operates in searing — a set crust holds juices more effectively than an unbrowned surface.
Crowding the basket is the most common mistake. Air fryers work by circulating air freely around all surfaces of the food. If thighs are stacked or pressed together, air cannot reach every surface, and the contact areas will steam rather than crisp, resulting in uneven cooking and soggy patches. Cook in batches if the basket is not large enough to hold all the thighs with space between them.
Dry rubs work well in the air fryer because there is no liquid to wash seasoning away, and the hot circulating air blooms spices efficiently. Smoked paprika, garlic powder, salt, black pepper, and a light coating of oil is a reliable baseline seasoning.
Confit in fat
EngemPostscriptum / Getty Images
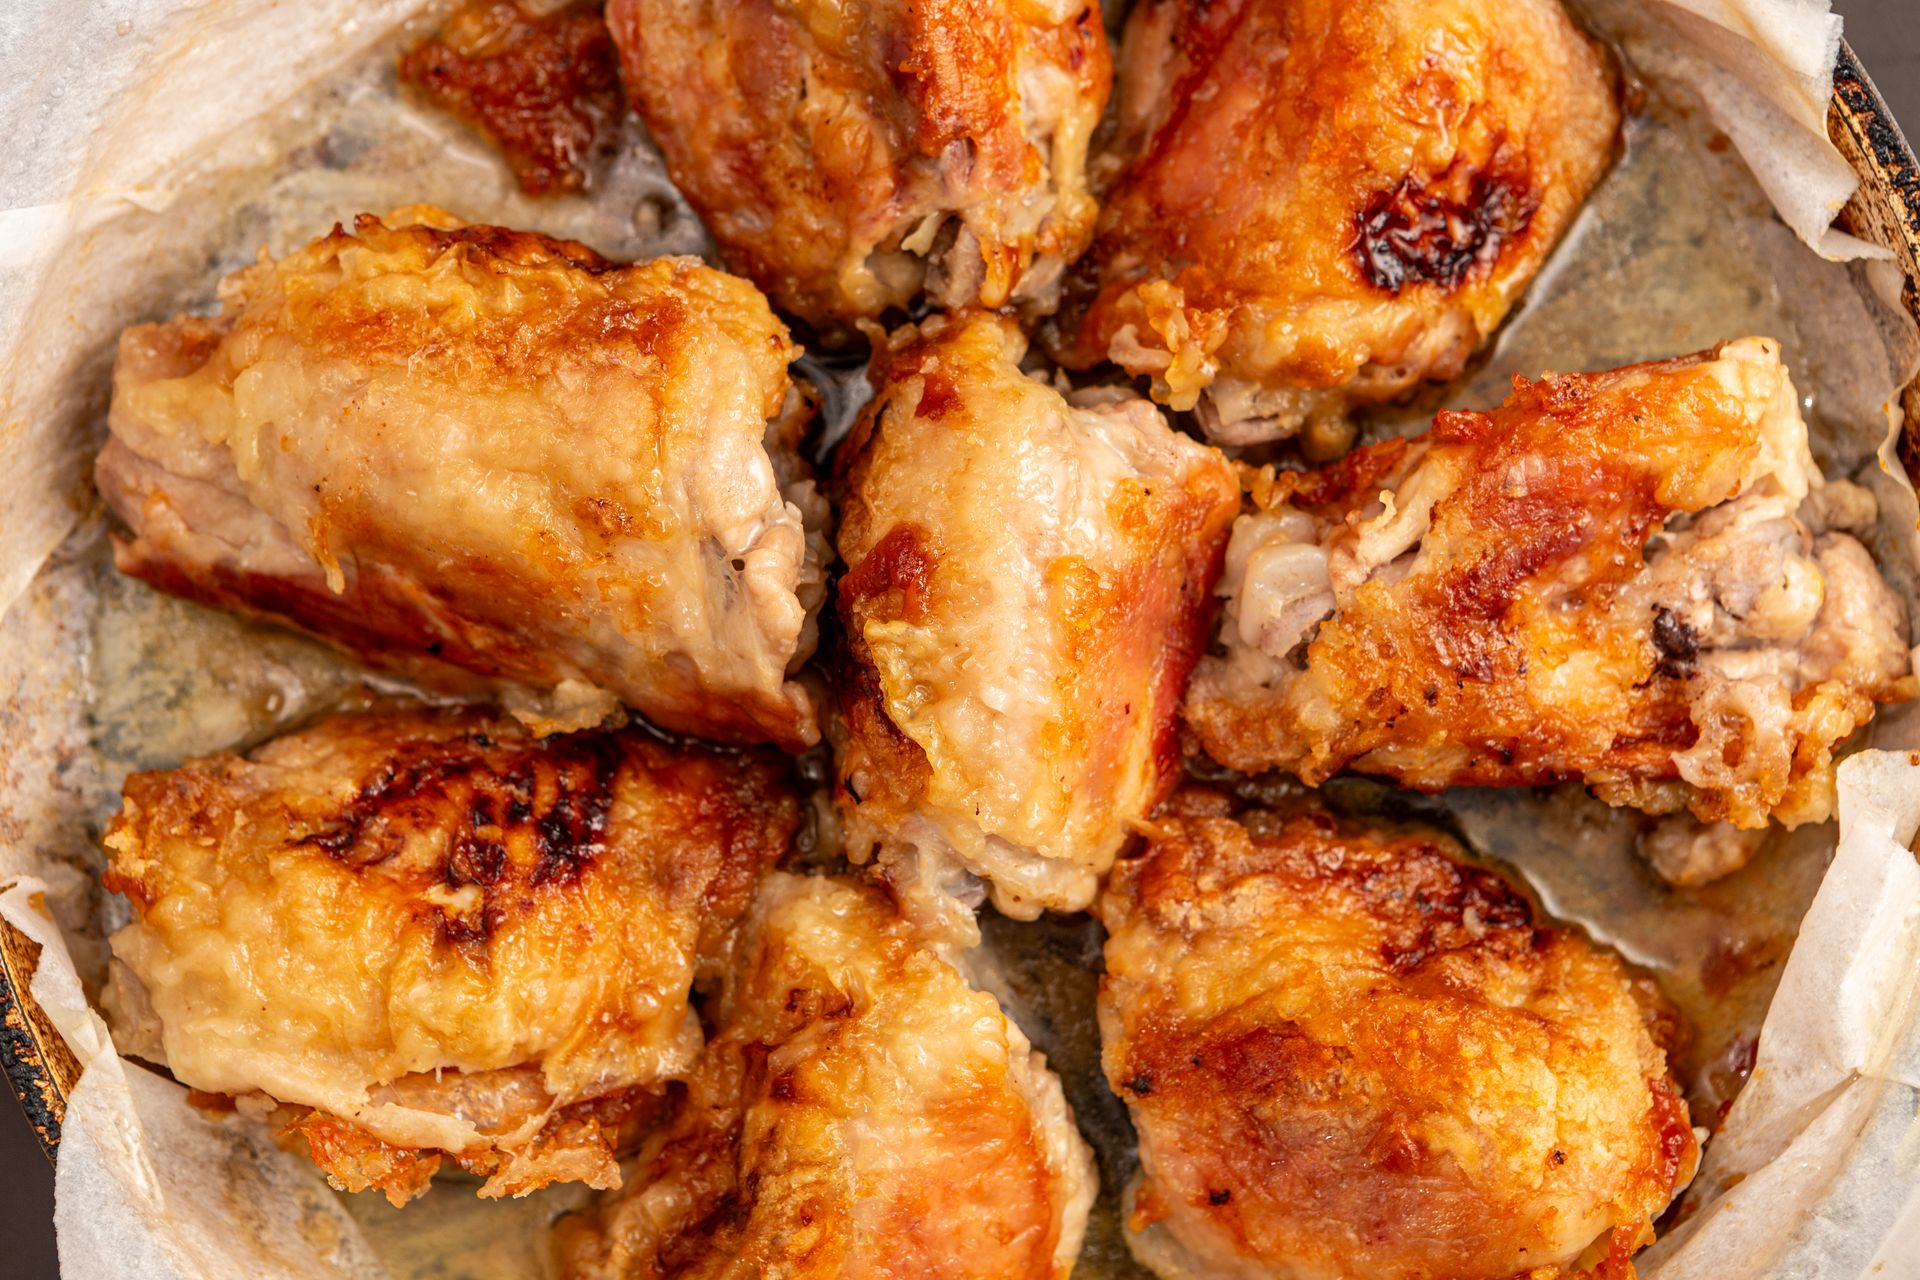
Chicken confit is a technique adapted from the French preservation tradition of duck confit and applied to chicken thighs. The method involves cooking the thighs fully submerged in fat — rendered duck fat, chicken fat, lard, or good olive oil — at a low, steady temperature until the meat is completely tender and the collagen has broken down.
The cooking temperature for confit is low by design: typically between 180°F and 200°F. At this range, the fat does not boil or spatter. The thighs cook entirely by gentle heat conducted through the surrounding fat. Because fat contains no water, there is no steam pressure, no evaporative cooling, and no surface moisture being driven off the meat. The thighs effectively cook sealed within the fat, which prevents any drying.
The result is chicken with an exceptionally tender, silky texture — meat that pulls from the bone cleanly and feels rich on the tongue. Confit thighs are not especially crispy as they come out of the fat, because the skin has softened during the long, moist cook. To serve them with crispy skin, remove the thighs from the fat after cooking and sear them briefly in a very hot, dry skillet, skin side down, for about three minutes.
Duck fat is the traditional choice. Its flavor is distinct and slightly savory, and its smoke point is high enough to withstand the final sear. Olive oil produces a cleaner, lighter-flavored result. Chicken fat rendered from trimmings you've saved is a logical and cost-effective choice for anyone cooking thighs regularly.
Cook the thighs for at least one and a half hours, up to three hours, to ensure full collagen breakdown. The cooked thighs can be stored completely submerged in their fat in the refrigerator for up to a week, which is the original preservation rationale for the technique.
Use a pressure cooker or Instant Pot
The Washington Post / Getty Images
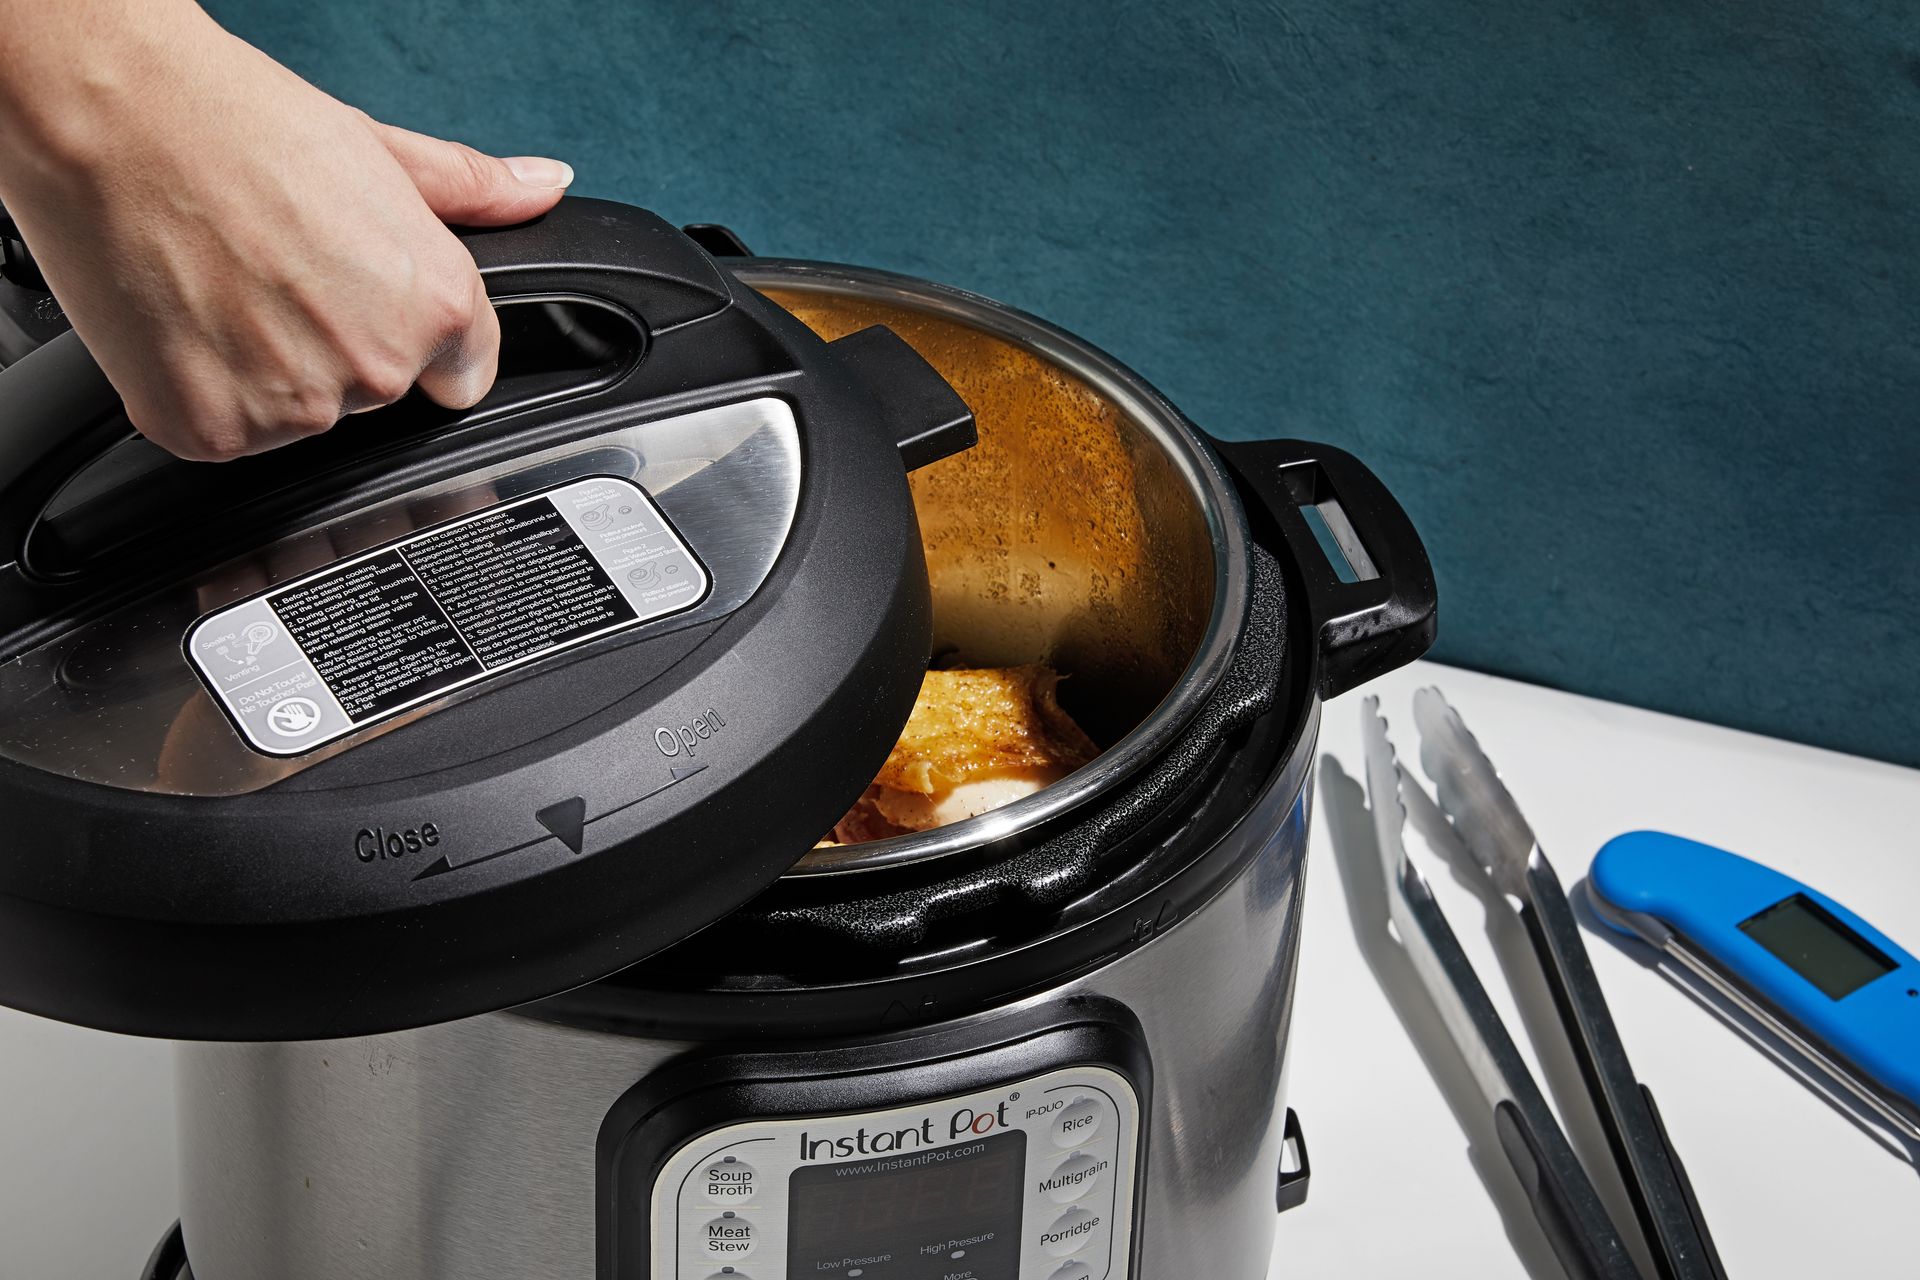
Pressure cooking drives steam into the fibers of the meat, dramatically shortening cooking time while keeping the interior of the chicken moist. In a sealed pressure cooker, water boils at temperatures above 212°F — typically around 240°F at standard cooking pressure — which accelerates the breakdown of collagen and connective tissue. A braised result that would take 45 minutes to an hour on the stovetop can be achieved in ten to 15 minutes under pressure.
Moisture retention in the pressure cooker comes from the sealed environment. No steam escapes during cooking, so none of the evaporative drying that occurs in an open pan or oven happens. The liquid you add at the start stays in the pot, and so do the juices the chicken releases during cooking. The result is moist meat surrounded by a concentrated, flavorful liquid that becomes the sauce.
For chicken thighs in a pressure cooker, add at least half a cup of liquid to generate the steam needed for pressurization. Chicken stock works well as a base. Add aromatics — garlic, onion, fresh herbs, a splash of soy sauce or citrus juice — and the thighs. Seal the lid and cook at high pressure for about ten minutes for boneless thighs, 12 to 15 minutes for bone-in.
Allow the pressure to release naturally for at least five minutes before opening the quick-release valve. Immediate pressure release causes a rapid drop in pressure and temperature that can cause the proteins in the meat to seize, producing a tougher texture similar to overboiled chicken. Natural release lets the temperature drop gradually, which is significantly gentler on the meat's structure.
One limitation: the pressure cooker does not brown food. Searing the thighs in a separate pan before pressure cooking, or finishing them briefly under a broiler after, adds the color and complexity that the sealed environment cannot provide.
Stuff them to add internal moisture
South China Morning Post / Getty Images
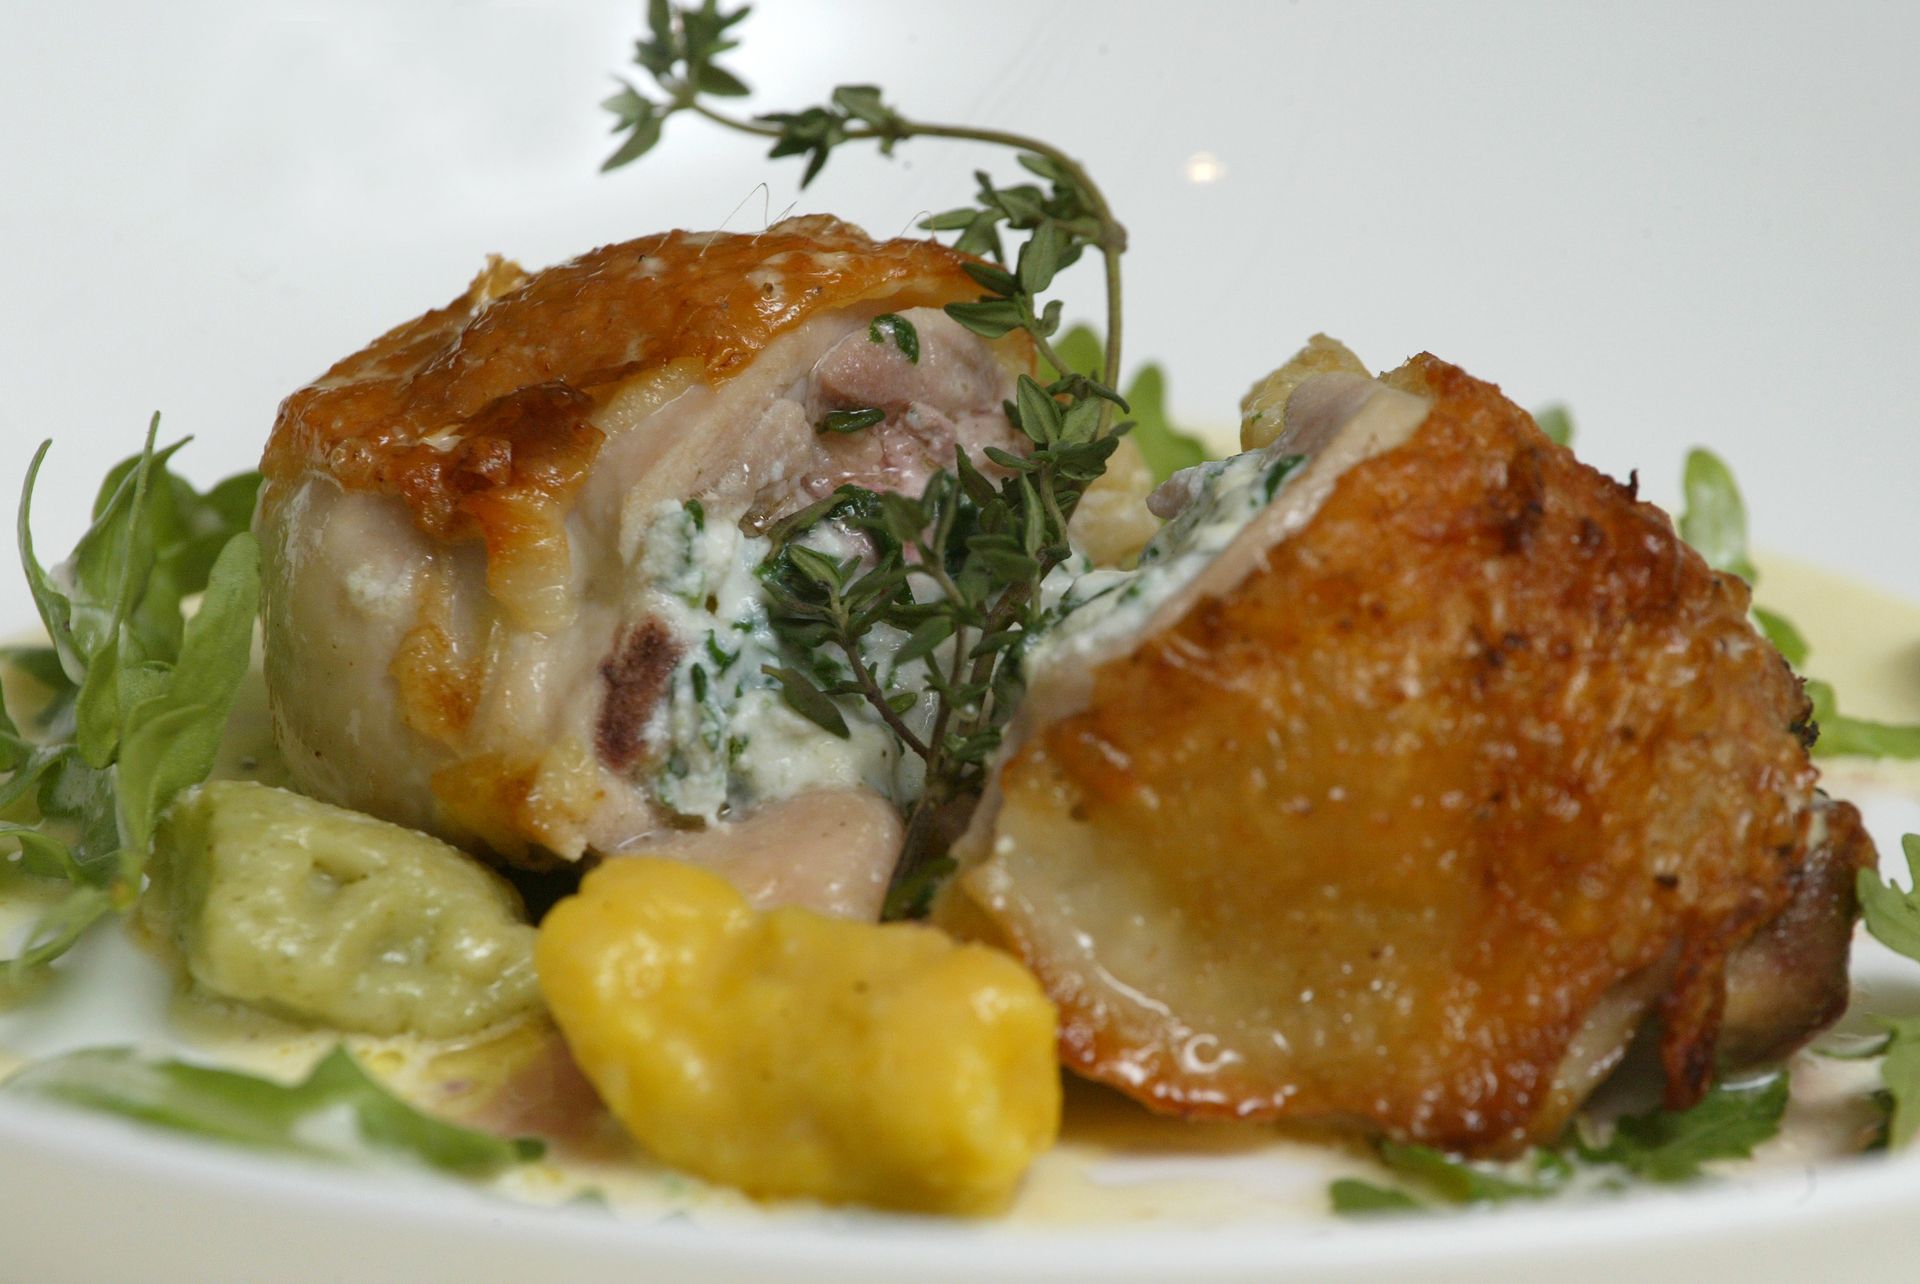
Stuffing chicken thighs before cooking builds moisture into the dish from the inside out. Boneless thighs are ideal for stuffing because removing the bone leaves a natural opening that can hold a filling — and fillings with fat content baste the interior of the thigh as they heat, keeping the innermost part of the meat moist throughout cooking.
The fillings that work best contain some fat. Soft cheese (ricotta, goat cheese, cream cheese), sautéed mushrooms with butter, caramelized onions, a mixture of spinach and feta, or a combination of olives and sun-dried tomatoes in oil are all effective options. As the fat in the filling heats and liquefies, it permeates the meat immediately surrounding it. Lean fillings — plain herbs, dry spices — add flavor but don't provide the same moisture protection.
To stuff a boneless thigh, lay it flat, skin side down. Place a generous tablespoon or two of filling in the center. Fold the thigh around the filling and secure it closed with a toothpick, tie with kitchen twine, or nestle it folded-side down in a tight baking dish so the dish's sides hold it in shape during cooking.
Baking at 375°F to 400°F is the most practical cooking approach for stuffed thighs. The temperature is high enough to brown the exterior but not so aggressive that the outside dries before the interior comes to temperature. A stuffed thigh takes more time in the oven than an unstuffed one — typically 30 to 35 minutes — because the filling absorbs heat and slows the temperature rise at the center of the meat.
Use a thermometer and check the temperature of the meat itself, not the filling. The thigh must reach 165°F to be safe to eat.
Make a pan sauce from the drippings
The Washington Post / Getty Images
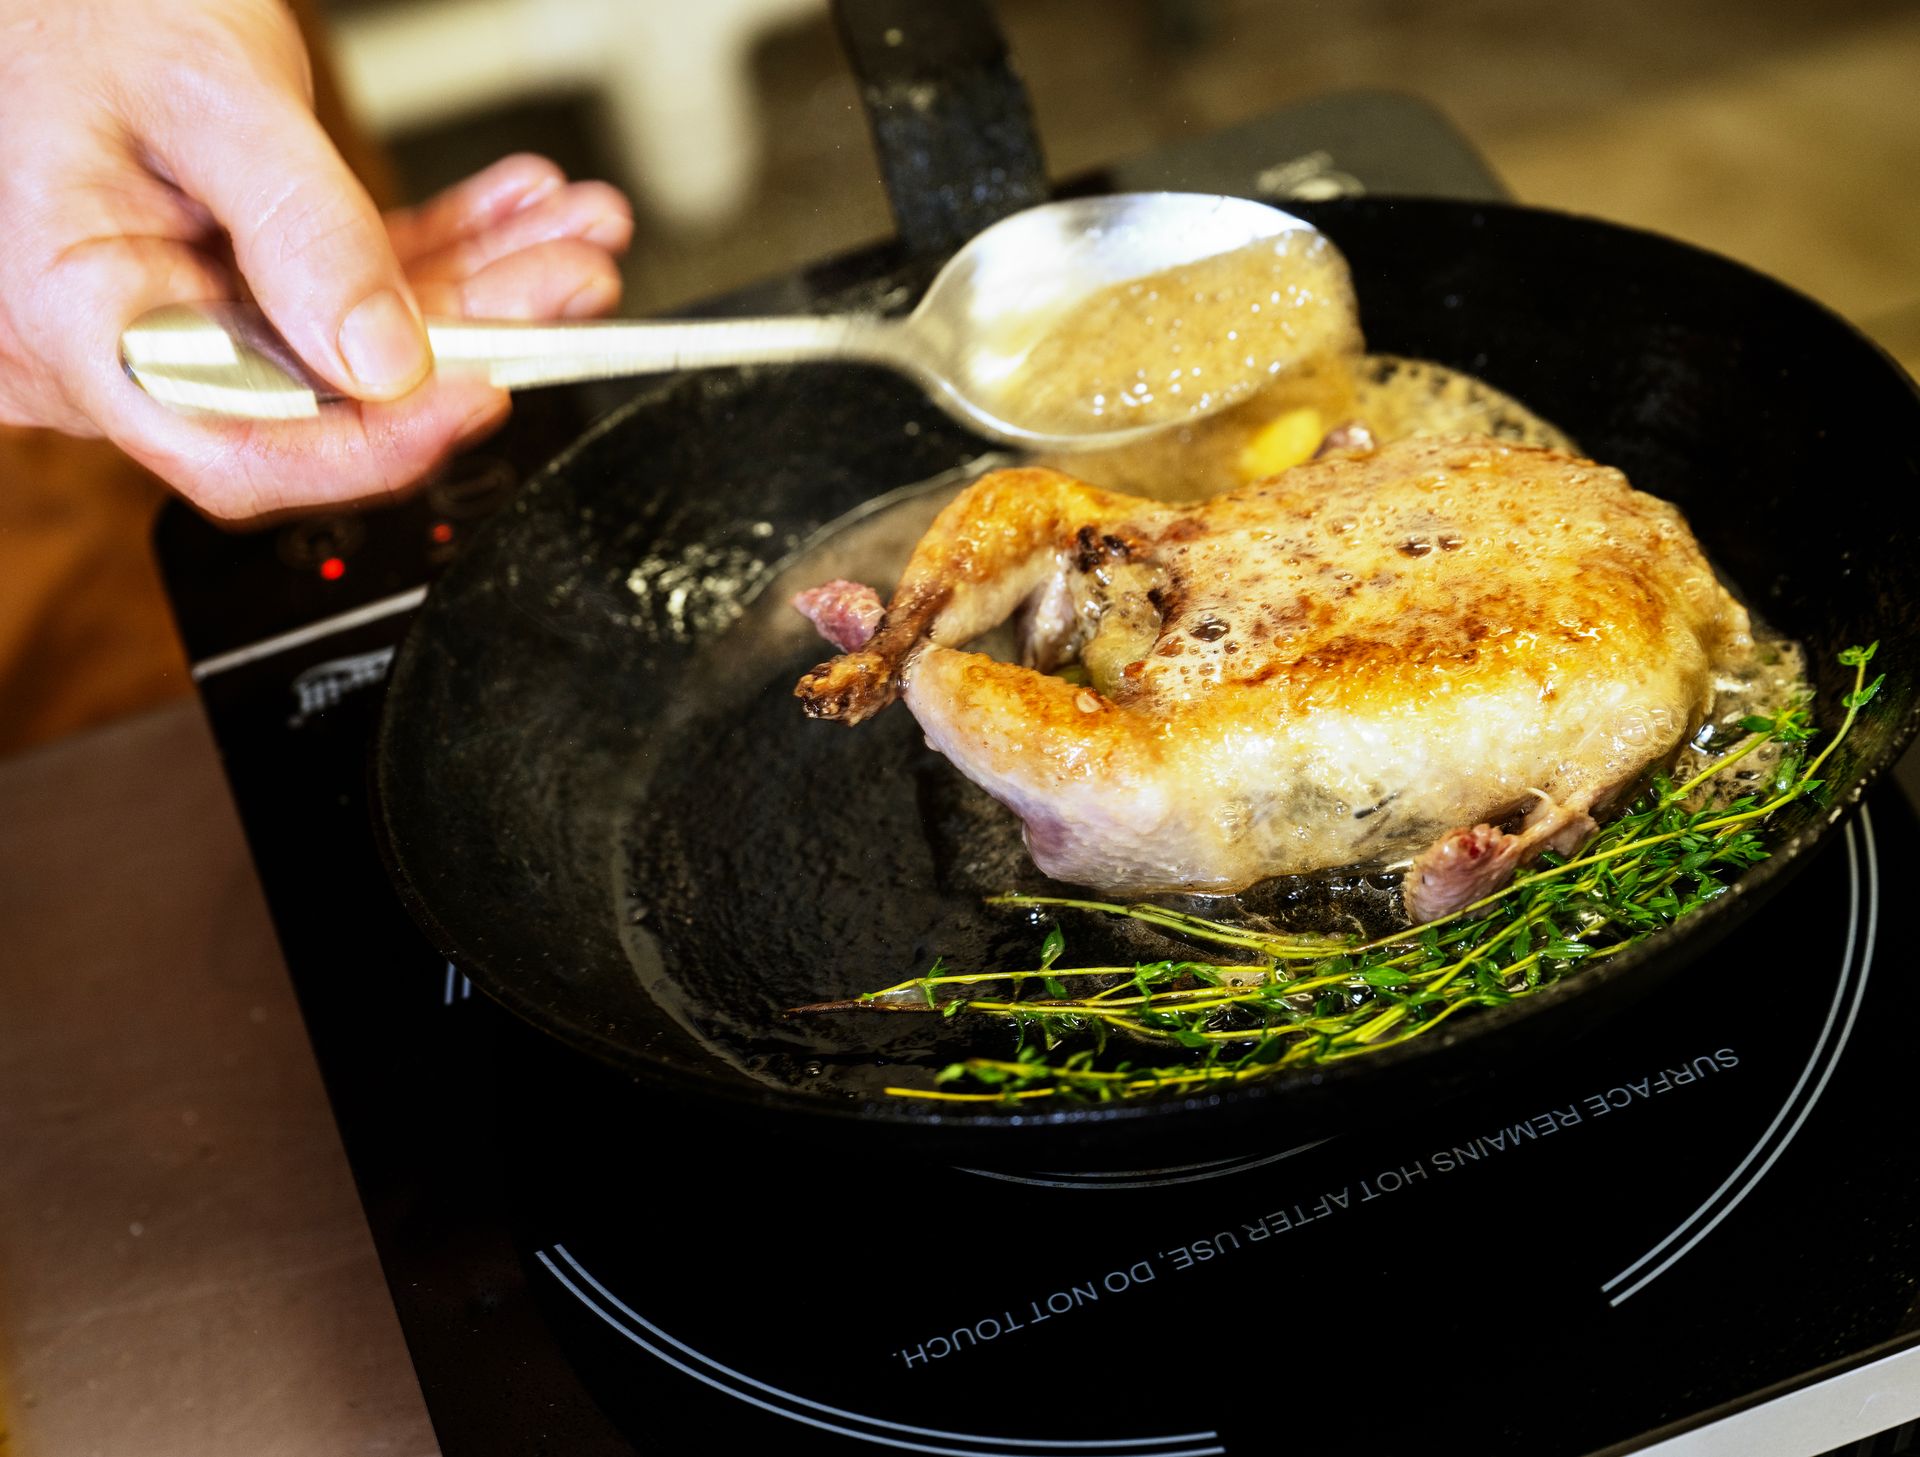
After searing or roasting chicken thighs, the pan holds a layer of rendered fat, browned proteins, and concentrated caramelized juices stuck to the bottom surface — collectively called the fond. A pan sauce made from these drippings is not merely a condiment: it is a method of returning moisture and flavor to the chicken that was deposited in the pan during cooking.
Remove the cooked thighs from the pan and set them aside to rest. Pour off most of the fat, leaving a thin layer. Over medium heat, add a minced shallot or garlic clove and cook for about one minute, until fragrant but not browned. Pour in wine, stock, or a combination — about half a cup — and scrape the bottom of the pan firmly with a wooden spoon or spatula to dissolve the fond. The liquid picks up the color and deep flavor of those browned bits immediately.
Let the liquid reduce by roughly half over medium heat, concentrating the flavor. Off the heat, whisk in a tablespoon of cold butter for richness, body, and sheen. Taste and season with salt. Pour the sauce over the plated thighs just before serving.
The sauce performs several functions simultaneously. It restores moisture to the surface of the meat after the resting period. It adds richness from the fond and butter. And it contributes depth of flavor — especially if wine is used — that comes directly from the browning that occurred during cooking.
A well-made pan sauce can also partially compensate for thighs that have cooked a few degrees above ideal, because the sauce moistens every bite and softens the perception of a slightly firmer texture. The drippings left in a pan after cooking are not waste — they are the most concentrated source of flavor the dish has produced, and a pan sauce is the most efficient way to use them.
Rest the chicken before cutting
bhofack2 / Getty Images
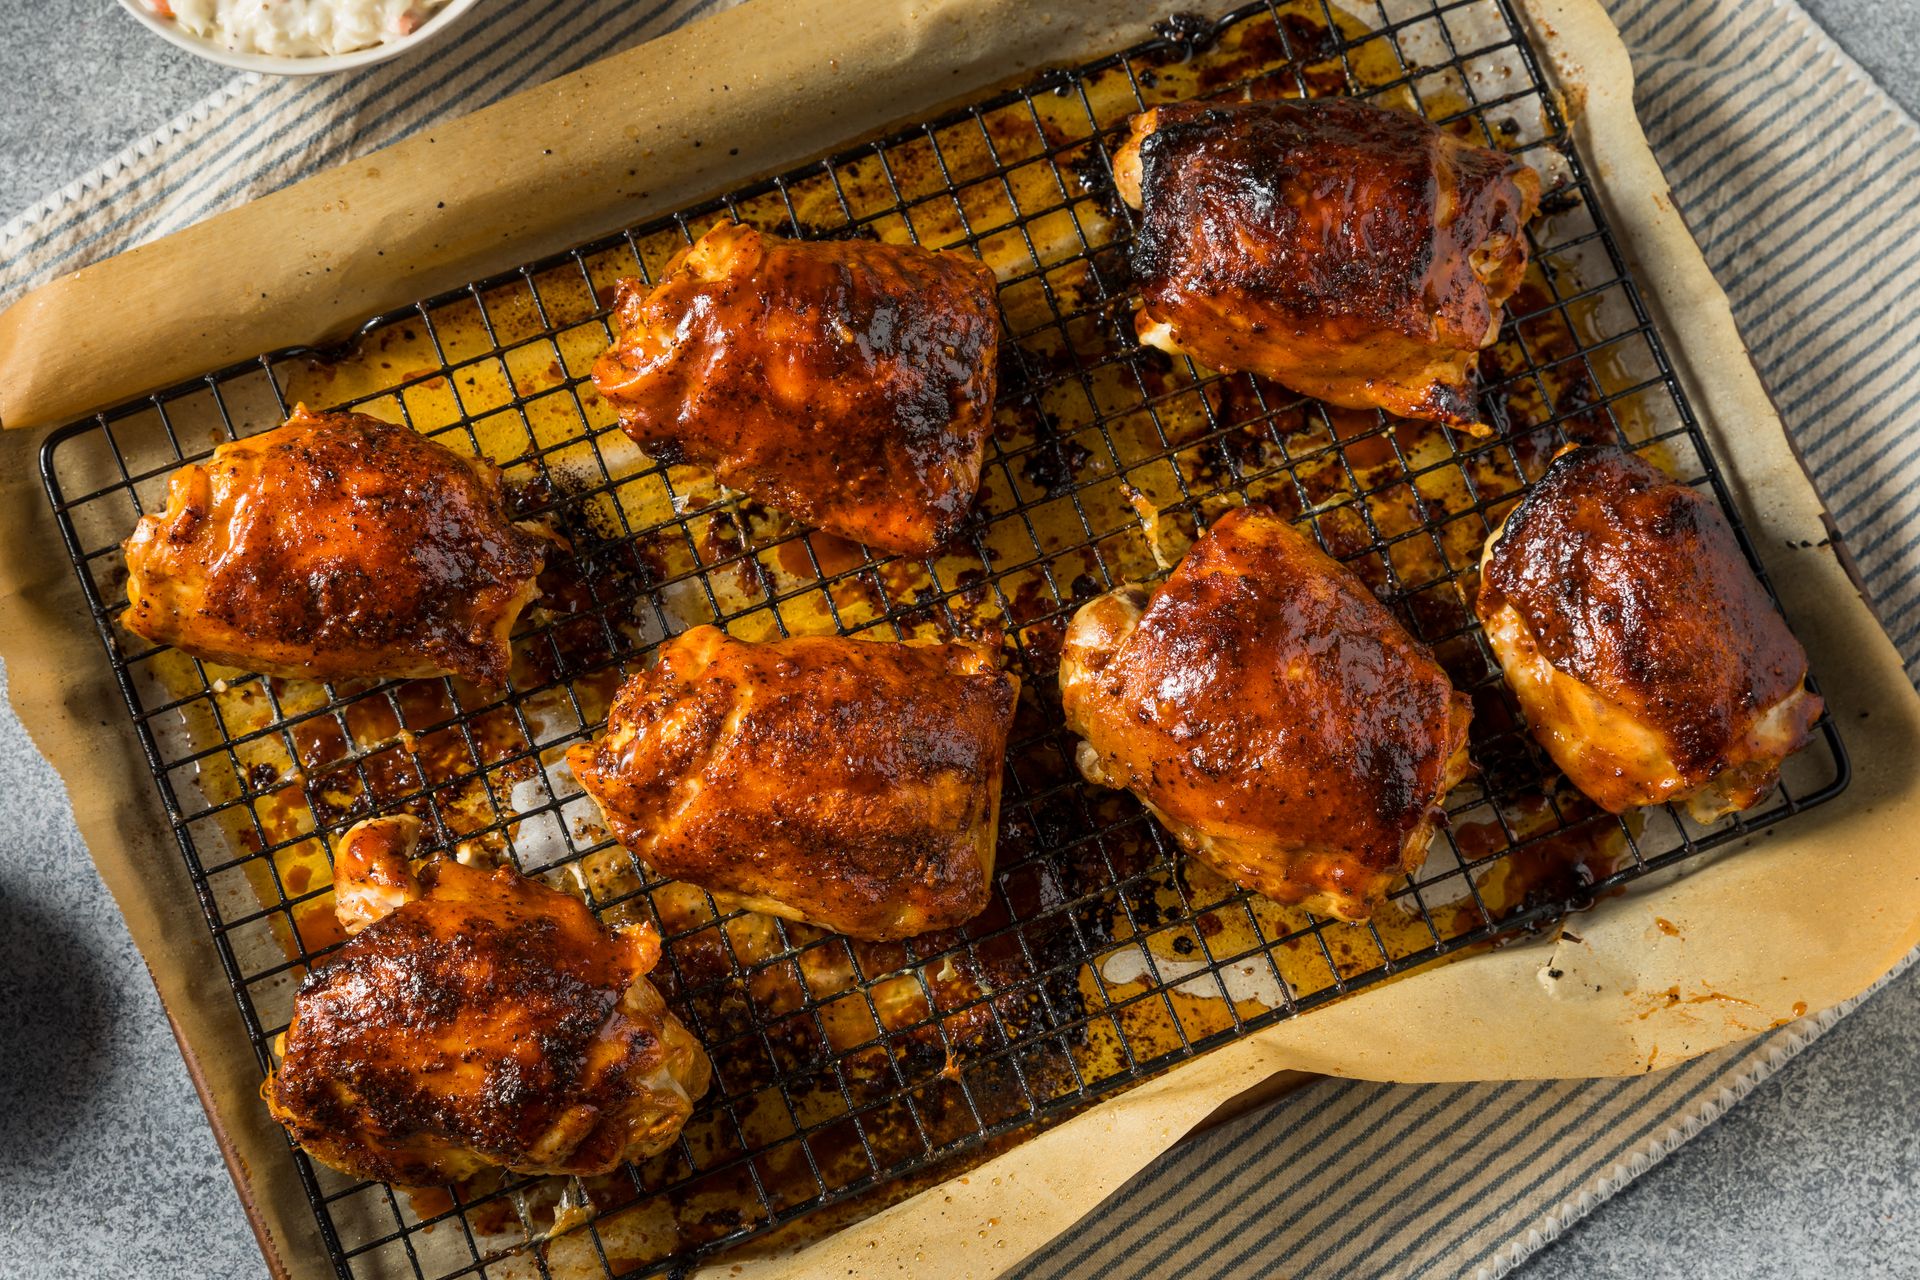
Resting is the step most consistently skipped in home cooking, and it is the one that most directly prevents the juices from running out when the chicken is cut. The mechanics are straightforward. When chicken thighs are cooked at high temperature, the muscle fibers contract and push moisture toward the center of the meat, creating a thermal gradient of tension across the piece. If the thigh is cut immediately after coming off the heat, those pressurized fibers release their liquid freely, and it pools on the cutting board rather than staying in the meat.
Resting allows the muscle fibers to relax as the internal temperature equalizes across the thigh. As the surface cools slightly and the center retains its heat, the tension in the fibers decreases and the juice that had been pushed inward redistributes, reabsorbing into the relaxed proteins throughout the meat. When the thigh is eventually cut, significantly less liquid flows onto the board.
Resting time depends on the size of the cut. Boneless thighs need at least five minutes. Bone-in thighs benefit from seven to ten minutes. These are minimum thresholds, not preferences — cutting consistently before these times produces measurably drier results.
Rest the chicken uncovered or loosely tented with foil. A tight cover traps steam, which softens any crust you've developed. A loose foil tent retains enough warmth to keep the chicken from cooling too quickly without creating a steam environment.
The resting surface matters. A wire rack over a board or plate allows air to circulate underneath the chicken, preventing the underside from becoming soggy from steam condensation between the hot fat and the cooler surface. A flat cutting board works for short resting periods but should not be used for extended rests.
Use a thermometer, not time
OlesyaBasova / Getty Images
Cooking chicken by time alone — "about 30 minutes" or "until the juices run clear" — produces dry chicken with regularity, because neither method measures the one variable that actually determines both safety and moisture: internal temperature.
The time required to cook a chicken thigh to a safe temperature varies based on the size of the individual piece, whether the meat started cold or at room temperature, the actual temperature inside the oven (which can deviate 25 to 50 degrees from the dial setting in home ovens), the material and thickness of the pan, and how many thighs are in the pan at once. The same recipe made in the same kitchen can produce different results each time these variables shift.
The "juices run clear" visual test is equally unreliable. The color of juices from chicken is determined by the presence of myoglobin, a protein in blood and muscle tissue. Some chicken — particularly young birds or air-chilled birds — produces clear juices before reaching a safe internal temperature. Other chicken, especially near the bone, may show slightly pink or reddish juices even when fully cooked. Food safety authorities, including the USDA, consistently recommend temperature measurement over visual assessment because the visual test does not reliably correlate with the internal temperature of the meat.
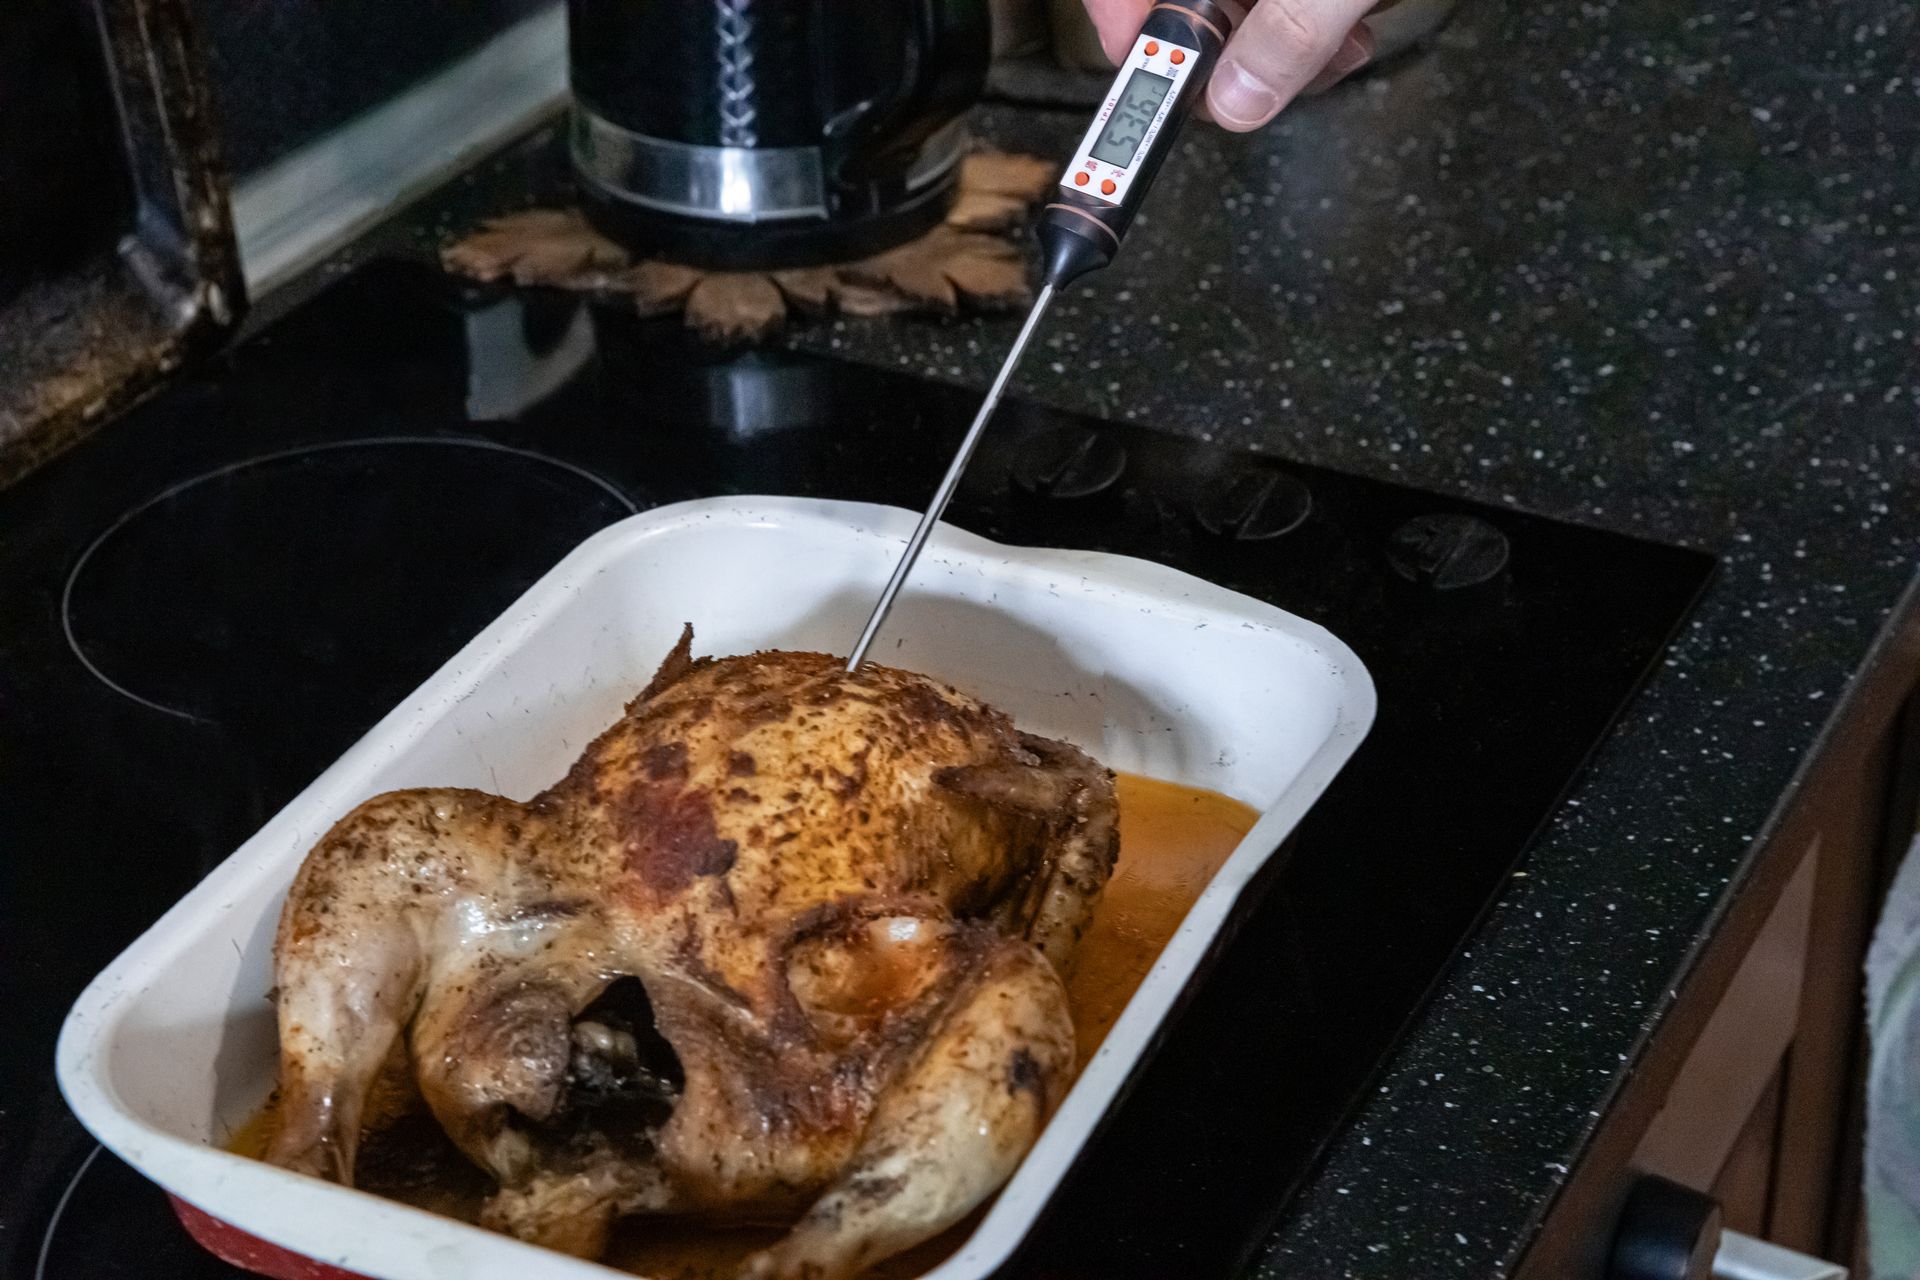
A probe thermometer with an instant-read digital display is the most practical tool for this. Insert it into the thickest part of the thigh, positioned away from the bone, which conducts heat differently and will give a false high reading. The USDA requires 165°F for safe chicken. At 165°F, bone-in thighs are safe and usually very good. At 175°F to 185°F, the collagen has broken down more fully, and the meat often feels more silky — this is a texture preference, not a food safety matter.
Pulling the chicken from heat at the target temperature, every time, removes the variable most responsible for dryness.
Smoke them low and slow
MediaNews Group / Reading Eagle / Getty Images
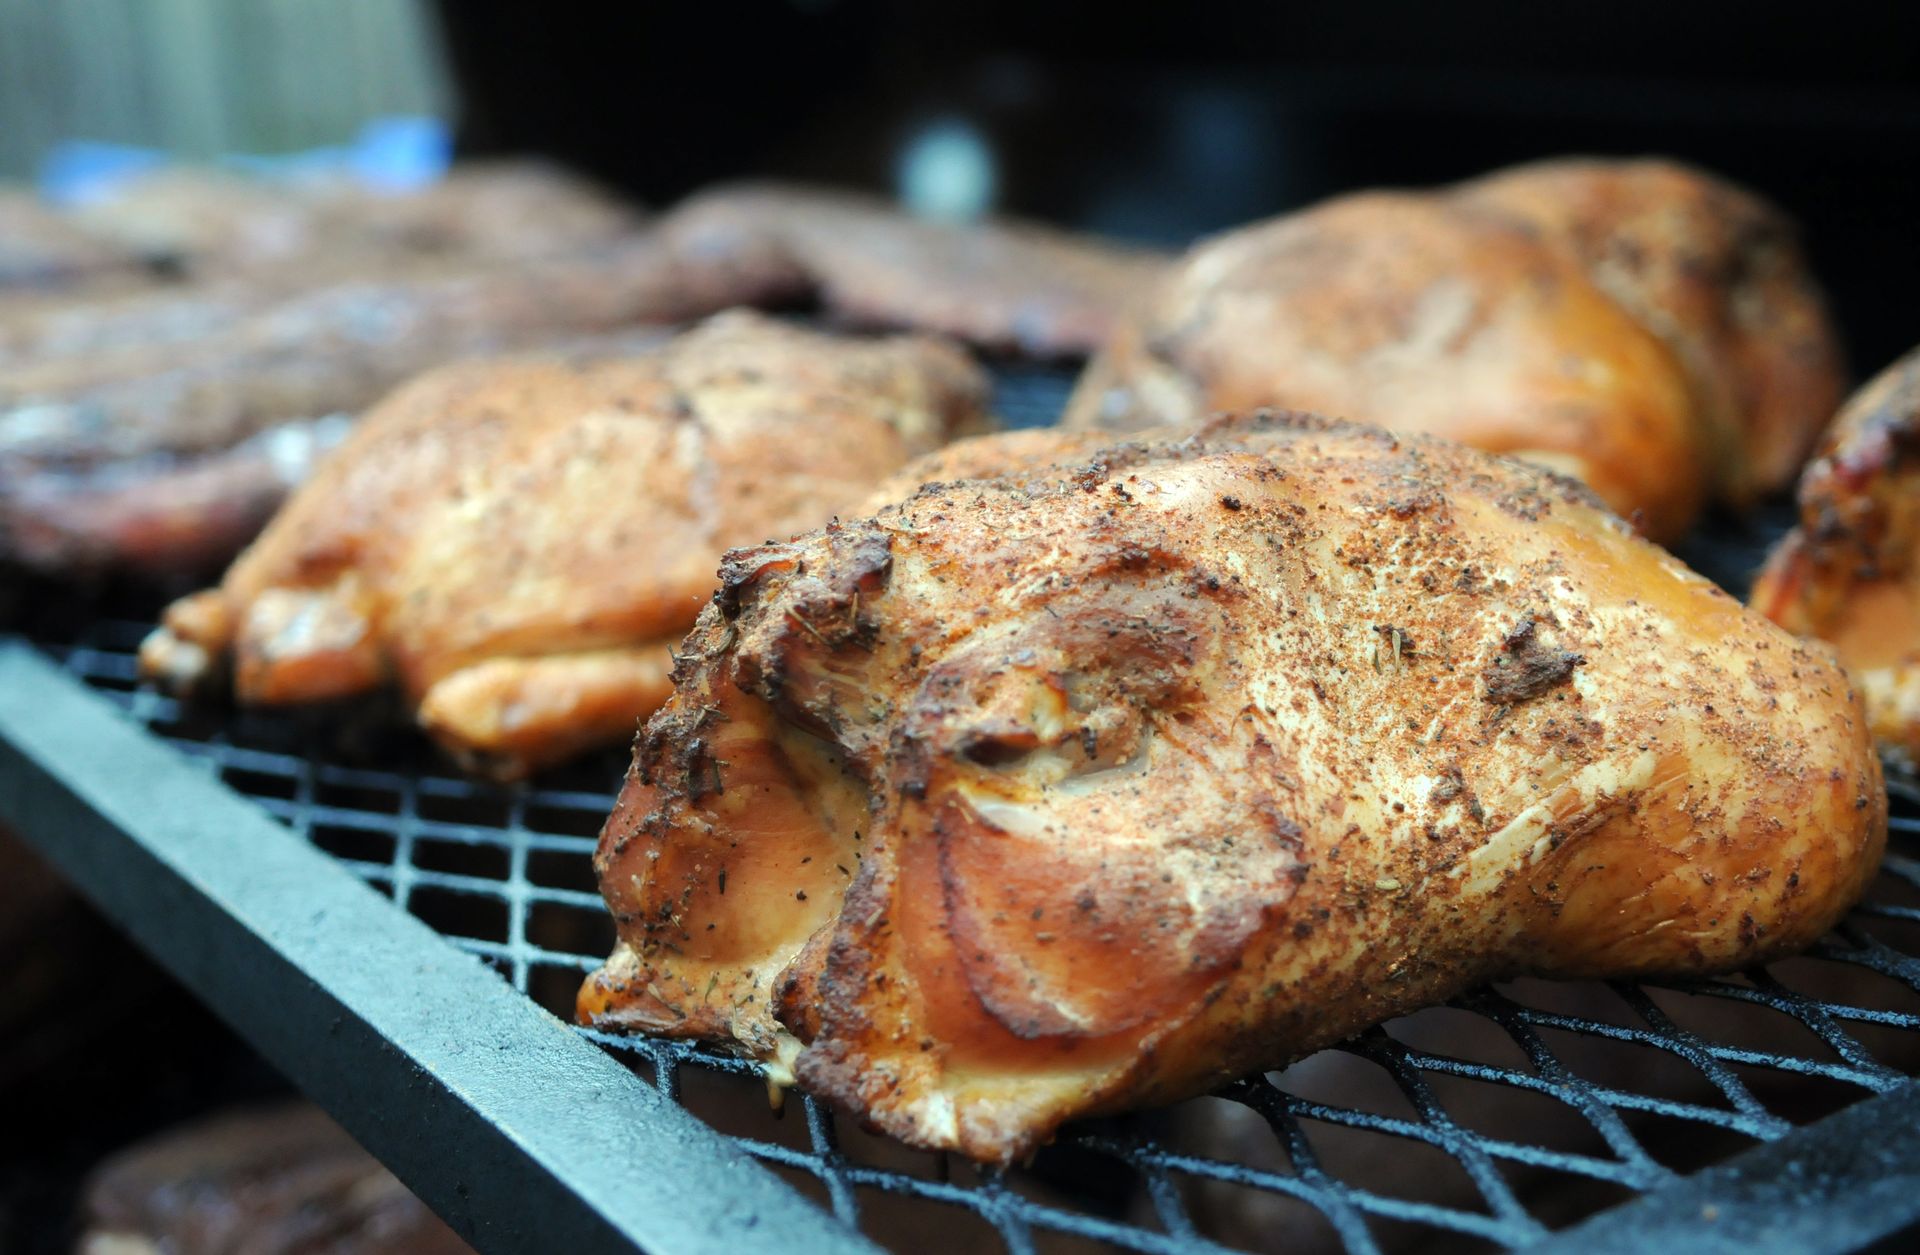
Smoking is a slow, low-temperature cooking method that produces chicken thighs with a distinctive flavor and reliably moist texture. The combination of sustained low heat and wood smoke creates conditions in which collagen breaks down gradually, fat renders at its own pace, and the surface develops a smoke ring — a pink layer just beneath the skin — without the meat drying out.
The target temperature for smoking chicken thighs is 225°F to 250°F, measured at the grate level rather than the lid thermometer, which often reads higher. At this temperature, bone-in thighs take approximately two to two and a half hours to reach 165°F internally. The extended time at low heat is what allows the collagen conversion and fat rendering that produce the characteristic tenderness of smoked chicken.
Wood choice shapes the flavor profile. Fruit woods — apple, cherry — produce mild, slightly sweet smoke that complements chicken without dominating it. Hickory adds a stronger, more savory note. Mesquite is intense and better suited to beef; prolonged exposure on chicken can produce bitter results. Apple $AAPL or cherry wood is the best starting point for anyone new to smoking chicken thighs.
Moisture management during smoking is important. Place a small pan of water inside the smoker — in the firebox chamber on an offset smoker, or on the lower grate on a kettle grill. The water absorbs heat, releases it gradually, and helps stabilize the cooking temperature. It also raises the ambient humidity inside the smoker, which slows the rate at which the surface of the chicken dries out during the long cook.
Some cooks apply a thin glaze or sauce to the thighs in the final 20 to 30 minutes of smoking. Apply the glaze when the thighs are at about 140°F to 150°F internally, giving it time to caramelize and set without burning. A glaze also builds a lacquered surface layer that holds in moisture and adds visual appeal when the thighs are served.