
Speed, safety, and consistency all come from technique. These are the 20 knife skills that professional cooks develop first and that home cooks almost never do
Anna Shvets / Pexels
The most common knife-related purchase a home cook makes is a new knife. The most common knife-related problem a home cook has is not their knife. It is their grip, their stance, their cutting motion, the angle at which they hold the blade, their failure to use the claw grip that eliminates the possibility of cutting themselves, and the dull edge that makes every cut require more force — which is what actually causes most kitchen knife injuries. A sharper knife used with better technique on a stable cutting board is a safer, faster, more accurate cutting experience than any new knife purchase.
Professional cooks spend their first weeks in a kitchen learning to cut — not recipes, not techniques, not flavor combinations, but the specific physical skills of controlling a knife: how to hold it, how to move it, how to guide food into it, how to maintain the edge that makes every subsequent cut easier. These skills are teachable, learnable, and largely self-correcting once the principles are understood: a cook who understands why the claw grip is safe, why a sharp knife is safer than a dull one, and why the rocking cut produces different results from the push cut can diagnose and correct their own technique without instruction.
This list covers 20 specific knife skills, organized roughly from foundational to specialized. The first several entries — grip, stance, the claw, sharpening — are prerequisites for everything else and should be addressed before any of the cutting techniques are practiced. A technically skilled cut made with a dull knife on an unstable board is slower, less accurate, and more dangerous than an imperfect cut made with a sharp knife on a stable board with a correct grip.
Each entry covers what the skill is, why it matters, the specific technique, and the most common mistake. Several entries are not cutting techniques at all but maintenance and setup skills — sharpening, honing, board stability — that determine the quality of everything that follows.
The pinch grip — holding the knife by pinching the blade itself between the thumb and the side of the index finger's first segment, rather than wrapping all four fingers around the handle — is the foundational grip of professional knife use, and the single change that most immediately improves control, reduces fatigue, and increases cutting precision for home cooks who have spent years holding a knife by the handle.
The specific mechanics: the thumb presses against one side of the blade just ahead of the bolster (the thick part where blade meets handle), and the curved first segment of the index finger presses against the other side. The remaining three fingers wrap around the handle. This grip moves the hand forward onto the blade, lowering the center of balance, reducing the lever arm between the pivot point and the cutting edge, and dramatically increasing the sensitivity of feedback from the blade to the hand.
The handle grip that most home cooks use — all four fingers wrapped around the handle — places the hand further from the blade, reduces control at the tip, and requires more muscular effort to maintain precision over a long cutting session. The pinch grip does not feel natural immediately, because it requires holding something that feels like it should cut you (the blade) rather than something that feels like it was designed to be held (the handle). After a week of deliberate practice, it becomes automatic.
Common mistake: placing the thumb on top of the spine rather than pinching the blade. The spine grip reduces control and is not the pinch grip.
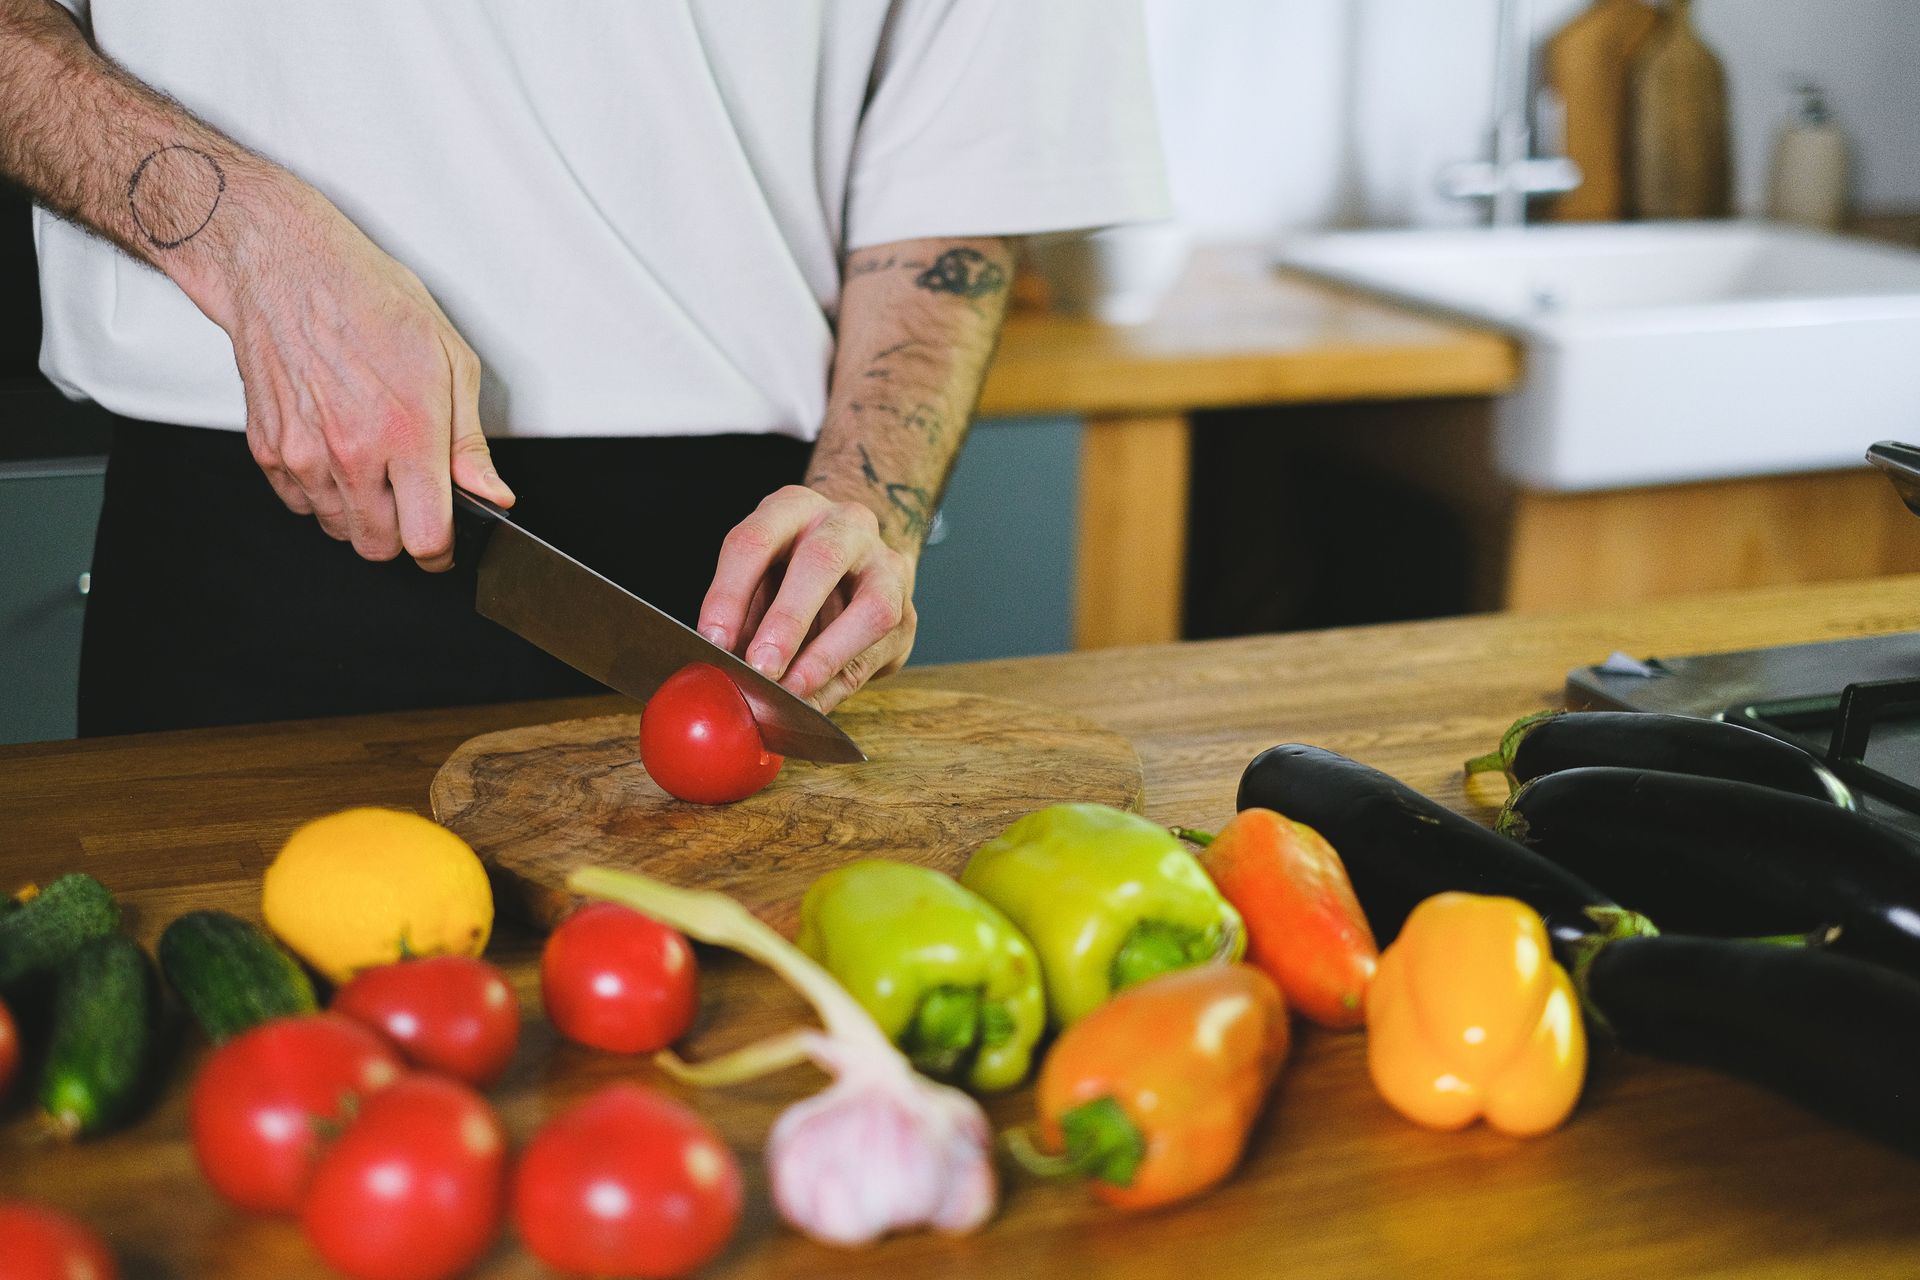
The claw grip — curling the fingertips of the guiding hand inward so that the knuckles, not the fingertips, are the surface closest to the blade — is the technique that makes it physically impossible to cut yourself on the blade during normal cutting motions, because the blade rides against the flat of the knuckles rather than the fingertips that are curled safely away.
The mechanics: all four fingers of the guiding hand curl inward, with the nails pointing down and the knuckles forming a vertical wall that the blade leans against as it moves. The thumb tucks behind the fingers. The knife blade maintains contact with the knuckle wall throughout the cut, which simultaneously guides the blade and protects the fingers. Each cut advances the guiding hand backward by approximately the width of the desired slice, automatically controlling the cut thickness.
The claw grip is the most important single safety technique in knife use, and it is the one most consistently absent in home cooks' technique. Most home cooks hold food with flat fingers, which exposes the fingertips to the blade and requires the blade to be guided entirely by the cutting hand rather than by the contact between blade and knuckle. The claw allows the guiding hand to do half the work of controlling the cut.
Common mistake: allowing the thumb to stick out from behind the fingers. The thumb must be tucked behind the finger wall at all times.
Airam Dato-on / Pexels
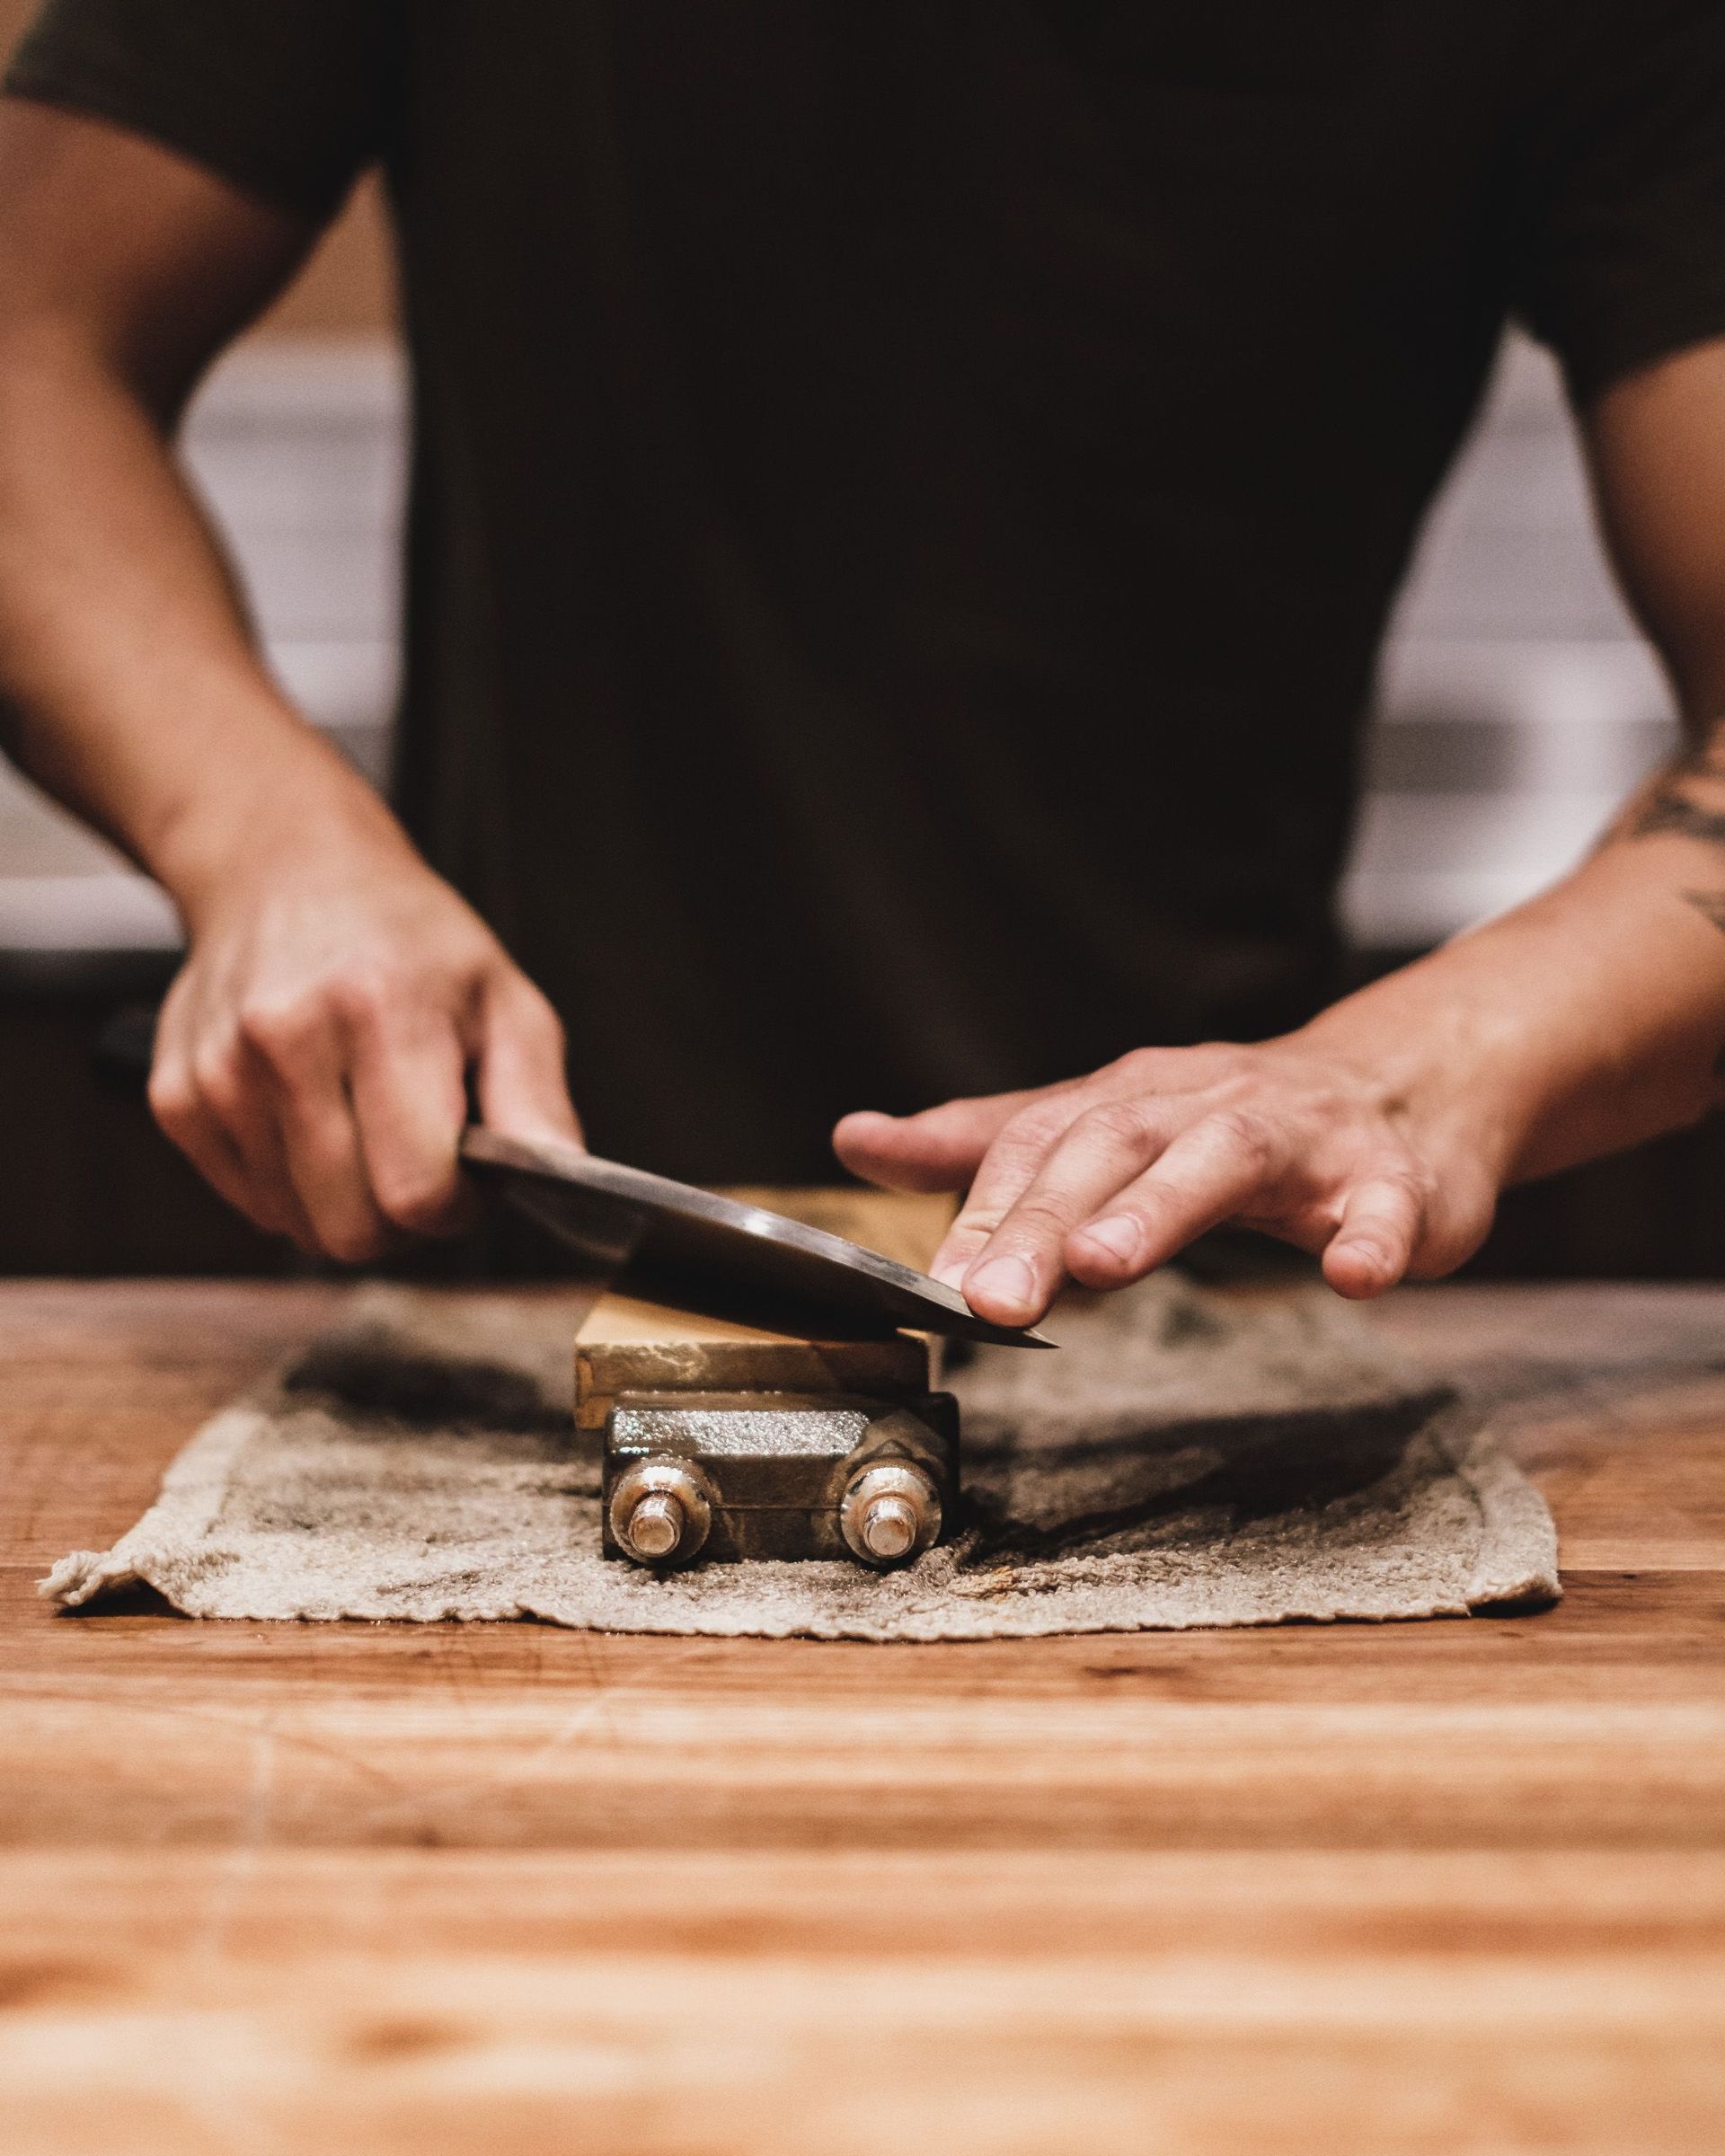
A sharp knife is the prerequisite for all other knife skills, and the most reliable way to maintain sharpness is to sharpen the knife regularly rather than waiting until it is noticeably dull. A knife that has never been sharpened — only honed — will eventually stop responding to the honing rod and require actual sharpening to restore the edge.
There are three primary sharpening methods for home cooks. Whetstones (water stones or oil stones) are the most precise and produce the best edge, but require practice to maintain a consistent angle. Pull-through sharpeners are the most accessible and require no skill but remove more metal per sharpening and produce a coarser, less durable edge. Electric sharpeners are fast and consistent but expensive and aggressive — they remove significant metal and should not be used frequently.
The correct angle for most Western chef's knives is 15 to 20 degrees per side; Japanese knives are typically sharpened at 10 to 15 degrees per side and should not be sharpened on a coarse Western pull-through sharpener without adjusting for the angle. The sharpness test: the knife should slice through a sheet of printer paper cleanly and without tearing. If it catches or tears, the edge needs attention.
The most useful investment: a basic 1,000/3,000 grit combination whetstone ($25 to $40) and 20 minutes of practice produces a better edge than most professional sharpening services and takes two minutes per knife once the technique is established.
Kampus Production / Pexels
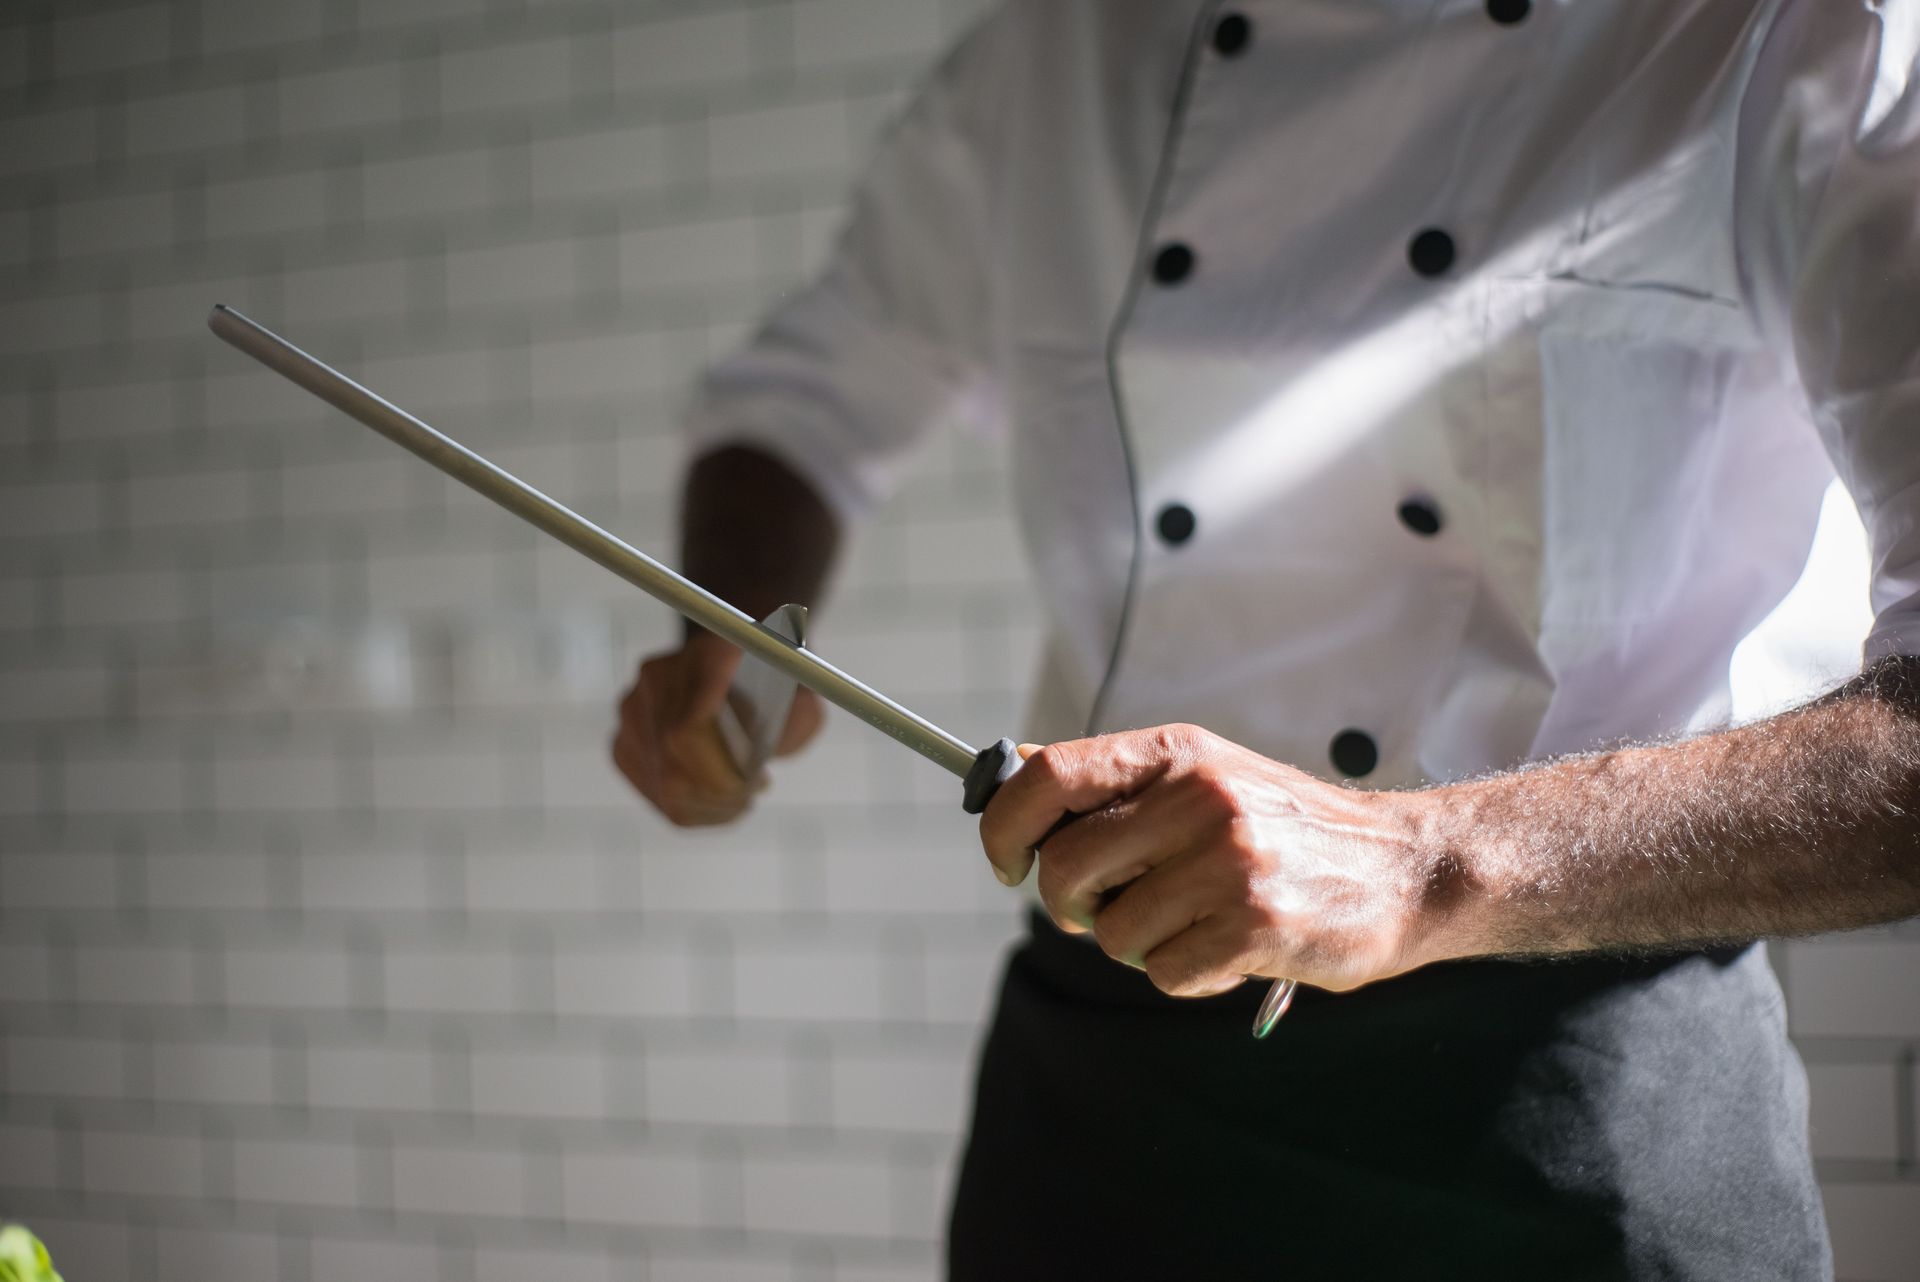
Honing — running the blade along a honing steel (a ridged or smooth steel rod) before each use — is not sharpening. It does not remove metal or create a new edge; it realigns the microscopic teeth of the existing edge that have bent or rolled out of true through use. A honed knife cuts better than an unhoned one not because it is sharper but because its edge is straighter.
The mechanics: hold the honing steel vertically, tip on the cutting board. Draw the blade down and away from the body in a sweeping arc, maintaining 15 to 20 degrees between blade and steel. Alternate sides with each stroke, approximately 4 to 6 strokes per side. The motion should feel like slicing a thin layer from the steel's surface.
The specific technique matters less than the consistency of the angle: an inconsistent angle (changing from 10 degrees on one stroke to 20 degrees on the next) produces an edge with multiple bevel angles that is less precise than a consistently maintained single angle. A honing guide can help beginners maintain consistent angle until the motion becomes habitual.
Frequency: hone before every significant cutting session. A knife that is honed before each use requires much less frequent actual sharpening.
Max Avans / Pexels
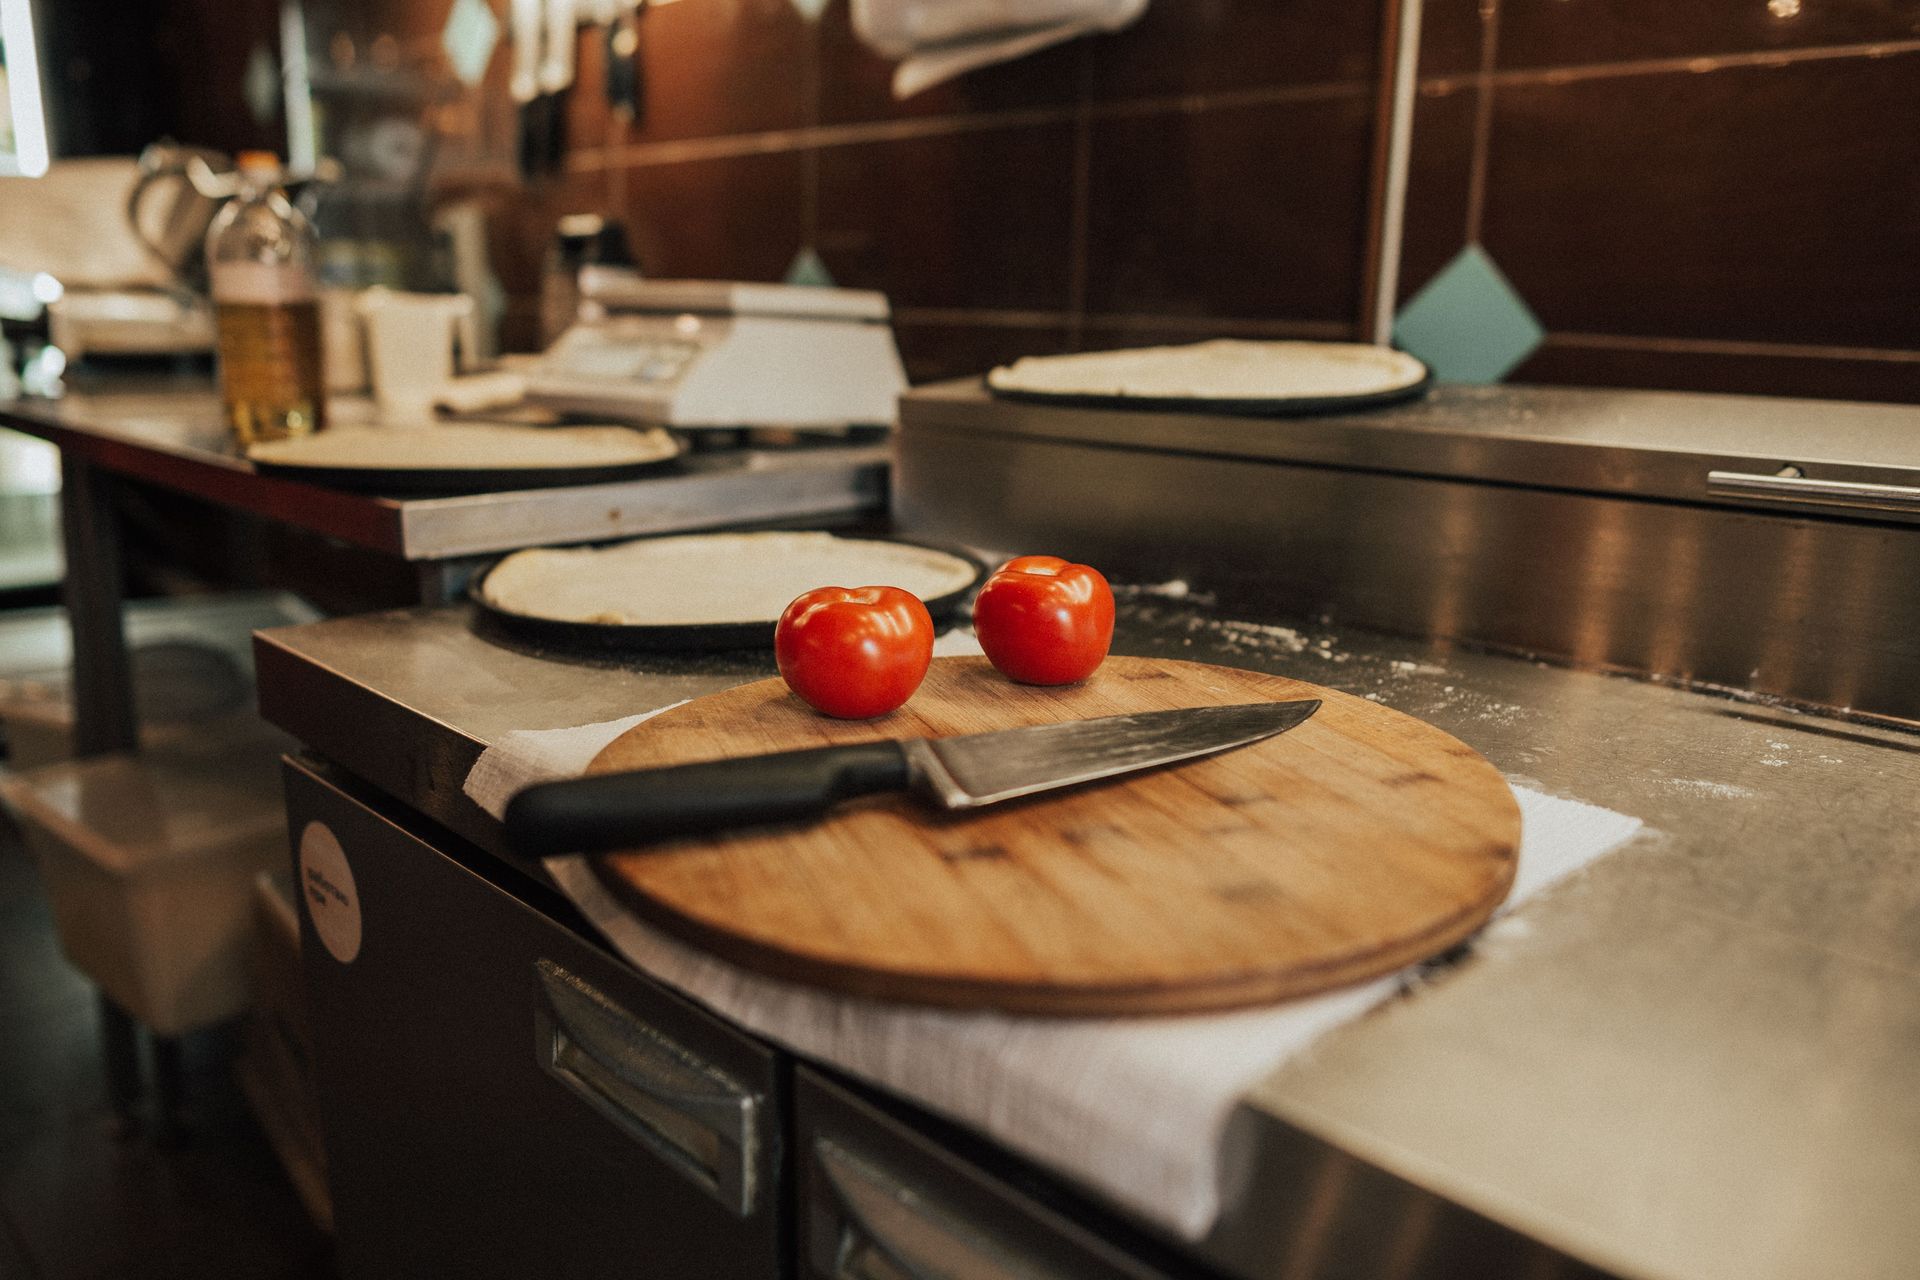
A cutting board that moves while you are cutting is both slower and more dangerous than one that is stable — each time the board shifts, the cut goes slightly wrong, the guiding hand has to compensate, and the risk of the blade contacting an unintended surface increases. Most kitchen cutting boards move because they sit on a dry countertop or because they are plastic rather than wood.
The fix: place a damp kitchen towel or a rubberized non-slip mat underneath the cutting board. This eliminates movement almost entirely and costs nothing. For plastic boards, which are particularly prone to sliding, a single damp paper towel under each corner is sufficient.
The cutting board itself: a wooden board (end-grain or face-grain hardwood) is gentler on the knife edge than a plastic or glass board, more resistant to bacteria than commonly believed, and more pleasant to cut on. Glass cutting boards should not be used for knife work — they destroy the edge within minutes.
Board size: bigger is almost always better. A board that is large enough to contain the cutting task eliminates the constant repositioning that small boards require, which is where many inefficiencies and minor cuts occur.
The rocking cut — in which the tip of the knife remains in contact with the cutting board as a pivot point while the heel of the blade rises and falls in a rocking arc — is the most efficient cutting motion for herbs, garlic, and other small items that need to be chopped to a fine, fairly uniform texture without precise size control.
The mechanics: place the tip of the knife on the board and keep it there. Rock the blade up and down by raising and lowering the handle, while simultaneously pivoting and sweeping the blade across the pile of material being chopped. The tip acts as an anchor that gives the motion its arc, and the sweeping motion collects and redistributes the material under the blade.
The rocking cut is not appropriate for cutting vegetables to a precise size — for that, the push cut or draw cut is more accurate. The rocking cut is appropriate for: chopping herbs (parsley, cilantro, chives), mincing garlic, and any application where approximately uniform small pieces are desired but exact dimensions are not critical.
Common mistake: lifting the tip from the board. Once the tip leaves the board, the rocking motion becomes a chopping motion, which is less controlled and produces less uniform results.
The push cut — moving the blade forward and downward simultaneously as it passes through the food, rather than drawing it backward or rocking it — is the standard slicing motion for vegetables, proteins, and any material that requires clean, uniform cuts. It produces cleaner cuts than the rock and more uniform thickness than the chop.
The mechanics: position the knife at the starting point of the cut with the blade perpendicular to or slightly angled into the food. Apply downward pressure while pushing the blade forward toward the tip. The cutting edge moves both down and forward through the material, and the slice is completed when the tip clears the board. Reposition for the next cut.
The push cut is the motion that develops naturally with the claw grip: the knuckle of the guiding hand controls the thickness of the cut (the blade advances to the knuckle and no further before the guiding hand repositions), and the push motion keeps the blade in contact with the knuckle wall throughout the cut.
Versus the rock: the push cut produces more uniform slices with better surface quality on most materials. The rocking cut is faster for items that will be cooked until uniform size is irrelevant. Use the push cut when the cut quality matters; use the rock when speed matters more.
The draw cut — moving the blade backward (toward the body) and downward as it passes through the food — is appropriate for delicate materials that would be compressed and damaged by the forward pressure of the push cut: bread, tomatoes, fish, cooked proteins, and anything with a tender or fragile interior and a firm exterior.
The mechanics: position the knife at the start of the cut with the heel of the blade making initial contact. Draw the blade toward the body as pressure is applied downward. The cutting edge pulls through the material rather than pushing through it, which applies less compression to the food and produces a cleaner cut in materials that would otherwise be crushed.
The draw cut is the motion used for slicing bread (the serrated bread knife's teeth grab on the pull stroke), for slicing tomatoes (the skin is cut cleanly by the pulling motion before the blade enters the soft flesh), and for carving roasted meat where the pulling motion produces clean slices without shredding.
Key distinction from push cut: the push cut compresses food slightly as it cuts; the draw cut does not. For tender or wet materials, the draw cut produces significantly better results.
Angele J / Pexels
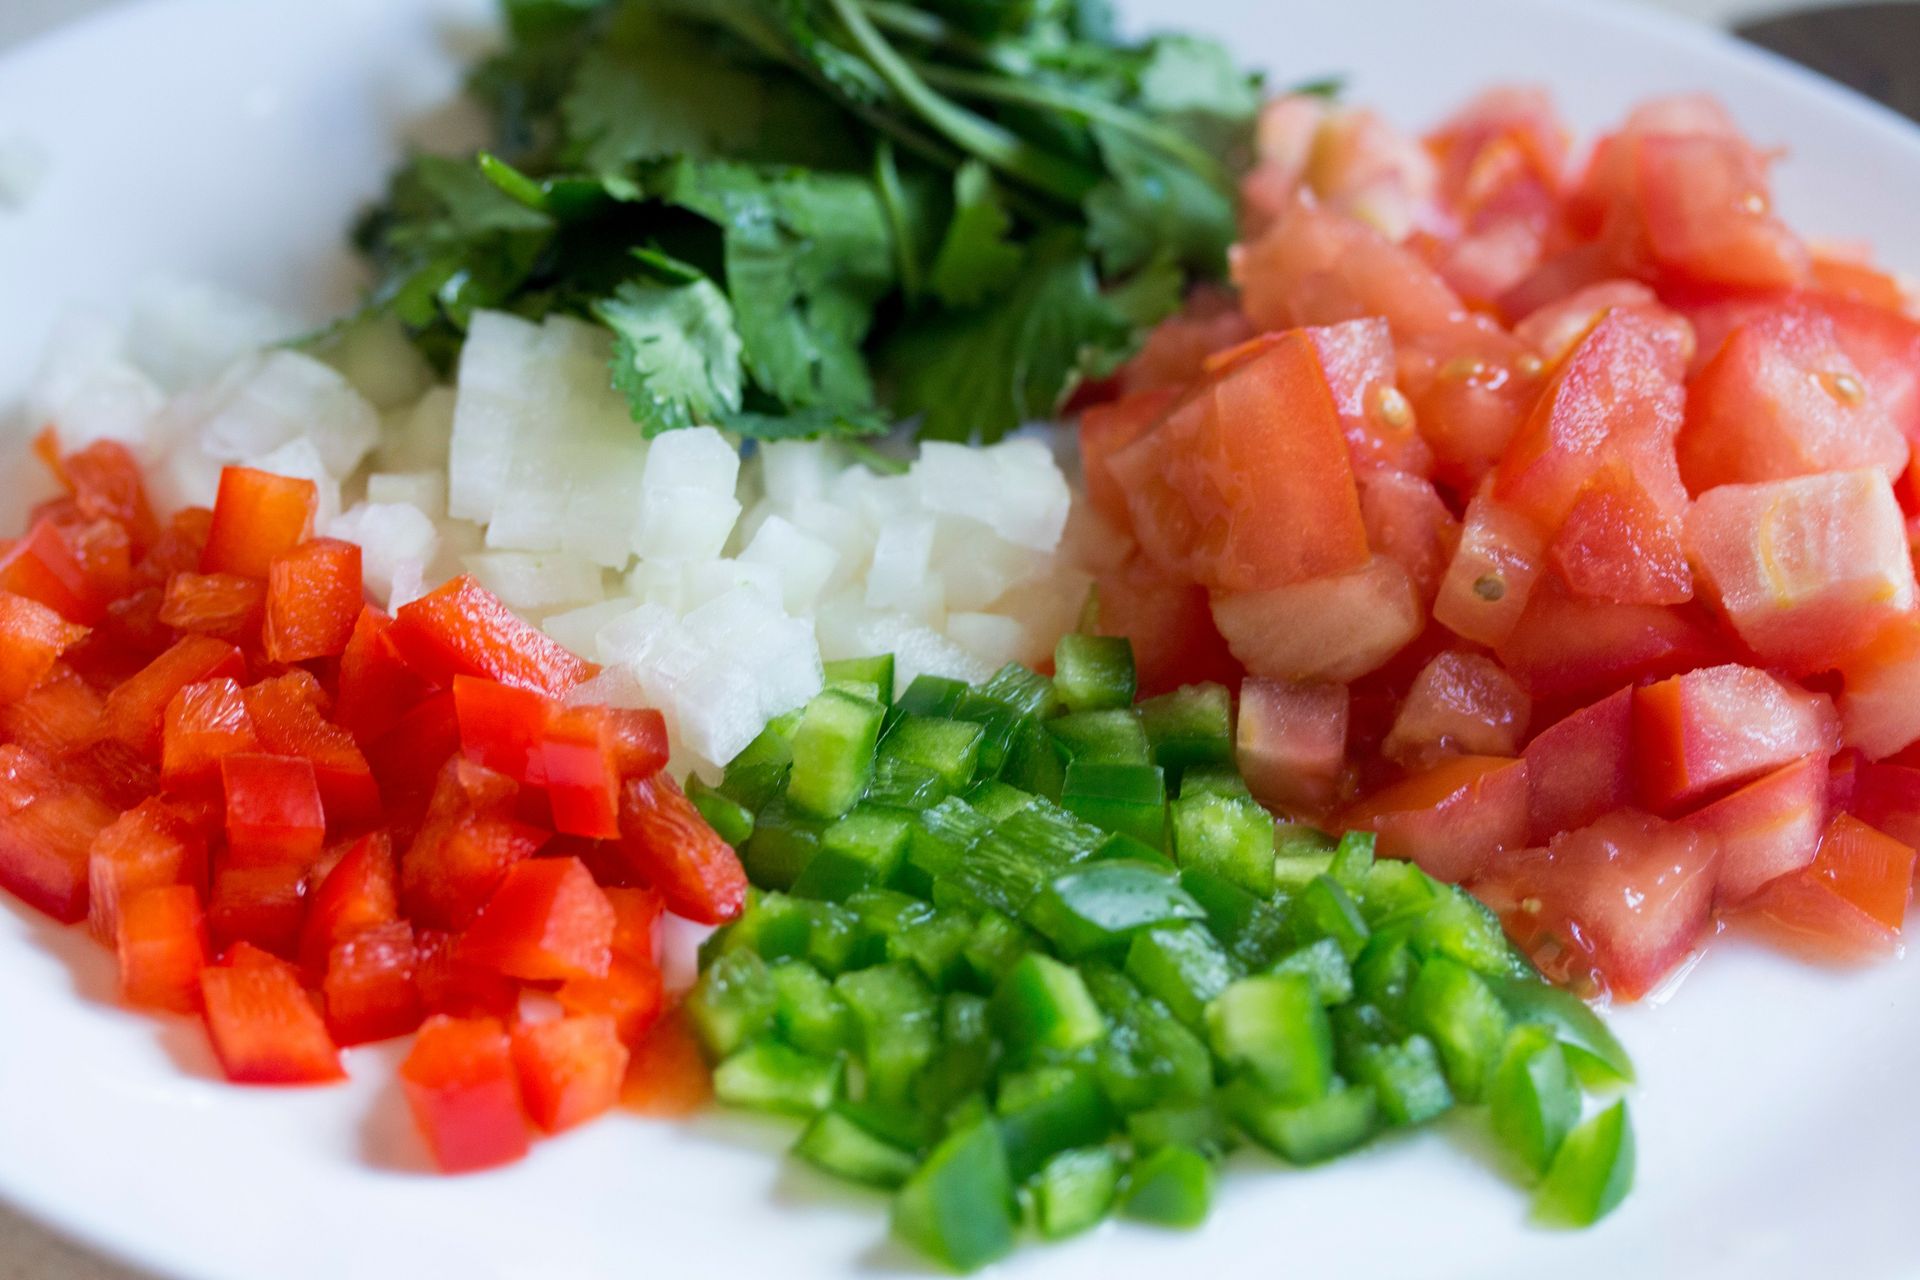
The brunoise — small uniform cubes of approximately 3mm per side — and the small dice (approximately 6mm per side) are the two cuts that most directly reveal whether a cook's knife skills are developed, because uniformity of size requires the combination of consistent slicing thickness, consistent strip width, and consistent cross-cutting intervals that only deliberate practice produces.
The technique for any dice: first, cut the vegetable into planks of the target thickness (3mm for brunoise, 6mm for small dice). Stack the planks and cut into strips of the same width. Align the strips and cross-cut at the same interval. The resulting cubes are uniform if each step was consistent.
The value of uniform dice is not aesthetics (though that matters) but cooking consistency: pieces of the same size cook at the same rate, so a dish made with brunoise will have all pieces at the same doneness simultaneously. Irregular cuts produce some pieces that are overcooked while others are underdone — particularly important in fast, high-heat applications.
Practice method: brunoise a carrot. A single carrot takes approximately 3 minutes when the technique is established and 10 to 15 minutes when it is not. Time yourself on successive attempts.
Yogendra Banjare / Pexels
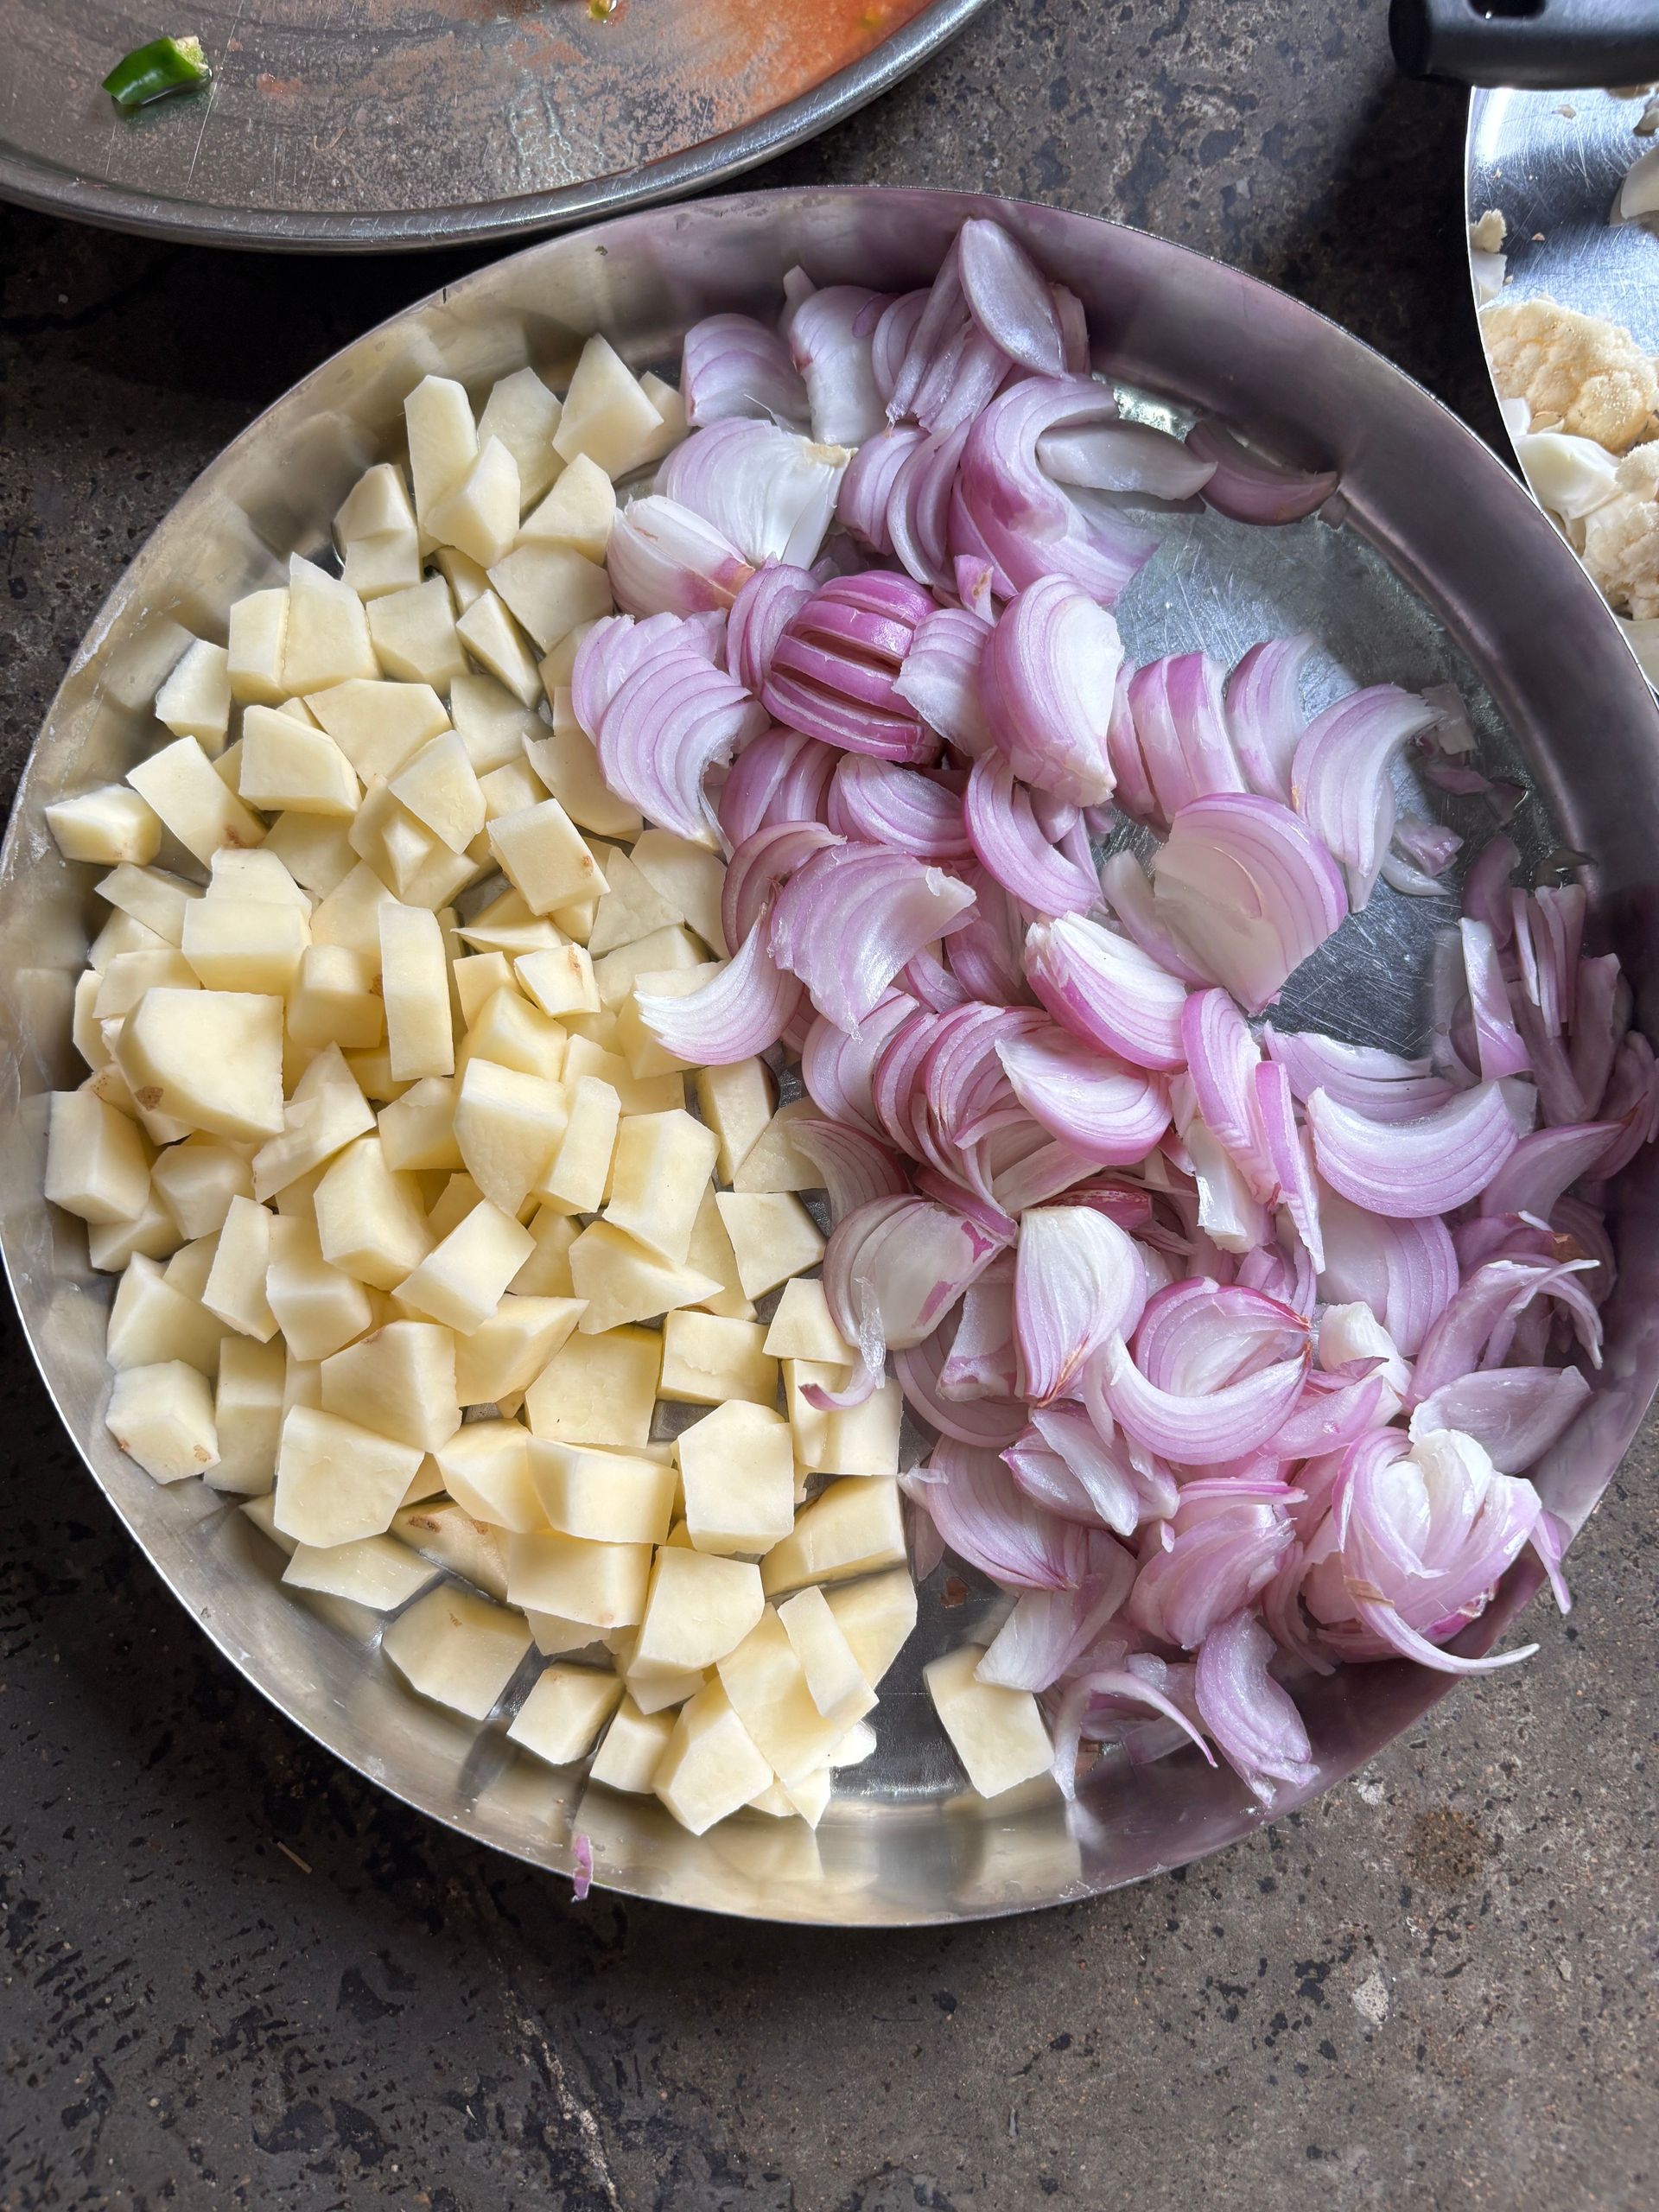
The medium dice (approximately 12mm per side) and large dice (approximately 20mm per side) are the cuts used for stews, braises, roasted vegetables, and any preparation where the pieces need to be large enough to remain distinct after cooking but small enough to cook through in a reasonable time.
The technique is identical to the brunoise and small dice: planks, then strips, then cross-cuts. The larger dimensions simply require fewer cuts per vegetable and produce results that are more forgiving of minor inconsistency — a 12mm cube and a 14mm cube cook at close enough to the same rate that the difference is not significant in most applications.
The large dice is the cut for pot roast vegetables, roasted root vegetables, and any preparation that is robust enough to absorb some size variation. The medium dice is the standard cut for mirepoix in soups and stews, for ratatouille, and for any preparation where the vegetables will be visible in the finished dish and should appear consistent.
Most common mistake: beginning to cut without establishing planks first — cutting directly into strips and then cross-cutting produces irregular pieces because the original cut surface was not flat.
The chiffonade — rolling leafy herbs or greens into a tight cylinder and slicing across to produce thin ribbons — is the fastest and most consistent technique for producing fine herb ribbons from large-leafed herbs and greens including basil, mint, sage, and sorrel.
The mechanics: stack several leaves, largest on the bottom, and roll them tightly into a cylinder. Hold the cylinder with the claw grip and slice across it with thin, even cuts using the push cut motion. The result is uniform ribbons whose width is controlled by the interval between cuts. For very fine chiffonade (1 to 2mm), increase the number of cuts per centimeter; for coarser ribbons (4 to 5mm), reduce them.
The chiffonade is significantly faster than chopping and produces more consistent results for visual presentation. It is specifically appropriate for basil (which bruises and darkens quickly, making the fewer cuts of the chiffonade preferable to the many cuts of chopping) and for any application where the herb is used as a garnish rather than as a cooked element.
Avoid: chiffonade of very delicate herbs like tarragon, chervil, and chives — these are better handled with a single-pass knife cut or simply snipped with scissors.
FOX / Pexels
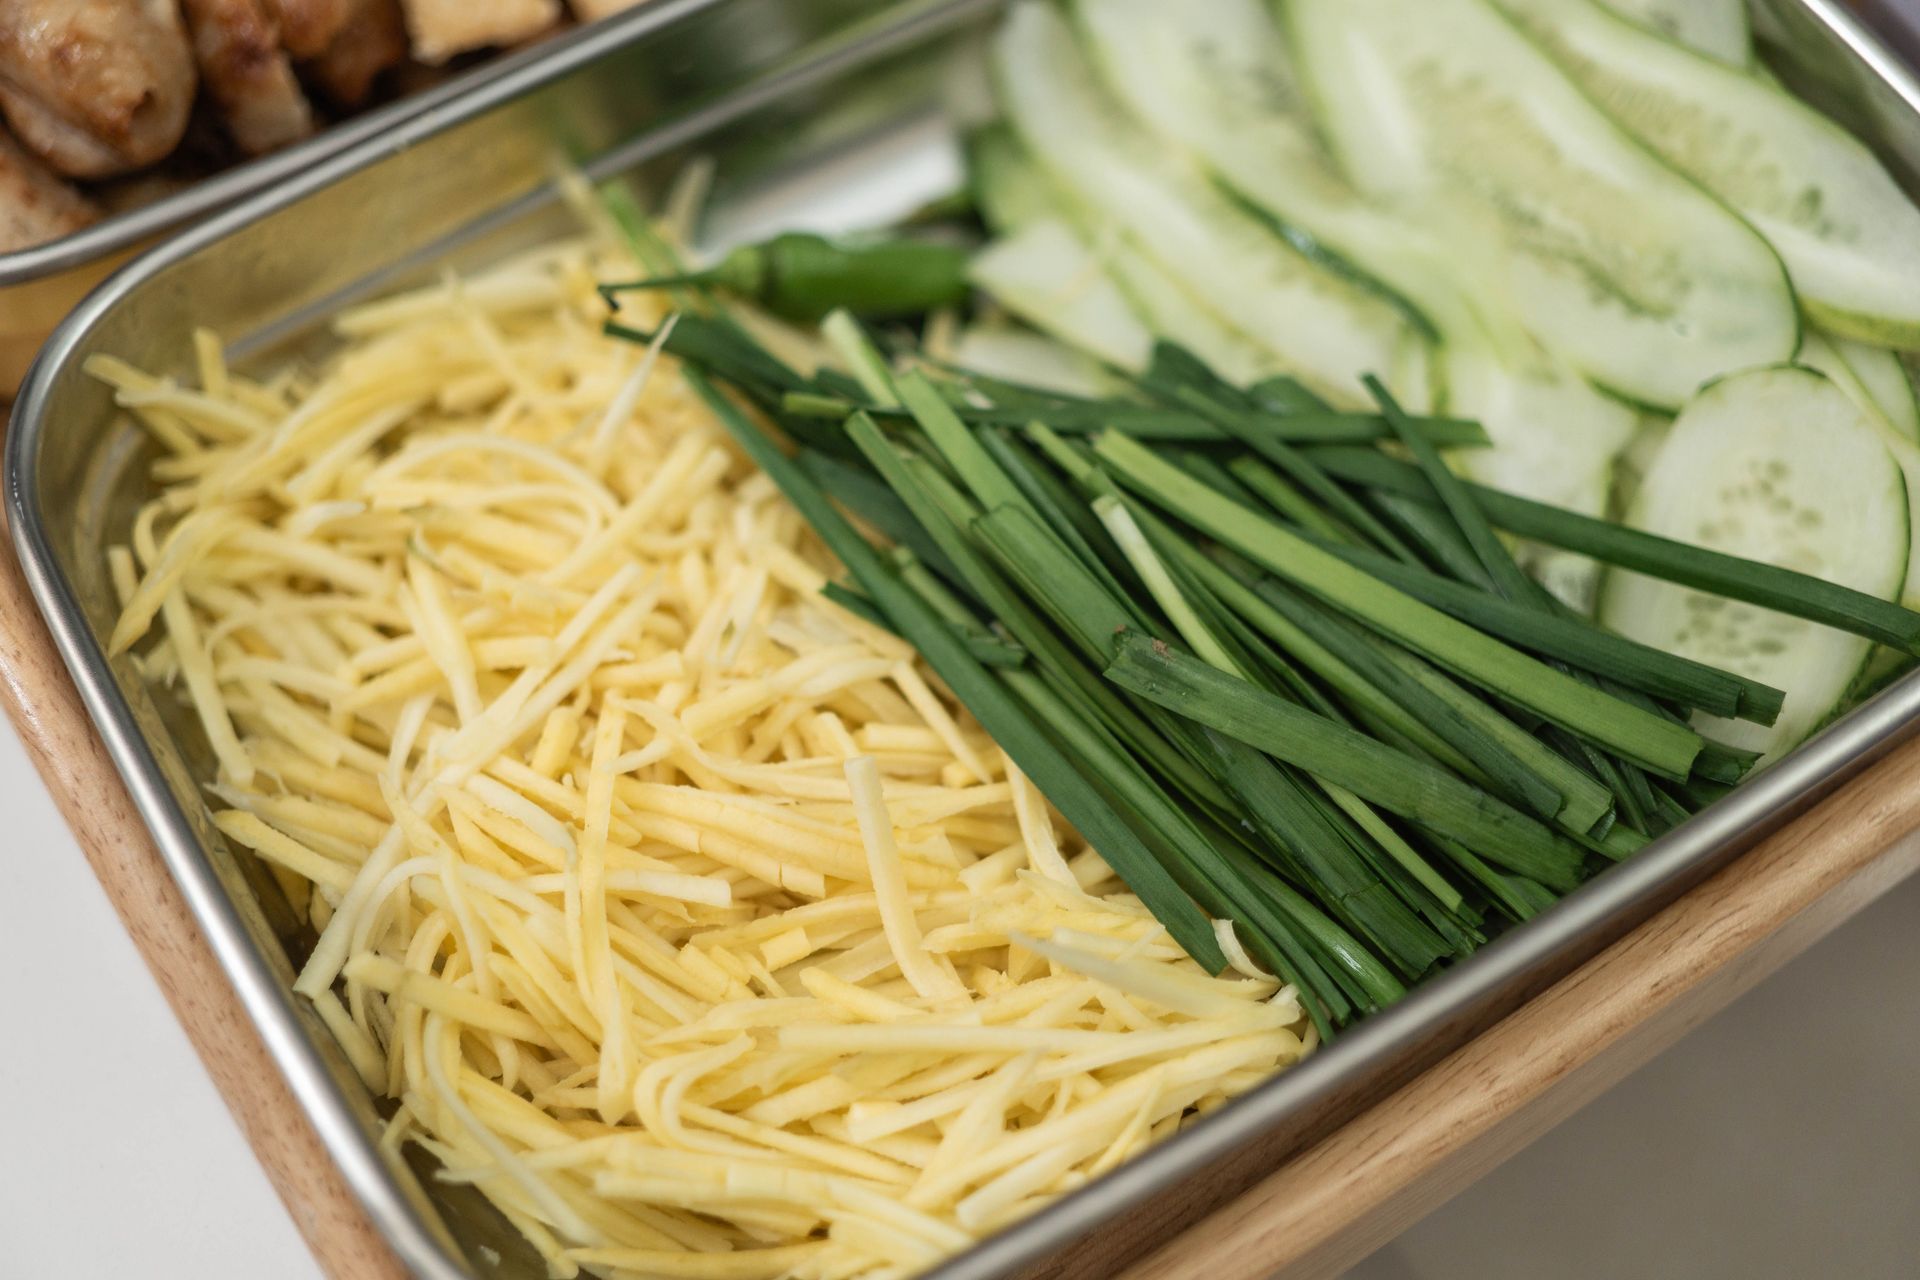
The julienne — matchstick cuts of approximately 3mm × 3mm × 5cm — is the cut that most develops knife control, because achieving consistent 3mm dimensions requires careful attention to both plank thickness and strip width, and because the length of the cut (5cm rather than the 3mm cross-section of the brunoise) makes any inconsistency immediately visible.
The technique: cut the vegetable into planks 3mm thick. Stack the planks and cut into strips 3mm wide. The result is julienne strips. If the planks were 4mm thick and the strips were 3mm wide, the result is a rectangular strip rather than a square matchstick — detectable and correctable.
The julienne is used for stir-fries (where uniform thin strips cook simultaneously in high-heat wok cooking), for salads where the texture of thin vegetable strips is desired, and for garnishes. A proper julienne should be fine enough to bend slightly without breaking — a 3mm julienne of carrot has some flexibility; a 6mm strip does not.
Practice tool: a mandoline produces julienne faster than hand-cutting and is useful for large volumes. For small quantities and skill development, hand-cutting the julienne is the more instructive exercise.
The onion is the vegetable cut most frequently in most kitchens, and there is a specific technique — half the onion cut flat-side down, horizontal cuts toward the root, vertical cuts toward the root, then cross-cuts — that produces uniform dice quickly and safely and that most home cooks have never been taught.
The technique: halve the onion through the root end (not the stem end — the root end holds the layers together during cutting). Place the flat side down. Make two to three horizontal cuts parallel to the board toward (but not through) the root. Make vertical cuts perpendicular to the board toward (but not through) the root, spacing them at the target dice size. Cross-cut across all the previous cuts. The root end holds the onion intact throughout and is discarded at the end.
This technique works because the onion's concentric layers are already arranged in curved planes — the horizontal and vertical cuts simply establish the intervals, and the cross-cut releases the dice all at once. Attempting to dice an onion without the horizontal cuts produces less uniform results because the layers are not intersected at the correct intervals.
Common mistake: cutting through the root end during the horizontal and vertical cuts, which causes the onion to fall apart before the cross-cuts are made.
RDNE Stock project / Pexels
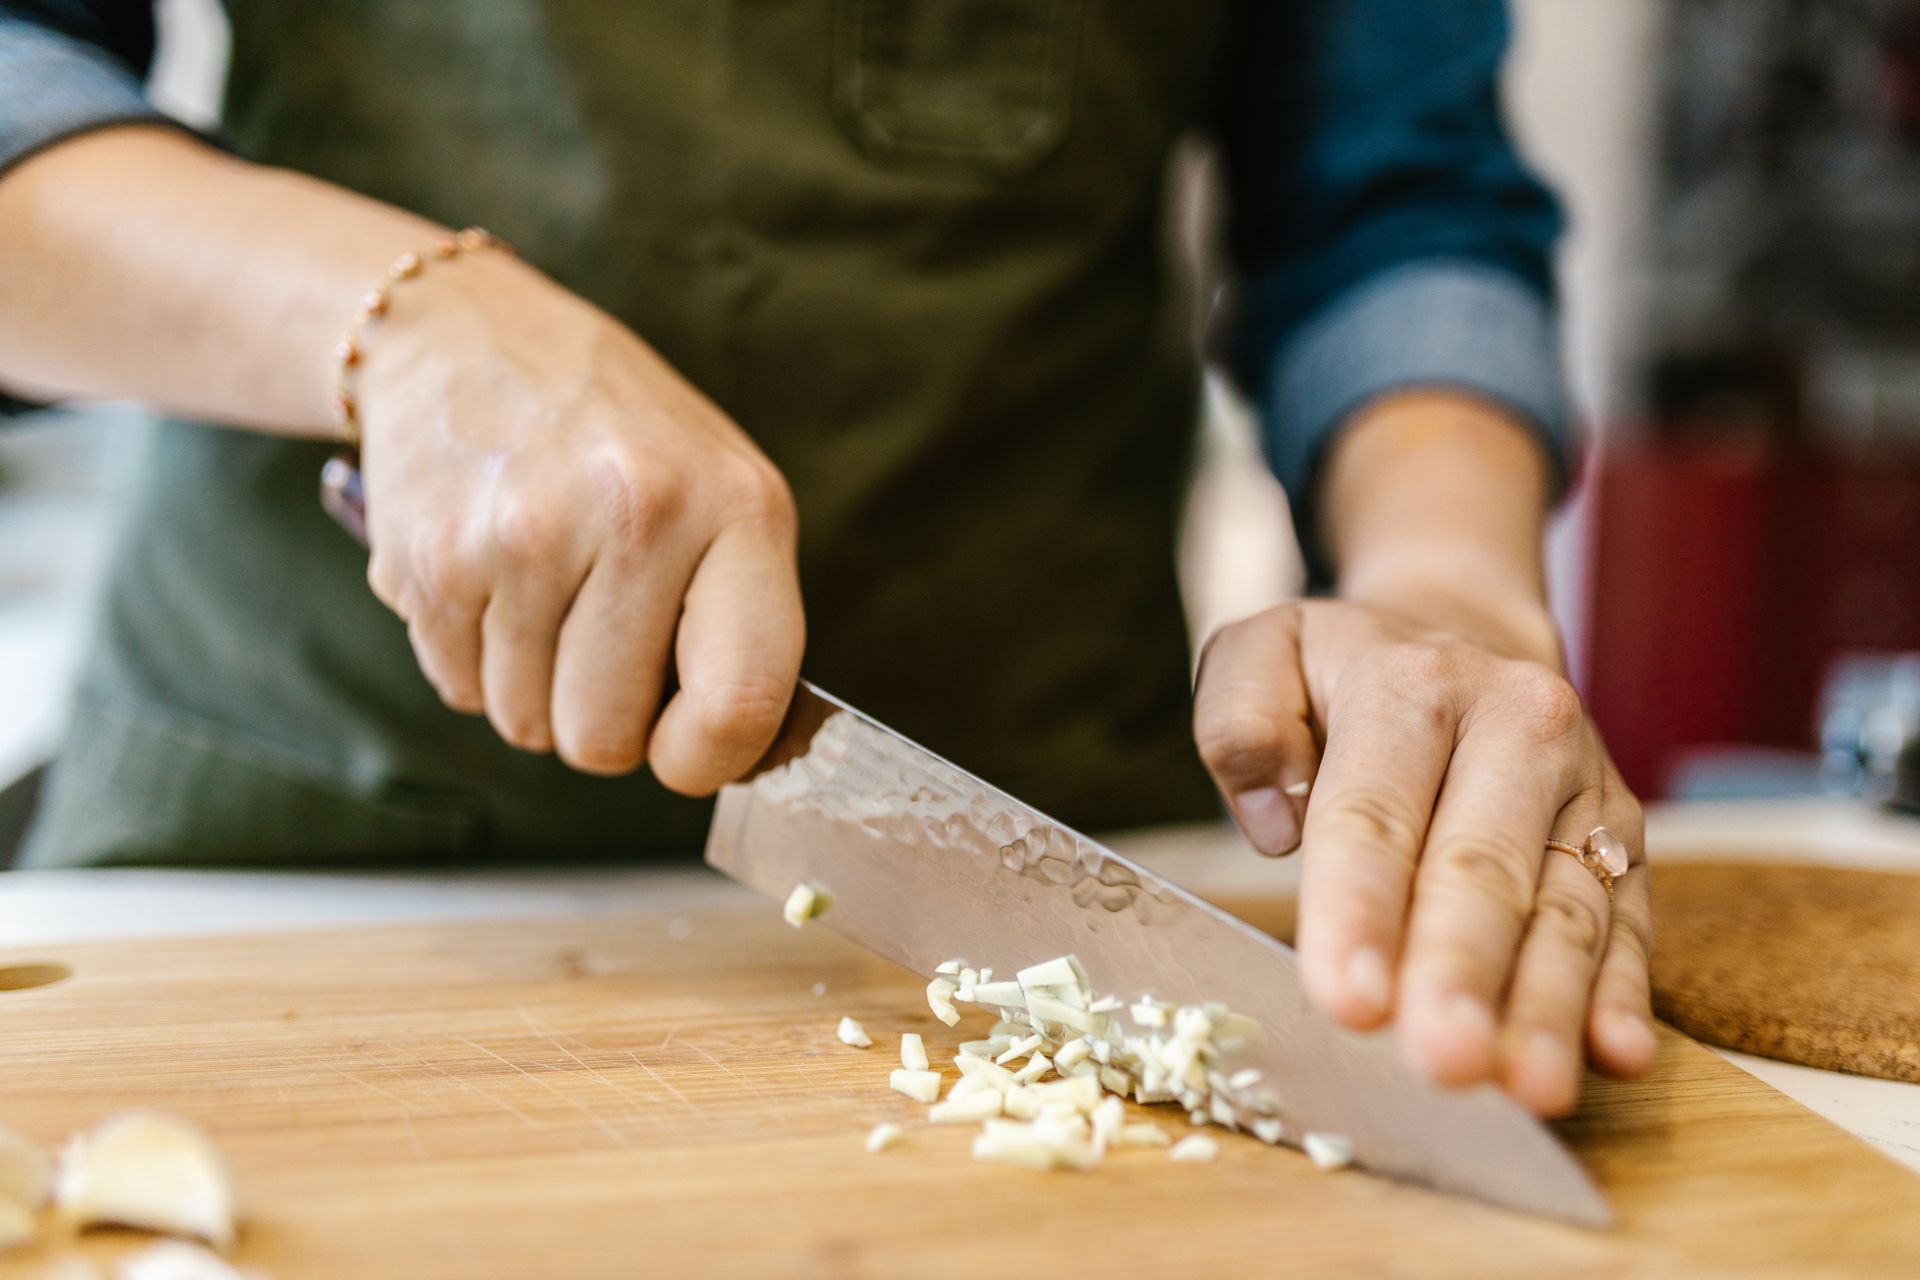
Mincing garlic — producing fine, uniform pieces small enough to dissolve into a sauce or distribute evenly through a dish — is a skill with three components: smashing (to loosen the skin and begin the breakdown), rough chopping (to reduce the clove to manageable small pieces), and fine mincing (to reach the target size using the rocking cut).
The technique: place the flat of the blade over the garlic clove and press down firmly with the heel of the hand to smash it. The skin will slip off. Rough-chop the smashed clove a few times. Sprinkle lightly with salt (which acts as an abrasive and helps the garlic break down to a paste). Rock the blade over the garlic repeatedly, periodically scraping the accumulation back under the blade, until the desired fineness is reached.
For garlic that will be cooked in oil at the start of a dish, a rough mince is sufficient. For raw garlic in a dressing or aioli, a fine mince to near-paste (achieved by using the side of the blade to smear the salted mince against the board) produces a better-integrated result without the sharp raw garlic bite that larger pieces produce.
Tool note: a garlic press produces more juice than a minced garlic clove and is appropriate for some applications but produces a different flavor profile and texture than hand-mincing.
Supreming citrus — cutting away the peel and pith and then cutting between the membranes to produce clean segments with no pith, membrane, or skin — is the technique that transforms citrus from a fruit into a prepared ingredient that can be used raw in salads, plated desserts, and garnishes without the bitterness of the pith or the texture of the membrane.
The technique: cut the top and bottom of the fruit flat. Stand the fruit on one cut end and slice away the peel and pith in vertical strips following the curve of the fruit, cutting close enough to remove all pith without removing flesh. Hold the peeled fruit over a bowl and cut along each membrane line, angling the knife toward the center. Each segment falls into the bowl as it is freed. Squeeze the remaining membrane over the bowl to extract the juice.
The skill is in the peel removal: too shallow leaves white pith that is bitter; too deep wastes fruit. The correct depth leaves the flesh completely bare — no white pith and no membrane visible on the outside of the peeled fruit.
Application: any salad using citrus segments, vinaigrette made with the pressed membrane juice, plated desserts.
Butterflying — cutting a piece of protein (a chicken breast, a lamb leg, a pork chop) partially through to open it flat, increasing surface area and reducing thickness for faster, more even cooking — and spatchcocking (removing the backbone of a whole bird to flatten it for roasting) are the two poultry and meat knife skills that produce the greatest improvement in cooking results per unit of skill investment.
The butterflying technique for a chicken breast: place the breast flat on the board. Position the knife at the thickest part of the breast, parallel to the board. Cut horizontally through approximately two-thirds of the thickness, stopping before cutting through completely. Open the breast like a book. The result is a piece approximately twice the surface area and half the thickness of the original, which cooks in approximately half the time and cooks evenly throughout.
Spatchcocking: place the bird breast-side down. Use kitchen shears or a heavy knife to cut along both sides of the backbone and remove it. Flip the bird and press flat. The breast sits at a lower position and the thighs at a higher one, equalizing the cooking time for parts that would otherwise cook at different rates.
Result: a butterflied chicken breast cooks in 6 to 8 minutes per side rather than 12 to 15; a spatchcocked chicken roasts in 45 to 50 minutes rather than 80 to 90.
Carving a roast — a whole chicken, a leg of lamb, a beef tenderloin — against the grain and at the correct angle produces slices that are tender, intact, and visually presentable, while carving with the grain or at an incorrect angle produces shredded, tough, or ragged slices from the identical piece of meat.
The first principle: identify the grain direction of the meat (the direction in which the muscle fibers run) by looking at the surface of the cut end. The fibers are visible as parallel lines. The knife should cut perpendicular to these lines — across the grain — so that the knife severs the long muscle fibers rather than running along them. Fibers severed short by the knife are shorter in the mouth; fibers intact and running the length of the slice require the jaw to sever them, which is what makes "with the grain" slices feel chewy.
The carving angle: slicing at an angle (approximately 45 degrees for most roasts) rather than straight down produces oval slices with more surface area per slice than vertical cuts, and the angled cut through the muscle fibers produces slices that hold together better on the plate.
Rest before carving: carve only after the meat has rested (at least 5 to 10 minutes for a chicken breast, 20 to 30 minutes for a large roast) to allow juice redistribution as described in the cooking techniques piece.
Filleting a round fish (a trout, a sea bass, a salmon) — separating the flesh from the spine and pin bones in two intact fillets — requires a flexible fillet knife, a specific sequence of cuts, and a feel for when the knife is on bone versus flesh that develops with practice and is very difficult to describe in words.
The sequence: cut behind the pectoral fin and gill plate down to the spine without cutting through it. Turn the knife parallel to the board and cut along the top of the spine from head to tail, following the spine's contour and lifting the fillet away as the knife progresses. Remove the fillet. Flip and repeat for the second side. Run a finger along the center line of each fillet to locate pin bones and remove them with tweezers or needle-nose pliers.
The skill is in maintaining contact with the spine throughout the cut: too shallow and flesh is left on the bone; too deep and the knife cuts through the spine. A flexible knife that bends to follow the spine's contour makes this contact easier to maintain than a rigid knife.
Practice fish: a whole trout is the best practice fish for beginners — large enough to practice technique but small enough that the sequence is completed quickly, with distinctive pin bones along the centerline that confirm when the fillet is properly removed.
Deveining shrimp — removing the digestive tract that runs along the dorsal surface — is a technique that is done primarily for appearance (the dark vein is visually unappealing) and occasionally for flavor (in large shrimp with a full digestive tract, the vein can have a slightly gritty taste). It is a minor knife skill in absolute terms but one that home cooks frequently do awkwardly, taking far longer and wasting far more shrimp than necessary.
The technique: hold the shrimp with the dorsal side up. Use a small paring knife or a deveining tool to make a shallow cut along the center of the back, deep enough to expose the vein but not deep enough to cut through the shrimp entirely. Remove the vein with the tip of the knife or with a finger. Rinse.
For peeled shrimp, the technique is the same. For shell-on shrimp that will be cooked shell-on, use a sharp knife or scissors to cut along the back of the shell and through the vein without removing the shell.
Speed technique: for large quantities, butterfly the shrimp (cut deeper, through three-quarters of the thickness) simultaneously with deveining — the butterflied shrimp opens flat and cooks in less time with more surface area for browning.
Keegan Checks / Pexels
A knife that is stored incorrectly — loose in a drawer where it contacts other utensils — will be dulled by those contacts and will eventually chip. A knife that is cleaned in a dishwasher will have its edge degraded by the harsh detergents and water jets and its handle damaged by the heat and moisture of the cycle. Both of these practices are the primary reason most home cooks' knives are duller than they should be.
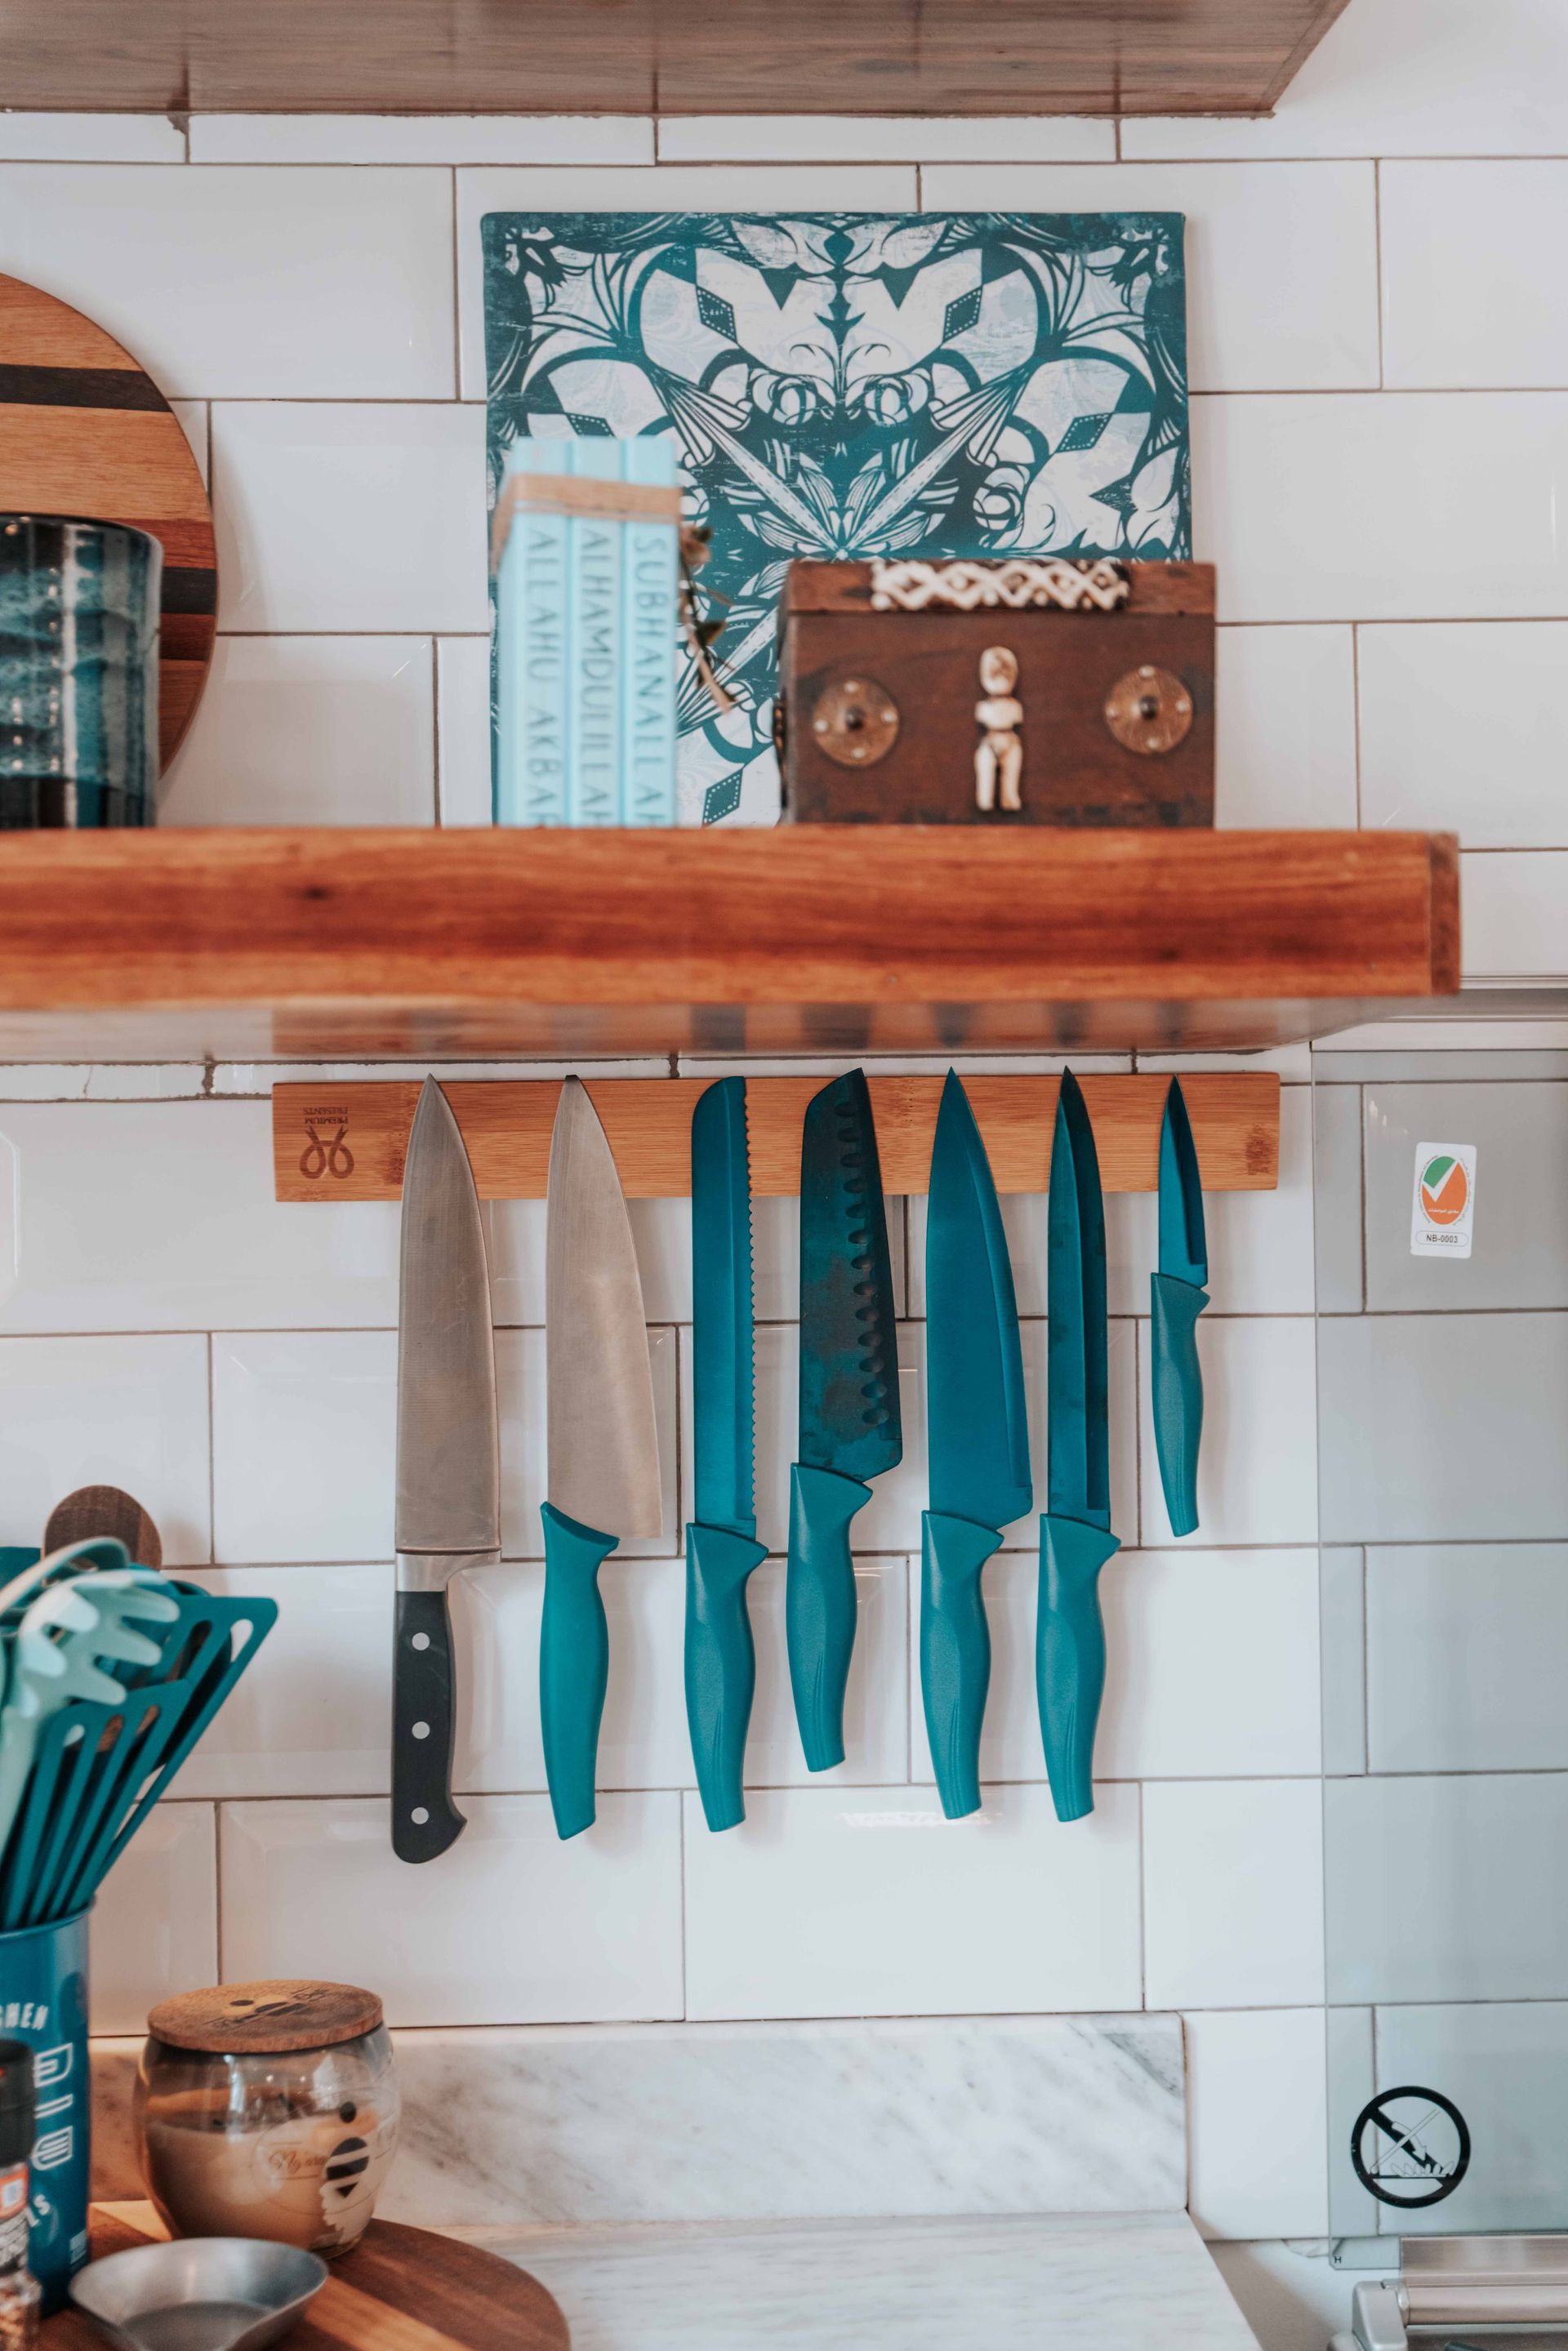
Correct storage: a magnetic knife strip (which holds knives by the spine, not the edge), a knife block (which holds knives by the handle, edge down), or individual blade guards. The magnetic strip is the most space-efficient and most accessible option for most kitchens.
Correct cleaning: hand wash with warm soapy water and dry immediately. Dishwashers are the single most damaging routine to a knife edge, and no knife — regardless of what the manufacturer claims — benefits from dishwasher cleaning.
Maintenance schedule: hone before every use; sharpen when the honing stops producing a noticeable improvement; have a professional sharpen or reprofile the edge when the knife has been severely dulled or chipped.