
30 one-pan dinners that are actually worth making
From cast iron short rib ragù to skillet shakshuka, these 30 one-pan dinners cover a full month of weeknight cooking with real flavor and minimal cleanup
Credit: Canva Images
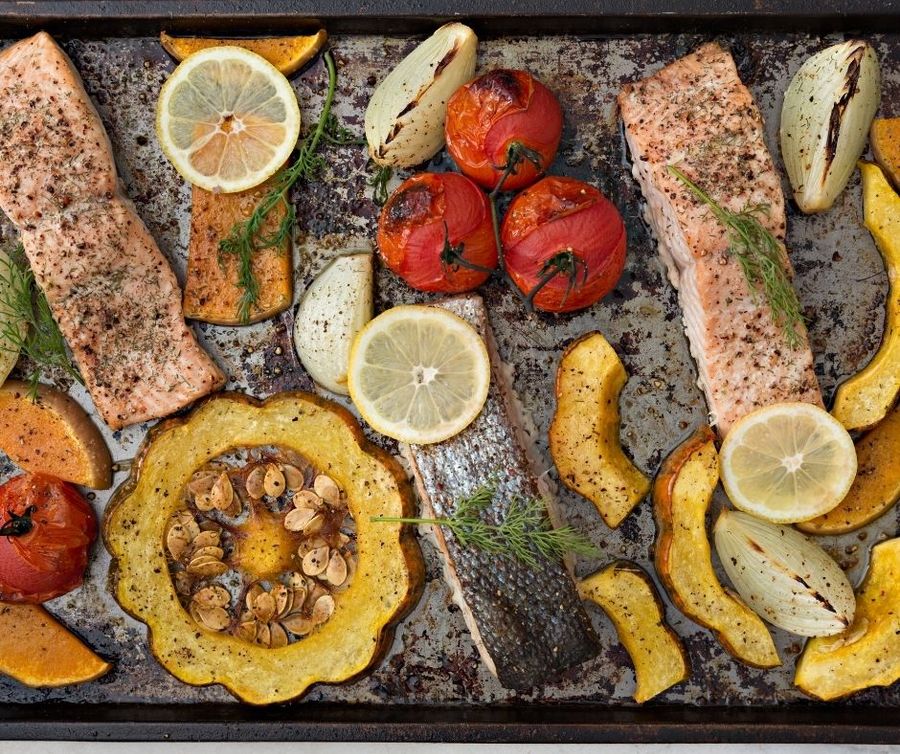
The appeal of one-pan cooking isn't laziness — it's logic. When a single vessel can brown, braise, roast, and caramelize without any handoff between pots, flavors compound rather than scatter. The browned bits left behind from searing become the base for a sauce. The vegetables that absorb roasting juices develop a depth they'd never achieve steaming in a separate pot. The pan does the work because everything happens together.
That said, "one-pan" as a category has been diluted. A recipe technically qualifies if you dump ingredients into a dish and walk away — but that's not the same as a recipe worth making twice. The 30 dishes here were chosen because they're good enough to rotate into regular use, not just because they're convenient. They span a wide range of cuisines and techniques: sheet pan roasting, Dutch oven braising, cast iron searing, skillet sautéing. Some come together in under 30 minutes. Others take a couple of hours but require almost no active effort. All of them produce food that tastes like you tried.
One-pan cooking rewards a few consistent habits. Dry your proteins before adding them to a hot pan — surface moisture causes steaming rather than browning, and browning is where flavor lives. Give ingredients room on a sheet pan, because crowding traps steam and prevents caramelization. When a recipe asks you to build a fond — those browned bits that stick to the bottom — trust the process and deglaze with wine, stock, or water to capture everything.
The pan itself matters more than most recipes acknowledge. A well-seasoned cast iron skillet conducts heat differently than stainless steel. A heavy rimmed sheet pan holds its heat better than a flimsy one. A wide Dutch oven gives you enough surface area to brown meat without steaming it. The dishes here call for equipment you likely already own, but using the right one for each technique makes a genuine difference.
These 30 recipes represent a full month of weeknight cooking, with enough variety that you won't feel like you're eating the same meal twice. Start anywhere.
Sheet pan chicken thighs with roasted root vegetables
Credit: Faris Mohammed, Unsplash
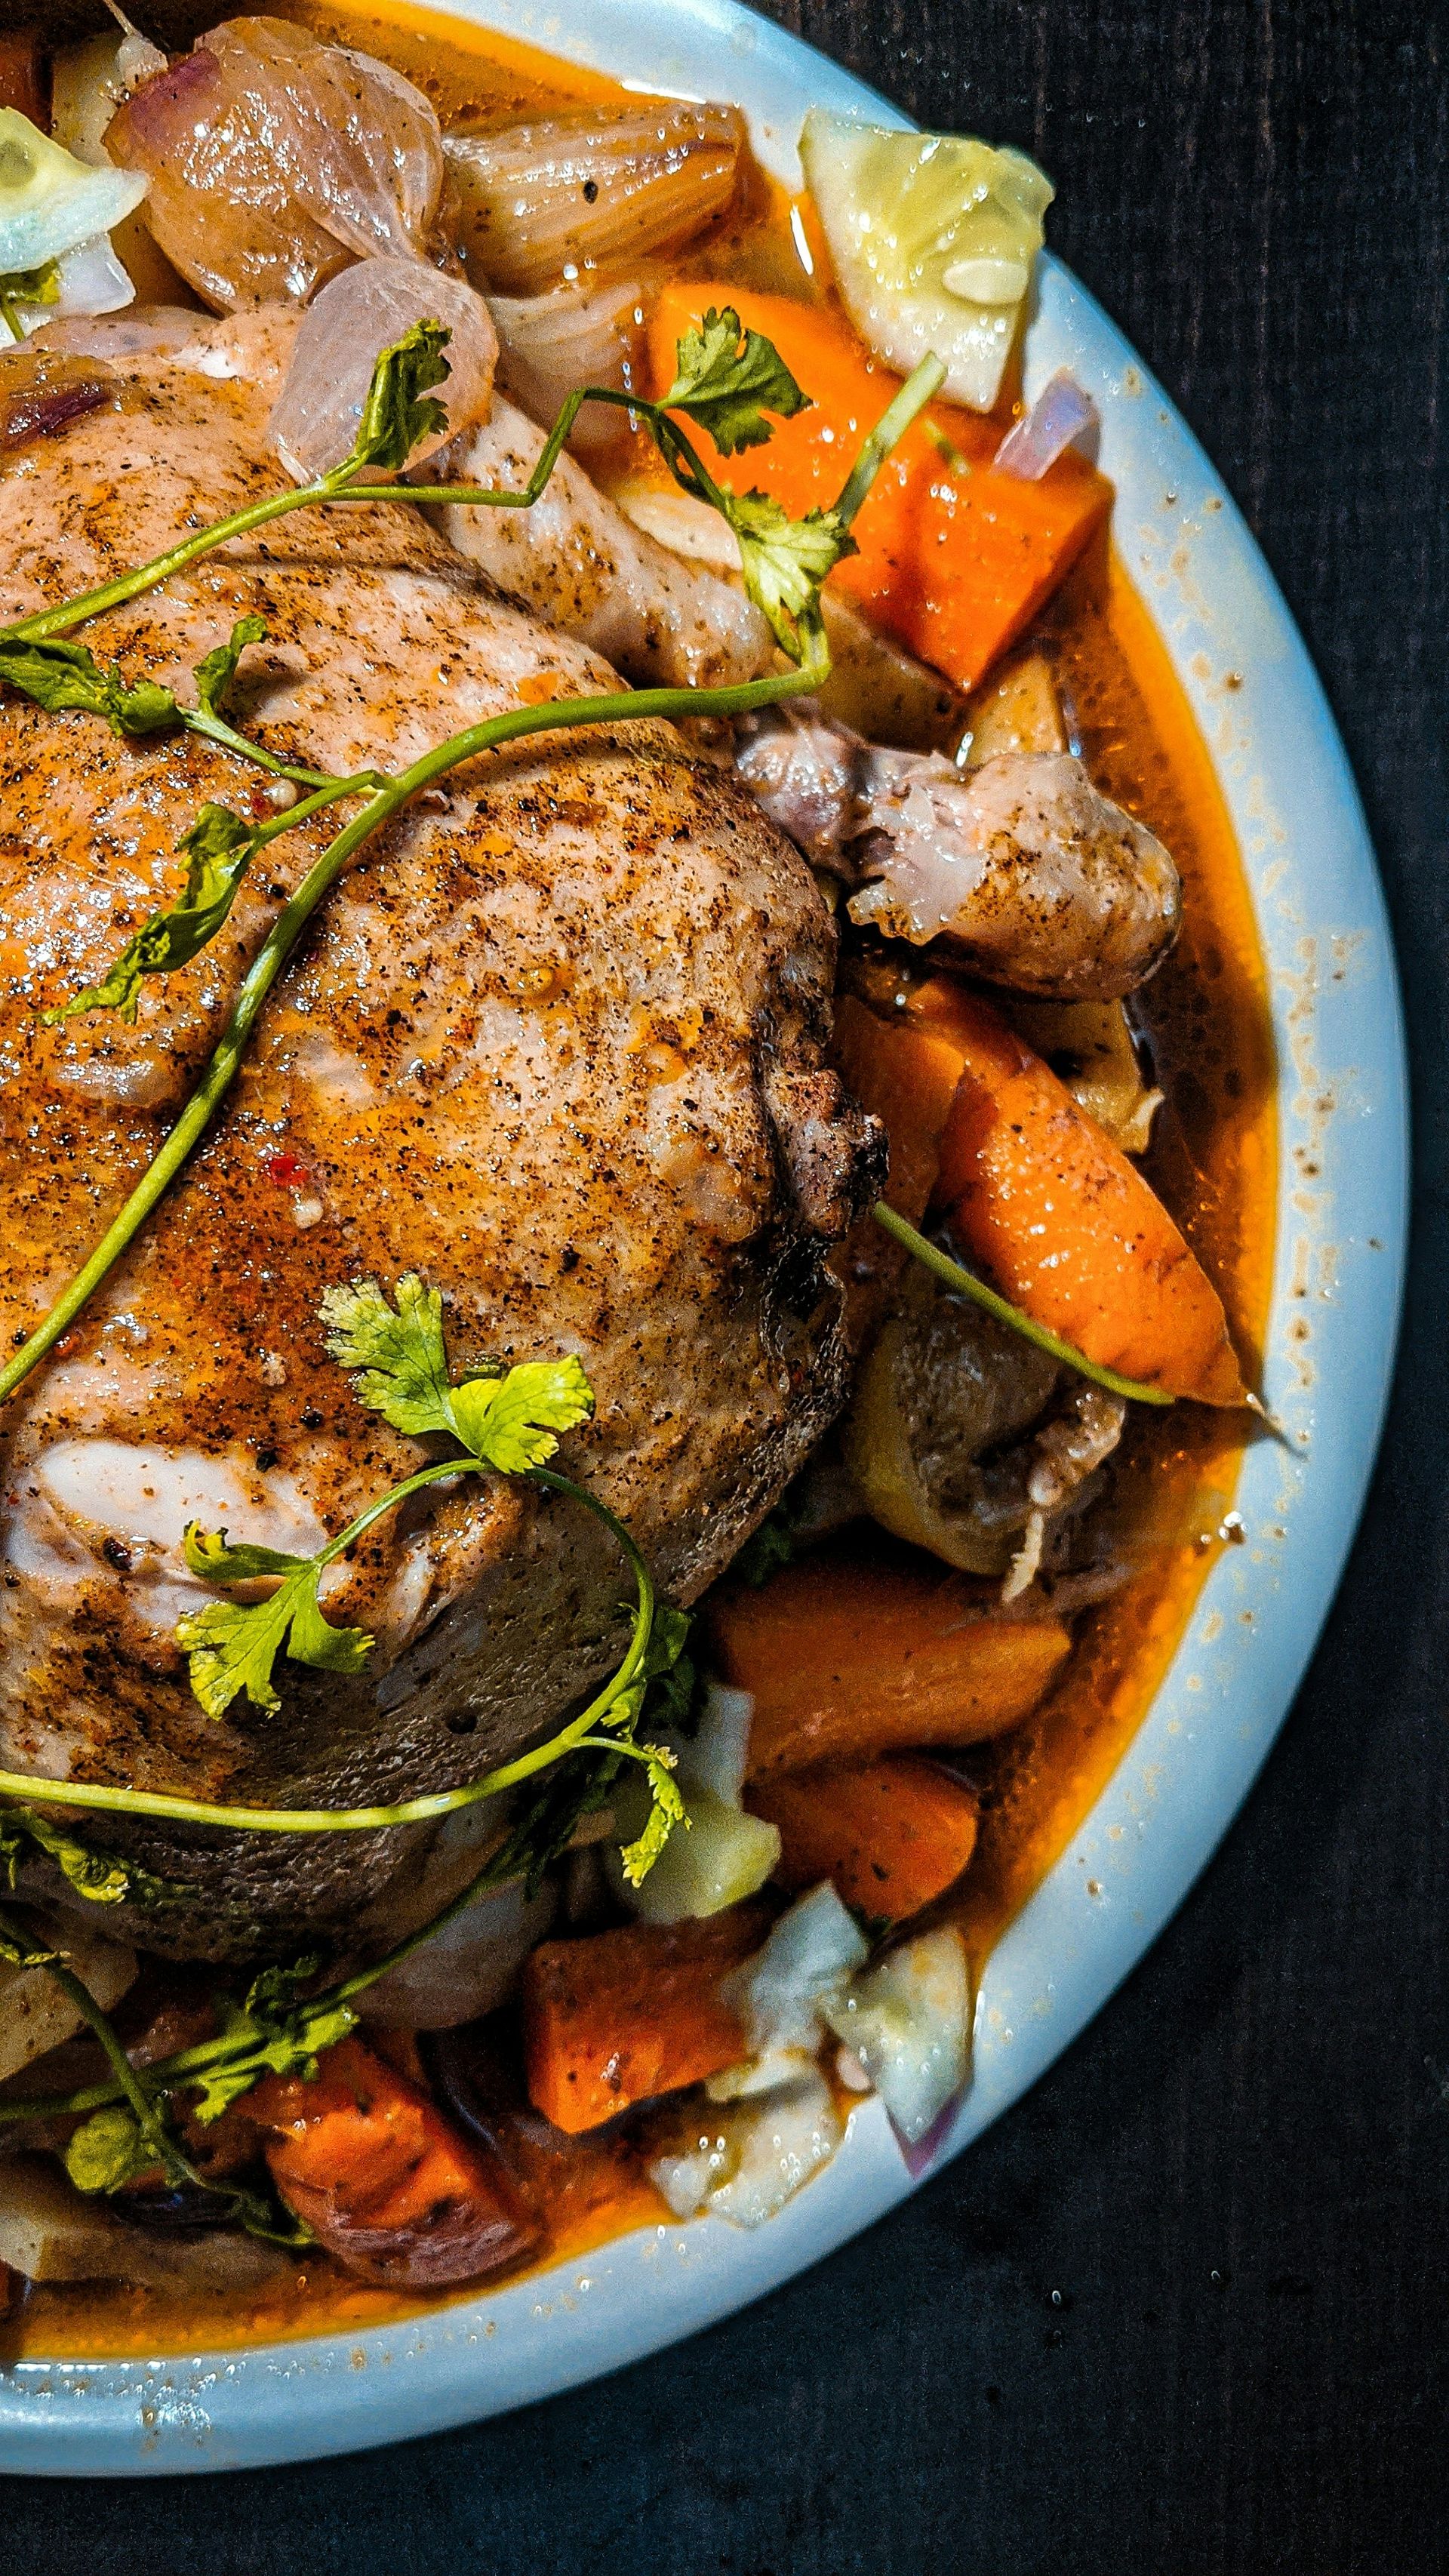
Chicken thighs are built for the oven. Their higher fat content compared to breasts means they stay moist under dry heat, and the skin crisps without constant attention. When cooked on a sheet pan alongside root vegetables — carrots, parsnips, turnips, or sweet potatoes, depending on the season — the drippings baste the vegetables as they roast, and the result is a pan full of caramelized, cohesive flavors that tastes like it took considerably more effort.
The technique is simple but depends on a few decisions made before the pan goes in. First, pat the chicken dry. Any surface moisture will steam rather than brown during the first minutes of cooking, which delays browning and softens the skin instead of crisping it. Season generously with salt, then let the chicken sit at room temperature for 20 to 30 minutes while the oven preheats — this helps the skin dry further and ensures more even cooking throughout.
Cut root vegetables into roughly equal-sized pieces, around one inch, so they finish cooking at the same time as the chicken. Toss them with olive oil, salt, pepper, and whatever aromatics suit you — smashed garlic cloves, fresh thyme, or rosemary all work well. Arrange in a single layer on the pan, then nestle the chicken on top or alongside, skin side up. The chicken sits directly on the vegetables rather than on a rack, which means the vegetables get basted continuously as the fat renders.
Roast at around 425°F (220°C) until the chicken skin is deeply browned and the vegetables are tender with some char at their edges. Bone-in thighs typically take 40 to 45 minutes, though oven temperatures vary — a safe internal temperature for chicken thighs is 165°F (74°C). Rest the chicken for five minutes before serving.
A few variations make this recipe adaptable throughout the year. In winter, beets, celeriac, and carrots work well. In fall, butternut squash and fennel is a particularly good combination. In warmer months, swap root vegetables for zucchini, cherry tomatoes, and red onion — they'll cook faster, so start checking at 25 minutes. A squeeze of lemon over the finished pan brightens everything considerably and cuts through the richness of the chicken fat.
The sheet pan cleans up easily while it's still warm. Pour a small amount of water over it, let it sit for a few minutes, and the browned bits lift cleanly with a wooden spoon or brush.
Skillet shakshuka
Credit: joyosity, Flickr (CC BY 2.0)
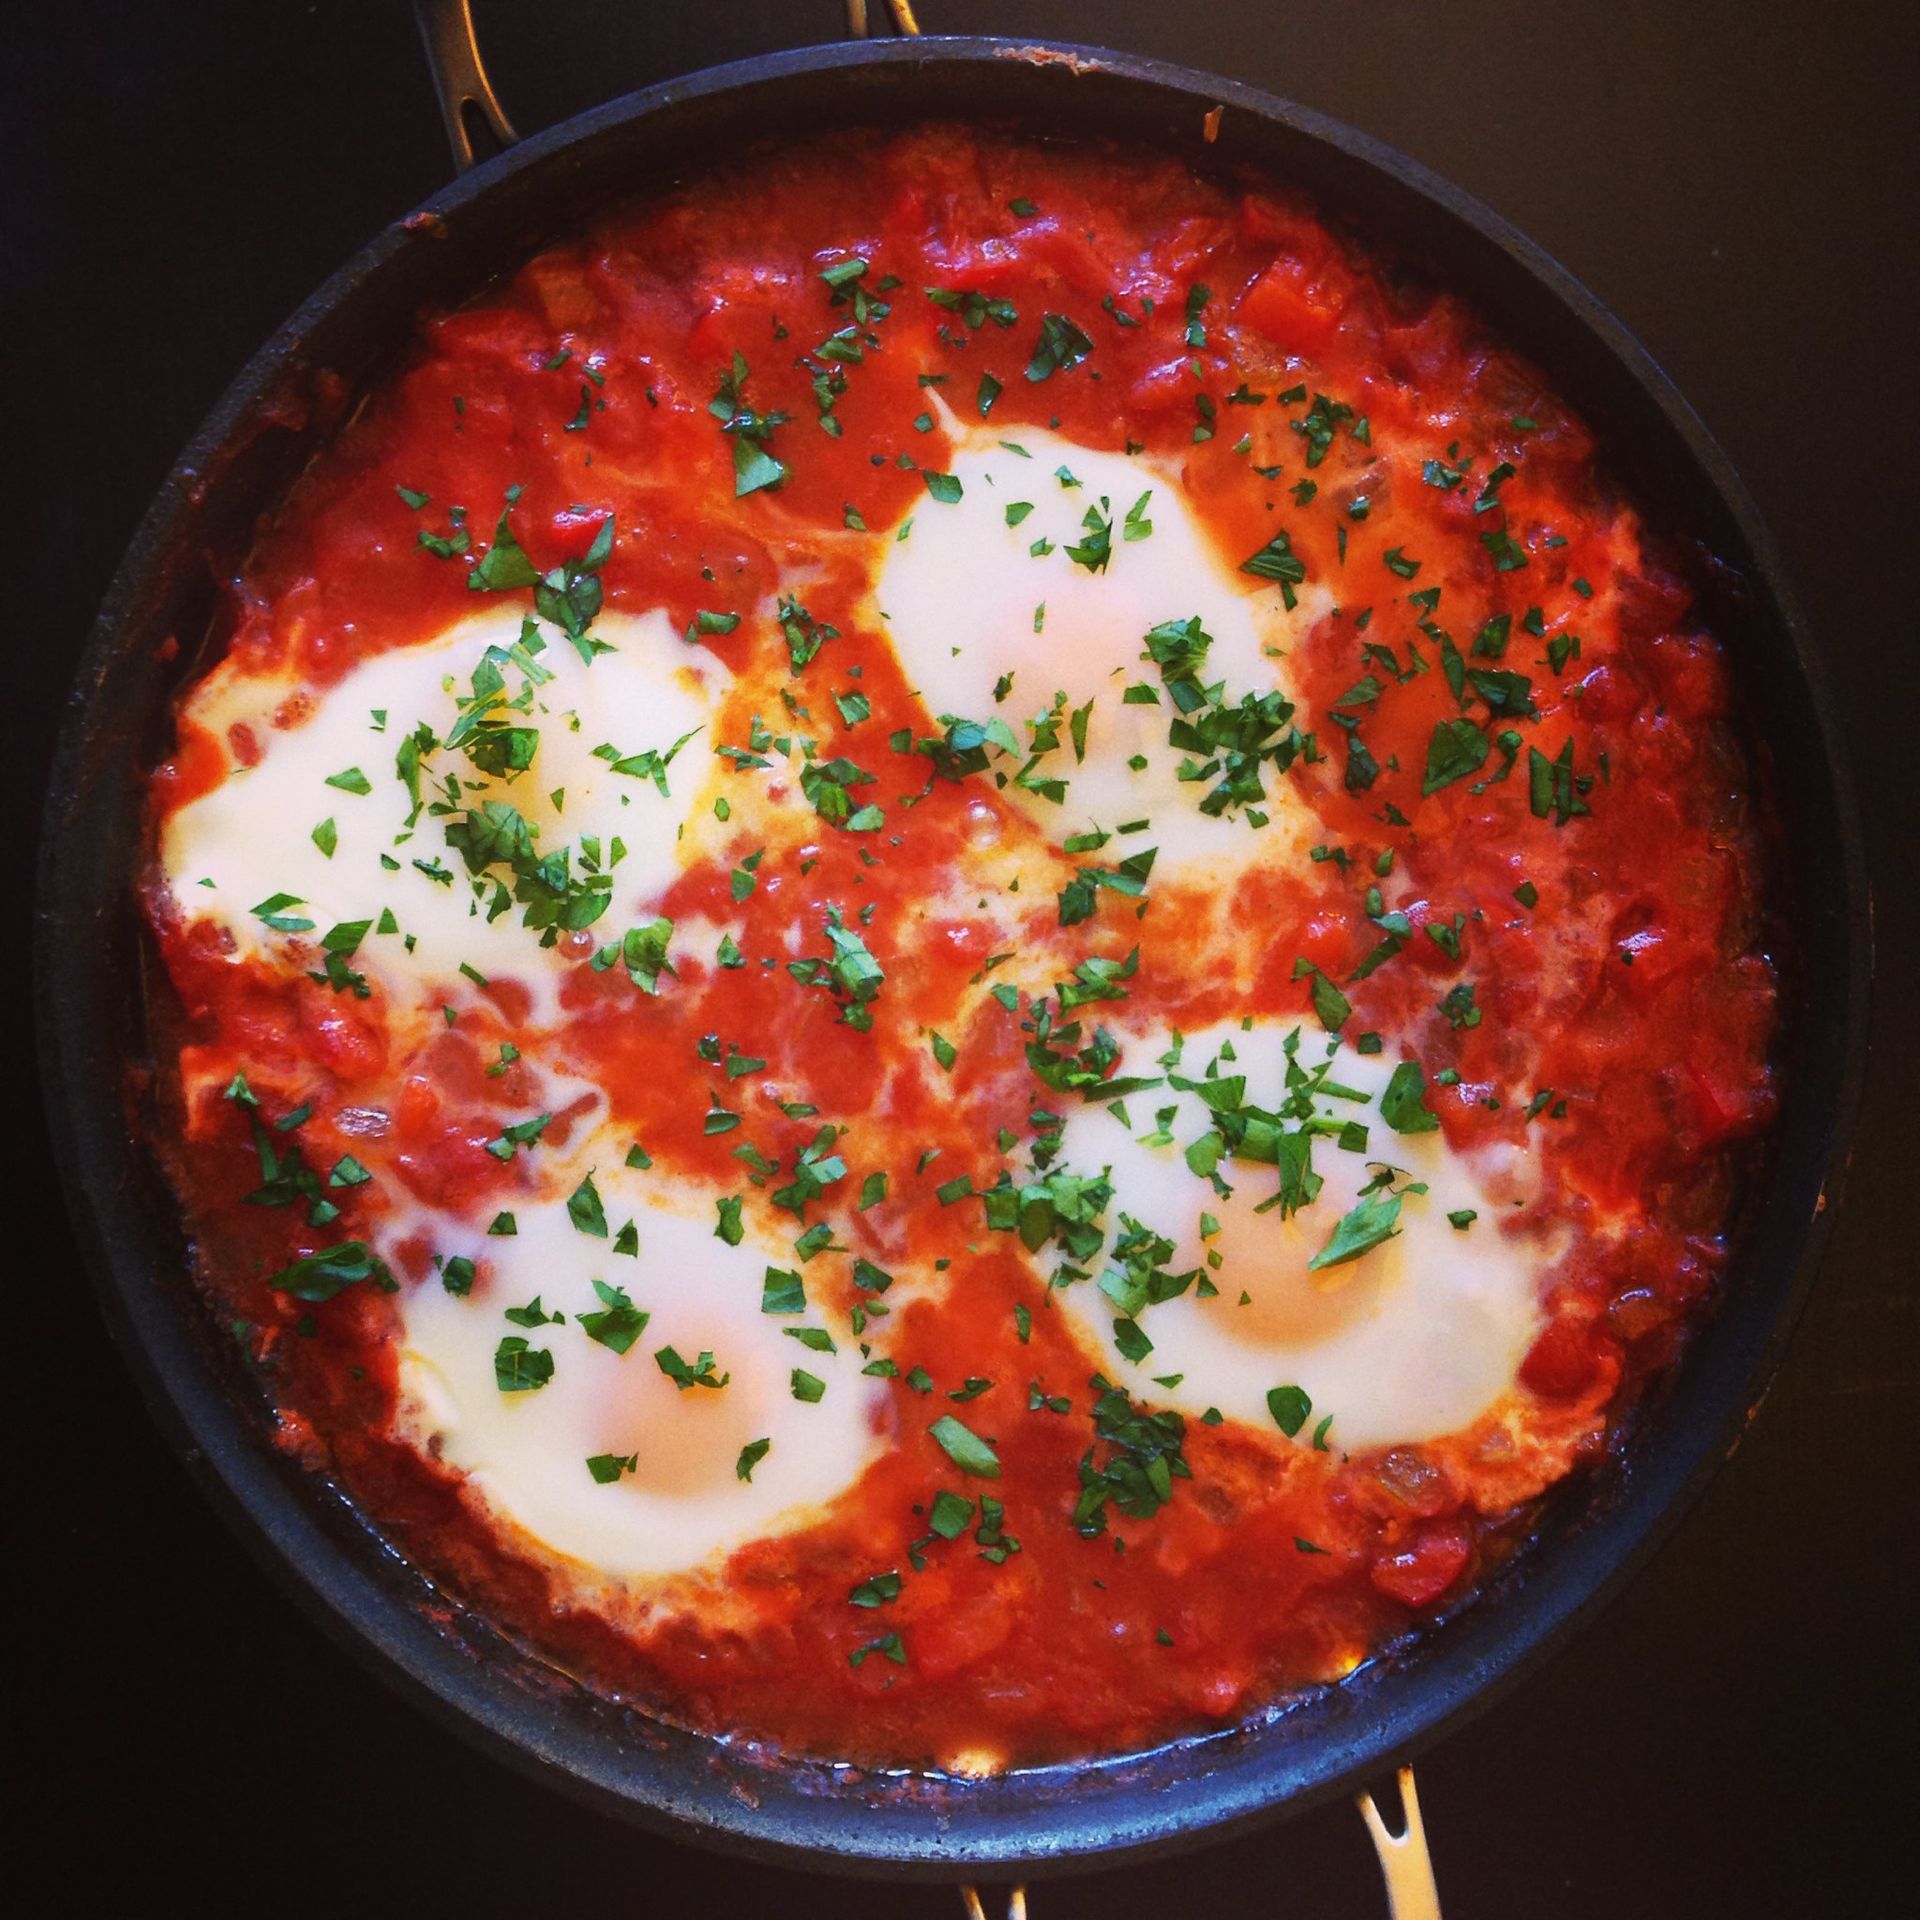
Shakshuka — eggs poached directly in a spiced tomato sauce — is one of the most practical dinners in regular rotation. It's fast, vegetarian by default, genuinely satisfying, and built from pantry staples most cooks already have. A single skillet handles everything from start to finish.
The foundation is the sauce. Start with olive oil and sauté one diced onion and one diced bell pepper over medium heat until they soften, which takes about eight minutes. Add three or four minced garlic cloves and cook for another minute. Then come the spices: ground cumin, smoked paprika, and a pinch of cayenne are the standard base. Toast them briefly in the oil before adding tomatoes — either a 28-ounce can of crushed tomatoes or whole peeled tomatoes crushed by hand. Season with salt and let the sauce simmer uncovered for 10 to 15 minutes until it thickens slightly and the flavors meld.
The egg technique matters here. Use the back of a spoon to make wells in the sauce, then crack one egg per well. Lower the heat slightly, cover the skillet, and let the eggs cook in the steam. This takes four to six minutes depending on how set you want the yolks — pull it off the heat when the whites are just set and the yolks are still soft. Residual heat will continue cooking the eggs for another minute or two after you remove the lid.
Shakshuka is typically served from the pan, with crusty bread for scooping. Feta crumbled on top adds saltiness and creaminess. Fresh herbs — flat-leaf parsley or cilantro — finish the dish and cut through the richness of the sauce.
A few additions elevate the basic version. Harissa stirred into the sauce adds complexity and heat. A handful of spinach wilted into the sauce before adding the eggs boosts nutritional value without significantly changing the flavor profile. Some versions include merguez sausage browned in the pan first — the spiced fat it renders becomes part of the sauce, adding a meatier depth.
This dish reheats reasonably well if you separate the sauce from the eggs before storing, since reheated eggs lose their texture. For a second meal, warm the sauce and poach fresh eggs into it rather than reheating the whole dish together.
One-pot pasta e fagioli
Credit: Polina Tankilevitch, Pexels
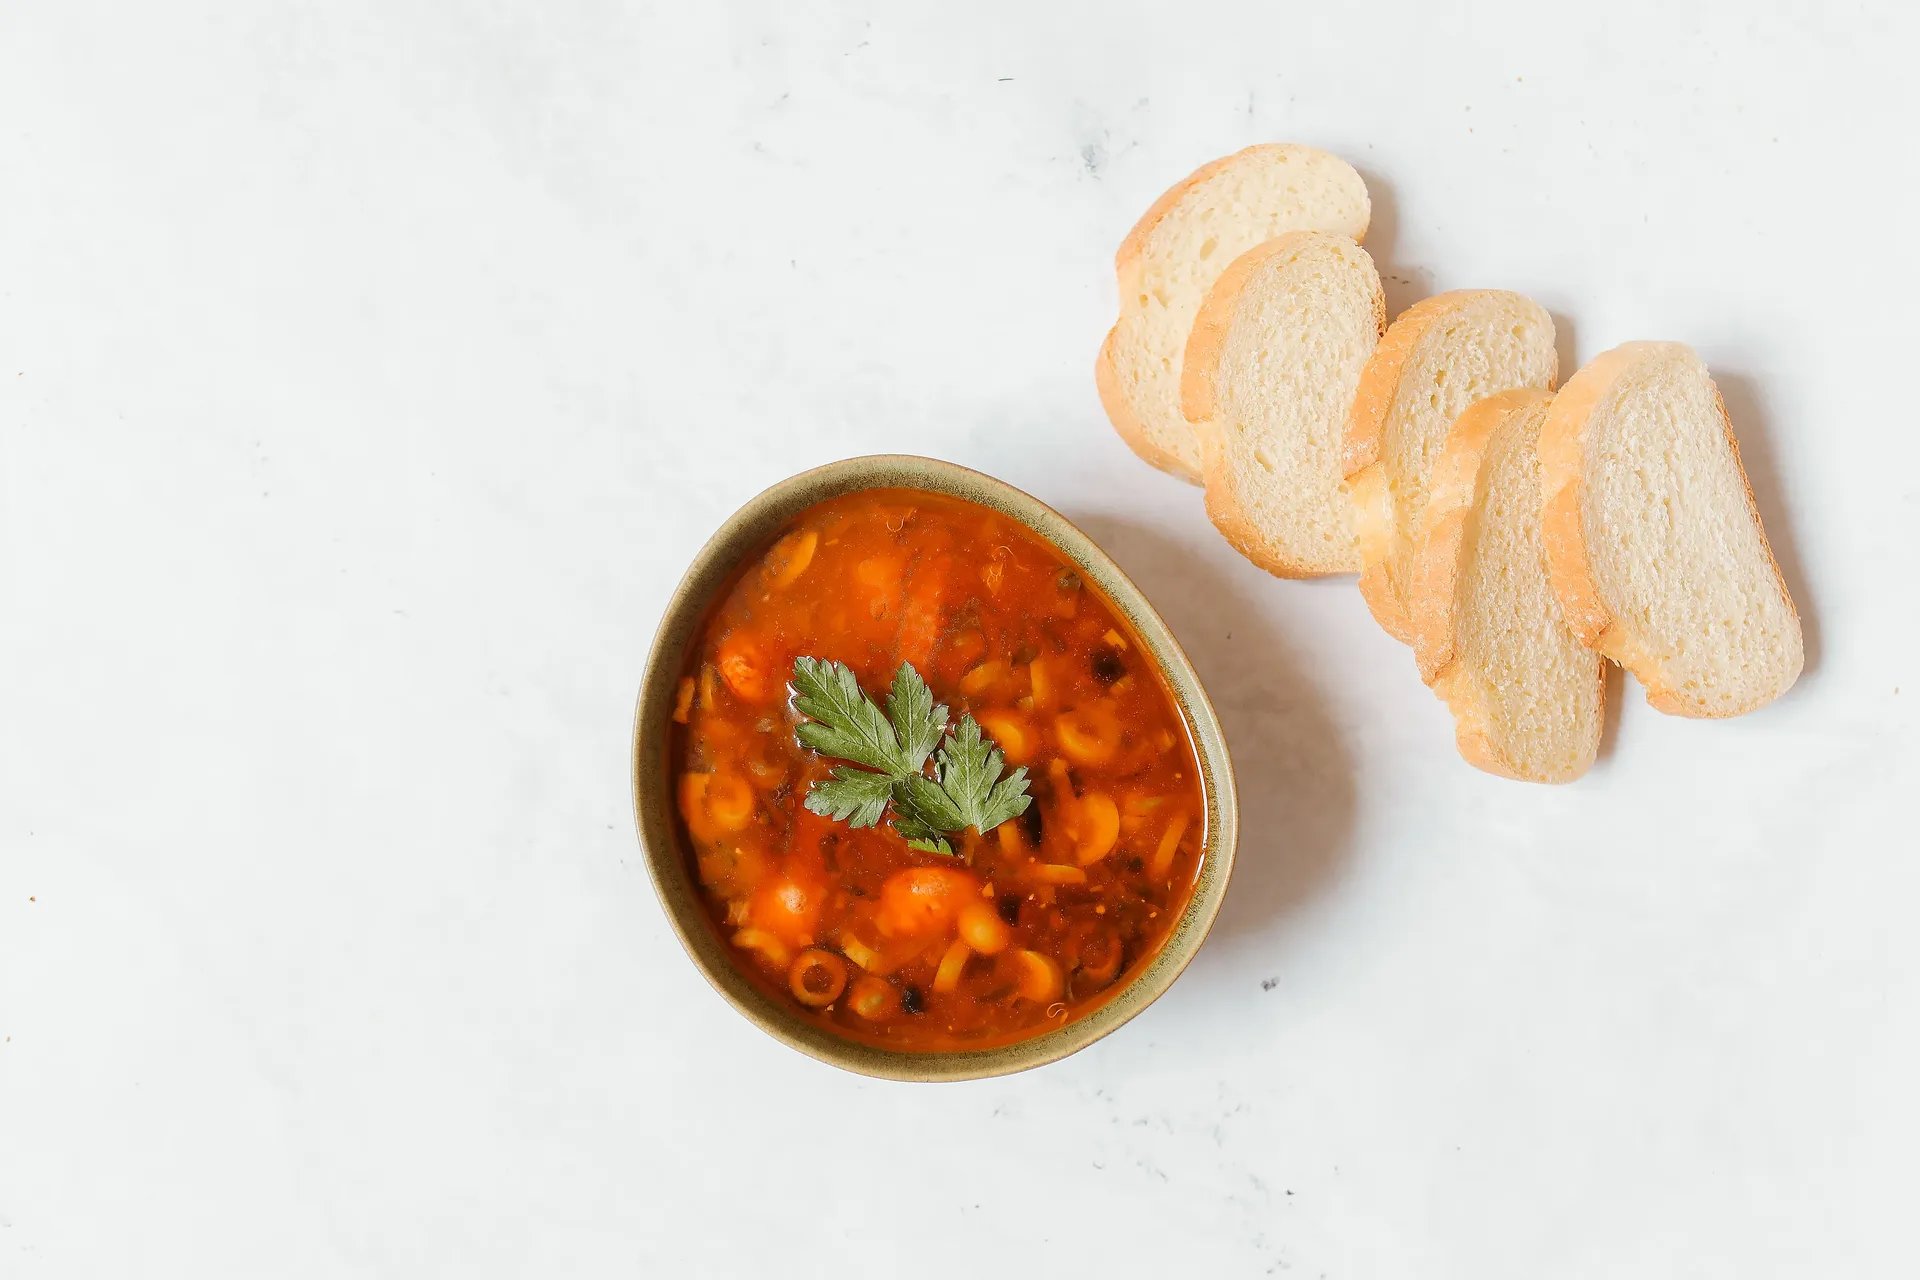
Pasta e fagioli — pasta and beans, literally — is one of Italy's foundational simple dishes. The one-pot version, where dried pasta cooks directly in a lightly thickened broth alongside beans and vegetables, produces a consistency that a two-pot approach can't replicate: the starch released by the pasta as it cooks thickens the broth into something that sits between a soup and a stew, rich enough to coat a spoon.
Start by heating olive oil in a large, heavy pot — a Dutch oven works well, though any wide, deep pot will do. Add diced pancetta or guanciale if you want a meatier version, rendering it until the fat is released and the pork begins to crisp. Remove the pork and use the same fat to sauté diced onion, carrot, and celery until they soften, about eight minutes. Add minced garlic and a pinch of dried red pepper flakes, then cook for another minute.
Stir in a can of crushed or diced tomatoes along with a bay leaf and a few sprigs of fresh rosemary or thyme. Add two cans of drained cannellini or borlotti beans. Return the pancetta to the pot if you used it. Pour in enough chicken or vegetable broth to cover generously — around five to six cups. Bring to a simmer and cook for 15 minutes so the flavors develop.
Add the pasta — small shapes like ditalini, tubetti, or broken spaghetti work best because they cook evenly in a thickened broth. Stir frequently as the pasta cooks to prevent sticking. The pasta will absorb liquid as it cooks, so have extra warm broth on hand to loosen the dish if needed. Taste for seasoning and adjust before serving.
Finish with a generous pour of good olive oil and freshly grated Parmigiano-Reggiano. The olive oil added at the end is not decorative — it contributes genuine richness and rounds out the acidity of the tomatoes. Black pepper is important here; it lifts the entire dish.
This recipe is very forgiving. Use whatever small pasta you have on hand. Great northern beans substitute well for cannellini. Add a Parmesan rind to the simmering broth — it dissolves slowly and adds umami without any identifiable cheese flavor in the finished dish.
Cast iron seared salmon with white beans and wilted greens
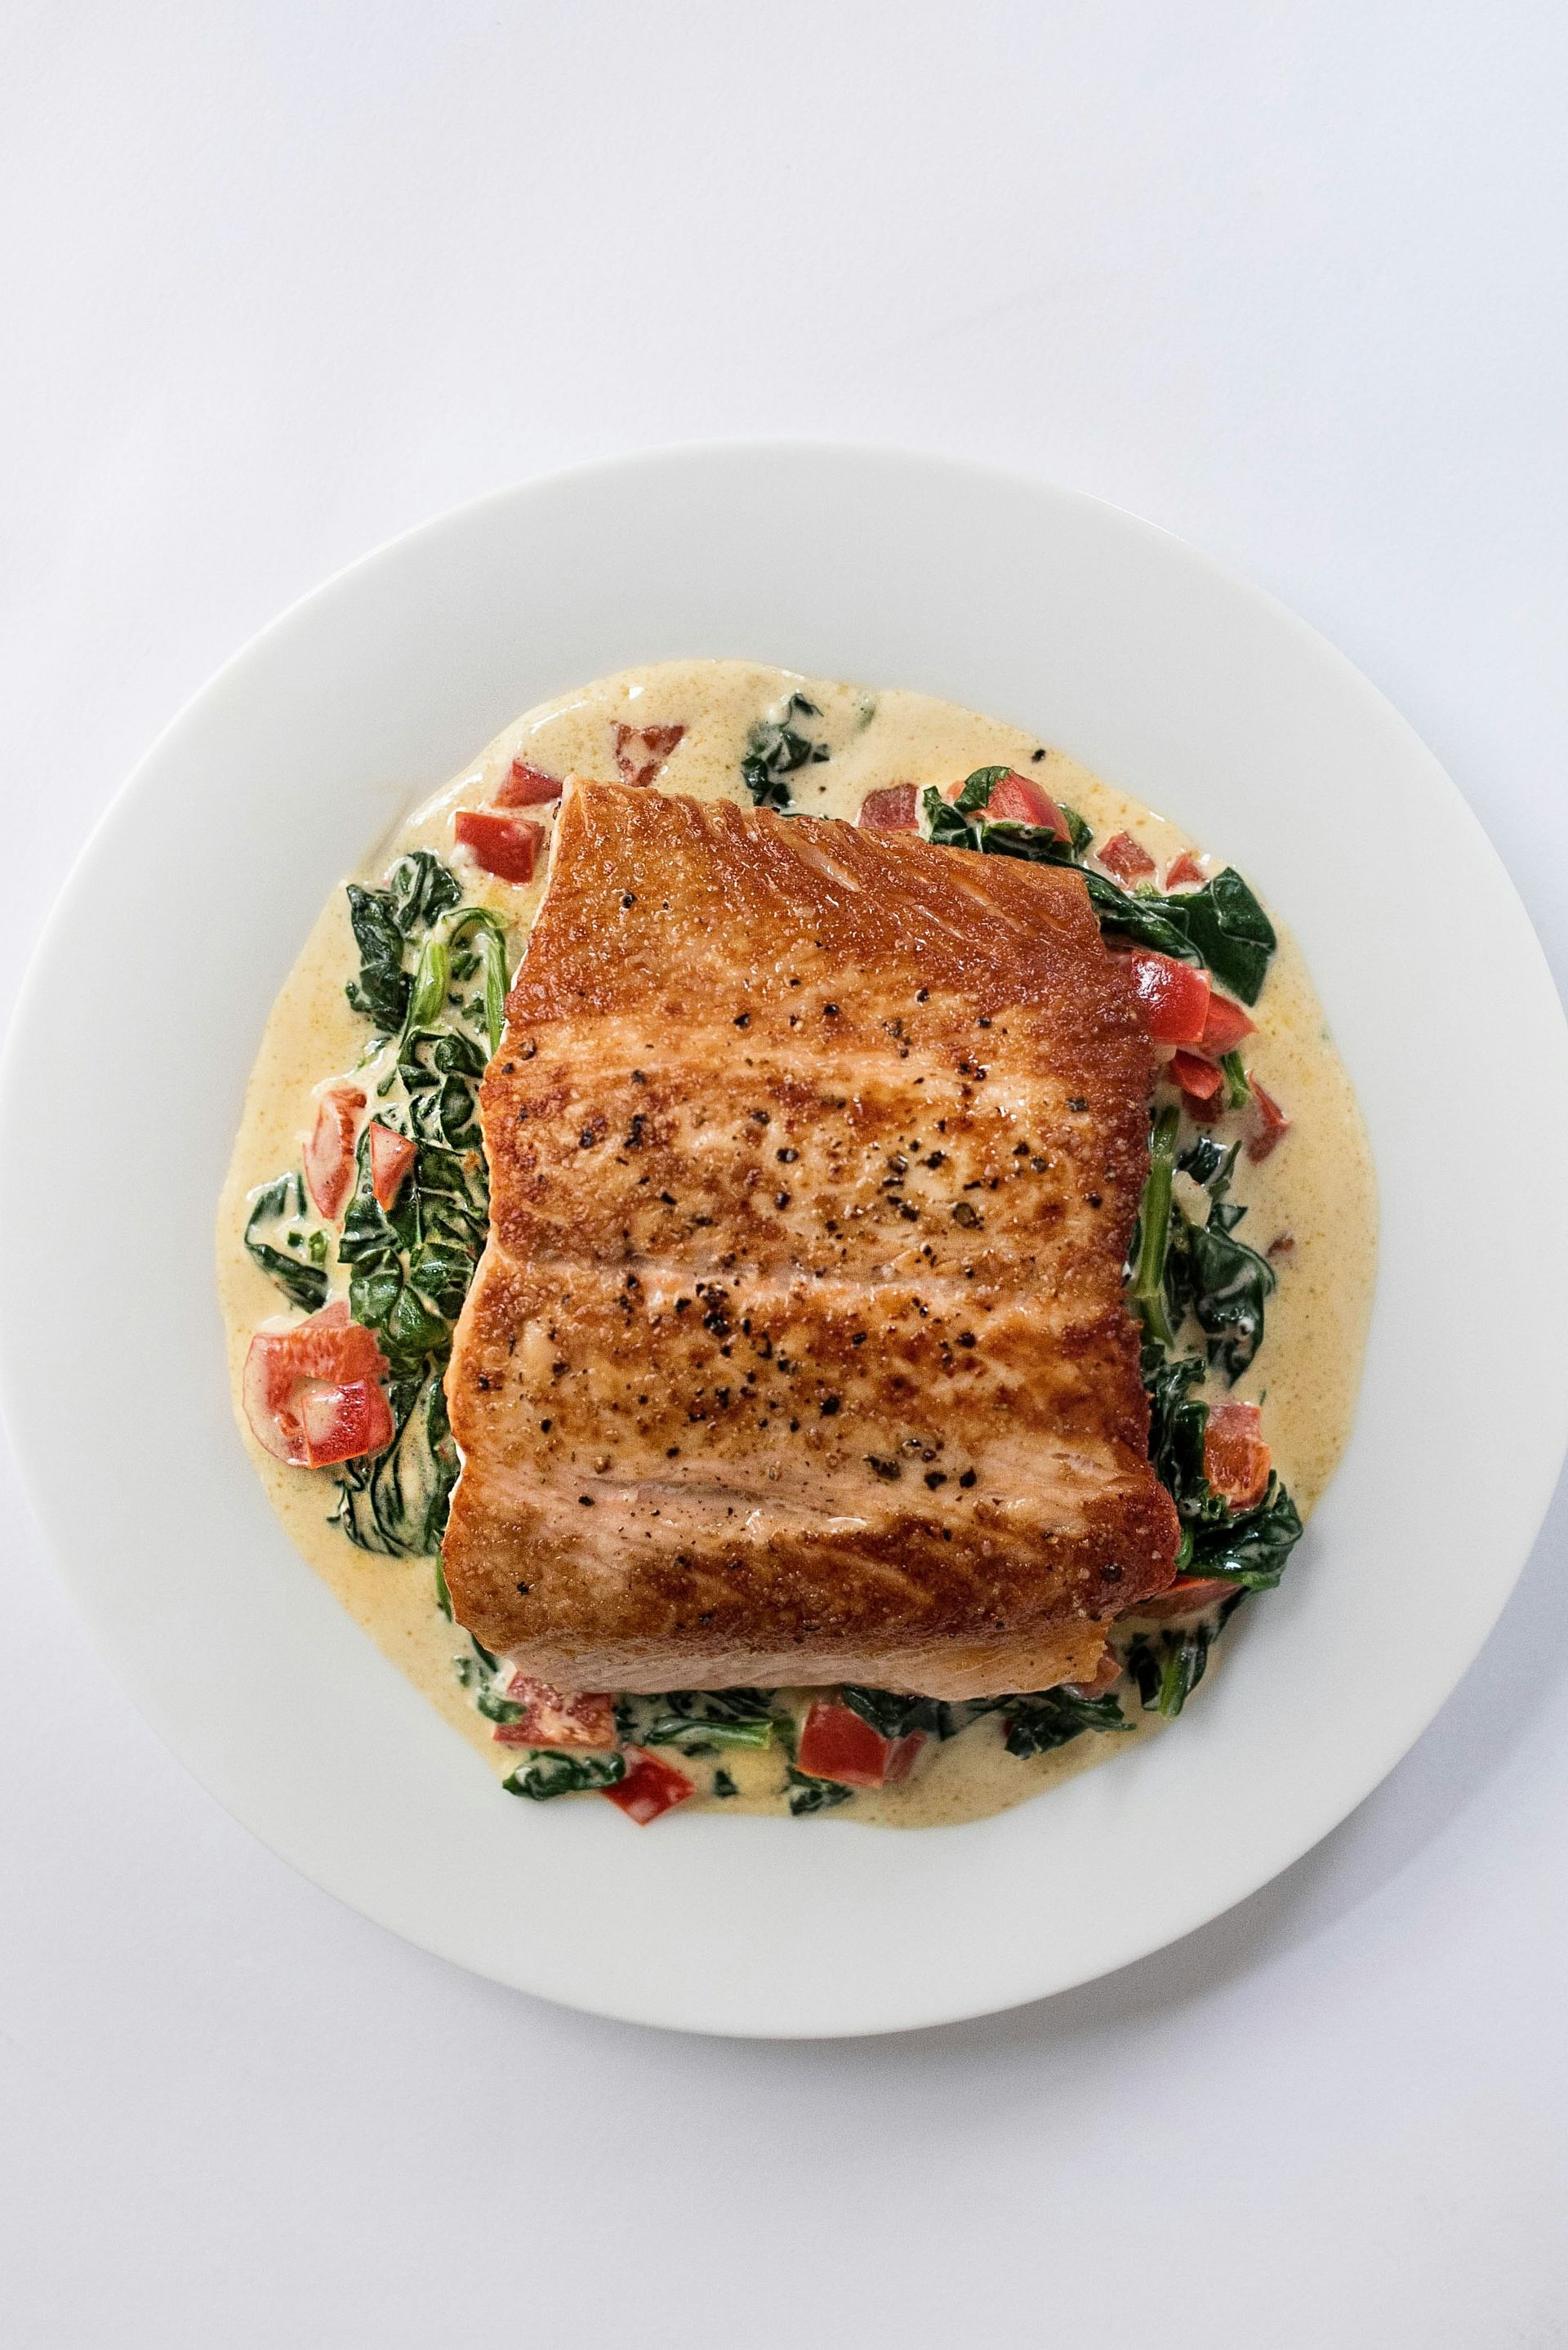
Credit: Jennifer Burk, Unsplash
A cast iron skillet does things to salmon that most other pans don't. The mass of the pan maintains high heat when the fish hits its surface, producing a genuinely crisp crust rather than a pale, sticky one. The same pan moves from stovetop to oven when needed, and the residual heat from searing is enough to wilt greens and warm beans without leaving the stove.
Start with skin-on salmon fillets, completely dry. Season with salt and pepper. Heat a cast iron skillet over medium-high heat for around two minutes until it's properly hot, then add a neutral oil with a high smoke point, like avocado or grapeseed. Set the fillets skin side down and press them gently with a spatula for the first 30 seconds to prevent curling. Don't move them after that. Let the skin cook undisturbed for four to five minutes until it releases easily from the pan and is deep golden. Flip and cook for another two minutes for medium — the center should still have some translucency. Remove the salmon and set it aside.
Without cleaning the pan, reduce the heat to medium. Add sliced garlic to the rendered oil and cook for 30 seconds. Pour in a can of drained white beans along with a splash of white wine or chicken broth. Let the liquid reduce by half, then add several large handfuls of spinach, escarole, or kale. Stir until the greens wilt completely. Season with salt, pepper, and a pinch of dried chili flakes.
Serve the salmon over the beans and greens, skin side up to keep it crisp. A wedge of lemon squeezed over everything at the table finishes the dish.
This meal comes together in about 20 minutes. The beans add substance and protein beyond what the salmon provides, and the greens absorb the garlicky, salmon-enriched oil from the pan as they wilt — which is where their flavor comes from in the finished dish.
One practical note: if the salmon renders a lot of fat during searing, pour off some of the excess before adding the garlic. Too much fat at that stage makes the beans greasy rather than rich.
Sheet pan shrimp fajitas
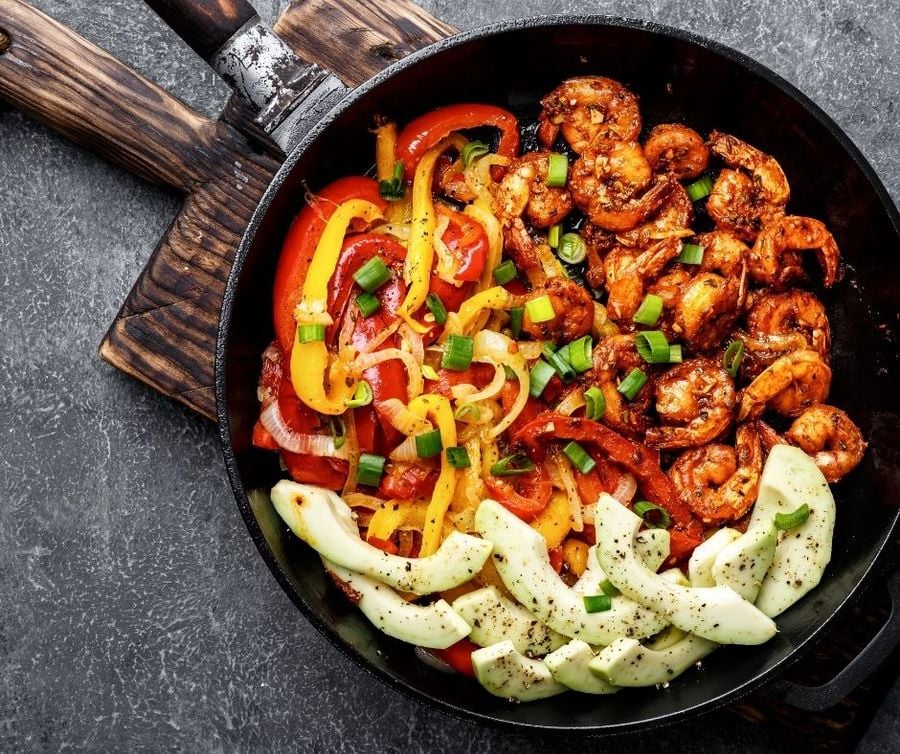
Credit: Canva Images
Fajitas made on a sheet pan bypass the skillet entirely and produce results that are difficult to match on a stovetop when cooking for more than two people. The high heat of the oven chars the peppers and onions without overcooking the shrimp, and everything finishes at roughly the same time with minimal supervision.
Use large shrimp — 21 to 25 count per pound — peeled and deveined. Slice two or three bell peppers, using a mix of colors for visual contrast, and one large white or yellow onion into strips. Cutting the vegetables thin enough to caramelize quickly but not so thin that they collapse is the key judgment call — about a quarter of an inch is right.
For seasoning, a fajita blend typically includes cumin, chili powder, smoked paprika, garlic powder, onion powder, and dried oregano. Mix the spices together, then season the vegetables and shrimp separately. Toss the vegetables with olive oil and the spice blend and spread them on the sheet pan. The shrimp get added later since they cook much faster.
Roast the peppers and onions at 425°F (220°C) for 15 minutes, stirring once, until they're beginning to soften and char at the edges. Then push them to the sides and add the shrimp to the center of the pan, tossed with olive oil and the spice mix. The shrimp will need only five to six minutes — they're done when they've curled into a C shape and are opaque throughout.
Warm flour or corn tortillas in a dry skillet or directly over a gas flame while the shrimp finish. The light char from an open flame adds a quality that a microwave can't replicate.
Serve with sliced avocado, sour cream, fresh cilantro, lime wedges, and pickled jalapeños alongside. For more char on the finished dish, switch to the broiler setting for the final two minutes of cooking. Watch closely — shrimp at broil temperature go from done to rubbery very quickly.
One-skillet Spanish tortilla
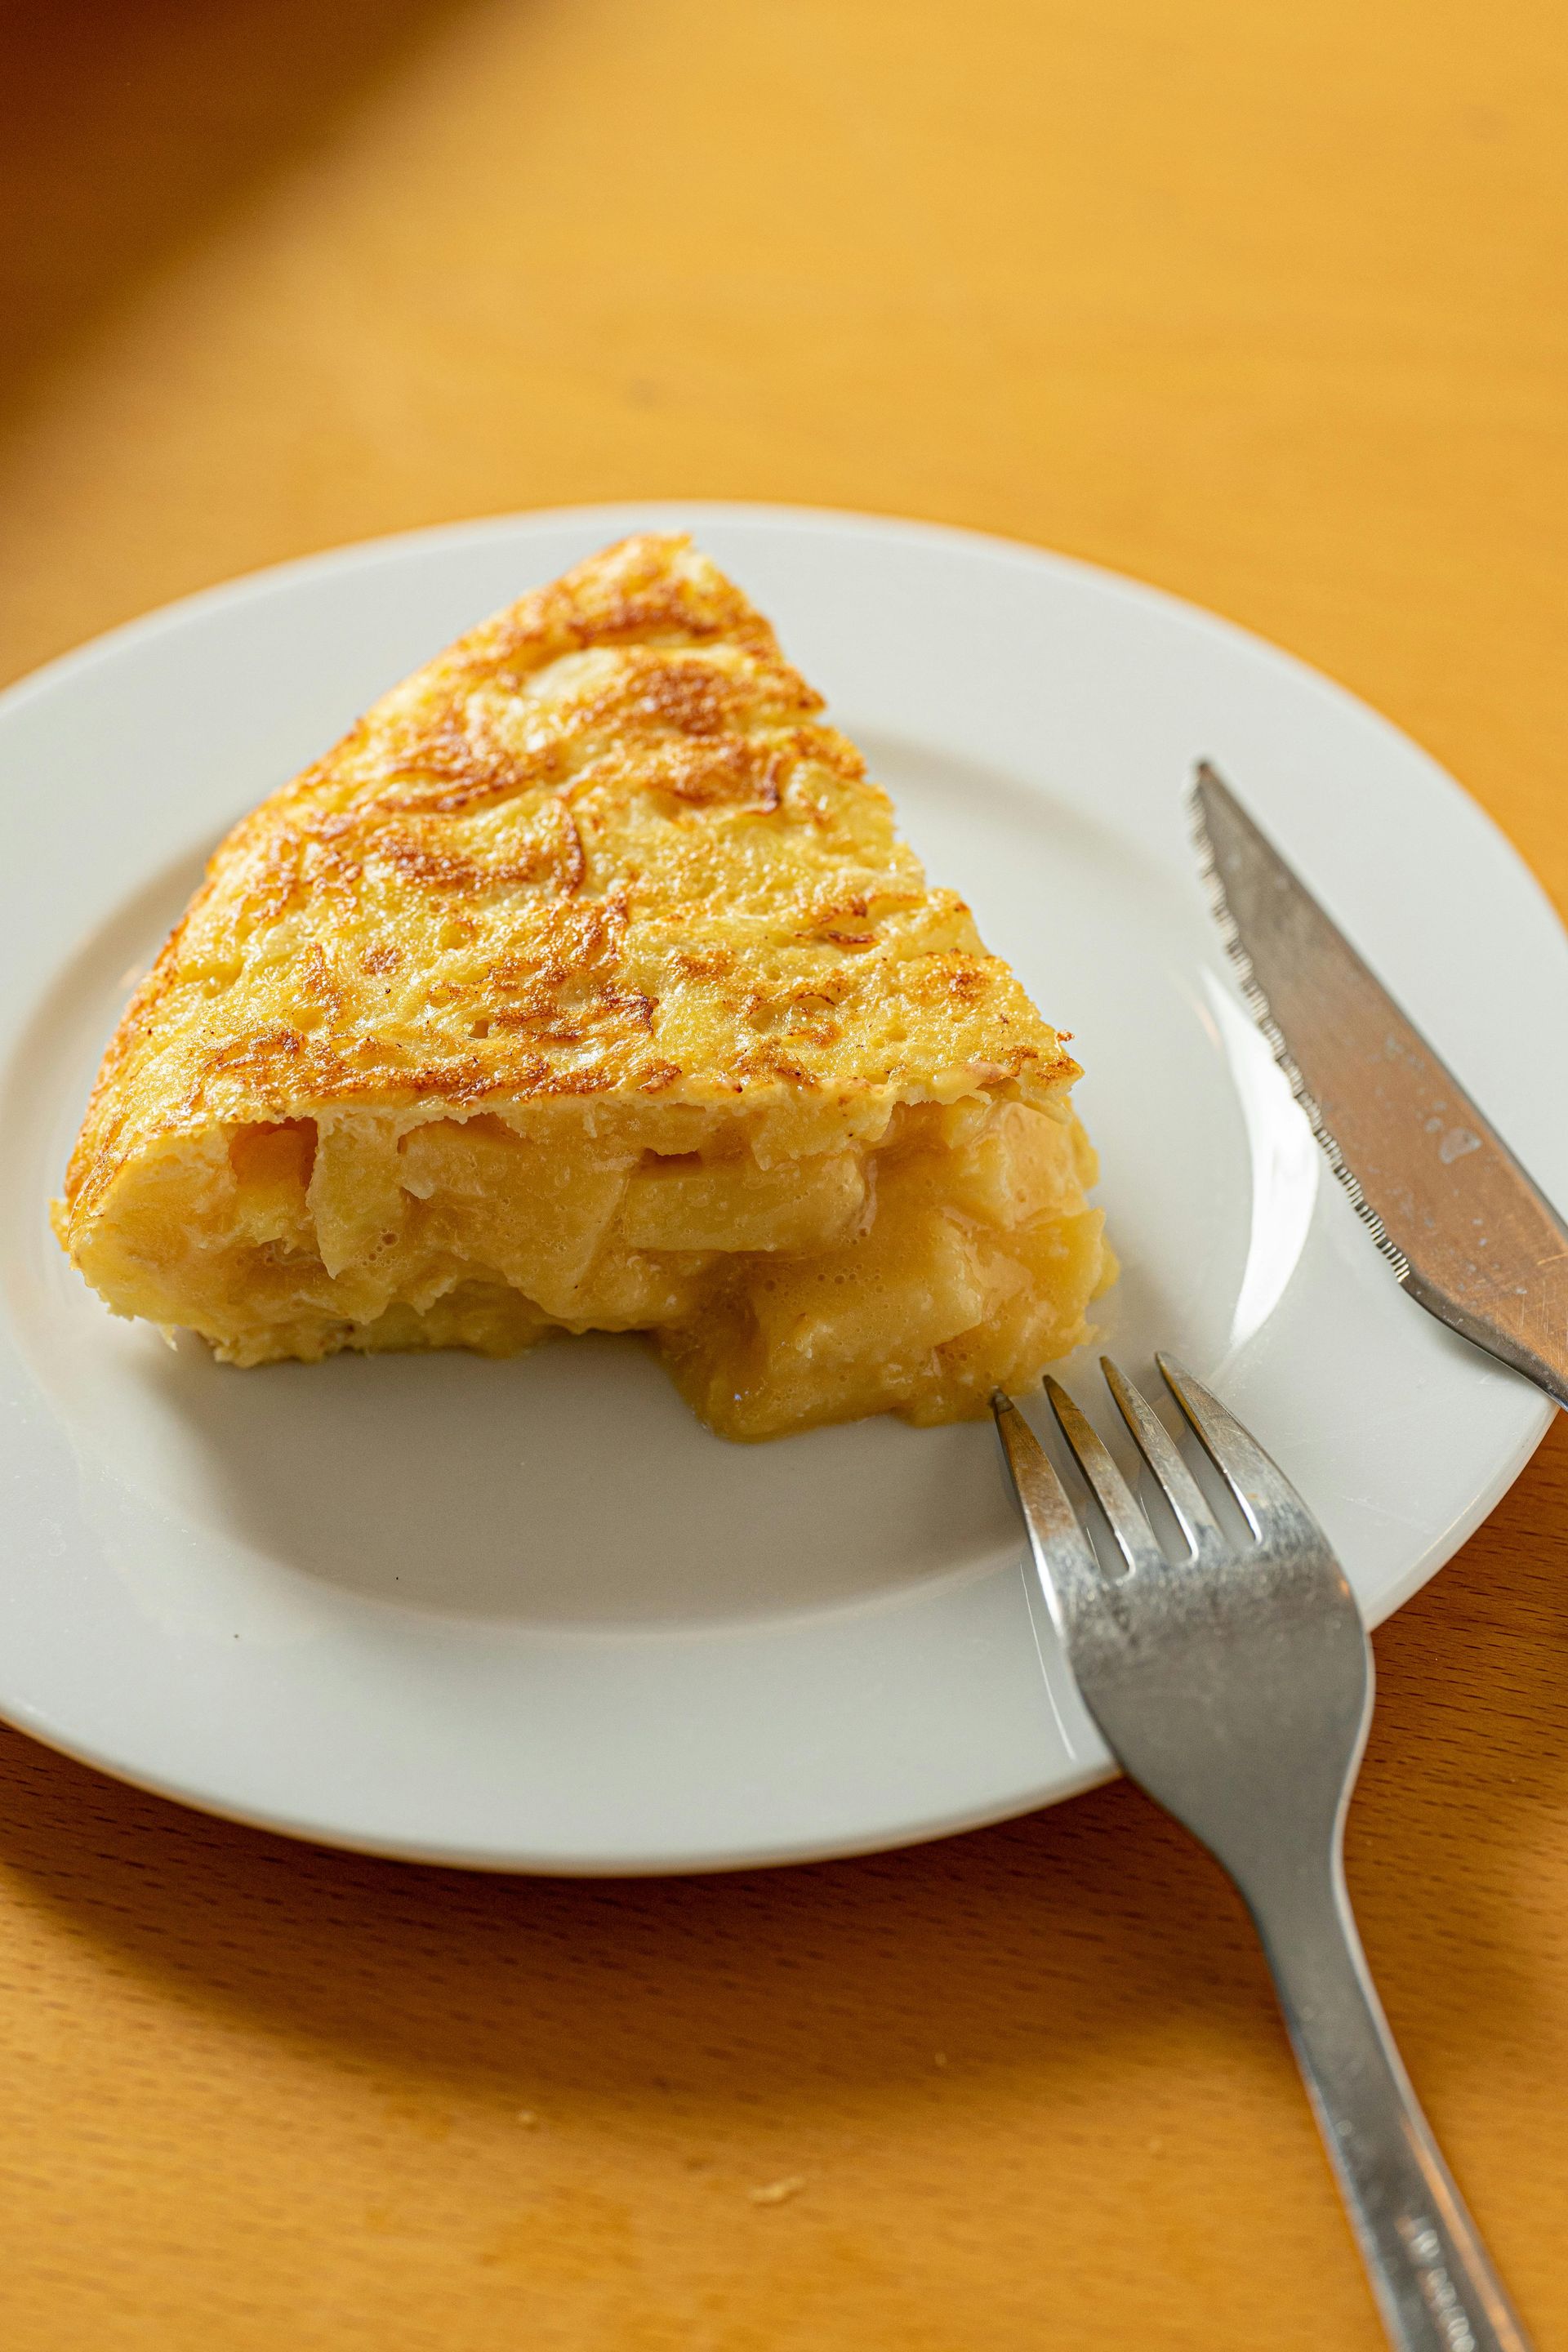
Credit: MikeGz, Pexels
The Spanish tortilla — tortilla española — is not a flatbread or a wrap. It is a thick egg-and-potato omelette that is one of Spain's most widely eaten dishes, served at room temperature in wedges as a light dinner, a tapa, or a packed lunch. A well-made tortilla is set throughout but silky, not rubbery, and the potatoes are tender, almost creamy, from being slowly cooked in olive oil before the eggs go in.
Start with waxy potatoes — Yukon Gold or any firm salad potato — peeled and sliced or roughly broken into pieces no more than a quarter-inch thick. Heat a generous amount of olive oil in a 10-inch skillet over medium-low heat. The oil should be enough to almost submerge the potatoes. This is confited cooking rather than frying. Add the potatoes along with a thinly sliced onion, season with salt, and cook slowly for 20 to 25 minutes, stirring occasionally, until the potatoes are very tender but not browned. You want them soft throughout, not crisp.
Beat six or seven eggs in a large bowl, season well with salt, then use a slotted spoon to transfer the potato and onion mixture directly into the eggs, reserving the cooking oil. Let them rest together for five minutes so the eggs begin to absorb the potato starch. The mixture should look thick and custardy.
Pour most of the reserved oil out of the skillet, leaving a thin coating, and return to medium heat. Add the egg and potato mixture and spread it out evenly. Cook for four to five minutes until the edges are set but the center still jiggles. Now comes the flip — the step that intimidates first-timers. Place a large, flat plate or lid over the skillet, then invert both together in one decisive motion. Slide the tortilla back into the pan, uncooked side down, and cook for two to three more minutes.
Slide onto a plate and rest for at least 10 minutes before cutting. Room temperature is the correct serving temperature for tortilla española. It improves slightly as it cools, and it keeps well in the refrigerator for up to two days.
Dutch oven chicken cacciatore
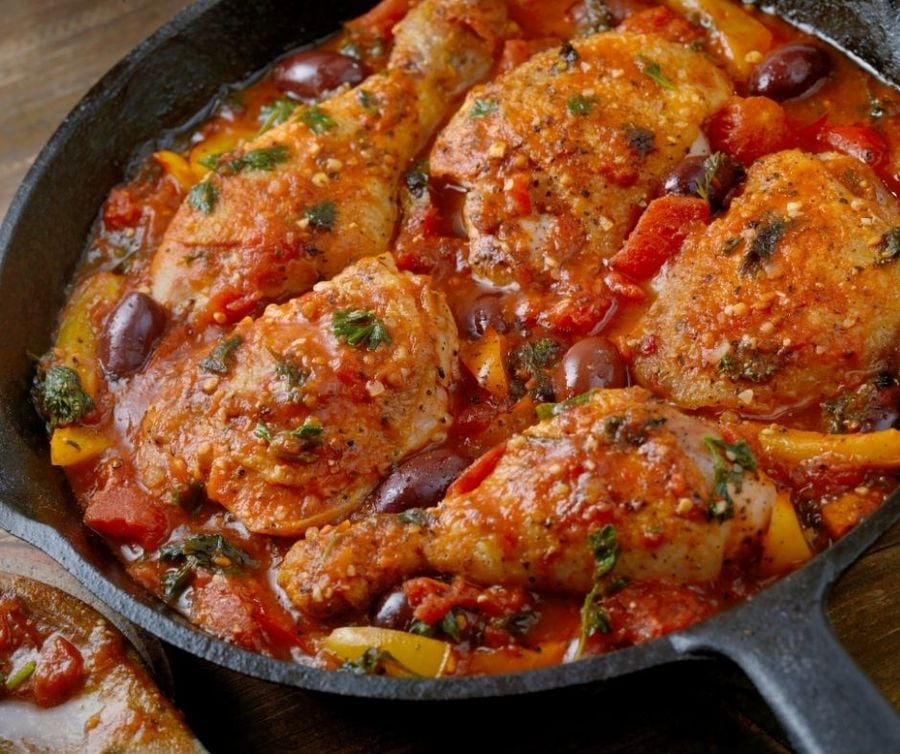
Credit: Canva Images
Chicken cacciatore — hunter's chicken — is a braised Italian dish built on the same principle as many great one-pot meals: inexpensive, flavorful cuts of meat cooked slowly in an aromatic sauce until the collagen in the meat softens and the sauce thickens around it. A Dutch oven is the ideal vessel because it distributes heat evenly and is wide enough to brown the chicken in batches without crowding.
Use bone-in, skin-on chicken pieces — thighs and drumsticks work best. Season them generously with salt and pepper. Working in batches, brown the chicken in olive oil over medium-high heat until the skin is deep golden, about four minutes per side. Don't rush this step. The browned skin adds color and flavor to the sauce, and it won't render properly if the pieces are touching each other. Set the browned pieces aside.
In the same pot, add sliced onion, sliced bell pepper — a combination of colors works well — and sliced mushrooms. Cook over medium heat until softened and the mushrooms have released their moisture, eight to 10 minutes. Add minced garlic and dried oregano. Pour in white or red wine and scrape up any browned bits from the bottom of the pot. Let the wine reduce by half.
Add a can of crushed tomatoes and a handful of Castelvetrano or Kalamata olives. Return the chicken to the pot, skin side up, so the skin stays above the sauce level and doesn't become waterlogged. Cover and braise over low heat for 35 to 40 minutes, until the meat is falling off the bone and the sauce has thickened.
Finish with fresh flat-leaf parsley and serve over polenta, egg noodles, or crusty bread. The sauce is the main event here — it becomes richly flavored from the rendered chicken fat, wine, and slow cooking. This dish keeps in the refrigerator for up to four days and improves noticeably with time, making it worth cooking in large batches.
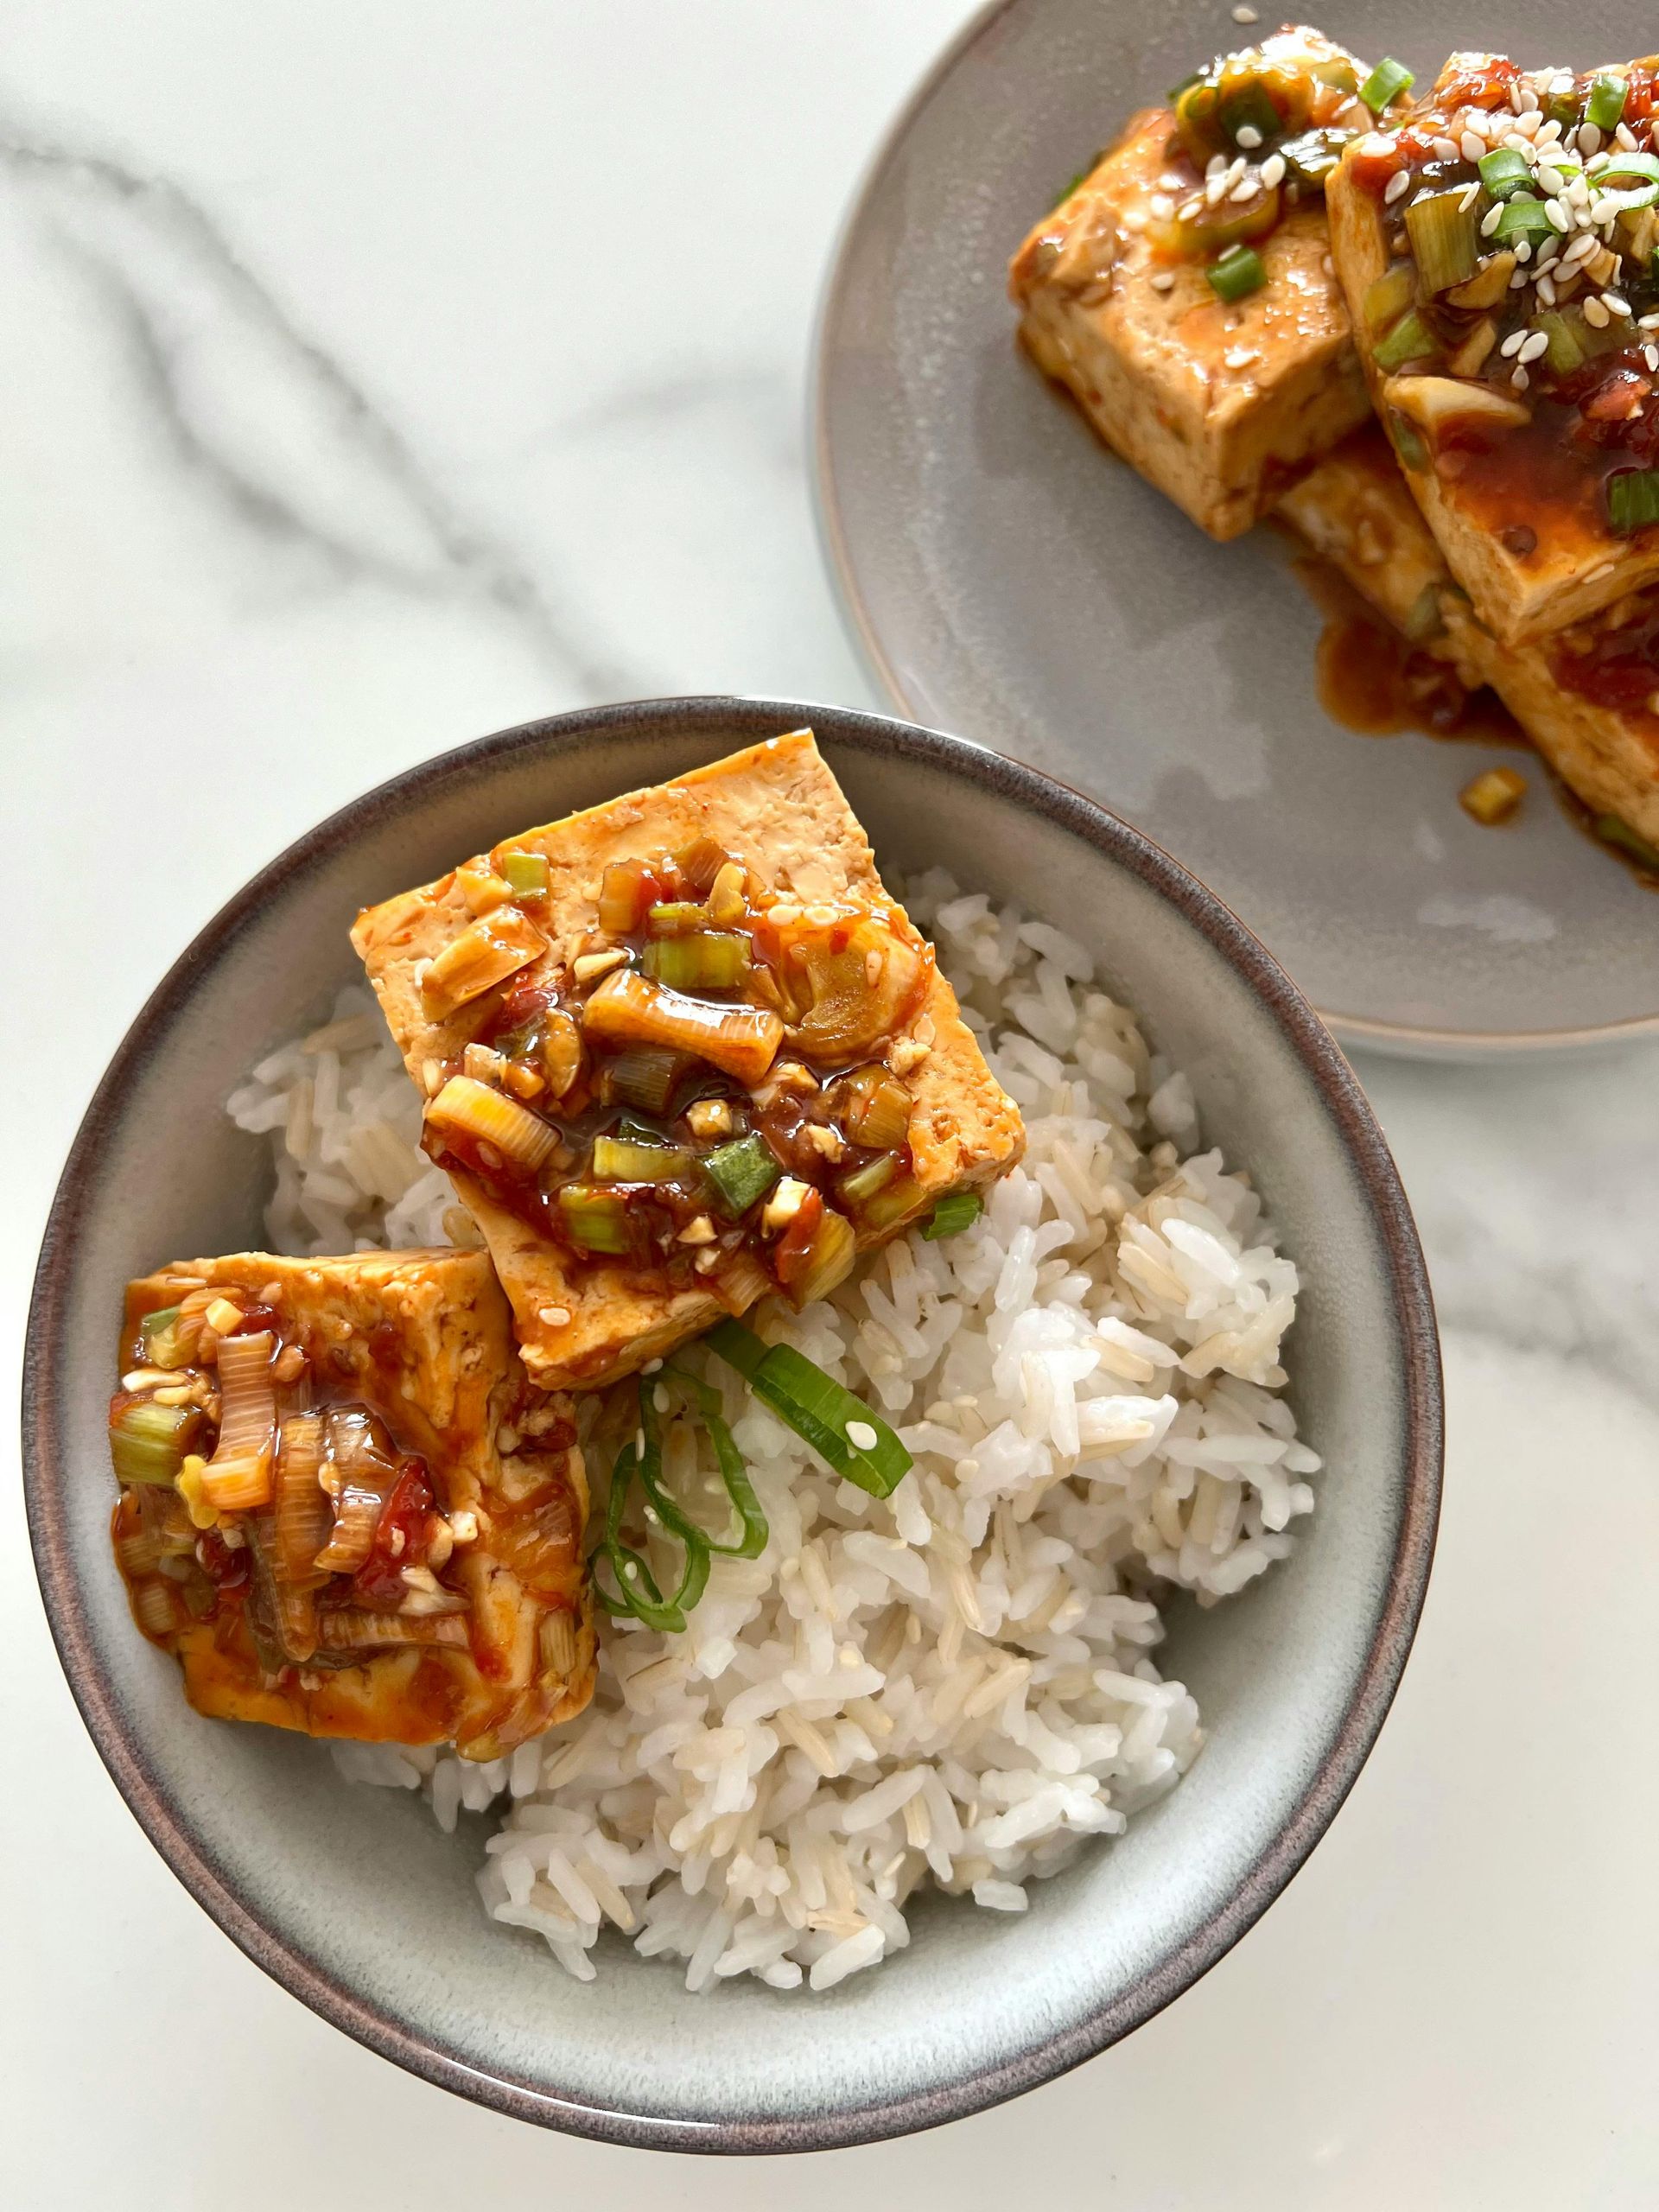
Sheet pan gochujang tofu with broccolini
Credit: Anya Dunes, Pexels
Gochujang — the Korean fermented chili paste — is one of the most useful pantry ingredients for cooking vegetables. It adds sweetness, heat, fermented umami, and color in a single tablespoon, and it caramelizes dramatically under high heat, coating tofu or vegetables in a sticky, slightly charred glaze.
Extra-firm tofu needs to be pressed before this recipe works as intended. Remove it from its packaging and press it between two plates with a heavy object on top for at least 20 minutes, or use a tofu press. This removes excess water, which would otherwise cause the tofu to steam in the oven rather than brown. Once pressed, cut the tofu into one-inch cubes.
For the marinade, mix together gochujang, soy sauce, toasted sesame oil, rice vinegar, and a small amount of honey or maple syrup, along with minced garlic. Toss the tofu cubes in the marinade and let them sit for at least 15 minutes — an hour is better if you have time. The marinade adheres to the pressed surface and begins to season the interior of the tofu. Spread the coated tofu on one half of a sheet pan lined with parchment paper.
Trim the broccolini and toss it with a small amount of the same marinade, or simply with sesame oil and soy sauce. Arrange it on the other half of the pan, keeping separation between it and the tofu. Roast at 425°F (220°C) for 25 to 30 minutes, flipping the tofu halfway through. The tofu should be crisp at the edges and deeply colored. The broccolini should have some char at the floret tips.
Serve over steamed white rice. Sesame seeds and sliced scallions add texture and freshness. A drizzle of additional sesame oil at the end adds a noticeable layer of nuttiness.
This dish is reliable because both prep and cook time are low, the ingredients are inexpensive, and the result is filling. The gochujang does most of the flavor work — a good paste from a Korean grocery will be superior to the globalized supermarket versions.
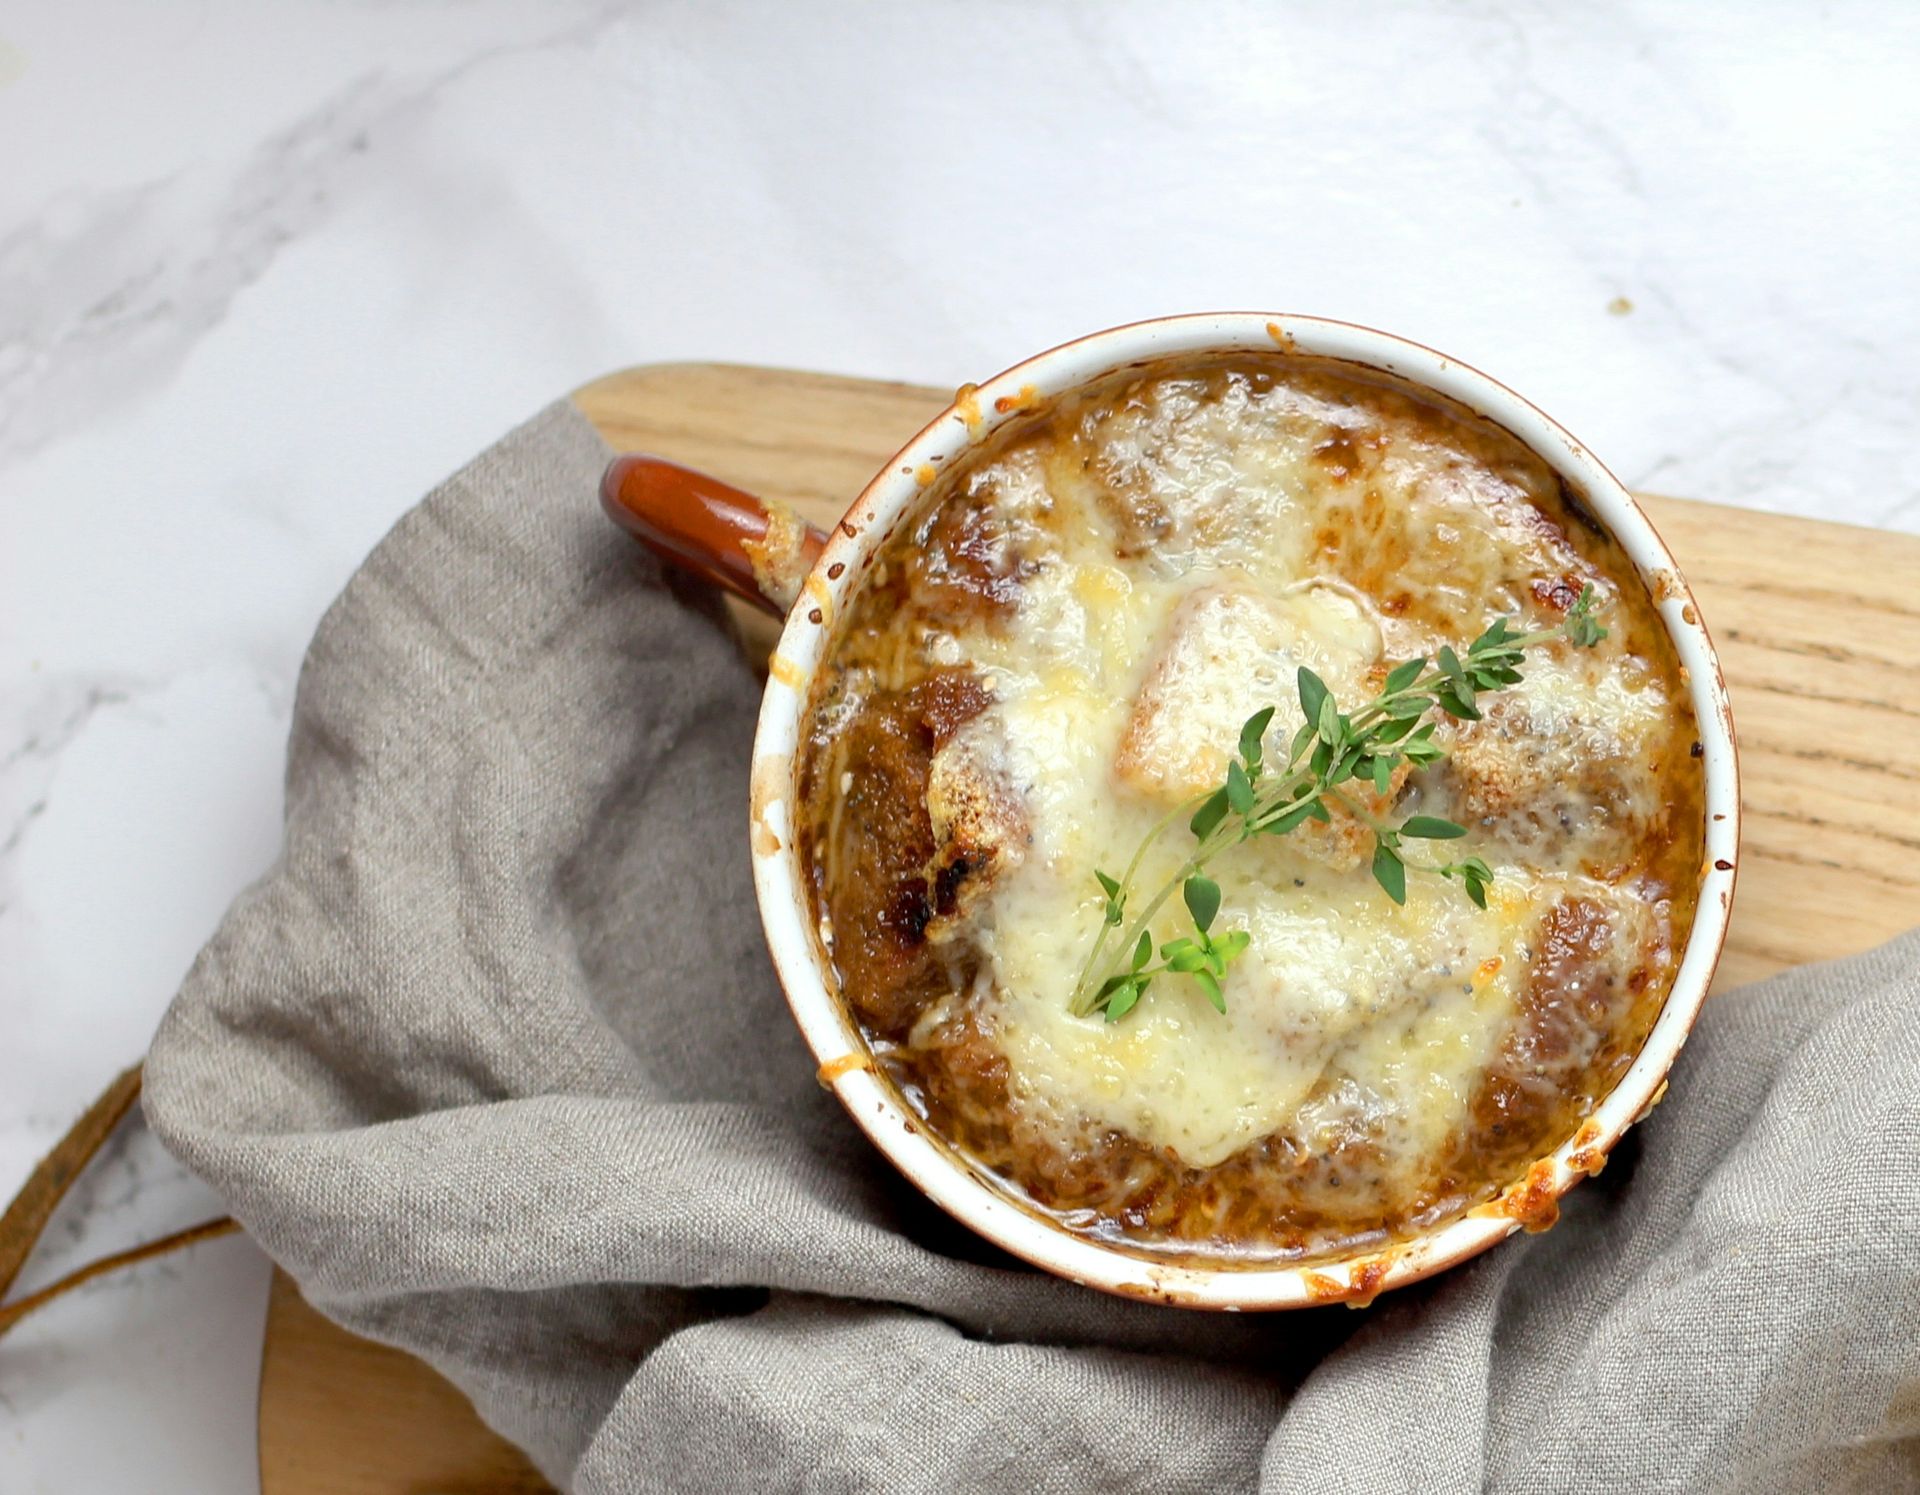
One-pot French onion soup
Credit: sheri silver, Unsplash
French onion soup requires patience but very little active effort. The bulk of the work — the caramelization of the onions — happens slowly with minimal intervention, and the soup is built in the same pot. What makes this a viable weeknight dish despite its reputation for being labor-intensive is that the onions can caramelize at low heat while you do something else entirely.
Use a mix of yellow and sweet onions if possible, thinly sliced — around two pounds for four servings. Melt a combination of butter and olive oil in a Dutch oven or heavy-bottomed pot over medium-low heat. Add the onions and a generous pinch of salt, which draws out their moisture and accelerates softening. Stir occasionally. The onions will first become translucent, then golden, and eventually — after 45 minutes to an hour — a deep amber brown with a jammy, almost paste-like consistency. This process cannot be rushed without burning them. Higher heat produces bitter, unevenly caramelized onions, not the sweet, almost-melted result you're after.
Deglaze with a splash of dry sherry or cognac, scraping the bottom of the pot, and let it evaporate almost completely. Add a cup of dry white wine and let it reduce by half. Pour in around six cups of good beef stock — the quality of the stock matters considerably here, as it forms the backbone of the broth. Add a few sprigs of fresh thyme and a bay leaf. Simmer for 20 minutes. Taste for seasoning.
To serve in the traditional style, ladle the soup into oven-safe bowls, float a slice of toasted baguette on top, and cover with shredded Gruyère. Place under the broiler for two to three minutes until the cheese is melted and golden.
If you don't have oven-safe bowls, melt the cheese on the toast under the broiler separately and float it on top at serving. The soup will taste the same — only the sealed-in, volcanic presentation is lost.
Skillet lamb kofta with tomatoes and peppers
Credit: Pixnio Images
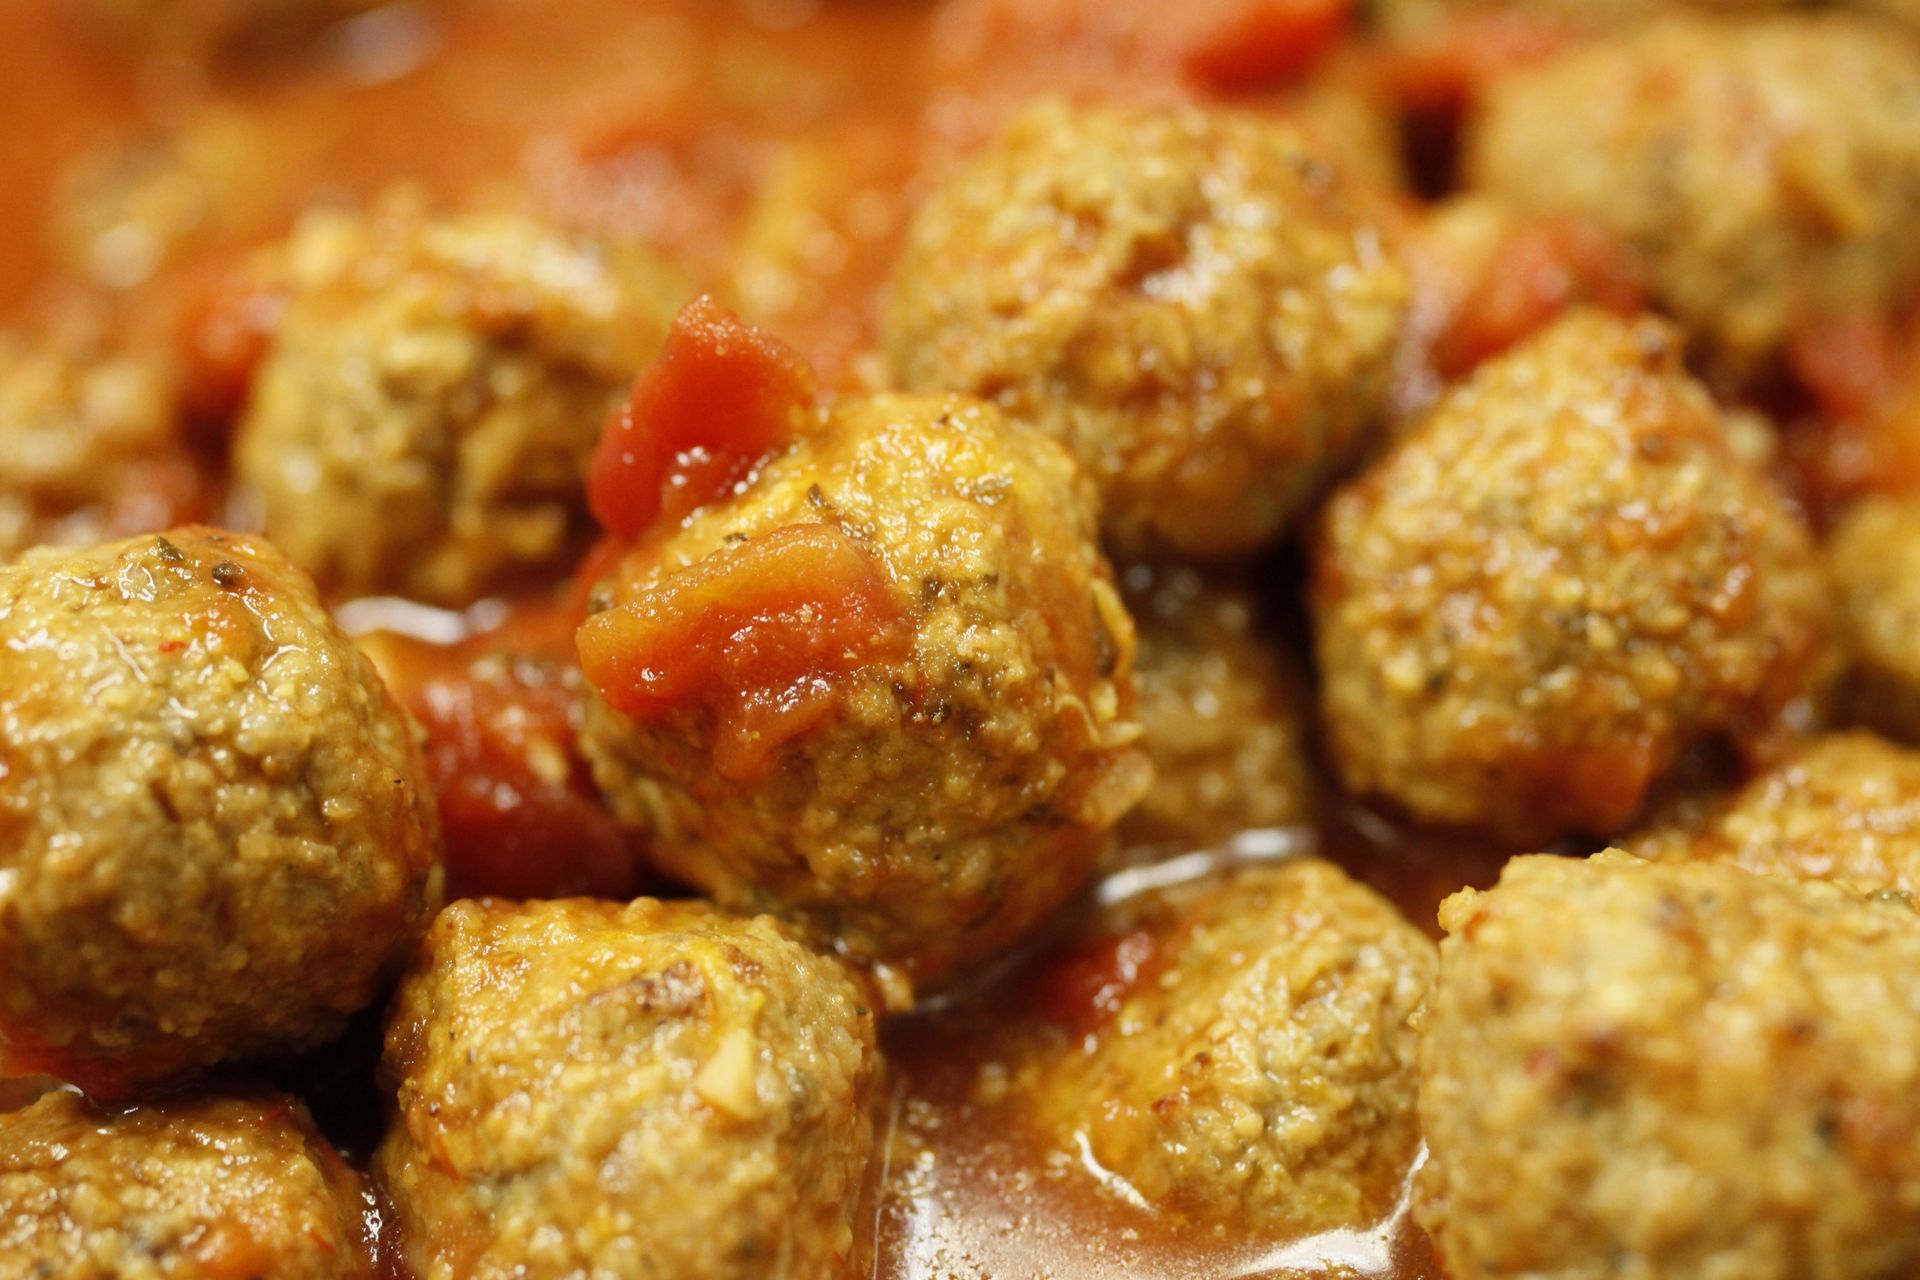
Kofta are spiced ground meat patties found across the Middle East, South Asia, and Eastern Europe in various forms. The skillet version — kofta browned and then finished in a sauce of tomatoes and sweet peppers — is a fast weeknight dinner that delivers substantial flavor from a short ingredient list.
For the kofta, combine ground lamb with finely minced onion, minced garlic, ground cumin, coriander, cinnamon, allspice, and flat-leaf parsley. The spice ratios are adjustable to taste — a light hand on cinnamon works well if you're not used to it in savory applications, but it adds a warmth that is characteristic of this style of cooking. Season with salt and pepper. Mix until just combined but don't overwork the meat, which makes it tough. Form into small oval shapes, about two inches long. Chilling them for 20 minutes helps them hold their shape during cooking.
Heat a wide skillet over medium-high heat with a thin film of neutral oil. Brown the kofta in batches, about two minutes per side, until they have color on the outside. Remove and set aside — they'll finish cooking in the sauce.
Reduce the heat to medium. In the same skillet, add sliced onion and cook until softened. Add sliced bell peppers and cook for five more minutes. Add minced garlic, a pinch of cumin, and cayenne. Pour in a can of crushed tomatoes and a splash of water to loosen the sauce. Season with salt and let it simmer for five minutes.
Return the kofta to the pan, nestling them into the sauce. Cover and cook over low heat for 10 minutes. They'll finish cooking through and absorb the flavors of the surrounding sauce.
Serve over flatbread, rice, or couscous with a dollop of labneh or Greek yogurt alongside. Fresh mint and a squeeze of lemon over the finished dish cuts through the richness of the lamb.
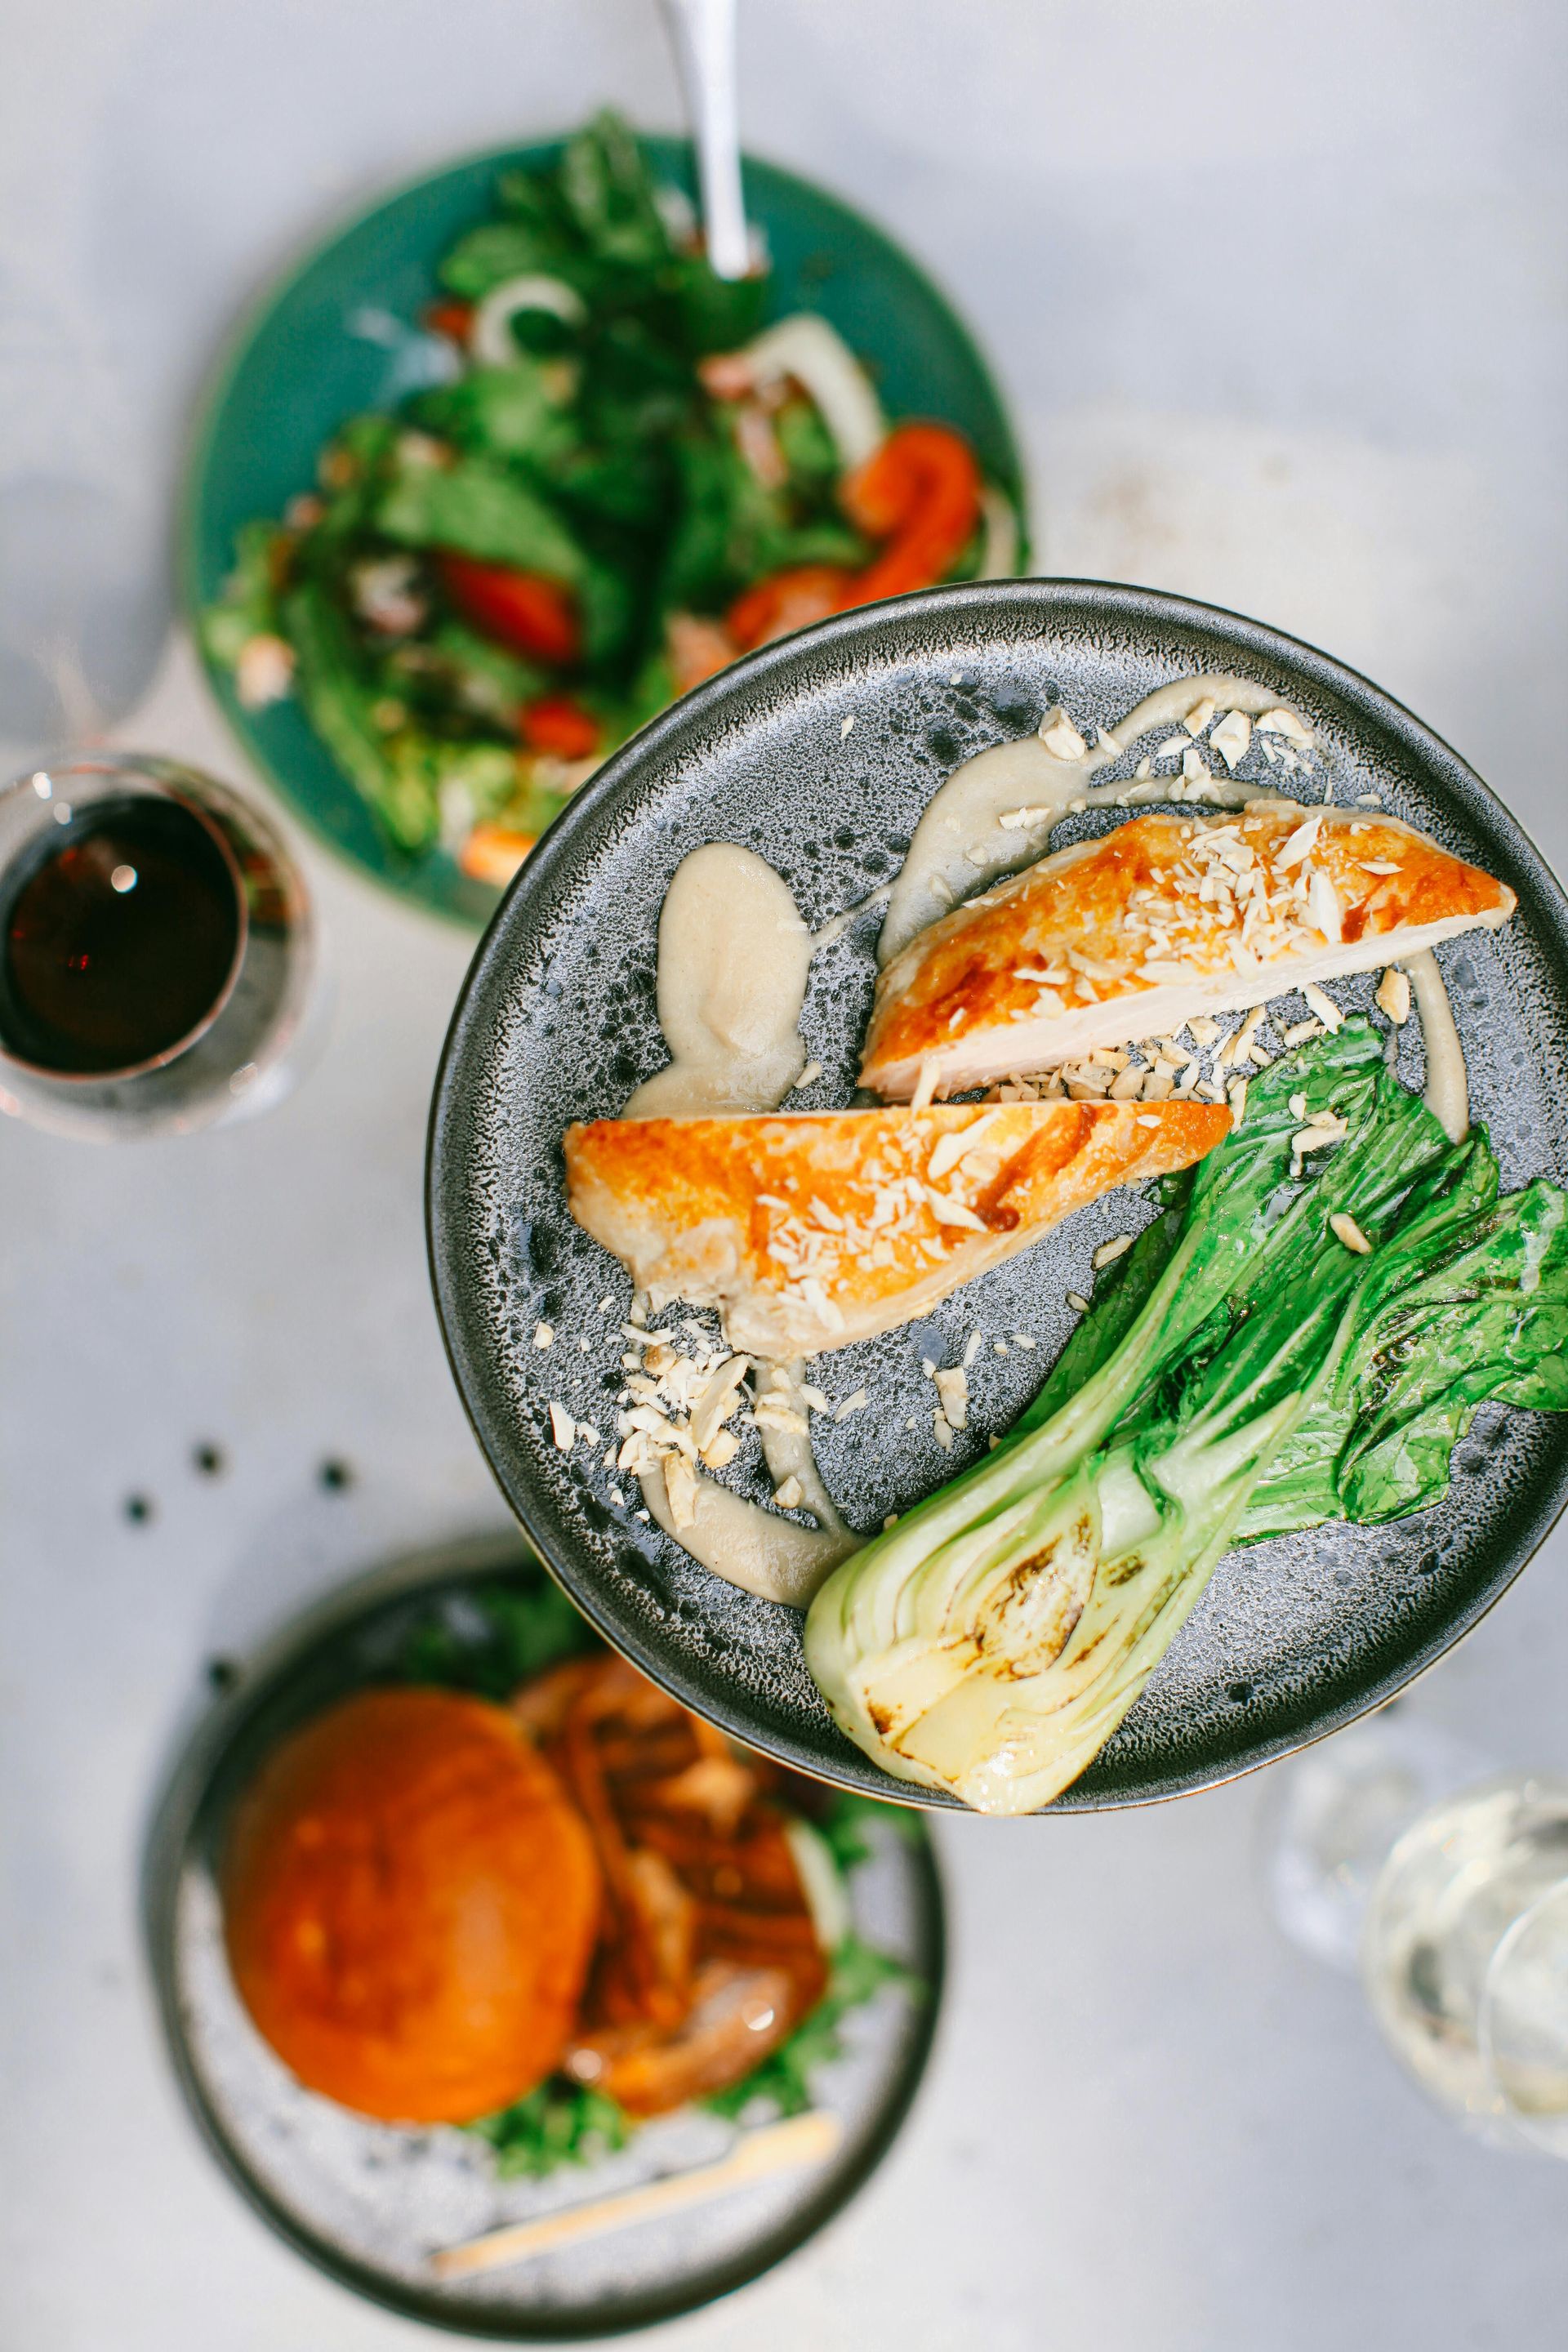
Sheet pan miso-glazed cod with bok choy
Credit: ROMAN ODINTSOV, Pexels
Miso-glazed fish is a method, not just a single recipe. The fermented soybean paste acts simultaneously as a salt, a flavor enhancer, and a glaze, and its natural sugars caramelize under high heat into a deeply savory-sweet crust. While the technique is associated most prominently with black cod, any firm white fish takes well to it — halibut, sea bass, mahi-mahi, and cod all work.
The marinade is straightforward: white miso, mirin, sake or dry sherry, and a small amount of sugar. Whisk together into a smooth paste. White miso is milder and sweeter than red or mixed varieties and is better suited for fish because it won't overpower delicate flesh. Coat the fish fillets on all sides, cover, and refrigerate for at least two hours. Overnight is better — the miso has time to penetrate the flesh and break down surface proteins, contributing to both the texture and the crust.
When you're ready to cook, remove the fish from the marinade and use your fingers to gently wipe off the excess. Too much coating will burn before the fish cooks through, and you only want a thin layer. Place the fillets on a sheet pan. Halve the bok choy lengthwise and arrange it around the fish. Toss the bok choy with a small amount of sesame oil and soy sauce.
Roast at 400°F (200°C) for 10 to 12 minutes for cod fillets around an inch thick. For the final two minutes, switch to the broiler to achieve the characteristic dark, caramelized surface on the fish. Watch it closely — the difference between caramelized and burnt is approximately 60 seconds at broil temperature.
Serve with steamed rice and a wedge of lemon. The bok choy absorbs the miso-enriched cooking juices from the fish as they roast together, which makes it worth keeping them on the same pan rather than roasting them separately.
One-pot arroz con pollo
Credit: Andres Alaniz, Pexels
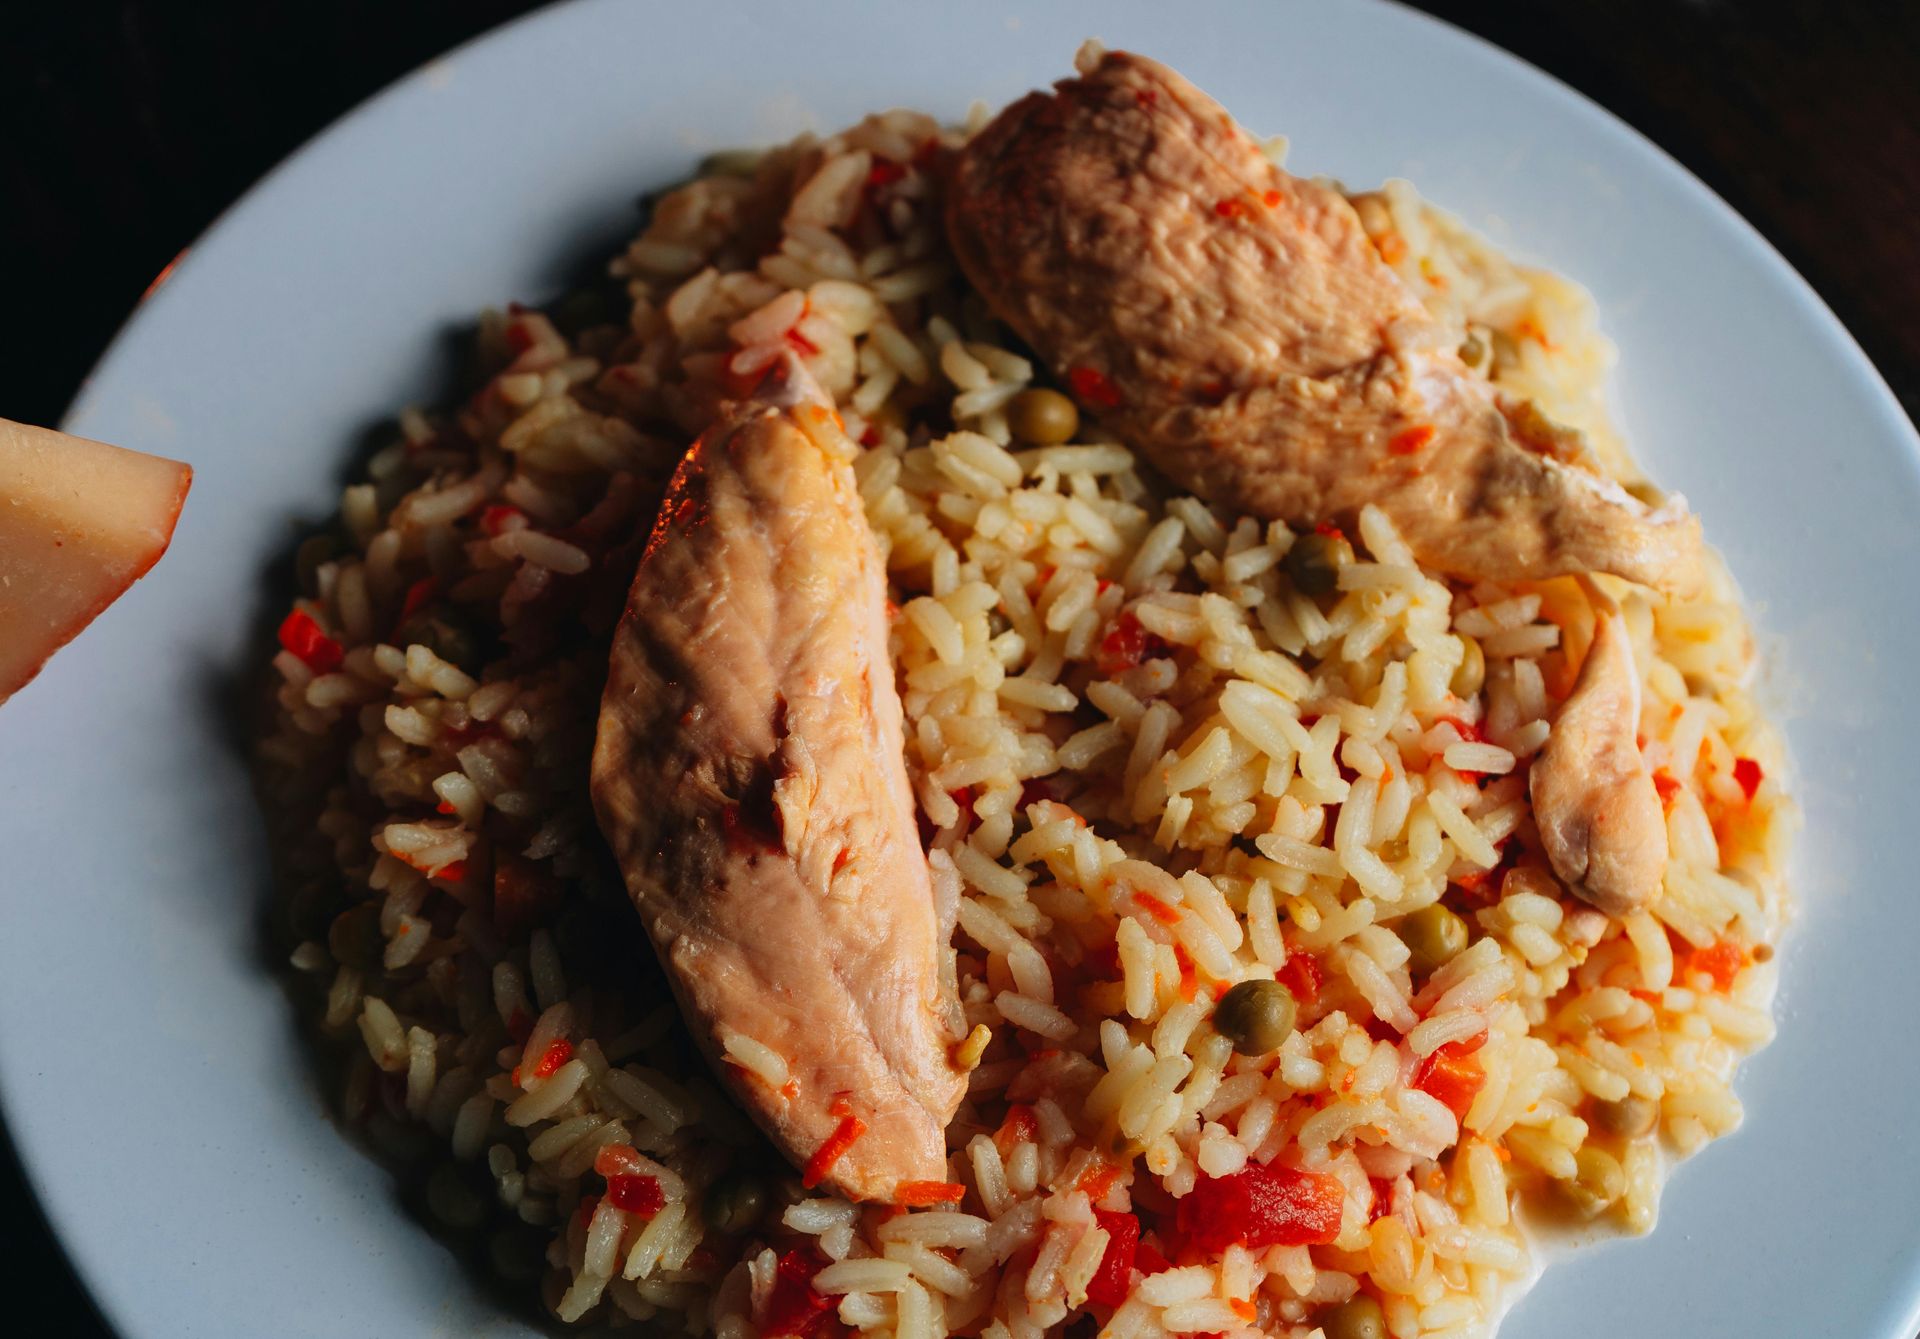
Arroz con pollo — chicken with rice — is a one-pot dish found throughout Latin America and the Caribbean in distinct regional variations. This version draws from Cuban and Puerto Rican traditions: bone-in chicken cooked with sofrito, saffron or achiote, olives, and capers in a lightly seasoned broth, with rice added partway through so it absorbs all the flavor from the cooking liquid.
Season chicken pieces — thighs and drumsticks, bone-in and skin-on — with salt, pepper, cumin, and dried oregano. Brown them in olive oil in a wide, heavy pot over medium-high heat, about four minutes per side, then set aside. In the same pot, build the sofrito: sauté finely diced onion, bell pepper, and garlic until soft. Add tomato paste and cook it for two minutes, stirring, until it darkens slightly and smells sweet rather than raw.
Add saffron or achiote paste, a cup of white wine, and enough chicken stock to bring the total liquid to around three cups. Return the chicken to the pot, bring to a simmer, cover, and cook for 20 minutes.
Remove the chicken and add long-grain white rice — around one and a half cups for four servings — to the flavored liquid. Stir in green olives and capers. Nestle the chicken back into the pot on top of the rice. Cover tightly and cook on low heat for 20 minutes, or until the rice has absorbed the liquid and the chicken is cooked through. Avoid lifting the lid during this phase, as released steam is necessary for the rice to cook properly.
Finish with fresh cilantro and a squeeze of lime. The rice in a well-made arroz con pollo is not separate from the dish — it's saturated with the cooking liquid and has a glossy quality that comes from the starch and the fat rendered from the chicken.
Skillet Turkish eggs (çılbır)
Credit: Follow Fauzia, Pexels
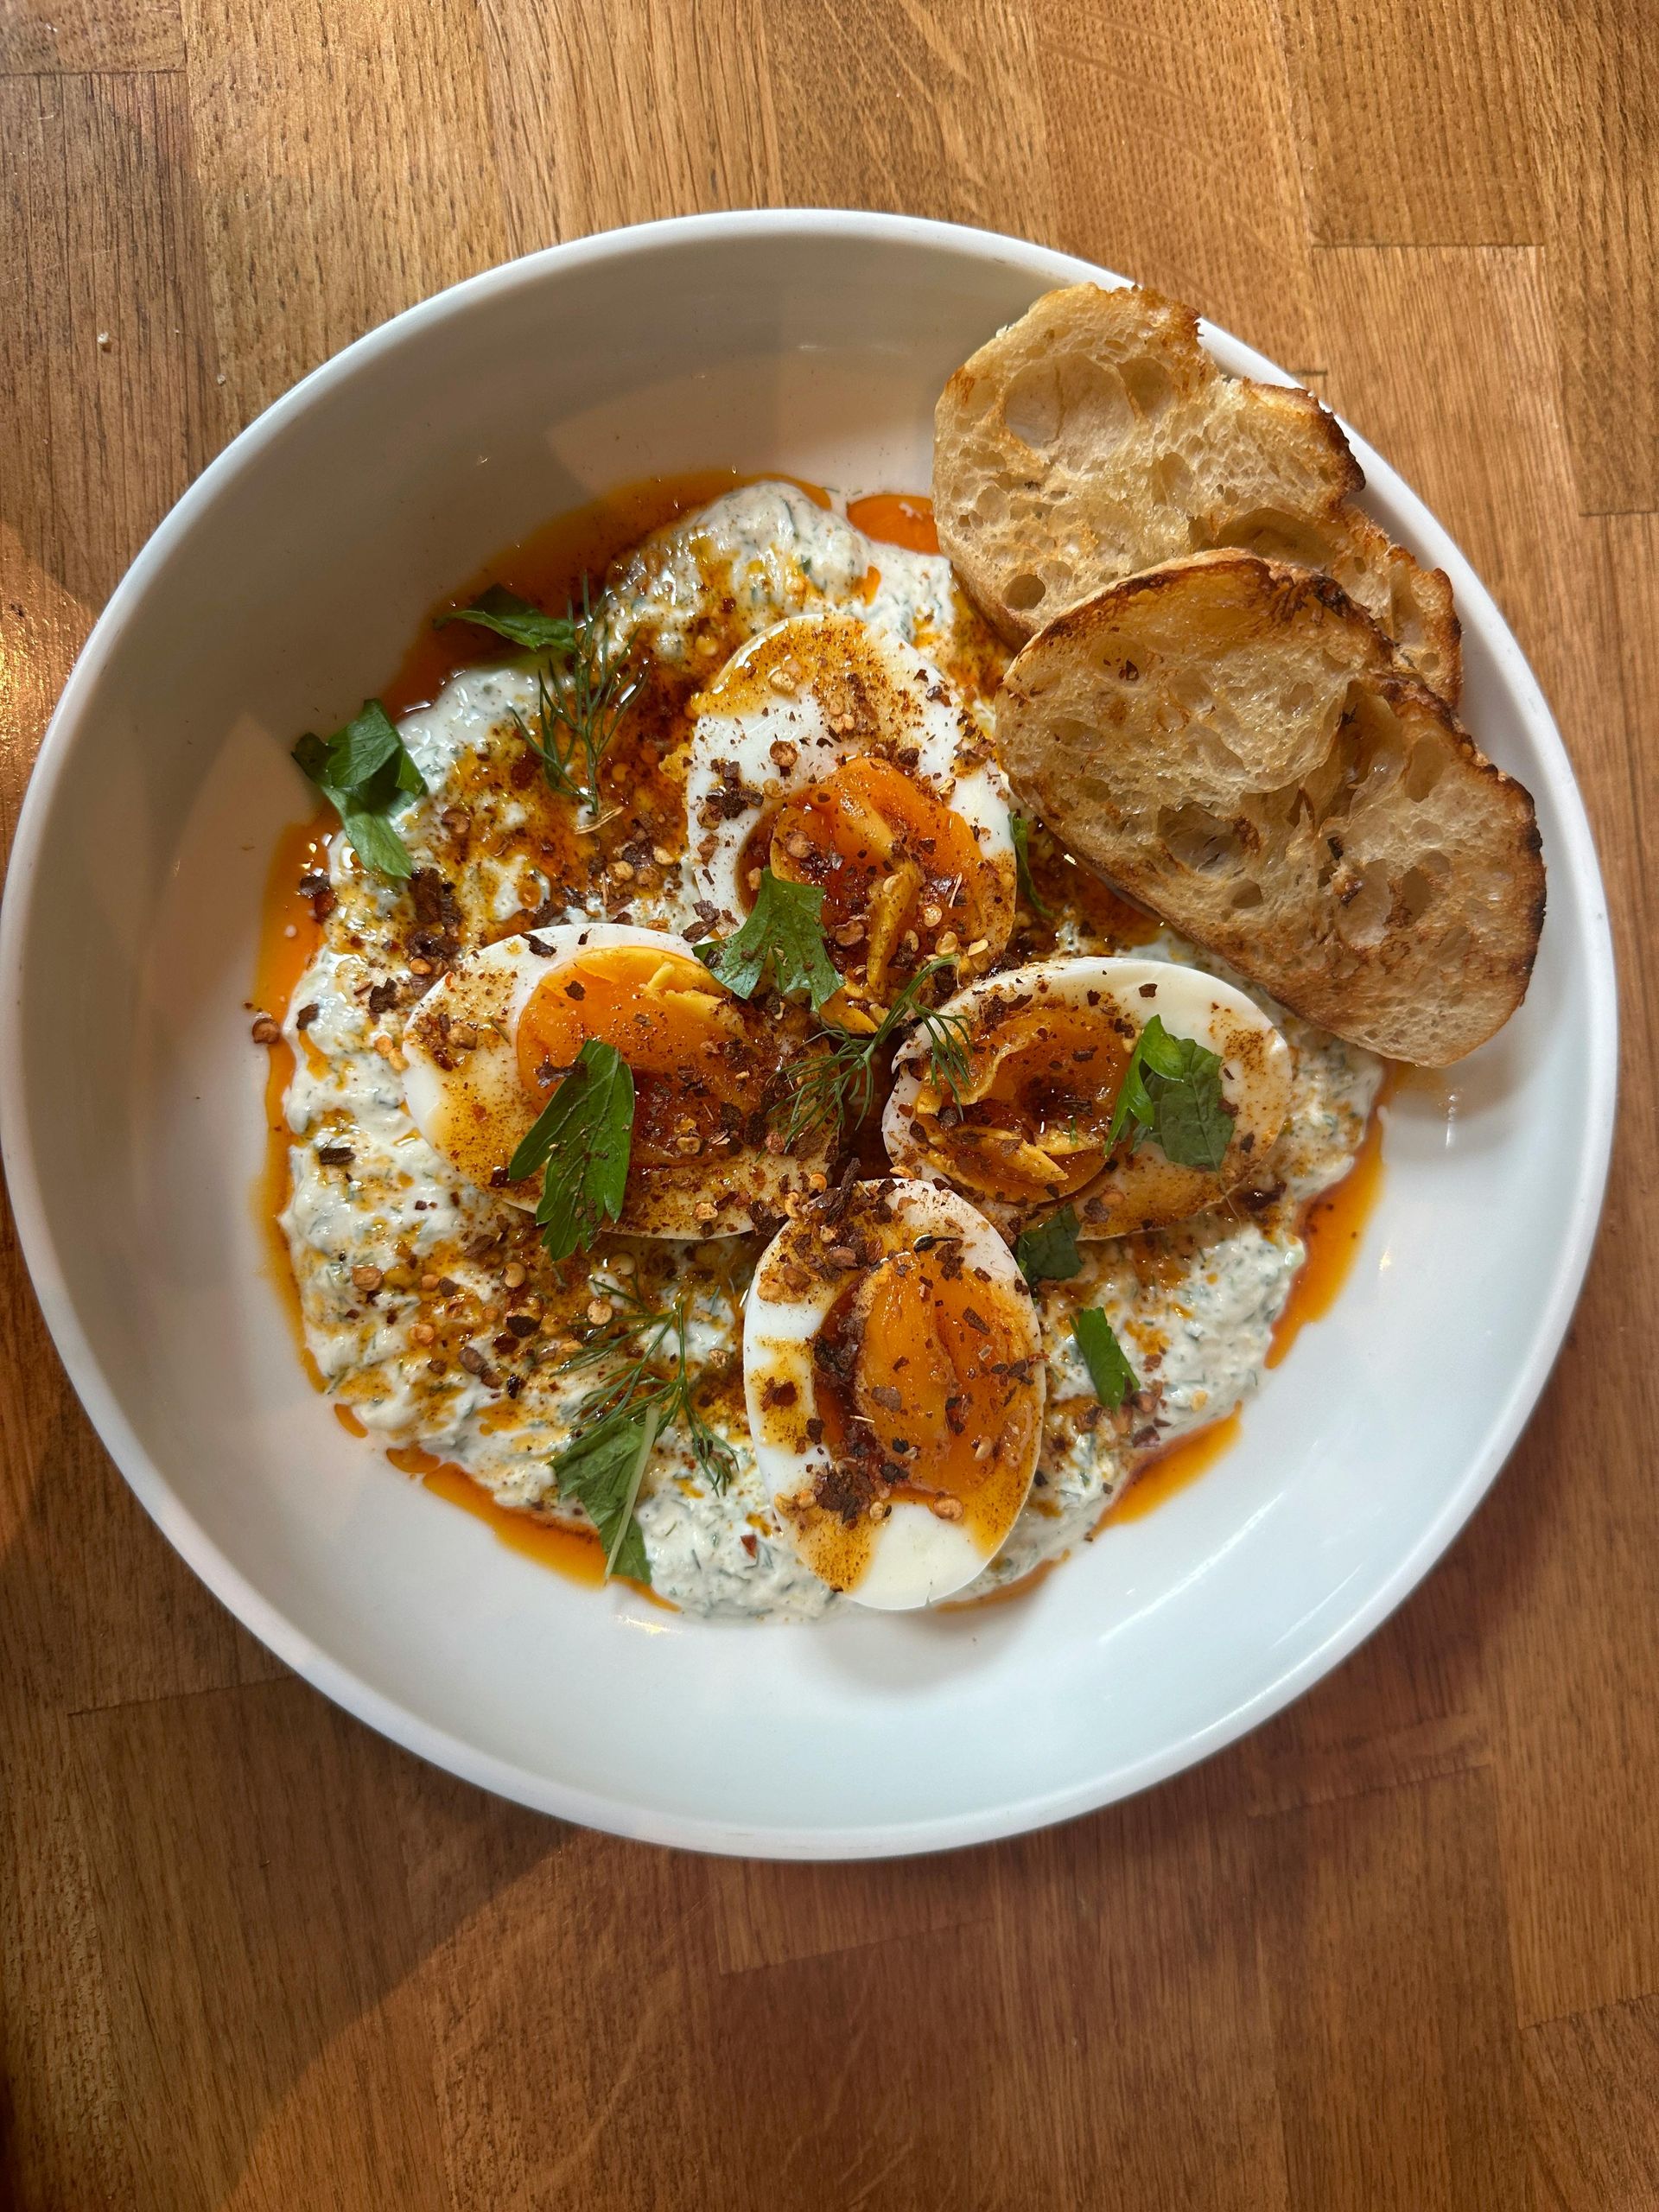
Çılbır is a Turkish dish of poached eggs served over garlicky yogurt, finished with warm butter seasoned with Aleppo pepper and dried mint. It reads like a composed breakfast but eats like a full meal — the yogurt provides richness and protein, the eggs add substance, and the spiced butter ties everything together with fragrance and gentle heat.
The yogurt base requires the most attention to get right. It should be thick, slightly warm — not cold from the refrigerator — and seasoned with minced garlic and salt. Use full-fat Greek or Turkish yogurt. Rub garlic cloves against the side of a knife with a pinch of salt to make a paste, then stir it thoroughly into the yogurt. Let it rest for at least 10 minutes before serving so the garlic flavor mellows and distributes evenly. Spread this generously onto serving plates or into shallow bowls.
For the eggs, fill a skillet with water about two inches deep. Add a splash of white vinegar, which helps the egg whites coagulate quickly rather than spreading out into thin wisps. Bring the water to a low simmer — small bubbles, not a rolling boil. Crack eggs into small individual cups, then tip them gently into the water one at a time. Three to four minutes produces whites that are fully set but yolks that are still runny. Lift them out with a slotted spoon and blot dry on a clean cloth before placing on the yogurt.
In a small pan, melt butter over medium heat. As soon as it foams, add Aleppo pepper flakes — their moderate heat and fruity character is important to the dish — and dried mint. After 30 seconds, pour this directly over the eggs and yogurt.
Serve with warm flatbread for scooping. Aleppo pepper is worth seeking out specifically for this dish. Substituting generic red pepper flakes produces a harsher, less layered result that works against the delicacy of the yogurt.
Cast iron pork chops with apple and sage
Credit: Alex Munsell, Unsplash
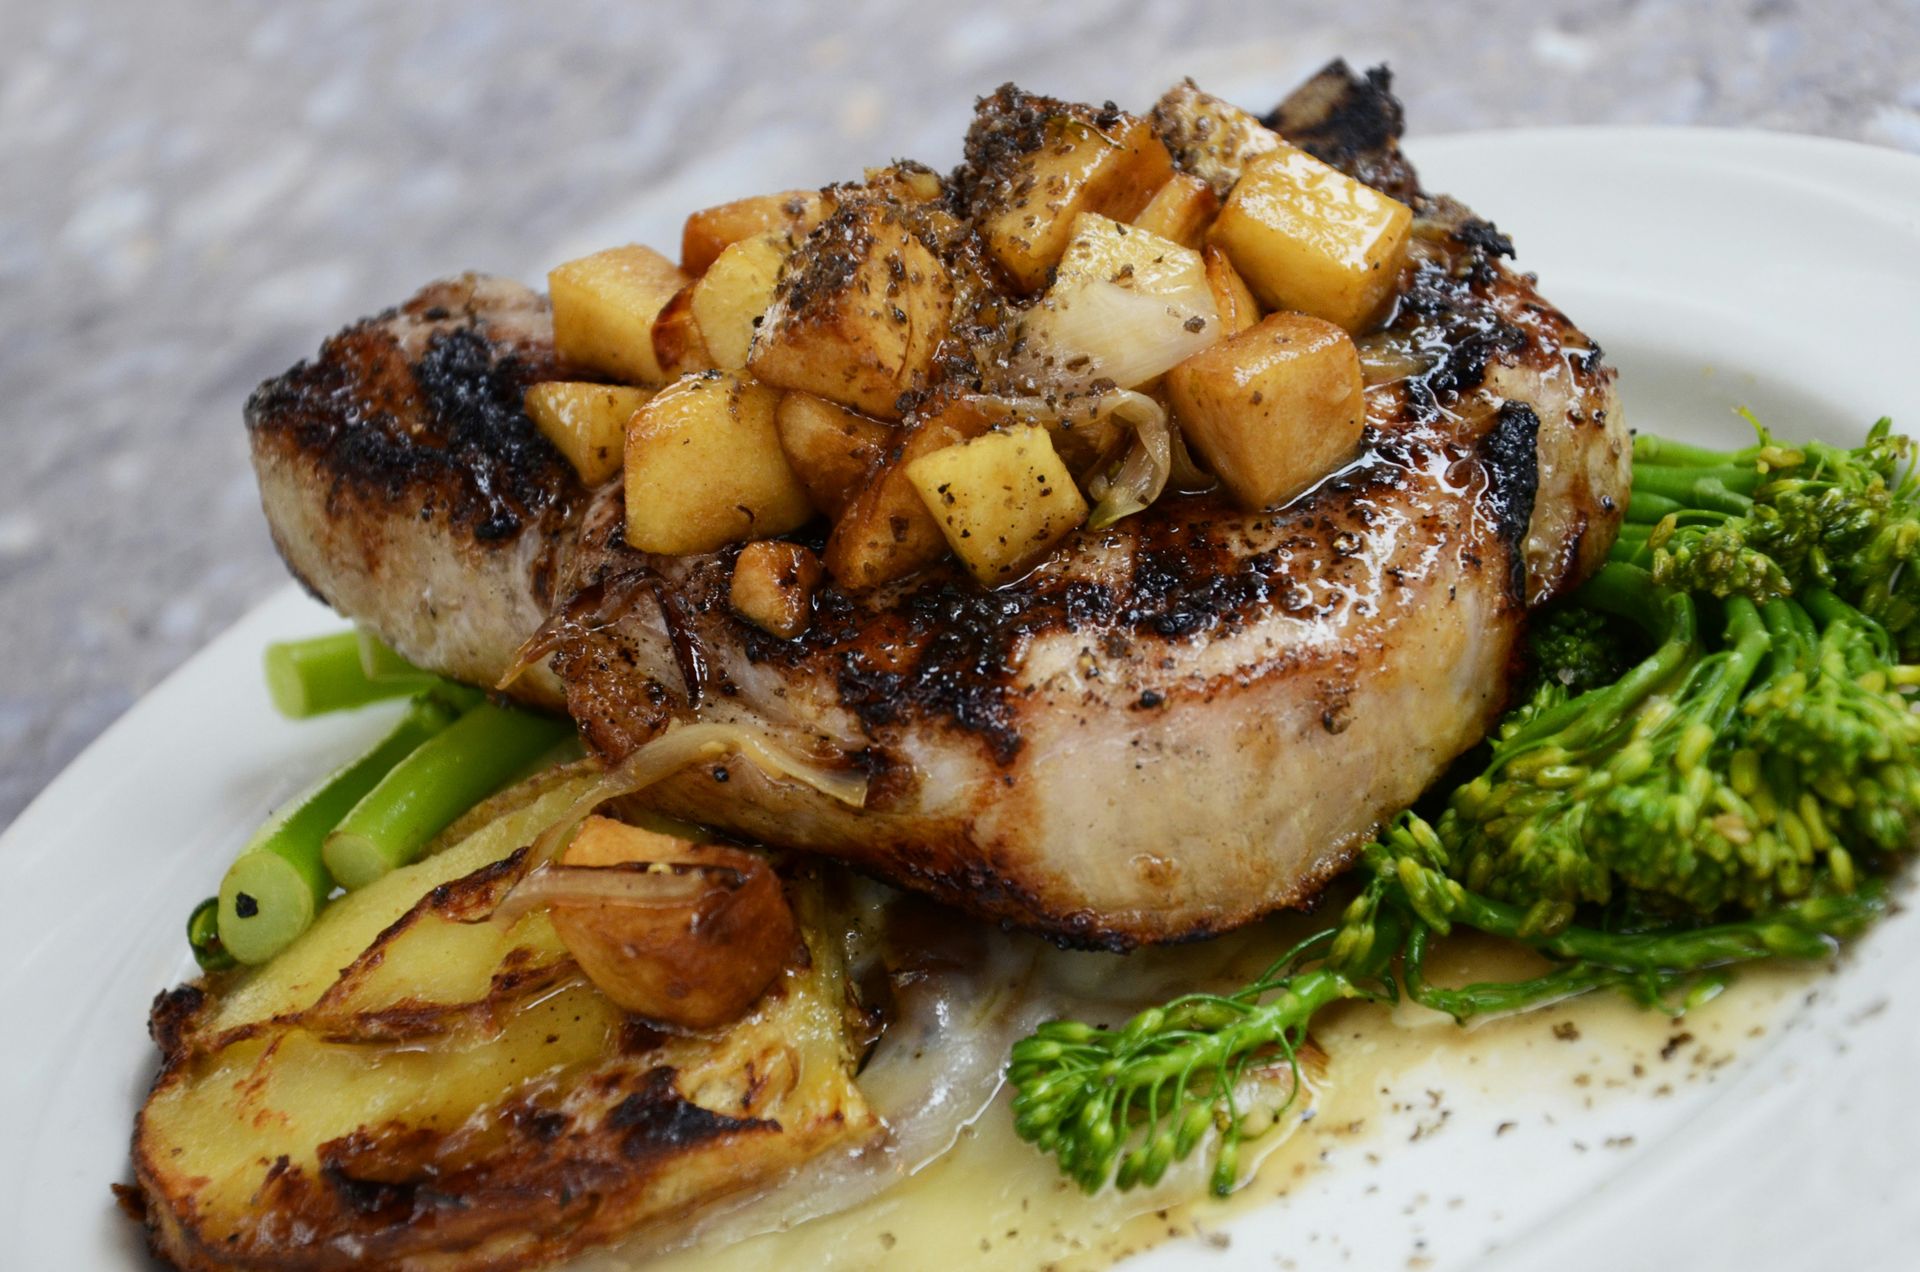
Pork and apple is a combination rooted in the way the two have historically been produced side by side — in Normandy, in England, in parts of the American Midwest. The acidity of apple cuts through the fat in pork, and the natural sweetness supports caramelization in the pan. In cast iron, pork chops develop a crust that they rarely achieve in a lighter pan, and the same pan handles the apple sauce without any transfer.
Use bone-in pork chops at least an inch thick. Thinner chops overcook before the outside properly browns. Pat them dry, season with salt and pepper, and let them come to room temperature for 20 minutes. Heat the cast iron over medium-high heat, add a neutral oil, and sear the chops for four minutes per side without moving them. After flipping, add a tablespoon of butter, let it foam, and baste the chops with the foaming butter for a minute before removing them to rest. The safe internal temperature for pork is 145°F (63°C), which leaves the center slightly pink.
Without cleaning the pan, reduce the heat to medium. Add two thinly sliced firm apples — Granny Smith or Honeycrisp hold their shape better than soft varieties — along with sliced shallots. Cook until the apples soften and begin to caramelize, about five minutes. Add a splash of apple cider or apple juice, a splash of chicken stock, and a few fresh sage leaves. Let the liquid reduce by half, scraping up the browned bits from the bottom of the pan. Finish the sauce with a cold tablespoon of butter stirred in off the heat, which gives it gloss and body.
Return the pork chops to the pan for two minutes to warm through and absorb the sauce. Serve with a simple green salad or roasted potatoes. The sage leaves will have crisped in the butter — leave them in as a garnish.
Sheet pan harissa chickpeas and cauliflower
Credit: Alesia Kozik, Pexels
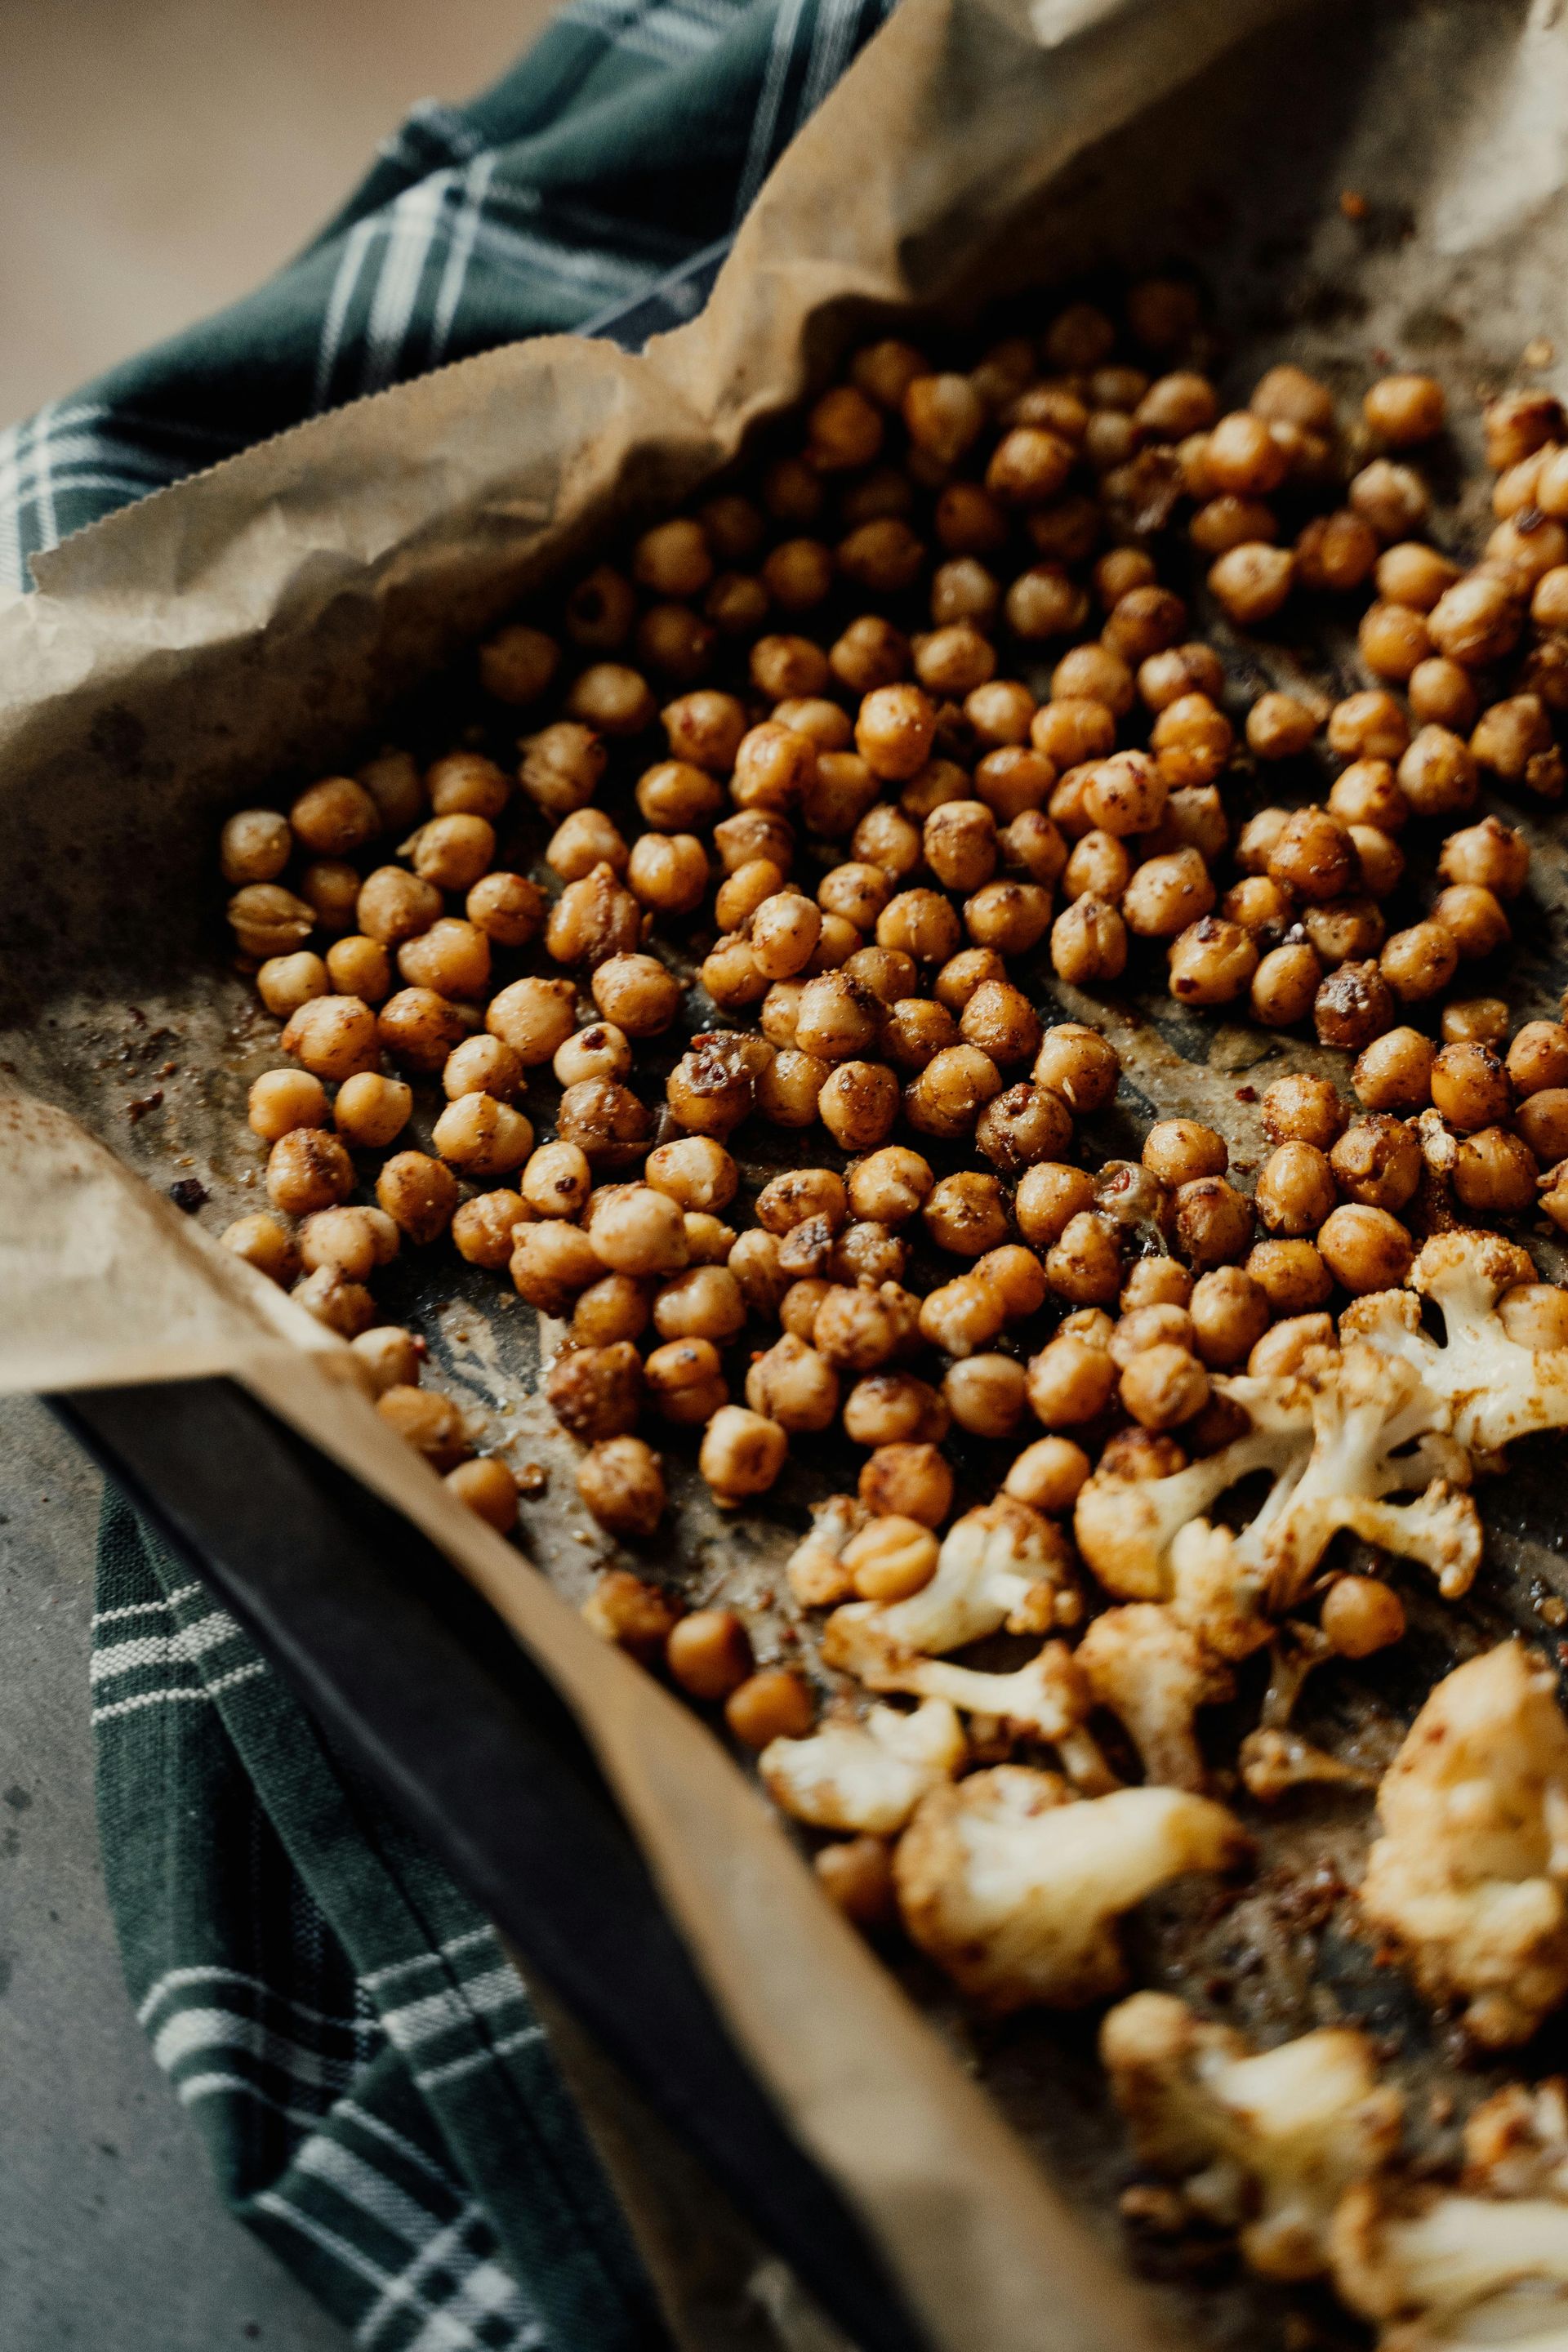
Harissa is a North African chili paste — made from dried red chilies, garlic, cumin, coriander, and caraway — that transforms otherwise simple vegetables into something deeply savory. Mixed with olive oil, it works as both a marinade and a roasting paste, and the sugars in the paste caramelize dramatically on a hot sheet pan, developing a crust on the edges of each piece.
Cut a head of cauliflower into florets. Drain and rinse two cans of chickpeas and pat them dry. The drying step matters — chickpeas with surface moisture steam in the oven rather than crisping. Toss both with harissa paste, olive oil, lemon juice, and salt. Three to four tablespoons of harissa for a pan this size is enough to coat everything without drowning it. Spread in a single layer on a sheet pan.
The arrangement matters. Spread the chickpeas and cauliflower without stacking them, with space between pieces. A crowded pan steams its contents rather than roasting them, and with chickpeas especially, the difference between crisp and soggy depends on airflow around each piece. Use two pans if necessary rather than crowding one.
Roast at 425°F (220°C) for 25 to 30 minutes, shaking the pan once halfway through. The chickpeas should be crisp and lightly charred. The cauliflower should have browned edges and be tender throughout.
Serve over labneh spread on a plate, or over couscous cooked in vegetable broth. Sliced preserved lemon adds a salty, fermented note that works particularly well here. A handful of fresh mint and some torn flat-leaf parsley lighten the finished dish considerably.
This recipe is vegetarian and vegan by default and provides enough protein from the chickpeas to function as a main course. The harissa quantity is adjustable — some brands are significantly hotter than others, so taste the paste before committing to the amount. The cooling effect of labneh or yogurt underneath helps balance the heat if you've used a lot.
One-pot coconut milk mussels
Credit: Nikolay Smeh, Unsplash
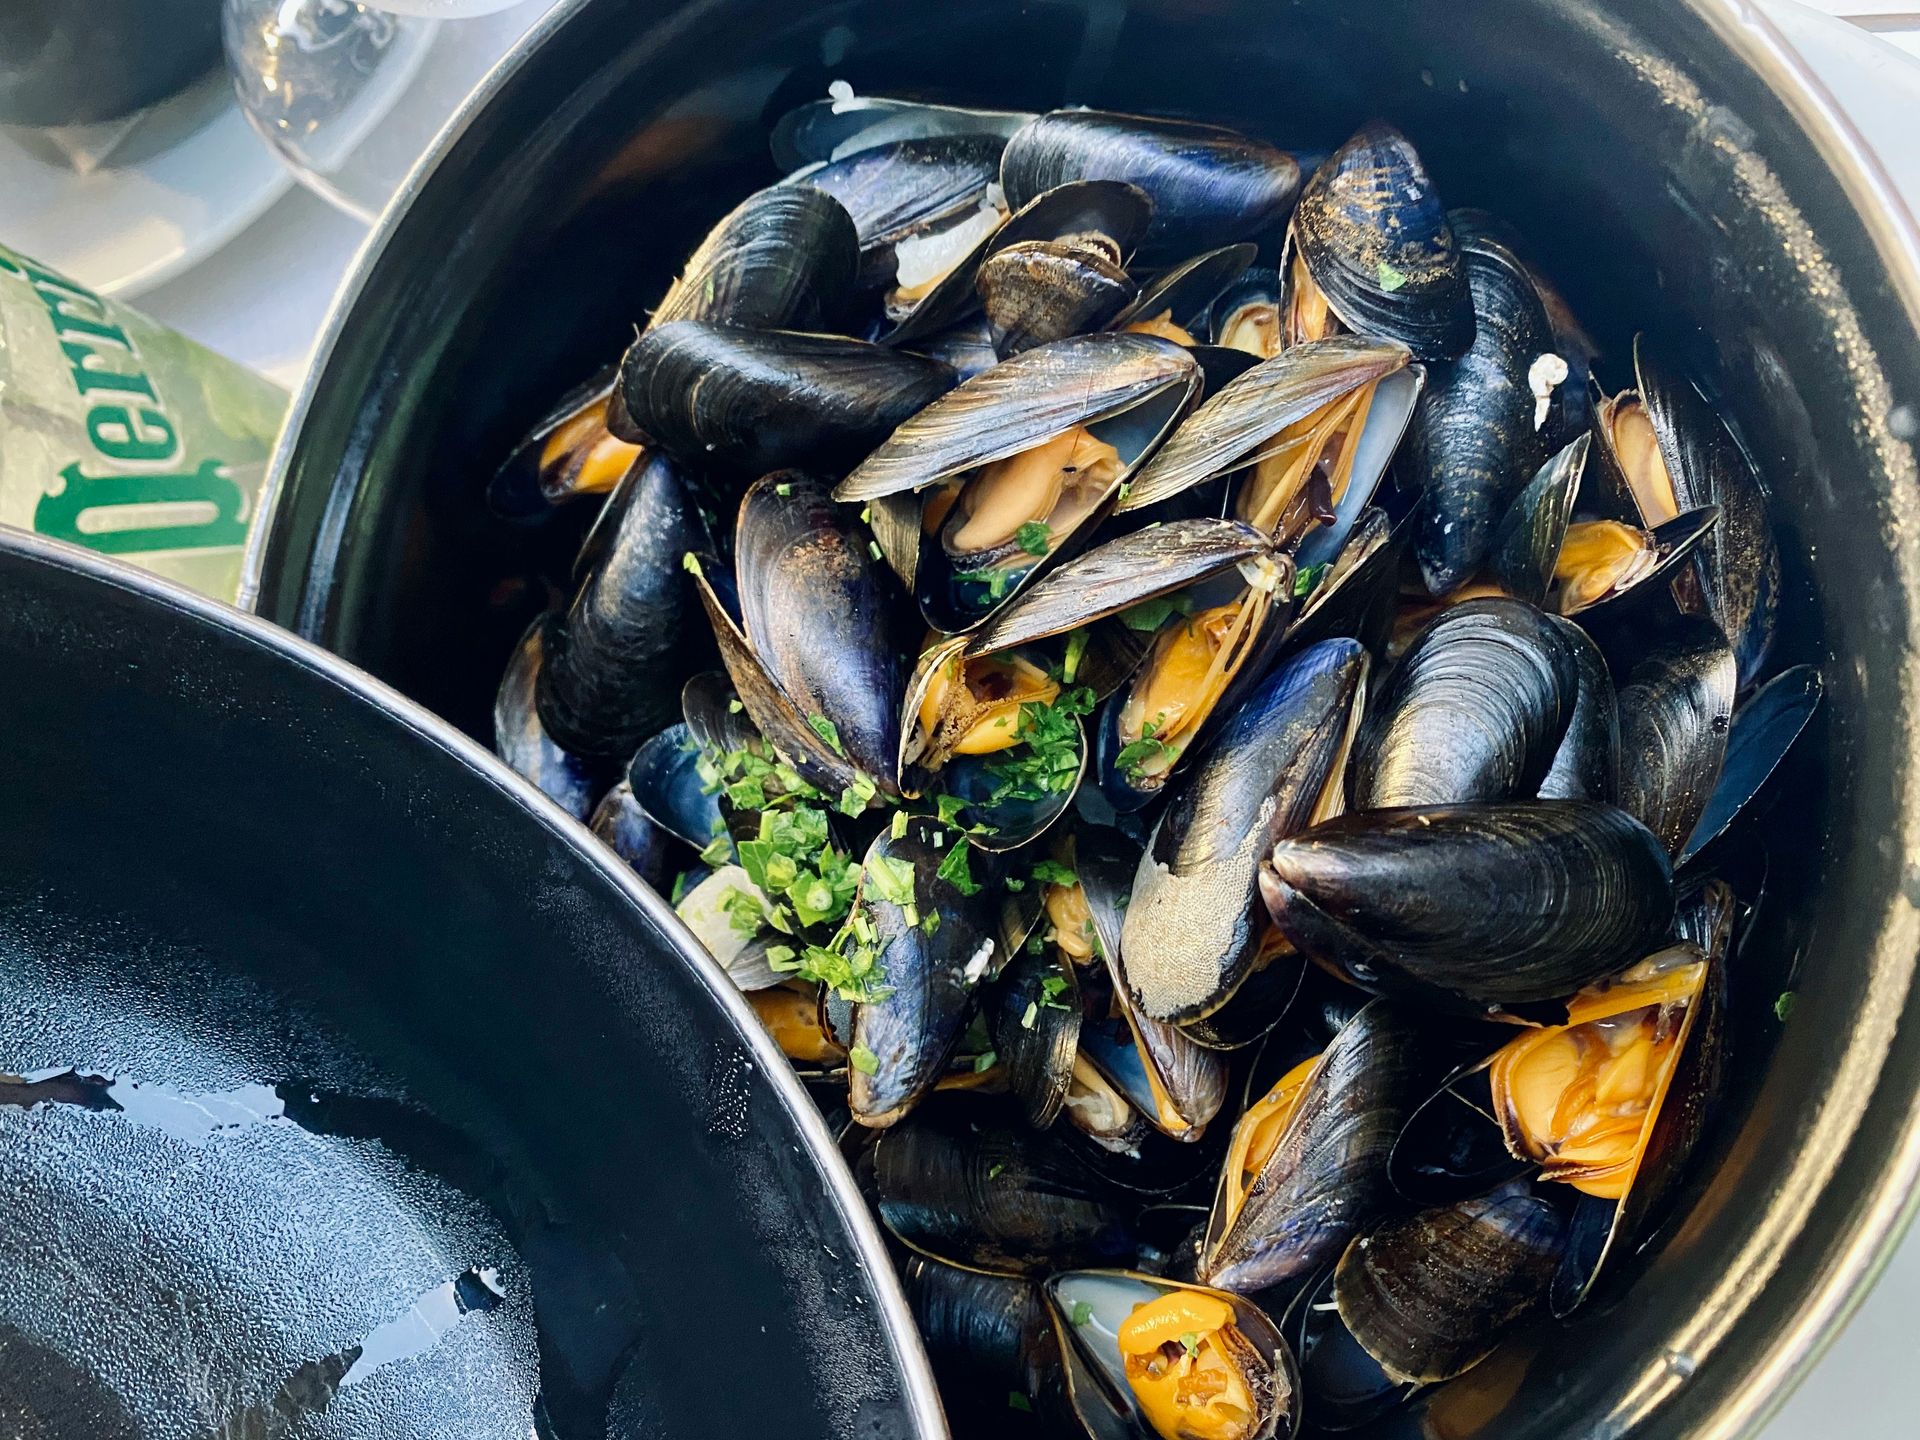
Mussels are among the most underused proteins in the home kitchen. They're inexpensive, require almost no prep, cook in three to four minutes, and produce their own intensely flavored broth as they open. A pot of mussels in coconut milk with lemongrass, ginger, and lime is a 20-minute dinner that tastes like it took much longer.
Buy live mussels from a fishmonger or supermarket on the day you plan to cook them. Discard any that are cracked or that don't close when tapped. Just before cooking, rinse them under cold water and pull off the beard — the fibrous strand that protrudes from the shell — with your fingers. This takes about five minutes for two pounds of mussels.
Heat a wide pot with a lid over medium heat. Add a neutral oil and sauté two minced shallots, two minced garlic cloves, two inches of fresh ginger cut into matchsticks, and one or two lemongrass stalks trimmed and bruised with the back of a knife. Cook for three minutes. Add a sliced red chili if you want heat. Pour in a full can of coconut milk and a splash of fish sauce, then bring to a simmer.
Add the mussels to the pot and cover tightly. Cook for three to four minutes, shaking the pot once or twice, until the mussels have opened. Discard any that remain closed after five minutes. Remove the lemongrass stalks before serving.
Finish with lime juice and fresh cilantro. The coconut broth is the dish's main appeal — it's enriched with the liquor the mussels release as they steam, which adds a briny depth to the sweetness of the coconut milk.
Serve with bread or steamed rice to absorb the broth. This method also works with clams, which behave similarly and take the same seasonings. The timing is nearly identical, though clams may need an extra minute or two to fully open.
Skillet deconstructed bibimbap
Credit: nikluv, Pixabay
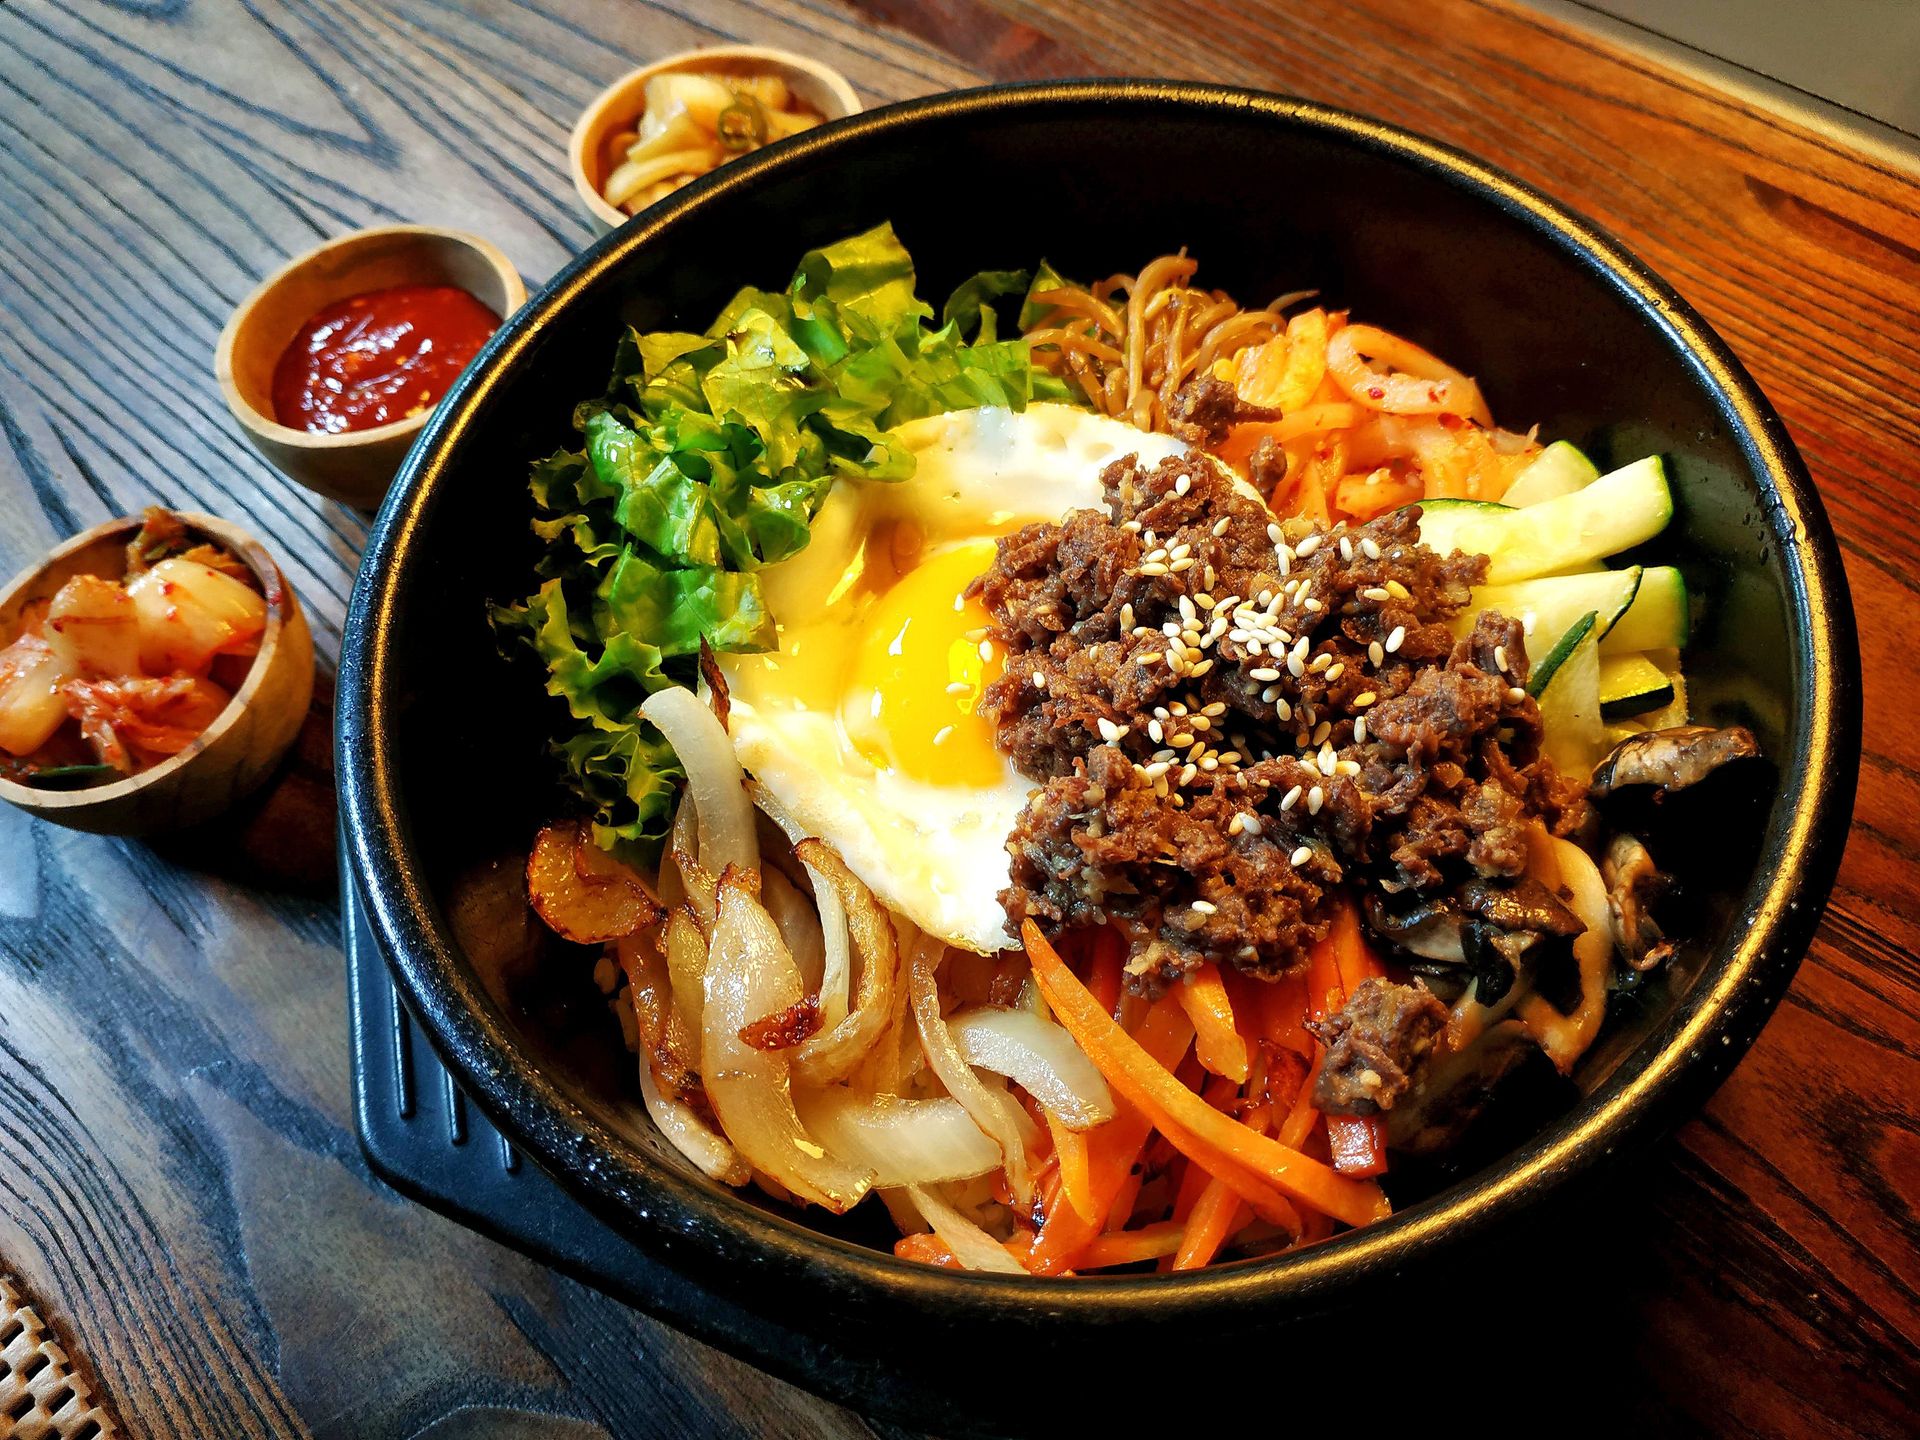
Bibimbap is a Korean rice bowl topped with sautéed and seasoned vegetables, a fried egg, sliced beef, and gochujang sauce. The traditional version requires multiple components cooked separately. A skillet version compresses this into one pan by cooking each element in succession, using the same pan without washing it between steps, and building layers of flavor from the residue each ingredient leaves behind.
Begin by cooking short-grain white rice by your preferred method — this is the one component that requires a separate vessel, whether a rice cooker or a pot. While the rice cooks, use the skillet for the toppings.
Heat a thin film of sesame oil in the skillet over medium heat. Add julienned or grated carrots and toss for two minutes, then remove and season with a pinch of salt. Without cleaning the pan, add sliced shiitake mushrooms and cook until golden and soft, about four minutes. Season with soy sauce, then remove. Add sliced zucchini, cook briefly, season, remove. Each vegetable goes into its own small bowl to preserve its individual character. After the vegetables, cook thin strips of beef — ribeye or sirloin cut across the grain, seasoned with soy sauce, garlic, and sesame oil — over high heat for two to three minutes.
Wipe the pan clean and fry an egg per person in sesame oil over medium heat. A sunny-side-up egg with a runny yolk is traditional; the yolk breaks when mixed into the bowl and becomes part of the sauce.
To serve, place rice in a bowl, arrange the vegetables and beef on top in sections, add the fried egg, and spoon gochujang sauce — gochujang thinned with sesame oil, rice vinegar, and a little sugar — over everything.
The vegetables are interchangeable based on the season. Bean sprouts blanched briefly, spinach wilted with garlic and sesame, or sliced cucumber dressed with rice vinegar all work as substitutions. The standard is five to six vegetable components with distinct individual seasoning.
Sheet pan sausage and peppers
Credit: Sergio Arteaga, Pexels
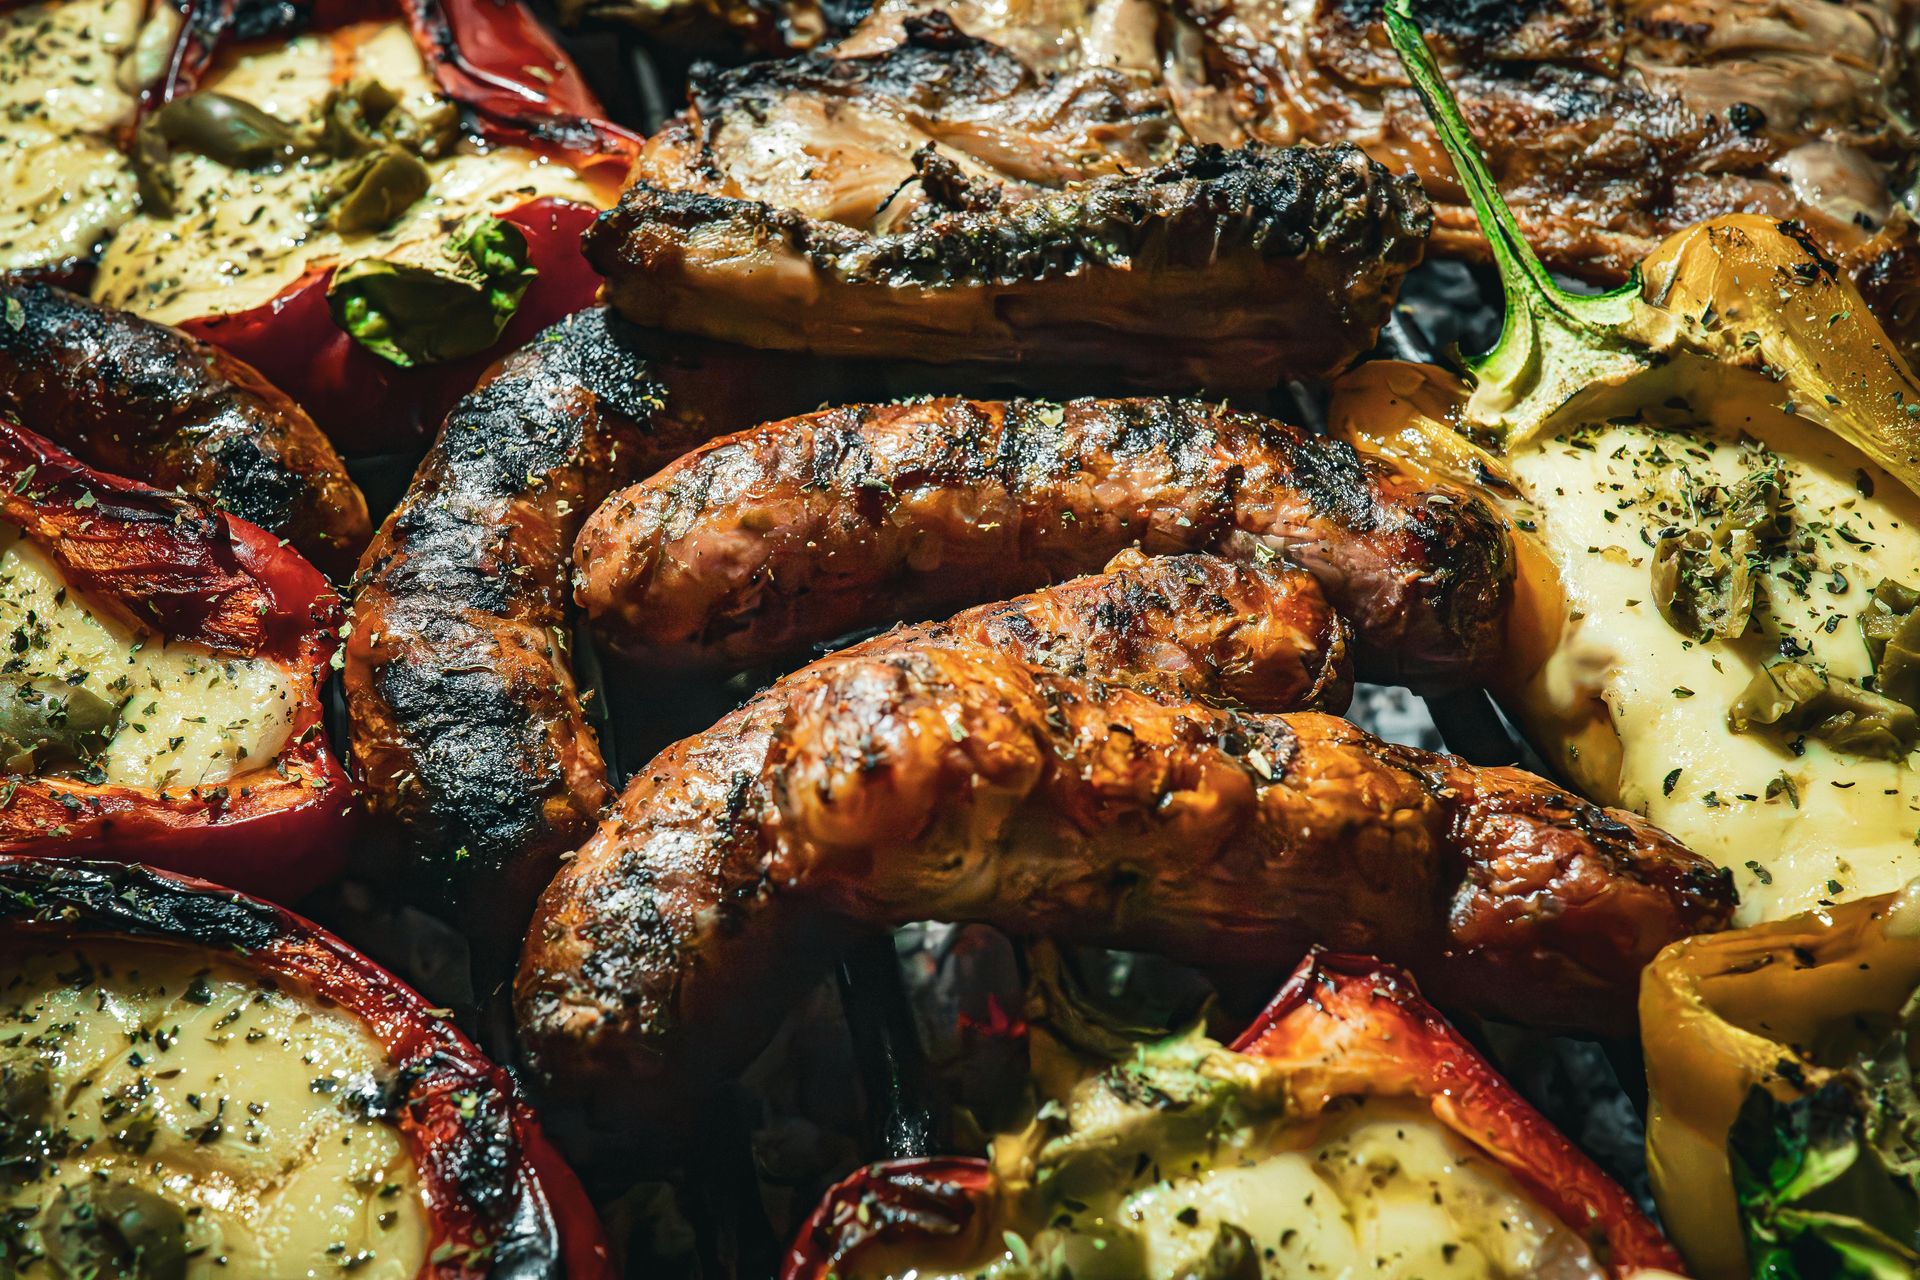
Sausage and peppers is a straightforward sheet pan dinner with deep Italian-American roots. The basic technique — roasting sausage links alongside sliced bell peppers and onions with olive oil and dried oregano — requires almost no active cooking and produces a pan full of caramelized, savory food that works in a roll, over pasta, or on its own alongside bread.
Use Italian pork sausages, either sweet or hot or a mix of both depending on preference. The fat content of a good pork sausage is what drives this dish — as the sausages roast, they render fat onto the pan, and the peppers and onions cook in that fat and develop a richness they wouldn't achieve with olive oil alone. Chicken or turkey sausages can be substituted, but because they're leaner, they need additional olive oil and the pan won't develop the same depth.
Slice bell peppers — three colors provides both visual contrast and varying degrees of sweetness — and one or two large onions into strips about a quarter-inch wide. Toss with olive oil, dried oregano, salt, and red pepper flakes. Spread on a sheet pan and place the sausages on top or alongside. The sausages shouldn't be buried under the vegetables — they need airflow to brown on the outside.
Roast at 425°F (220°C) for 25 to 30 minutes, flipping the sausages halfway through. The sausages should be browned on the outside and cooked through to an internal temperature of 160°F (71°C) for pork. The peppers and onions should be completely soft with some charred edges.
For a more substantial meal, toast hoagie rolls and pile the sausages and peppers inside with a drizzle of spicy brown mustard.
Leftovers reheat well and repurpose easily on the second day — chop the sausages into coins, warm everything in a pan with a splash of water, and toss with rigatoni or penne for a quick pasta.
One-pot red lentil dal
Credit: Canva Images
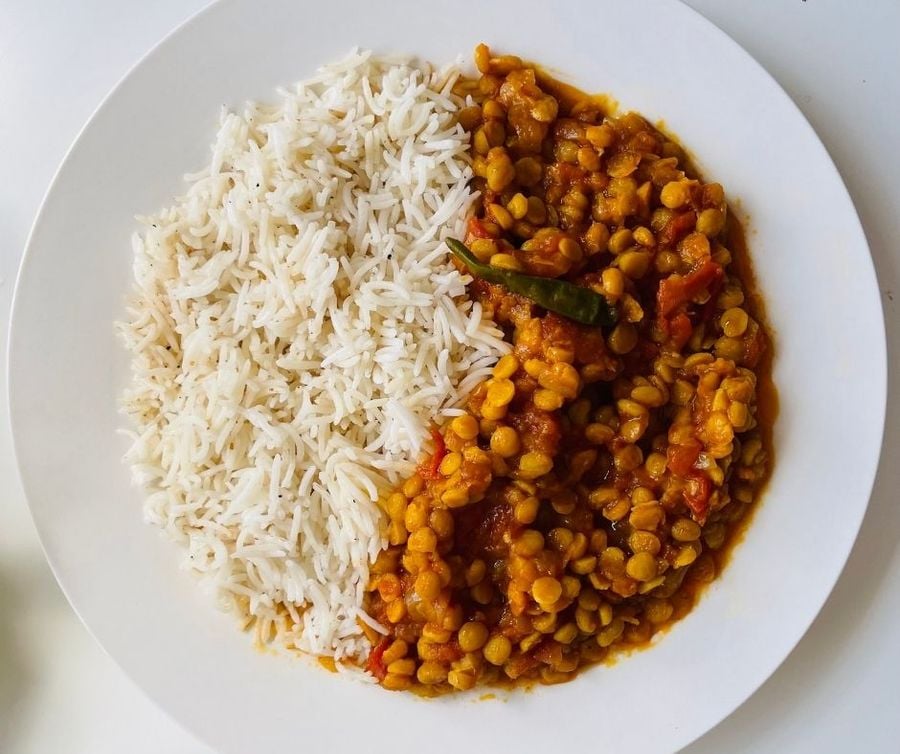
Red lentil dal is one of the most practical and nutritious one-pot dinners there is. Red lentils need no soaking, they cook in 20 to 25 minutes, and they dissolve into a thick, creamy texture that is satisfying on its own. The tarka — the tempered spice oil poured over at the end — is the step that transforms a bowl of cooked lentils into something genuinely worth eating.
Rinse one and a half cups of red lentils under cold water until the water runs clear. In a medium pot, combine the lentils with a diced onion, one can of crushed tomatoes, three cups of water, ground turmeric, salt, and a teaspoon of minced ginger. Bring to a boil, reduce to a simmer, and cook uncovered for 20 minutes, stirring occasionally. The lentils will break down and thicken the mixture considerably. If it thickens too much before the lentils are cooked through, add a splash of water to loosen.
The tarka is made separately — in a small pan, or in the same pot after removing the dal — by heating ghee or a neutral oil until it shimmers, then adding whole cumin seeds and letting them sizzle for 30 seconds. Add dried red chilies, a few curry leaves if you have them, and thinly sliced garlic. Cook for one minute until the garlic turns golden. Pour this entire mixture, hot oil included, over the dal. Stir to combine.
Finish with lemon juice and chopped cilantro. Serve with basmati rice, flatbread, or both.
The tarka step is not optional. It provides a bloom of whole spices and aromatics that cooked lentils on their own don't possess. The difference between dal made with and without a proper tarka is substantial in both aroma and flavor.
Variations are wide. Add coconut milk for a richer, creamier version. Stir in a handful of spinach at the end for greens without changing the fundamental character of the dish. A tablespoon of tamarind paste adds a deeper sourness that can replace the lemon juice.
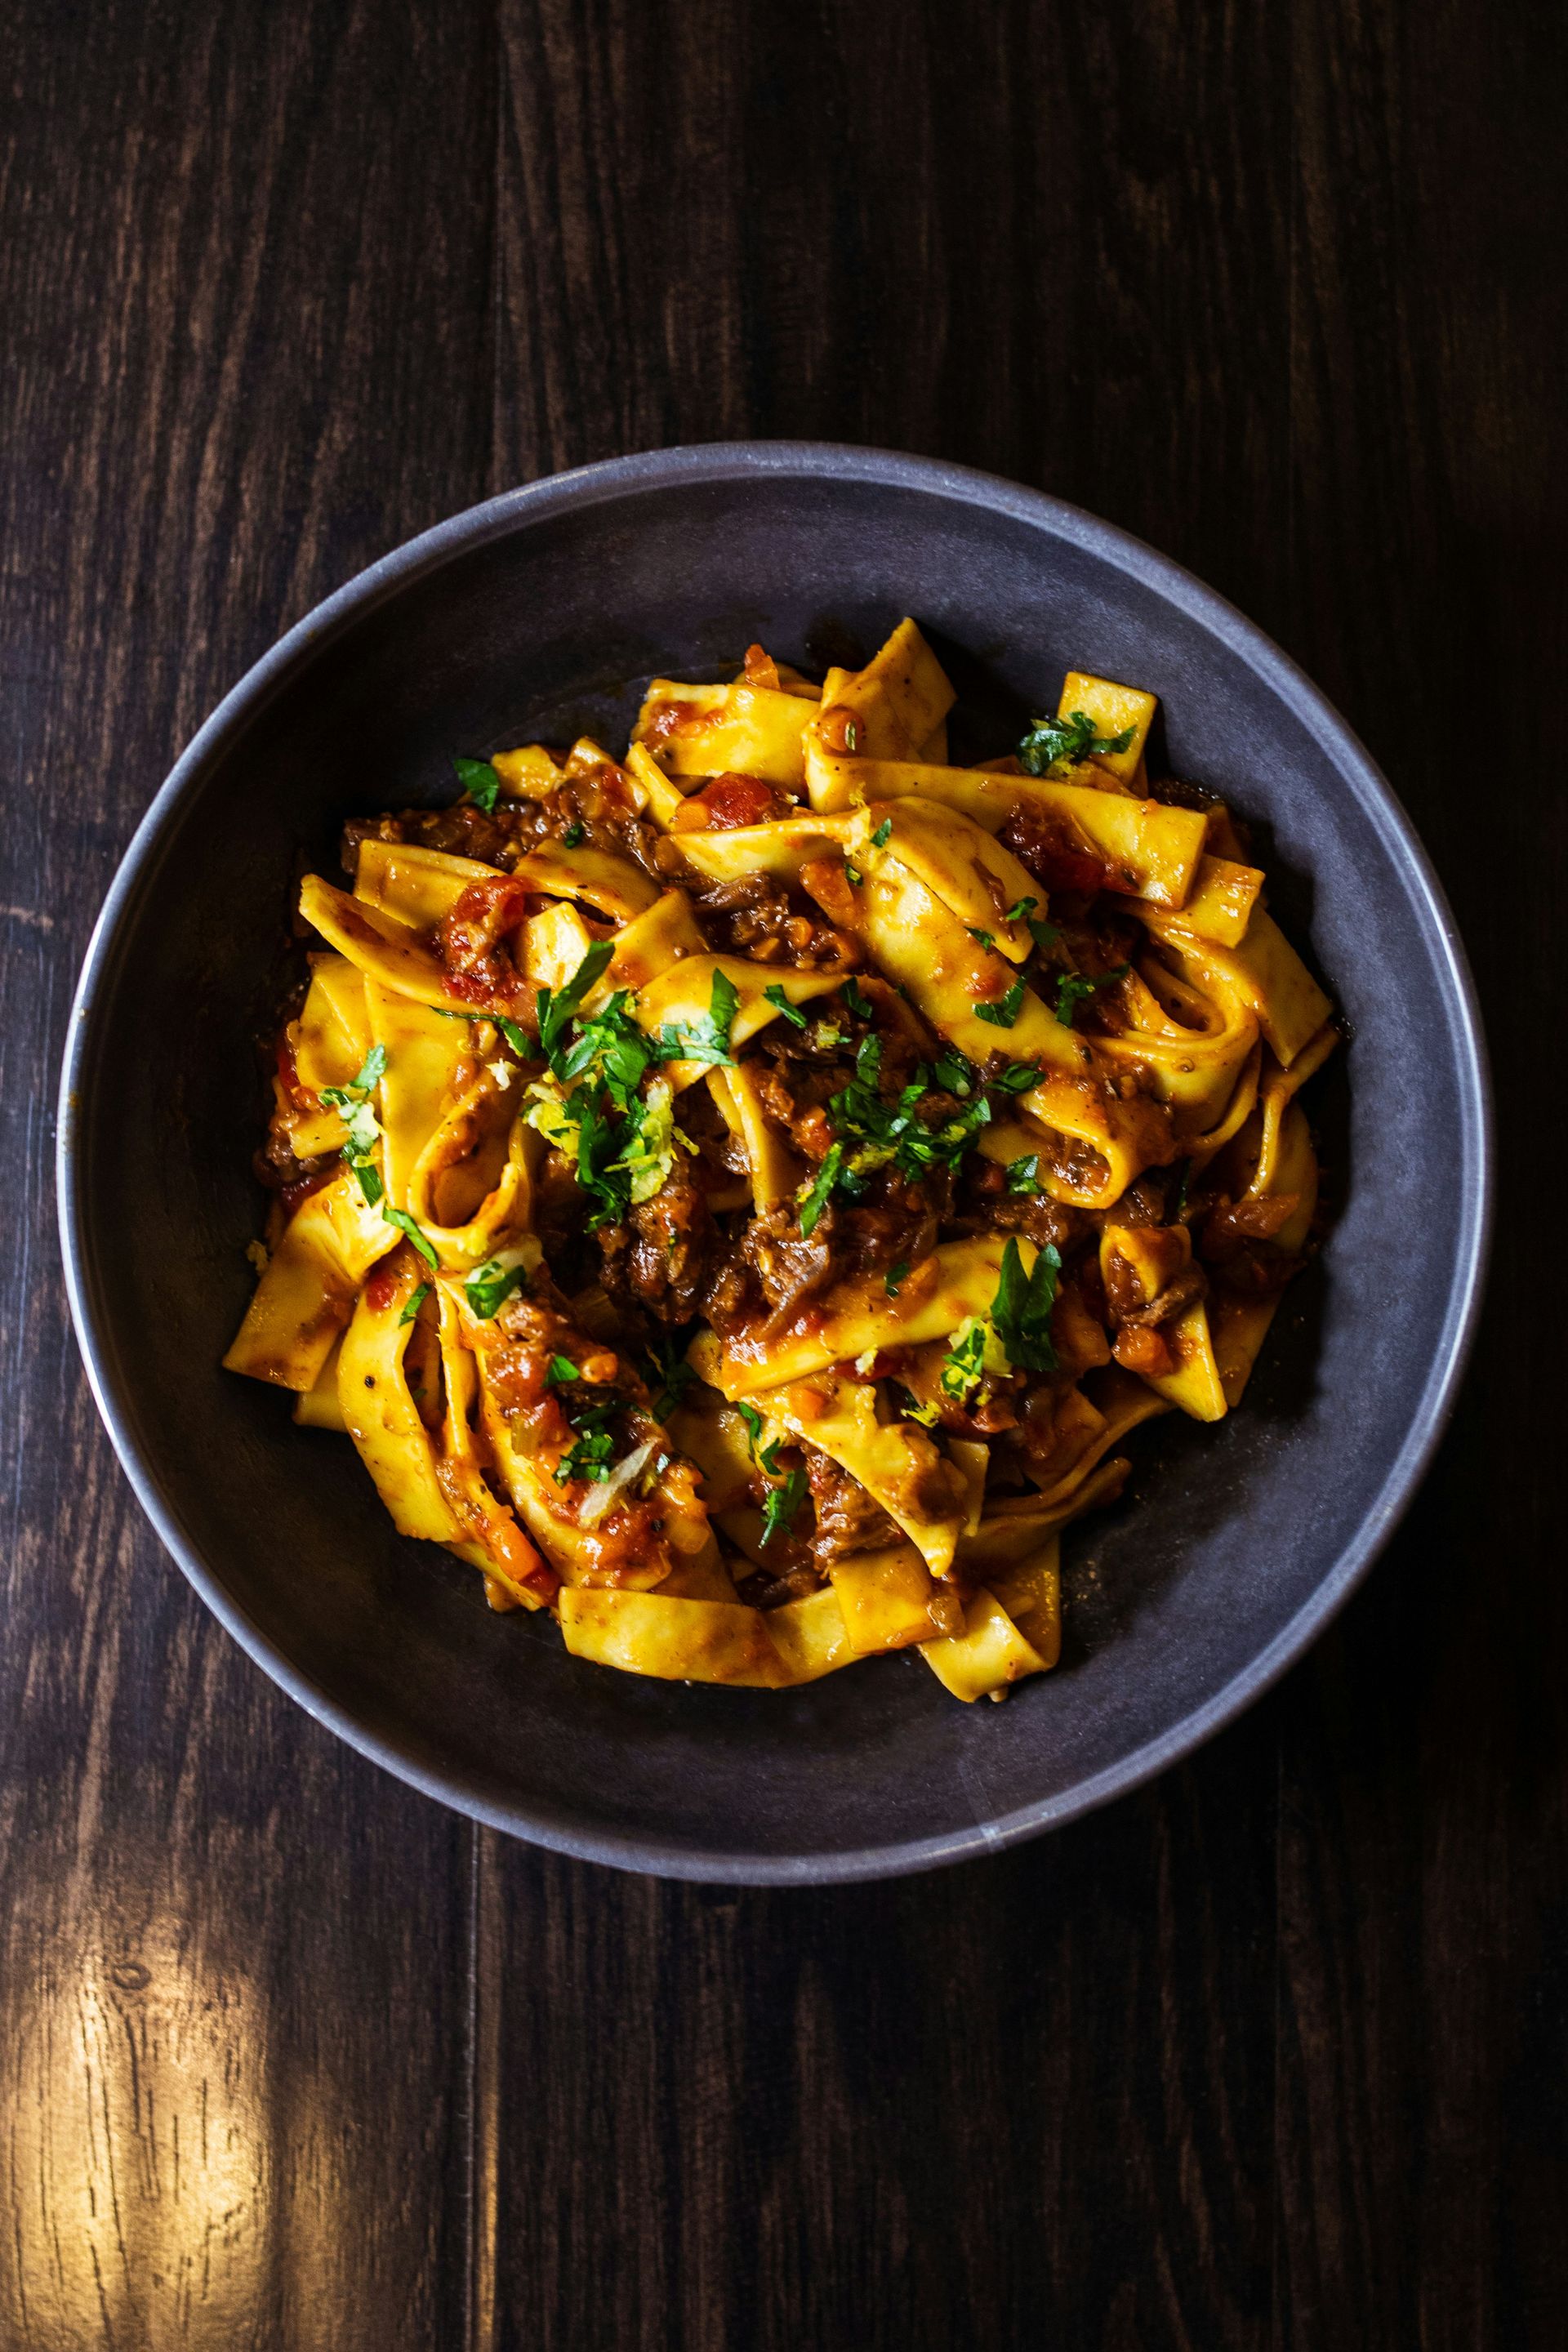
Dutch oven beef short rib ragù
Credit: Nicholas Grande, Unsplash
A beef short rib ragù cooked low and slow in a Dutch oven is a special-occasion dish that requires almost no skill — only time. The collagen in short ribs breaks down over several hours of braising and turns the cooking liquid into a silky, glossy sauce that coats pasta in a way that no other cut quite replicates.
Season bone-in short ribs generously with salt and pepper the day before cooking and refrigerate uncovered overnight — this dry brining seasons the meat throughout and dries the surface for better browning. When ready to cook, bring them to room temperature and sear in a Dutch oven in batches over high heat in a neutral oil until deeply browned on all sides. This will take 15 to 20 minutes total. Remove and set aside.
In the same pot, cook finely diced onion, carrot, and celery — the classic soffritto — in the rendered fat over medium heat until softened. Add tomato paste and cook, stirring, for two minutes. Add minced garlic. Pour in a full bottle of dry red wine and bring to a boil, scraping up the bottom. Let it reduce by half, which concentrates flavor and drives off the raw alcohol. Add a can of crushed tomatoes and enough beef stock to nearly cover the ribs.
Return the ribs to the pot. Add a bay leaf and a few sprigs of thyme. Bring to a simmer, then cover and transfer to a 325°F (163°C) oven. Braise for three to three and a half hours until the meat falls off the bone.
Remove the bones, shred the meat with two forks, and skim the fat from the surface of the sauce. Return the shredded beef to the pot and stir to combine.
Serve over pappardelle or rigatoni with freshly grated Parmigiano-Reggiano. This ragù freezes well for up to three months and tastes better reheated the second day.
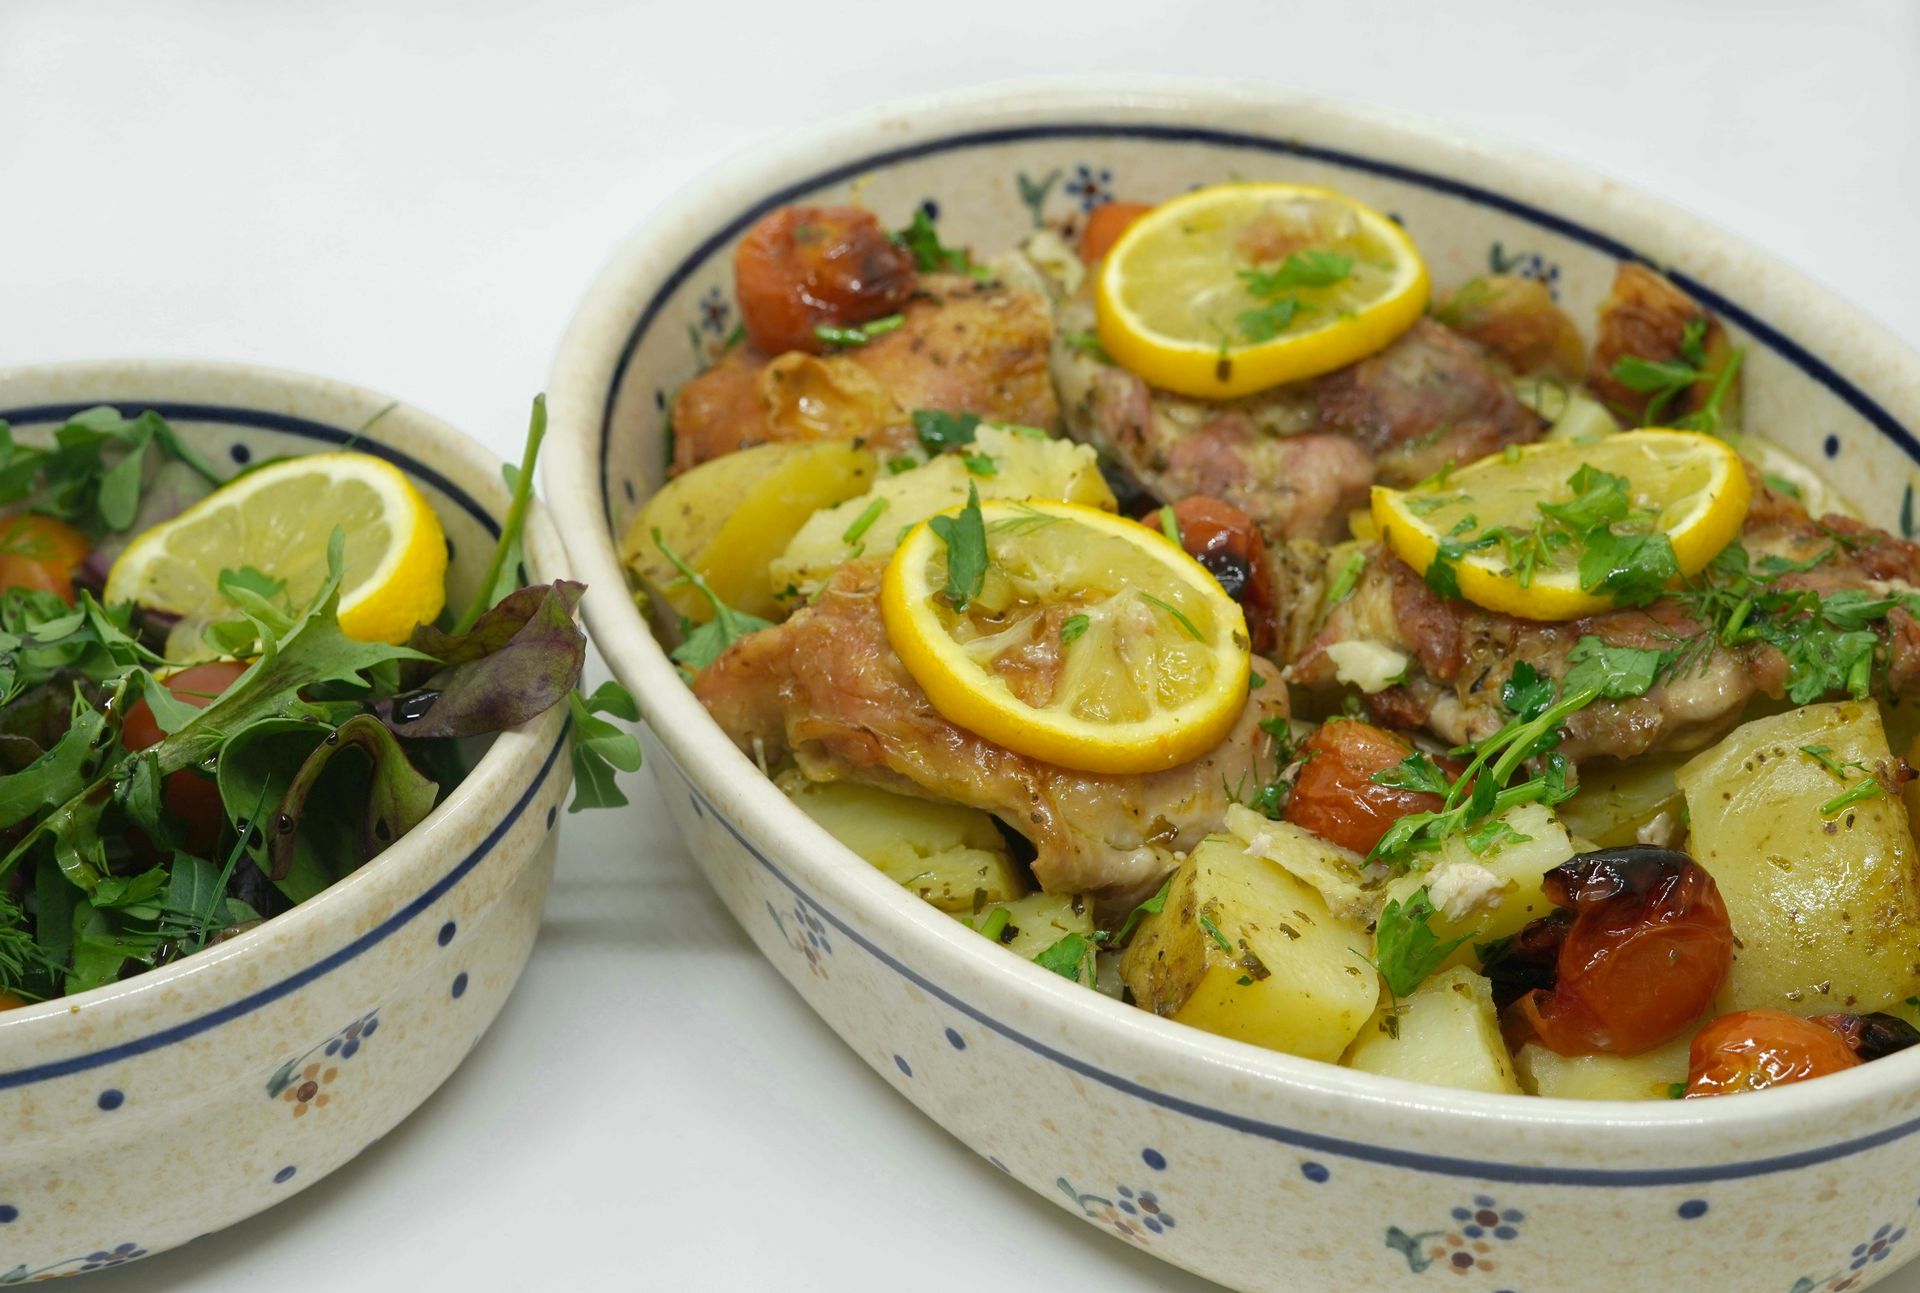
Sheet pan Greek lemon chicken
Credit: Babs Gorniak, Unsplash
Lemon, olive oil, garlic, and oregano are the foundational flavors of much Greek cooking, and they produce chicken on a sheet pan that is bright, herbaceous, and straightforward. The lemon does two things here: its juice marinates the chicken, and the sliced rounds arranged under the chicken caramelize and char during roasting, adding a bittersweet quality to the pan juices.
Marinate chicken pieces — bone-in thighs are ideal — for at least one hour and up to overnight in the juice of two lemons, a generous pour of olive oil, minced garlic, dried oregano, salt, and pepper. The ratio should feel generous — this is a genuine marinade that the chicken sits in, not a thin coating.
Slice two more lemons into rounds and scatter them across the sheet pan. Place the marinated chicken on top, pouring any excess marinade over. Add quartered red onion and halved cherry tomatoes around the chicken. Roast at 425°F (220°C) for 35 to 40 minutes until the chicken skin is golden and the internal temperature reaches 165°F (74°C).
The lemon slices underneath will have caramelized and some will have charred at the edges — this is the goal. They're not meant to be eaten whole, but the concentrated lemon juice that pools in the pan as they roast is intensely flavored. Spoon these juices over the chicken before serving.
Serve with pita, roasted potatoes, or a simple Greek salad. A spoonful of tzatziki alongside provides a cool, creamy contrast to the bright, acidic pan juices.
This recipe also works with a whole spatchcocked chicken — remove the backbone, flatten the bird, and roast it for 45 to 50 minutes. A spatchcocked chicken cooks more evenly than a whole bird and browns particularly well on a sheet pan because its flattened shape maximizes contact with the surface.
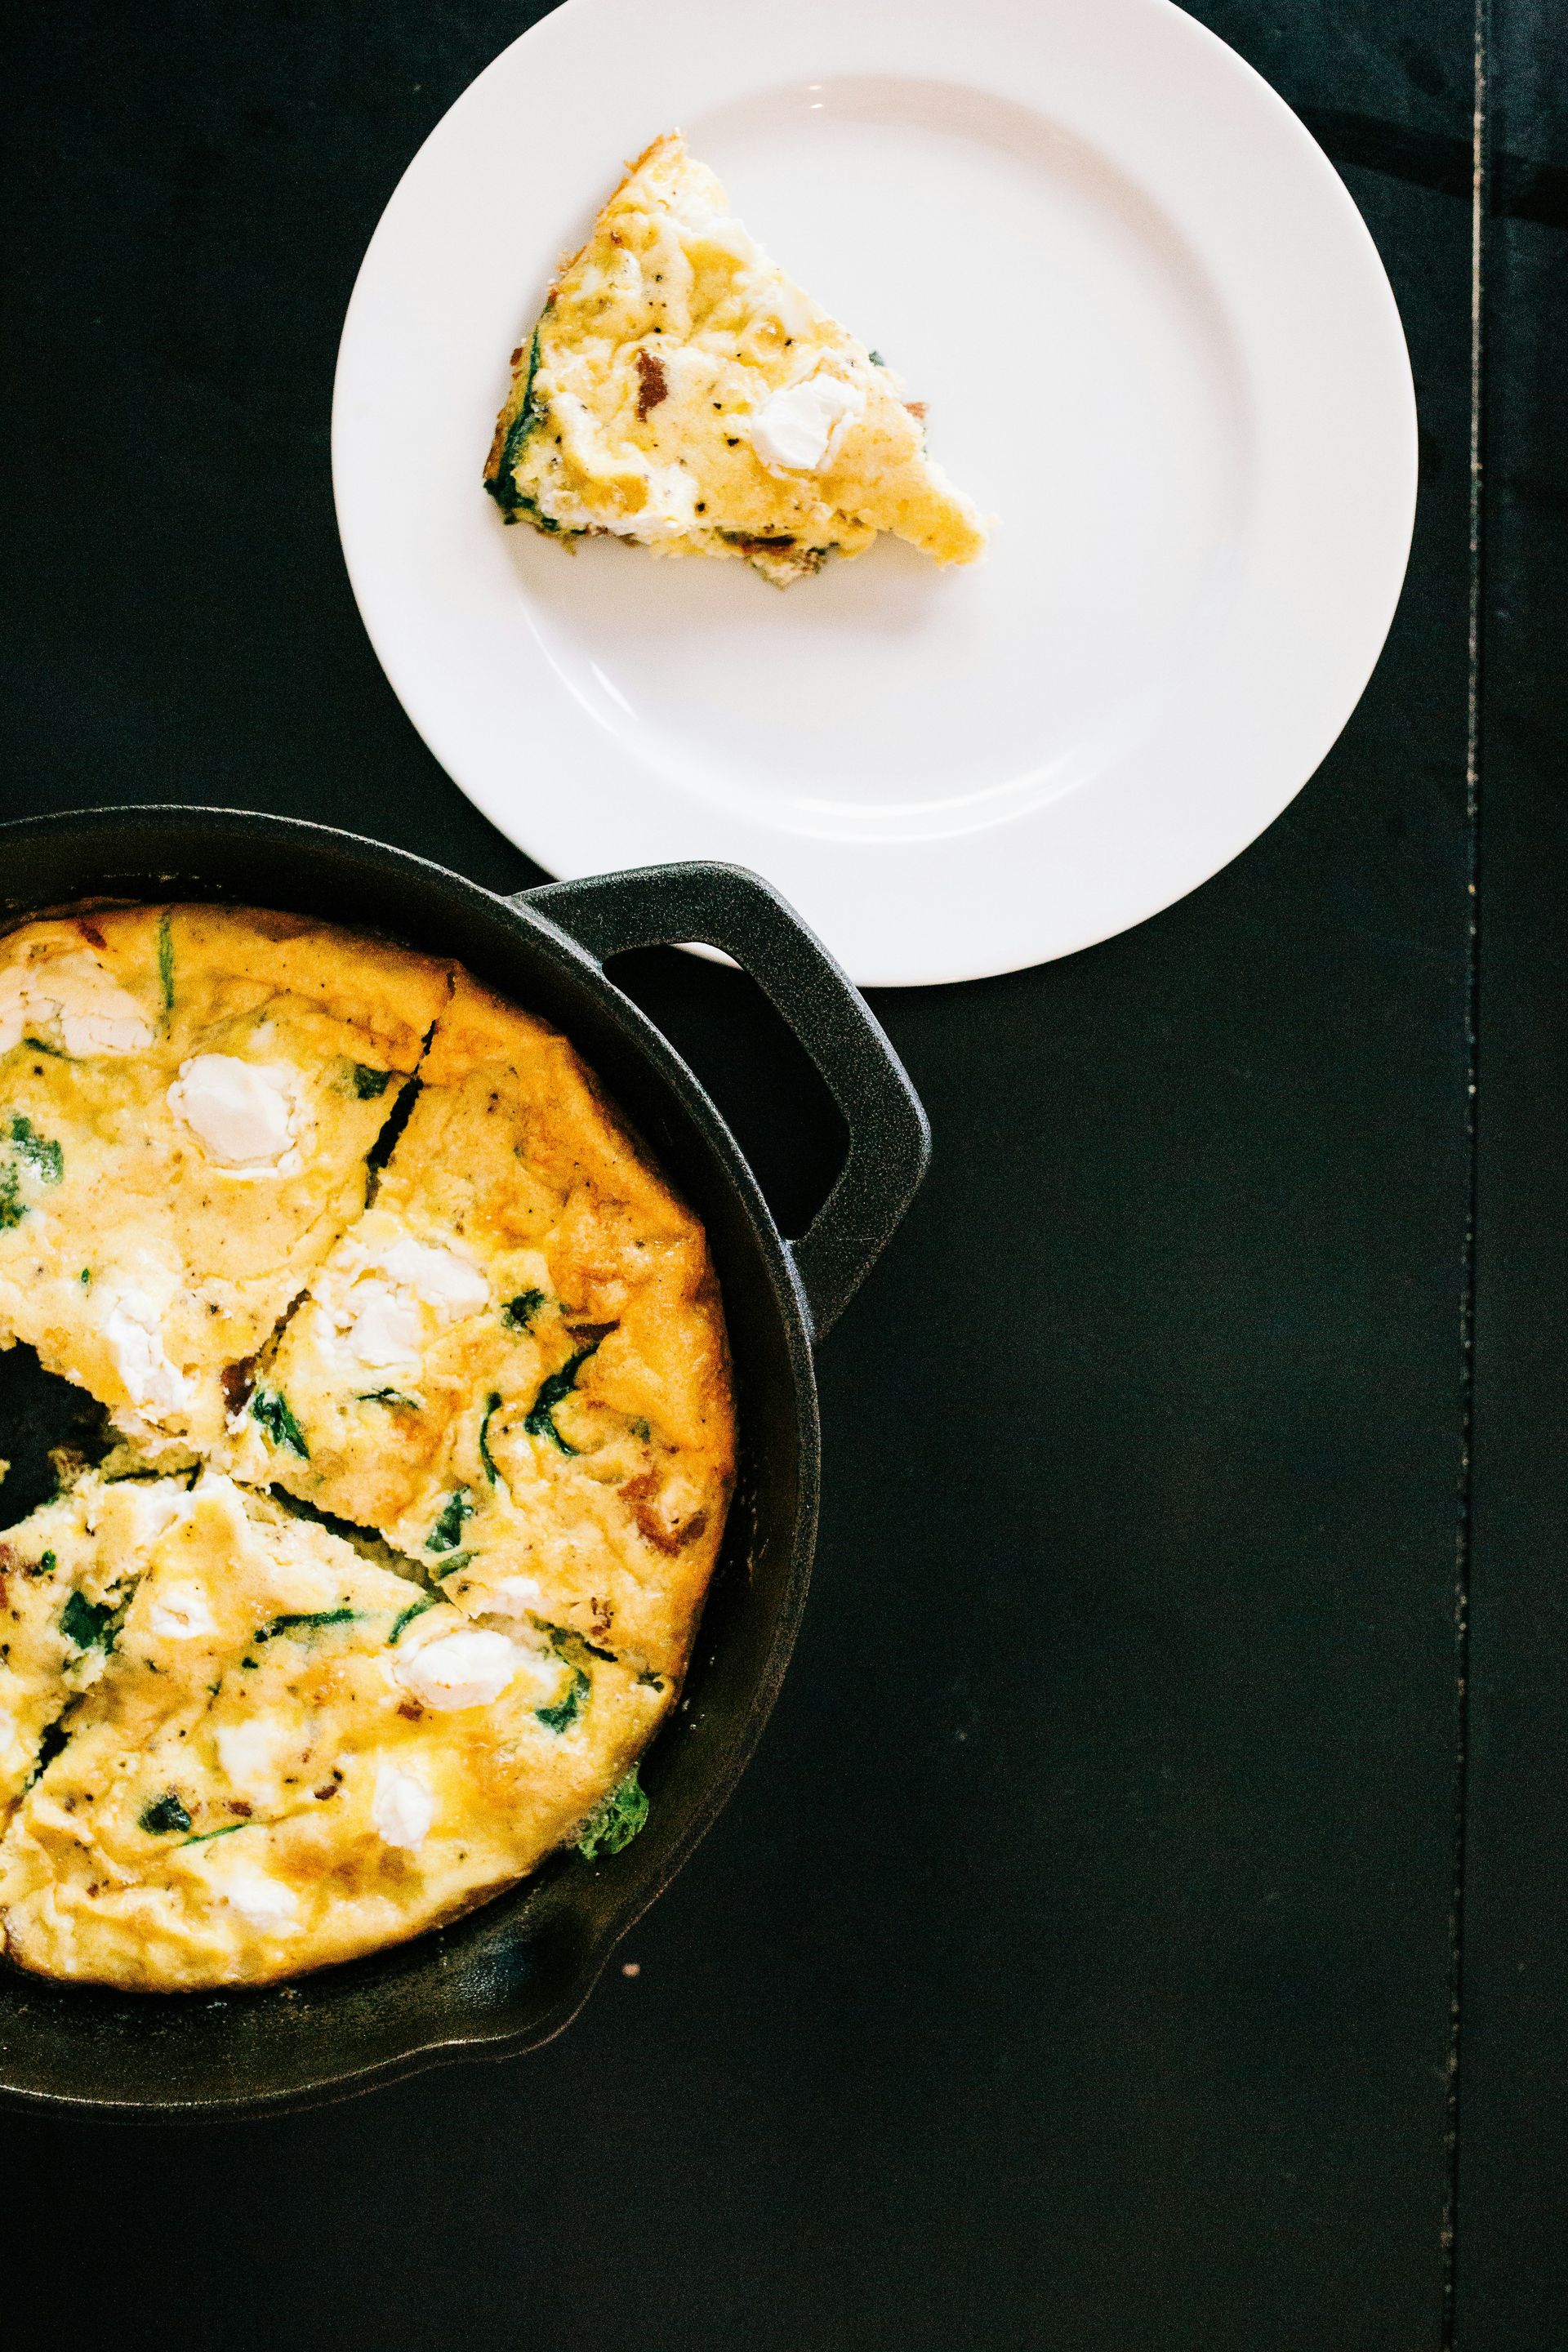
Skillet corn and zucchini frittata
Credit: Bree Anne, Unsplash
A frittata is the Italian answer to the omelette — baked rather than folded, firmer in texture, and more forgiving to cook because the timing doesn't require the same precision that a French omelette demands. In a 10- or 12-inch oven-safe skillet, a vegetable frittata makes a complete dinner with a simple salad alongside, and it uses whatever produce is currently in season.
In summer, corn and zucchini is a particularly good combination. The sweetness of corn balances the mild bitterness zucchini can have when slightly overdone, and both vegetables are at their peak during the same weeks of the year.
Preheat the oven to 375°F (190°C). In an oven-safe skillet over medium heat, sauté half a diced onion in olive oil until soft. Add sliced zucchini in a single layer — don't overcrowd the pan — and cook until golden on both sides. Add the corn kernels cut from one or two cobs, depending on their size, and cook for two minutes. Season with salt and pepper.
Beat eight eggs with a quarter cup of whole milk, a handful of crumbled feta or grated Parmesan, and salt and pepper. Pour the egg mixture over the vegetables in the skillet, shaking the pan gently to distribute evenly. Cook on the stovetop over medium-low heat for three minutes without disturbing it, until the edges start to set.
Transfer the skillet to the oven and bake for 10 to 12 minutes until the frittata is set in the center — it should have a very slight jiggle but not be liquid. A knife inserted in the center should come out clean.
Rest for five minutes before cutting into wedges. Frittatas are served warm or at room temperature. Fresh basil, chives, or flat-leaf parsley scattered over the top adds brightness. Like the Spanish tortilla, a frittata keeps well in the refrigerator and is excellent — sometimes better — the next day.
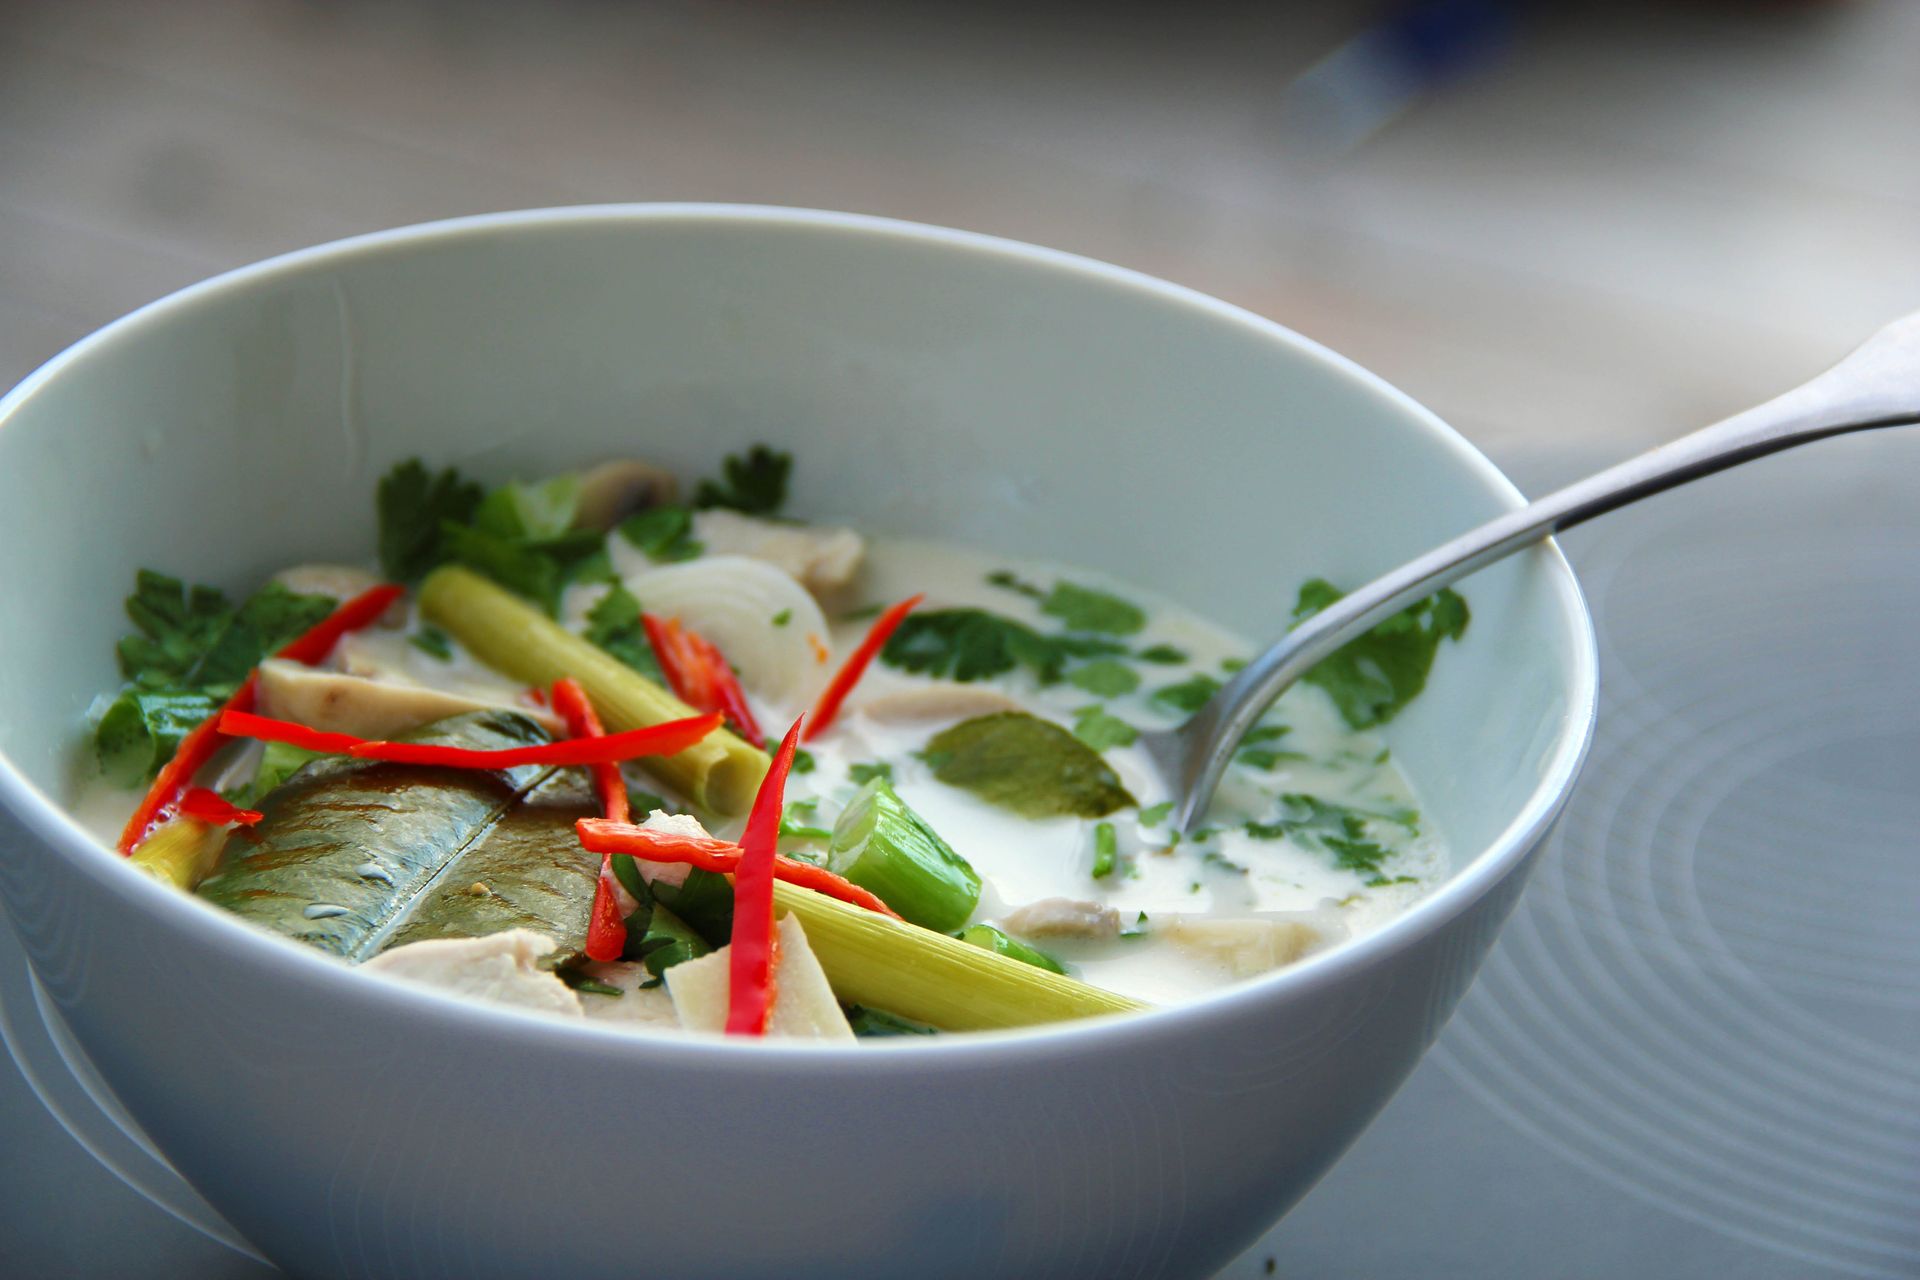
One-pot tom kha soup
Credit: rise-a-mui, Pixabay
Tom kha — literally "galangal soup" — is a Thai coconut milk soup with lemongrass, kaffir lime leaves, and galangal as its defining aromatics. Unlike tom yum, which is broth-based and sharply sour, tom kha is rich and creamy, with its acidic notes coming from lime juice and fish sauce added at the end rather than built into the broth throughout cooking. It comes together in one pot in under 30 minutes.
The aromatics require specific ingredients that are worth sourcing at an Asian grocery store. Galangal, which resembles ginger but has a pinier, more citrusy flavor profile, is often sold fresh or frozen. Kaffir lime leaves — also called makrut lime leaves — have an intensely floral lime character that nothing else accurately substitutes. Lemongrass stalks, trimmed and bruised with the back of a knife, are the third essential. These aromatics are left in the soup rather than removed before serving; they're not eaten, just pushed aside in the bowl.
In a medium pot, bring two cans of coconut milk and two cups of chicken or vegetable broth to a simmer. Add sliced galangal, bruised lemongrass, kaffir lime leaves, and sliced fresh bird's eye chilies. Simmer for 10 minutes to steep the aromatics. Add sliced mushrooms — oyster or shiitake work well — and thinly sliced chicken breast if you're adding protein, along with a tablespoon or two of fish sauce. Cook until the chicken is just cooked through, about five minutes.
Remove from heat. Add lime juice and taste — tom kha should be rich, salty, sour, and lightly spicy in balance. Adjust with more fish sauce for saltiness, more lime for acidity.
Serve over jasmine rice or with rice on the side. Fresh cilantro and sliced scallions finish the dish. The quality of the coconut milk makes a meaningful difference — full-fat canned coconut milk from Thailand produces a noticeably richer broth than the reduced-fat versions.
Sheet pan black bean tacos
Credit: Snappr, Pexels
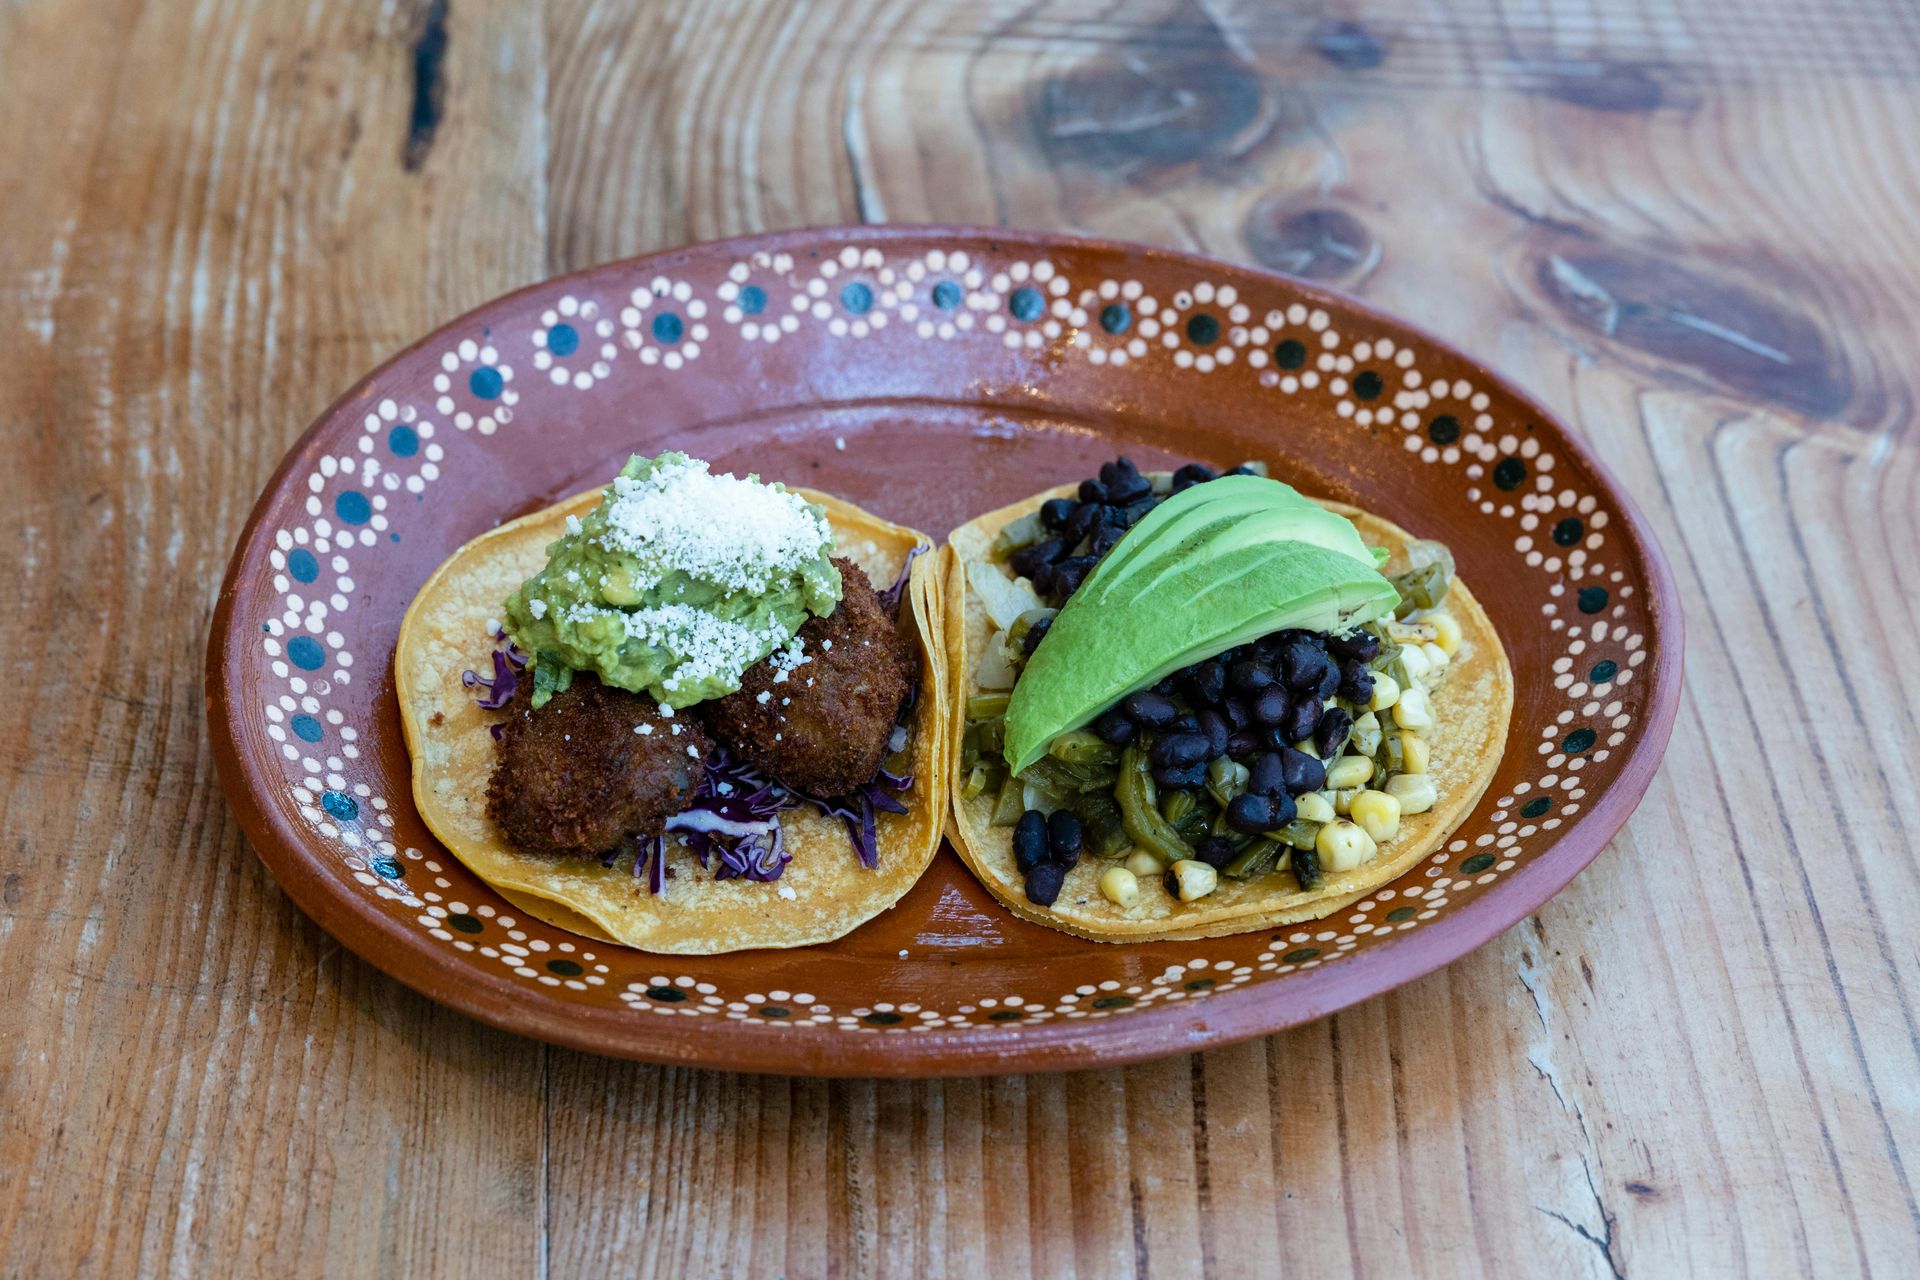
The filling for these sheet pan tacos — black beans roasted with cumin and chili powder until they're crispy and caramelized, alongside sweet potato — is the kind of vegetarian taco that doesn't feel like a compromise. The black beans develop a crispy exterior from the oven heat, and the sweet potato adds a roasted sweetness that balances the earthy spicing.
Drain and rinse two cans of black beans. Pat them very dry — any surface moisture will cause them to steam rather than crisp. Spread them on a sheet pan in a single layer. Peel and dice a medium sweet potato into half-inch cubes. Toss the sweet potato separately with olive oil, cumin, chili powder, garlic powder, salt, and a pinch of cayenne.
Spread the sweet potato on one side of the pan and the beans on the other. Drizzle the beans with olive oil and dust with the same spice blend. Roast at 425°F (220°C) for 25 to 30 minutes, stirring the beans once halfway through, until the beans are crispy and the sweet potato is tender and caramelized at the edges.
Warm corn tortillas in a dry skillet or directly over a gas flame — the slight char from an open flame adds a quality that a microwave can't provide. Build the tacos with the bean and sweet potato filling, then add whatever toppings suit you: shredded purple cabbage, pickled red onion, sliced avocado, crumbled cotija, and fresh cilantro. A squeeze of lime over the finished tacos is essential — the acid ties the components together.
Pickled red onion is worth making in advance and keeping in the refrigerator. Thinly slice a red onion and submerge it in a mixture of lime juice, a splash of white vinegar, salt, and sugar for at least 30 minutes. It keeps for a week and improves nearly every taco and grain bowl it touches.
Skillet chicken Marsala
Credit: David Trinks, Unsplash
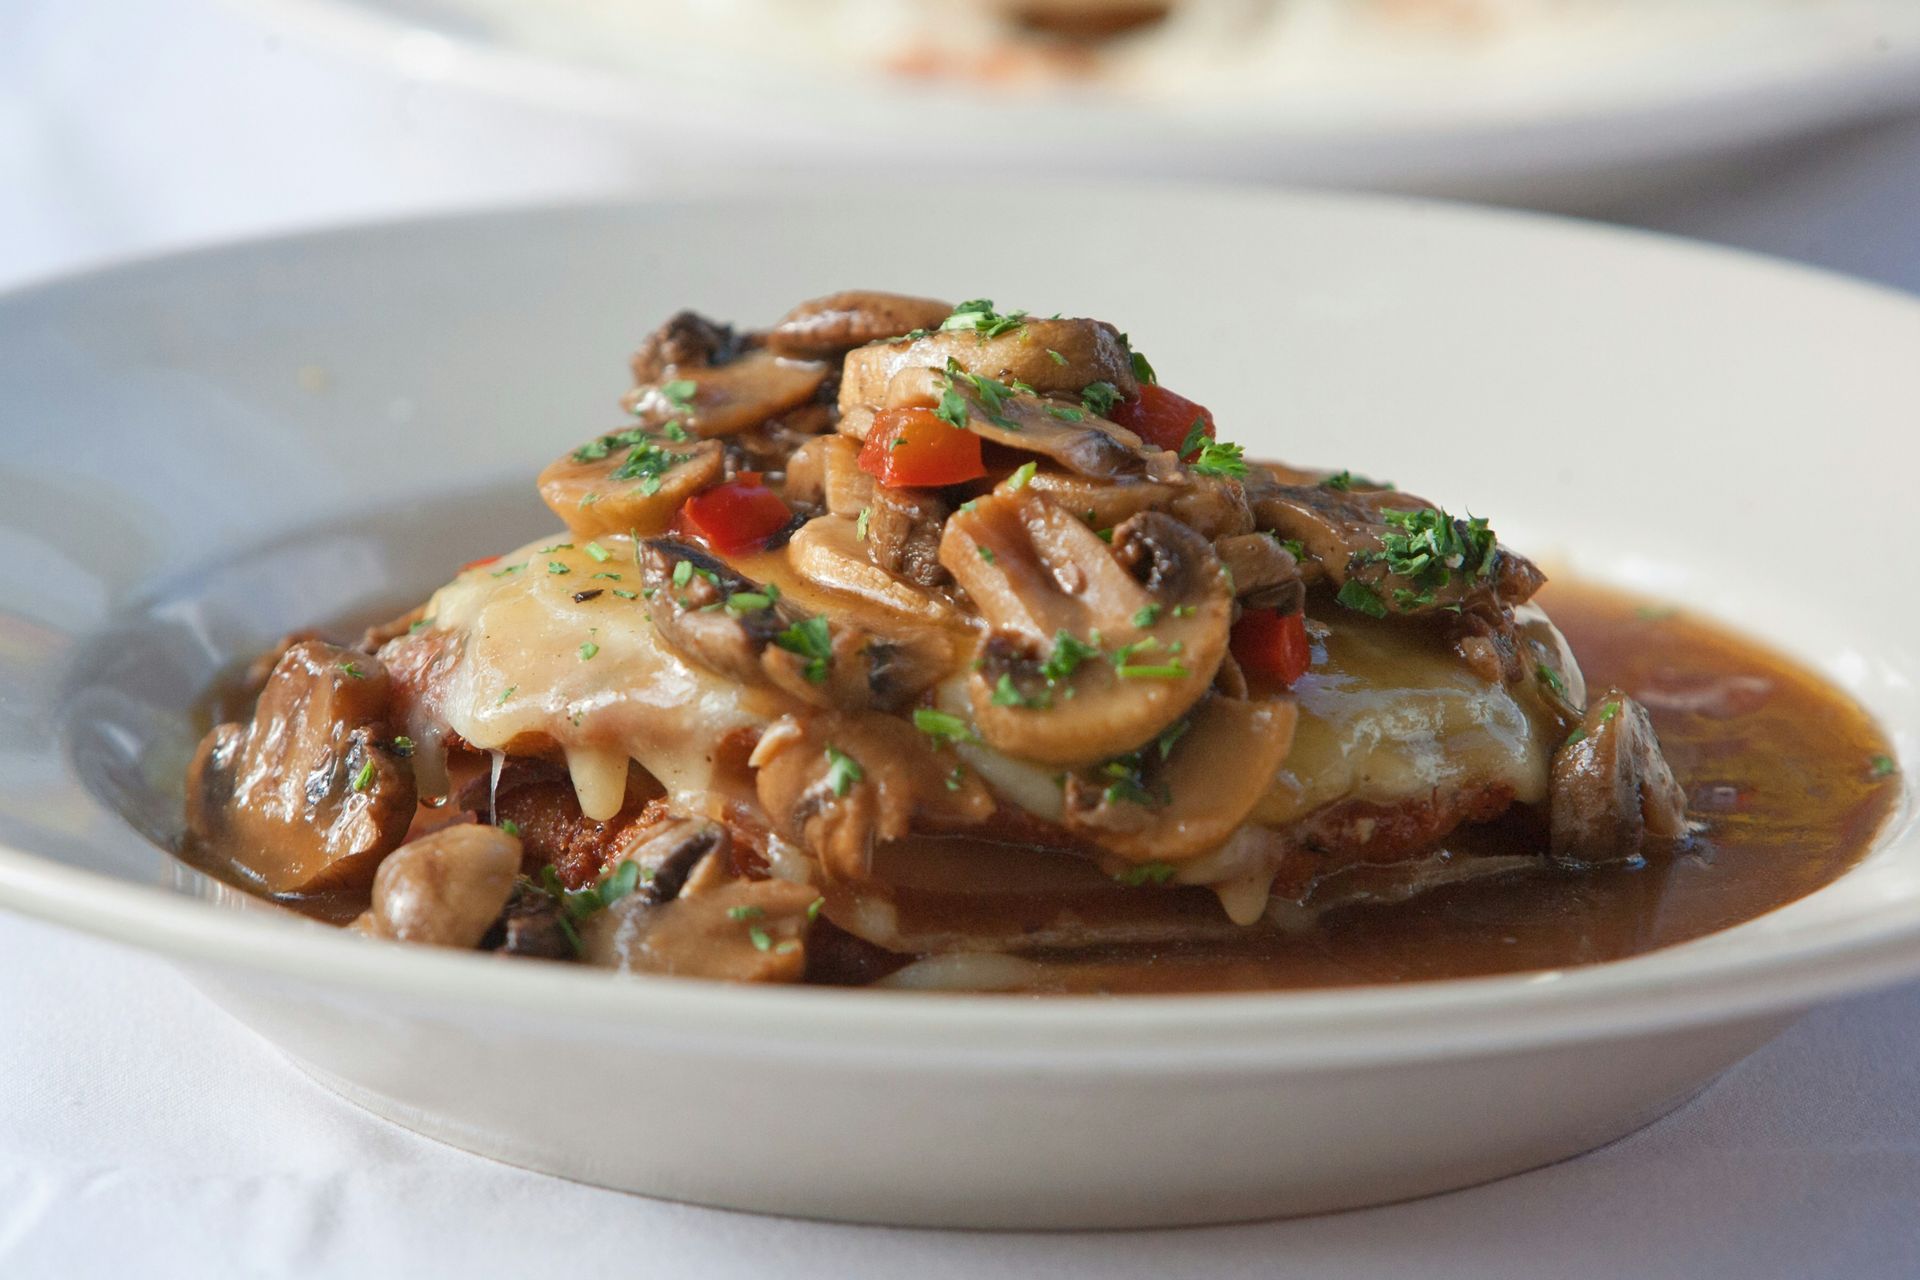
Chicken Marsala is an Italian-American restaurant dish that is faster and better made at home than ordered out. The pan sauce comes together in under 10 minutes and benefits from the browned bits left in the pan after searing the chicken — something that gets lost in high-volume restaurant production, where pans are rarely as hot as they should be. A single large skillet handles everything.
Use boneless, skinless chicken breasts halved horizontally and pounded to an even thickness of about a quarter inch — sold as chicken cutlets in many supermarkets. Even thickness is important because uneven pieces cook at different rates, with some sections drying out before others are done. Season with salt and pepper, then dredge lightly in flour, shaking off the excess. The flour creates a thin crust that holds the sauce and helps the exterior brown faster.
Sear the cutlets in a mix of olive oil and butter over medium-high heat, about three minutes per side, until golden. Work in batches if the pan is crowded — touching pieces will steam rather than brown. Remove and keep warm.
Add more butter to the pan and sauté sliced cremini or button mushrooms over medium-high heat until they are golden brown. Add minced shallots and cook for one minute. Pour in a generous amount of dry Marsala wine — around half a cup — and let it reduce by half, scraping up the browned bits from the bottom. Add chicken stock and let the sauce reduce further until it coats a spoon. Finish with a tablespoon of cold butter stirred in off the heat for gloss and body.
Return the chicken to the pan, spoon the sauce over, and garnish with flat-leaf parsley. Serve with egg noodles, mashed potatoes, or creamy polenta.
Dry Marsala is the correct ingredient. Sweet Marsala, which is used for desserts like zabaglione, will make the sauce cloying. The distinction matters and the labels are not always prominently differentiated on the bottle.
One-pot orzo with spinach and feta
Credit: Canva Images
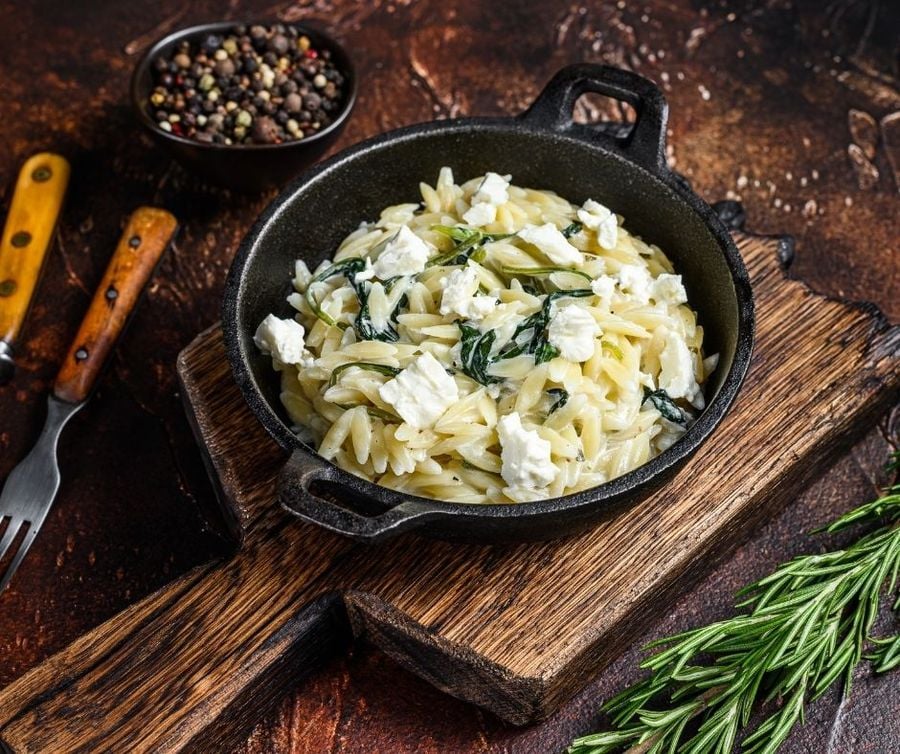
Orzo cooked directly in seasoned broth — risotto-style but faster — produces a creamy, starchy dish without cream or excessive technique. The pasta releases starch as it cooks in a limited amount of liquid, thickening the cooking medium into a sauce that clings to each piece. With spinach stirred in at the end and feta crumbled on top, it's a complete dinner in 25 minutes.
Heat olive oil in a wide, deep skillet or shallow saucepan over medium heat. Add a finely diced onion and cook until soft. Add minced garlic and cook for one minute. Add one and a half cups of dry orzo and toast it in the oil for two minutes, stirring frequently, until it turns a faint golden color. Toasting adds a subtle nuttiness and helps the pasta hold its shape during cooking rather than becoming mushy.
Pour in three cups of chicken or vegetable broth — warm or at room temperature, not cold — and stir. Season with salt and a pinch of dried red pepper flakes. Bring to a simmer, then reduce the heat to medium-low. Cook uncovered, stirring every two to three minutes, for 10 to 12 minutes until most of the liquid has been absorbed and the orzo is al dente. If it absorbs liquid too quickly before cooking through, add small amounts of water or broth as needed.
Remove from heat and stir in two large handfuls of fresh spinach, a squeeze of lemon juice, and a tablespoon of olive oil. The spinach will wilt from the residual heat without any additional cooking. Taste and adjust seasoning.
Top with crumbled feta, freshly ground black pepper, and lemon zest. Serve immediately — orzo continues absorbing liquid as it sits, so it's best eaten directly from the pan.
A handful of sun-dried tomatoes or a spoonful of olive tapenade stirred in adds depth and a hit of acidity that pairs particularly well with the spinach and feta combination.
Sheet pan za'atar salmon with cherry tomatoes
Credit: Canva Images
Za'atar — the Middle Eastern spice blend of dried thyme, sumac, sesame seeds, and salt — makes an effective dry rub for salmon. The thyme lends herbal fragrance, the sumac adds a citrusy tartness without any liquid, and the sesame seeds toast during roasting and create a textured crust. Cherry tomatoes roasted alongside collapse into a concentrated, jammy sauce that pools around the fish.
Use skin-on salmon fillets of even thickness. Mix two to three tablespoons of za'atar with enough olive oil to make a loose paste, then coat the flesh side of each fillet, pressing the za'atar in so it adheres. Let the coated fillets rest at room temperature for 15 minutes while the oven preheats to 400°F (200°C).
Halve a pint of cherry tomatoes and toss them with olive oil, a minced garlic clove, salt, and pepper. Spread them on a sheet pan and roast for 10 minutes on their own — this head start allows them to begin collapsing and concentrating before the fish goes in.
Remove the pan, push the tomatoes to the sides, and place the salmon fillets in the center, skin side down. Return to the oven for 12 to 14 minutes depending on thickness, until the salmon is just opaque throughout. The za'atar crust should be aromatic and slightly darker than when it went in.
By the time the salmon is done, the cherry tomatoes will have burst and formed a sauce that pools around the fish. Spoon them over the fillets before serving.
Serve with bulgur wheat, couscous, or a simple green salad. A drizzle of tahini thinned with lemon juice over the finished plate adds richness. Fresh flat-leaf parsley or mint completes the flavor profile.
Za'atar quality varies considerably between brands. Look for a fresh-smelling blend with visible sesame seeds and sumac. Za'atar bought from Middle Eastern grocery stores tends to be fresher and more aromatic than generic supermarket versions.
Cast iron steak with pan sauce
Credit: Sandra Seitamaa, Unsplash
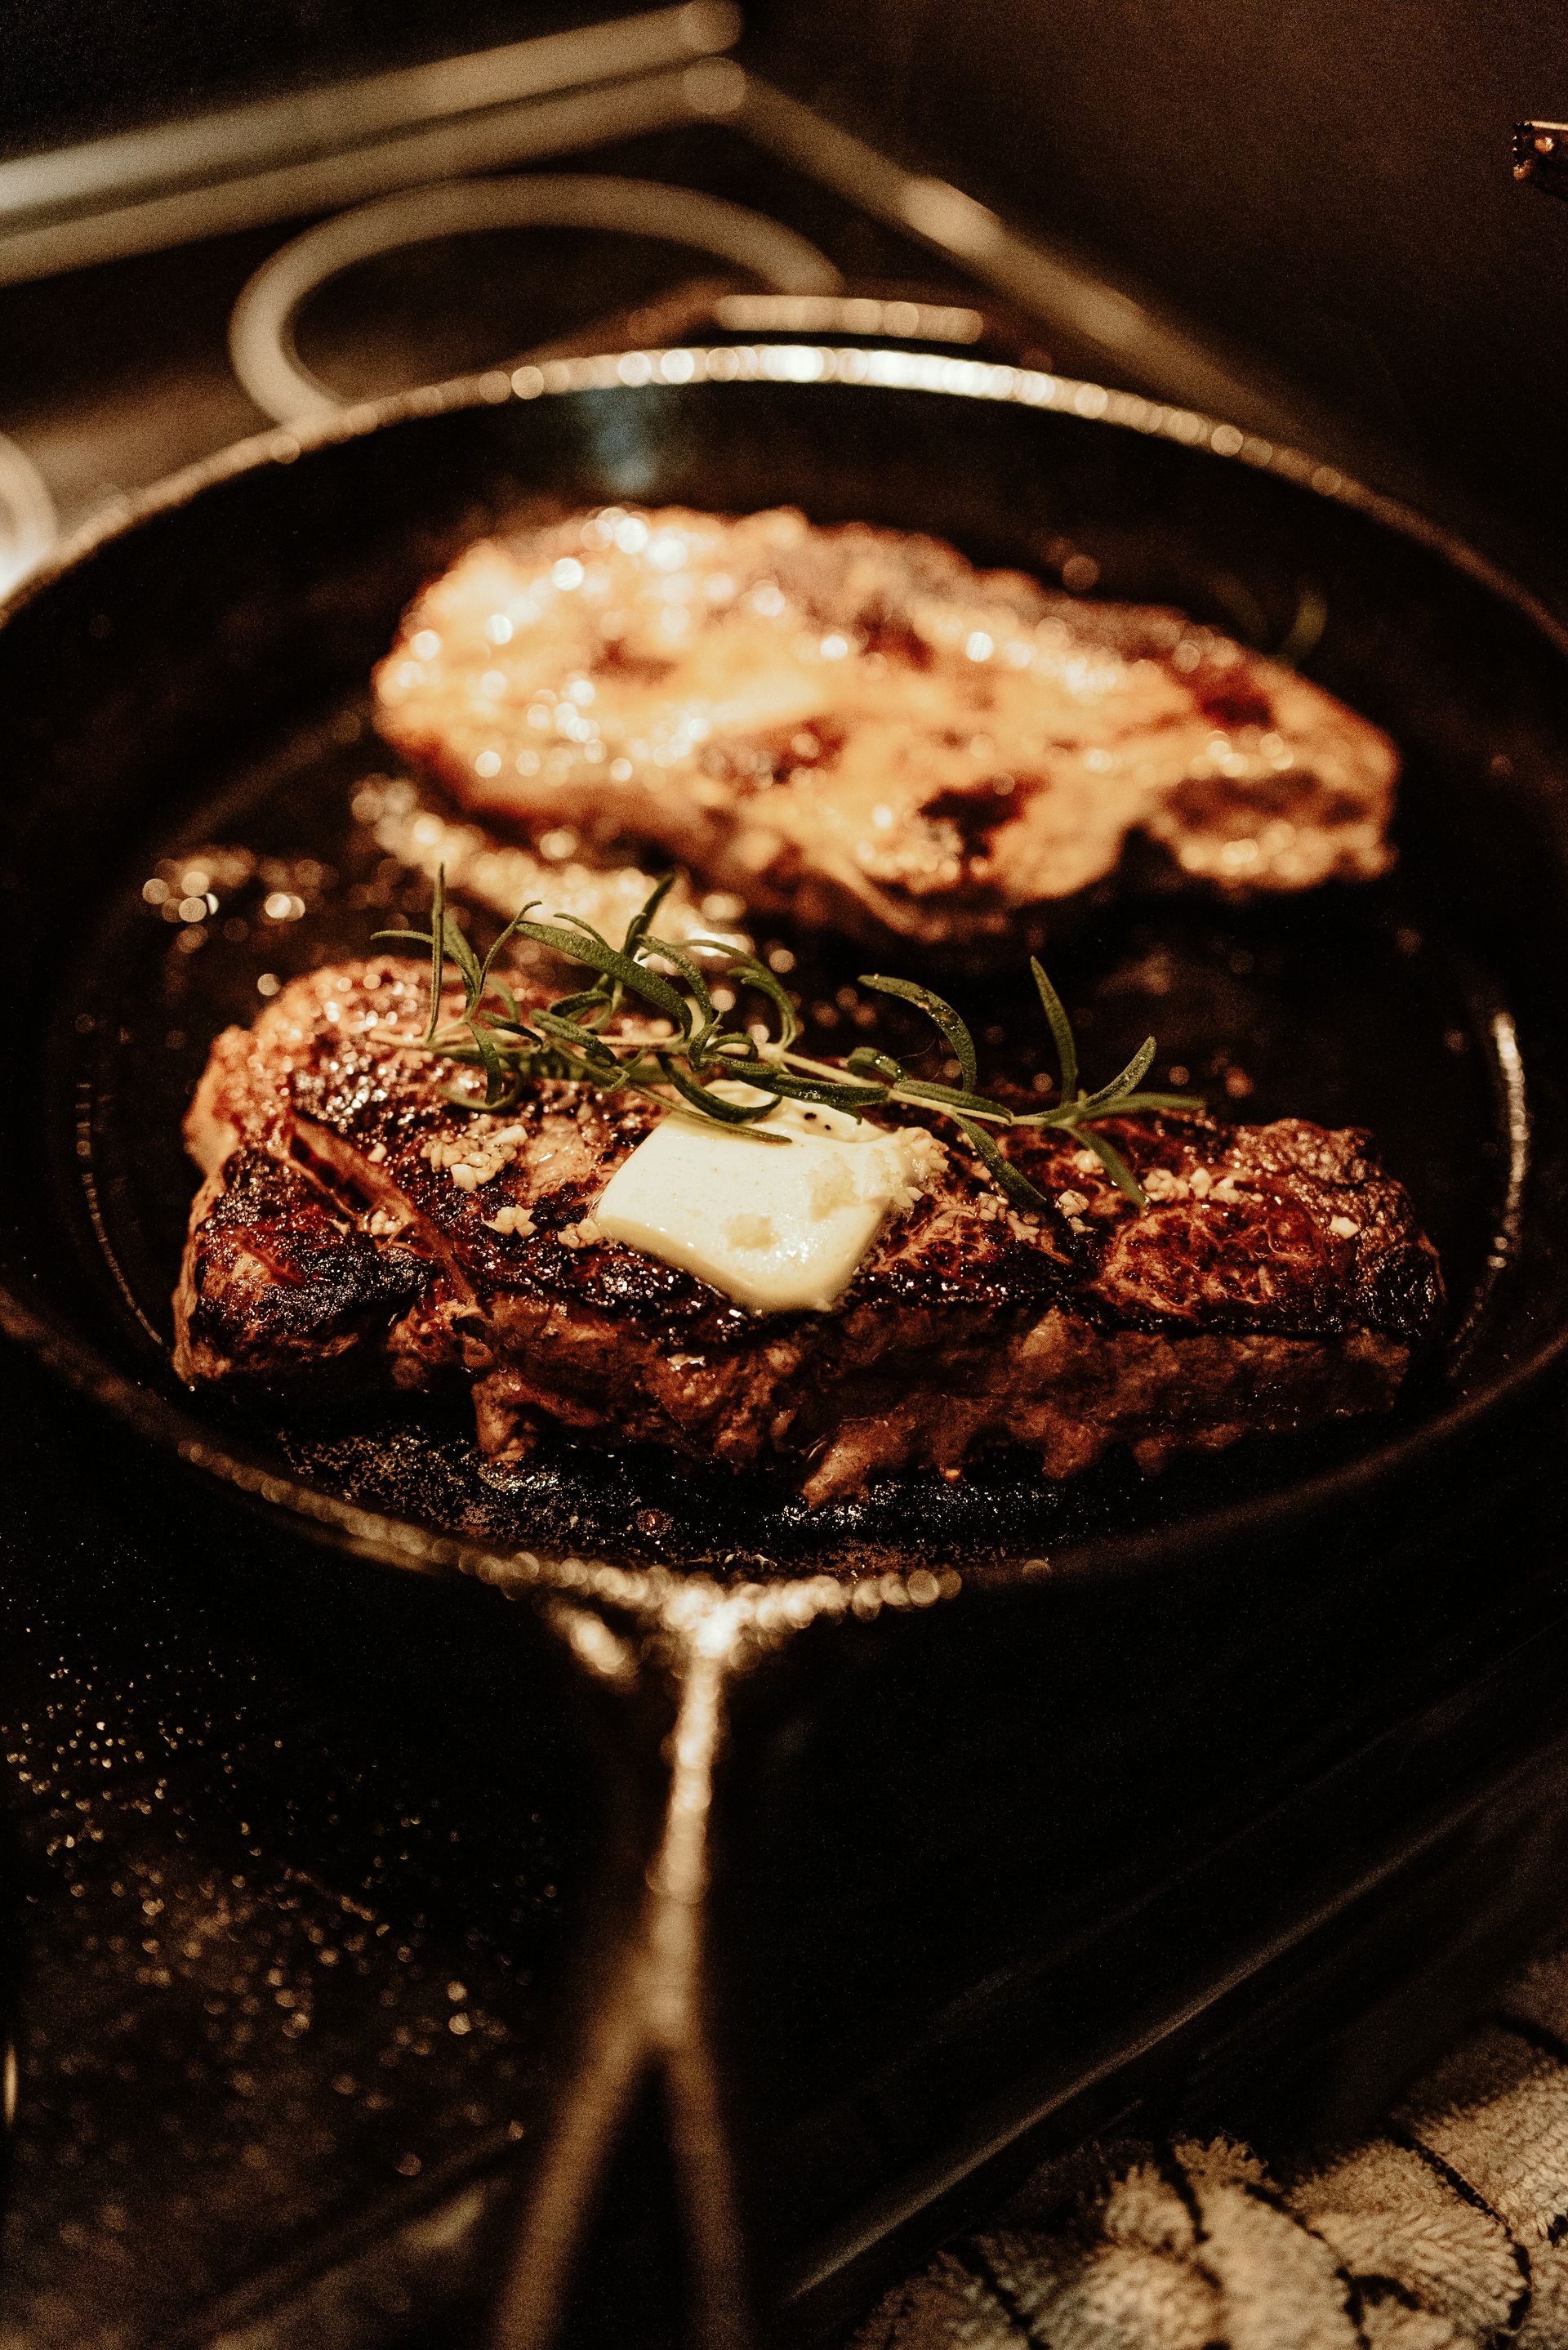
A cast iron skillet produces a restaurant-quality sear on steak that lighter pans rarely match — the mass of the pan retains heat when the cold steak hits its surface, which is what drives the Maillard reaction that creates the crust. The pan sauce made from the browned fond left behind is what makes this a complete, one-pan dinner rather than just a cooking method.
Choose a steak with enough thickness and fat to benefit from the cast iron method — a ribeye, New York strip, or sirloin at least an inch thick. Remove it from the refrigerator 30 minutes before cooking. Season generously with salt and pepper on all sides.
Heat the cast iron over high heat for two to three minutes until it begins to smoke faintly. Add a neutral oil with a high smoke point. Lay the steak away from you to avoid splatter and don't move it. Sear for three to four minutes per side for medium-rare on a one-inch steak. In the final two minutes, add butter, smashed garlic cloves, and fresh thyme or rosemary to the pan. As the butter foams, tilt the pan and baste the steak repeatedly with the flavored butter using a large spoon. Remove the steak and rest it for five to eight minutes — this is not optional, as the resting period allows the juices to redistribute throughout the meat.
For the pan sauce, pour off most of the fat, leaving a thin layer. Add a minced shallot and cook briefly. Deglaze with red wine or cognac, let it reduce by half, then add a splash of beef stock. Reduce to a sauce consistency. Swirl in cold butter off the heat, season with salt and pepper, and pour in any juices the resting steak has released onto the cutting board.
Serve the steak whole or sliced against the grain, with the pan sauce poured over. Thin slices allow you to serve more people from one steak while giving everyone an equal share of the crust.
One-pot white bean and sausage stew
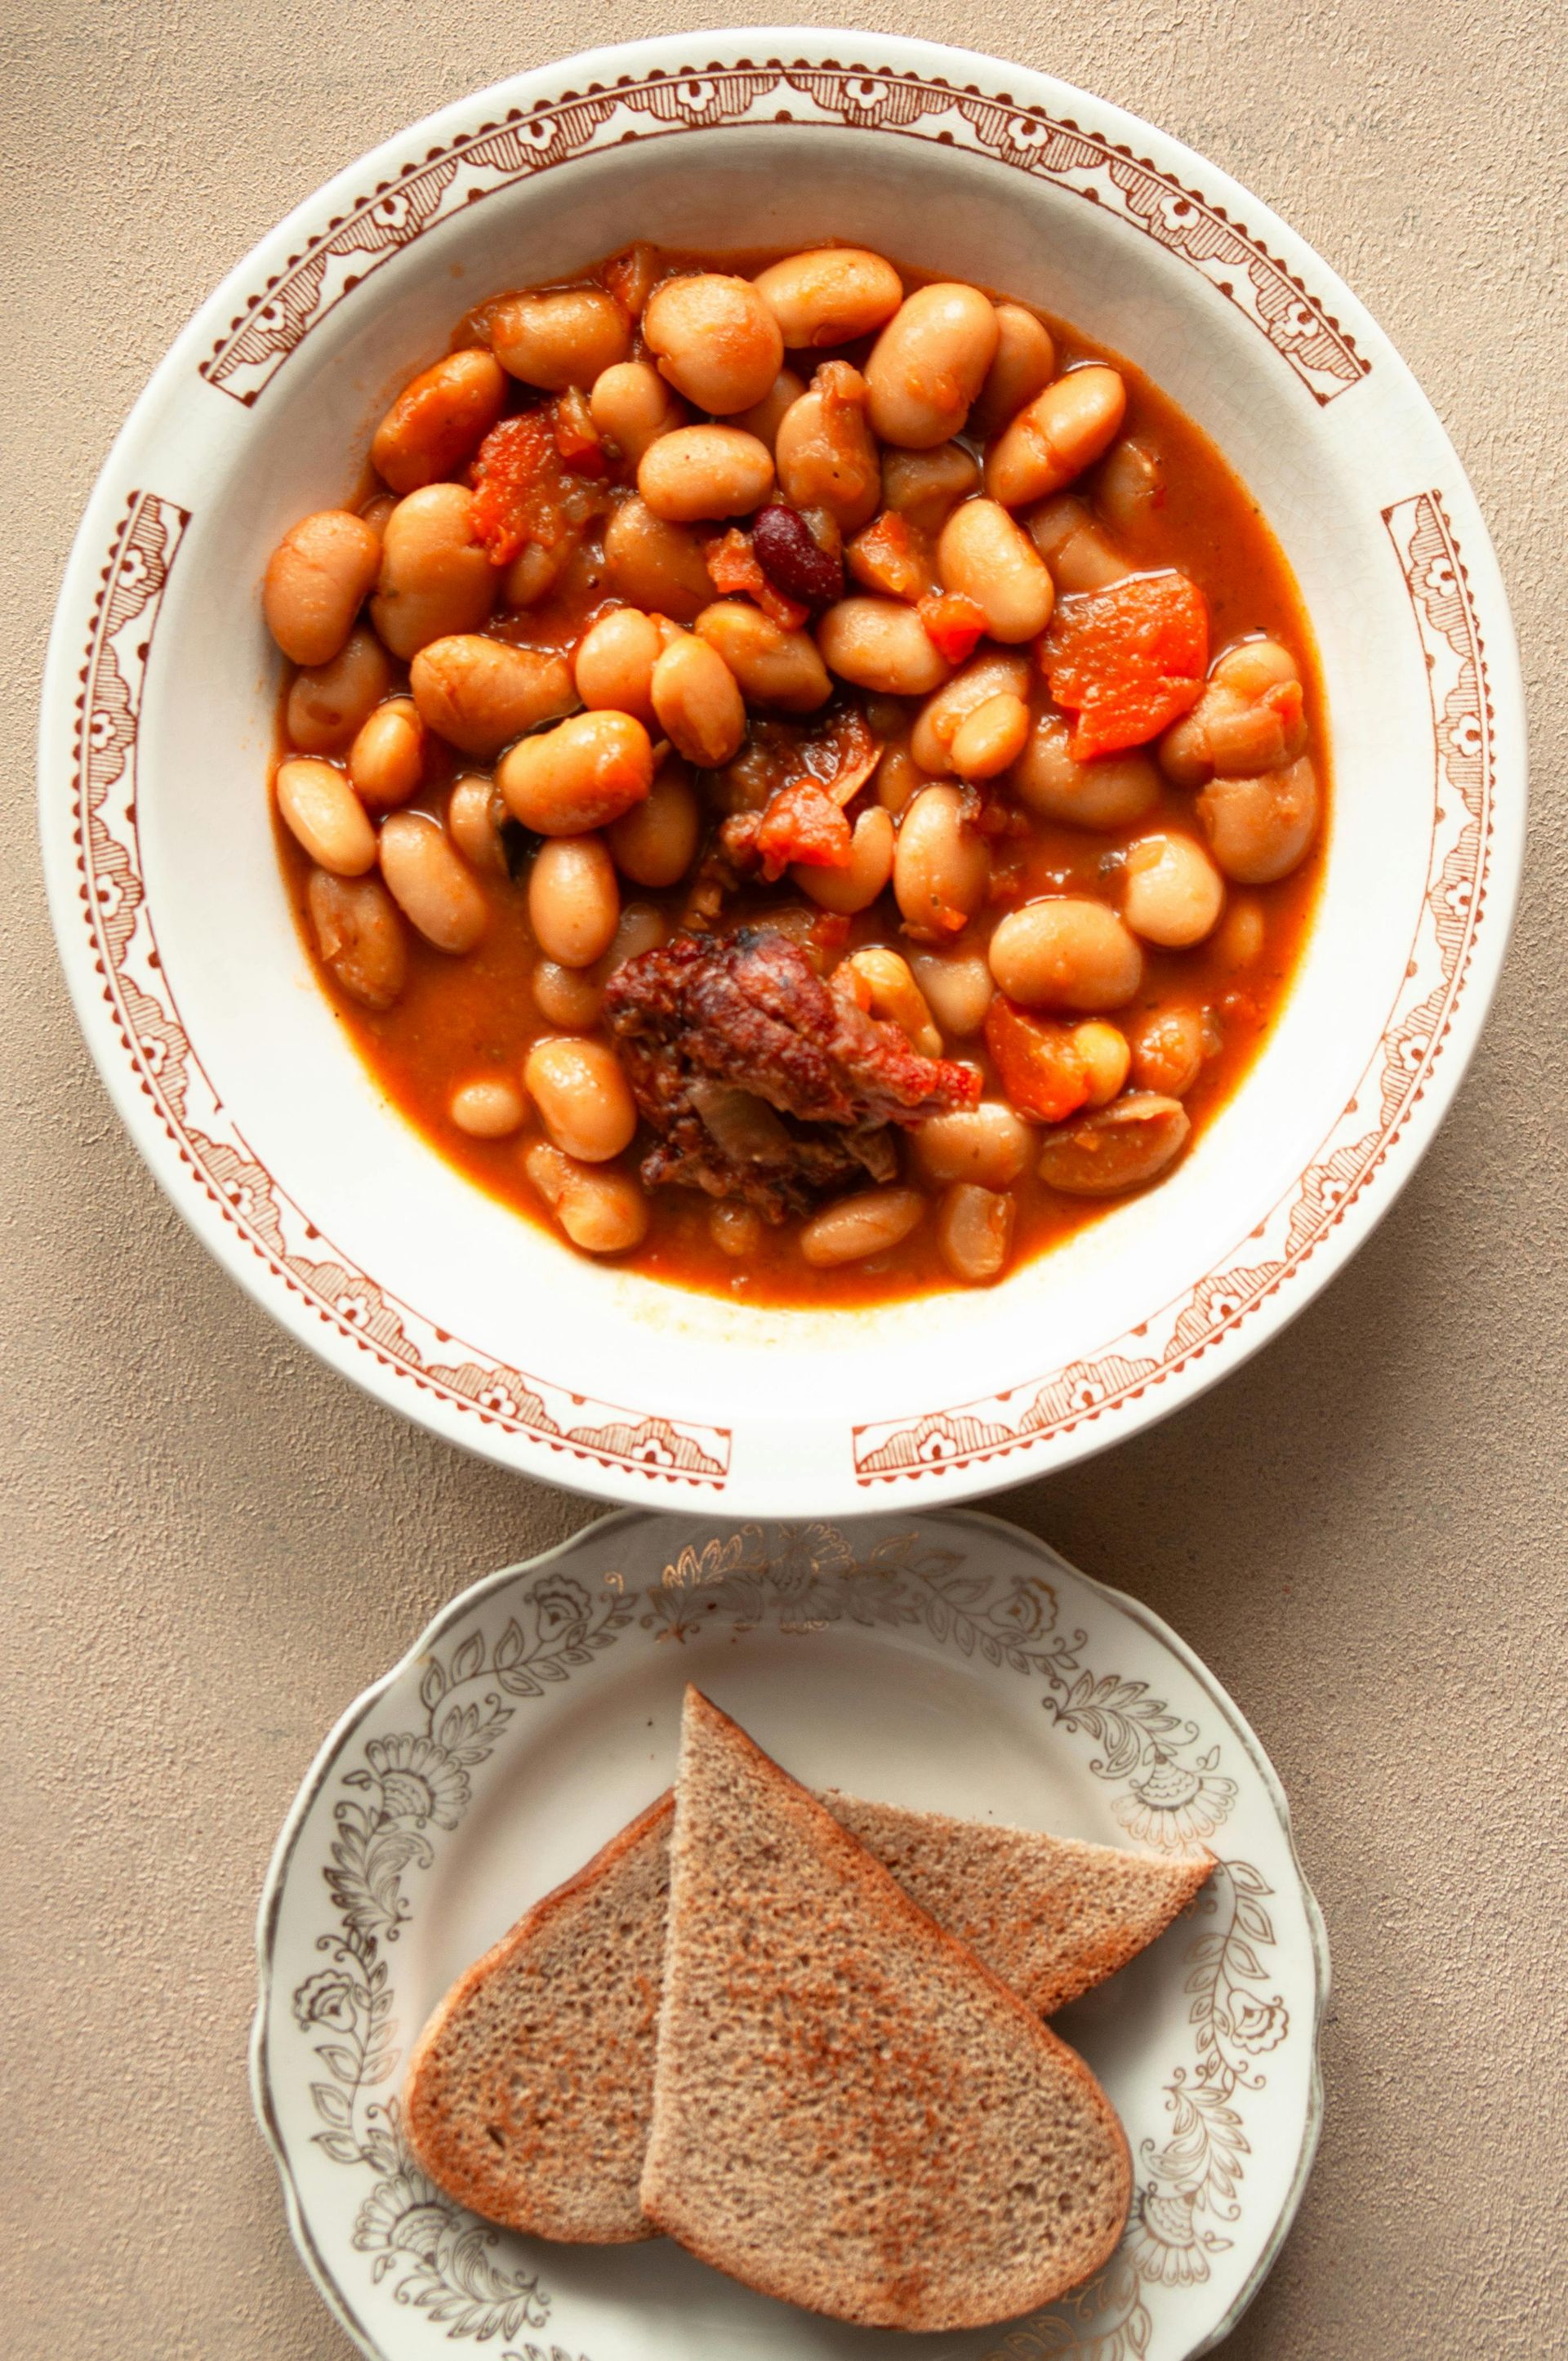
Credit: Boryslav Shoot, Pexels
White beans braised with sausage, kale, and aromatics in a simple broth is a category of dish found across France, Italy, Portugal, and Spain — cassoulet, ribollita, and caldo verde all trace back to the same logic of inexpensive legumes made rich with cured or fresh pork. The quick version, using canned beans, takes 35 minutes and tastes far more developed than the time invested.
Use fresh or cured sausage — Italian pork sausage, Spanish chorizo, or andouille all work, each adding a distinct flavor profile. Brown sliced or crumbled sausage in a Dutch oven or large pot over medium-high heat until it colors on the outside. The fat it renders is the cooking medium for the vegetables that follow; pour off any excess if there's more than a few tablespoons.
Add diced onion, diced carrot, and sliced celery. Cook until softened, about six minutes. Add minced garlic and a pinch of dried red pepper flakes. Stir in a tablespoon of tomato paste and cook for one minute.
Pour in four cups of chicken stock and bring to a simmer. Add two cans of drained white beans — cannellini or great northern are both appropriate — and a Parmesan rind if you have one. Simmer for 15 minutes. The beans will begin to soften further and release starch into the broth, thickening it slightly and giving it body.
Add two or three large handfuls of kale — curly or Tuscan, stems removed — and stir until wilted, about three minutes. Taste for seasoning and finish with a squeeze of lemon juice to brighten the stew before serving.
Serve with crusty bread for dunking into the broth. The Parmesan rind, which dissolves almost entirely over the course of simmering, adds umami without any visible presence in the finished dish — a technique that applies equally well to any long-simmered soup or braise.
One-pan peanut noodles with ground pork
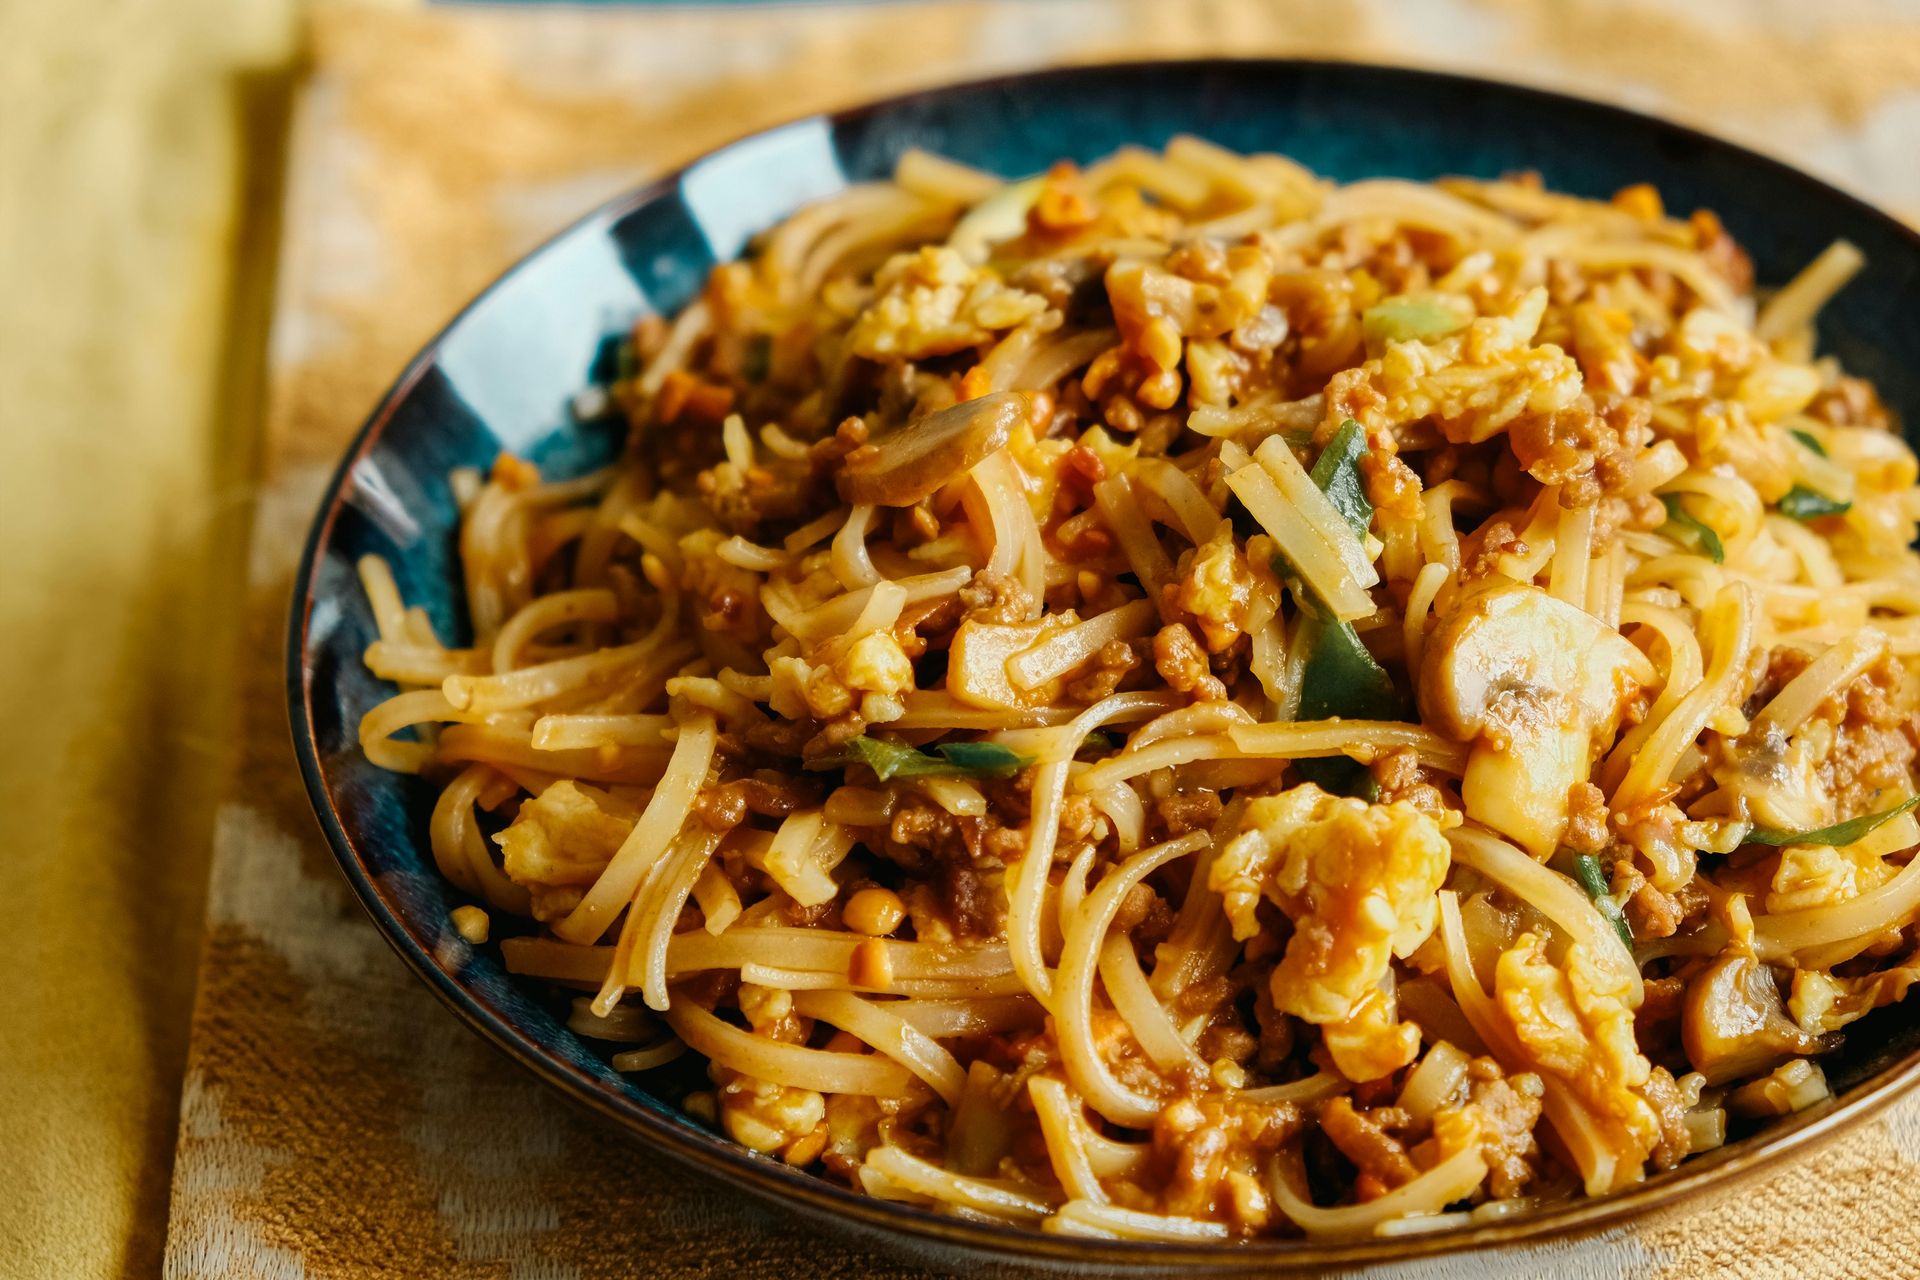
Credit: Benjamin Cheng, Unsplash
Peanut noodles with ground pork is a fast, pantry-driven dinner built from ingredients that most cooks have on hand. The sauce comes together in the pan while the pork browns, and the noodles cook in the same pan, absorbing the sauce as they soften. The result is glossy, savory, and gently spicy — a dish that delivers well above the effort required to make it.
Use ground pork with a moderate fat content — around 80 to 85% lean. Leaner pork won't render enough fat to properly season the pan. Heat a large skillet or wok over medium-high heat, add a small amount of neutral oil, then add the pork and break it apart with a spoon. Cook without stirring for two minutes to develop some browning, then stir and cook through. Add minced garlic, minced ginger, and sliced scallion whites. Cook for another minute.
Whisk together the peanut sauce separately: natural smooth peanut butter, soy sauce, rice vinegar, hoisin sauce, sesame oil, a small amount of chili sauce or sambal, and enough warm water to make it pourable. The sauce will look thick in the bowl but will loosen considerably when it hits the hot pan.
Add the sauce to the pork and stir to combine. Pour in two cups of water or broth and bring to a simmer. Add dried egg noodles or dried ramen noodles directly to the pan, pressing them into the liquid. Cover and cook, lifting the lid to stir every two minutes, until the noodles are tender and have absorbed most of the sauce. This takes eight to 10 minutes depending on the noodle thickness.
Serve garnished with sliced scallion greens, crushed roasted peanuts, fresh cilantro, and lime wedges. A drizzle of chili oil adds heat and gloss. The lime juice squeezed over at the table cuts through the richness of the peanut sauce and brings the dish into focus — don't skip it.