
20 things most drivers were never properly taught — and should be
Passing a driving test covers the basics. This list covers what comes after — the skills, knowledge, and habits that make the difference between a driver who is merely licensed and one who is genuinely competent
Griffin Wooldridge / Pexels
The driving test, in most countries, covers a narrow slice of what competent driving actually requires. It verifies that a candidate can operate the controls of a vehicle, follow basic road rules, demonstrate awareness of other road users, and execute a small set of maneuvers in controlled conditions. What it does not cover — cannot cover, in a test lasting 30 to 45 minutes — is the full range of knowledge, judgment, and practical capability that roads actually demand over a lifetime of driving.
The gap between passing a test and driving well is large and underappreciated. Most drivers fill it gradually, through experience — learning by doing, sometimes learning by nearly crashing, occasionally learning by crashing. Some of the gap is filled by more experienced passengers who explain things in passing. Some of it is filled by watching how other drivers handle situations and inferring the correct approach. Most of it is never filled at all, leaving drivers who have held a licence for 20 years still without a reliable method for driving in fog, still uncertain what to do when a tyre blows out at motorway speed, still unaware that their car has a cabin air filter that probably has not been changed since it was fitted.
This list covers 20 specific skills, knowledge areas, and habits that comprehensive driver education would include and that most driver education does not. Several are emergency procedures — what to do when something goes wrong — that are worth knowing before the emergency rather than improvising during it. Several are maintenance tasks that drivers are expected to manage but are rarely shown how. Several are technique refinements that produce meaningfully better, safer, more confident driving with relatively small adjustments to ingrained habits.
The list is not addressed to newly licensed drivers specifically. It is addressed to everyone who drives, regardless of experience, because the habits formed in the first years of driving tend to persist indefinitely, and the skills never acquired in those years tend to remain absent indefinitely. The specific driver who has held a full licence for 15 years and still does not know how to check tyre pressure, still grips the steering wheel at ten and two, and still has never had their brake fluid tested is not an unusual driver. They are a typical one.
Checking and adjusting tyre pressure
Andrea Piacquadio / Pexels
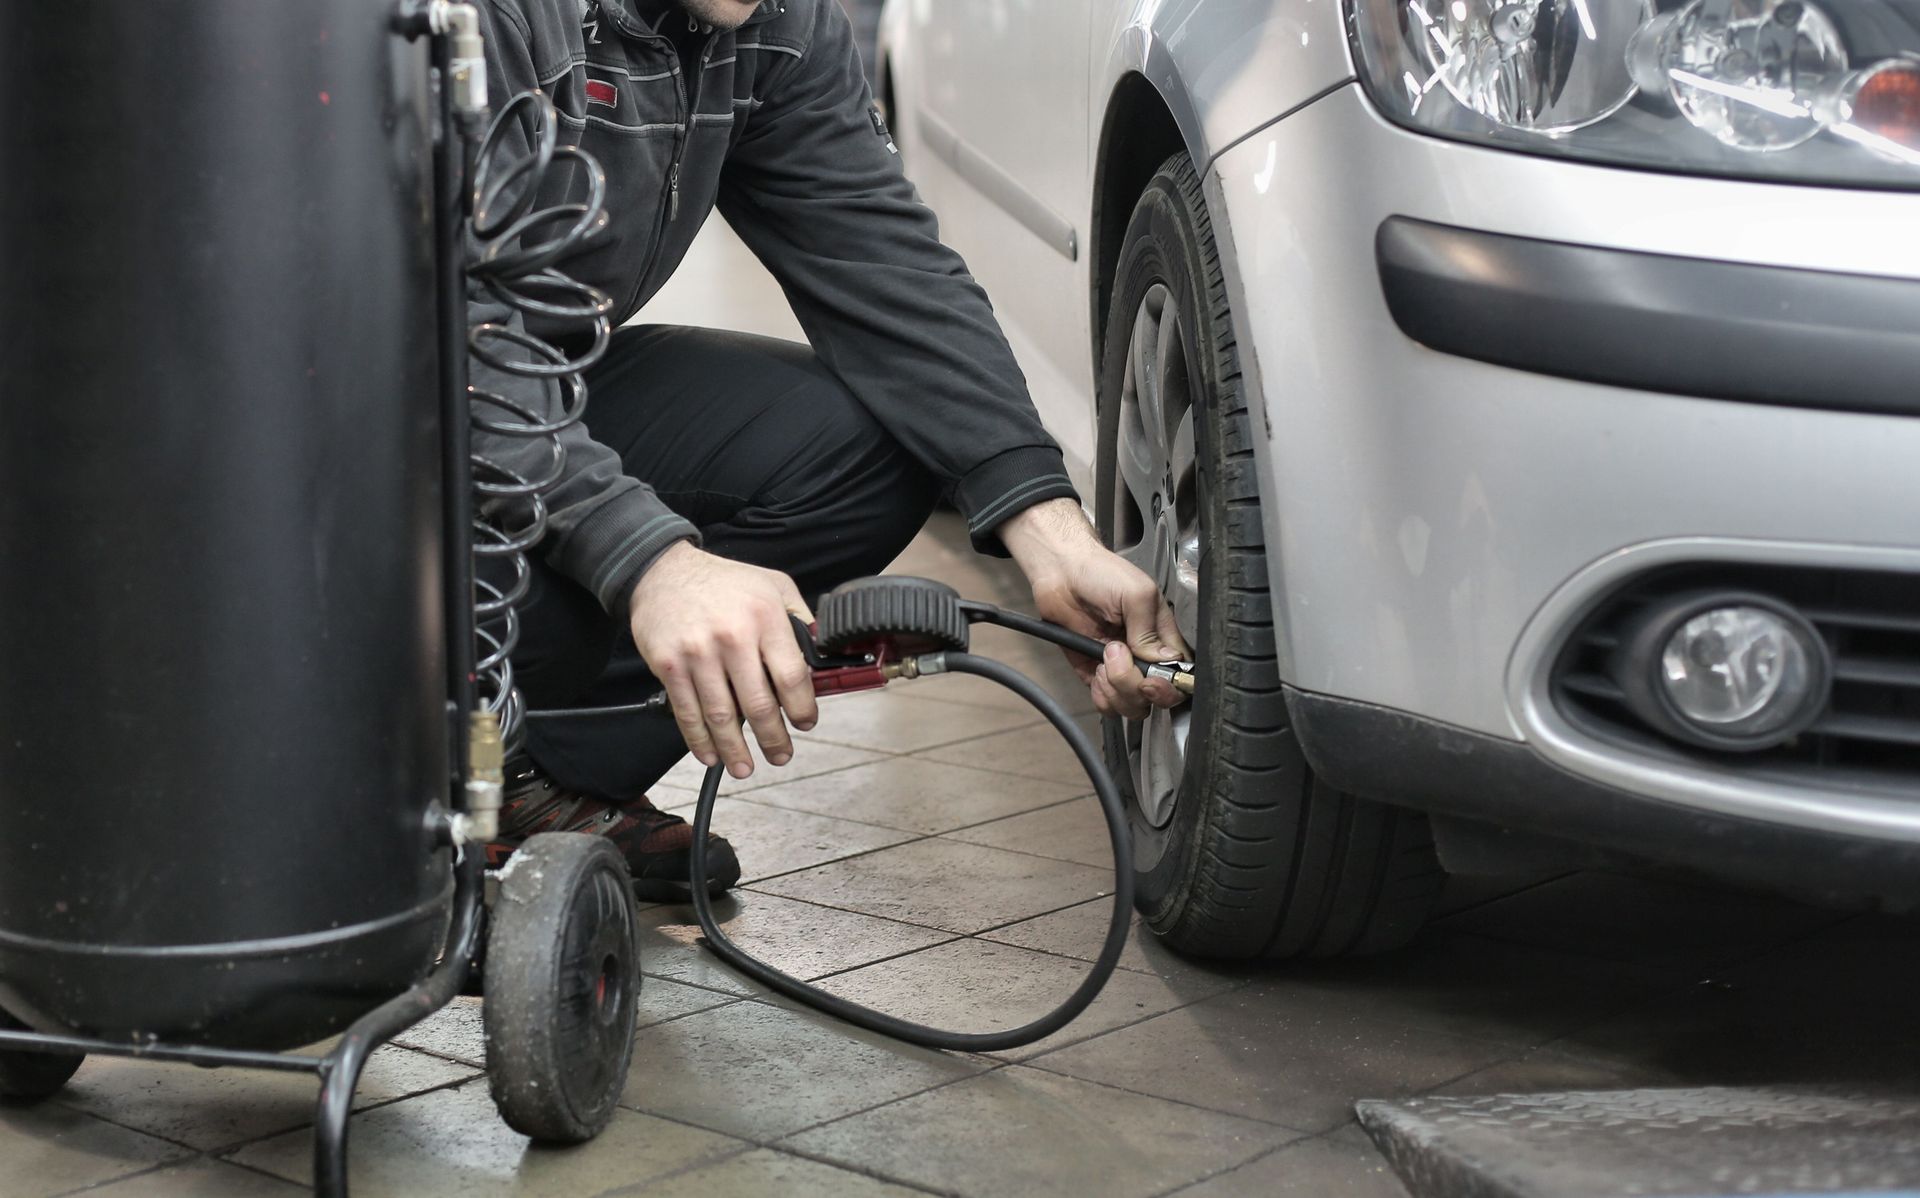
Tyre pressure is the single most impactful maintenance variable available to a driver on a routine basis, affecting fuel economy, tyre wear, handling, and braking distance, and it is the maintenance task most consistently neglected by drivers who do not know how to perform it or why it matters. Tyres lose approximately one to two PSI per month under normal conditions and more rapidly when temperatures change — for every 10°C drop in ambient temperature, tyre pressure falls by approximately one PSI — making regular checking a practical necessity rather than an occasional precaution.
The correct tyre pressures for a specific vehicle are found in two places: on a sticker in the door jamb on the driver's side or on the fuel filler flap, and in the vehicle handbook. The pressures listed are for cold tyres — tyres that have not been driven on for at least three hours or for less than a mile at low speed — because driving heats the air inside the tyre and increases the pressure reading. Checking pressure on hot tyres and inflating to the cold specification produces overinflation.
The equipment required is a tyre pressure gauge — available for a few pounds from any motorist supplier, and standard equipment on most petrol station forecourt air machines — and access to an air supply. The procedure: remove the valve cap, press the gauge firmly onto the valve stem, read the pressure, compare to the specification, add or release air as required, and replace the cap. The process for each tyre takes under two minutes.
Underinflated tyres are the primary cause of tyre failure through overheating, produce significantly increased fuel consumption, and cause premature wear on the outer edges of the tread. Overinflated tyres produce a harsh ride, reduced contact patch and therefore reduced grip, and premature wear on the centre of the tread. Neither condition is detectable by looking at the tyre in most cases — the deformation of an underinflated tyre is not visible until the pressure is severely low, which is why the gauge rather than visual inspection is the necessary tool.
Reading the instrument cluster
Deybson Mallony / Pexels
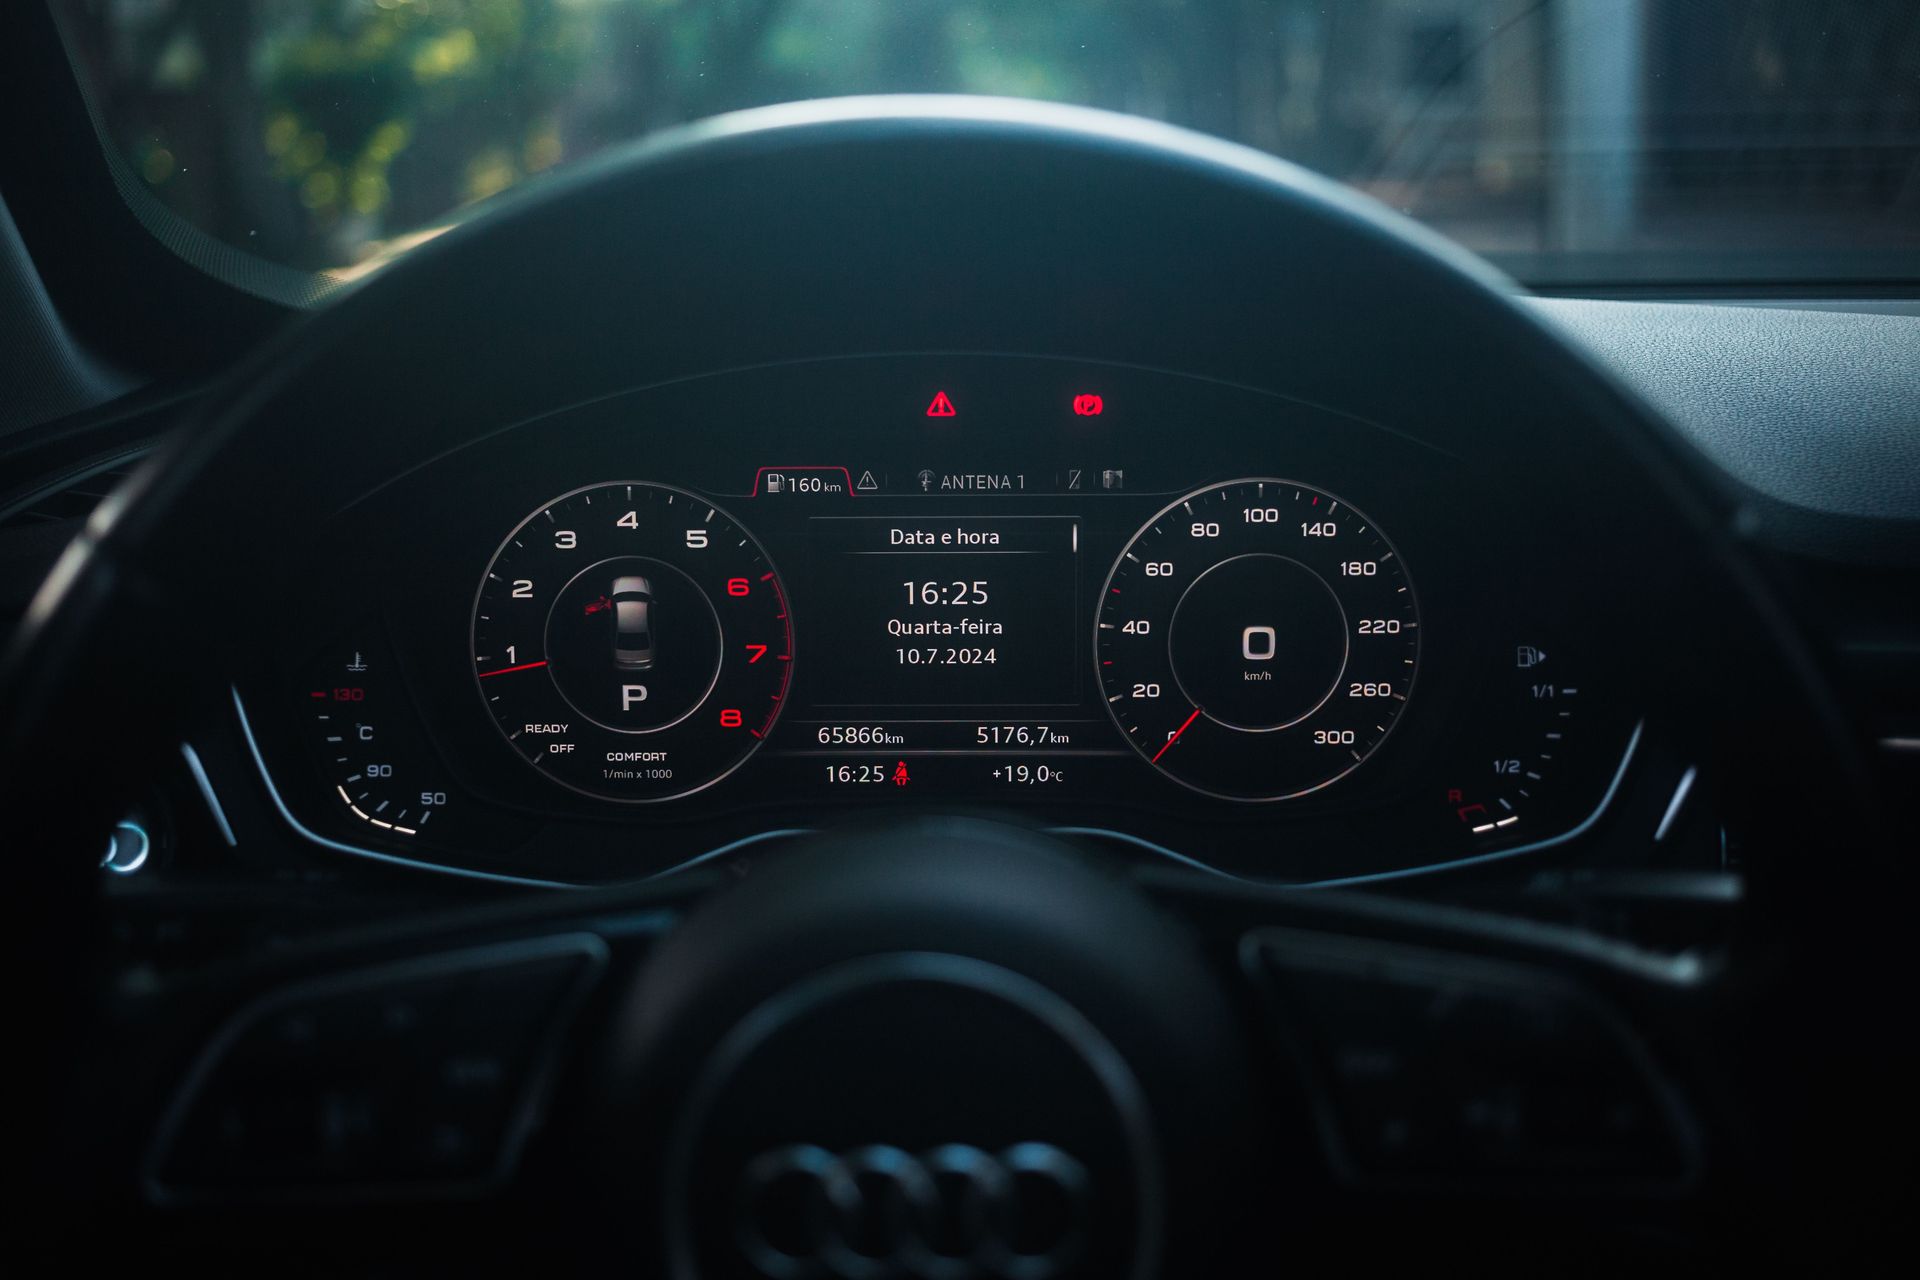
The instrument cluster — the array of gauges, warning lights, and displays visible through the steering wheel — is the primary communication channel between the vehicle and the driver, and many drivers have only a vague understanding of what most of it means. Most warning lights are explained in the vehicle handbook, which most drivers have never read, and the result is that warning lights illuminated on the dashboard are either ignored or generate disproportionate anxiety without any basis for determining whether immediate action is required.
The warning lights most commonly misunderstood or ignored: the engine temperature gauge, whose presence in the red zone indicates imminent and serious engine damage requiring immediate safe stopping; the oil pressure warning light, which when illuminated requires immediate engine shutdown — driving with low oil pressure for even a short distance can destroy an engine; the tyre pressure monitoring system (TPMS) warning, which indicates a tyre at least 25% below its specified pressure; and the battery warning light, which indicates a charging system failure that means the battery is not being replenished and the car will eventually stop running.
Understanding the hierarchy of warning light urgency — which lights require immediate action, which require prompt attention within days, and which are advisory — is the specific knowledge that allows a driver to respond proportionately rather than either ignoring everything or panicking at a service reminder. The red lights (oil pressure, engine temperature, brake fluid) require immediate action. The amber lights (tyre pressure, ABS, stability control) require attention soon. The service lights require a workshop visit at the next convenient opportunity.
The fuel gauge is the most-watched instrument in most cars and the one whose specific failure mode — running out of fuel — is entirely preventable and embarrassingly common. A reserve indication on a fuel gauge does not represent the same distance in all vehicles or all driving conditions; checking the vehicle-specific reserve range from the handbook eliminates the guesswork.
Driving in fog
Abdulvahap Demir / Pexels
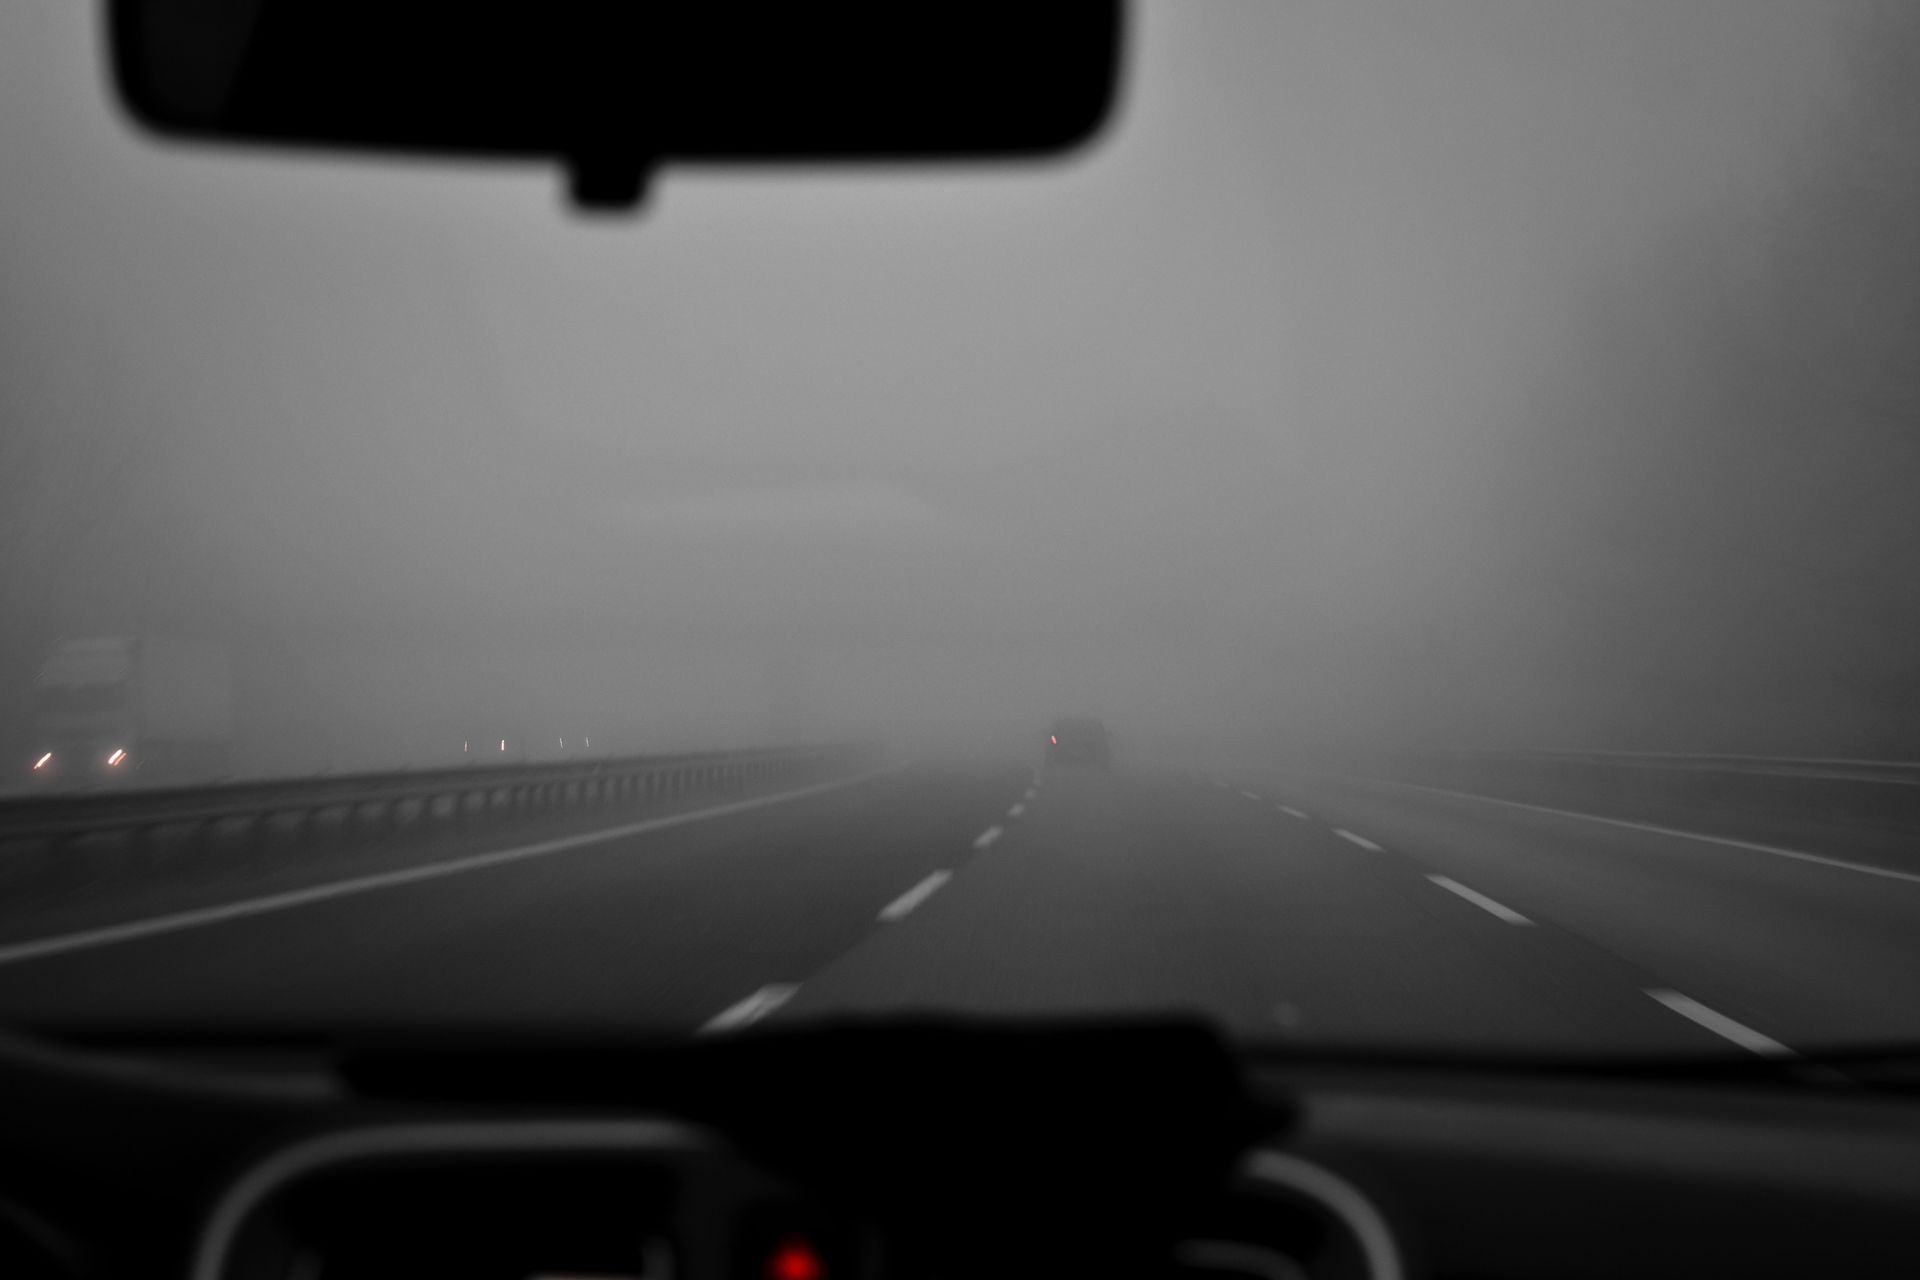
Fog is the weather condition in which driver error is most consequential and most common, and the specific errors — driving too fast for visibility, following too closely, using incorrect lighting — are made by experienced drivers who have never been taught the correct technique and have learned only the driving style they observe in other drivers, which in fog conditions is frequently dangerous.
The correct fog driving technique involves three specific adjustments. The first is speed: in fog, driving speed must be reduced to the point at which it would be possible to stop within the visible distance — if visibility is 30 meters, the vehicle must be able to stop in 30 meters. This is considerably slower than most drivers travel in fog and requires explicit calculation rather than the intuitive speed reduction that most drivers apply. Second, following distance must be increased significantly — the two-second rule that applies in clear conditions is wholly inadequate in fog, where reaction time to a hazard ahead is constrained by the brevity of the available visibility.
Third, lighting: in fog, the correct lights are dipped headlights (not sidelights, which are inadequate, and not full beam, which reflects off the fog and reduces forward visibility) and fog lights where fitted. Fog lights should be switched off as soon as visibility improves sufficiently that they are no longer necessary — they dazzle following drivers when used in clear conditions and are illegal in most jurisdictions when visibility exceeds 100 meters.
The specific hazard of fog that most drivers do not anticipate is the fog bank — a sudden transition from clear air to dense fog that can reduce visibility from a kilometer to 20 meters in seconds at motorway speeds. The correct response is not to brake suddenly but to reduce speed progressively and move to the left lane if on a multi-lane road, increasing the margin for error as the new visibility conditions are established.
Controlling a skid
Alexandra Bakhareva / Pexels
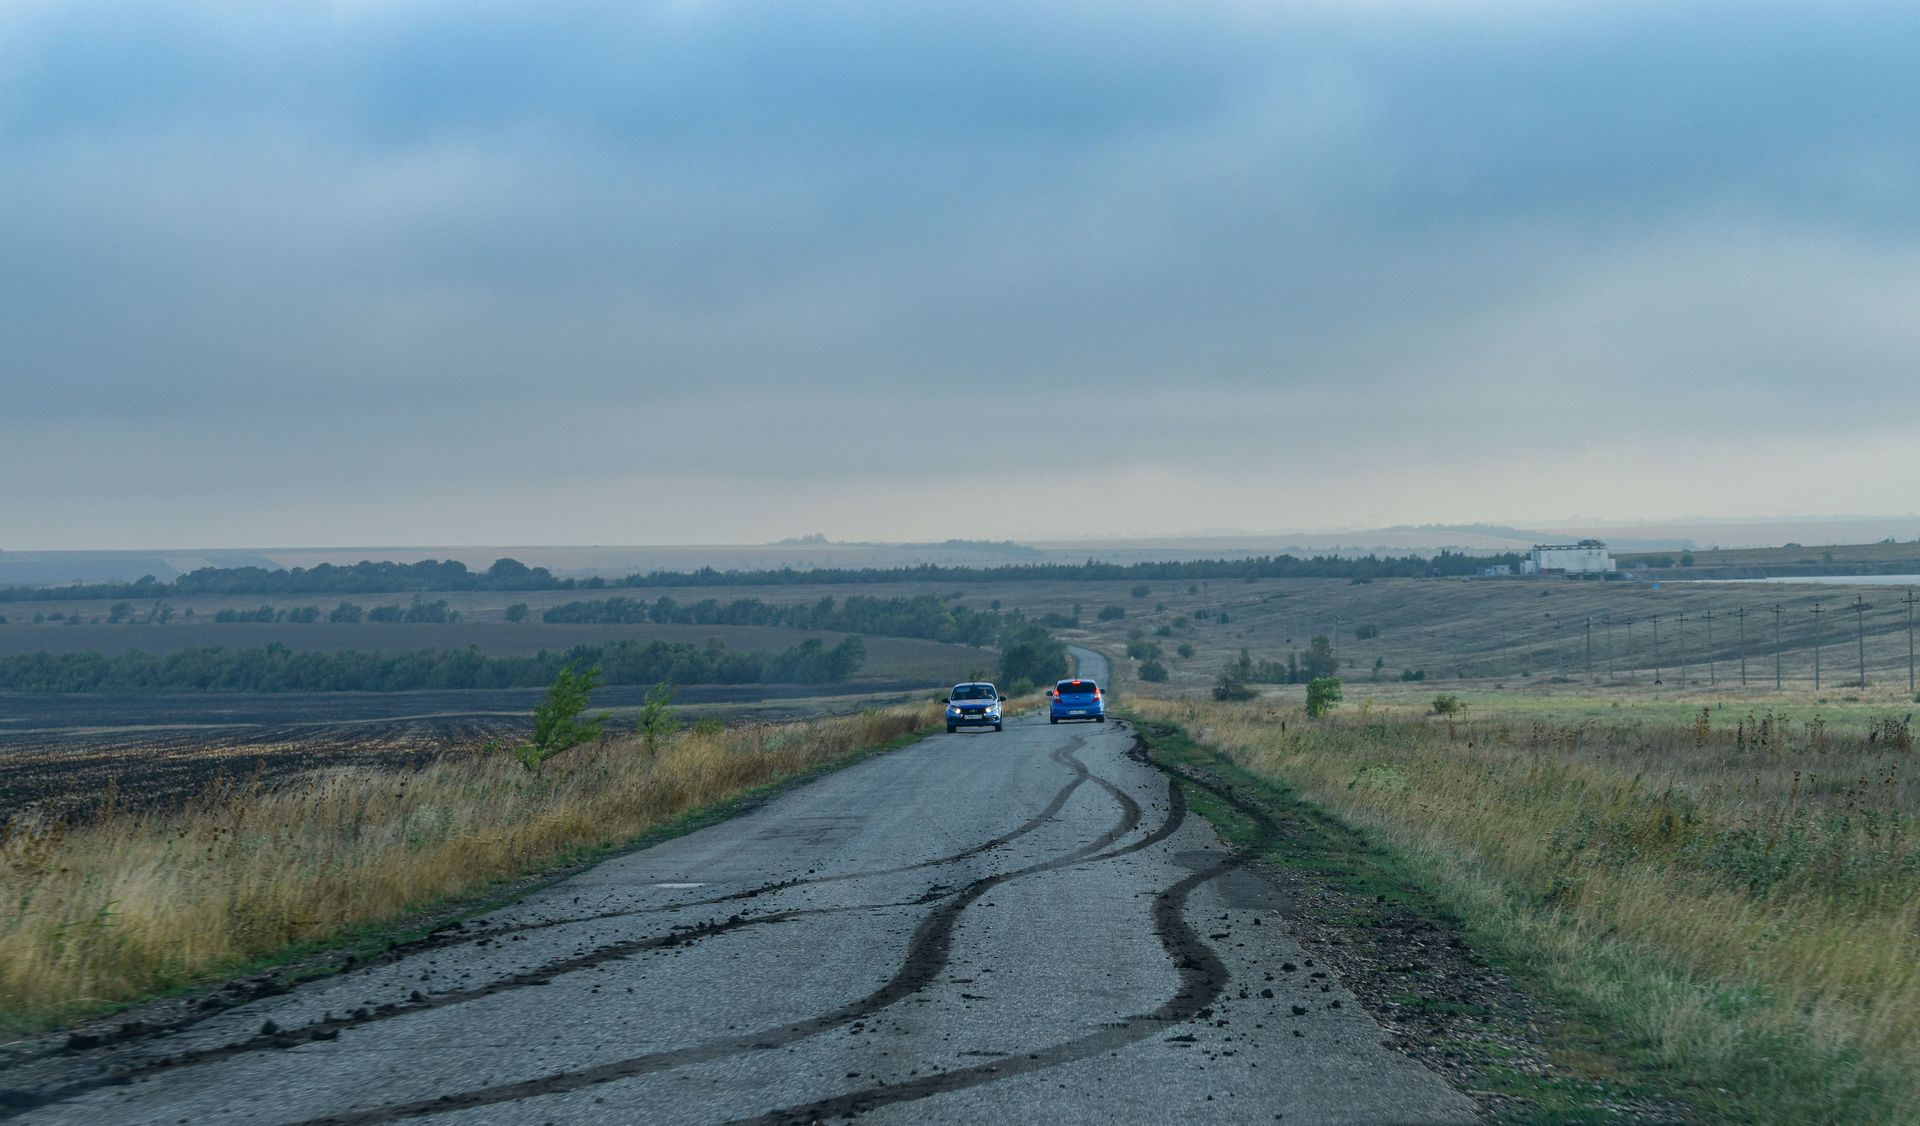
Skid control is a technique that most drivers have never practiced because most modern cars are fitted with electronic stability control (ESC) that intervenes to correct most incipient skids before the driver becomes aware of them. The existence of ESC does not make skid control knowledge irrelevant — ESC has limits, black ice and deep snow can exceed those limits, and understanding the physics of a skid produces the correct instinctive response rather than the incorrect one that produces a full spin.
An understeer skid — in which the front wheels lose grip and the car continues in a straight line rather than following the steered direction — is the most common skid in front-wheel-drive cars, particularly in front-wheel-drive cars driven into a corner with too much speed or too much throttle. The correct response is to reduce throttle and allow the front wheels to regain grip — attempting to steer harder in the desired direction achieves nothing while the front wheels are sliding. The car will follow the steering again once grip is recovered, which happens quickly once the demand on the front tyres is reduced.
An oversteer skid — in which the rear of the car steps out toward the outside of the corner — is more commonly associated with rear-wheel-drive cars but can occur in any car under braking or lift-off in a corner. The correct response is counter-steering — turning the wheel in the direction the car is sliding, toward the outside of the corner — and simultaneously maintaining or adding a small amount of throttle. The incorrect response — lifting off the throttle sharply and not counter-steering — transfers weight to the front and amplifies the rear slide.
Jump-starting a battery
Vladimir Srajber / Pexels
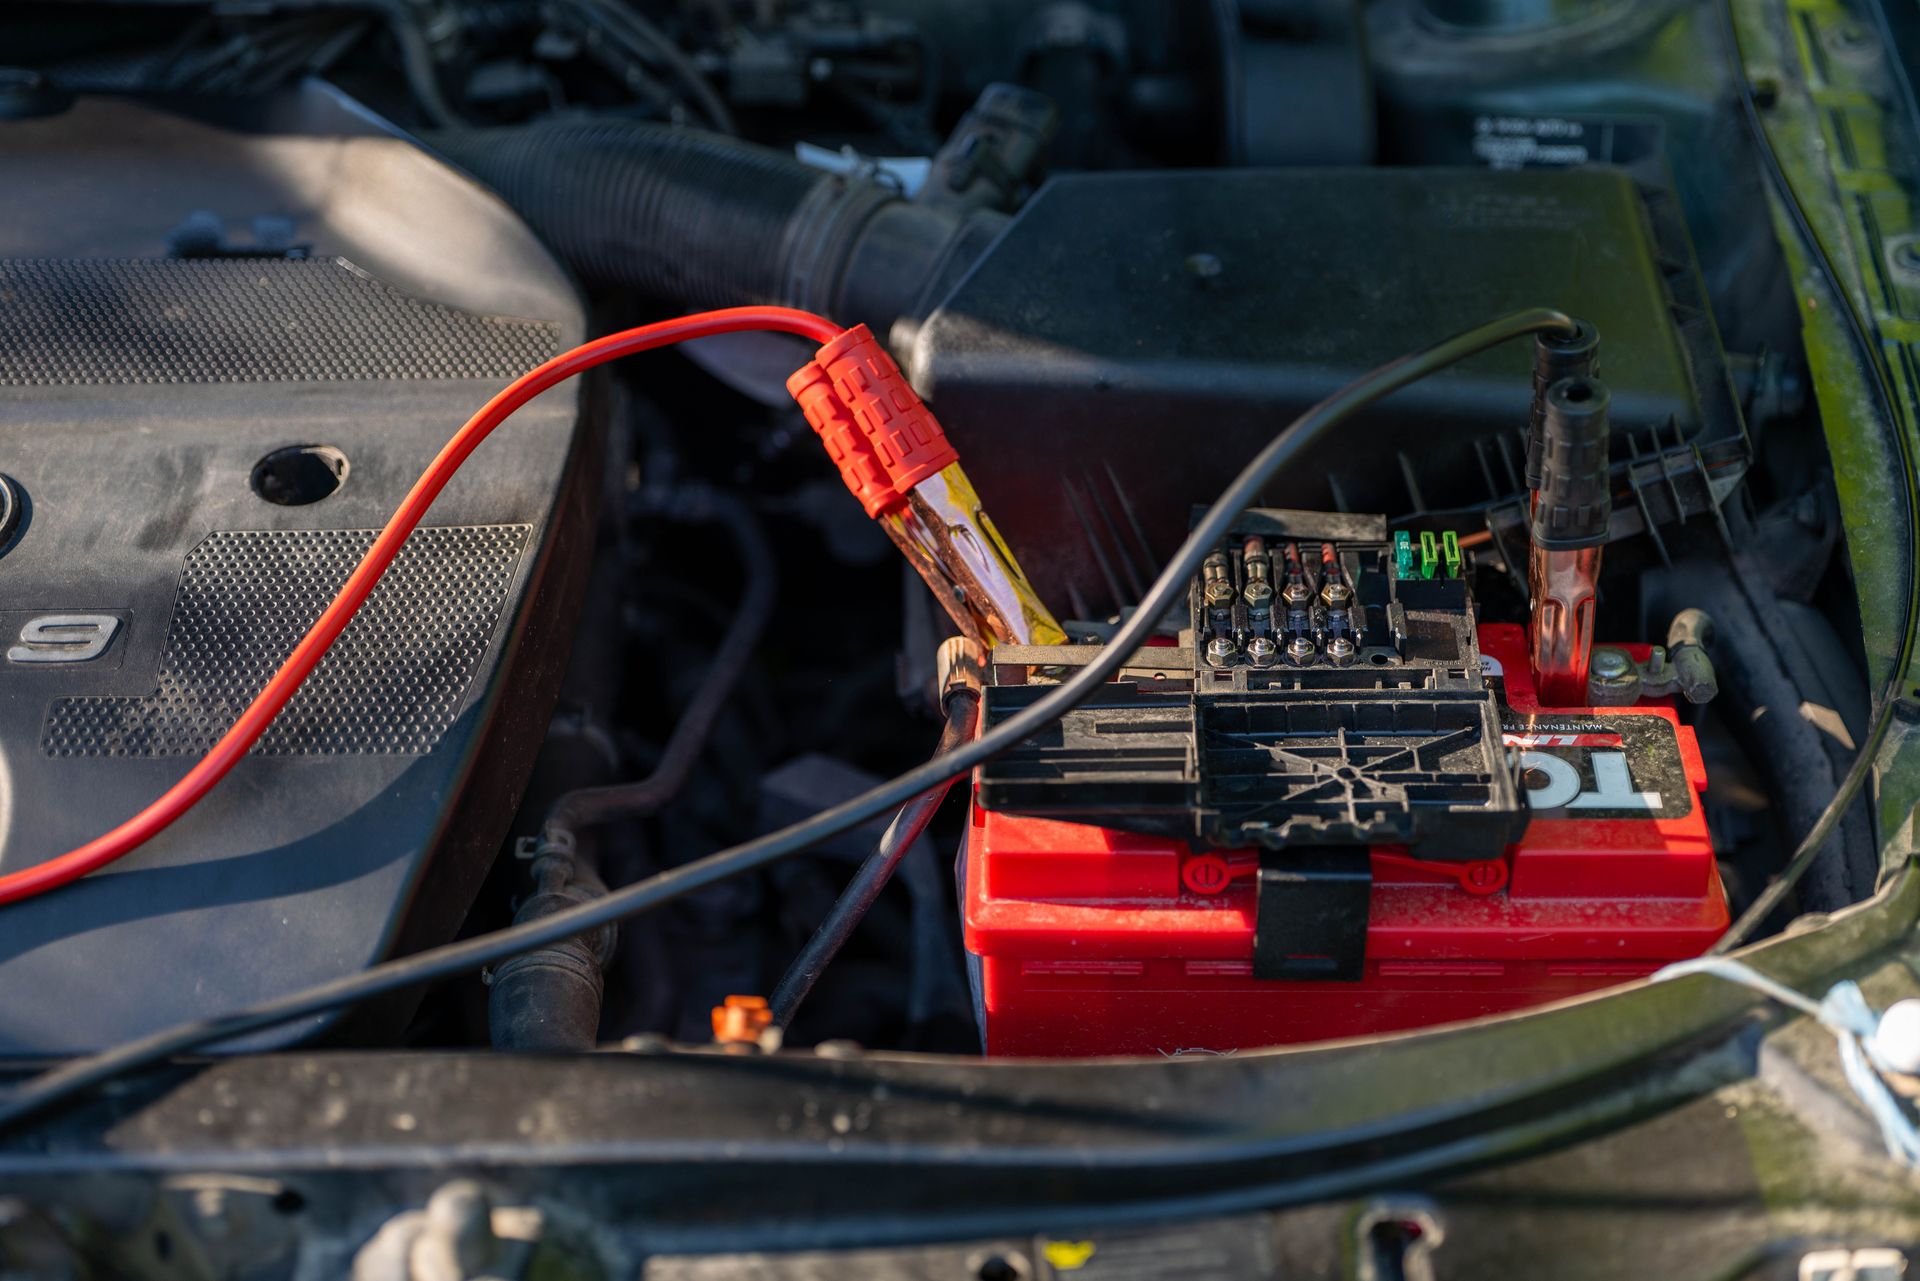
A flat car battery is one of the most common roadside failures and one of the most easily resolved, given access to jump leads and a donor vehicle with a working battery. Most drivers have encountered a flat battery; fewer know how to correctly connect jump leads, and an incorrect connection — reversed polarity — can damage the electrical systems of both vehicles and, in older vehicles, cause a battery explosion.
The correct connection sequence: connect one red lead to the positive terminal of the flat battery. Connect the other end of the red lead to the positive terminal of the donor battery. Connect one black lead to the negative terminal of the donor battery. Connect the other end of the black lead to an unpainted metal part of the engine bay of the vehicle with the flat battery — not to the flat battery's negative terminal, because a charging battery produces hydrogen gas and a spark at the terminal could ignite it.
Start the donor vehicle and run it at fast idle for three to five minutes, allowing the alternator to transfer charge to the flat battery. Then attempt to start the flat vehicle. Once started, disconnect in the reverse order: black lead from engine block, black lead from donor negative, red lead from donor positive, red lead from recovered battery positive. Drive the recovered vehicle for at least 30 minutes to allow the alternator to recharge the battery.
The alternative — a portable jump starter pack — eliminates the need for a donor vehicle and is the practical recommendation for any driver who regularly parks in locations where assistance would be difficult to obtain.
Checking and topping up fluids
Kampus Production / Pexels
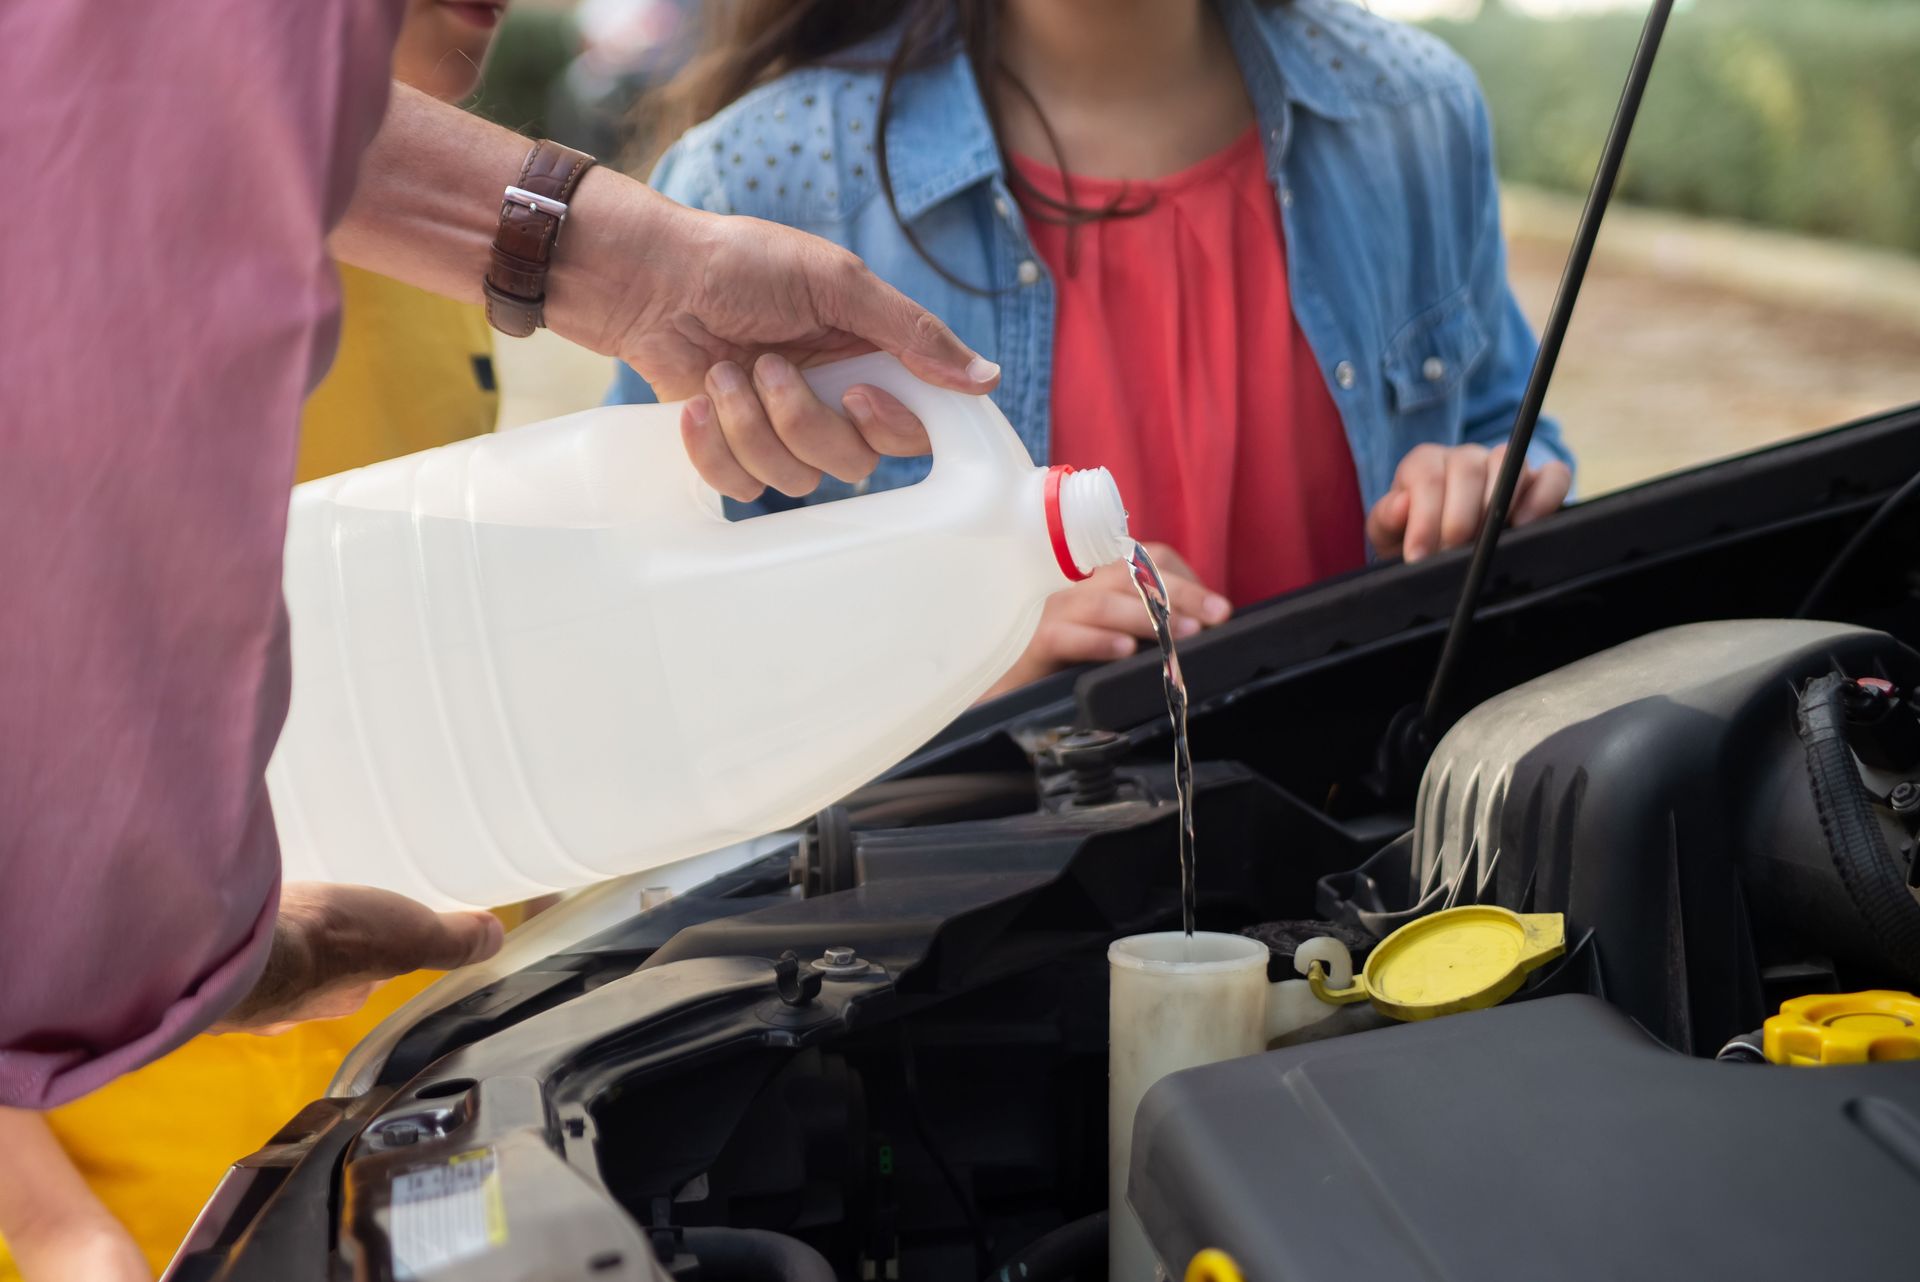
Engine oil, coolant, brake fluid, windscreen washer fluid, and power steering fluid (where applicable) are the under-bonnet fluids that require periodic checking and occasional topping up, and the location, method of checking, and appropriate specifications for each are different — making this a specific knowledge task rather than a general one, and one that the vehicle handbook specifies for each model.
Engine oil is checked with the dipstick: engine off, vehicle on level ground, pull out the dipstick, wipe clean, reinsert fully, withdraw again and read the level against the minimum and maximum marks. Oil level between the marks is correct; below the minimum requires addition of the correct oil specification (found in the handbook) without overfilling above the maximum, which causes its own problems. Checking oil level monthly and before any long journey is the minimum maintenance requirement.
Coolant level is checked at the header tank — the translucent plastic reservoir in the engine bay — with the engine cold. The level should be between the minimum and maximum marks on the reservoir. Adding coolant to a hot system can cause severe burns from steam and sudden pressurization; the engine must be fully cold before opening the cap.
Brake fluid level drops naturally as brake pads wear, because the caliper pistons advance further and the reservoir compensates. A sudden drop in brake fluid level is not normal and indicates either a leak or air in the system — both requiring immediate professional attention. Topping up brake fluid without addressing the underlying cause of its reduction is not the correct response.
Adjusting mirrors correctly

Cottonbro Studio / Pexels
Mirror adjustment is one of the first things taught in driving lessons and one of the most commonly done incorrectly throughout a driver's lifetime. The most widespread error is setting the door mirrors to show too much of the side of the car — an instinctive choice that provides a reassuring visual reference but produces large blind spots that are easily eliminated by a small outward adjustment.
The correct setting for the door mirrors is to position them outward until the side of the car is just barely visible at the inner edge of the mirror — approximately one-quarter of the mirror width or less. This maximizes the coverage of the adjacent lane while retaining just enough of the car's own side to provide orientation. A car positioned one lane to the side should be visible simultaneously in the door mirror and in the peripheral vision of the driver — if both conditions are met, there is no blind spot in that sector. A car that has passed from the door mirror view should already be visible in the driver's peripheral vision before it disappears from the mirror.
The interior rear-view mirror should be adjusted to frame the entire rear window without requiring the driver's head to move. Drivers with extended cabs or SUVs with restricted rear visibility benefit from replacing the standard interior mirror with a wide-angle convex version that provides a broader view of what is behind.
The practice of checking mirrors before every maneuver — lane change, overtaking, turning, slowing, stopping — is the specific driving habit whose absence is most consistently associated with the collision types that occur when a driver's intended path intersects with another road user they have not seen.
Understanding stopping distances
David McElwee / Pexels
The stopping distances that appear in the Highway Code or equivalent national driving guidance are among the most important figures in road safety and among the least reliably memorized by drivers who learned them for a test and have since allowed the specific numbers to become approximate or entirely absent from memory. The specific error this produces — following too closely at speeds where the available gap is shorter than the stopping distance — is a constant feature of motorway driving and the primary cause of rear-end collisions.
At 70 mph (113 km/h), the total stopping distance — the thinking distance plus the braking distance — is approximately 96 meters under dry conditions on roads with adequate surface grip, with new tyres in good condition, and with a driver who is alert and unimpaired. The thinking distance alone — the distance covered between perceiving a hazard and beginning to brake — is approximately 21 meters at 70 mph, approximately 1.5 car lengths, at the assumed reaction time of 0.7 seconds used in the Highway Code calculation. A driver who is tired, distracted, or impaired has a reaction time significantly longer than this, and the thinking distance scales accordingly.
Stopping distance increases as the square of speed — doubling the speed quadruples the stopping distance. The difference between 60 mph and 70 mph adds approximately 17 meters to the total stopping distance. In wet conditions, stopping distances approximately double; in icy conditions, they can increase tenfold. The two-second rule — maintaining a gap that takes at least two seconds to close at current speed — provides a practical approximation of minimum safe following distance in dry conditions, with the gap needing to be increased significantly in wet or icy conditions.
Driving on motorways
Mike Bird / Pexels
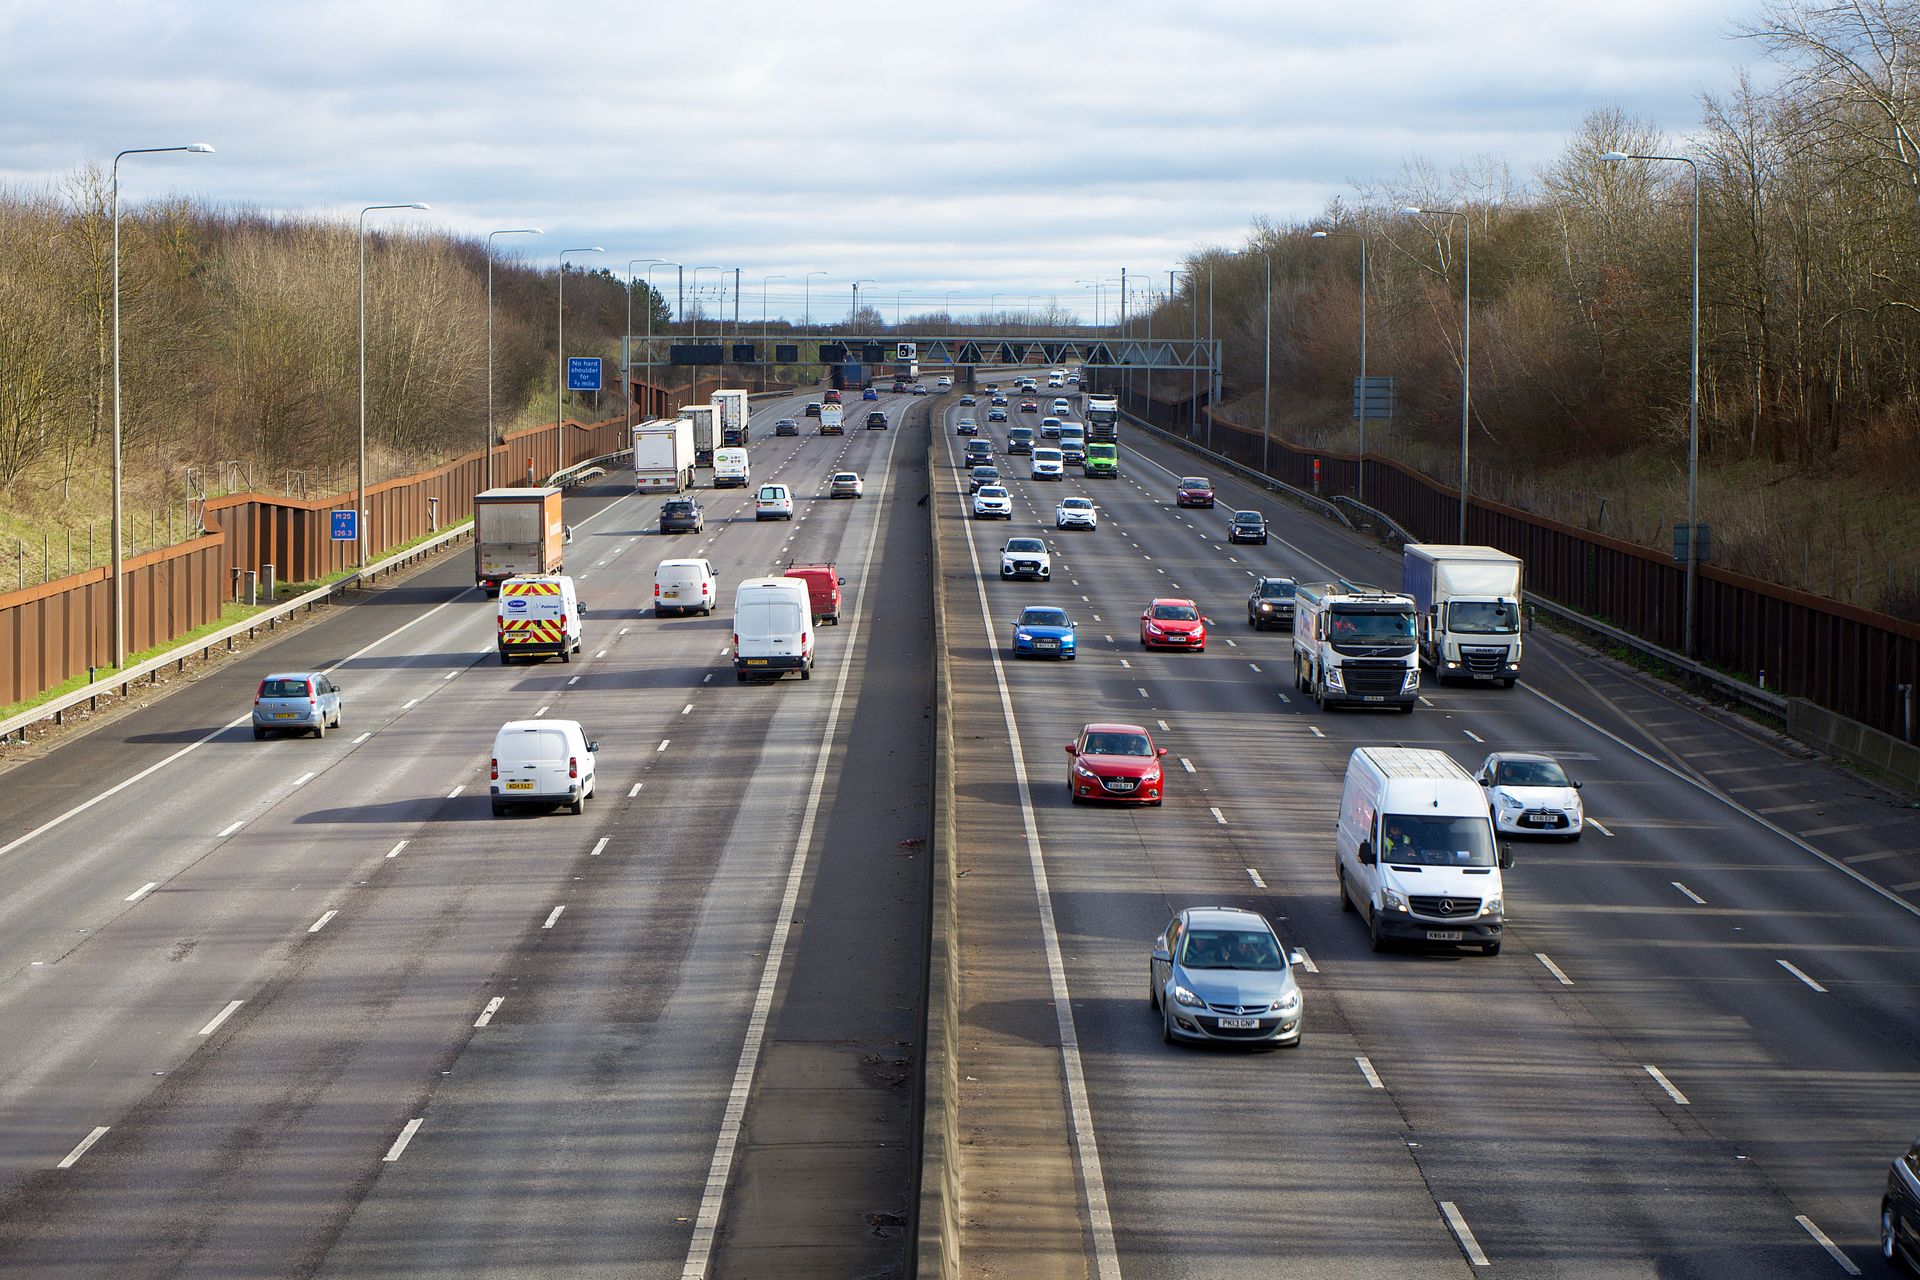
Motorway driving is excluded from the standard driving test in the United Kingdom and is under-addressed in many other national curricula, producing a specific competence gap in new drivers encountering motorways for the first time without formal instruction. The specific skills that motorway driving requires — joining and exiting efficiently, lane discipline, managing large speed differentials between vehicles, and the sustained high-speed concentration that motorway driving demands — differ sufficiently from urban and rural driving that they warrant specific attention.
Joining a motorway at the correct speed is the first skill: the slip road is a dedicated lane for accelerating to motorway speed before merging, not a lane for entering the motorway at a lower speed and relying on motorway traffic to accommodate the differential. Joining at 40 mph on a motorway where traffic is flowing at 70 mph creates a danger proportional to the speed differential and forces motorway drivers into emergency braking or lane changes that they should not be required to make.
Lane discipline on multi-lane motorways — keeping to the left lane except when overtaking, completing overtaking maneuvers promptly and returning to the left lane — is both the legal requirement in most jurisdictions and the traffic flow practice that maximizes the capacity of the road. Middle-lane hogging — occupying the middle lane of a three-lane motorway at normal traffic flow speeds when the left lane is clear — produces artificial congestion in the outside lane and frustration that drives the dangerous overtaking maneuvers it is intended to avoid.
Smart motorway operation — the conversion of the hard shoulder to a running lane in variable speed limit systems — requires specific knowledge of refuge areas, the stopped vehicle detection system, and the overhead signal requirements for joining, exiting, and operating in the dynamic hard shoulder that many drivers do not have.
Driving in heavy rain

Sebastiaan Stam / Pexels
Heavy rain degrades driving in several simultaneous ways — reduced visibility, reduced tyre grip on a wet surface, the risk of aquaplaning at speed, and reduced effectiveness of windscreen wipers whose condition has not been checked — and the correct response to each is specific enough that generic "drive more carefully" advice is insufficient.
Visibility in heavy rain is reduced by the intensity of the rain on the windscreen, the spray from heavy vehicles, and the deterioration of headlight illumination in the reflecting wet environment. The practical response is to increase following distance to at least four seconds, reduce speed below the road's posted limit when visibility requires it, and use dipped headlights in daytime to ensure visibility to other drivers. The most commonly neglected element is the windscreen demisting — heavy rain increases interior humidity rapidly, and front and rear demisters should be activated immediately to prevent the windscreen fogging from inside.
Aquaplaning — the loss of contact between the tyre tread and the road surface, mediated by a film of water that the tread cannot evacuate fast enough — occurs at speeds above approximately 50 mph on roads where water has accumulated to a depth that exceeds the tyre's drainage capacity. The warning sign is a sudden lightness in the steering — the absence of the usual feedback through the wheel — and the correct response is to ease off the throttle gently without braking or steering sharply until the tyres regain contact. Accelerating through aquaplaning extends it; braking or steering during aquaplaning can cause loss of control.
Tyre tread depth is the primary variable determining aquaplaning resistance. The legal minimum tread depth of 1.6mm (in most European jurisdictions) provides significantly less aquaplaning resistance than the recommended 3mm threshold below which tyre replacement is advisable for wet-weather safety.
Changing a wheel safely
Ron Lach / Pexels
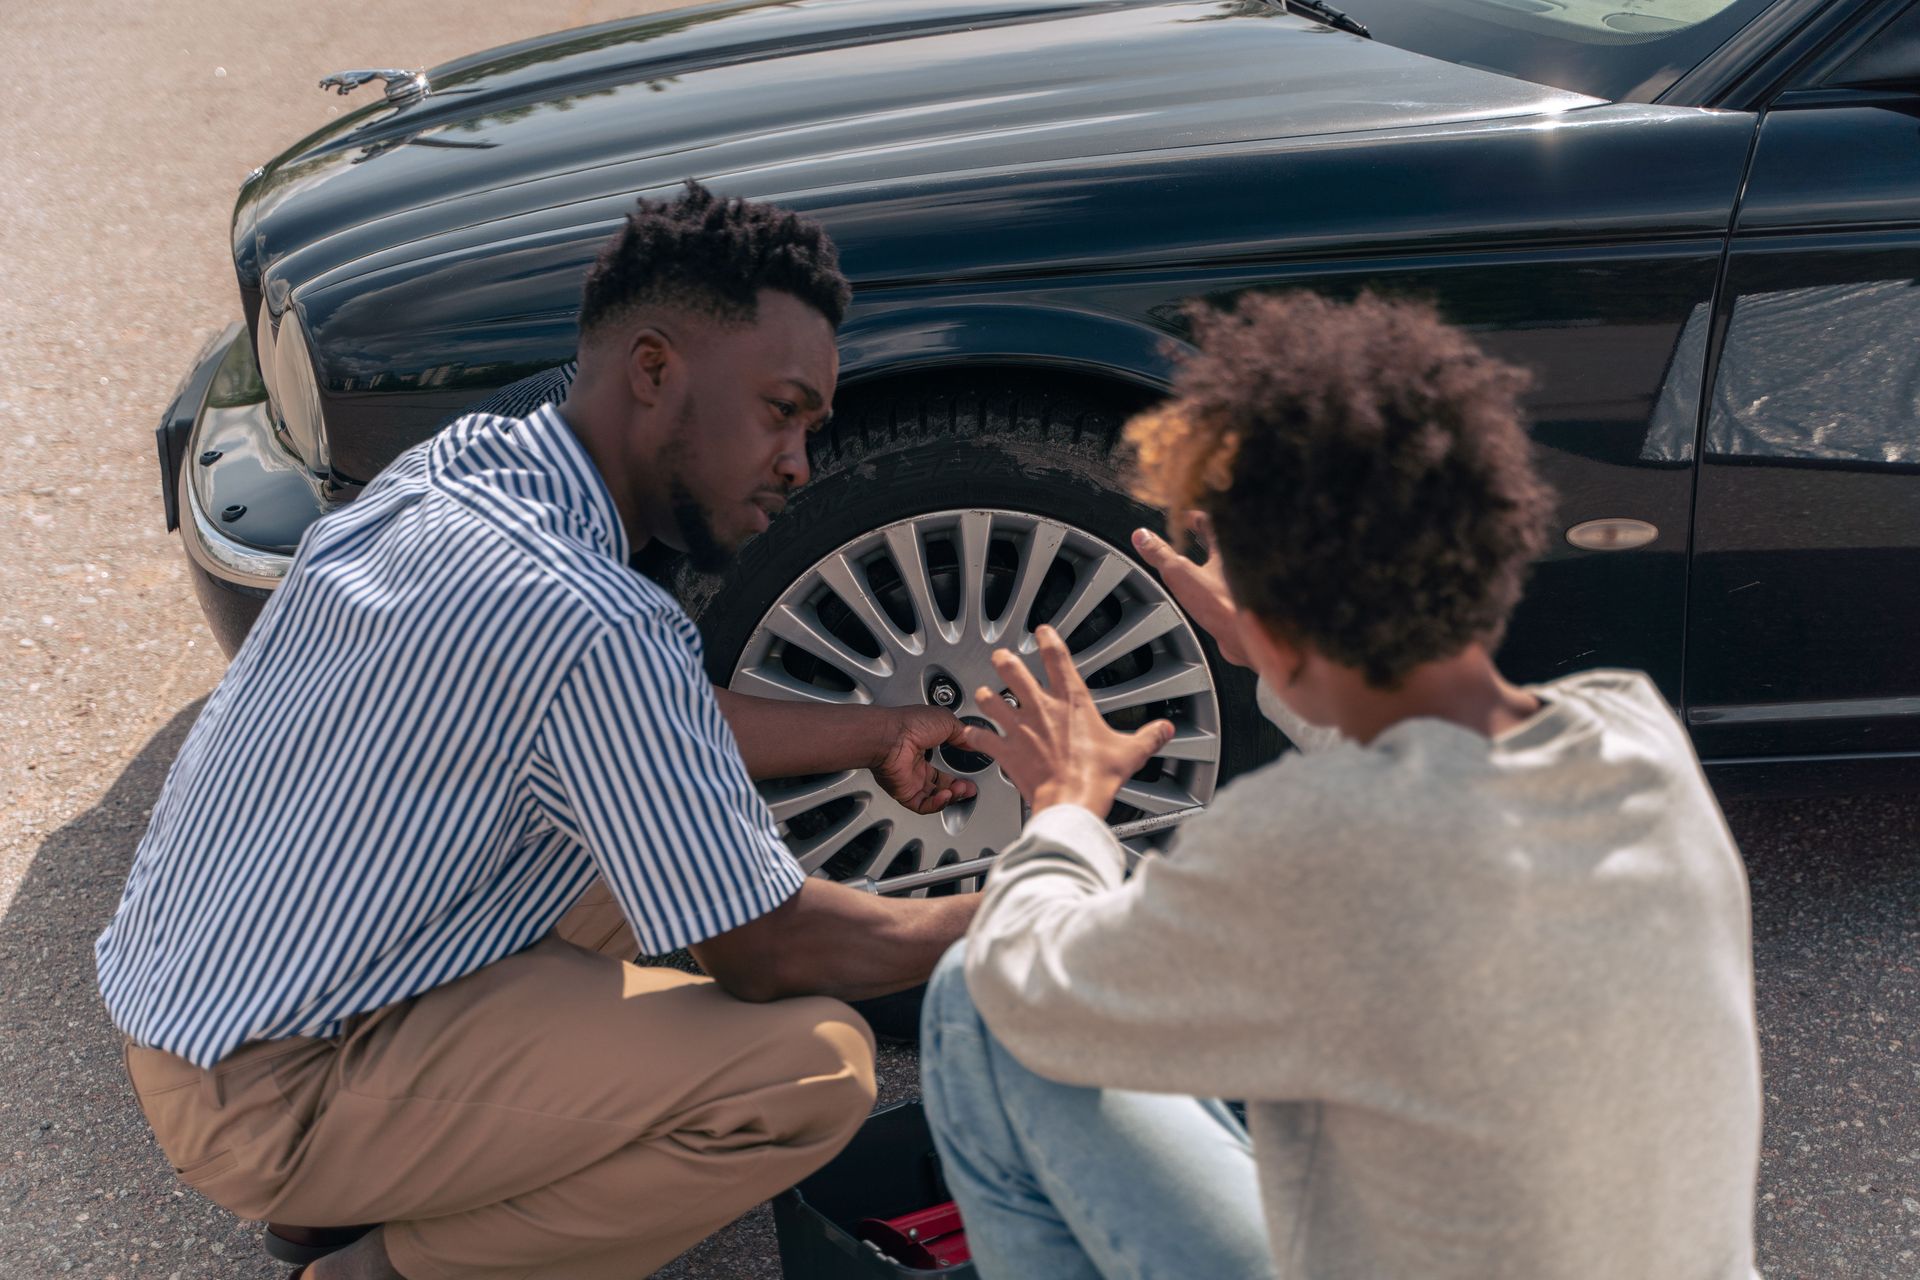
Changing a flat tyre safely requires specific preparation before the roadside situation arises — knowing where the spare wheel, the jack, and the wheel brace are stored in the specific vehicle, and verifying that the spare is inflated to the correct pressure. A flat spare tyre discovered at the roadside is a compounding failure that the preparation of a monthly spare pressure check eliminates.
The procedure: if a tyre deflates while driving, hold the steering wheel firmly, ease off the throttle, and steer progressively toward the hard shoulder or a safe stopping point without braking sharply. Once stopped safely, activate hazard lights, put on a high-visibility vest before exiting, and place a warning triangle at least 45 meters behind the vehicle on the same side of the road. Apply the handbrake, put the car in first gear or park.
Loosen the wheel nuts by half a turn before jacking the car — the wheel nut loosening requires leverage that is easier to apply with the wheel on the ground and resisting rotation. Find the jack point — marked in the vehicle handbook and sometimes indicated by a notch in the sill — and position the jack correctly before raising. Jack the car until the flat tyre is clear of the ground, remove the nuts and the flat tyre, mount the spare, hand-tighten the nuts, lower the car, and torque the nuts fully in a star pattern.
Temporary spare wheels ("spacesavers") are not designed for motorway speeds and typically carry a maximum speed limit of 50 mph (80 km/h). Driving at motorway speed on a spacesaver damages the transmission and the spacesaver itself.
Parallel parking

Constantine Kim / Pexels
Parallel parking is the maneuver most avoided by drivers who lack a systematic method and most reliably executed by drivers who have one. The specific method — align rear axles, turn toward curb, straighten, turn away from curb — is covered in the skills piece from this series, but the specific details of executing it in different vehicle sizes, different space sizes, and different traffic conditions are worth addressing here.
The minimum space length for parallel parking is approximately 1.5 times the length of the vehicle being parked. A space smaller than this requires either multiple-point maneuvering or a different space. Attempting to parallel park in an insufficient space produces the frustrating sequence of forward and backward movements that makes the maneuver look difficult; a sufficient space makes it straightforward.
Parking sensors and parking cameras — fitted to most new vehicles — change the information available during the maneuver but do not substitute for understanding it. A driver who relies entirely on the reversing camera and sensors without understanding the spatial relationship between the vehicle's body and the surrounding cars can still misjudge the maneuver. The camera shows what is directly behind; the door mirrors show the relationship to the kerb; both are required.
In traffic, the social protocol for parallel parking — the engagement of reverse lights as a signal to following traffic that a parking maneuver is being attempted, the patience extended to allow the maneuver to be completed — is a communication convention whose understanding makes the maneuver less stressful and the driver less rushed.
Understanding and using cruise control
Mike Bird / Pexels
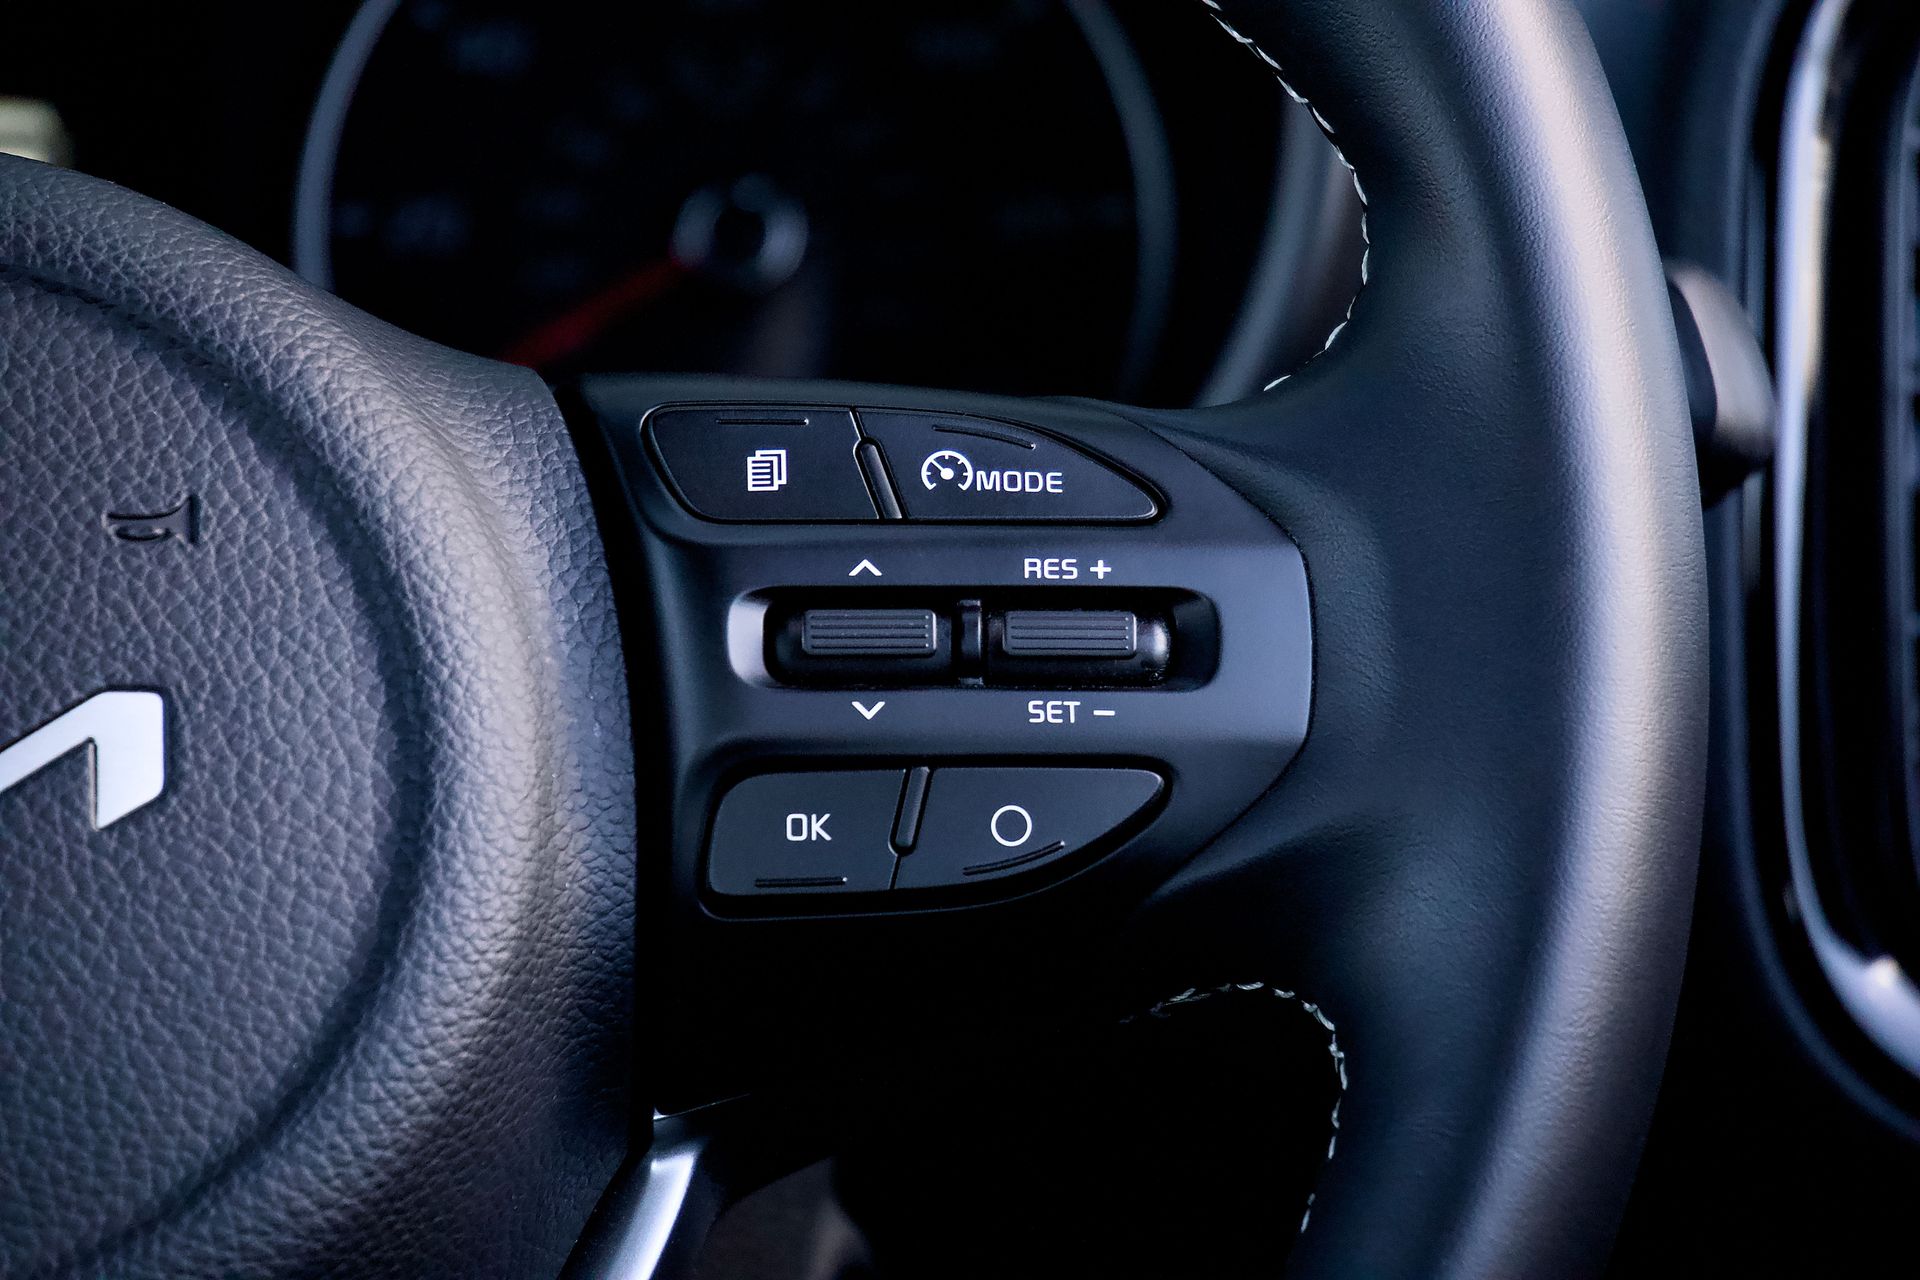
Cruise control — the system that maintains a set vehicle speed without continued throttle input — is fitted to most modern vehicles and used by a minority of drivers on routes where it is most beneficial: motorway and dual carriageway driving at constant speeds over extended distances. Its benefits — reduced driver fatigue on long journeys, elimination of inadvertent speed creep on motorways, improved fuel economy through smooth throttle management — are significant and consistently underutilized.
The correct use of cruise control requires understanding its limitations as much as its capabilities. Cruise control maintains speed but does not manage following distance, lane position, or response to hazards — the driver remains responsible for all of these. On roads with variable traffic density, cruise control can reduce rather than increase safety by maintaining speed into slowing traffic that the driver has seen but the system has not responded to.
Adaptive cruise control — which uses radar or camera systems to maintain a set distance from the vehicle ahead, slowing and accelerating as traffic requires — is a more sophisticated system whose correct calibration of the following gap setting is important. A following gap set too short reduces the time available for human response if the system fails or reaches its operational limits. A following gap set appropriately — the longest setting comfortable for the traffic conditions — provides both the safety benefit of the system and a reasonable margin for human takeover.
Disengaging cruise control on wet or icy roads — where the sustained throttle input of cruise control on an unexpectedly slippery surface can induce wheelspin — is the specific safety consideration most often overlooked in cruise control instruction.
Night driving

Talha Kılıç / Pexels
Night driving reduces visibility, compresses peripheral vision to the area illuminated by the headlights, and introduces the specific hazard of oncoming headlight glare — all of which require specific technique adjustments that are rarely taught explicitly and that most drivers develop informally or not at all.
The most important night driving adjustment is speed relative to headlight coverage. At 60 mph, a vehicle covers approximately 27 meters per second. Standard dipped headlights illuminate approximately 30 to 40 meters ahead. The implication — that at 60 mph on a dark road with dipped headlights, the stopping distance exceeds the illuminated distance by a significant margin — is called "overdriving the headlights" and it is the condition in which most drivers operate on unlit rural roads after dark. The correct response is either to use full beam where oncoming traffic permits or to reduce speed to the point at which stopping is possible within the illuminated distance.
Full beam management — switching to full beam when no oncoming vehicle is present and dipping promptly when an oncoming vehicle appears — is the specific skill that makes night driving on unlit roads significantly safer and that many drivers do not practice consistently, either forgetting to switch to full beam after dipping or forgetting to dip when an oncoming vehicle appears.
Adapting to darkness after leaving a brightly lit area — the time taken for the eye's night vision to reach its maximum sensitivity, which can take up to 20 minutes — means that the first kilometers of a night journey on an unlit road after driving through a lit urban area require particular caution. The pupil dilates in darkness but the photochemical adaptation of the retina is slower.
Managing a tyre blowout
Artem Balashevsky / Pexels
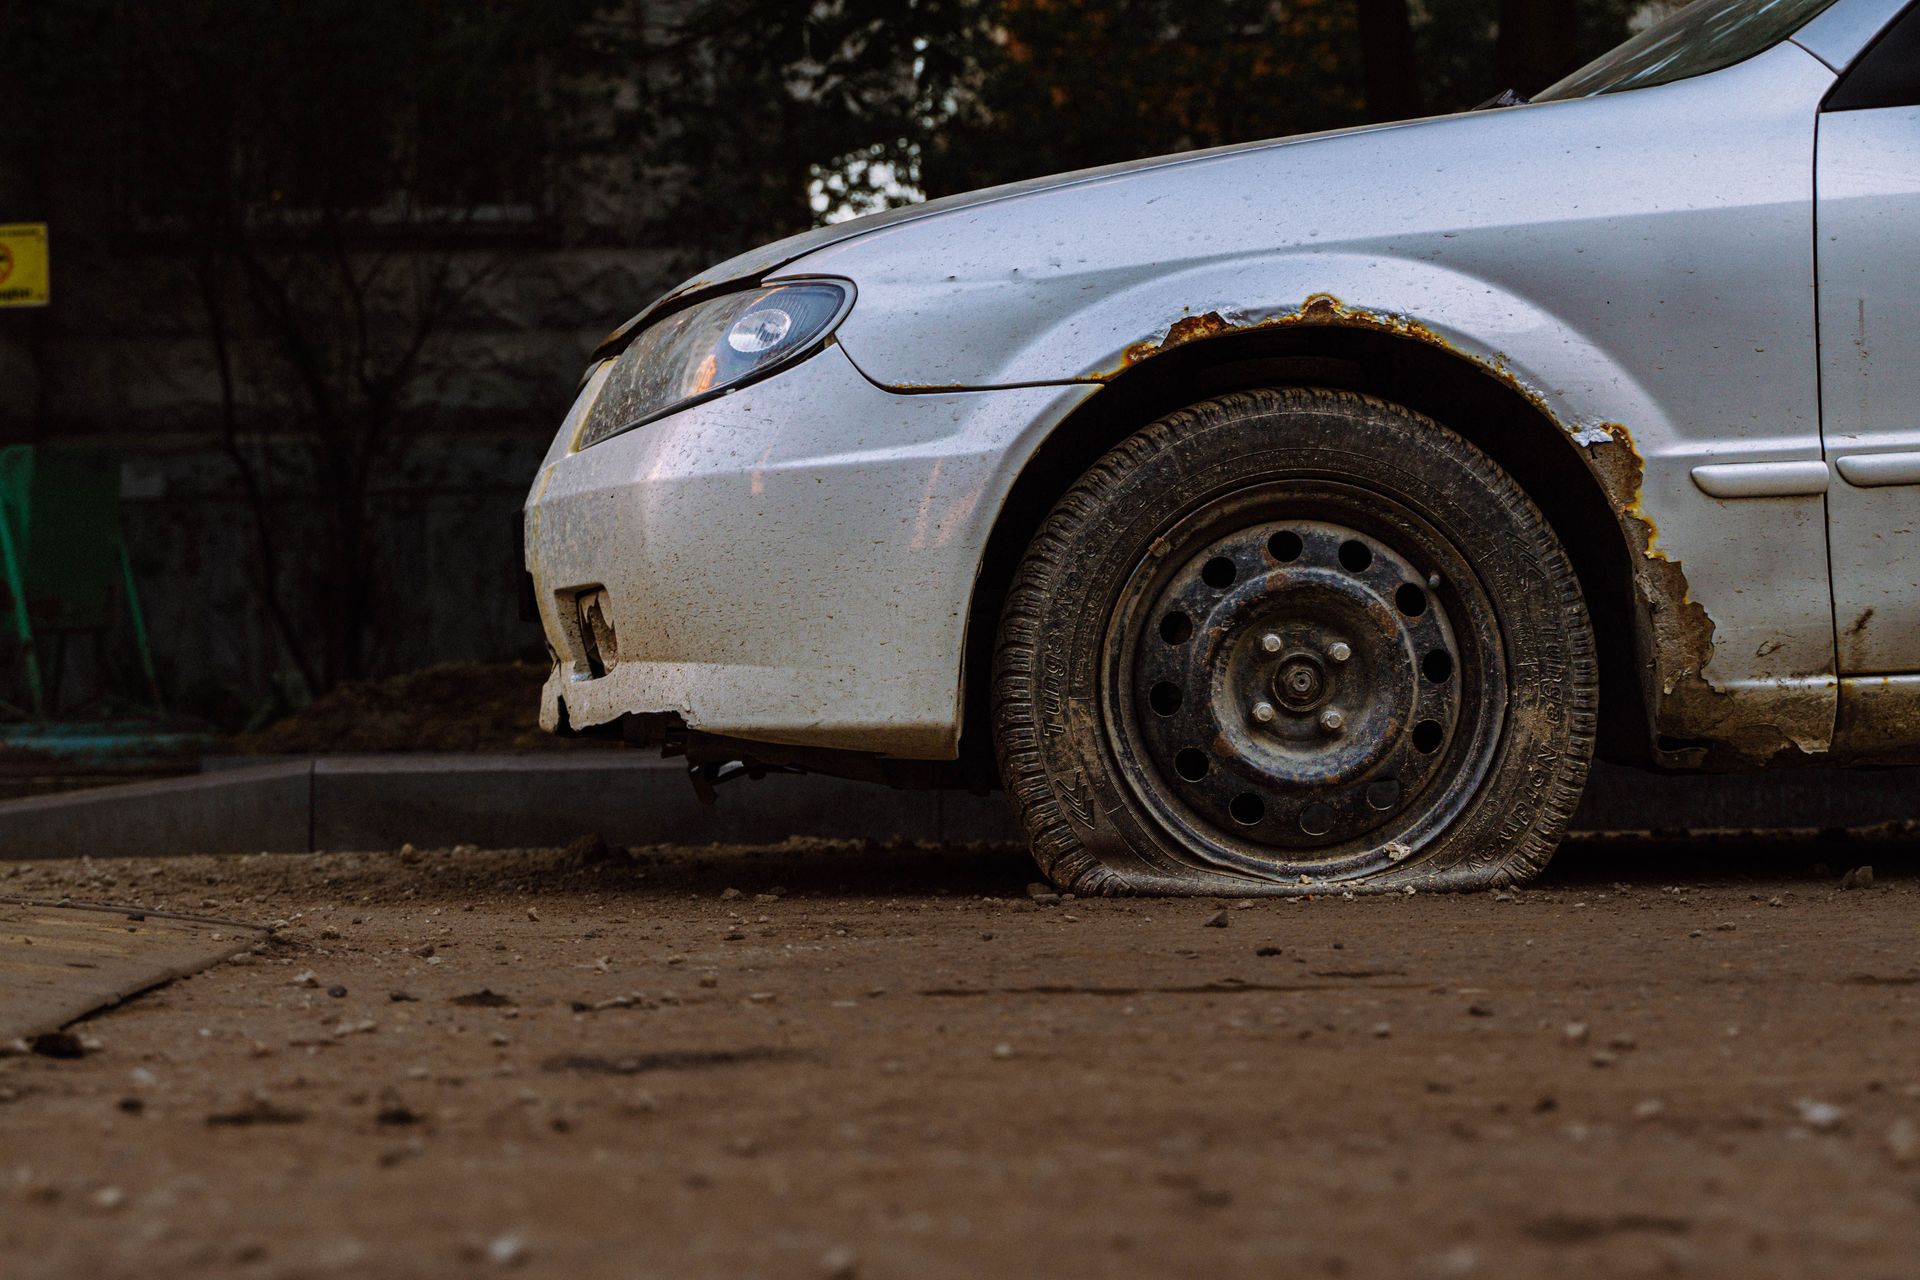
A tyre blowout at motorway speed is one of the most alarming events in everyday driving and one of the most manageable with the correct response — which is almost exactly the opposite of the instinctive response most drivers would make. The instinctive response is to release the throttle and brake; the correct response is to maintain throttle briefly and steer firmly in the direction of the blowout.
When a front tyre blows out, the vehicle pulls sharply toward the side of the failure. The instinct is to counter-steer sharply and brake; both actions destabilize the vehicle. The correct technique is to grip the wheel firmly, allow the car to pull slightly toward the failed tyre while maintaining enough throttle to prevent the nose from diving under the sudden weight transfer of hard braking, and then steer gently back toward the intended lane. Once the vehicle is under directional control, reduce speed progressively using light braking and move toward the hard shoulder or a safe stopping place.
A rear tyre blowout causes less dramatic directional pull but can produce a fishtail motion as the rear of the car becomes unstable. The same principle applies: grip the wheel, maintain gentle throttle, and avoid sudden braking or steering until the car is stabilized and directed toward a safe stopping place.
The specific preparation that reduces blowout risk — maintaining correct tyre pressure (which prevents the overheating that causes structural failure), replacing tyres at or before the 3mm tread depth threshold (at which tyre integrity under stress is significantly reduced), and inspecting tyres for sidewall bulges and cuts — is the maintenance equivalent of the blowout technique.
Using the handbrake on hills
Safi Erneste / Pexels
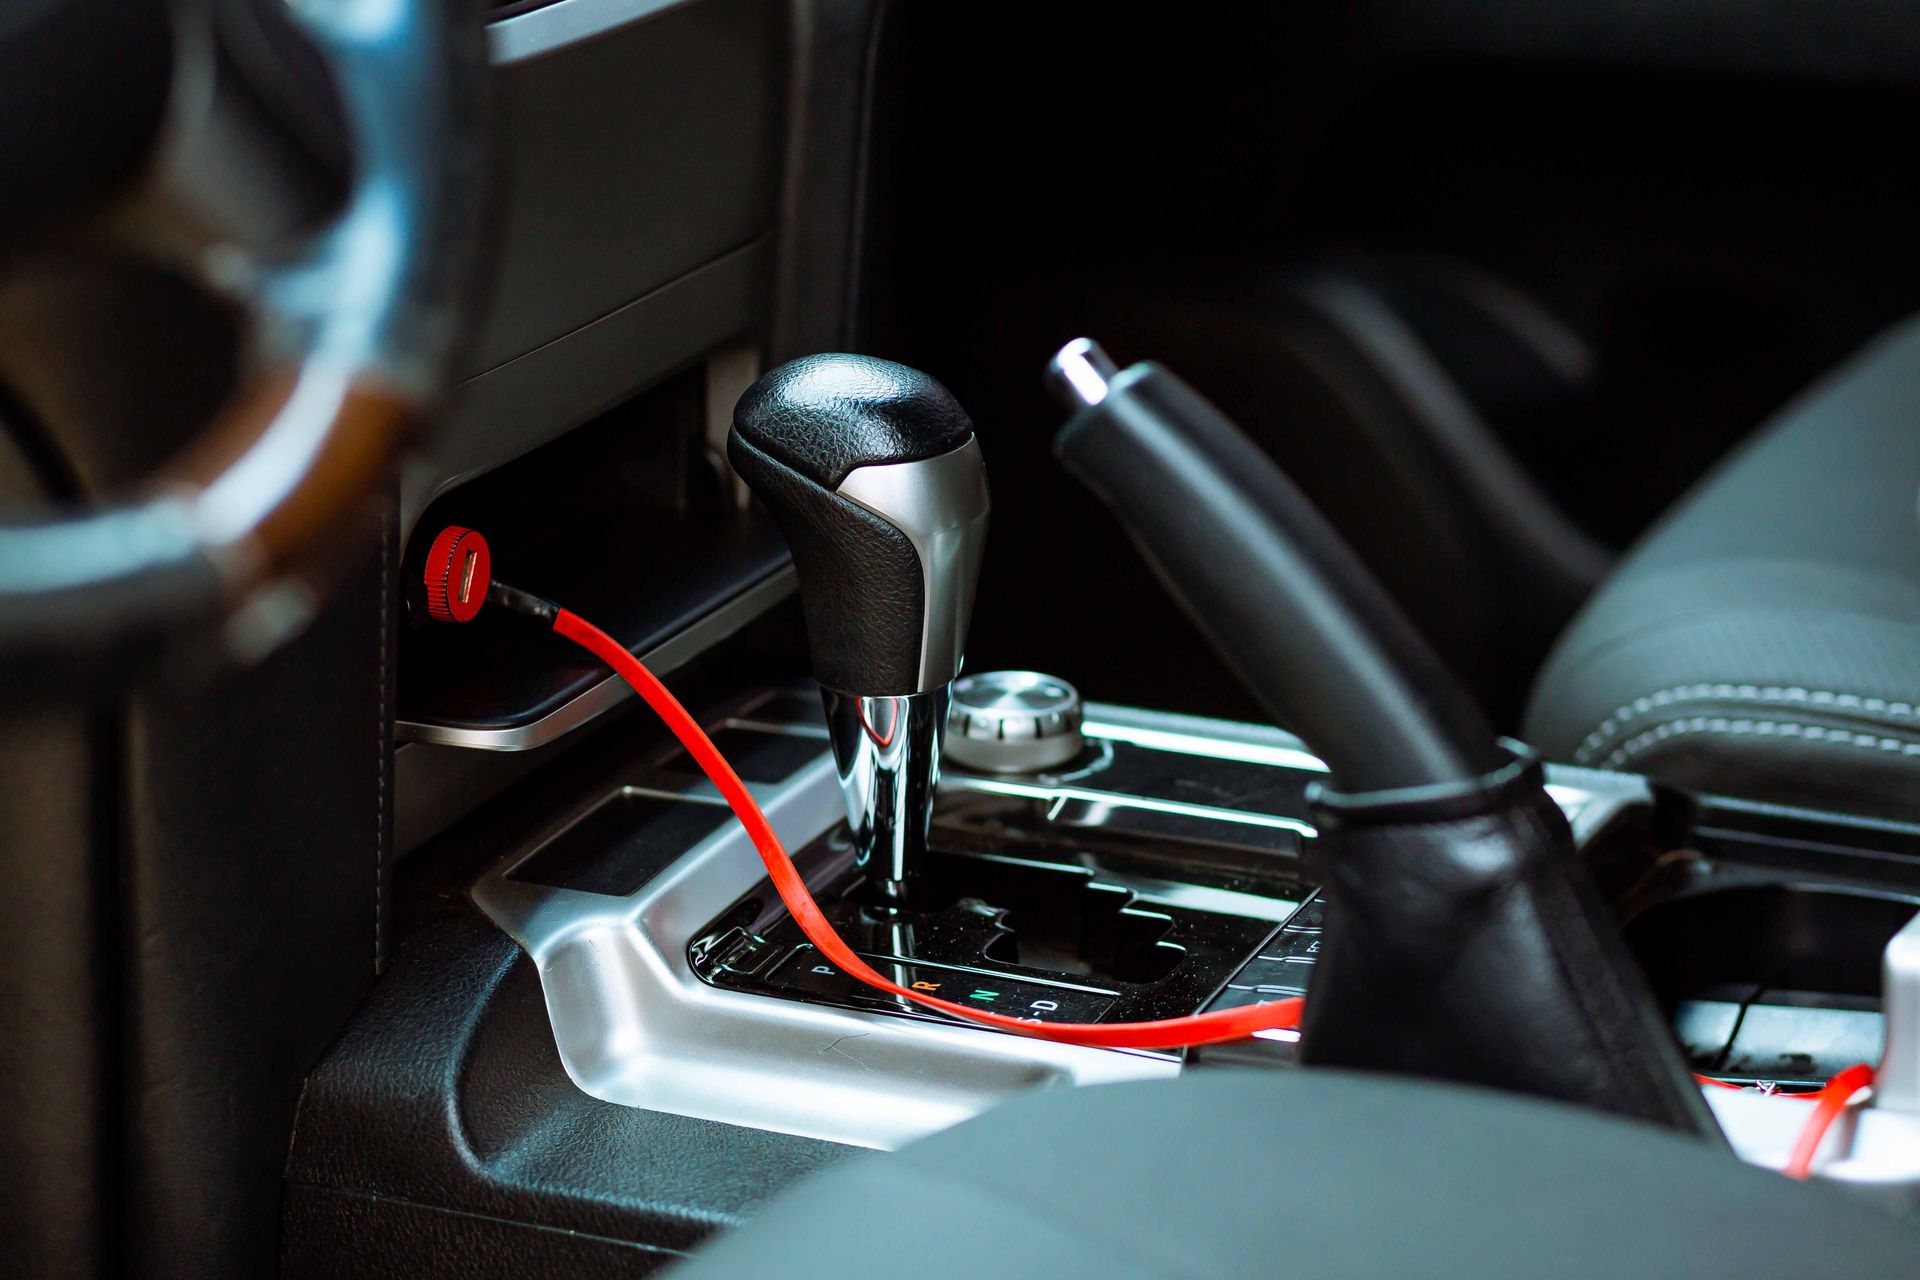
Hill starts — moving away from a stationary position on an uphill gradient without rolling backward — require the coordinated use of the clutch, the throttle, and either the handbrake or the vehicle's hill hold assist system, and they remain one of the more frequently executed imperfectly by drivers who learned the technique under instruction and have since allowed it to deteriorate.
The handbrake method: apply the handbrake, select first gear, bring the clutch to the friction point (the slight resistance when the clutch is released to the point at which the engine begins to transfer drive to the wheels), add sufficient throttle to hold the car still on the gradient, and release the handbrake as the clutch is released fully and the car moves forward. The sequence requires that the clutch reaches the friction point before the handbrake is released — releasing the handbrake before the clutch is engaged produces a rollback that the throttle cannot immediately compensate for.
The hill hold assist system fitted to most new automatics and many modern manuals holds the brakes automatically for approximately two to three seconds after the foot brake is released, providing time to move the right foot from brake to throttle without a rollback. Drivers unfamiliar with the system in their specific vehicle sometimes fight it by applying the handbrake simultaneously, producing a departure that is unnecessarily abrupt.
The downhill park position — front wheels turned toward the kerb (in the UK), so that if the handbrake fails the vehicle rolls against the kerb rather than into the road — is a basic parking safety precaution that most drivers are aware of in principle and few practice consistently.
How to use fuel economy driving techniques
Julia Avamotive / Pexels
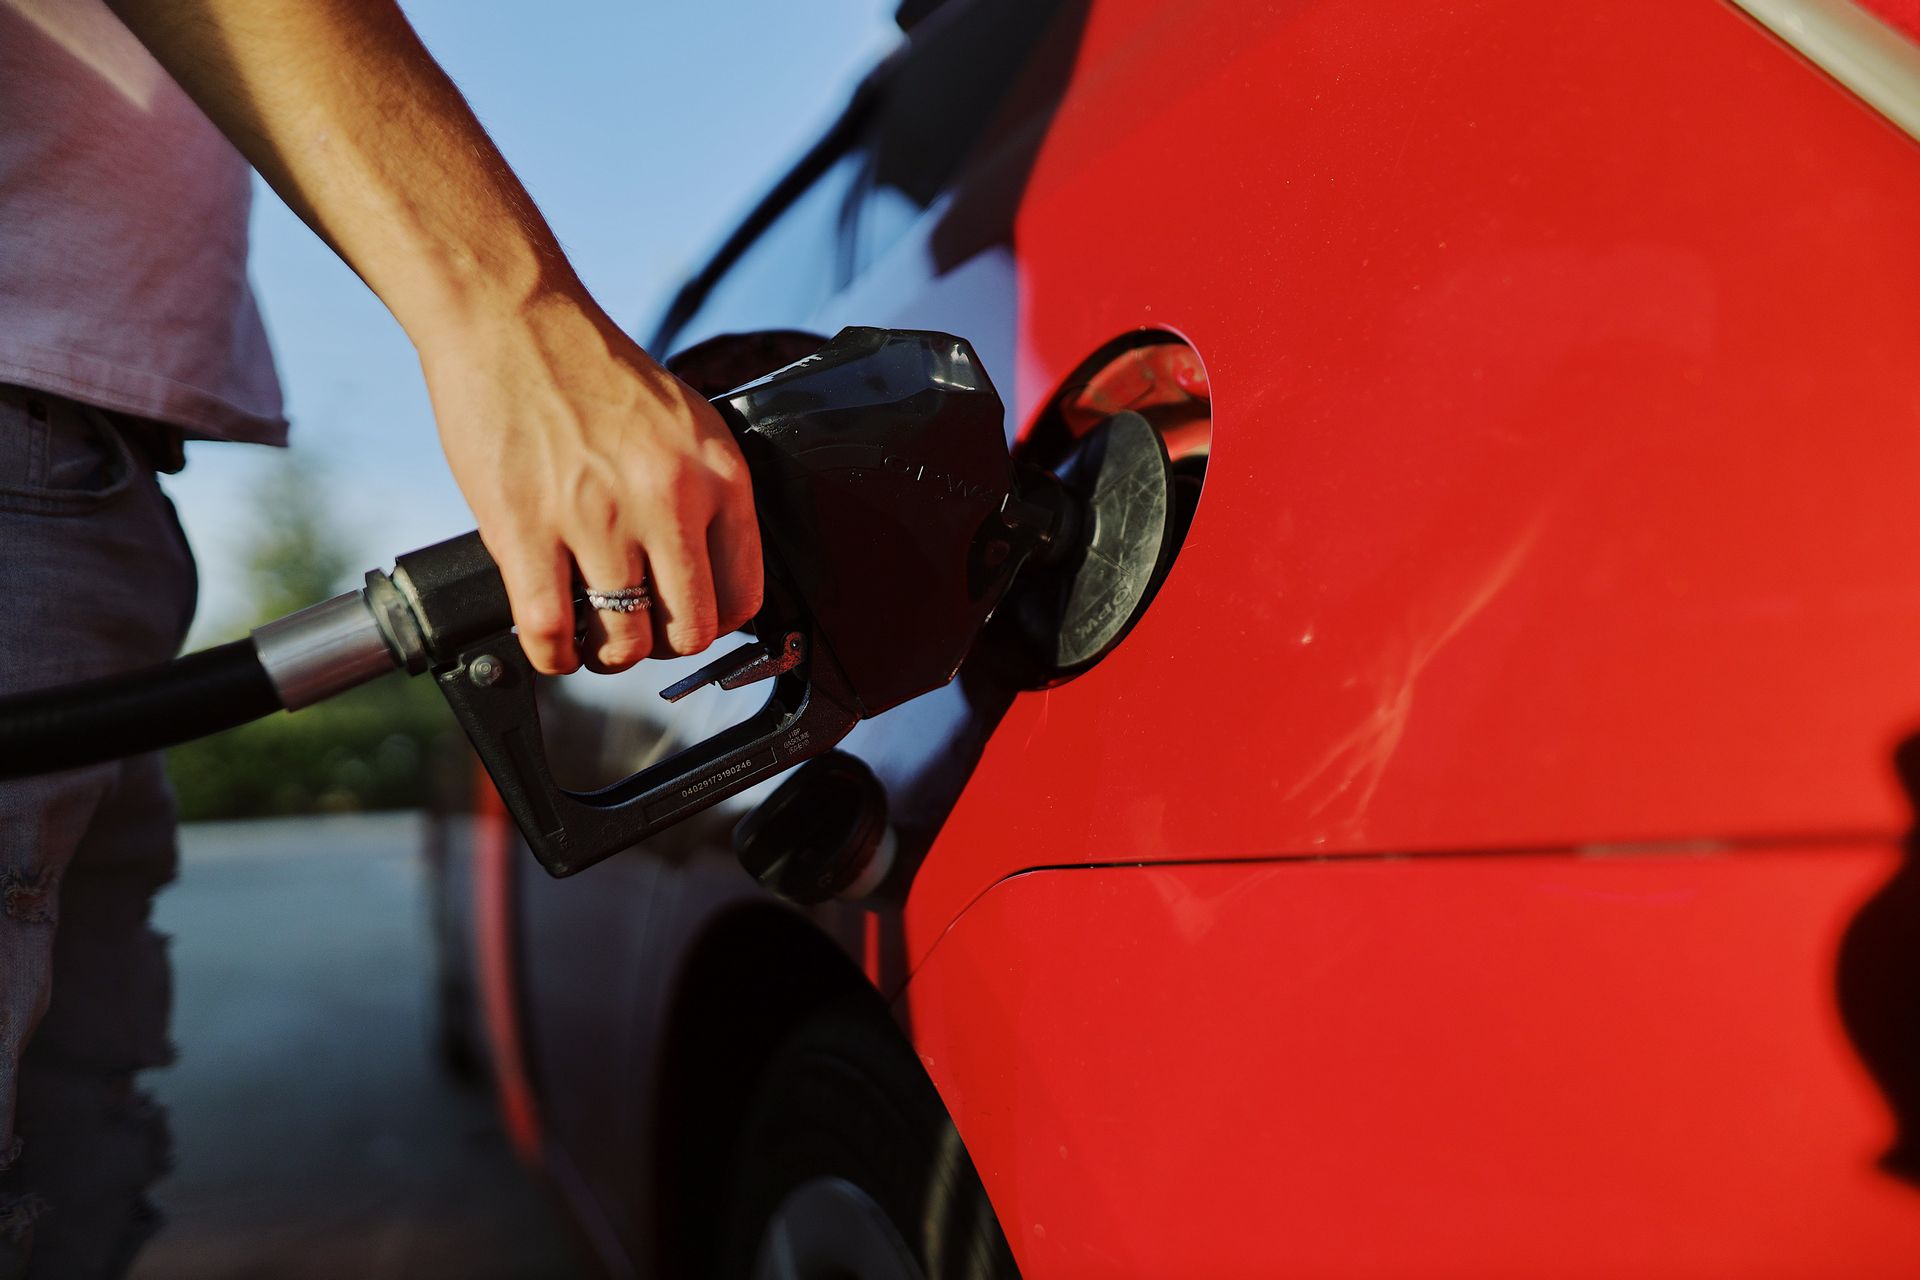
Fuel economy driving — hypermiling at its extreme, but at its moderate end simply the set of throttle and gear management techniques that reduce fuel consumption without significantly affecting journey times — can reduce fuel costs by 10 to 25% without requiring any change of vehicle, and the techniques are learnable in a single drive with deliberate attention to the feedback available from most modern fuel consumption displays.
The most impactful single change: anticipating traffic rather than reacting to it. A driver who coasts to a stop sign that was visible for 100 meters uses significantly less fuel than one who maintains speed until the last moment and then brakes hard. The kinetic energy of the moving vehicle, which the hard-braker converts to heat in the brakes, is conserved by the anticipatory coaster and used to cover the approach distance. Every stop that can be converted to a slow coast reduces both fuel consumption and brake wear.
The second most impactful change is gear selection. In manual vehicles, using the highest gear available for the speed being maintained — typically reaching fifth or sixth gear at 40 mph rather than remaining in third — reduces engine revs and therefore fuel consumption substantially. In automatics, avoiding kickdown (the sudden full-throttle downshift when the throttle is floored) through smooth, progressive acceleration keeps the transmission in higher gears.
The fuel consumption display fitted to most modern vehicles since the 2000s provides real-time feedback on the effect of throttle inputs on fuel use that is the most effective teaching tool for economy driving — watching the instantaneous consumption change in response to specific inputs makes the abstract principles concrete and learnable within a single tank of fuel.
Winter driving preparation
Chris Peeters / Pexels
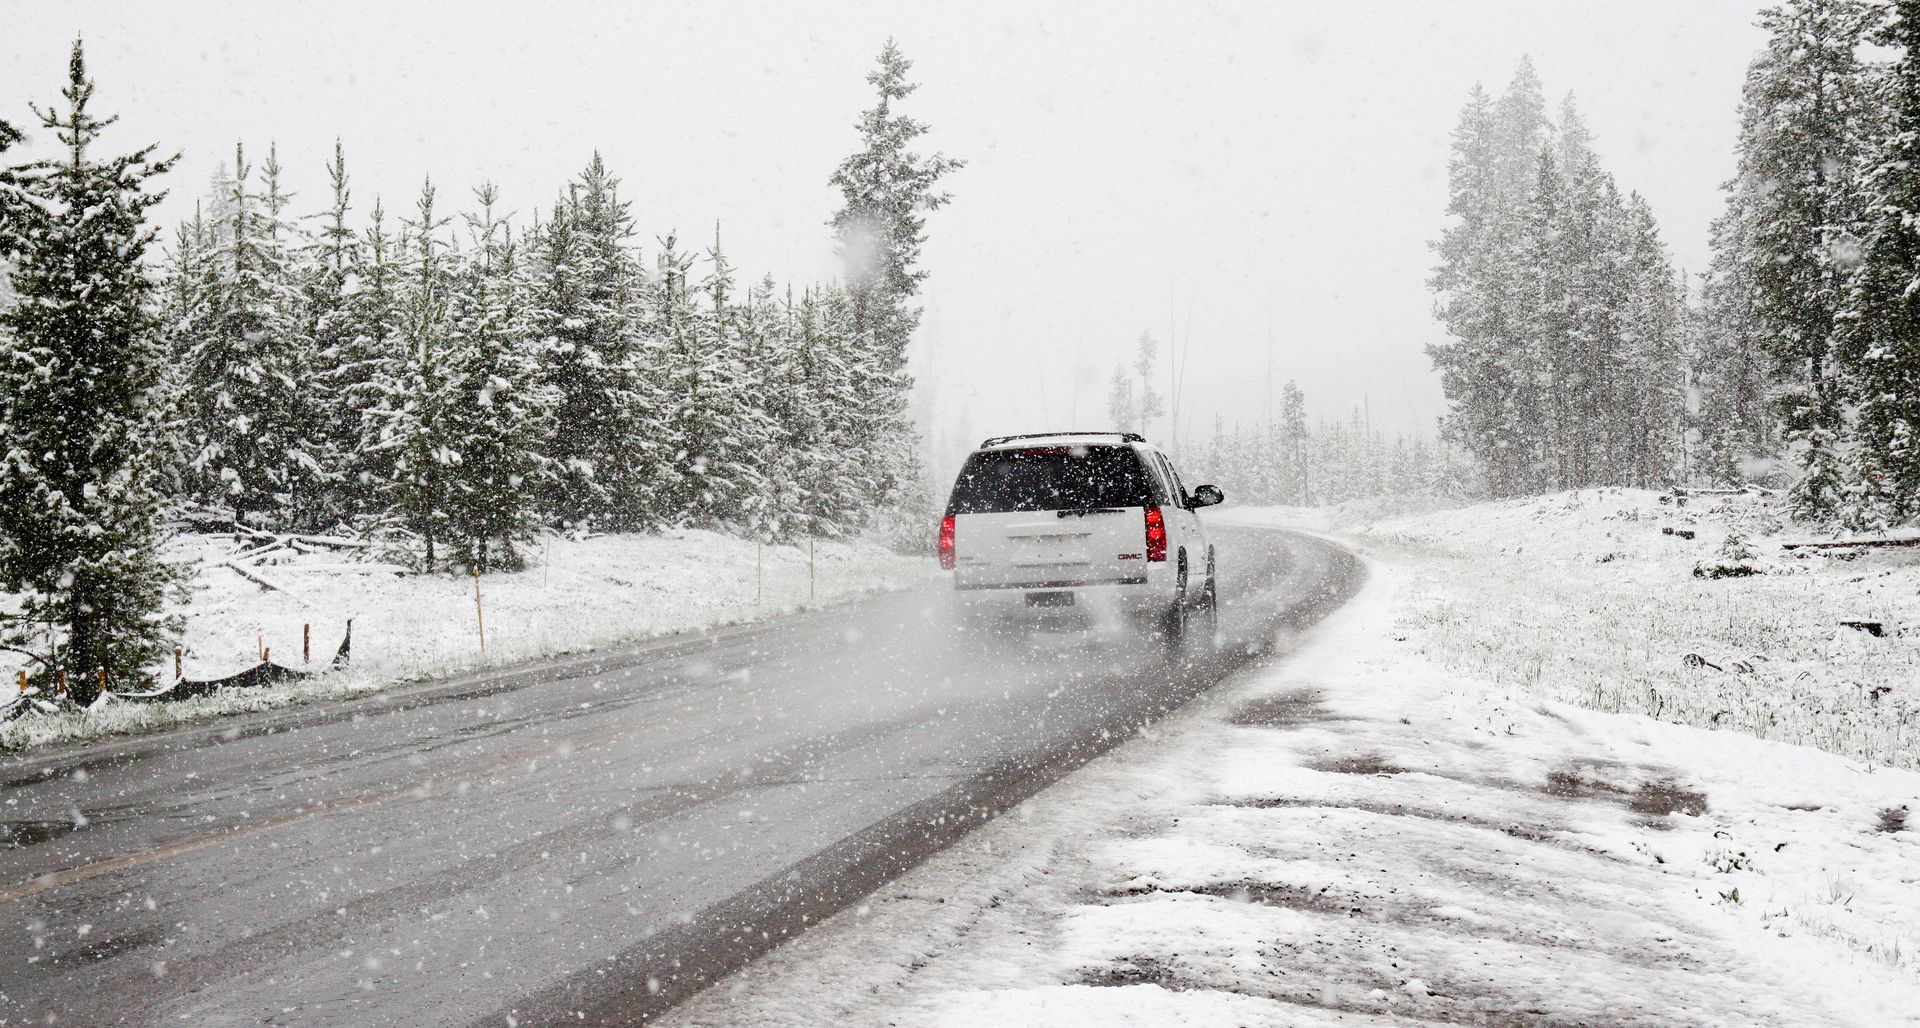
Winter driving readiness is the category most commonly neglected until the first significant cold weather of the season, at which point the preparation that should have been done in October is being done in January while standing in a cold car park, and the tyres that should have been replaced in September are being fitted in an emergency with whatever is available.
The specific preparation required for winter driving in regions with significant seasonal temperature drops: check tyre tread depth before the cold season (below 3mm is the threshold below which winter performance is significantly degraded even on summer tyres, and summer tyres below approximately 7°C provide meaningfully less grip than they do in warmer conditions); check battery condition (cold weather reduces battery capacity and increases the cranking power required to start a cold engine — a battery that is marginal in summer will often fail in winter); check coolant antifreeze concentration (the mixture should protect to at least -15°C in temperate climates and -30°C in regions with severe winters); and prepare an in-car emergency kit (ice scraper, blanket, phone charger, warm clothing, torch).
The specific driving technique adjustment for icy roads — using gentle, progressive inputs of throttle, steering, and braking rather than the sharper inputs appropriate on dry roads, and recognizing the specific feel of an icy surface (lighter steering, different tyre noise, a slight delay in vehicle response to steering input) before a skid provides the warning — is the knowledge most valuable in the moment and least reliably available to drivers whose winter driving experience is limited.
Driving with a trailer

Isaac Cedercrantz / Pexels
Towing a trailer or caravan extends the vehicle's handling envelope in ways that are significant enough to require specific knowledge — an appropriately loaded trailer, correctly hitched and with working lights, is a manageable addition to any vehicle with sufficient towing capacity. An incorrectly loaded trailer, or one towing beyond the vehicle's rating, can produce trailer sway — a progressive oscillation that amplifies with speed and can result in loss of control.
The weight distribution of the trailer load is the primary variable in trailer stability. Approximately 60% of the load should be placed forward of the trailer axle, producing a nose-down load on the tow ball (known as the nose weight or hitch weight) that keeps the trailer tracking behind the towing vehicle. A tail-heavy trailer — more weight behind the axle than in front — reduces nose weight on the tow ball and makes the combination vulnerable to sway. Maximum permitted nose weight is specified in the vehicle handbook and is typically between 50 and 100kg.
The speed limit for towing in most UK jurisdictions is 60 mph on motorways (compared to 70 mph for cars without trailers), and the limit is not arbitrary — stability decreases with speed, and a sway that begins at 65 mph is significantly harder to correct than one that begins at 55 mph. The correct response to the onset of trailer sway — ease off the throttle gently without braking, which transfers weight forward and increases tow ball load — is the specific knowledge that prevents the most common trailer accident sequence.
Understanding your vehicle's safety systems

Andrea Piacquadio / Pexels
Modern vehicles are equipped with multiple active safety systems — ABS (anti-lock braking), ESC (electronic stability control), traction control, lane departure warning, automatic emergency braking — whose operation most drivers have never experienced in a controlled setting and whose specific behavior under the circumstances that activate them is therefore unfamiliar and potentially alarming.
ABS — the system that modulates brake pressure during emergency stops to prevent wheel lockup — produces a specific pulsing sensation in the brake pedal and a sound like mechanical chattering that many drivers interpret as a system malfunction and respond to by reducing brake pressure. The correct response is exactly the opposite: maintain firm, continuous brake pressure and allow the system to modulate. The pulsing is the system working correctly. Reducing pressure defeats the purpose of ABS and extends stopping distance.
ESC — the system that compares the vehicle's intended direction (from steering input) with its actual direction (from yaw rate sensors) and applies individual wheel brakes to correct deviations — activates in situations that exceed the vehicle's handling limit and produces a warning light and sometimes a reduction in engine power. The correct driver response is to steer smoothly in the intended direction without making sudden inputs — the system is most effective when the driver provides clear directional input and allows the electronics to manage the wheel braking.
Automatic emergency braking (AEB) — which detects an imminent collision with a vehicle or pedestrian ahead and applies brakes automatically if the driver does not respond — can be disconcerting when it activates in situations where the driver believed they were responding adequately. Understanding the system's trigger conditions and limitations — it typically operates below a specific maximum speed and can be triggered by stationary vehicles that the driver has already seen and is responding to — prevents the confusion of unexpected system activation.