The baking projects that require a full weekend teach you things that a quick recipe never can — about dough, about patience, and about what happens when you give something the time it actually needs
Anna Shvets / Pexels
There is a category of baking that cannot be rushed. Not because the recipes are unnecessarily complicated or because the instructions are written by people who enjoy making things difficult, but because the underlying processes — gluten development, fermentation, lamination, the slow caramelization of sugar at specific temperatures — take the time they take. Croissant dough that has not been cold-rested between folds will not produce the visible layers that make a croissant a croissant. Sourdough that has not fermented long enough will be dense and sour rather than open and complex. Caramel that is hurried produces grainy, seized candy rather than the glassy, bitter-edged perfection that patience allows.
The weekend is the natural unit for this kind of baking — the 48-hour window in which the Friday evening start can be followed by Saturday refrigeration can be followed by Sunday morning baking and Sunday afternoon eating, with the specific pleasure of having produced something excellent by a process that taught you something while you were doing it. The learning is the second reward. Every serious baker traces their development to a project that challenged them enough to reveal what they did not know — about how dough feels when it is properly developed versus under-kneaded, about what happens to egg foam when the temperature is wrong, about the difference between a properly laminated dough and a dough that was close but not quite.
The 15 projects in this list are among the most instructive and most rewarding in home baking. Each one requires more than an hour of active time and most require an overnight component — a preferment, a cold rest, a slow ferment — that is not optional but is the mechanism through which the project works. Each slide covers the project, what makes it technically demanding, what specifically it teaches, and the specific techniques and equipment that make the difference between success and a frustrating near-miss.
All 15 are recognizable, widely photographed, and highly searchable — projects with established traditions and extensive resources available for follow-up research.
Felicity Tai / Pexels
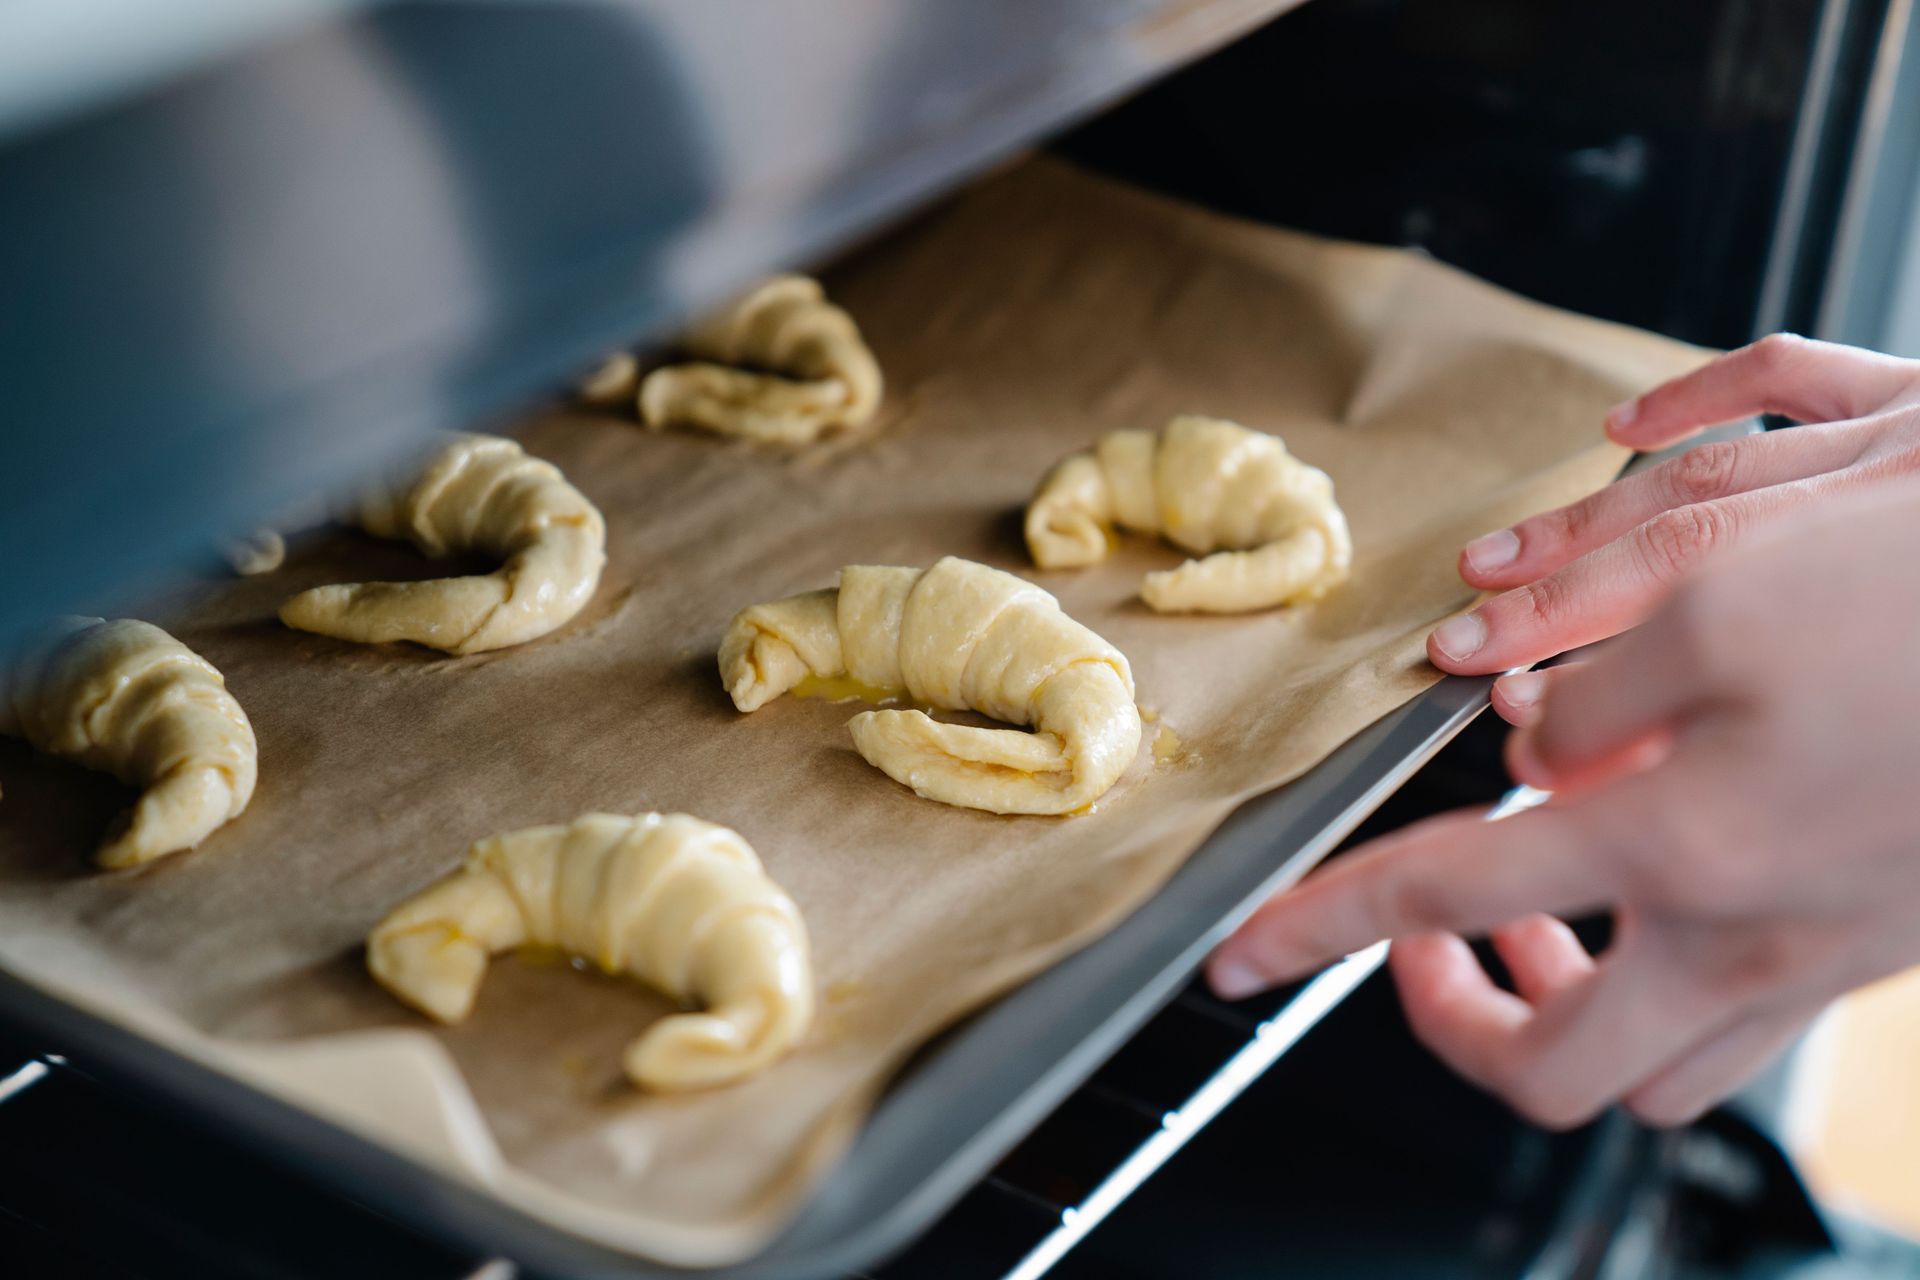
Croissants — the laminated, crescent-shaped pastries whose shatteringly crisp, buttery layers are the defining achievement of the Viennoiserie tradition — are the baking project most likely to produce genuine awe in the person who completes them, and the one that most directly teaches what laminated dough is and why it behaves the way it does. The layers visible in a cross-section of a well-made croissant — dozens of alternating layers of dough and butter, each thinner than a sheet of paper — are the visible evidence of a technique executed with precision and patience.
The process takes a minimum of two days: a dough made from flour, milk, butter, sugar, salt, and yeast is developed and rested overnight; a block of cold butter (the beurrage) is encased in the dough and the package is rolled and folded in a sequence of "turns" — typically three double turns — with refrigeration between each turn to keep the butter cold and distinct from the dough. The cold temperature is the mechanism: warm butter smears into the dough, destroying the layers; cold butter stays in sheets, creating them.
What it teaches: the relationship between temperature and fat behavior; how gluten development changes the dough's elasticity over time; the specific feel of dough that is properly relaxed versus too tight to roll without tearing. Equipment needed: a rolling pin with some length (a heavy French pin is ideal), plastic wrap for resting, and a refrigerator with reliable cold temperature. The specific technique most critical: the butter must be cold but pliable — not rock-hard and not soft — when enclosed in the dough. Pound the butter into a square using a rolling pin to achieve this.
Merve / Pexels
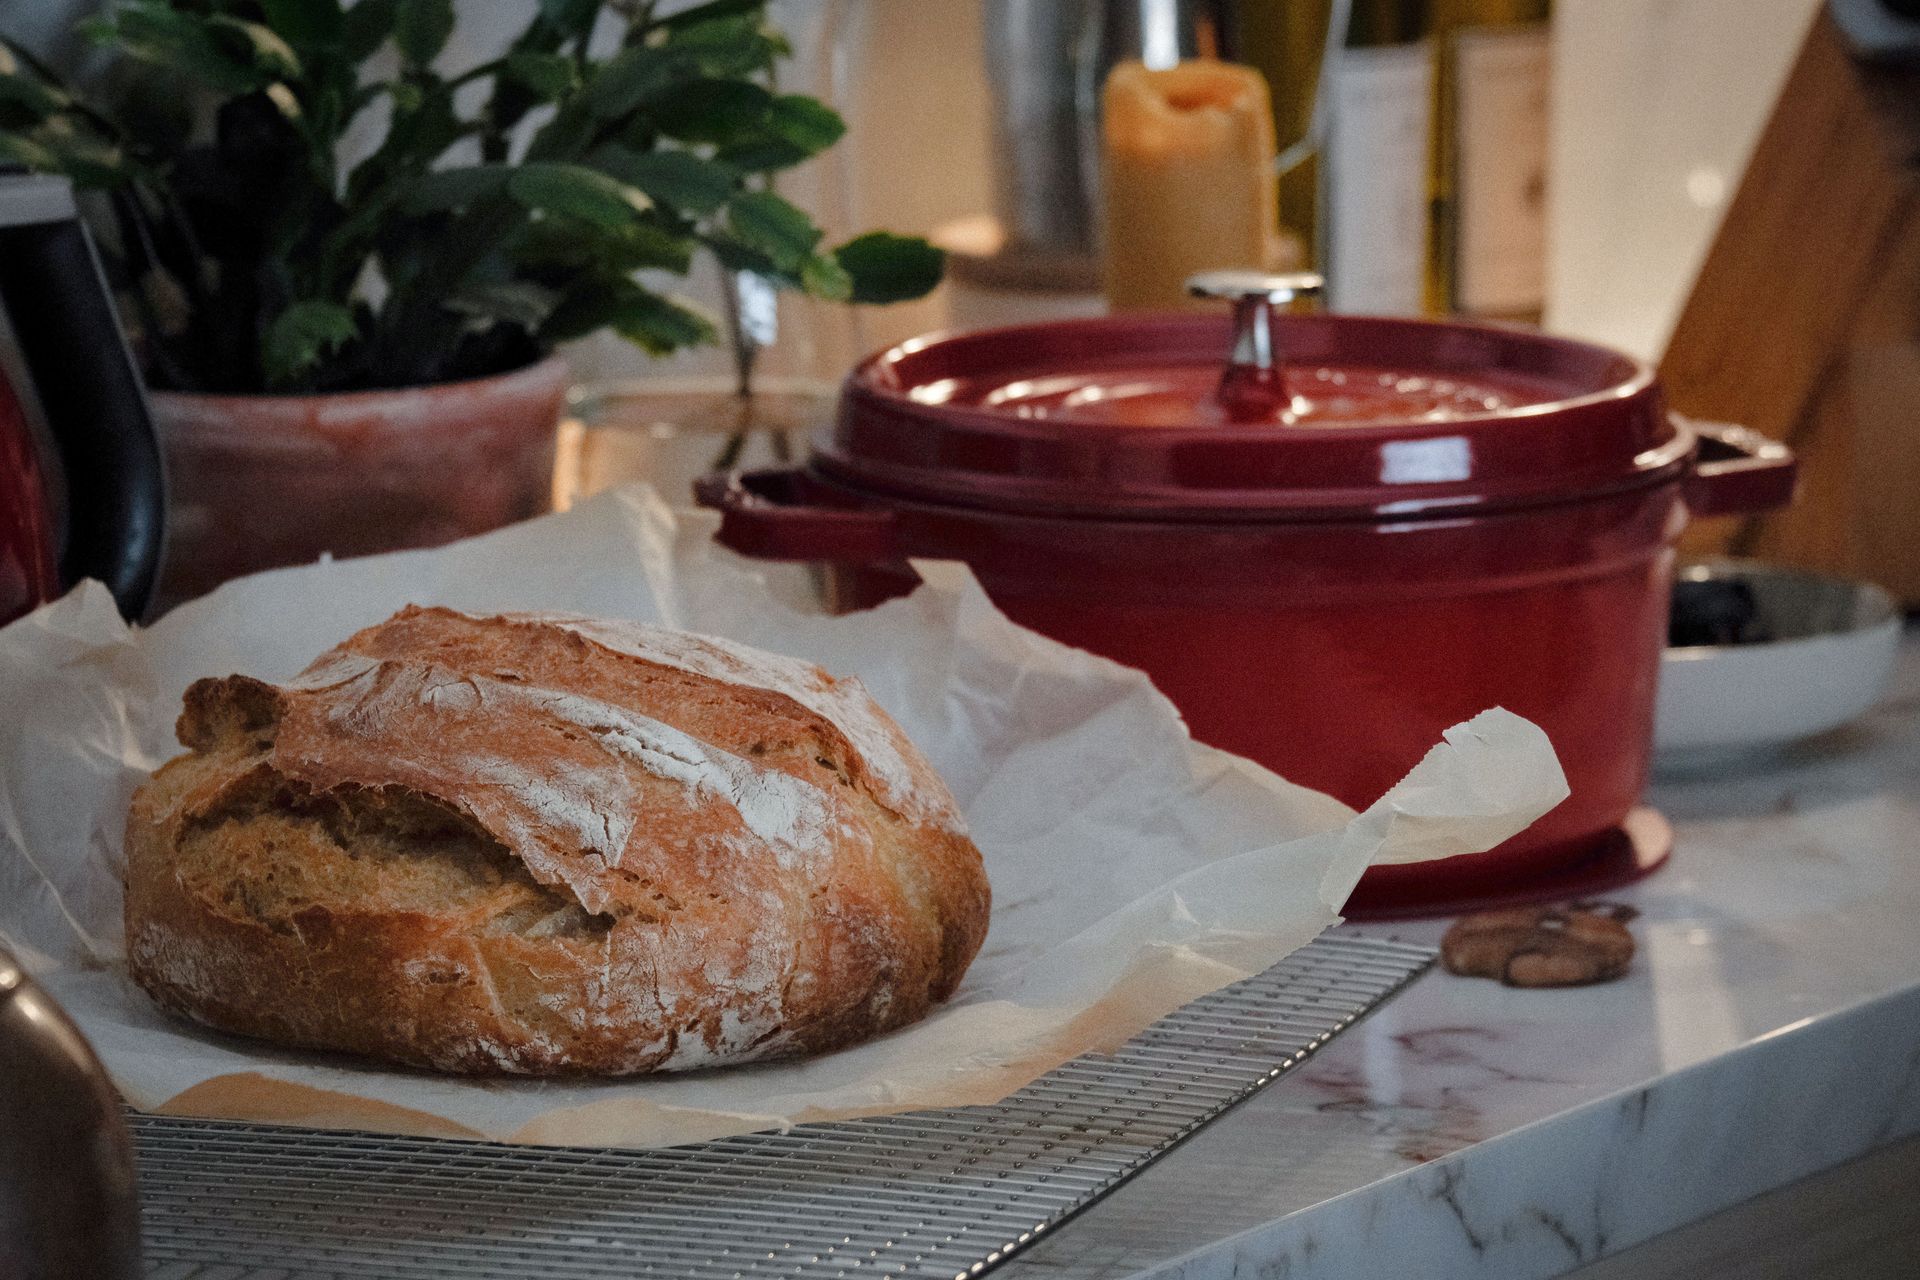
Sourdough bread — leavened by a living culture of wild yeast and bacteria maintained in a flour-and-water starter, rather than by commercial yeast — is the baking project that most directly teaches the relationship between time, temperature, and fermentation that underlies all bread baking. A well-made sourdough has an open, irregular crumb structure, a deeply caramelized crust with audible crackling as it cools, and a complex flavor — the mild lactic acid of the bacteria balanced against the yeast's contribution — that no quickly made bread can replicate.
The weekend format for sourdough: feed the starter on Friday evening; mix the dough on Saturday morning; bulk ferment at room temperature for four to six hours with periodic folds; shape Saturday afternoon; cold retard (proof in the refrigerator) Saturday night; bake in a Dutch oven (which traps steam and produces the crust) Sunday morning. The cold retard — the overnight refrigeration of the shaped loaf — is one of the most useful techniques in bread baking, slowing fermentation to allow the baker to control the timing and developing flavor compounds that faster proofing does not produce.
What it teaches: how to feel dough at different stages of fermentation; how the windowpane test (stretching a small piece of dough until it is thin enough to be translucent) reveals gluten development; what an over-proofed versus under-proofed dough looks like and how to tell the difference. Equipment needed: a Dutch oven (essential for the steam environment that produces the crust), a bench scraper, a proofing basket (banneton), and a kitchen scale for measuring by weight rather than volume.
Oks Malkova / Pexels
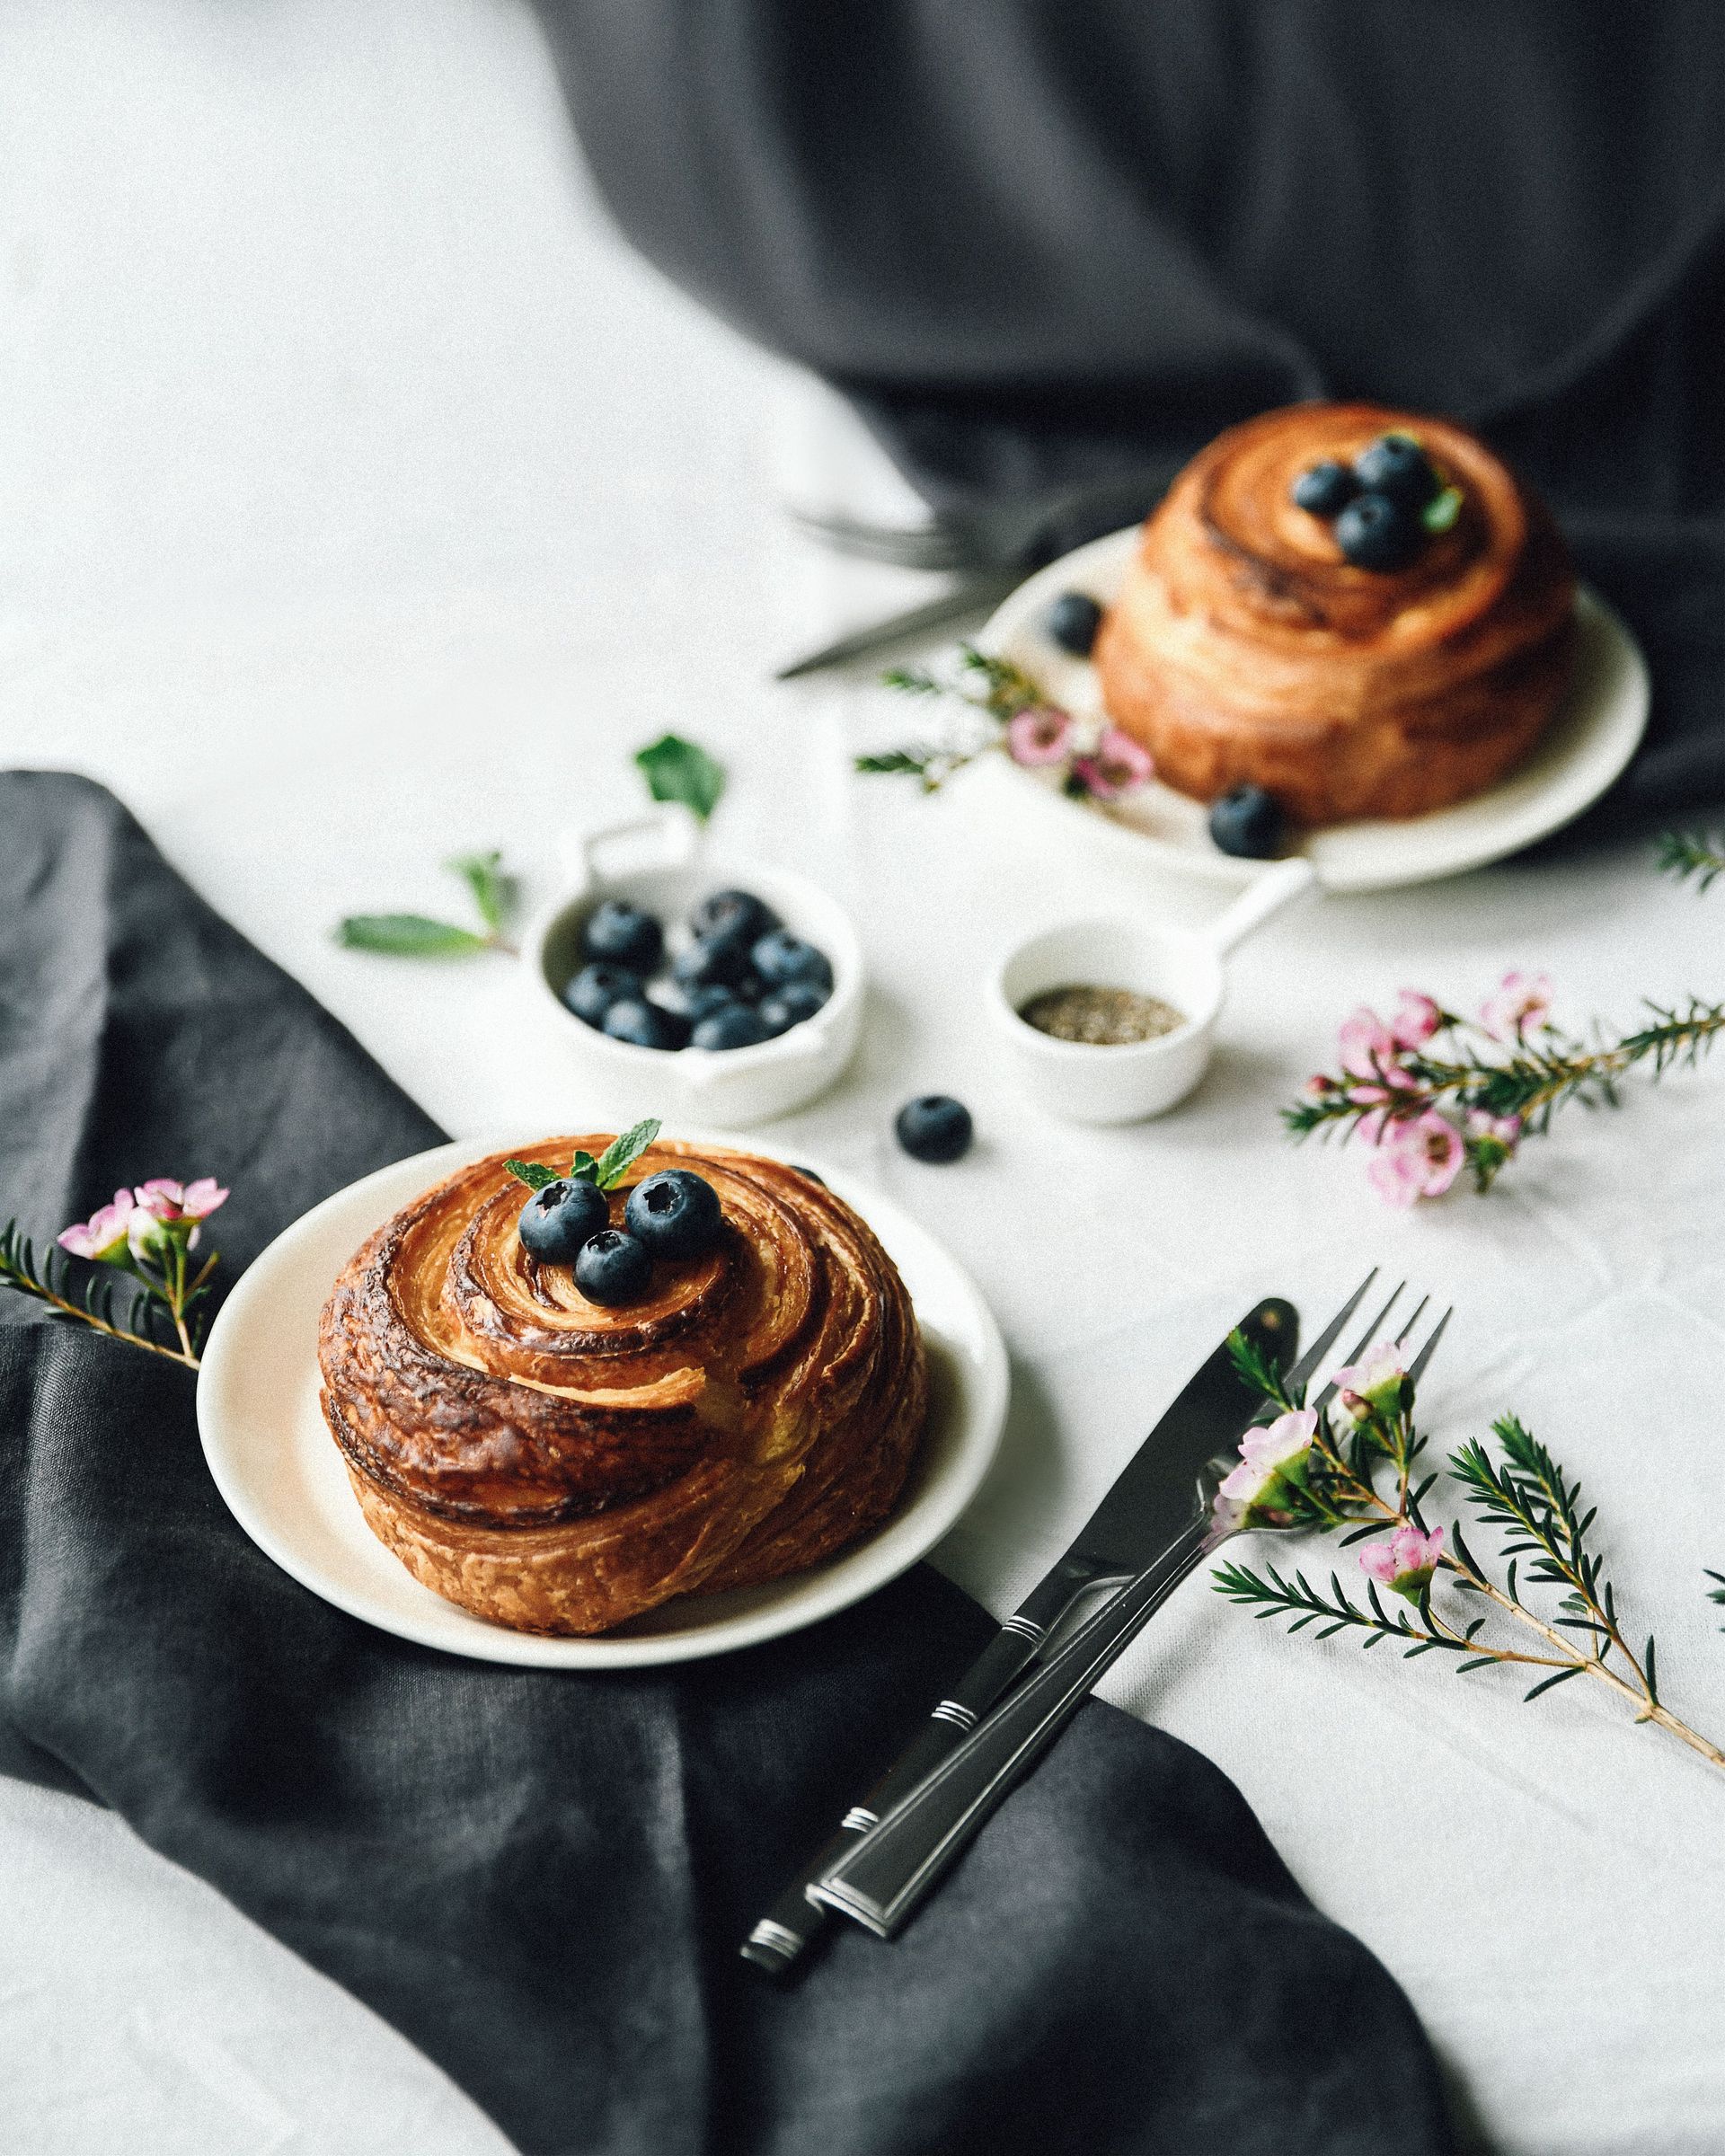
Kouign-amann — the Breton pastry whose name translates as "butter cake" — is the baking project that most directly demonstrates what happens when laminated dough, sugar, and very high heat intersect: the butter in the layers melts and the sugar caramelizes against the bottom of the pan, producing a bottom crust that is simultaneously crisp, bitter-sweet, and slightly chewy in a way that no other baked good achieves. The top, dusted with sugar before baking, caramelizes into a glassy amber crust.
The kouign-amann is structurally related to croissants — it uses the same laminated technique — but is specifically simpler because it does not require shaping into individual pieces and tolerates more imprecision in the lamination. A slightly smeared butter layer, which would ruin a croissant, simply adds to the dense richness of a kouign-amann. It is the laminated dough project that forgives the most while still teaching the most.
What it teaches: how caramelization behaves in a baking context; what happens to laminated dough when it is baked at very high heat; the specific difference between the laminated dough technique and standard yeast dough. Equipment needed: a 9-inch round cake pan (the traditional shape), parchment paper, and a very hot oven (220°C or higher). The critical technique: the sugar folded into the layers during the final turn must be cold and the dough must go immediately from the refrigerator to the pan to the oven — warmth at this stage produces a collapsed rather than layered result.
Yasin Onuş / Pexels
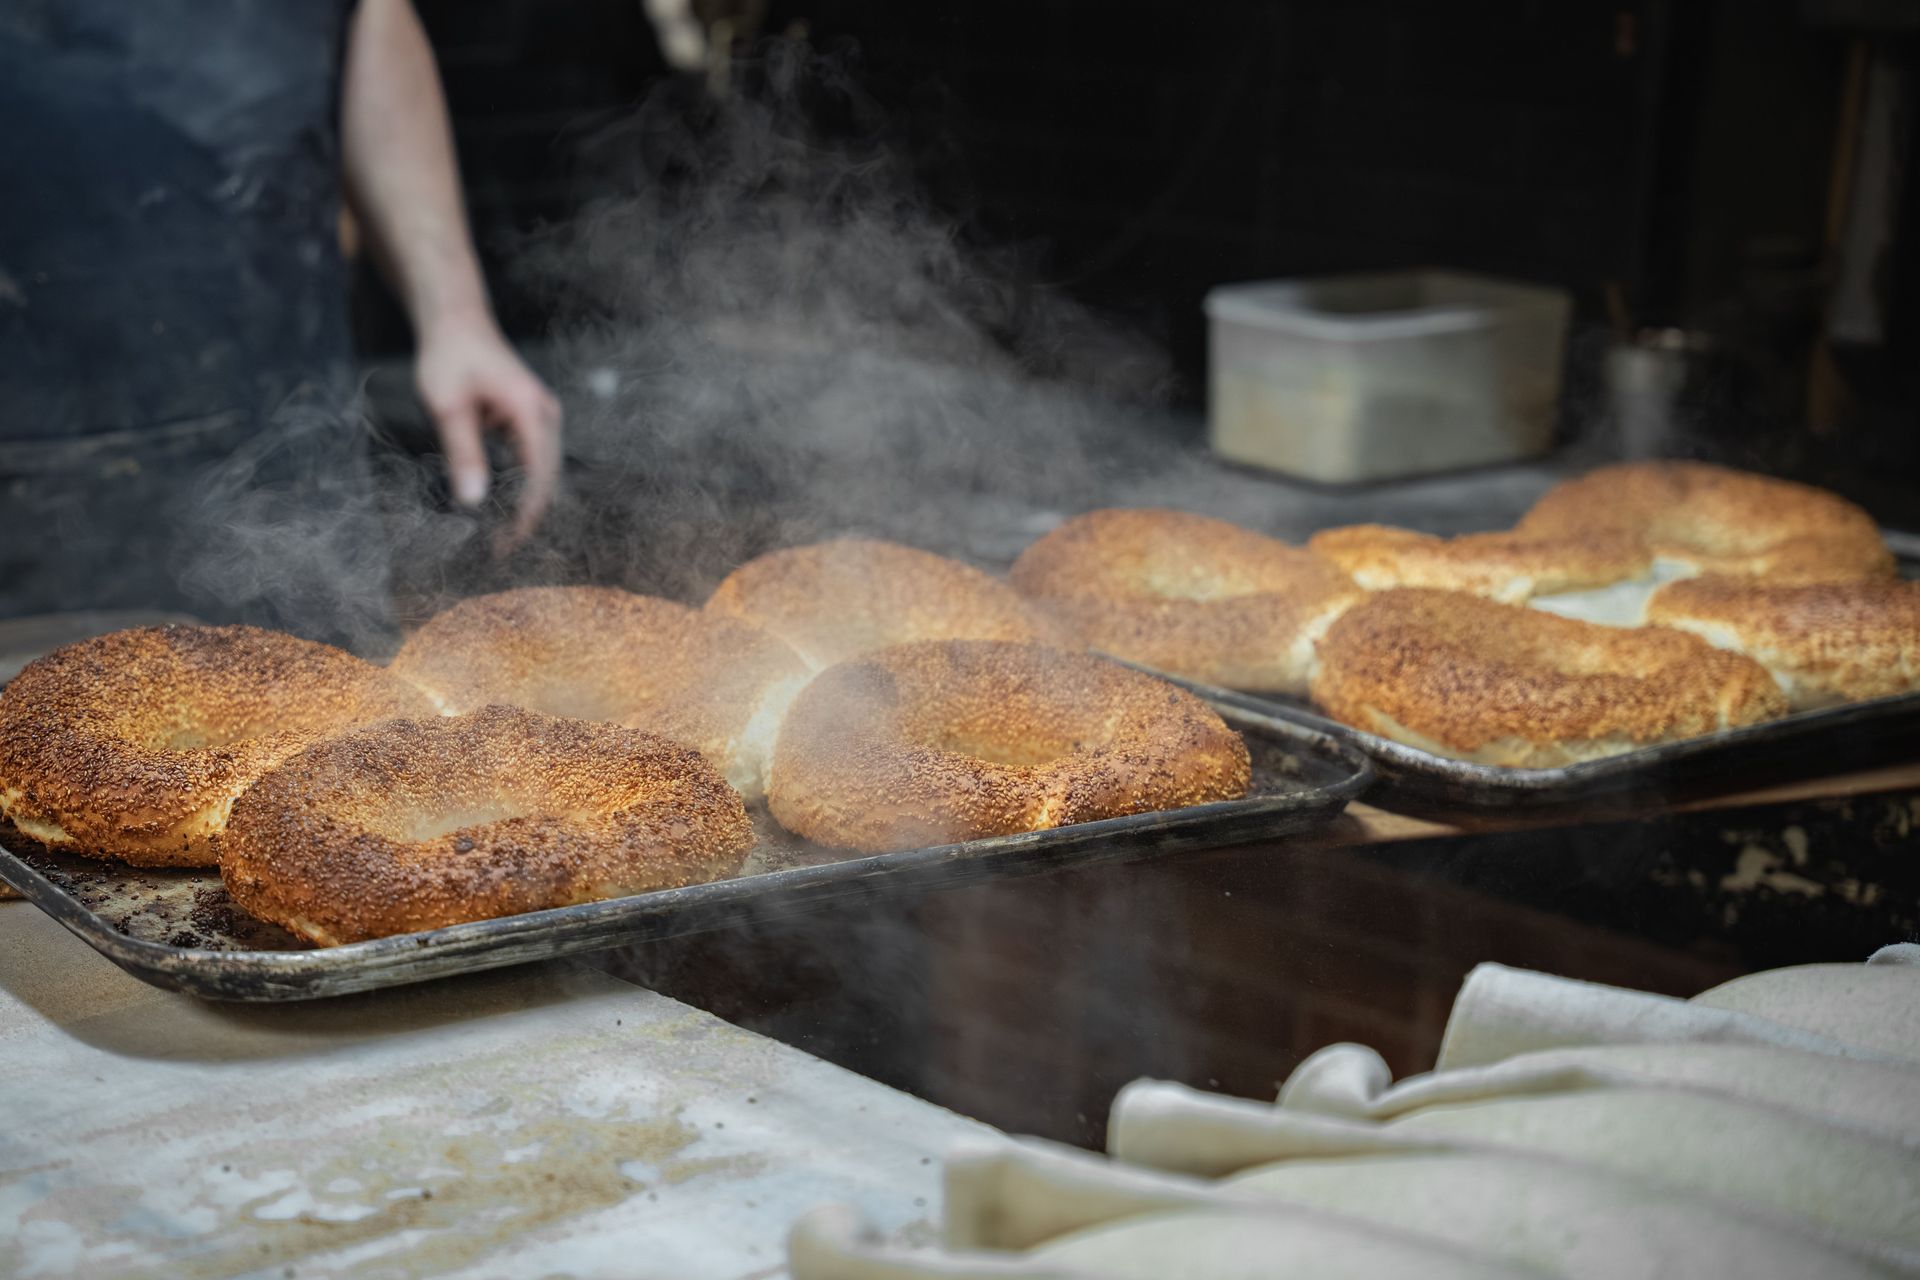
New York-style bagels — dense, chewy, with a distinctive shiny, thin crust achieved by boiling in an alkaline water solution before baking — are the bread project that most directly teaches what high-gluten flour, minimal water, and the Maillard reaction produce together. The bagel dough is one of the stiffest in bread baking (approximately 55% hydration, compared to 75 to 80% for an open-crumb sourdough), and the kneading required to develop the gluten in a stiff dough builds intuition about dough structure that looser doughs cannot provide.
The boiling step — in water with baking soda or lye — is the specific technique that produces the bagel's characteristic qualities: the boiling gelatinizes the surface starch, setting the crust before the bagel enters the oven and producing the shiny, thin exterior that is absent from baked-only bagels. Baking soda produces a mild, wheaty crust; food-grade lye (sodium hydroxide) produces a thicker, more traditional crust with a characteristic alkaline flavor.
What it teaches: how stiff doughs develop gluten differently from hydrated ones; the effect of alkaline boiling on crust chemistry; how the shaping of a bagel (rolling into a rope and joining ends versus thumbing through a ball of dough) affects the final structure. Equipment needed: a large pot for boiling, a slotted spoon or spider strainer, and baking sheets lined with parchment. The make-ahead technique: shaped bagels can be cold-retarded overnight after boiling, pulled from the refrigerator, and baked directly the following morning.
Nadin Sh / Pexels
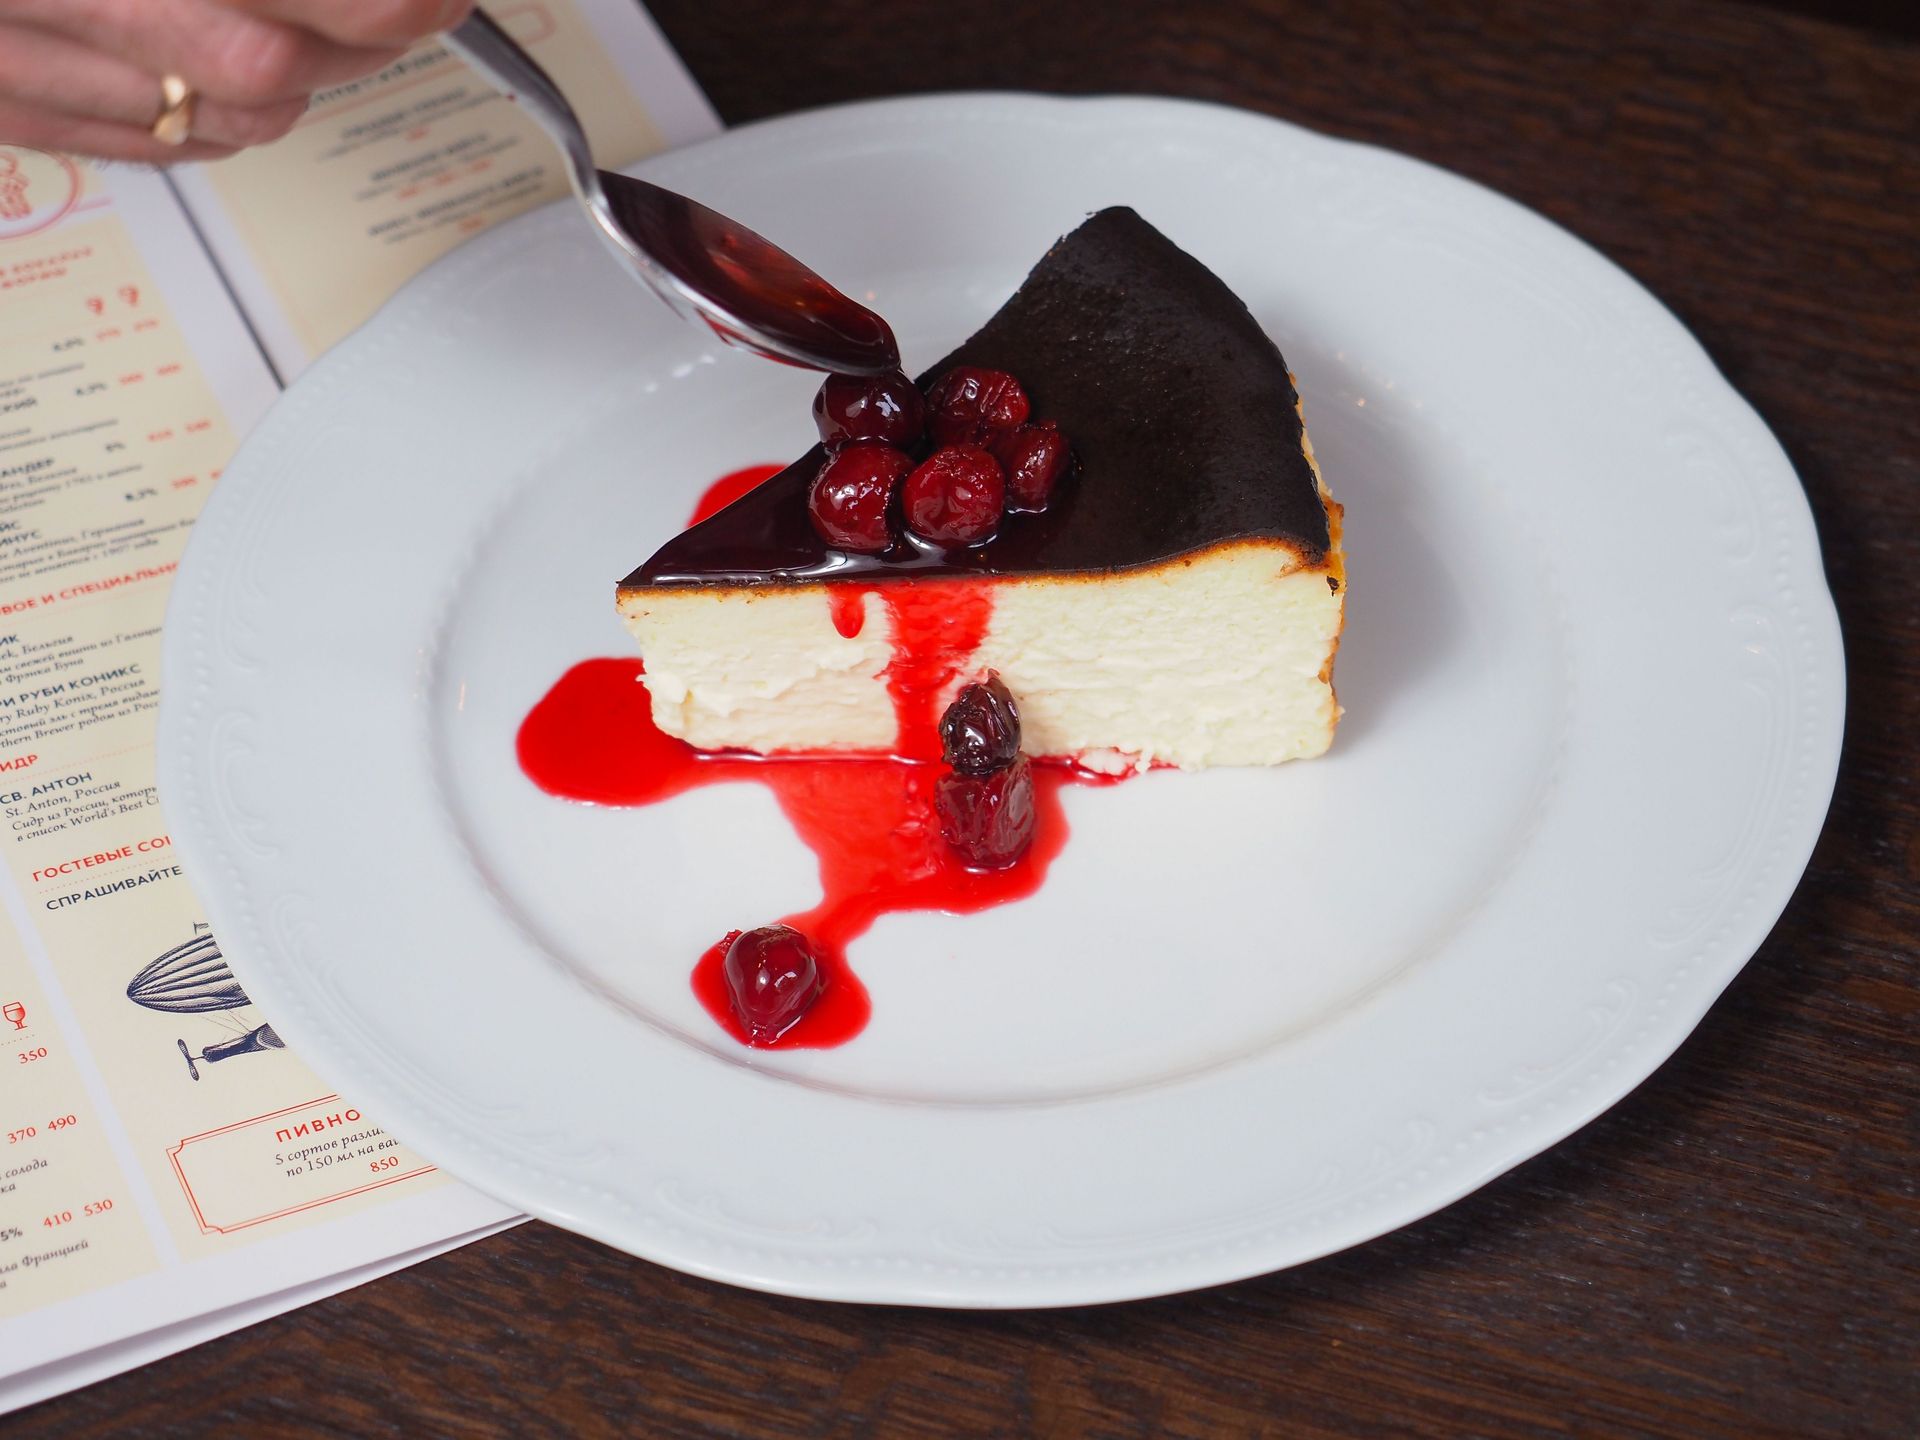
New York cheesecake — the dense, barely sweetened cream cheese filling in a graham cracker crust, baked in a water bath to produce a surface that is smooth, uncracked, and barely colored — is one of the most technically exacting baked desserts in the American repertoire. The water bath (bain-marie) is the technique that makes the difference: surrounding the cheesecake pan with hot water moderates the oven temperature around the cake, preventing the violent expansion and contraction that produces cracks.
The baking temperature and time are the primary variables: the cheesecake must reach an internal temperature of approximately 65 to 70°C at the center (detectable with an instant-read thermometer) while remaining completely liquid-looking in the very center when checked. This point — the specifically set-but-still-moving center — is the target, and pulling the cheesecake at this point and allowing it to continue setting as it cools produces the specific dense, creamy, custardy texture that distinguishes a great New York cheesecake from an over-baked rubbery one.
What it teaches: how egg proteins set at different temperatures; the function of the water bath in temperature moderation; how residual heat continues cooking a baked good after it leaves the oven. Equipment needed: a springform pan, heavy-duty aluminum foil (to seal the pan against water bath seepage), and a roasting pan large enough to hold the springform. The overnight rest: the cheesecake must cool to room temperature, then refrigerate for a minimum of eight hours before unmolding — the texture on day two is significantly better than on day one.
Sylwester Ficek / Pexels
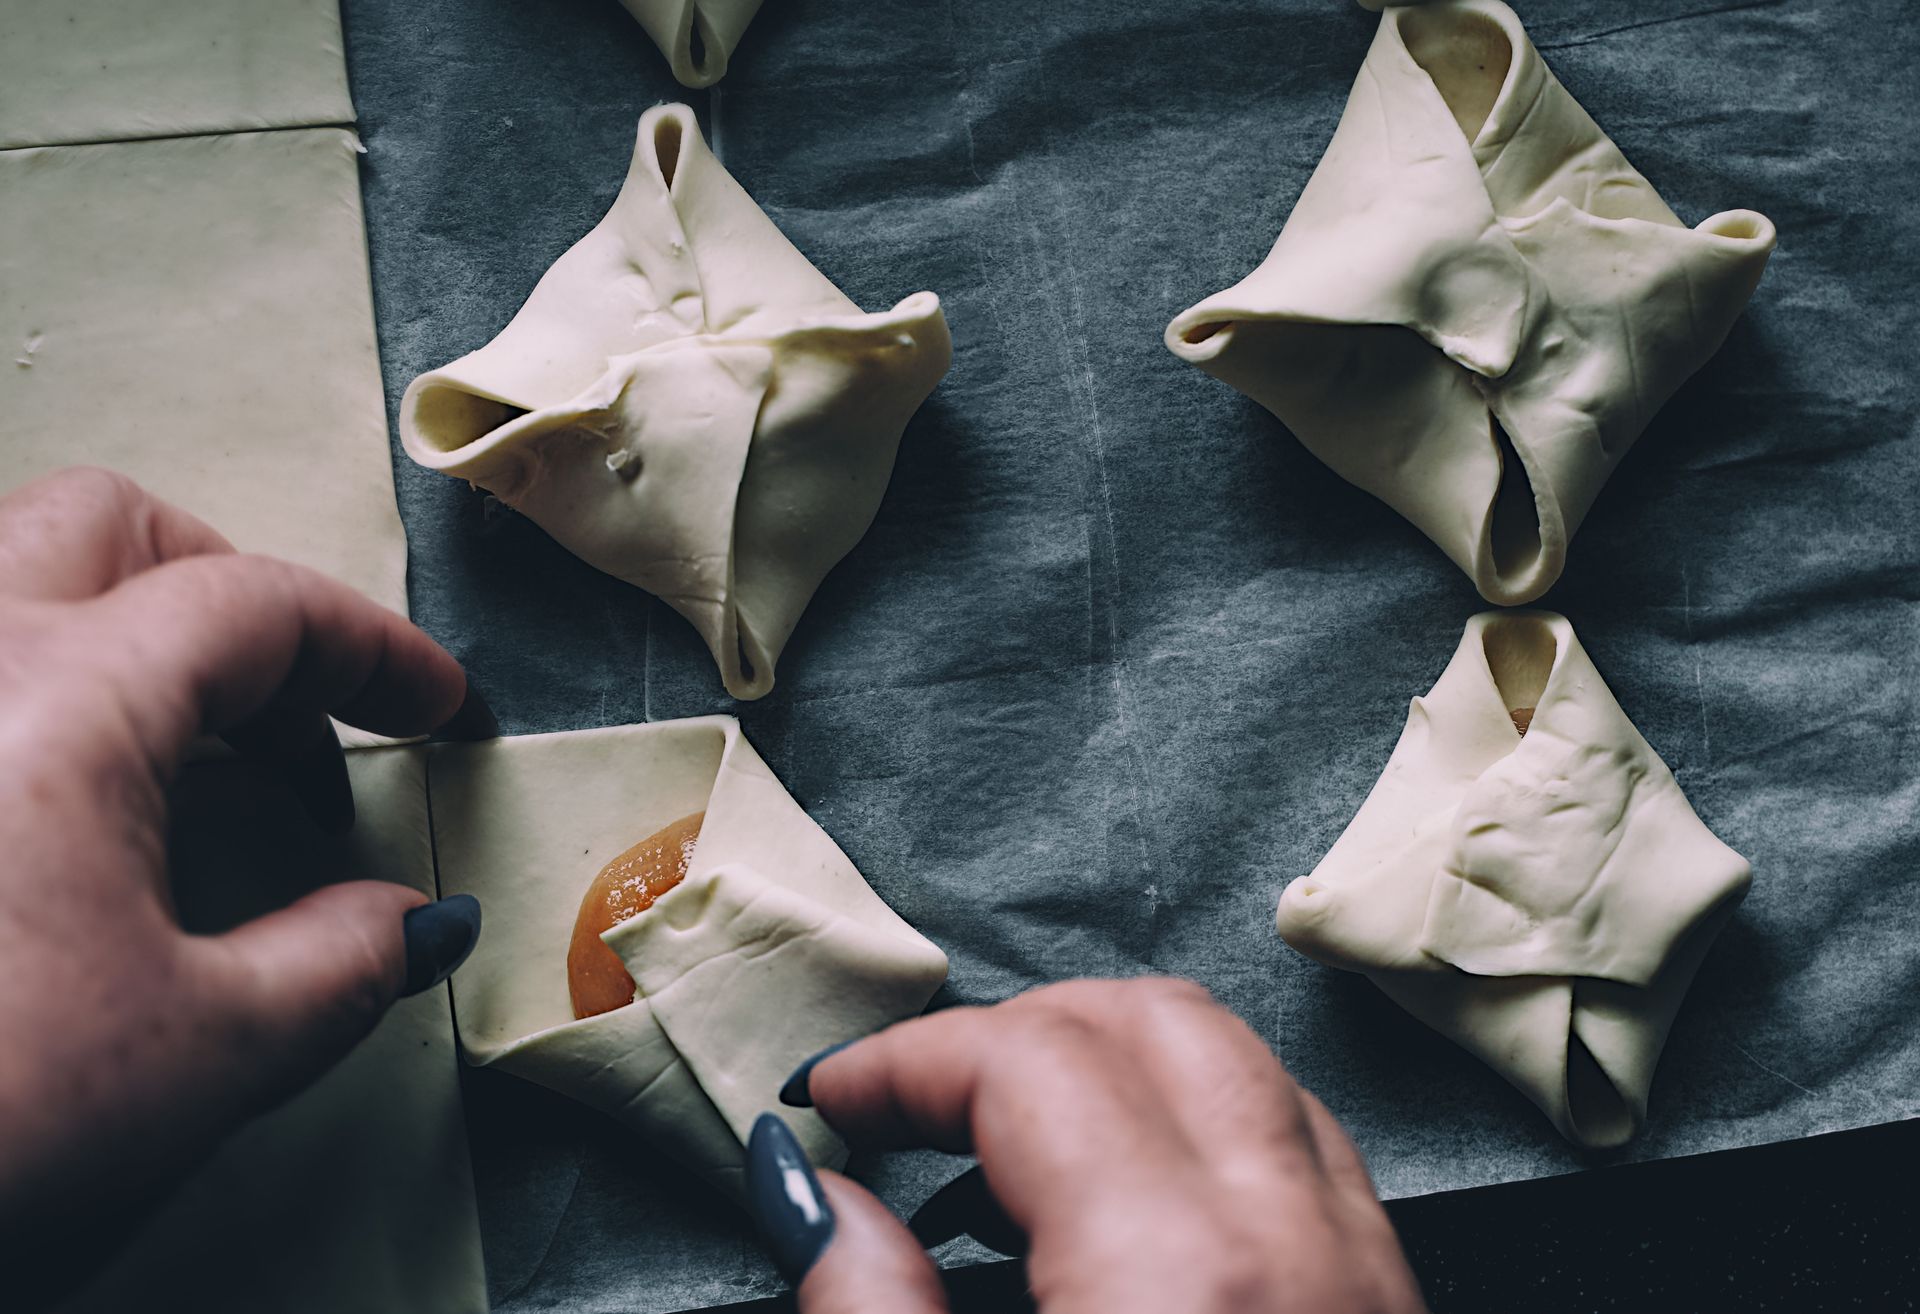
Homemade puff pastry — the laminated pastry that produces the thousands of flaky layers in a mille-feuille, a Beef Wellington crust, or a palmier — is the project that most dramatically demonstrates the difference between homemade and commercial baking. Shop-bought puff pastry is perfectly adequate for most applications; homemade puff pastry is something else entirely — more buttery, more deeply flavored, and more layered in a way that is immediately perceptible.
The technique is the same as croissant dough in its principles (cold butter, repeated rolling and folding with refrigeration between turns) but uses a different dough (détrempe) and a higher proportion of butter to dough — traditional puff pastry contains equal weights of butter and flour, a ratio that produces an extraordinarily rich result that commercial pastry never achieves. The six turns required for full puff pastry produce 729 layers of alternating butter and dough — the mathematical product of the folding sequence.
What it teaches: the mathematics of lamination (understanding why each turn multiplies the layers) and the specific temperature management that keeps those layers separate; how to detect when butter has become too warm to work with and how to recover the dough. Equipment needed: a large rolling surface, a heavy rolling pin, and a refrigerator willing to accept a large flat parcel of dough repeatedly. The "rough puff" shortcut: a quicker version using grated frozen butter folded into the dough produces 80% of the result in half the time and is a legitimate starting point before attempting the full version.
Noemí Jiménez / Pexels
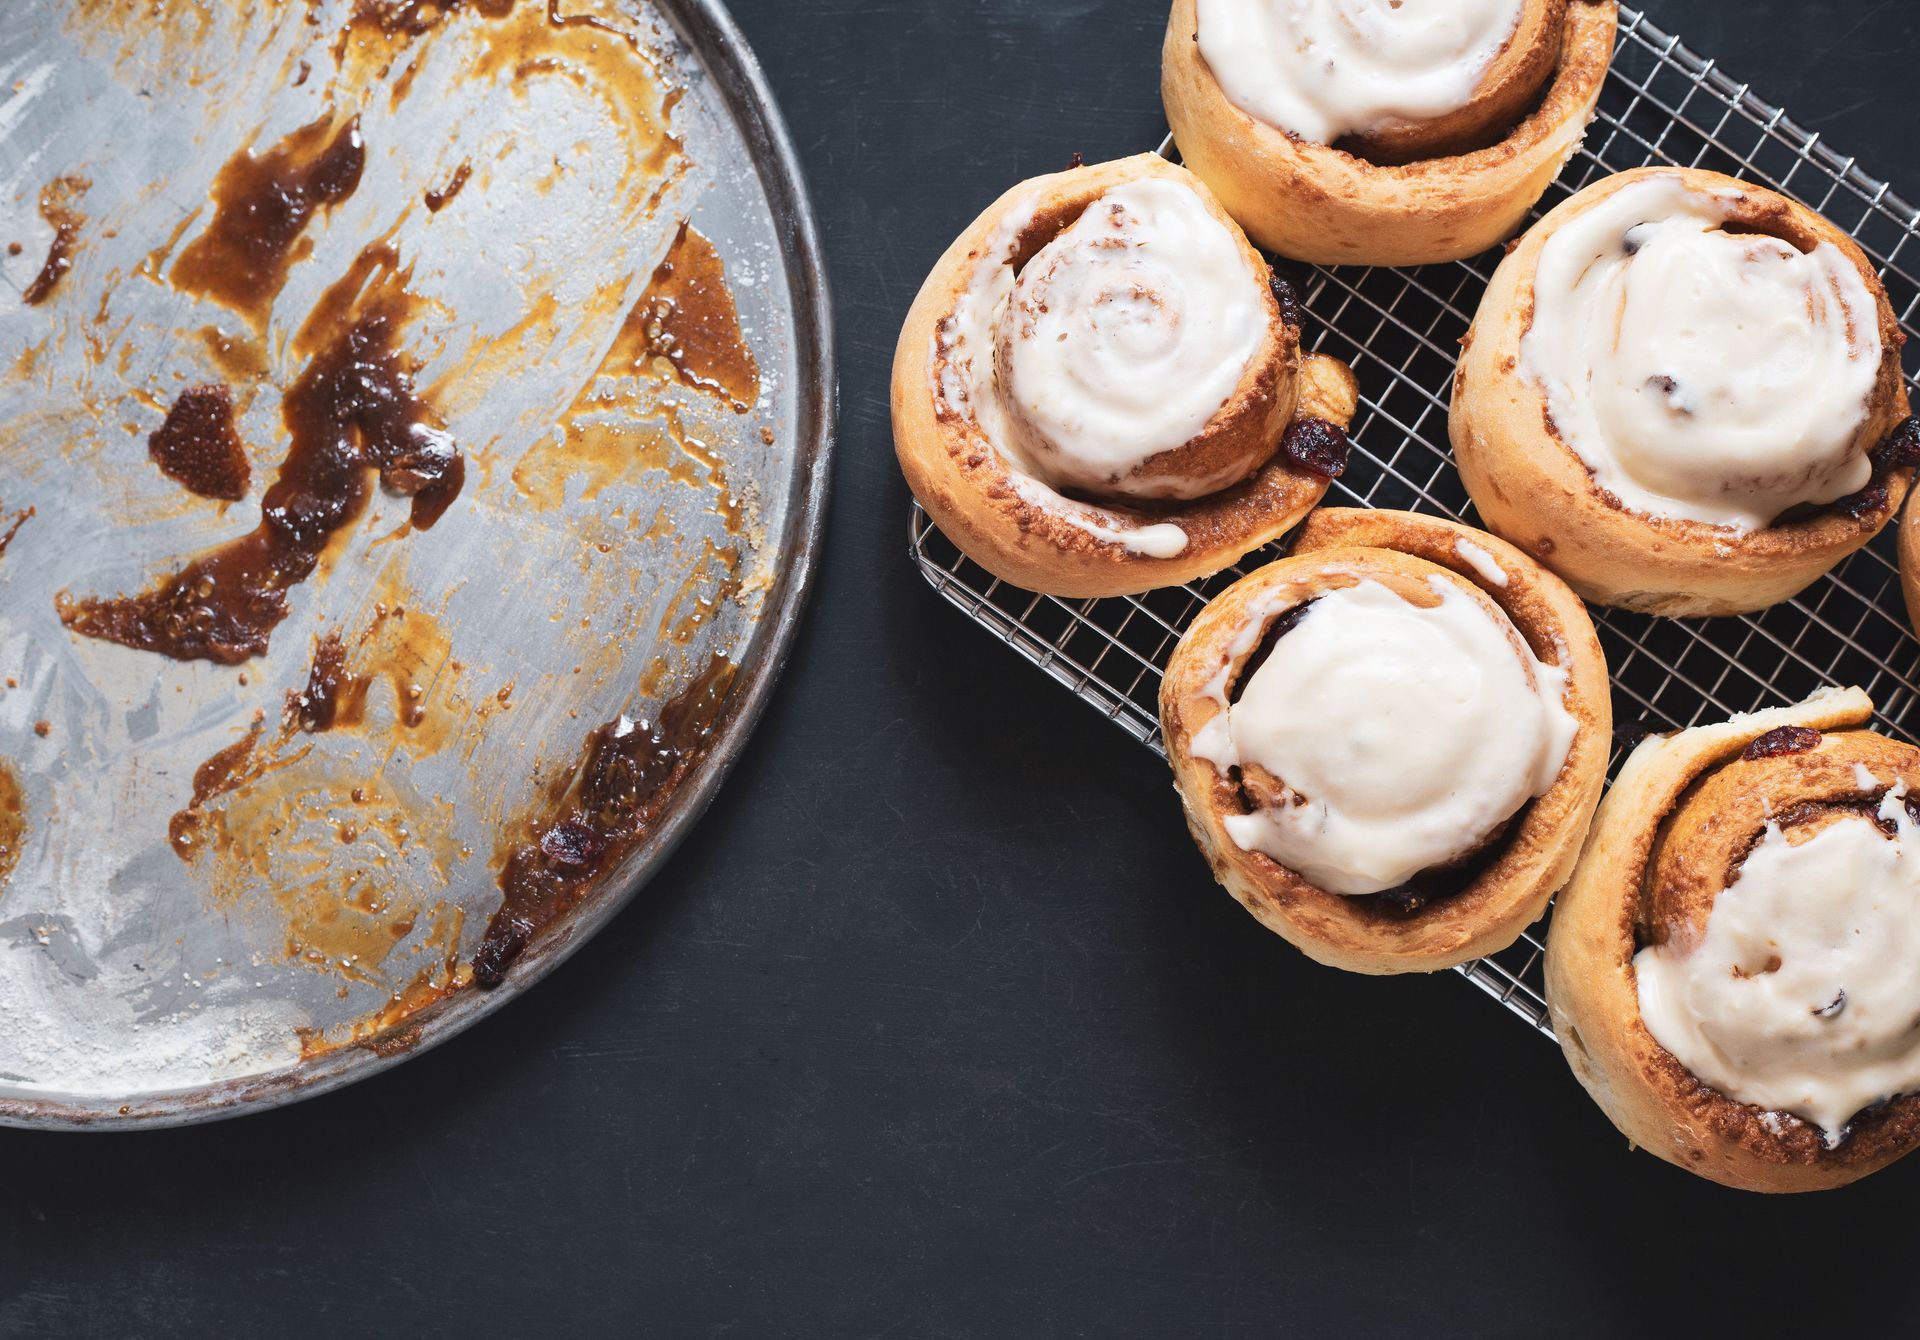
Homemade cinnamon rolls — an enriched yeast dough (butter, eggs, and milk making it soft and pillowy) rolled with a cinnamon-sugar-butter filling, sliced, proofed until doubled, and baked until the filling caramelizes at the edges of the rolls — are the baking project that most fully demonstrates what enriched dough (as opposed to lean bread dough) does differently: the fat and eggs tenderize the gluten, the sugar softens the crust, and the milk adds a milky sweetness that lean dough cannot produce.
The specific quality of a great cinnamon roll — the extreme softness, the gooey caramel filling, the cream cheese frosting that melts slightly on the warm roll — requires both a properly developed dough and the correct proofing. Underproofed rolls are dense; overproofed rolls are fragile and lose their structure during baking. The windowpane test (the same used for sourdough) is the reliable indicator of dough development; the poke test (a finger impression that springs back slowly) is the reliable indicator of proper proofing.
What it teaches: how enriched dough develops differently from lean dough; the effect of overnight cold proofing on dough texture and flavor; how the specific ratio of butter in the filling to sugar in the filling determines whether the filling stays in the roll or oozes out. Equipment needed: a stand mixer makes the process much easier (the enriched dough is sticky and benefits from the dough hook), a rolling pin, and a 9×13-inch baking pan. Make-ahead option: shaped rolls can be covered and refrigerated overnight after the first proof, pulled out an hour before baking to finish proofing, and baked fresh for a morning occasion.
Vinícius Caricatte / Pexels
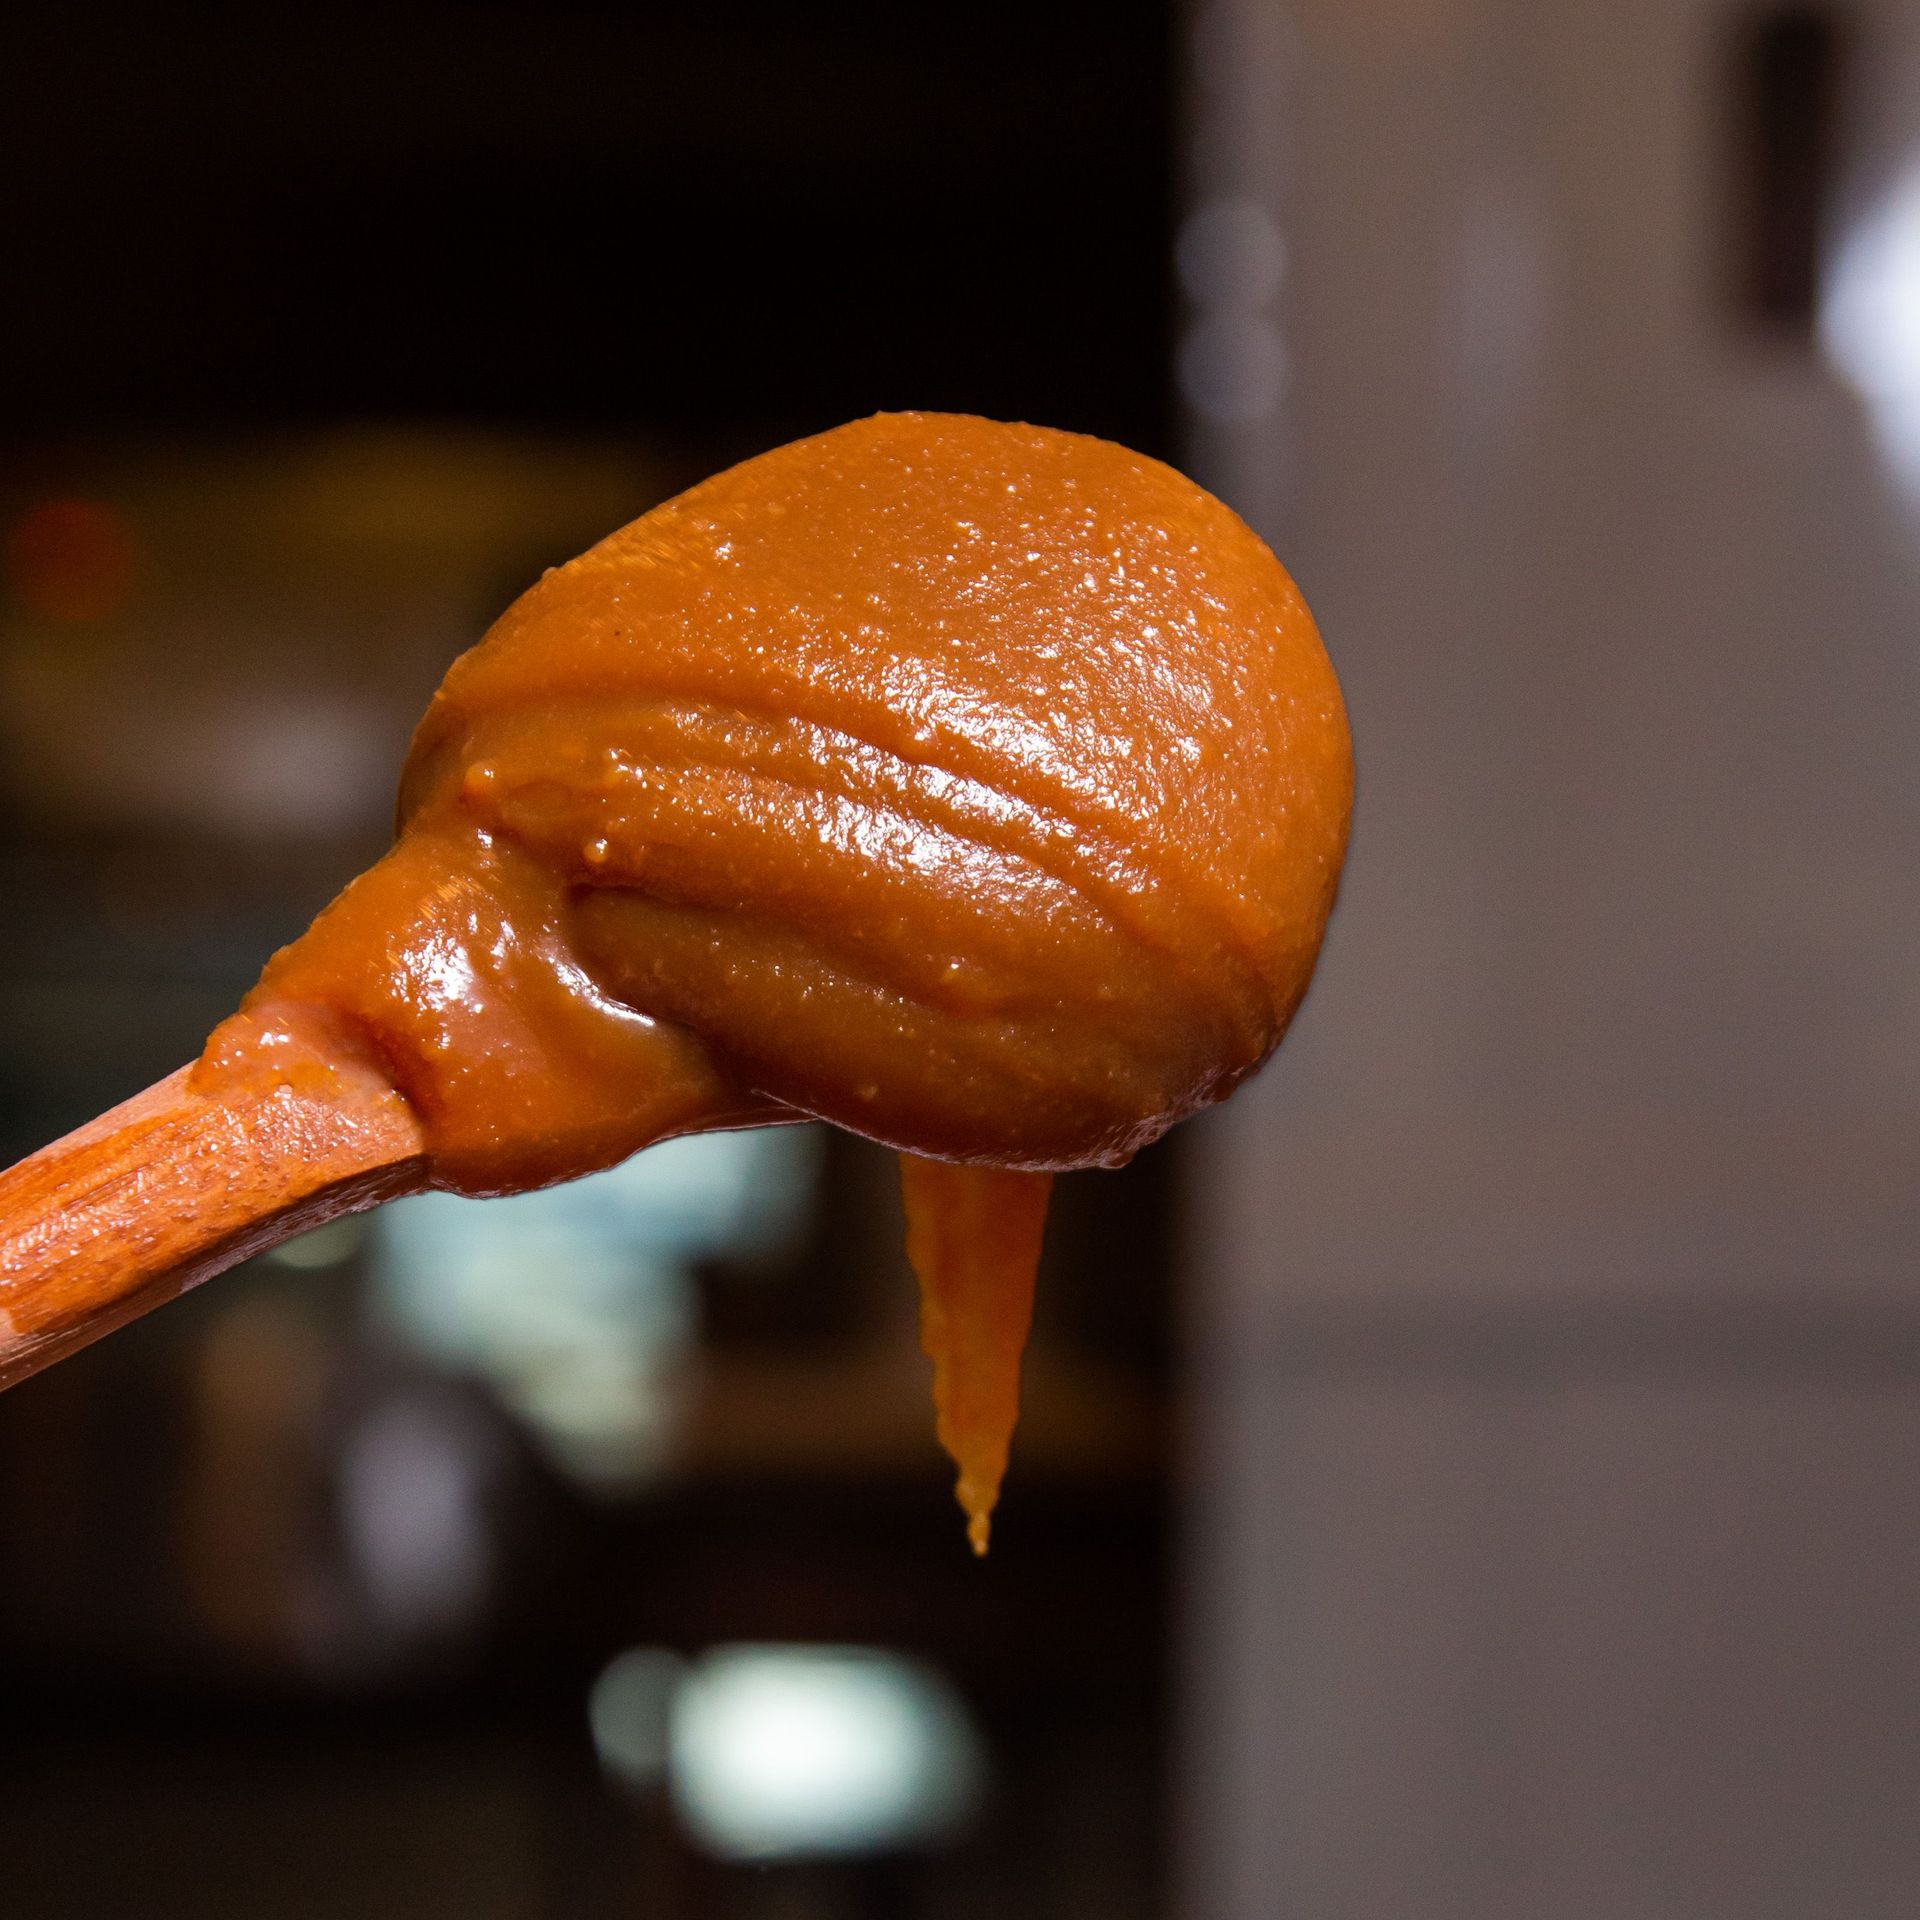
Dry caramel — sugar melted in a dry pan without water until it reaches the deep amber point at which it is fragrant, slightly bitter, and at the threshold between caramel and burnt — is one of the fundamental pastry techniques and one of the most instructive cooking projects available, because the window between undercooked caramel (pale, lacking depth) and overcooked caramel (bitter to the point of inedibility) is genuinely narrow and requires attention of a specific quality.
Caramel for a weekend project is most productively deployed as salted caramel sauce (finished with cream, butter, and fleur de sel), as a caramel tart filling (set with cream and eggs into a pourable set custard), or as dry caramel used to make praline (poured over toasted nuts and allowed to set, then crushed). Each application teaches something different about how caramel behaves as it cools and how it interacts with other fats and liquids.
What it teaches: how to read the color of caramelizing sugar at different stages; what happens when cream or butter is added to hot caramel (the violent boiling that requires a deep saucepan and steady nerves); how the Maillard reaction and caramelization are different processes that both occur at high temperature. Equipment needed: a heavy-bottomed stainless or copper saucepan (not non-stick, which prevents reading the color), a silicone spatula, and a thermometer (optional but useful for beginners). Critical safety note: caramel at 180°C is one of the most dangerous materials in a home kitchen — it sticks to skin and continues burning. Long sleeves, attention, and no distractions.
Minchephoto Photography / Pexels
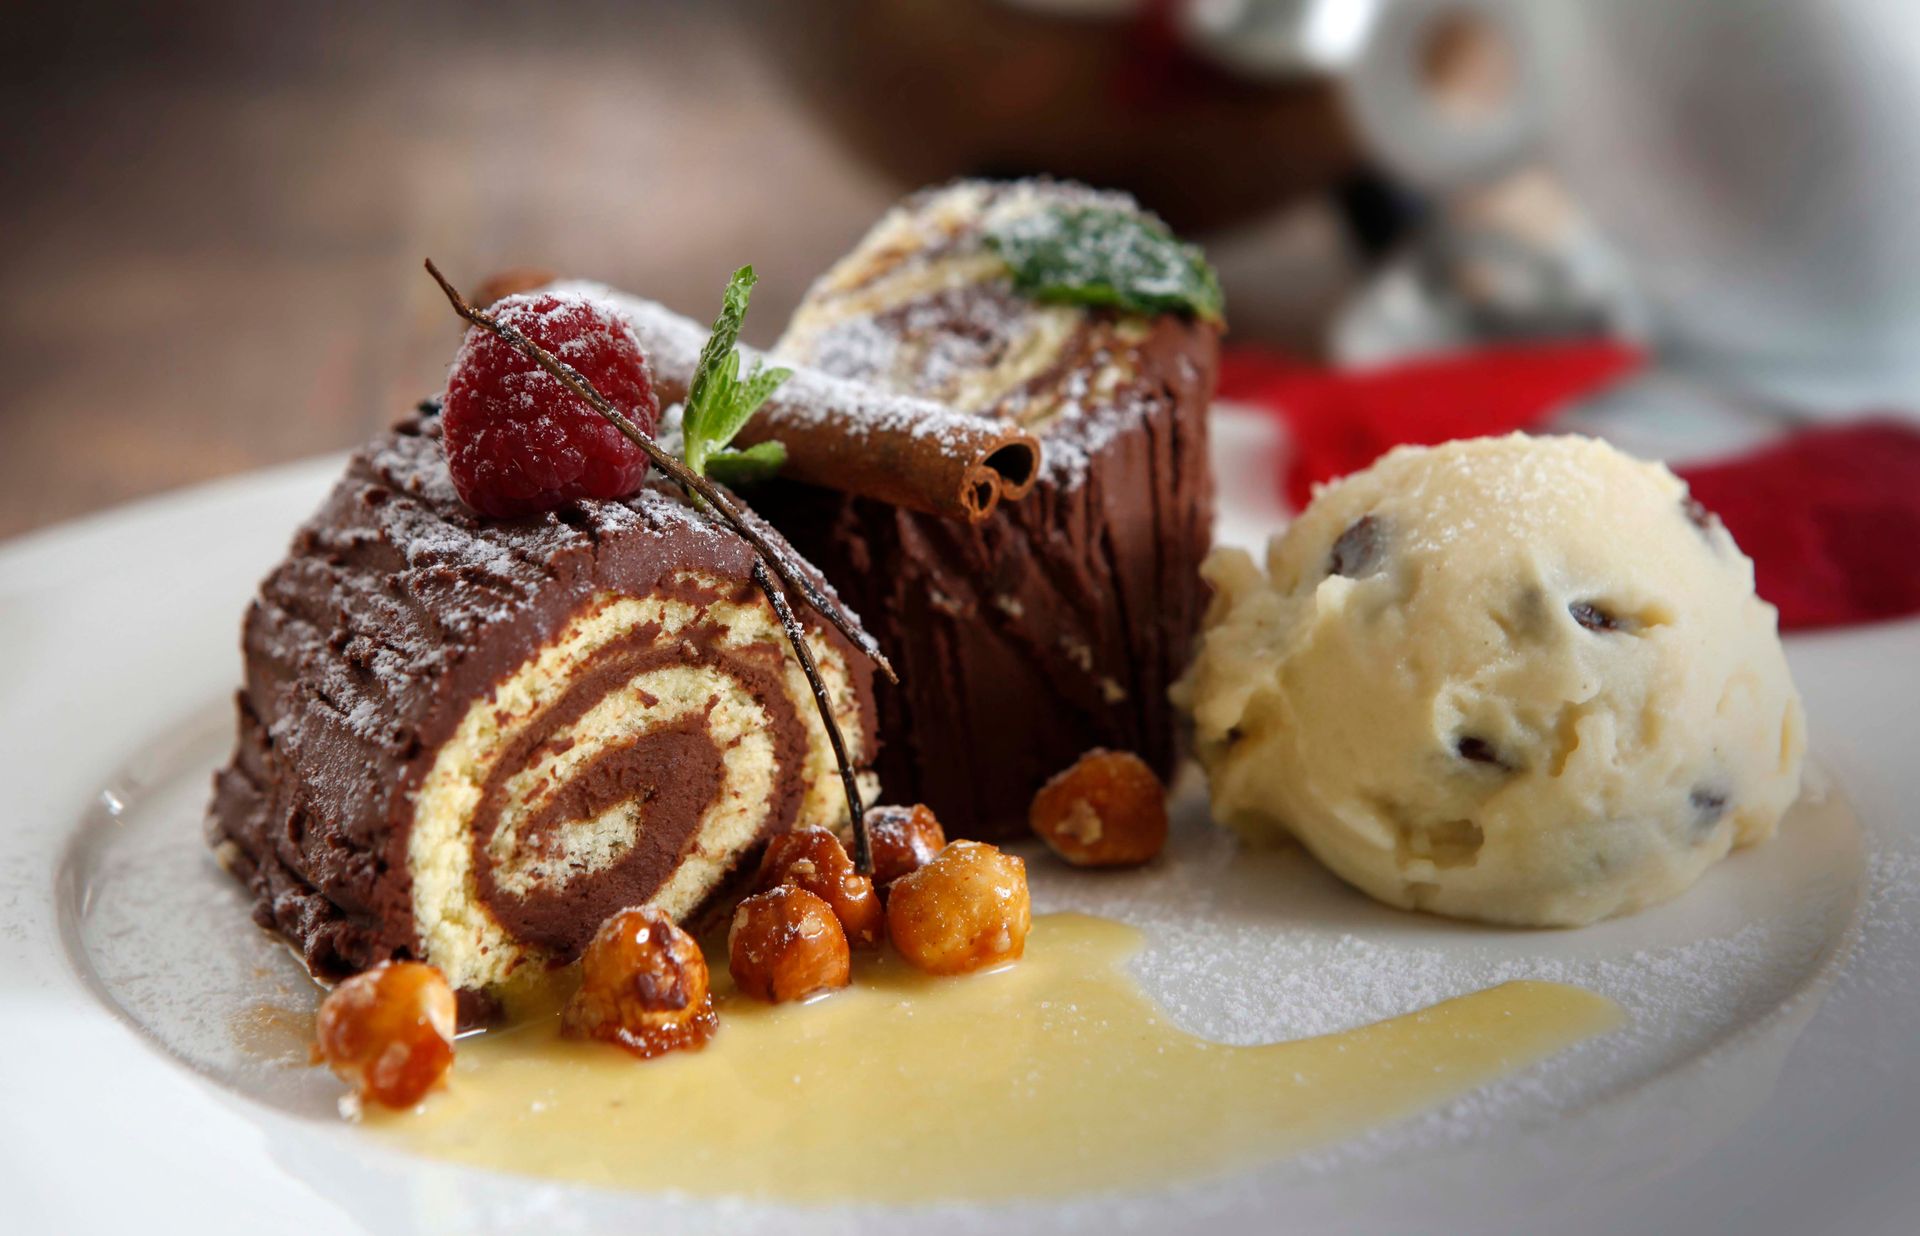
Bûche de Noël — the French Christmas cake in the form of a yule log, made from a thin Swiss roll sponge filled with buttercream or mousse, rolled, decorated with ganache to resemble bark, and garnished with meringue mushrooms and marzipan details — is the baking project that combines the most techniques in a single presentation: sponge cake, Swiss meringue buttercream, chocolate ganache, Italian meringue (for the mushrooms), and decorating. It is the most technically comprehensive cake project available to a home baker and the one that most directly develops a complete pastry skill set.
The Swiss roll sponge (génoise or biscuit roulade) is the technical foundation: it must be thin enough to roll without cracking, which requires correct egg foam development (the ribbon stage — thick and pale, falling in ribbons from the whisk) and the folding technique that preserves the foam while incorporating the flour. A properly made roulade rolls without cracking; a poorly made one cracks at the roll and unrolls further at room temperature.
What it teaches: how to make a stable egg foam (the critical skill for genoise and all foam-based cakes); how to fold flour into a foam without deflating it; how ganache behaves at different temperatures and how to use this for different effects; how to make stable meringue mushrooms that do not weep. Equipment needed: a jelly roll pan (rimmed baking sheet), parchment paper, a stand or hand mixer, and offset spatulas for spreading. Timeline: the sponge can be made and rolled Saturday; the buttercream made and the log assembled Saturday evening; refrigerated overnight; the ganache applied and decorated Sunday morning.
Liz Earl / Pexels
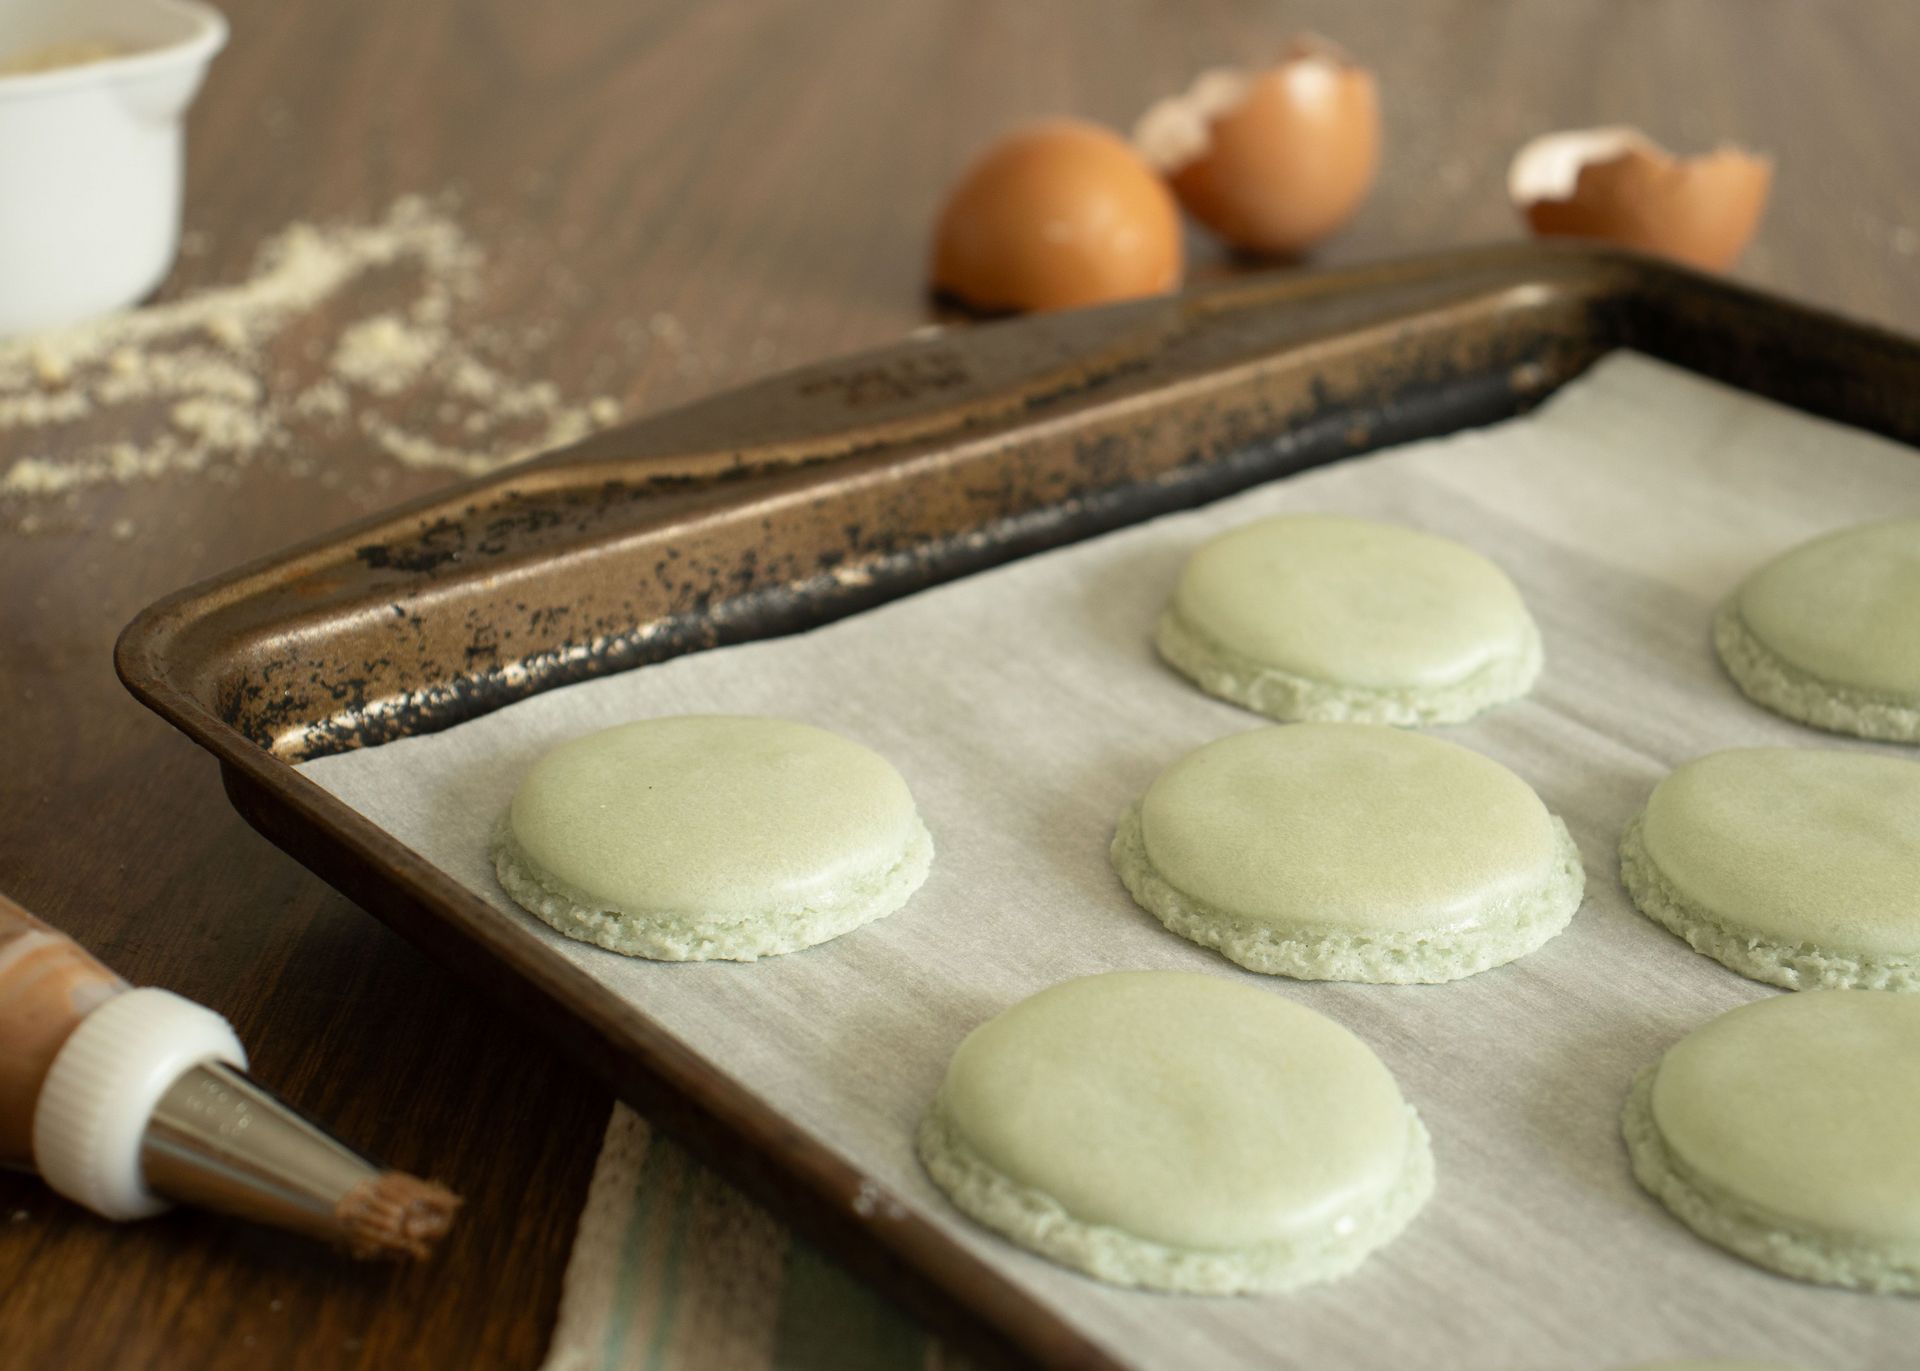
French macarons — the small, brightly colored, sandwich cookies made from almond flour and Italian or French meringue, with a smooth top, a distinctive ruffle ("foot"), and a chewy interior — are the pastry project with the highest failure rate for home bakers and the highest reward for those who master them, because the specific quality of a well-made macaron — the precise shell, the slight give of the almond interior, the contrast with the ganache or buttercream filling — is the result of technique executed correctly at multiple stages simultaneously.
The Italian meringue method (hot sugar syrup poured into egg whites as they whip) is more stable than the French method (sugar folded directly into whipped whites) and produces more consistent results for home bakers. The macaronage (the folding of the almond flour into the meringue) must reach the correct consistency — the batter should flow like lava, falling from the spatula in a thick ribbon that disappears back into the batter in approximately 10 seconds. Under-macaronaged batter produces lumpy tops; over-macaronaged batter spreads without forming feet.
What it teaches: how meringue stability affects baked structure; what "lava consistency" means in practice and how it is achieved; how humidity, oven temperature variation, and aging the batter (resting the piped shells until a skin forms before baking) each affect the final result. Equipment needed: a kitchen scale (macarons require gram-precise measurement), a piping bag with a plain round tip, silicone baking mats or parchment, and an oven thermometer (home oven temperature variation is the most common reason for macaron failure). The weekend format: make Saturday, fill and refrigerate overnight, eat Sunday — the 24-hour maturation in the refrigerator is when the shells soften slightly and the filling and shell become a unified texture.
Skyler Ewing / Pexels
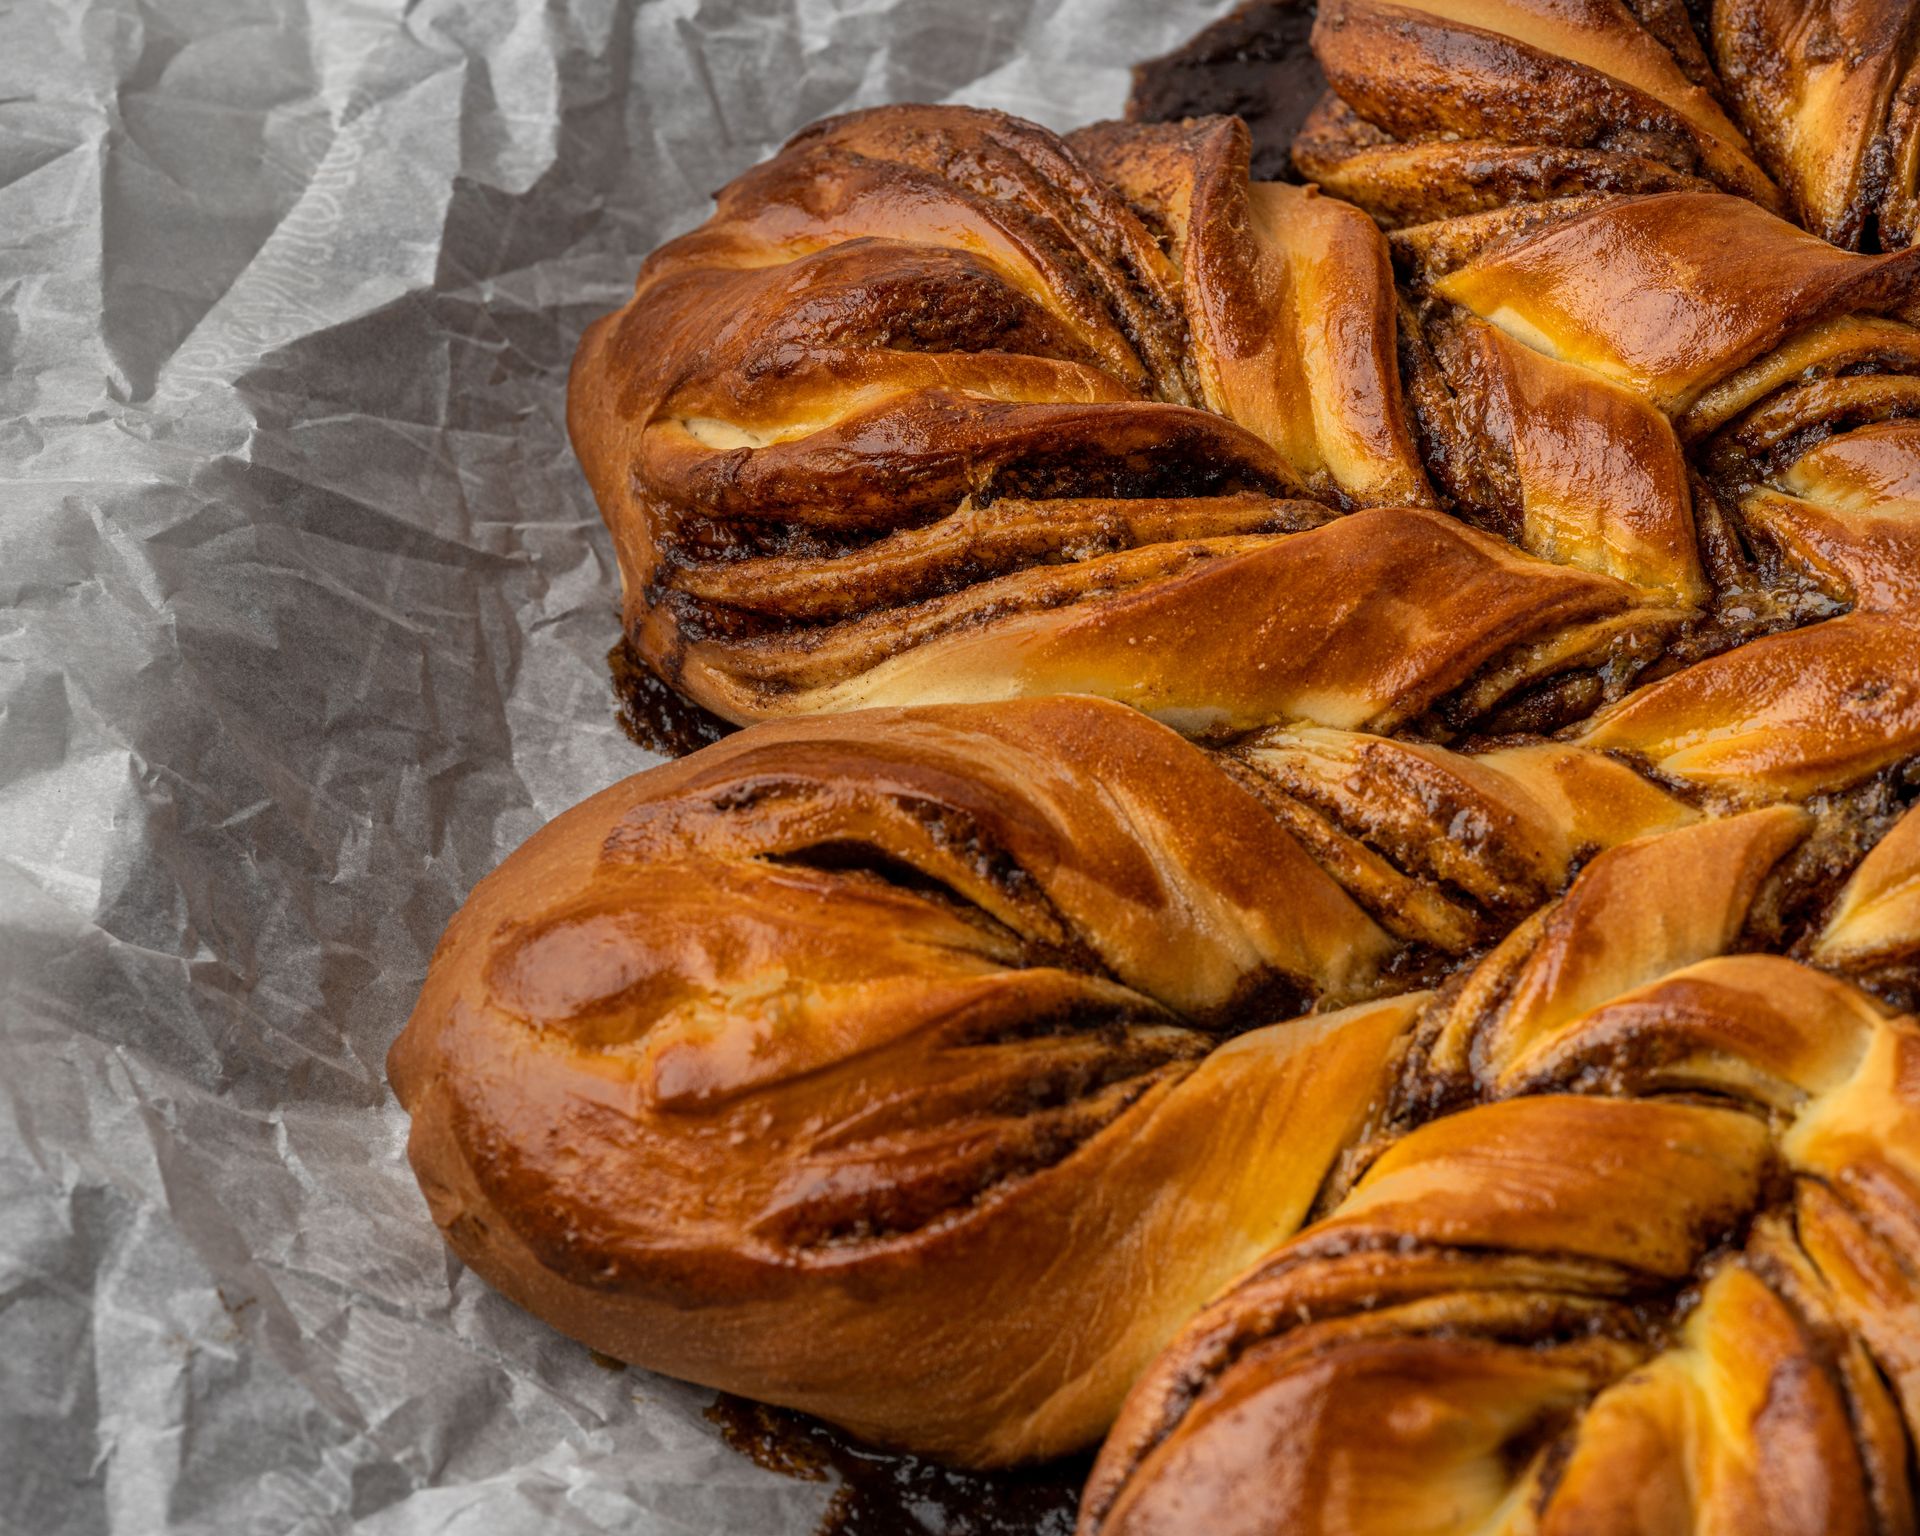
Chocolate babka — the Eastern European Jewish sweet bread of a rich, eggy dough twisted around a filling of chocolate, cocoa, and butter — is the baking project that produces the most visually spectacular result for the technical investment required. The marbled cross-section of twisted dough and dark chocolate filling, visible when the loaf is sliced, is one of the most photographed bread results in food media and is achieved through a relatively straightforward technique once the enriched dough is mastered.
The technique: an enriched dough similar to brioche is rolled out, covered in a chocolate-butter filling, rolled into a log, cut lengthwise, and the two halves twisted together before being placed in the loaf pan. The twisted structure allows the filling to spiral through the loaf rather than remaining in a single seam, producing the characteristic marbled appearance and ensuring that every slice contains multiple layers of filling.
What it teaches: how enriched doughs develop differently from lean breads; the effect of overnight cold proofing on enriched dough texture and flavor; how to handle dough that is too soft for dry-hand shaping (wet hands or a bench scraper). Equipment needed: a stand mixer (the enriched dough is sticky and benefits from the dough hook), a loaf pan, and a pastry brush for the simple syrup brushed over the hot loaf immediately after baking. The syrup: a sugar syrup brushed on the hot babka as soon as it comes from the oven is not optional — it is what gives the crust its shine and prevents the exposed dough from drying out.
Geraud Pfeiffer / Pexels
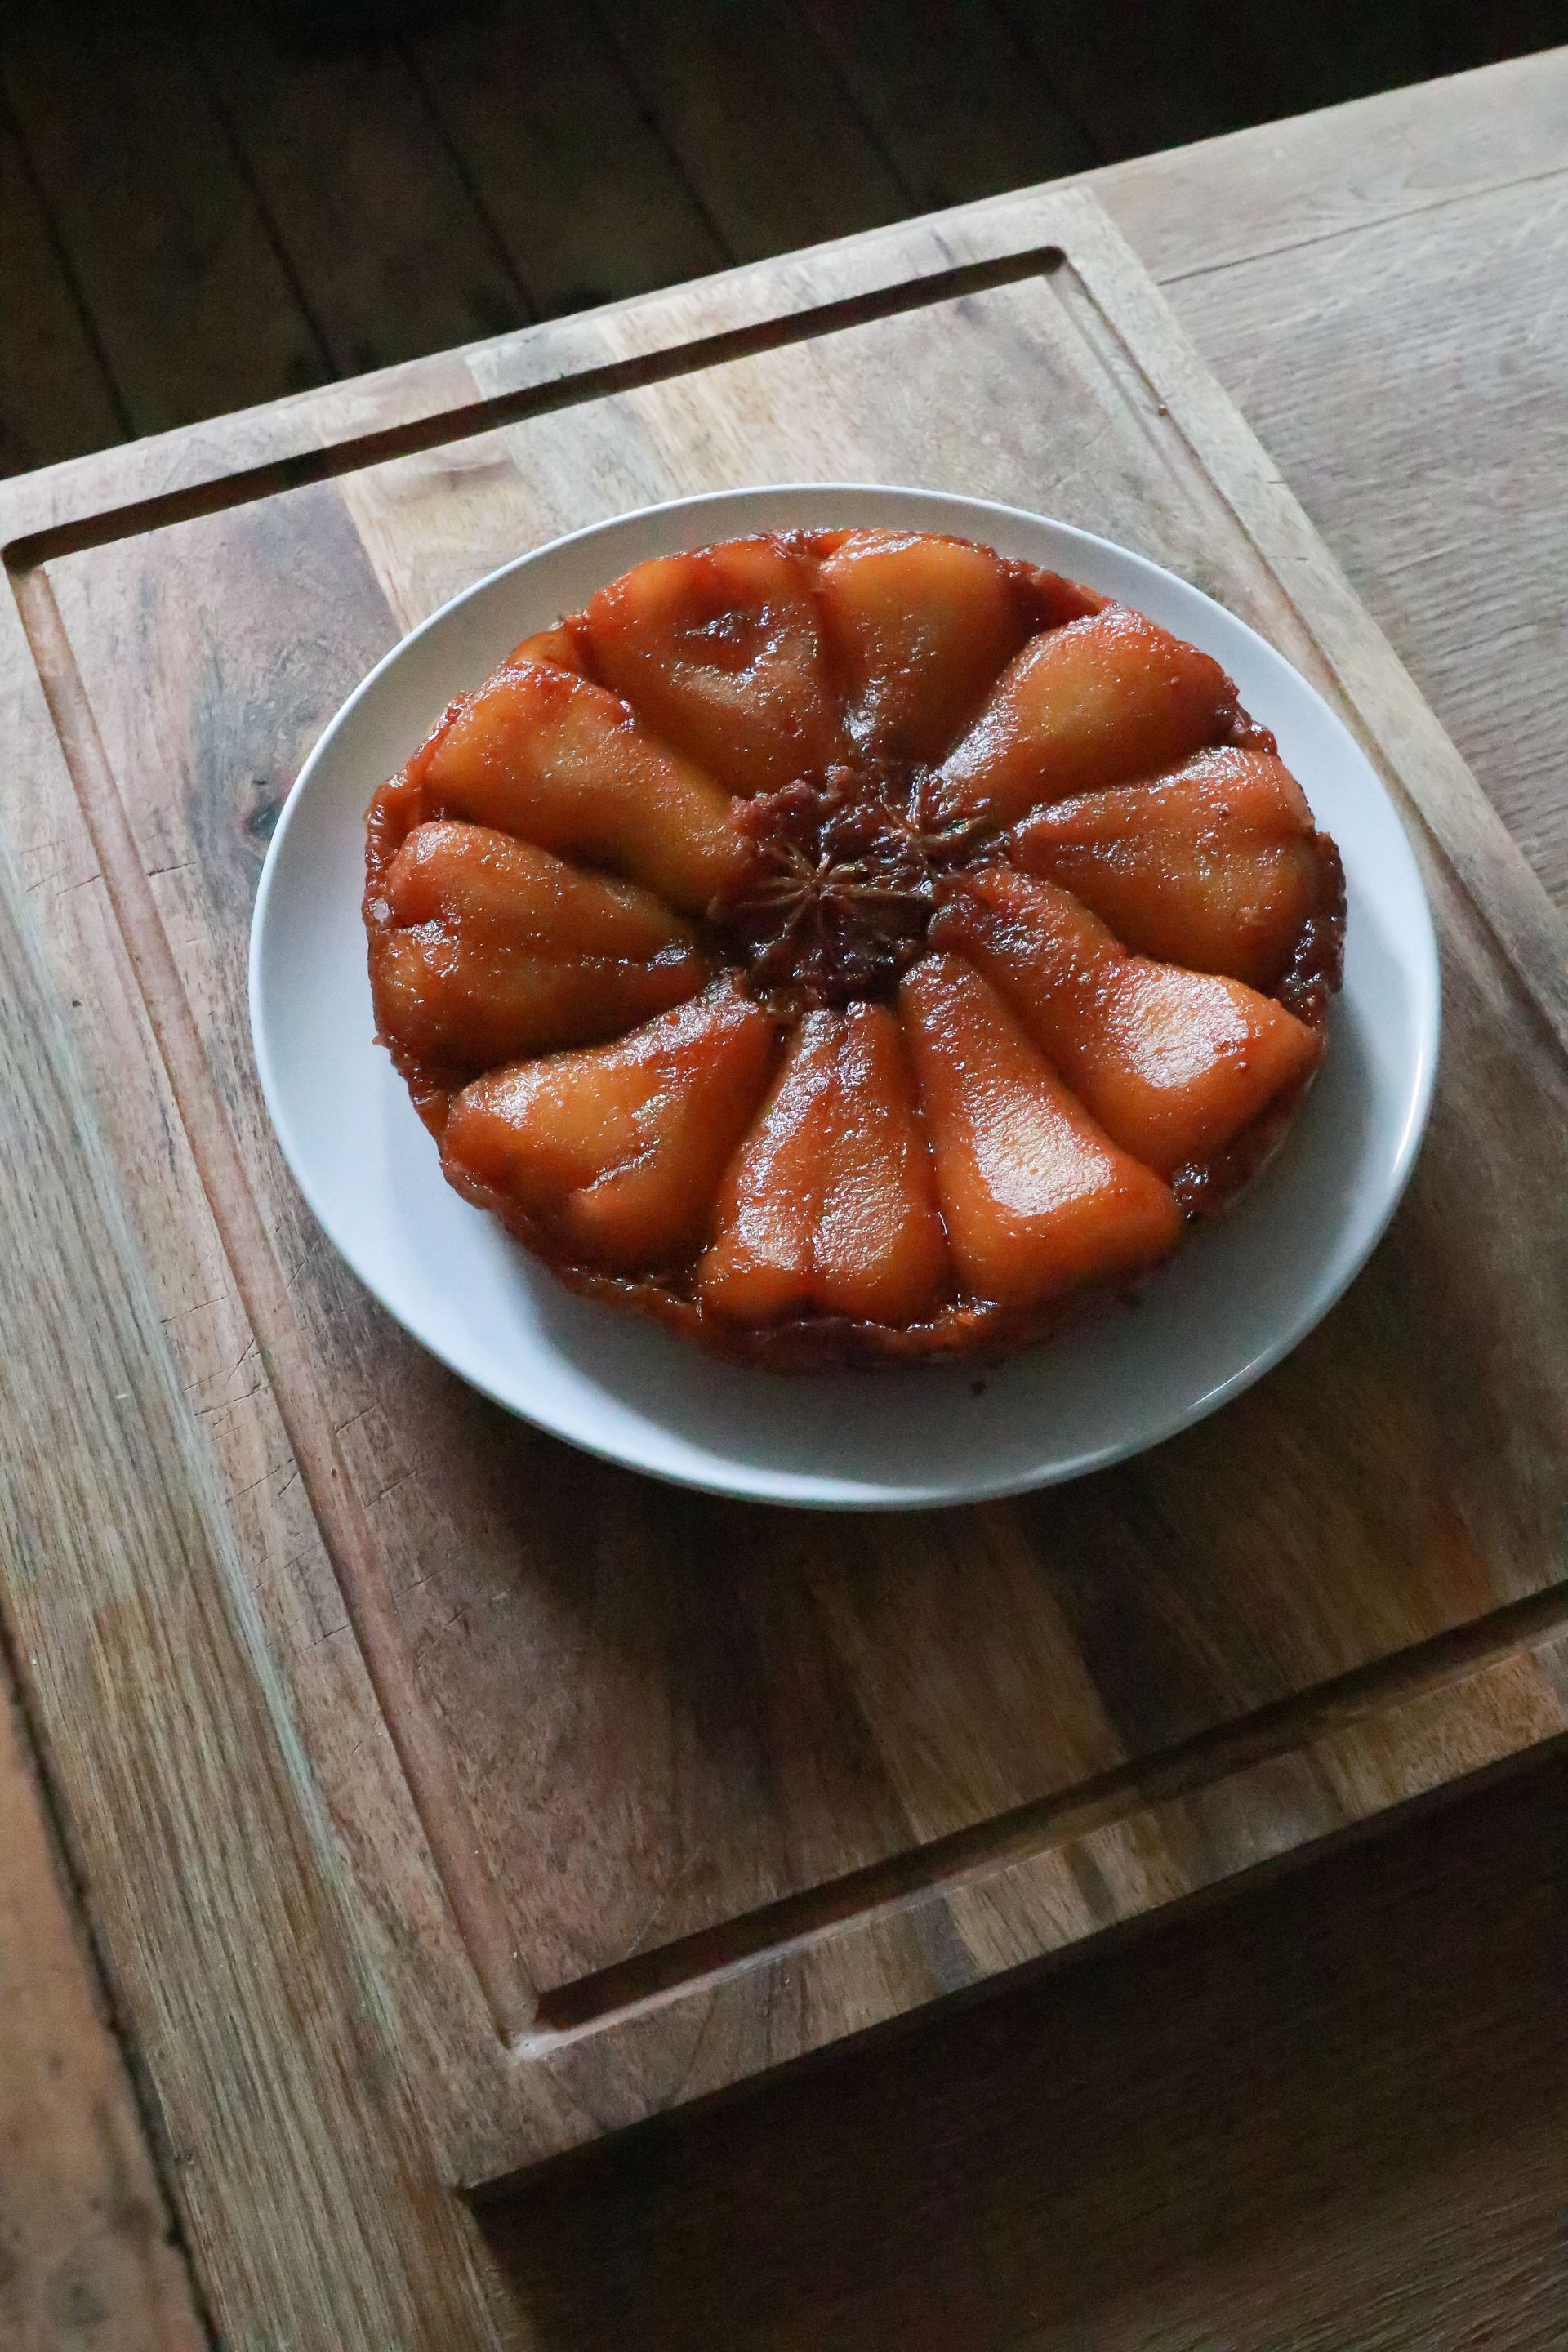
Tarte tatin — the French upside-down caramelized apple tart, baked with the pastry on top and inverted to serve — is the classic French dessert whose excellence is entirely dependent on technique: the correct caramelization of the apples in sugar and butter before the pastry goes on, the correct pastry (short, buttery, and sturdy enough to hold the weight of the caramelized apples on inversion), and the correct moment to invert (too soon and the caramel is liquid and runs; too late and it sets solid and the tart sticks to the pan).
The specific skill the tarte tatin develops is reading caramel: the butter-and-sugar mixture in the pan must caramelize sufficiently to produce the deep golden-brown color and slightly bitter flavor that balances the sweetness, without burning. This requires medium heat, patience, and the specific attention to color and smell that is the caramel-reading skill described in the standalone caramel entry.
What it teaches: how caramel behavior changes in the presence of fruit (the fruit releases moisture that creates a sauce rather than a dry caramel — a fundamentally different texture management challenge); how to make a buttery short pastry that holds structure; the inversion technique and how to manage the moment with confidence. Equipment needed: a 10-inch oven-safe skillet (cast iron or stainless — not non-stick, which prevents reading the caramel color), a round of pastry large enough to cover it, and a serving plate large enough to receive the inverted tart. Variety note: pear, quince, and plum tarte tatins follow exactly the same method and are equally good.
Nadin Sh / Pexels
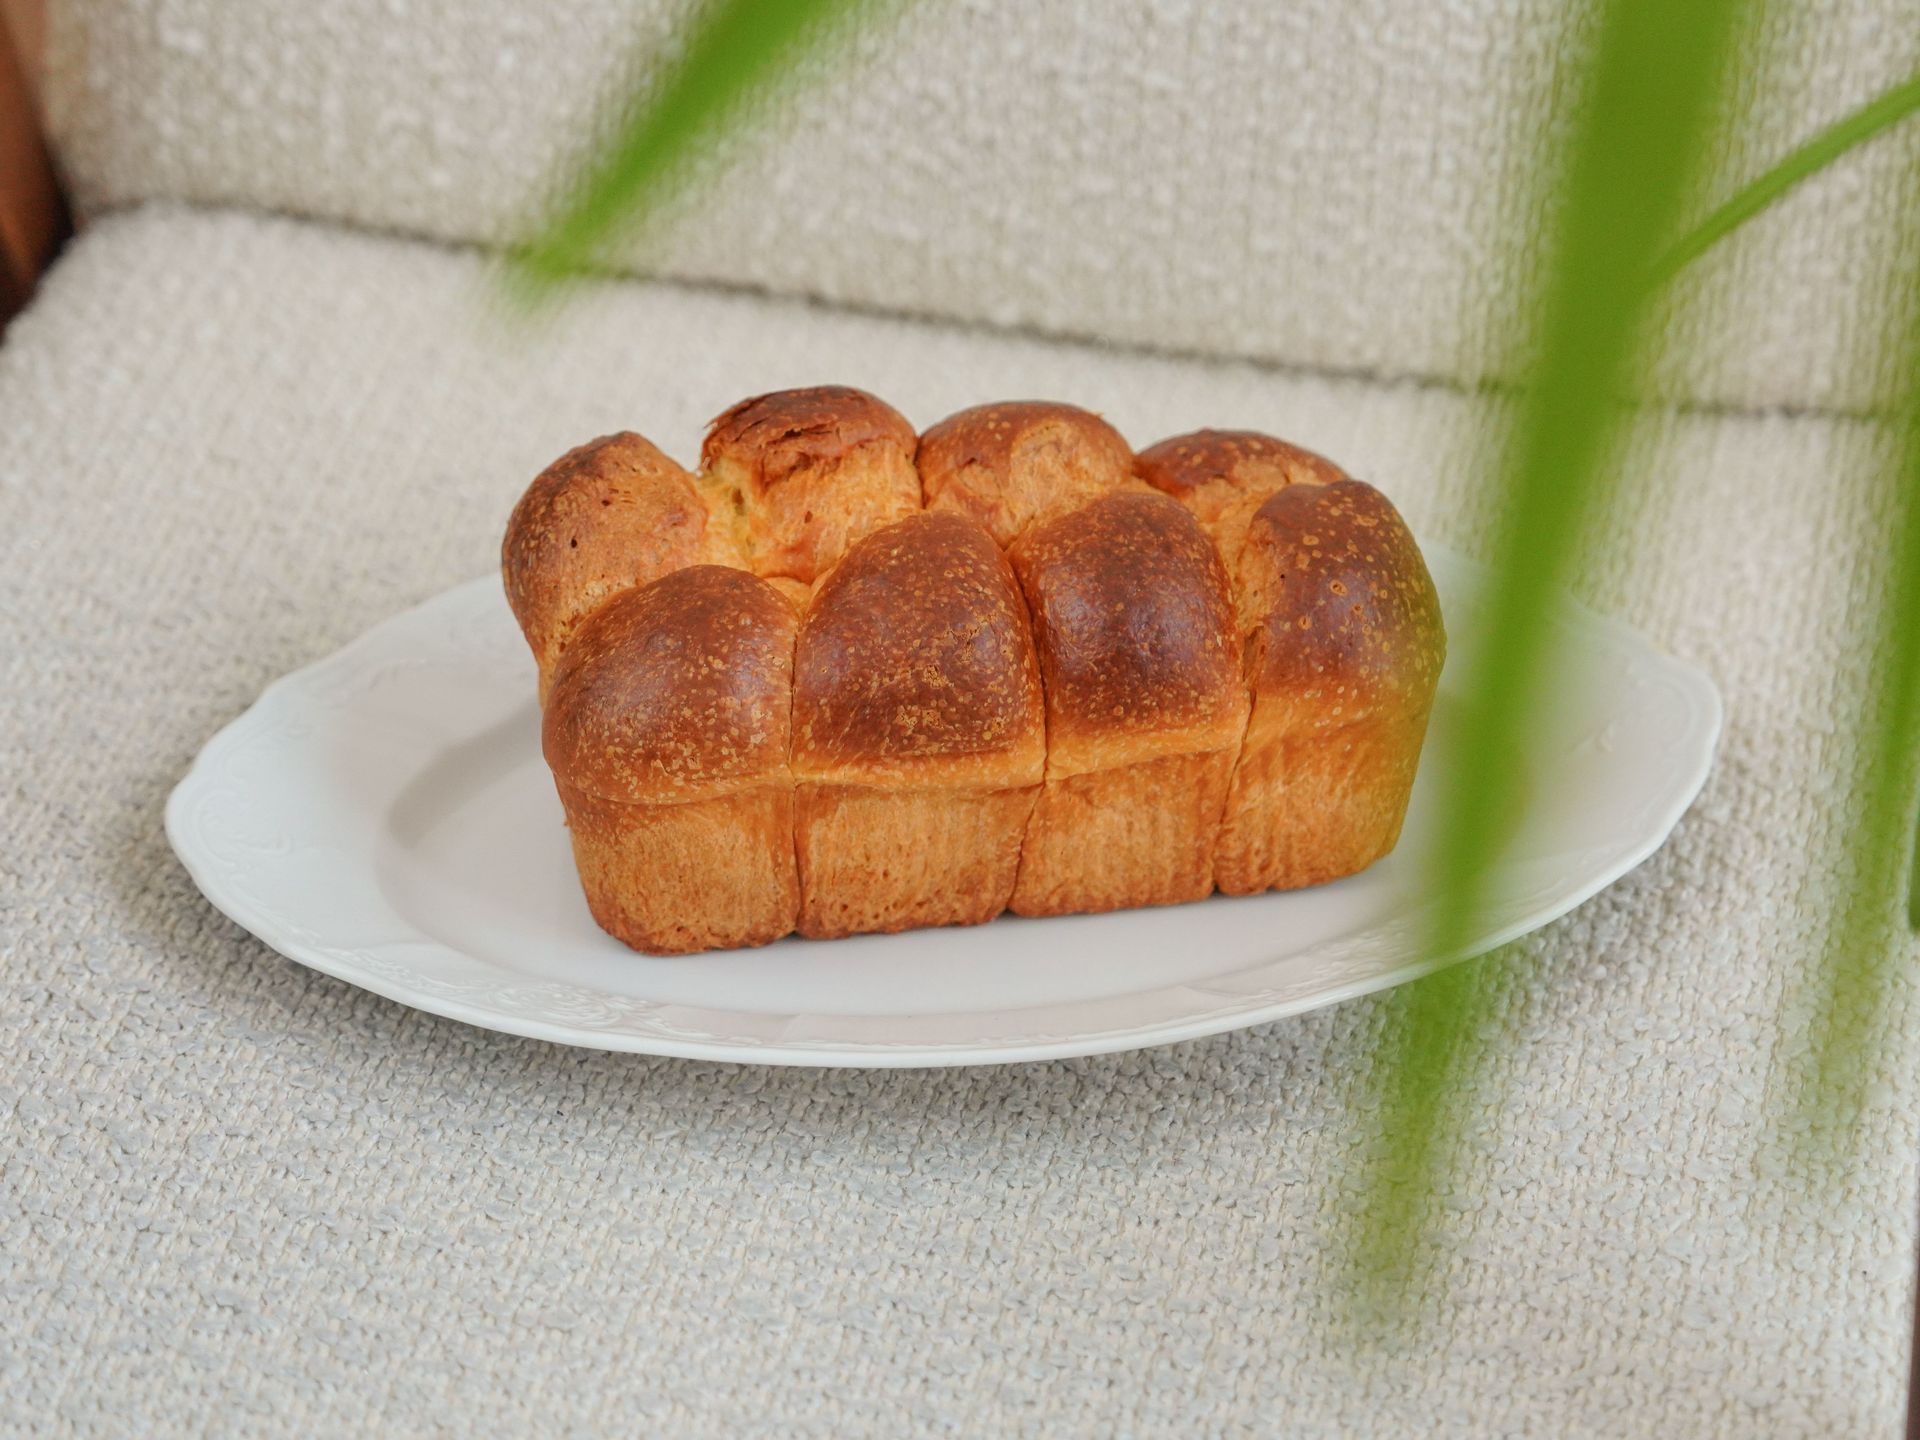
Brioche — the enriched French bread whose extraordinary butter content (up to 50% of the flour weight in the richest versions) produces a crumb so tender and so golden that it occupies the space between bread and cake — is the baking project that most directly teaches what butter does to dough structure when it is incorporated gradually and correctly. The butter must be added cold, in small pieces, over approximately 20 to 30 minutes of mixing, after the gluten has fully developed — adding it earlier prevents the gluten from developing; adding it too quickly breaks the dough structure.
The result of correctly made brioche is one of the most satisfying things in baking: a loaf with a deep mahogany crust (from the egg wash applied before baking), a crumb that pulls apart in long, silky strands, and a buttery richness that makes it equally suited to sweet applications (brioche perdue — French toast — is its highest calling) and savory ones (brioche hamburger buns, brioche for foie gras).
What it teaches: the correct technique for incorporating butter into a developed dough; what a properly developed enriched dough looks and feels like at each stage; how overnight cold retarding affects enriched dough texture and flavor. Equipment needed: a stand mixer with a dough hook (brioche is extremely difficult to make by hand due to its softness and the extended mixing required); a loaf pan or fluted brioche mold; an egg wash brush. The critical timeline detail: the dough must be cold enough to handle for shaping — this means a minimum of four hours in the refrigerator after the bulk ferment, and ideally an overnight cold retard.
Daniel & Hannah Snipes / Pexels
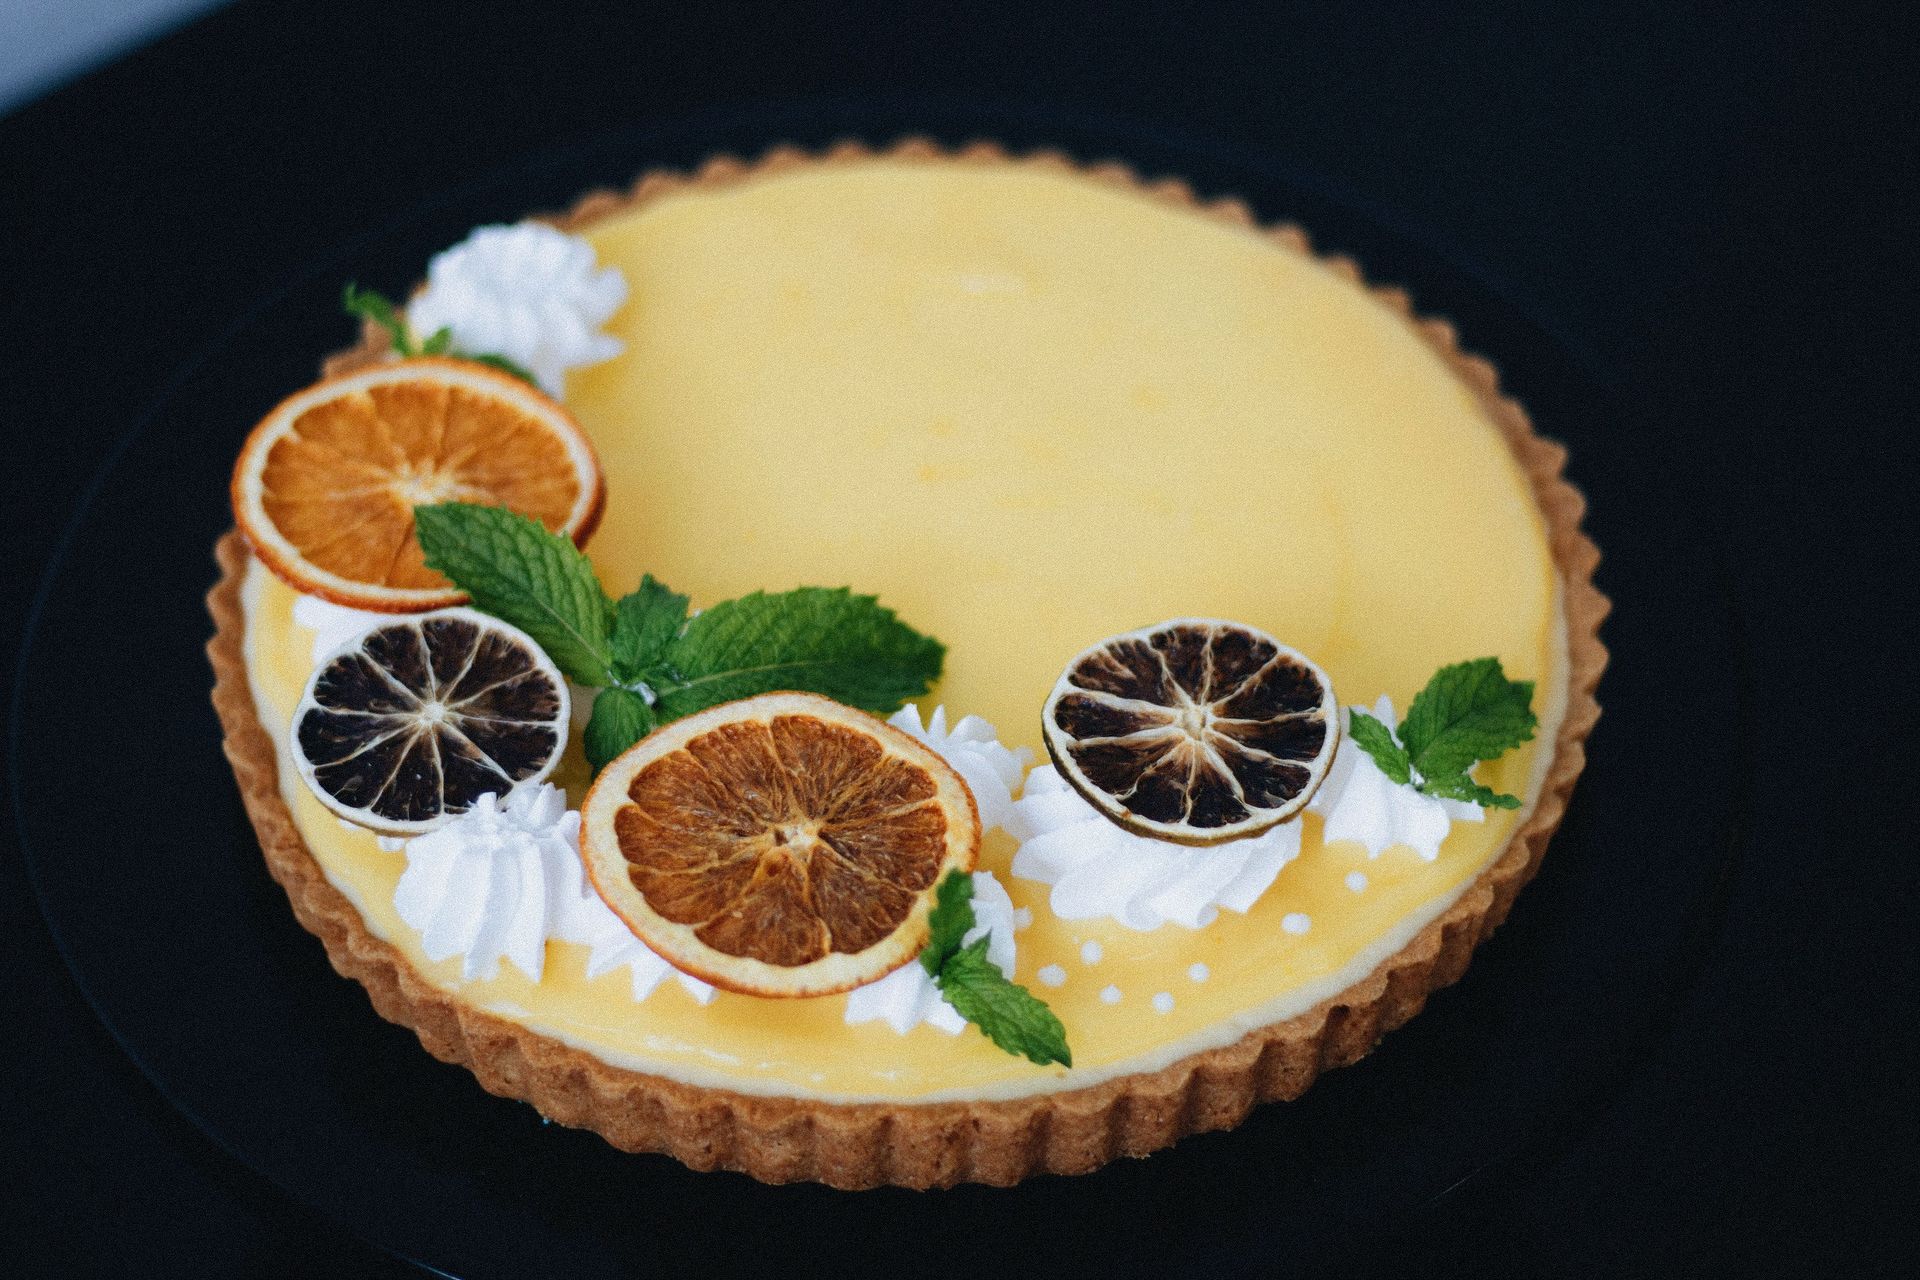
A lemon curd tart — a crisp, buttery pâte sablée (sweet short pastry) shell filled with a set lemon curd made from lemon juice, zest, eggs, sugar, and butter — is the French pastry project that teaches the two fundamental pastry skills simultaneously: making a short pastry that is crisp and buttery without being crumbly, and making a smooth, glossy curd that is set firmly enough to slice cleanly but still creamy in the mouth.
The pâte sablée requires the specific technique of "sablage" — working cold butter into flour until the mixture resembles fine breadcrumbs before the egg is added — which produces the sandy, crisp texture that distinguishes it from a pâte brisée (which is flakier and less sweet). The curd requires cooking over gentle heat with constant stirring until it reaches 82°C, the temperature at which the eggs are fully set without curdling — a thermometer is more reliable than the "coat the back of a spoon" test at this stage.
What it teaches: the difference between pâte sablée and other pastry types; how to blind bake a tart shell (lining with parchment and baking beans, removing the beans, and continuing to bake until the pastry is golden) without shrinkage; how to make a stable, smooth curd that sets cleanly. Equipment needed: a 9-inch tart tin with a removable base, ceramic baking beans or dry rice for blind baking, and an instant-read thermometer. The weekend format: make and blind bake the shell Saturday; make the curd and fill the shell Sunday morning; allow to set at room temperature for two hours before refrigerating.
Eric Baker / Wikipedia (CC BY-SA 3.0)
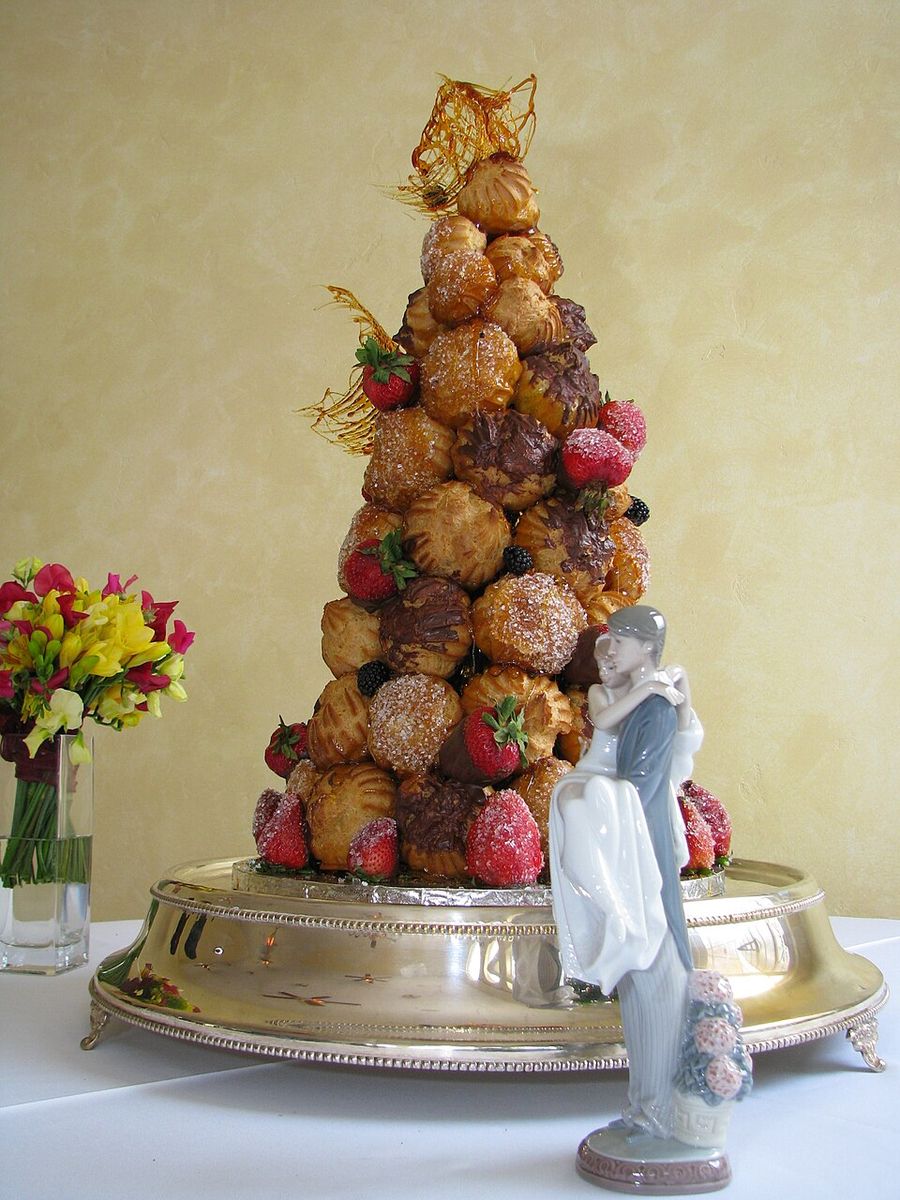
Croquembouche — the French celebration centerpiece of cream-filled choux puffs stacked into a cone and bound with spun caramel — is the most theatrical baking project available to a home baker, and the one that combines the most individually learnable techniques into a single extraordinary result: choux pastry, pastry cream, caramel, and the specific spinning technique that produces the gossamer caramel threads draped over the finished tower.
The choux pastry — made by cooking butter and water together, adding flour to make a paste, then beating in eggs until the dough reaches the specific dropping consistency that produces hollow, crisp puffs — is one of the most useful techniques in all of pastry, underlying éclairs, profiteroles, Paris-Brest, and gougères as well as the croquembouche. The crème pâtissière (pastry cream) that fills the puffs requires the same egg-thickening technique as lemon curd but at a higher starch concentration, producing a thick, piping-stable cream.
What it teaches: how choux pastry develops its hollow structure through steam expansion; how pastry cream sets and how to prevent it from forming a skin; the caramel assembly technique (dipping each puff in hot caramel and holding it against the cone until it sets); and how spun caramel is created (using a fork or special tool dipped in caramel and swung over a rolling pin to create threads). Equipment needed: a piping bag with a plain round tip, a 9-inch polystyrene or cardboard cone (available at craft stores), and a large pot of very hot caramel for assembly. The weekend format: make and cool the choux puffs and pastry cream Saturday; assemble and caramel-coat Sunday; spin the caramel threads immediately before serving (they dissolve within hours in humidity).
